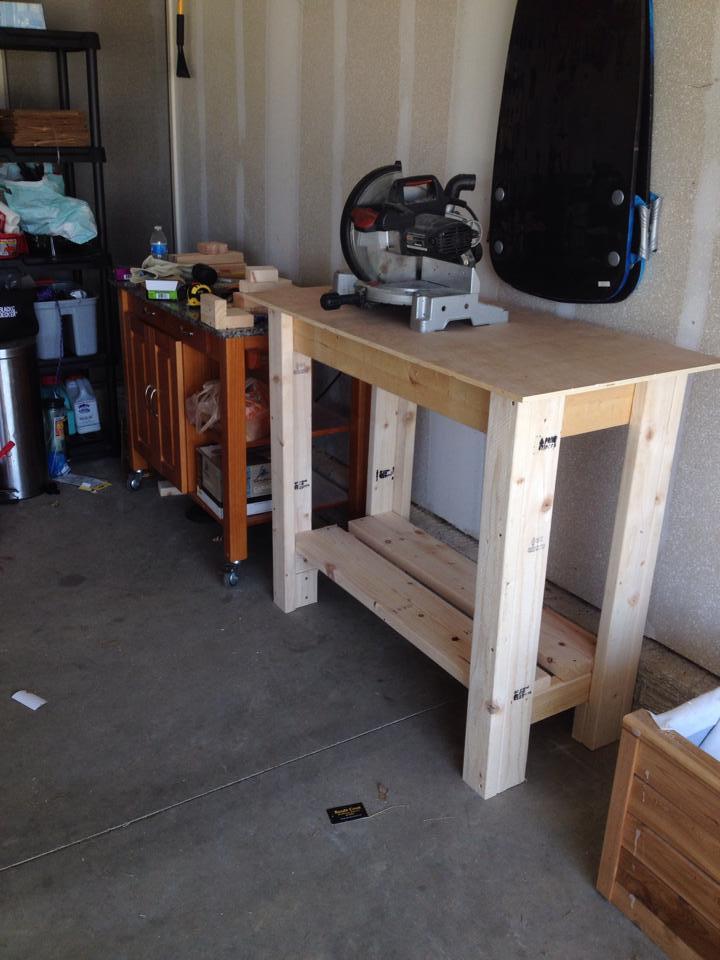
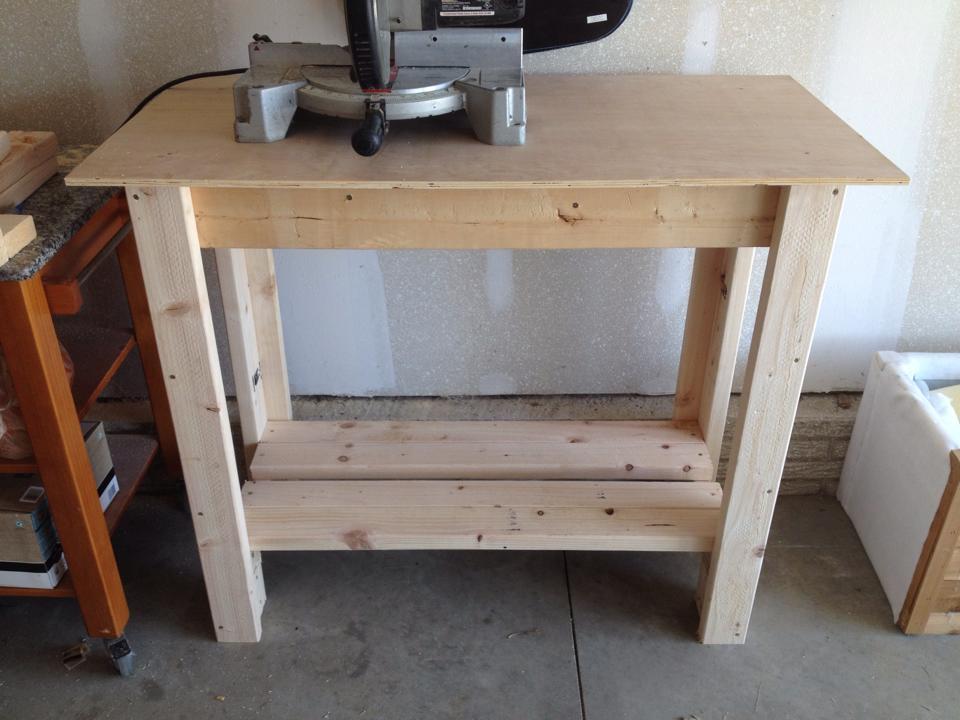
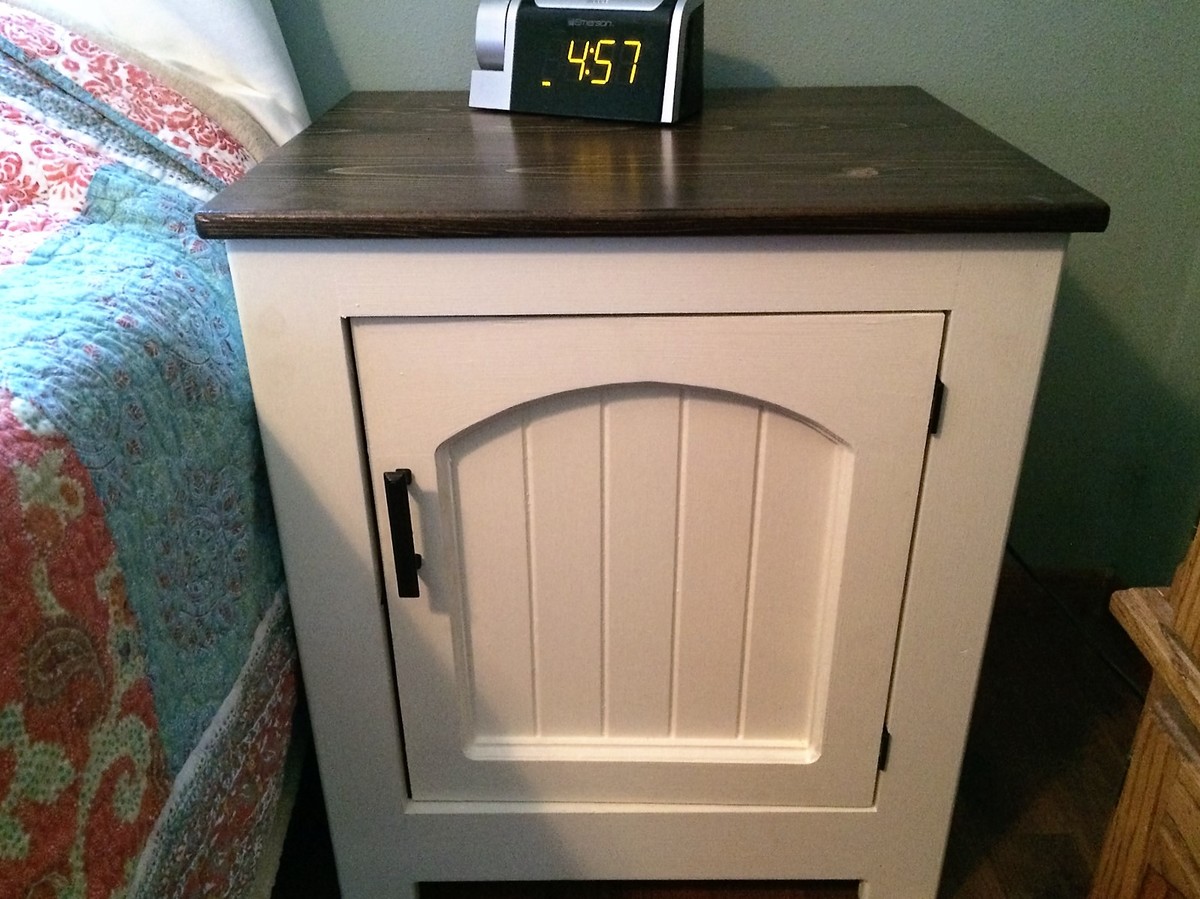
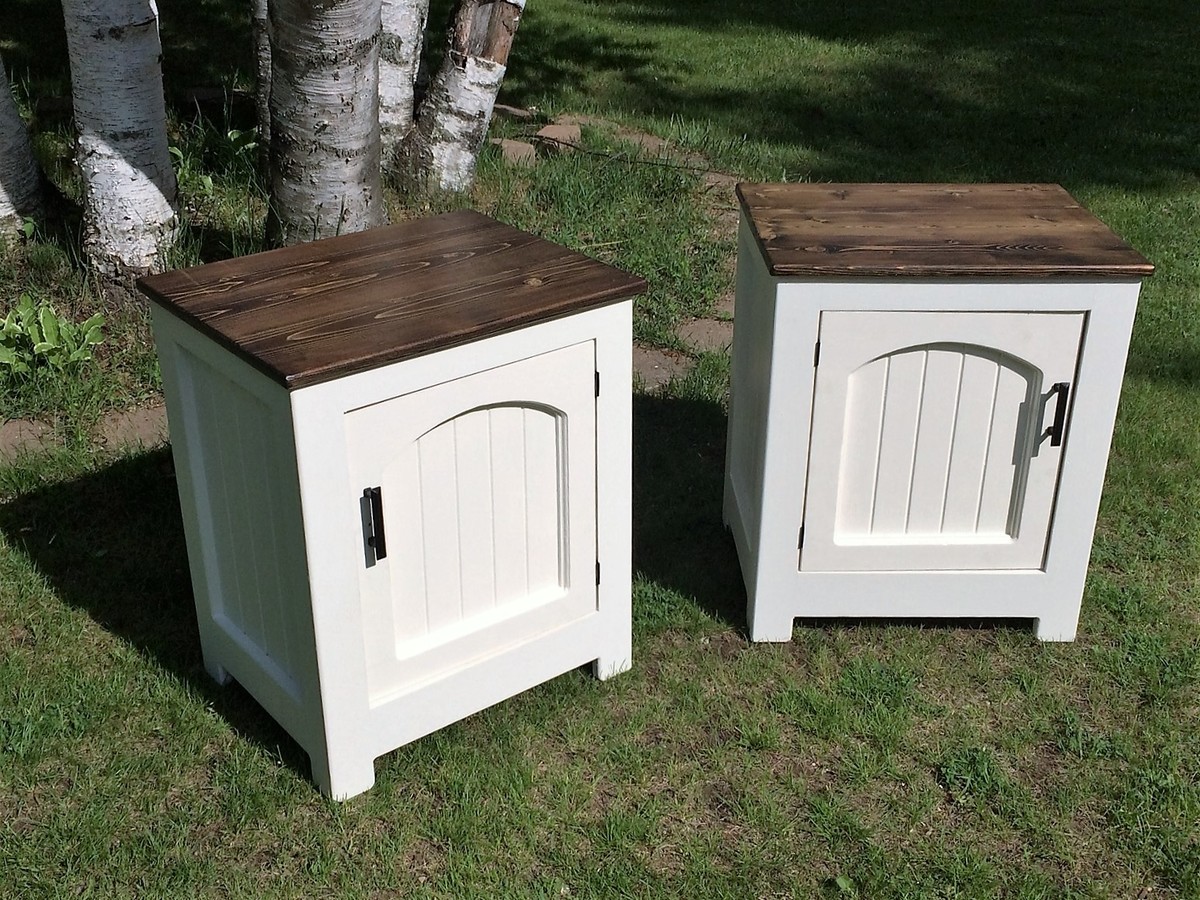
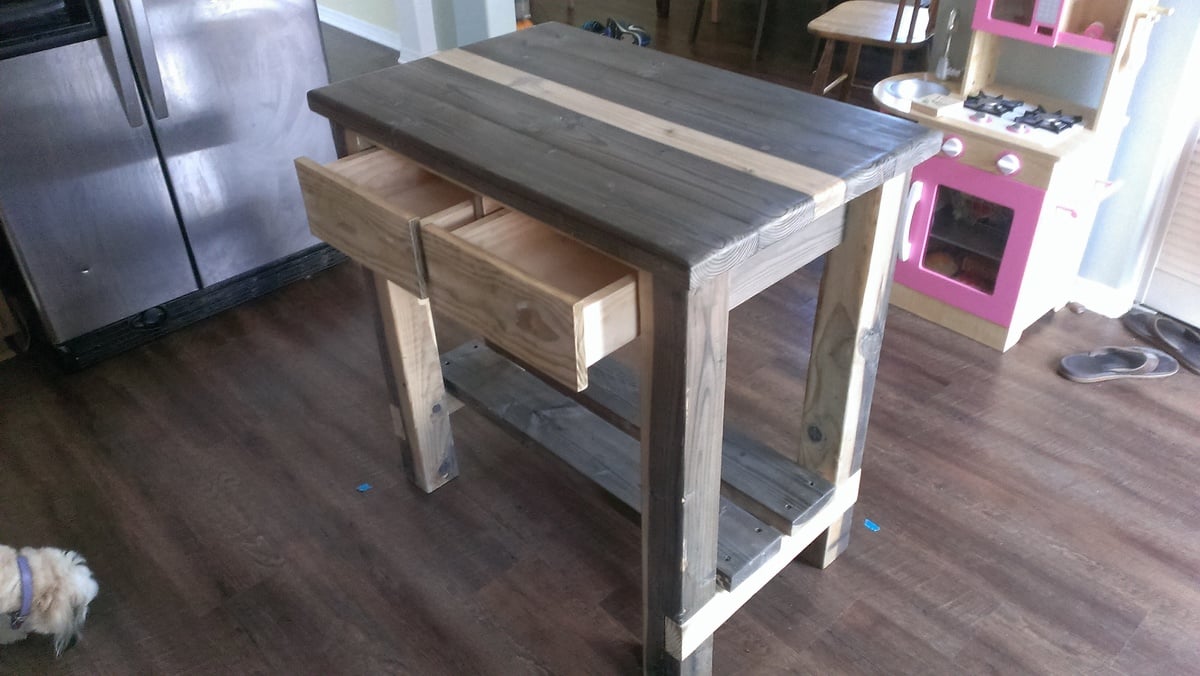
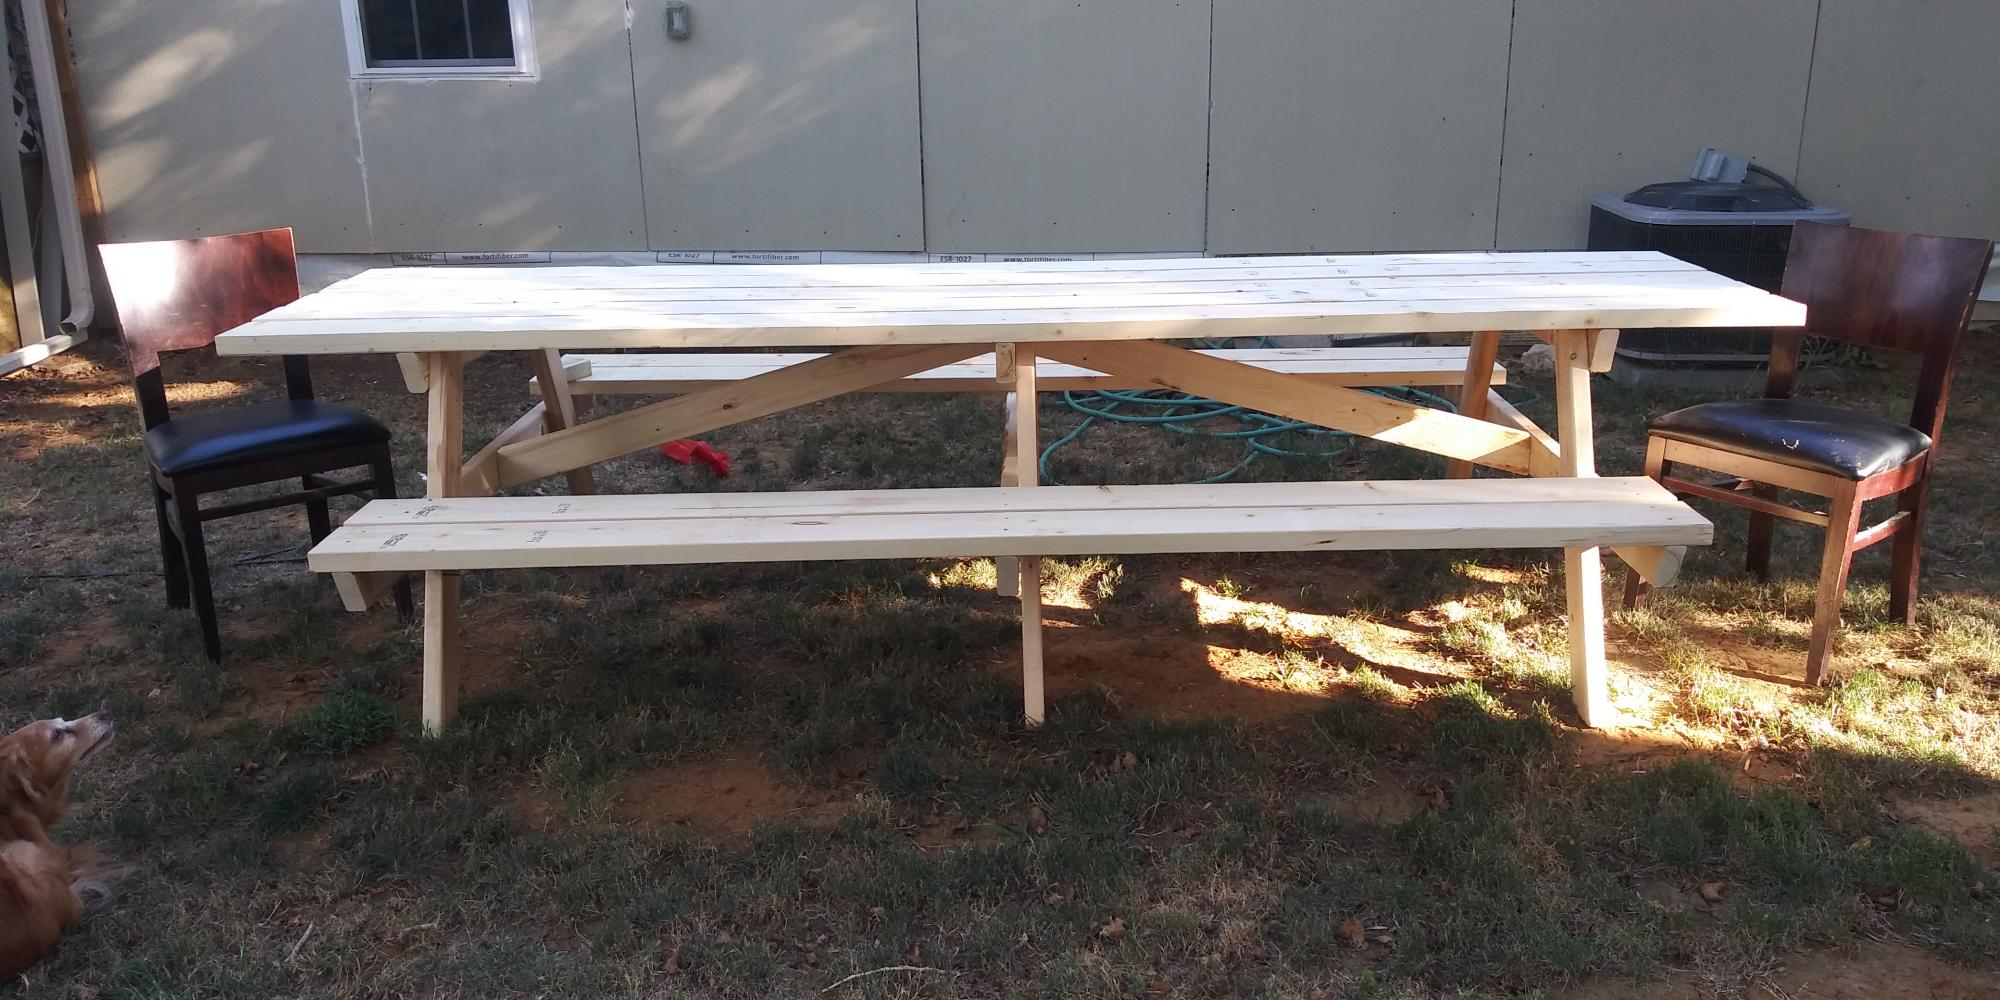
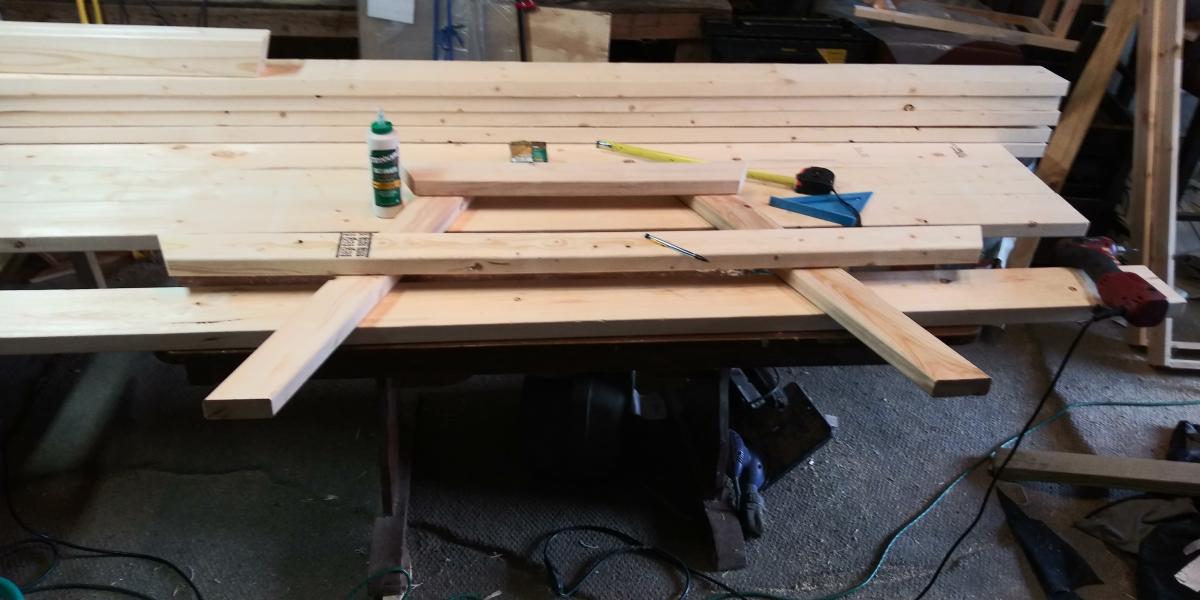
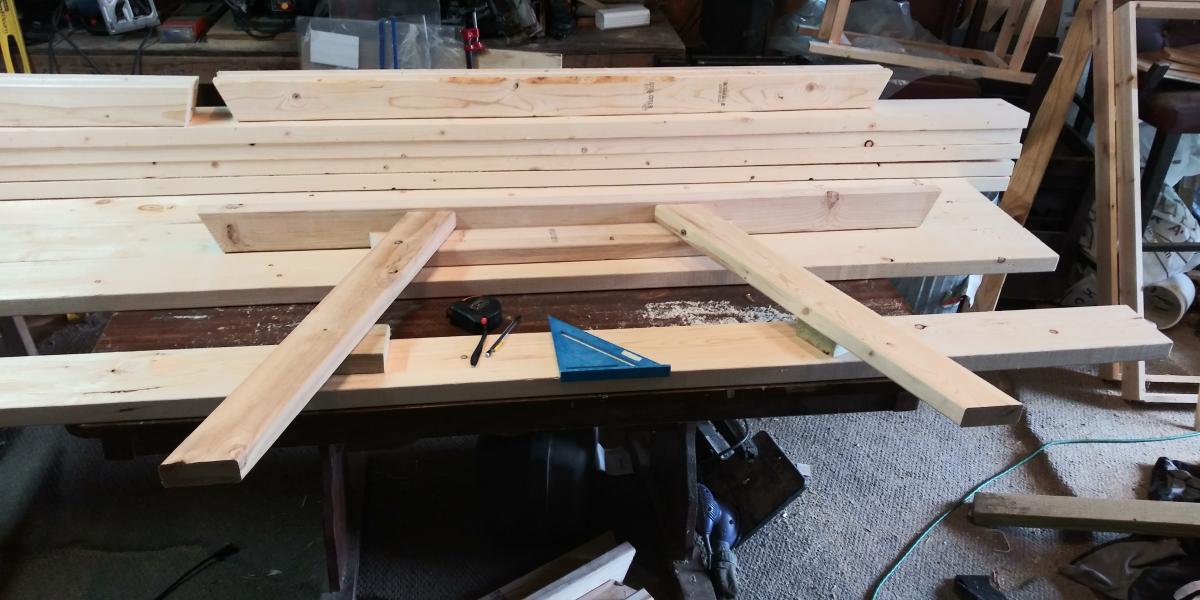
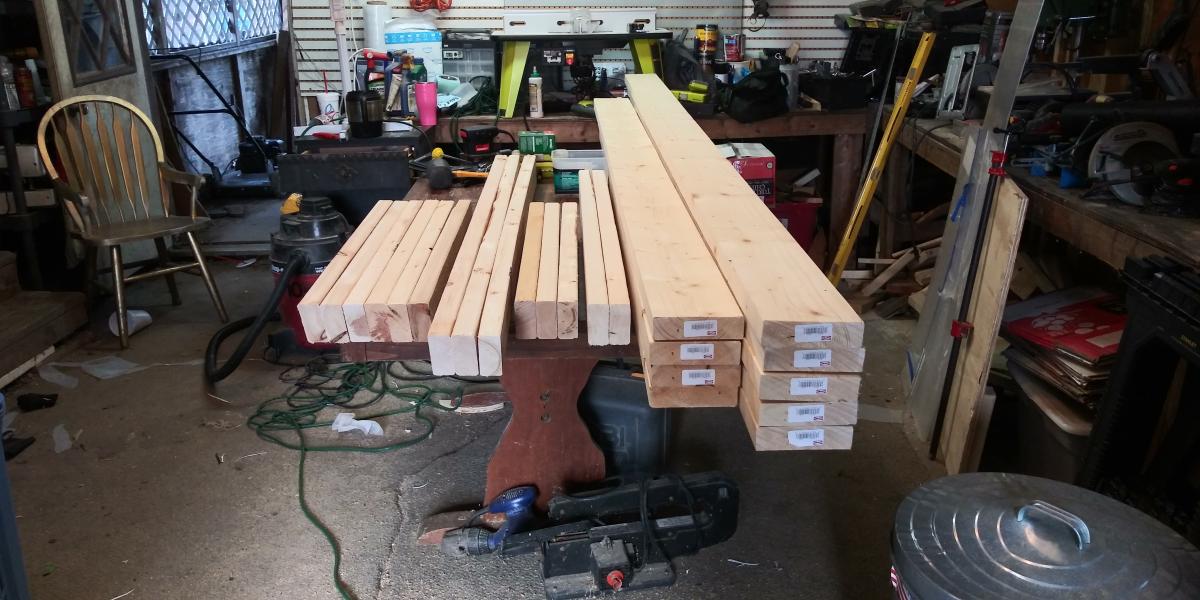
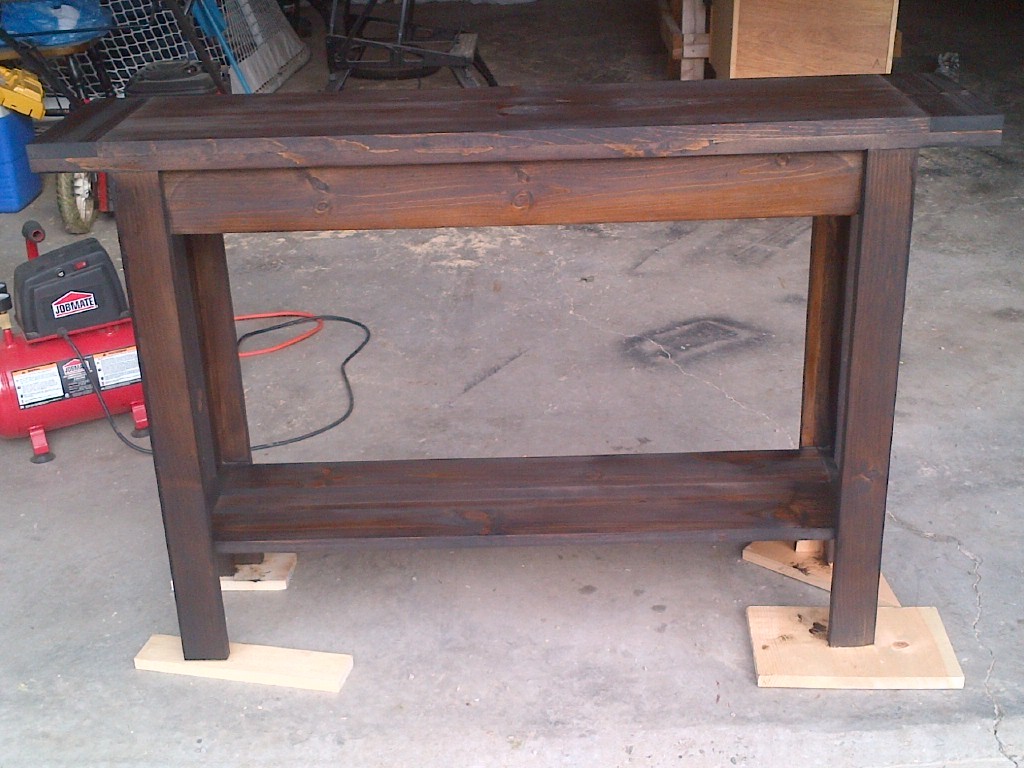
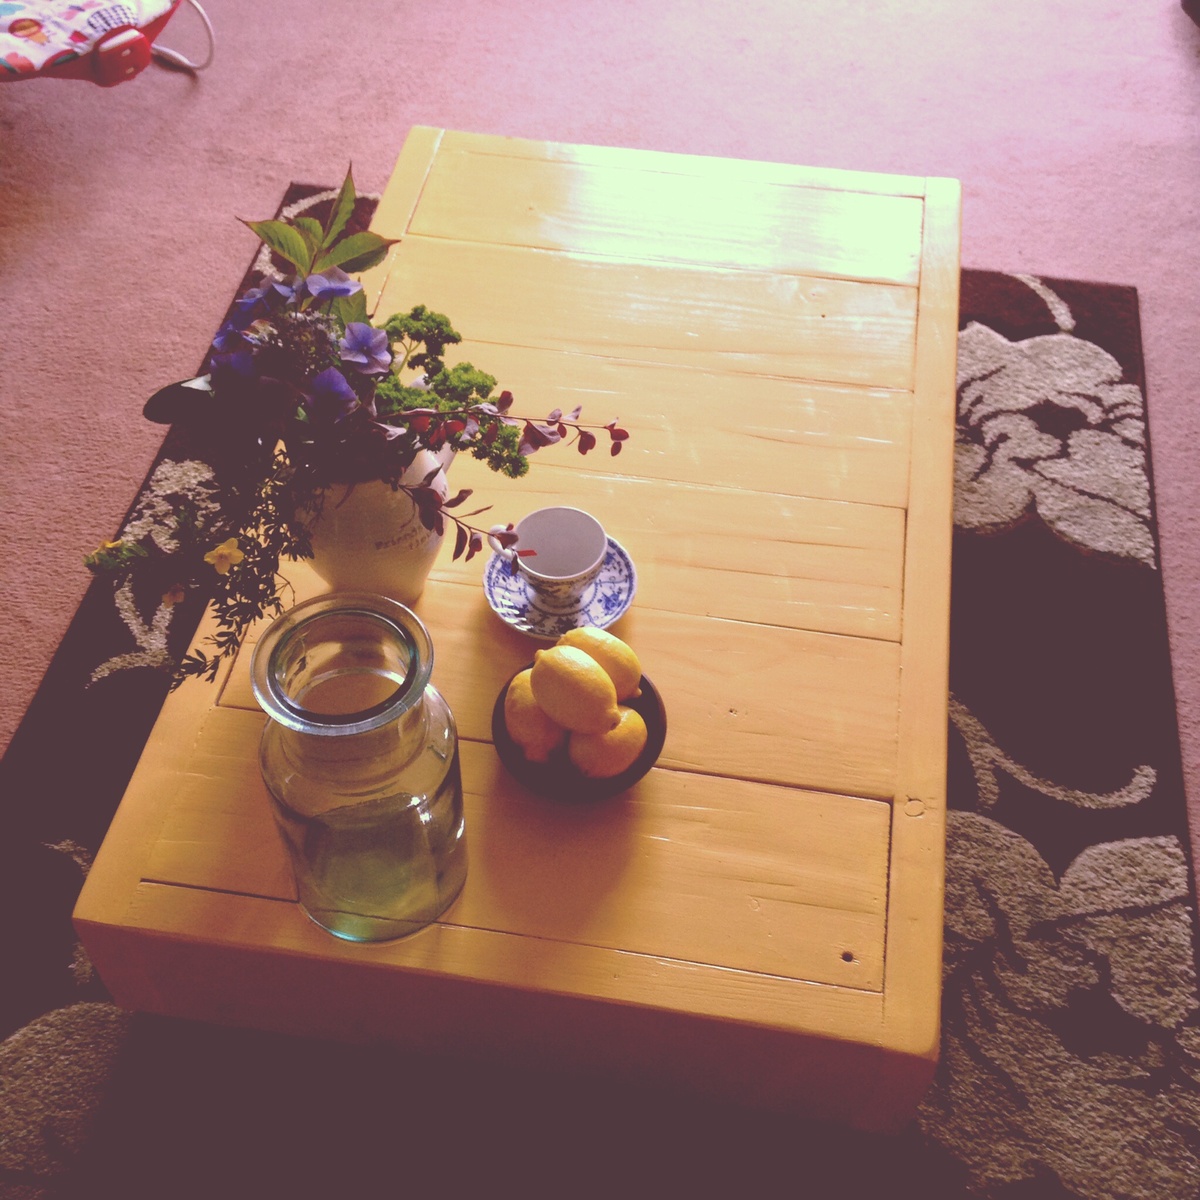
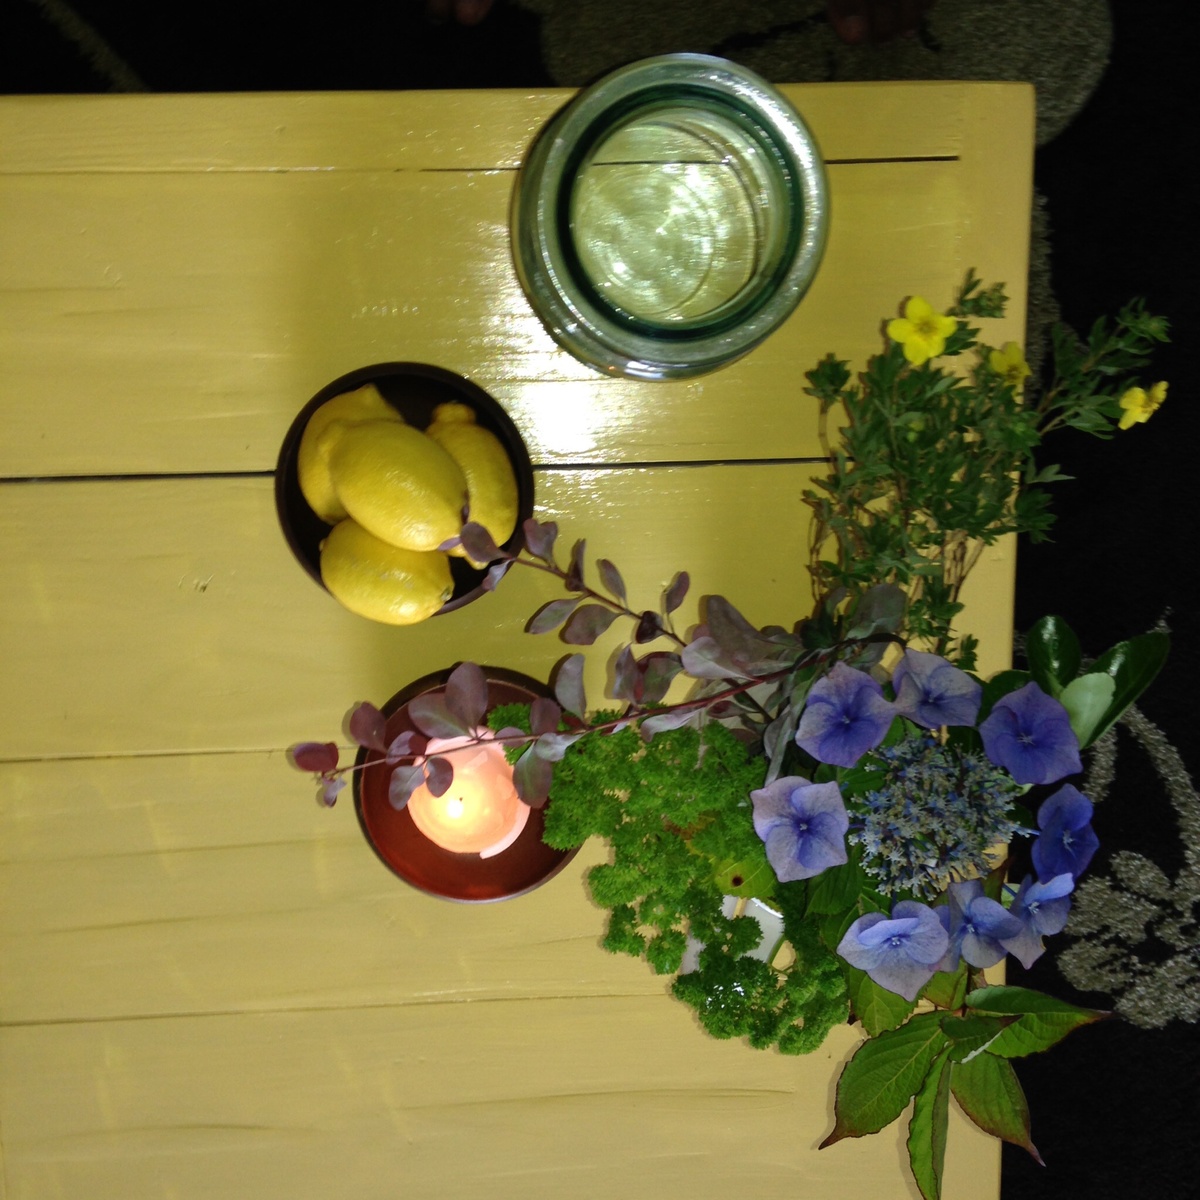
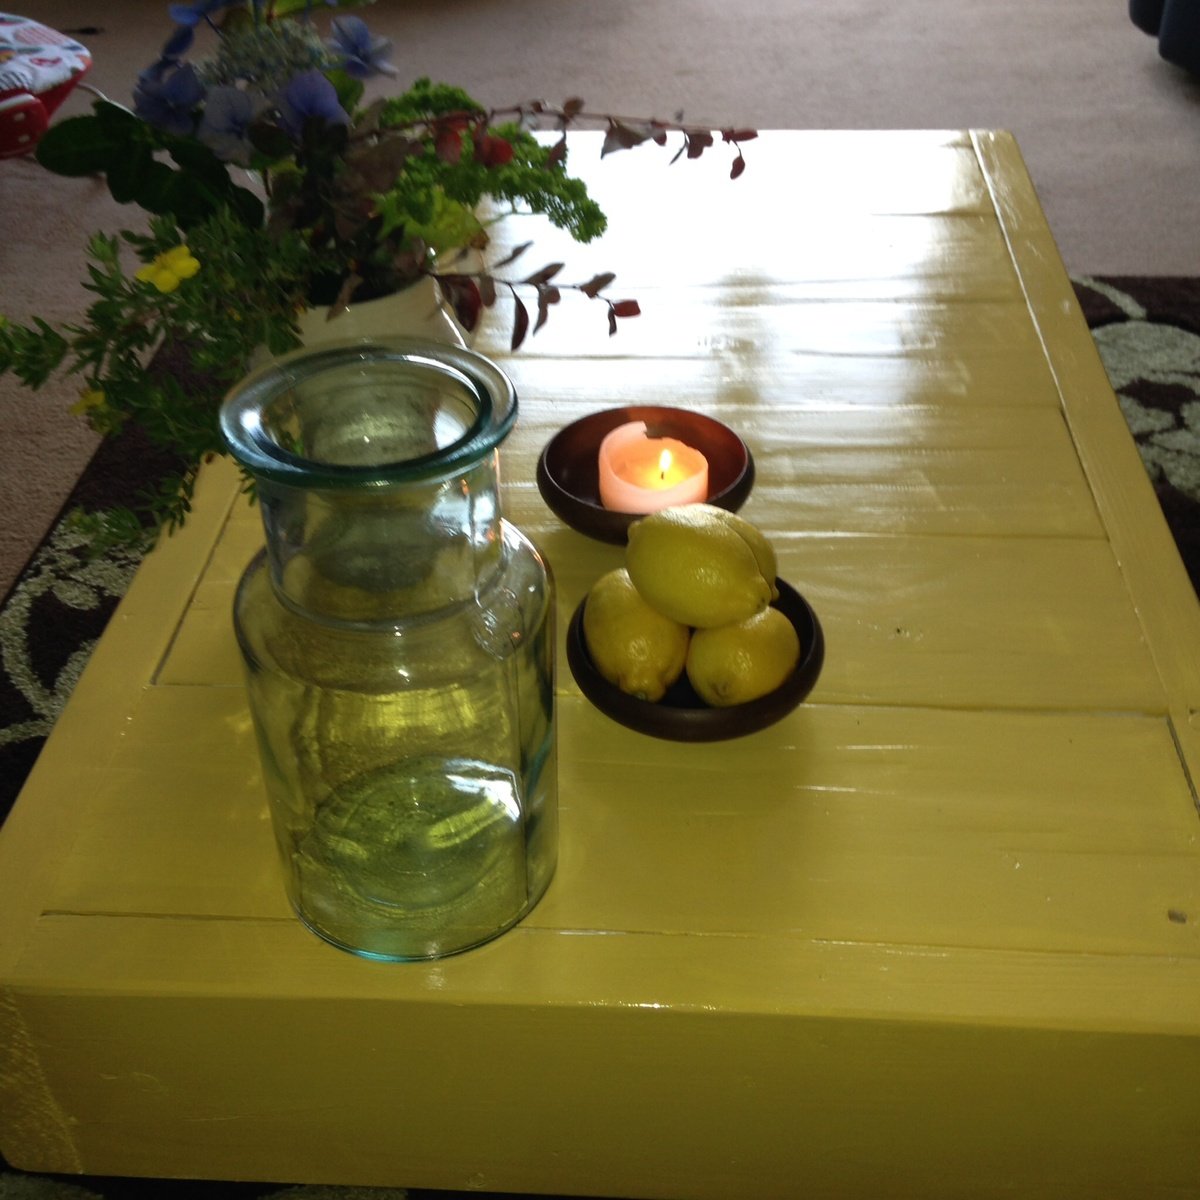
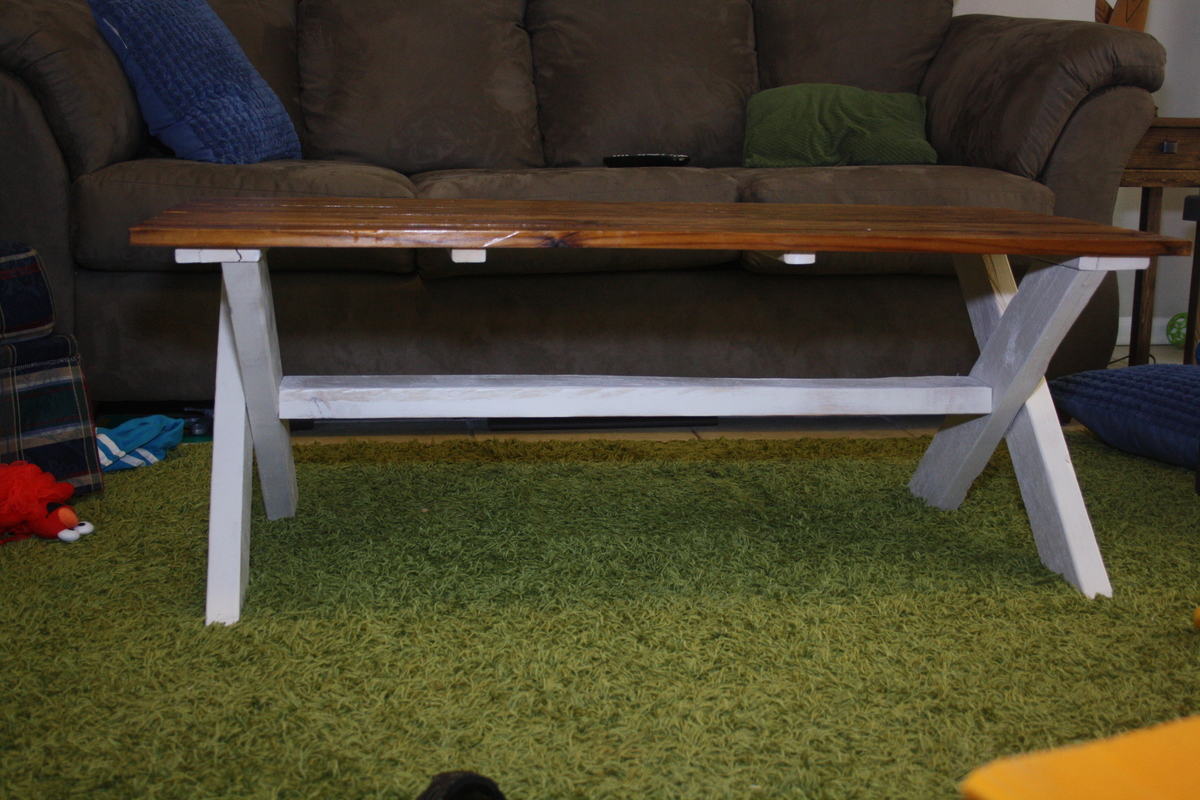
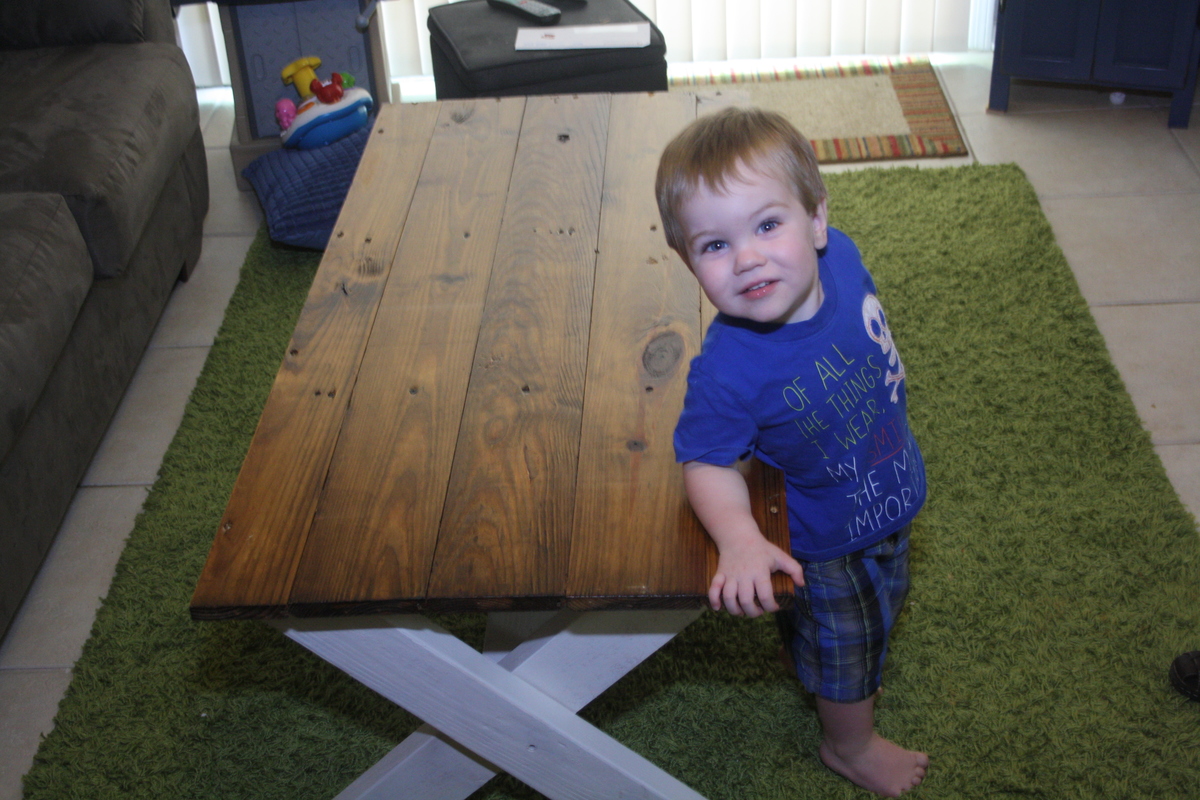
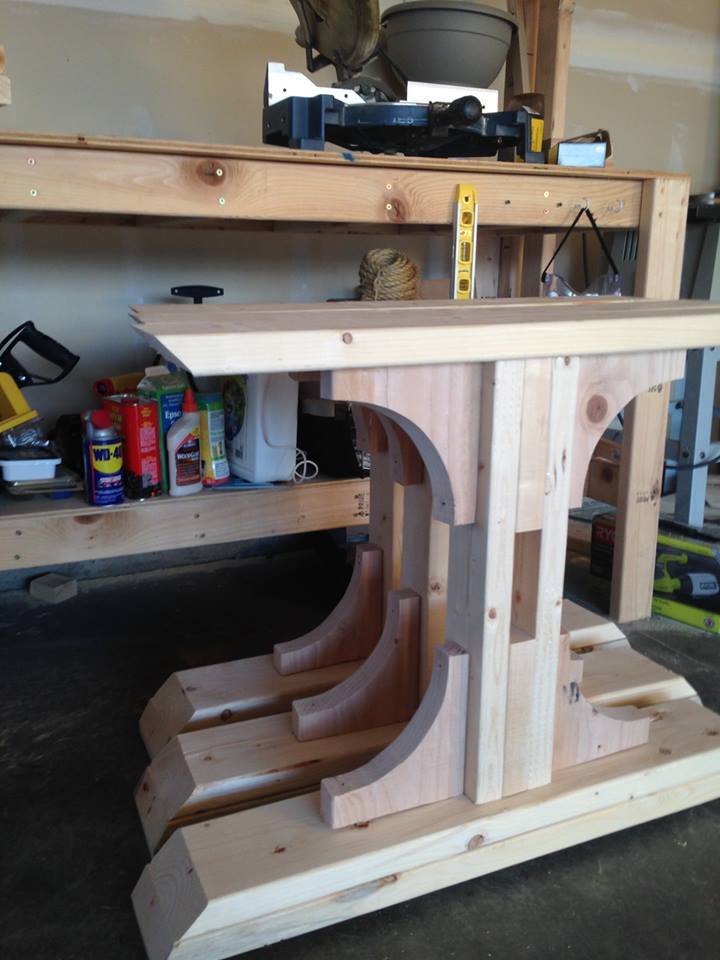
Truss end table
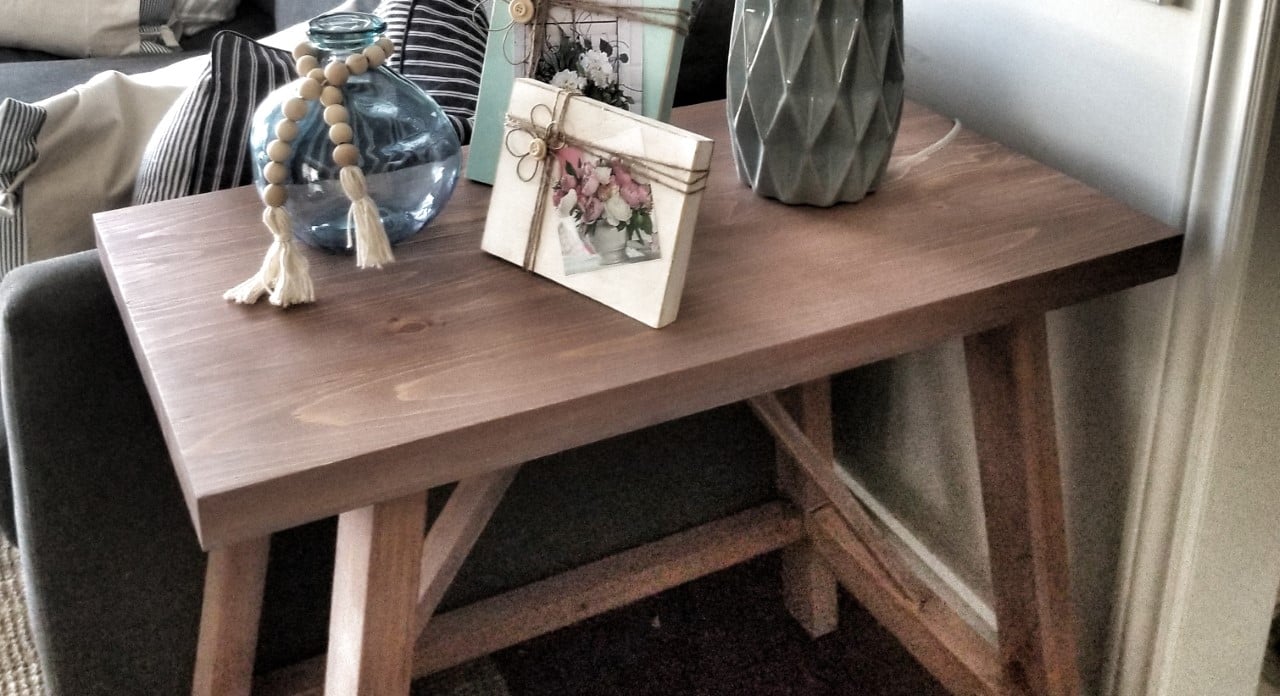
This 2 X 4 truss end table is a fun build. I'm going to make a pair and finish them with a farmhouse finish to use as night tables at the cottage!
We built two of these wood chaise lounge chairs from Ana's plans. We wanted to make sure they could endure the Texas weather so we sanded, primed and painted them. We used wood we had left over from other projects so our costs were limited to screws and chair pads....about $125 (chair pads are expensive).
Tue, 09/25/2012 - 21:56
Love the way you rounded the top of the chair backs. The paint andcushions are quite attractive.
I've been a long time creeper, pinner, favoriter of this site. I finally got a garage sufficient to build. Of course, the first project had to be an actual work bench for the many projects to come.
33" was a bit short for my tastes so I adjusted the leg height to 40". Also half way through my project I realized that my 2x4's were not true 2x4's. This became problematic with the four support beams for the top board. I was able to cut some proper length boards from some backup/emergency lumber. I still plan on figuring out what I want to do with the stain but that was all time allotted for!
These plans are easy to build. Built it in about a day. It was around $100 plus paint.
My first ever building project! I learned a few important lessons: it's really hard to make a straight cut with a jig saw, and you have to use large hinges (the tiny hinges I put on there first ripped right out). It was a great learning experience, the fences really were easy to build, and my two-year-old LOVES them! Now I'm ready for my next project. :)
Mon, 10/01/2012 - 04:44
Use a carpenter's square (shown in the "getting started" section to draw a straight line where you will cut. Now for the secret to straight cuts... line up the blade of you jig saw with the cut line and then slide the carpenter square up to the jig saw base and hold it firm so it acts as a straight edge and make your cut.
I needed a step stool for my son to be able to reach the bathroom sink to brush teeth and wash hands. This plan was exactly what I was looking for. As I do with all first time projects, I built this out of inexpensive pine. It is very sturdy, and holds me without a problem. I routed the edges of the treads, and used 1x3 material for the braces as opposed to the 1x2 called for in the plan. The plan was easy to follow and the cutting list worked perfectly. The most challenging part was creating the curves with the jig saw, but truly wasn't bad at all.
I finished these night stands this past spring. I followed the Kentwood night stand plan from Ana-White, but made a few design changes. I decided to arc the doors to give the tables a little more character. The material I chose was 3/4" pine. The table bases are finished off with 3 coats of Sherwin Williams paint, and the tops are walnut stained with 3 coats of poly. The contrast between the base and the top came out great, the stands look beautiful in our bedroom and offer lots of storage.
Modified this to use plywood sides shelves with glued up pine top and poplar legs.
I was inspired by Ana's 4 Hole Cubby Bookshelf and a bookshelf I saw on line one night. So I incorporated the two somewhat. I took stair parts for the corner legs and connected them to form a frame with 1x3 on the bottom and 1x2 around the top. Then installed the inside side walls such that the ends are inset. I added a top with an inch or so of overhang on the sides and front. I also made the two shelves adjustable with my new Kreg Shelf Pin jig. It was so easy and accurate. Dimensions are about the same as the 4 Hole Cubby but I admit I winged it at times. Came out very nice and now the wife wants to add another shelf and I think there is plenty of room.
Fri, 10/05/2012 - 04:50
If you have not noticed I put the top on facing the back of the bookshelf. How stupid can I be? I'll answer that question. I am often stupid but at least not dangerous. I will add trim to the front to hide the stuff I don't want you to see and then post a new photo.
I used Ana's Gaby Kitchen Island plans and shortened the island to fit our small kitchen. I did not have reclaimed wood, so I used a vinegar and steel wool solution to transform the fir and pine into a completely unexpected look. For the top, I trimmed the edges of the 2 x 6s with my table saw to get a smoother top surface, then routered the edges with a 1/2 inch round over bit (thanks Steve Ramsey). I used white pine down the middle to make up for the edges I removed which looks like a cool custom stripe. (I also used the white pine for the side supports so hopefully there's some cohesion.)
Thank you Ana for the inspiration and great project! Can't wait for the next one :)
This was my first ever time building anything, even though I've wanted to for a really long time! It was great! I love this website. Wish I had a nailgun at the time I did this project, but I did get one after I realized how much I love carpentry. Thanks Ana!
Sun, 09/17/2017 - 20:49
How did you attach rails? I still cannot figure out the best way to do it...
The 8' picnic table plans are great for a family of 8 or less, therefor the only changes that I made to the original plans was to use 10' boards for the table top. I centered the the table boards on top to allow for an extra chair on each end for more seating spaces.
Another alternative with the 10' table top boards would be to slide all of the excess footage to one end of the picnic table to make room for someone in a wheelchair. The original plans are great and turn out just like you would like but don't be afraid to modify your work!
Built from plans from diyPETE.com.
One day project (another day for poly)
Fun and easy build. Took ~4h all in.
We're expecting a baby in November and we picked this as our first Nursery Decor project!
We were originally inspired by the Letter Z project we found on here on Ana's site. So we went ahead and made our own design on google sketch-up. It was a good first project for us to learn how to use Google sketch-up (although we still aren't very good at it).
We wrote about building the project on our blog here: http://thehuth.blogspot.com/2012/10/brought-to-you-by-letter-h.html
This was a fun project and we love the way it turned out!
I've been meaning to build a coffee table for a few months now. About a month ago we received a hutch from some family friends. The back of it was made of 3/4" tongue and groove boards. So, I used those boards to make the top of the table and a couple of 2x4's to make the base. It's got a cool rustic feel that goes really well with the beach chic design that we have in our living room. For the design i really liked the look of the x picnic table, so I modified it for a coffee table.
I modified this plan slightly in how I attached the legs to the table top. I put screw inserts into the bottom of the table so I could screw the legs in and not worry about the wood stripping. We move often and I can't move the whole table assembled. Also, I haven't secured the cross beam, so this table will completely flatten and be easy to pack.
Water/ Sand Table inspired by your build