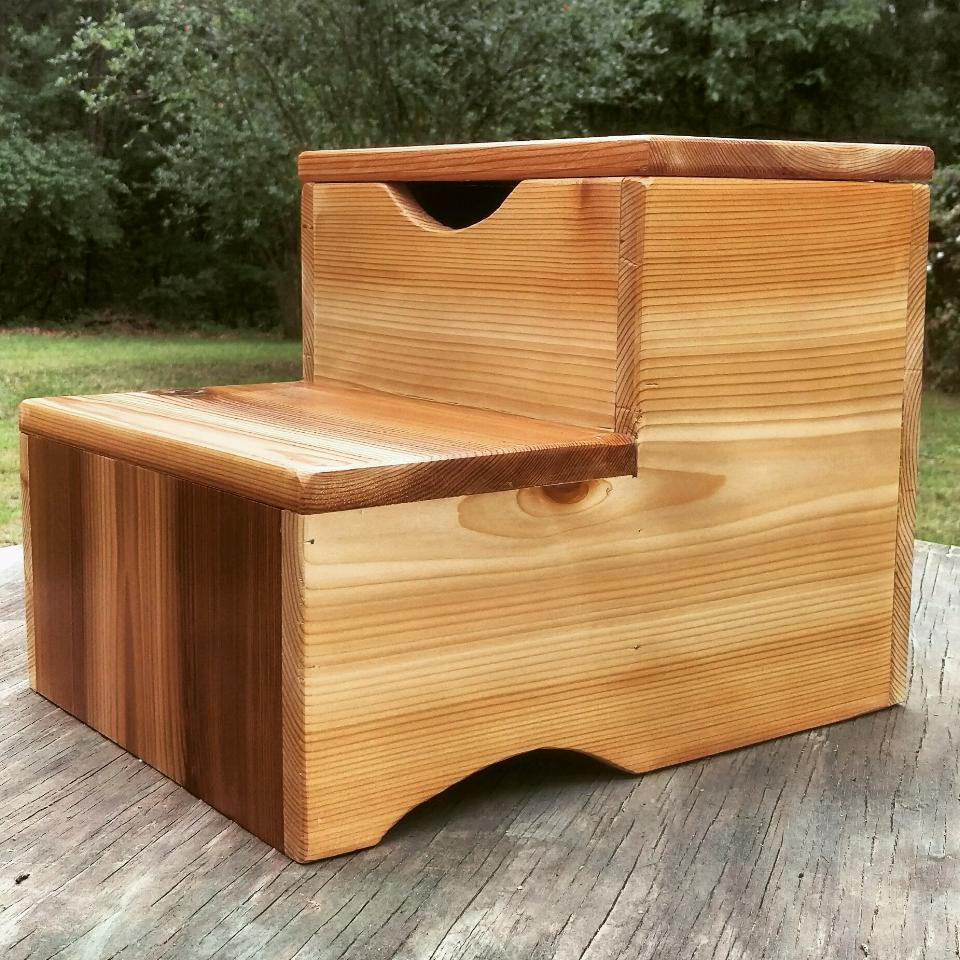
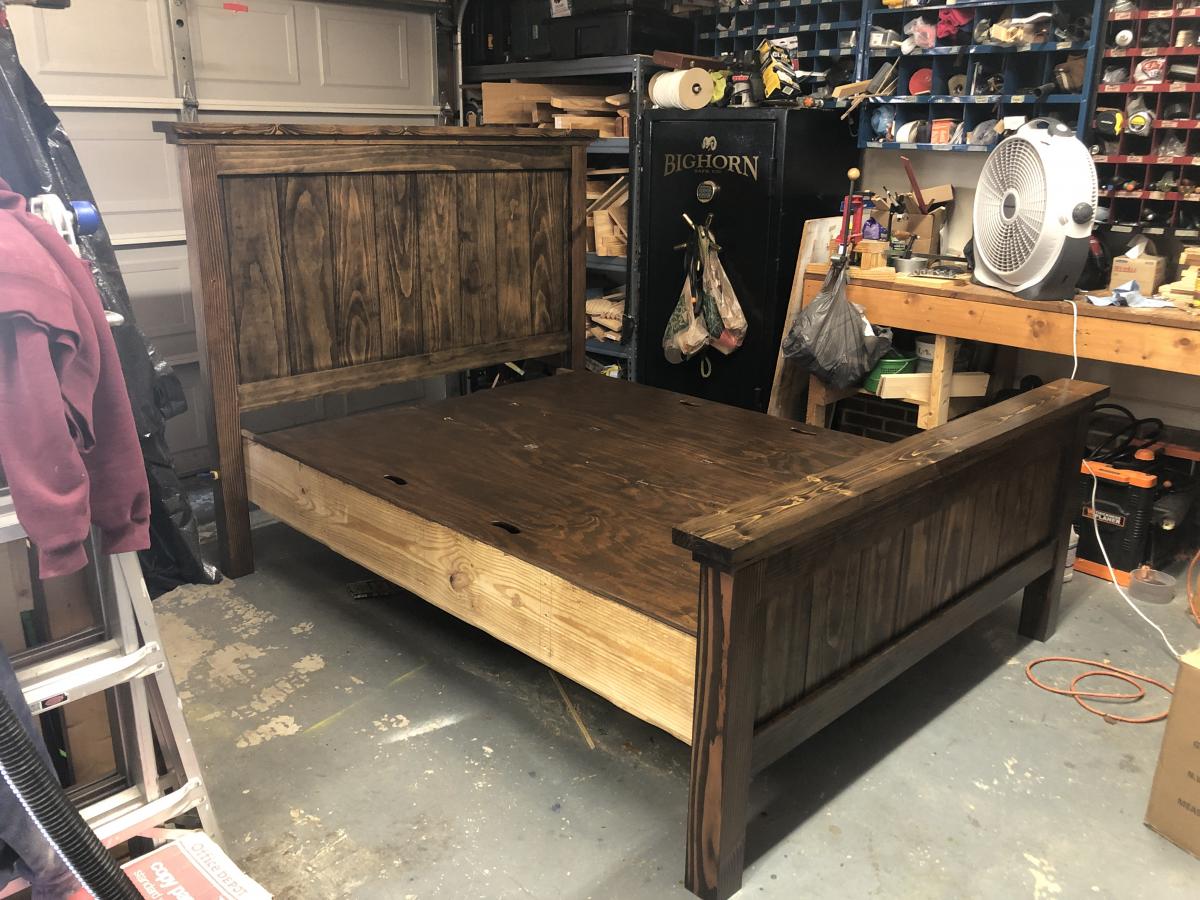
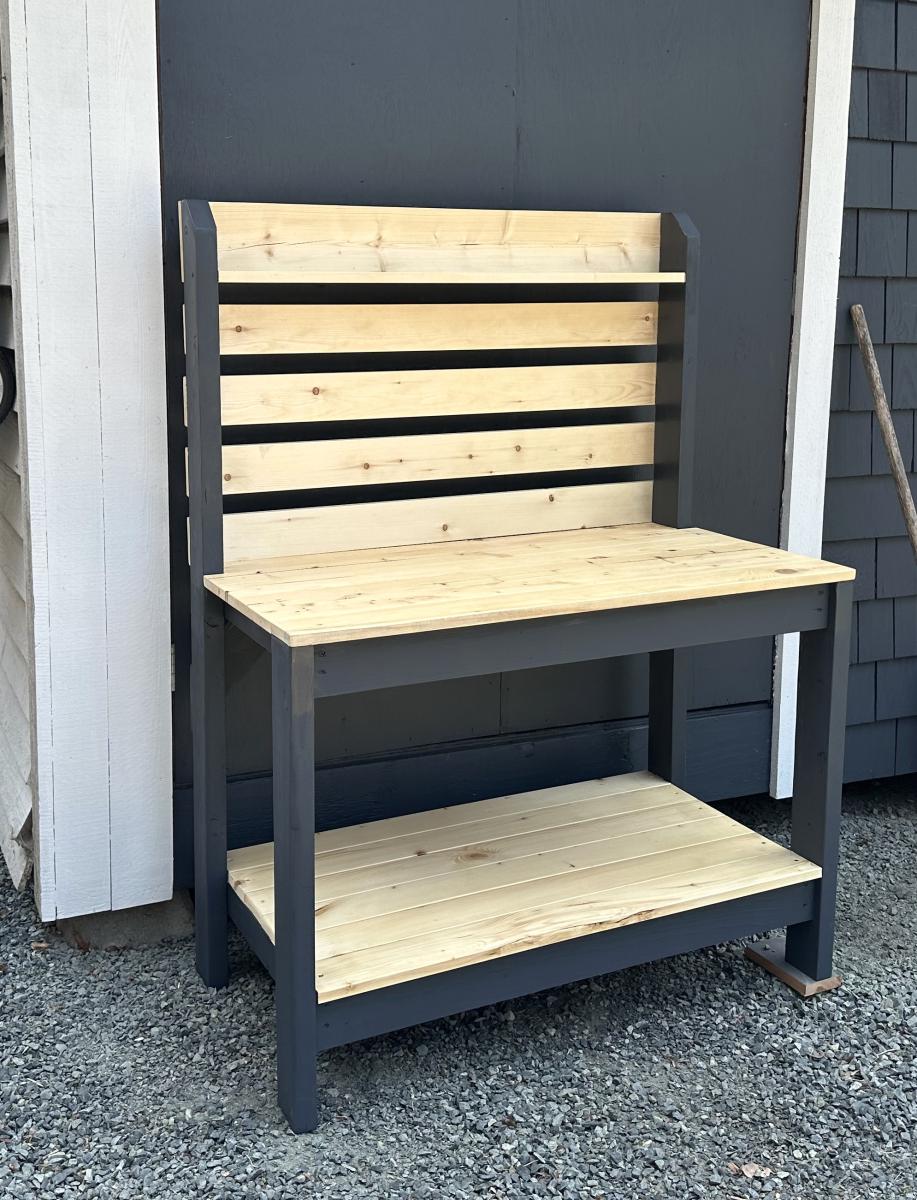
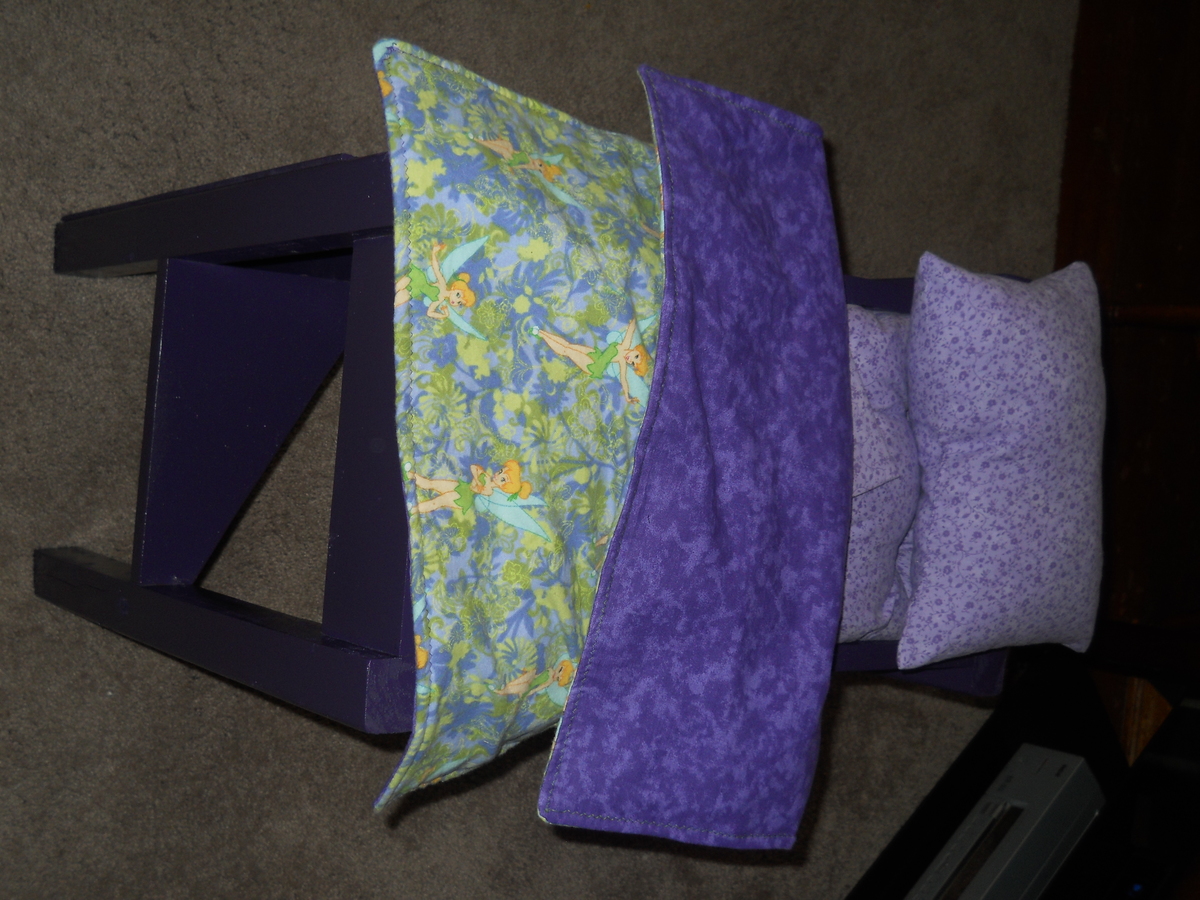
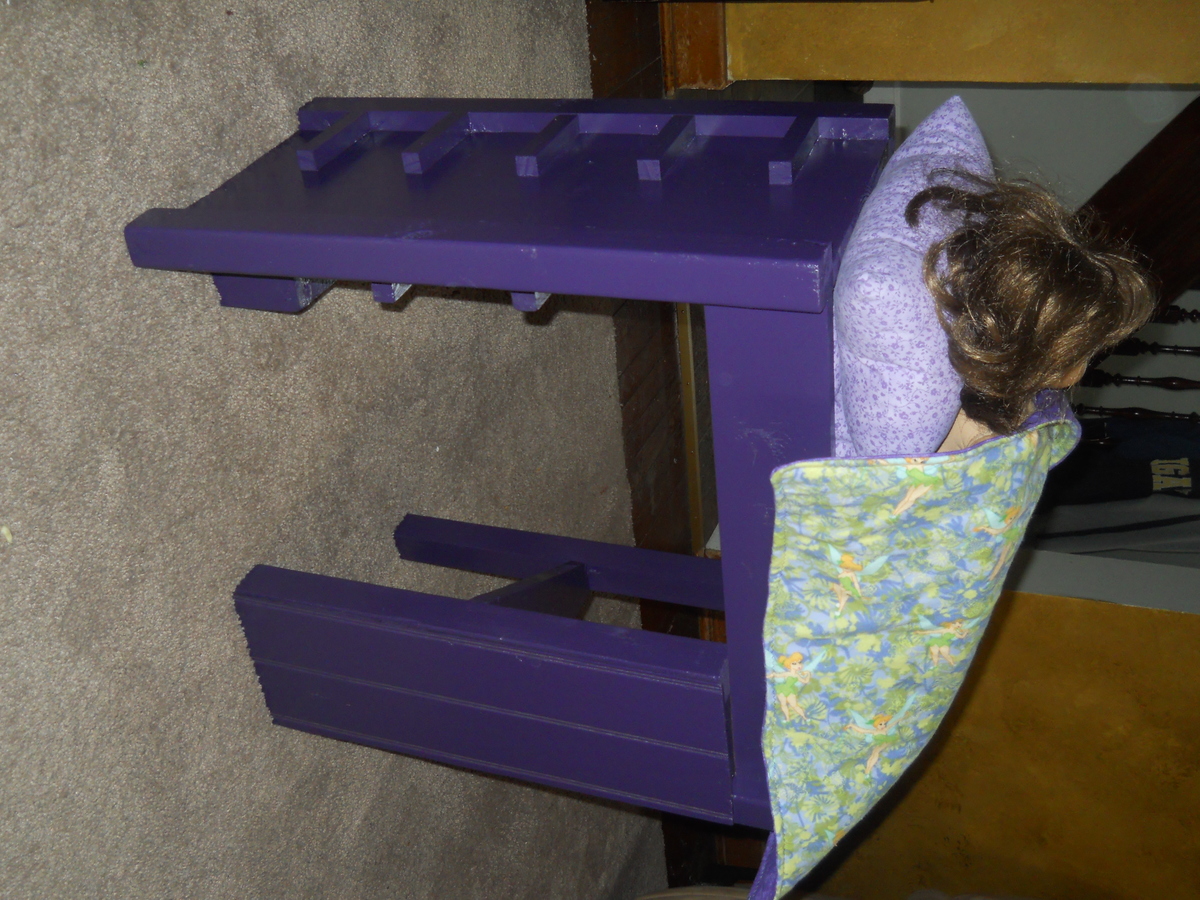
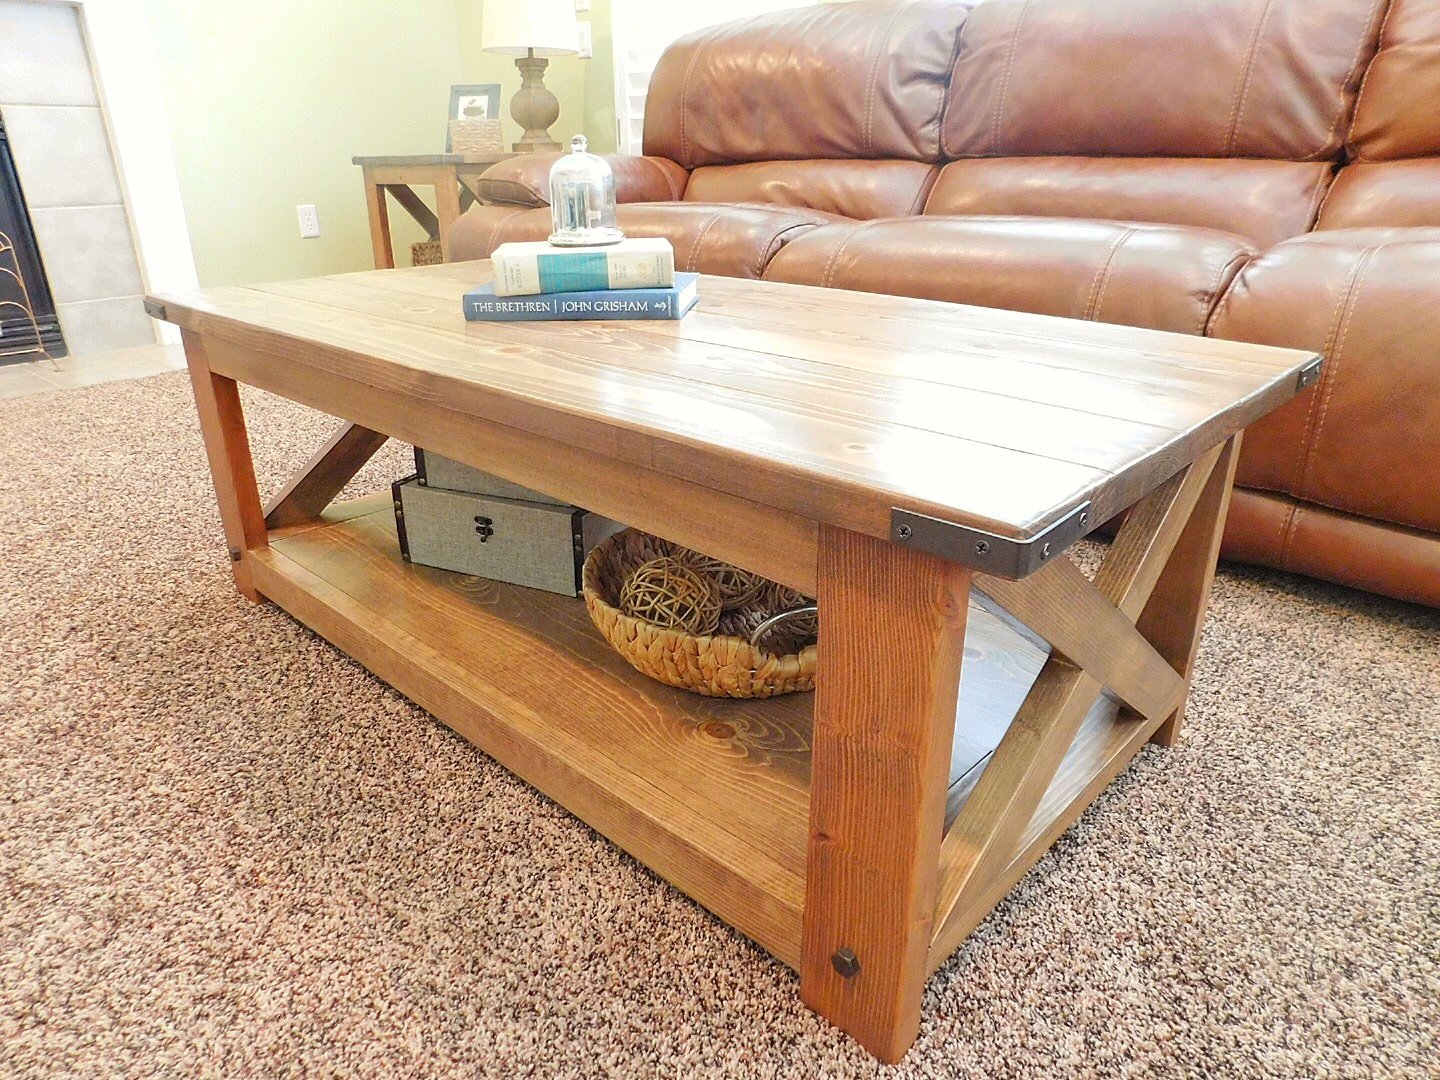
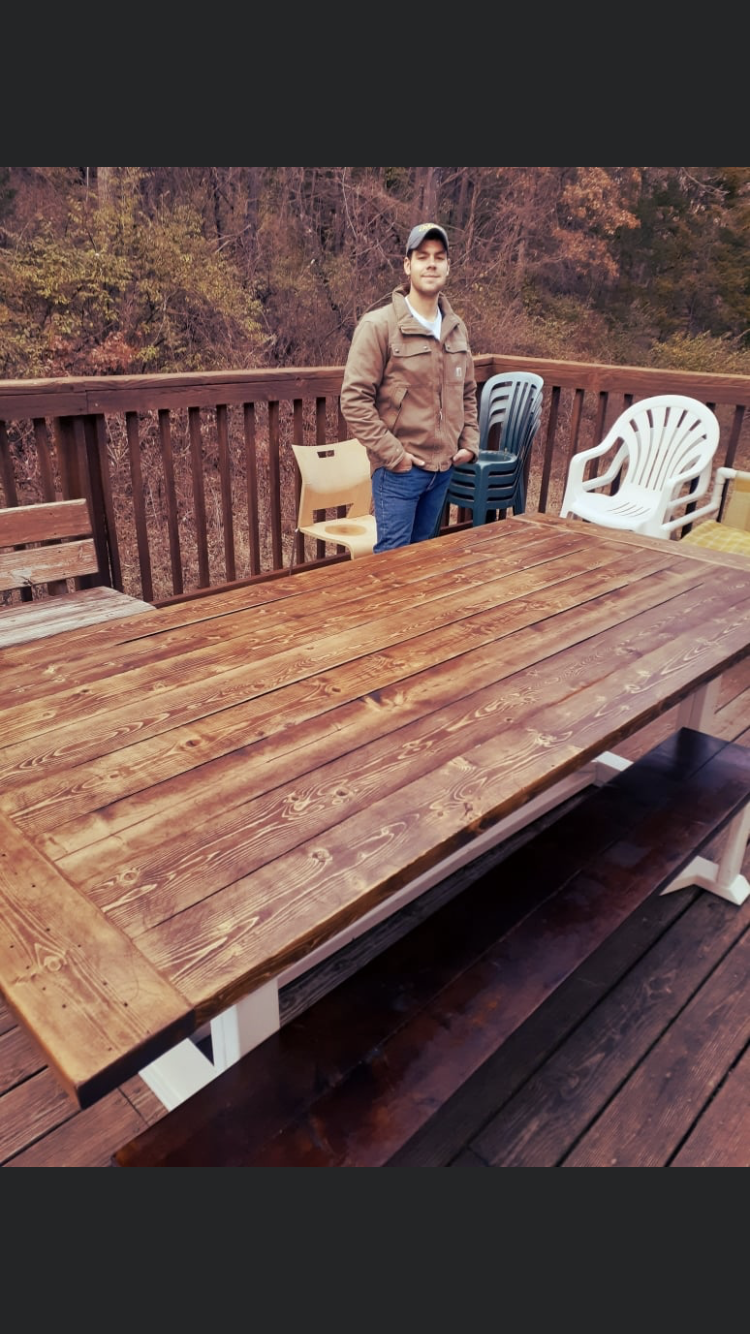
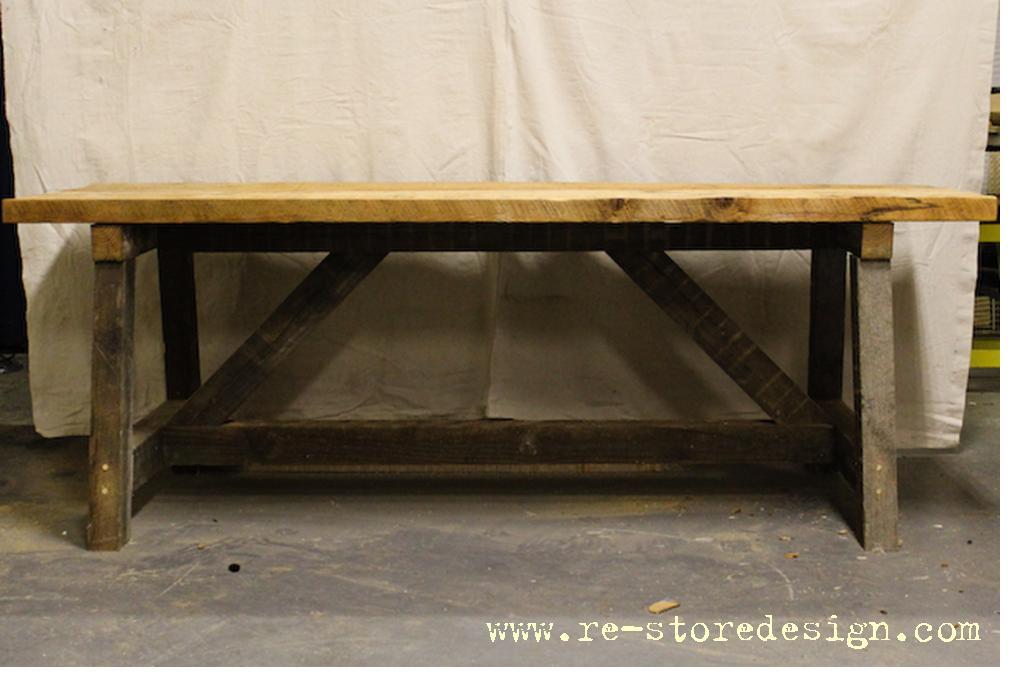
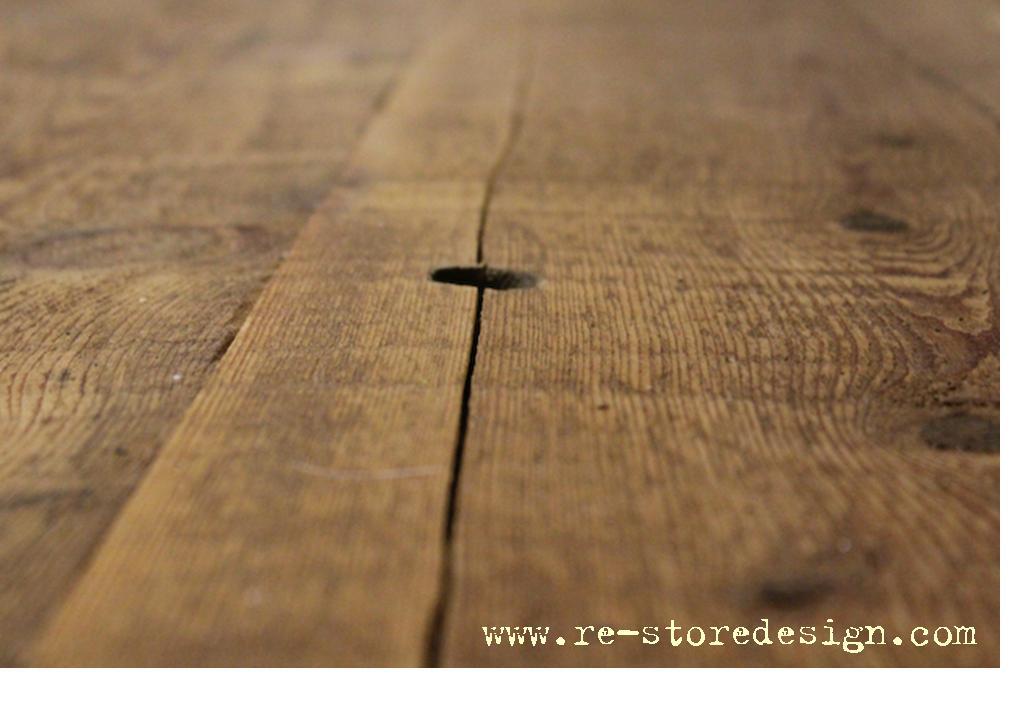
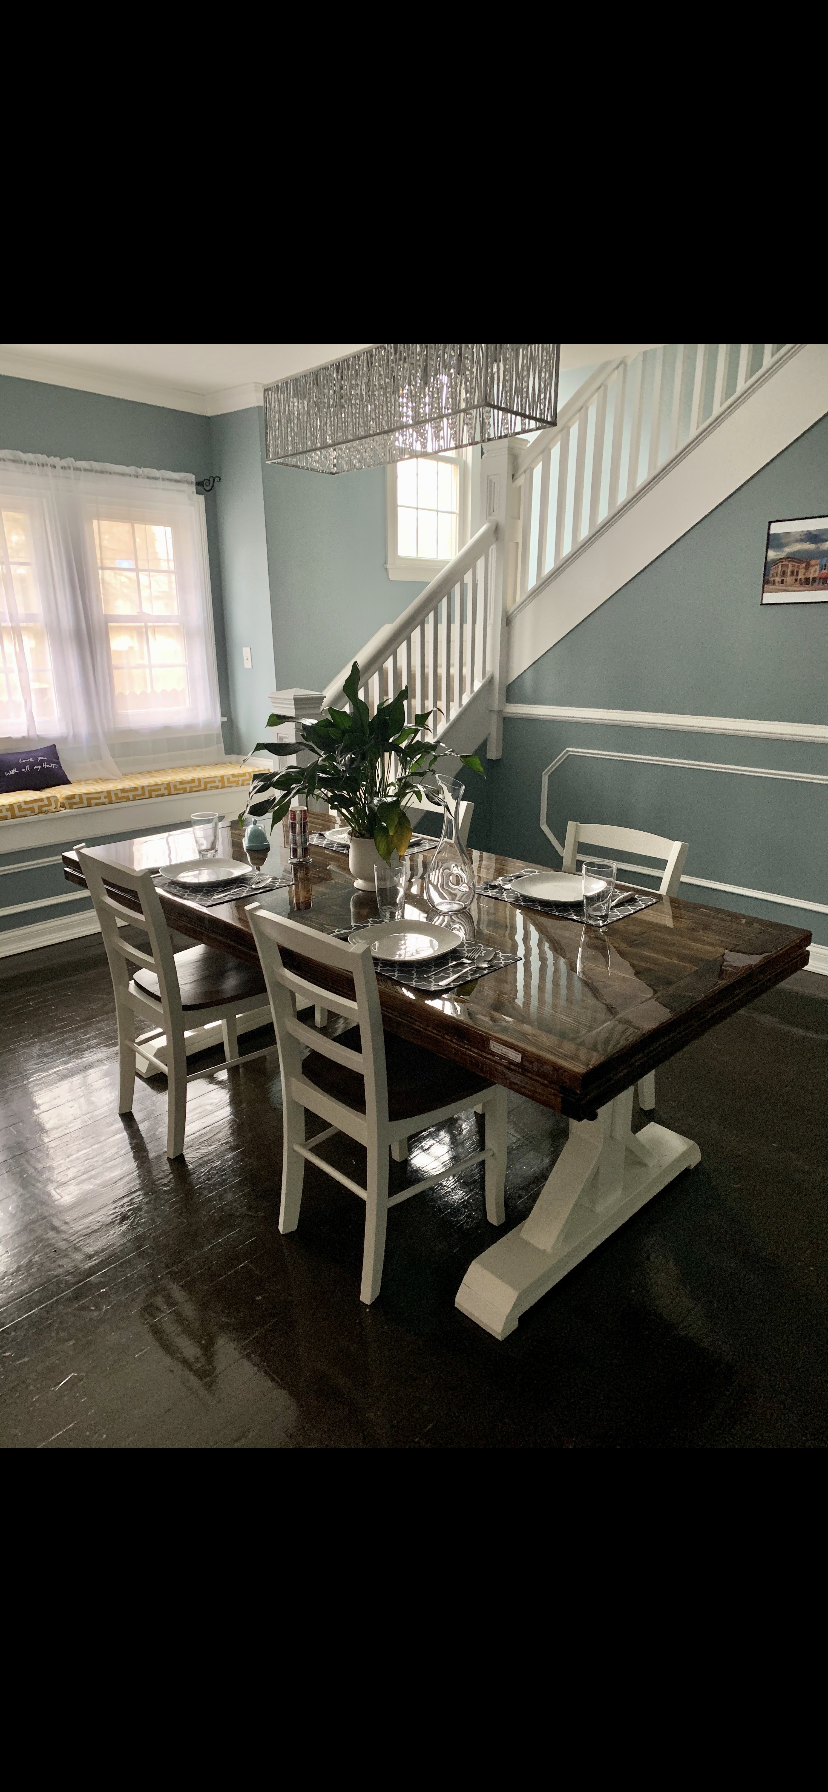
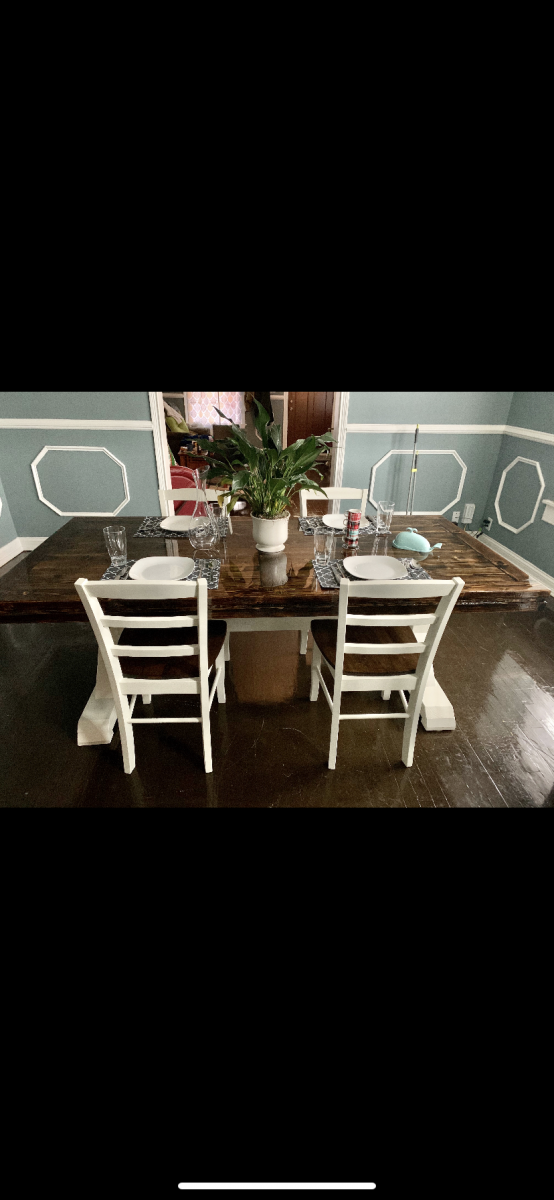
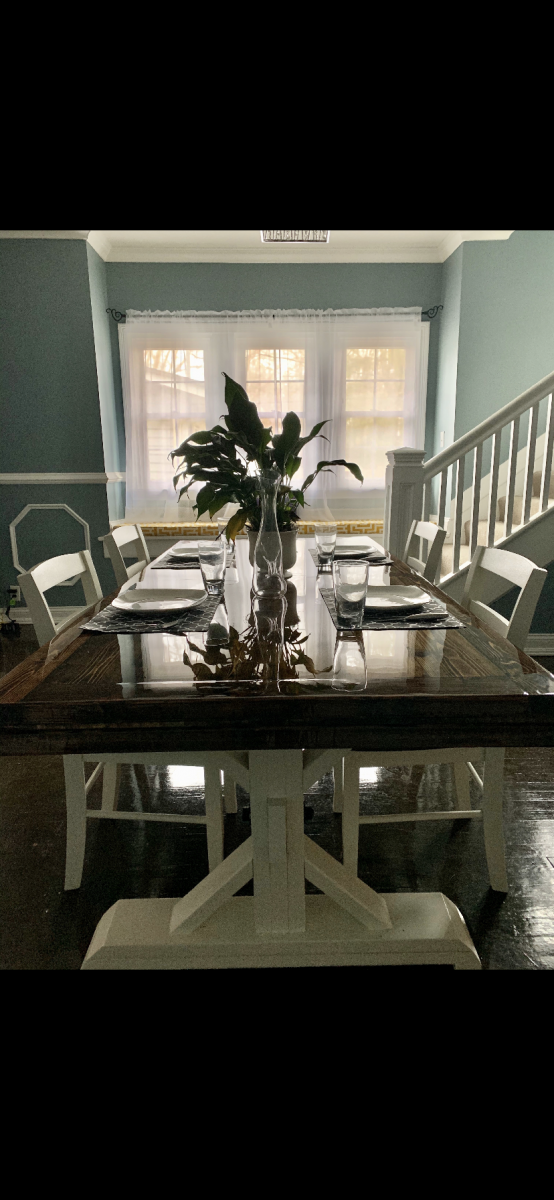
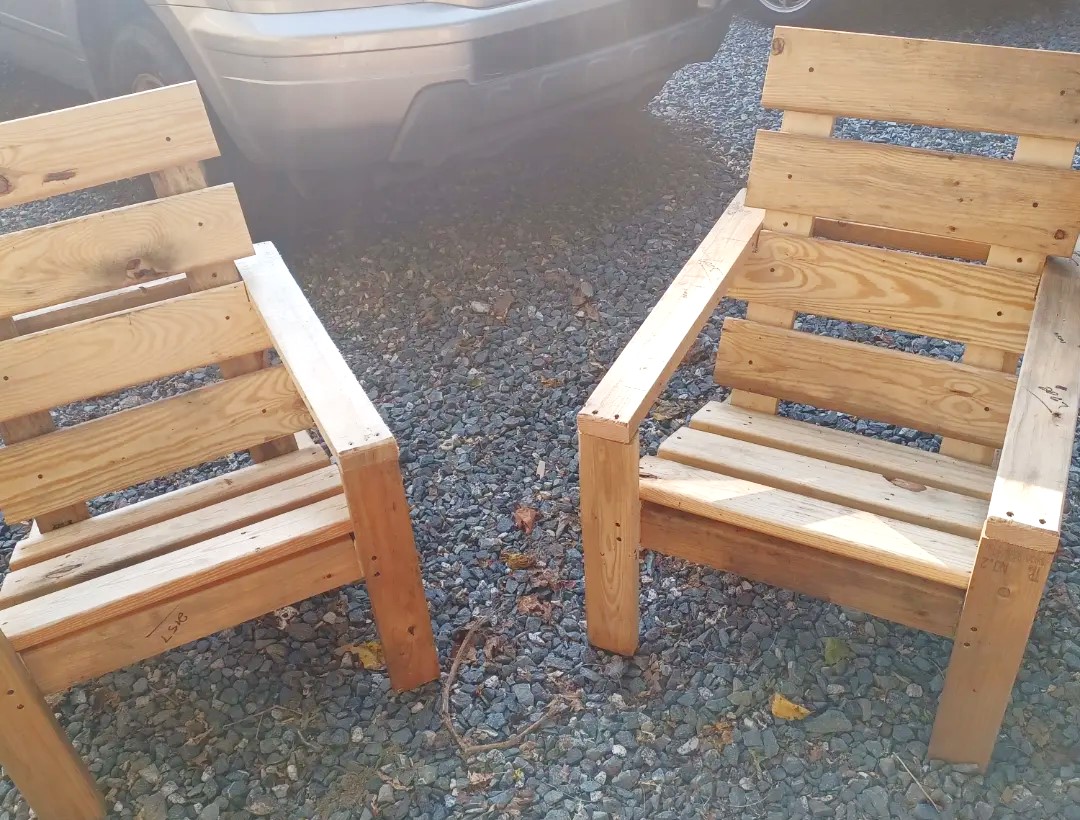
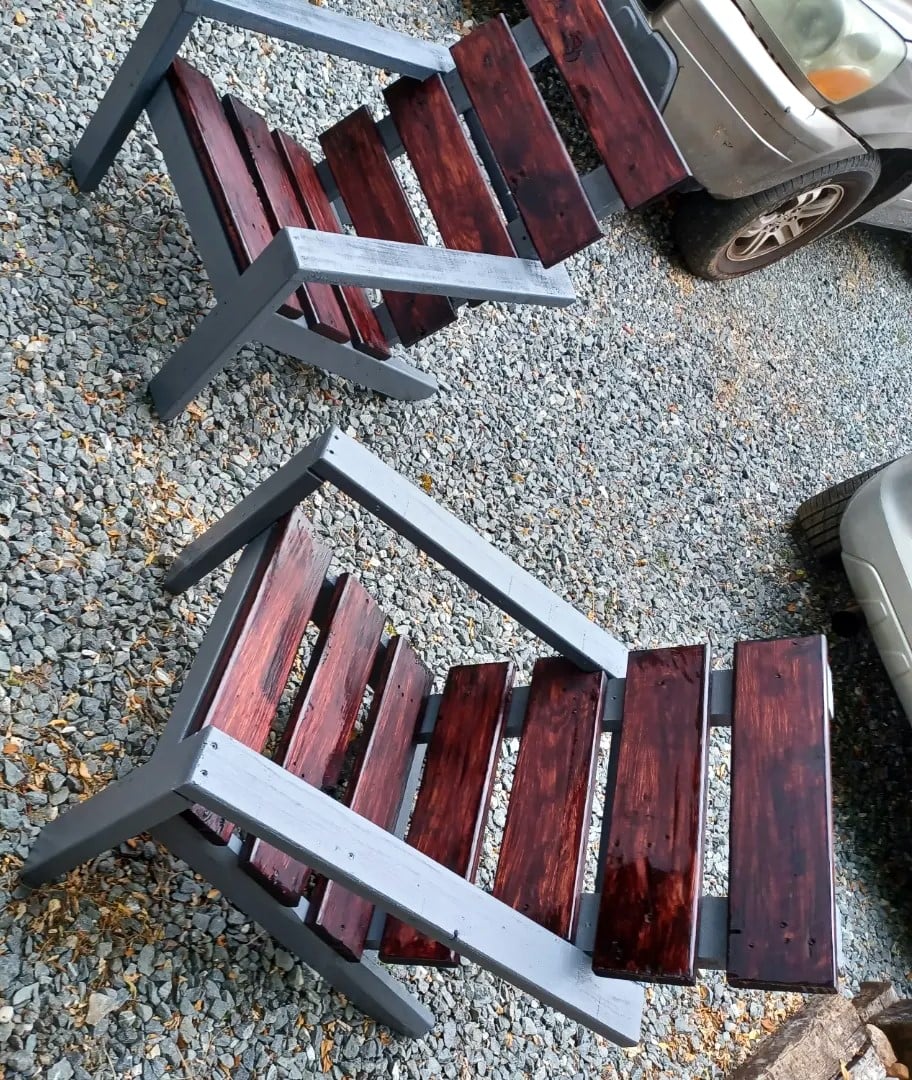
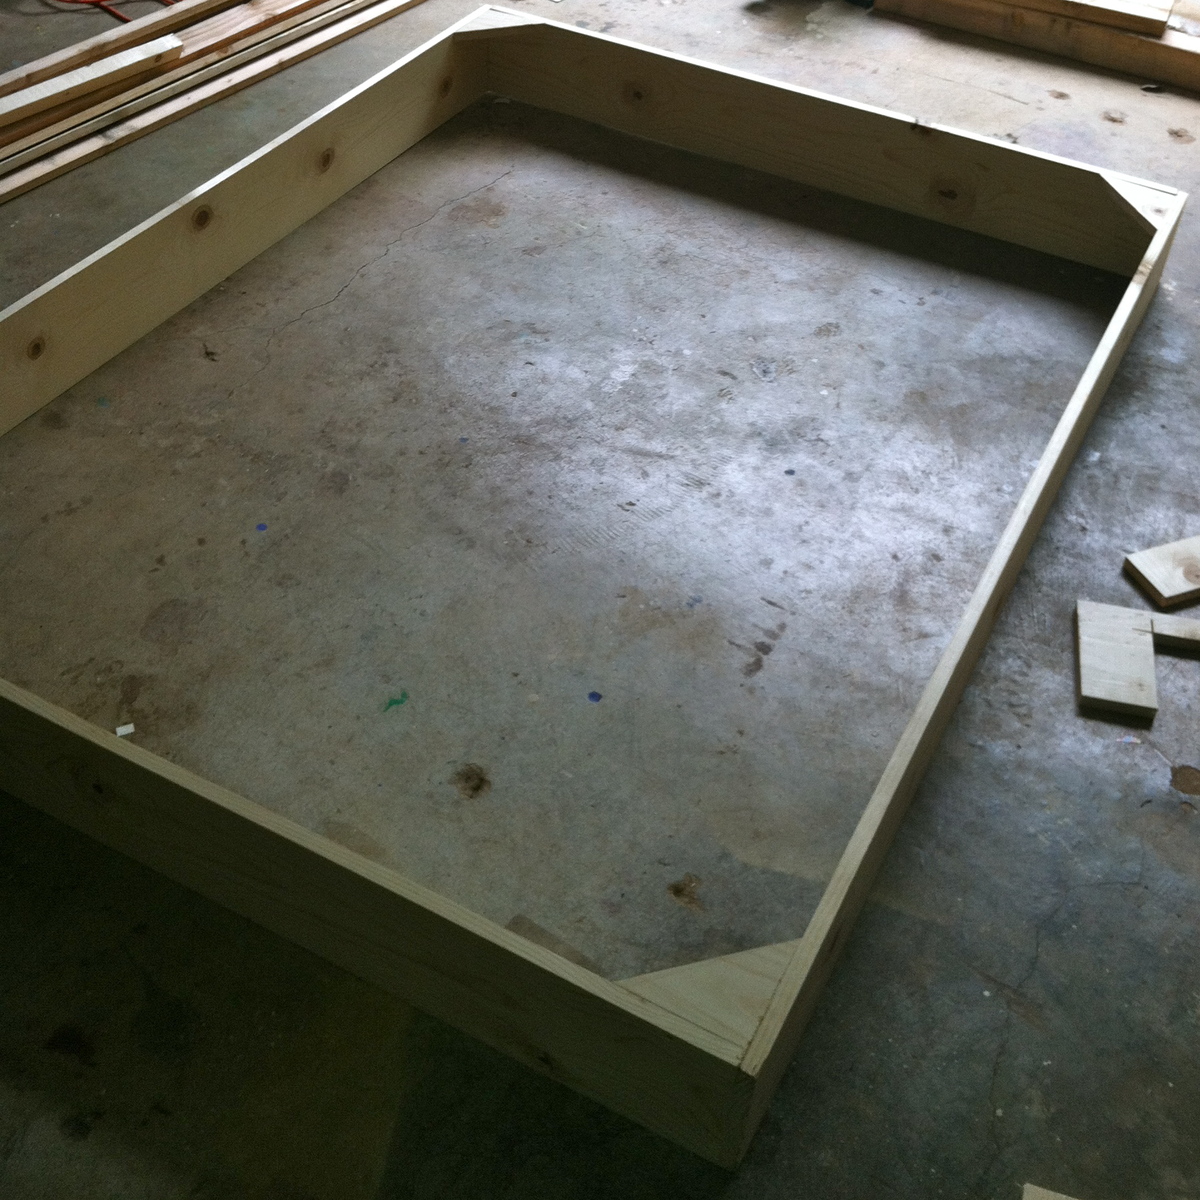
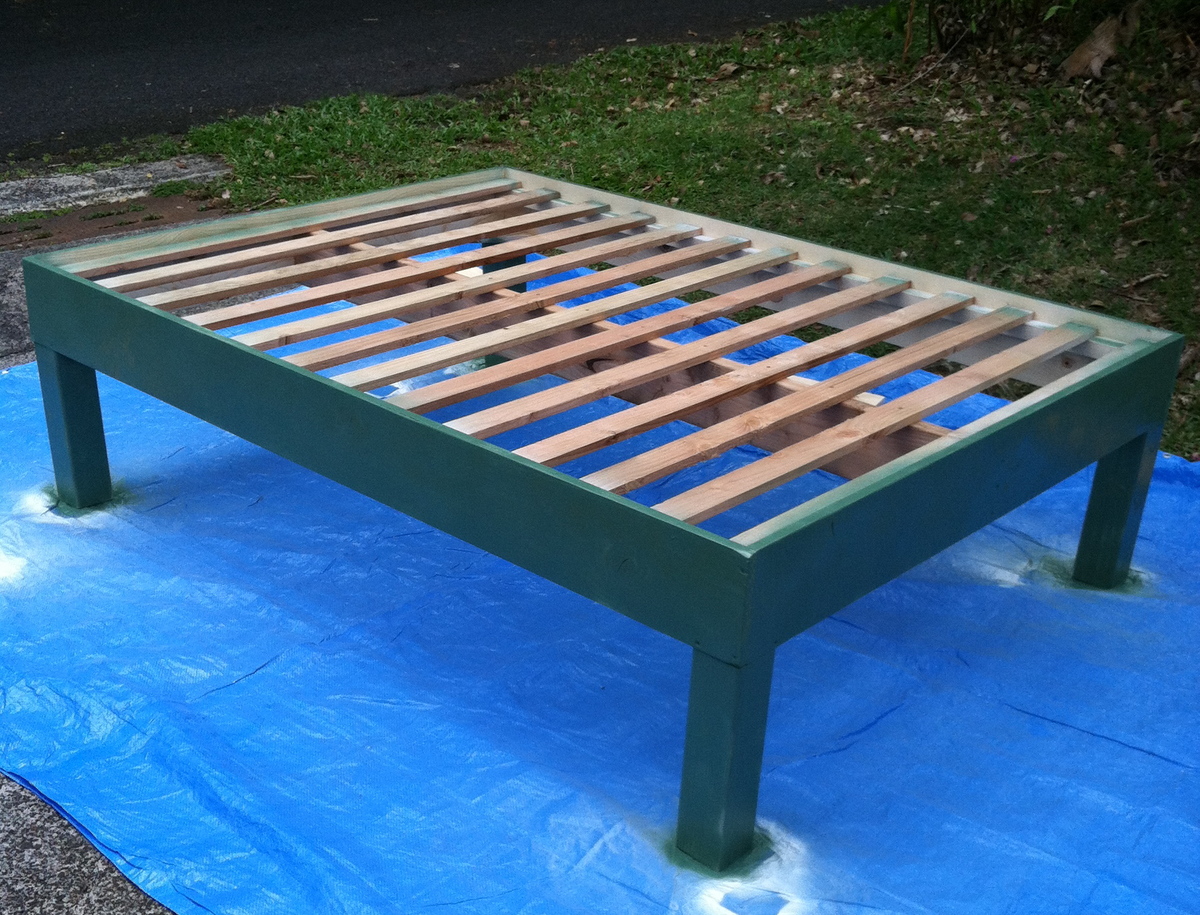
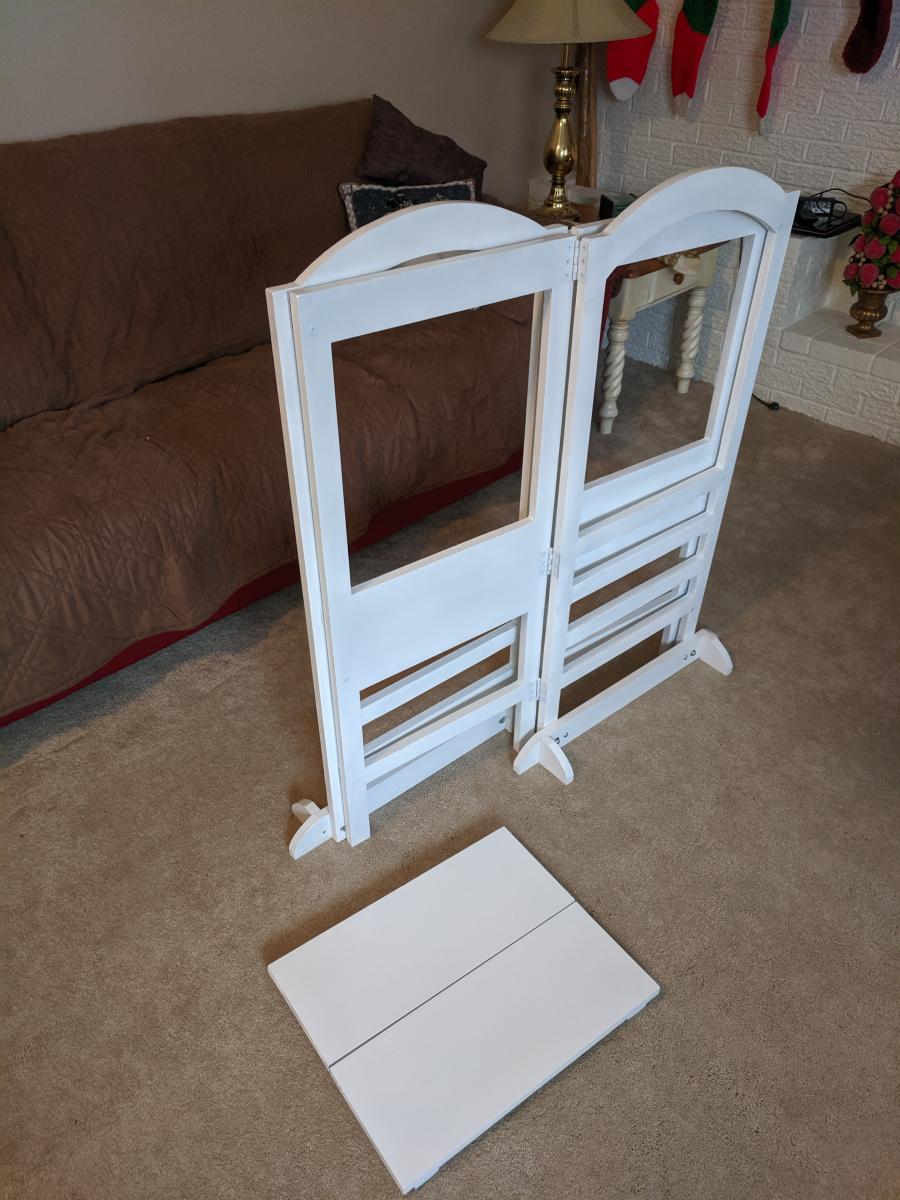
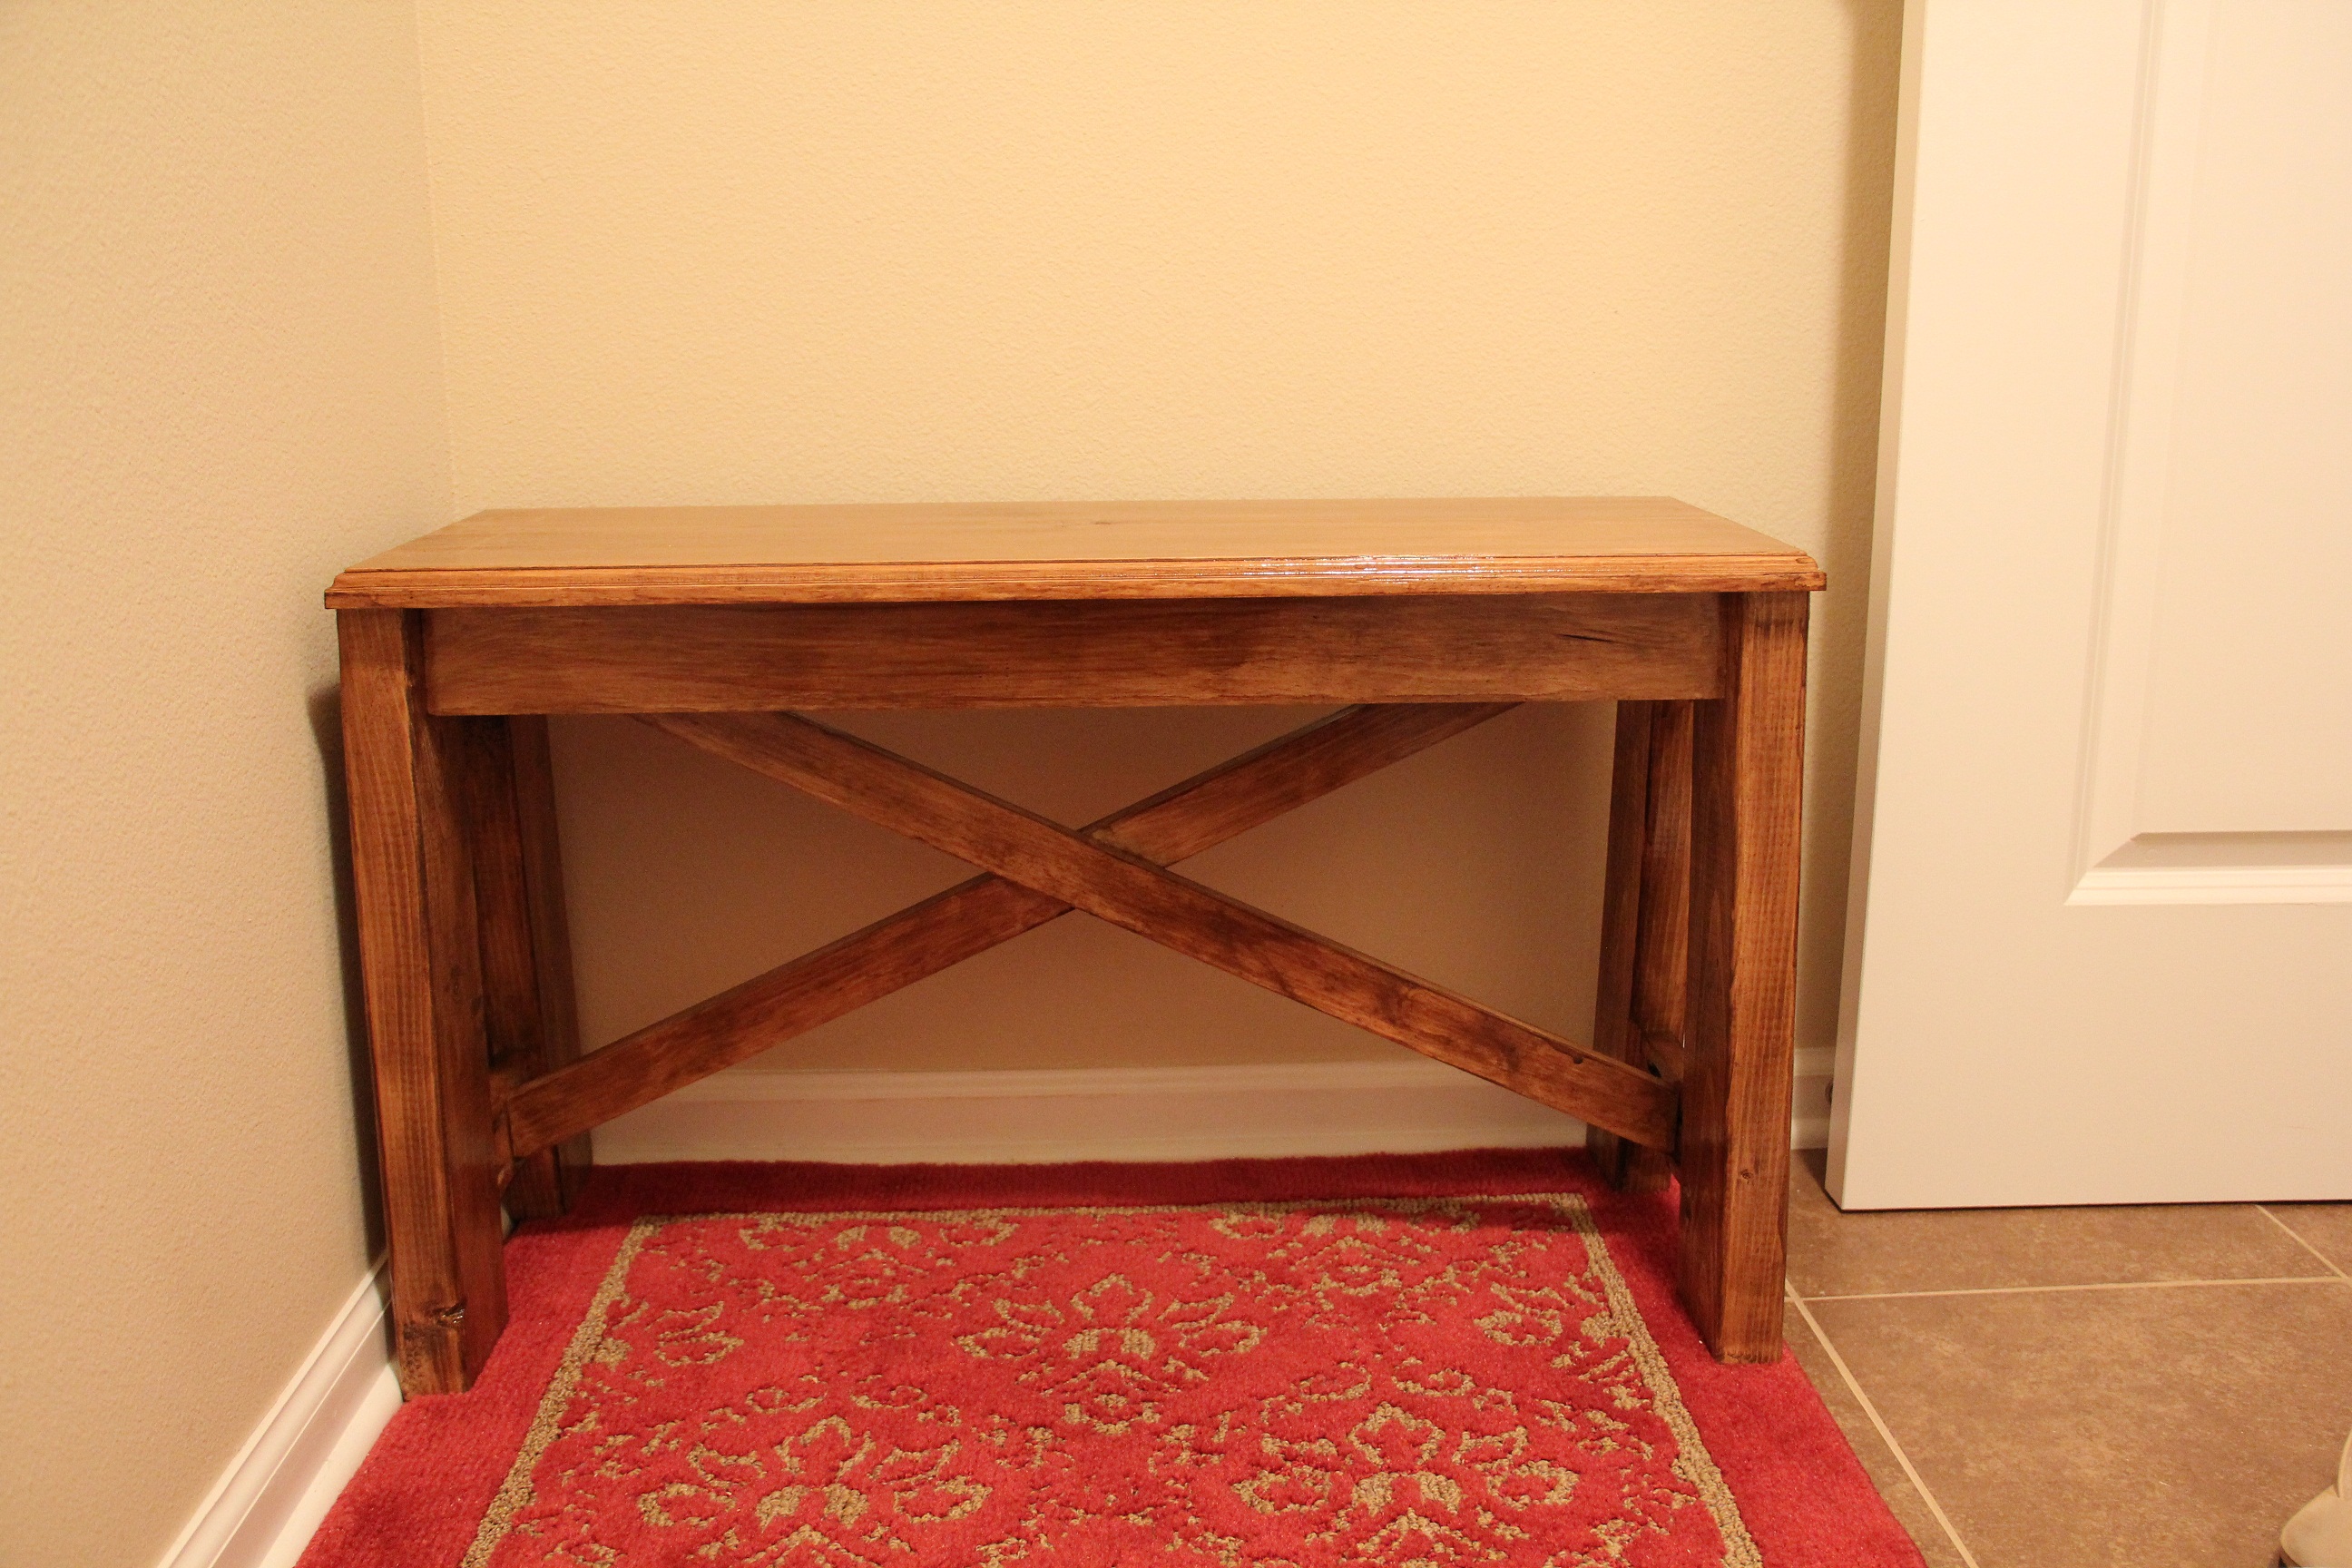
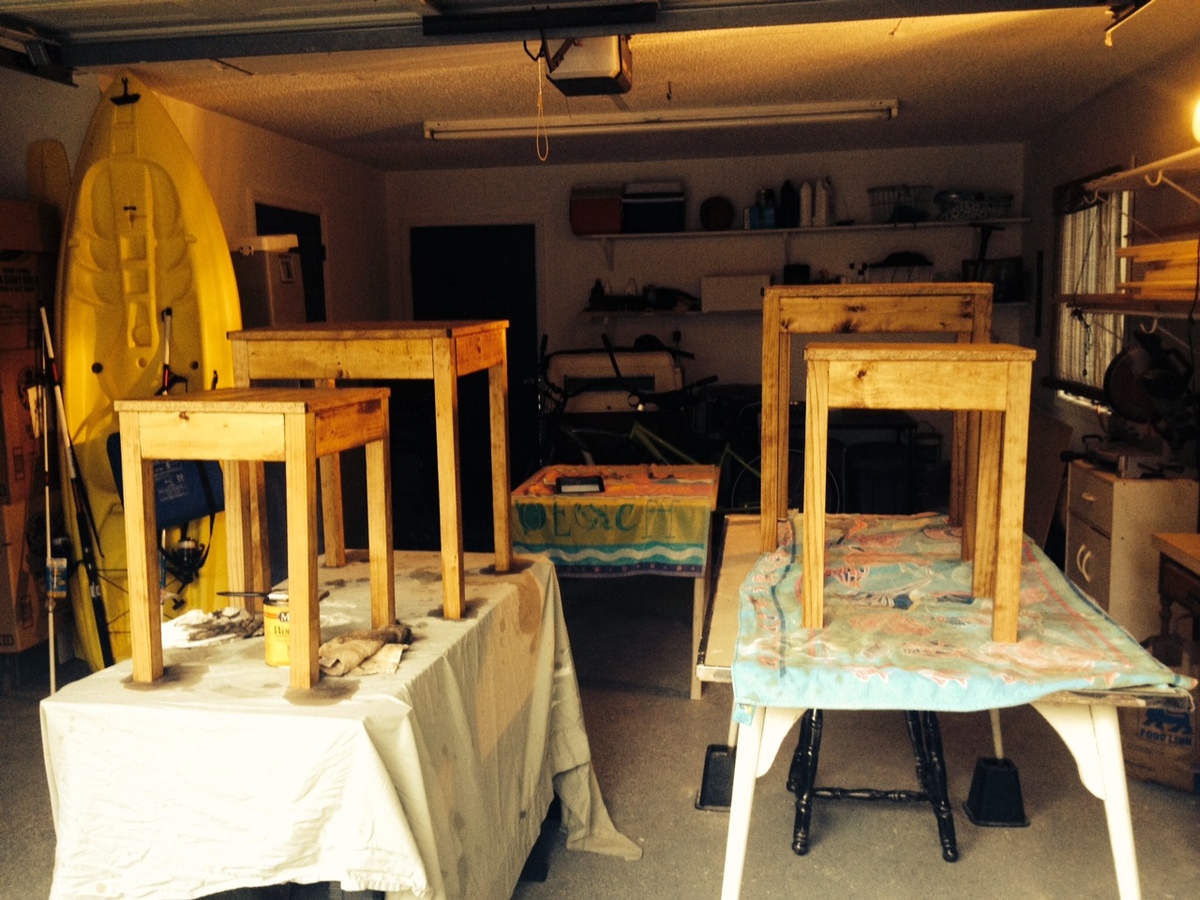
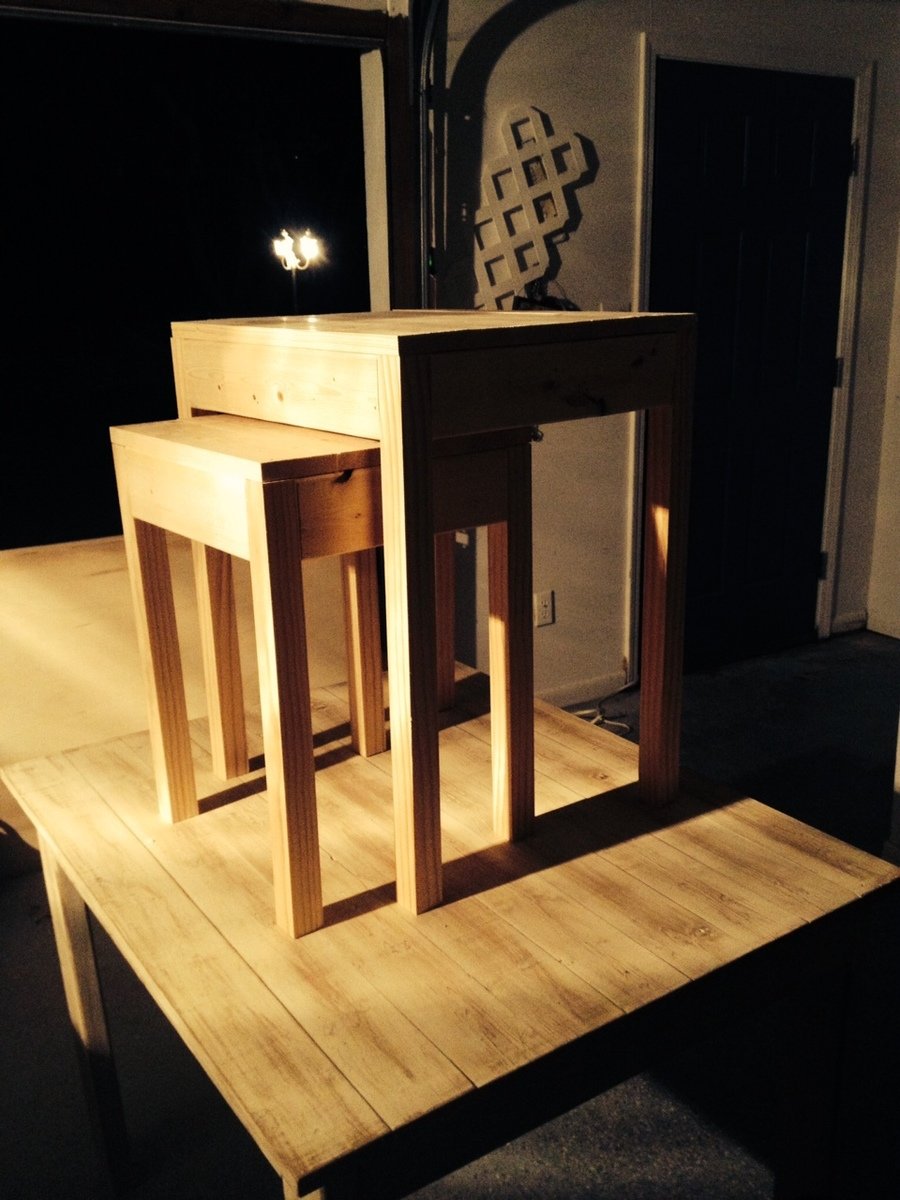
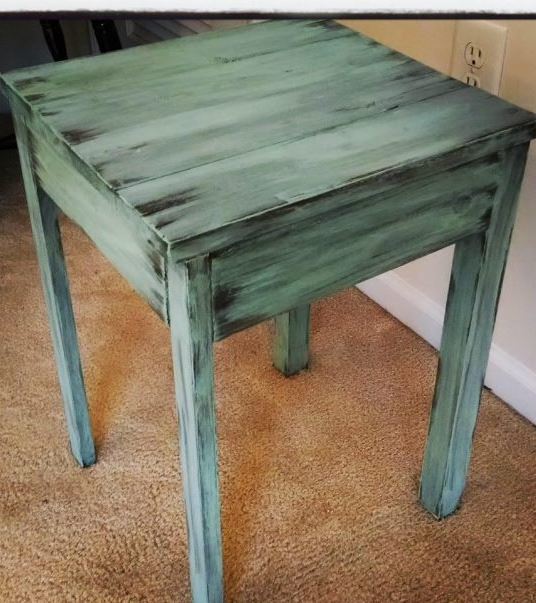
Nesting side tables
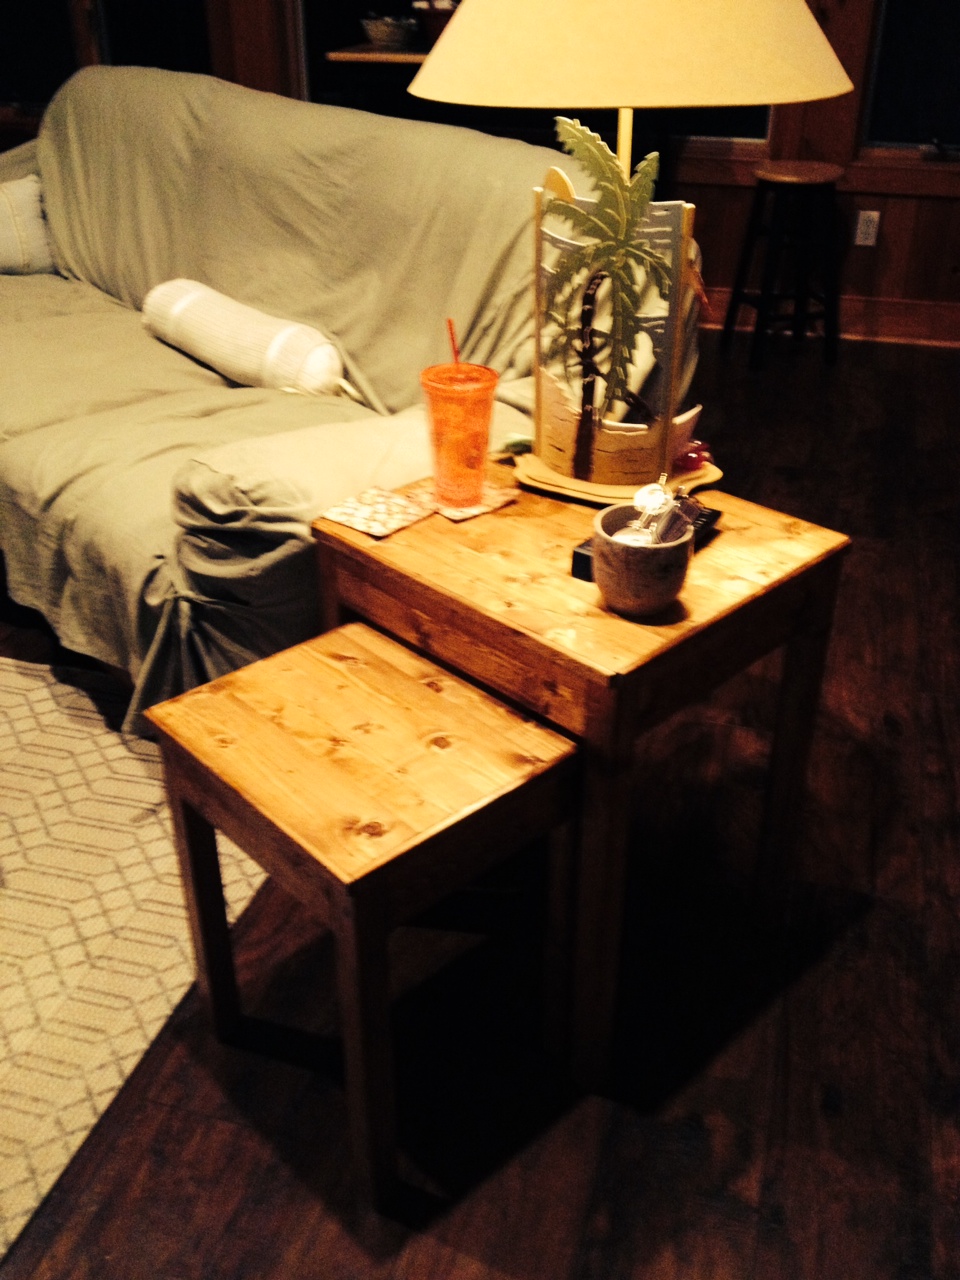
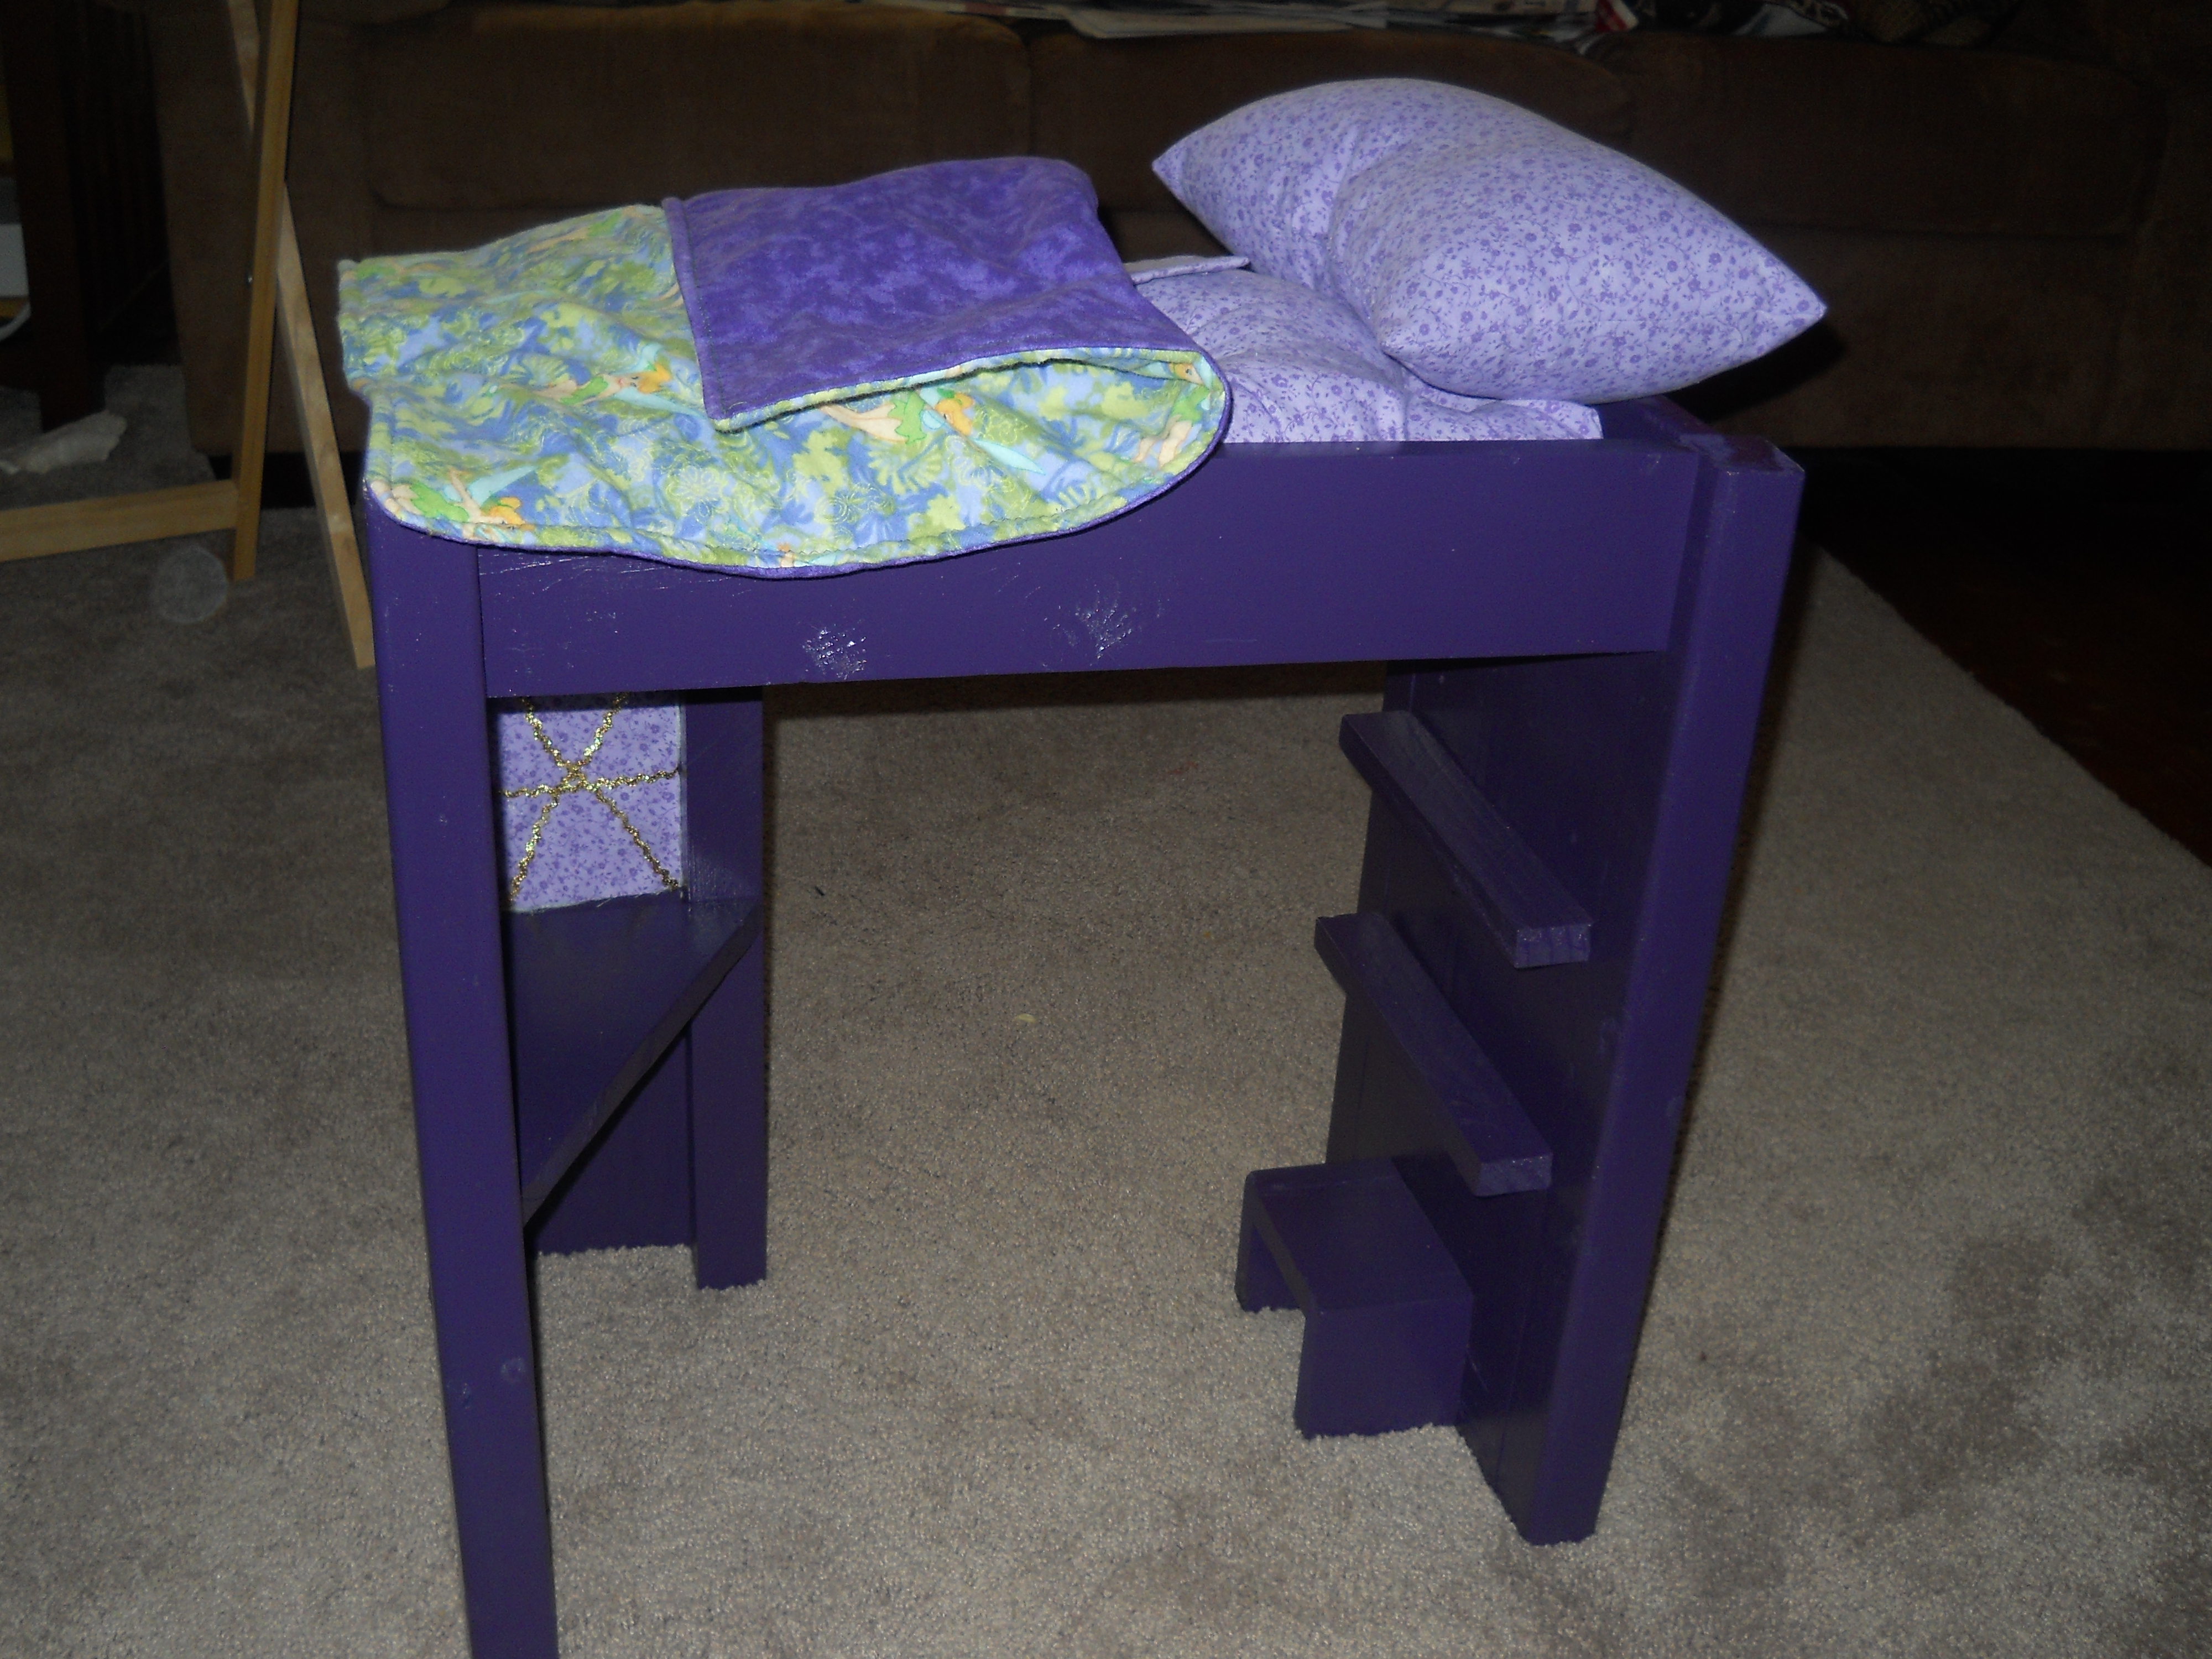
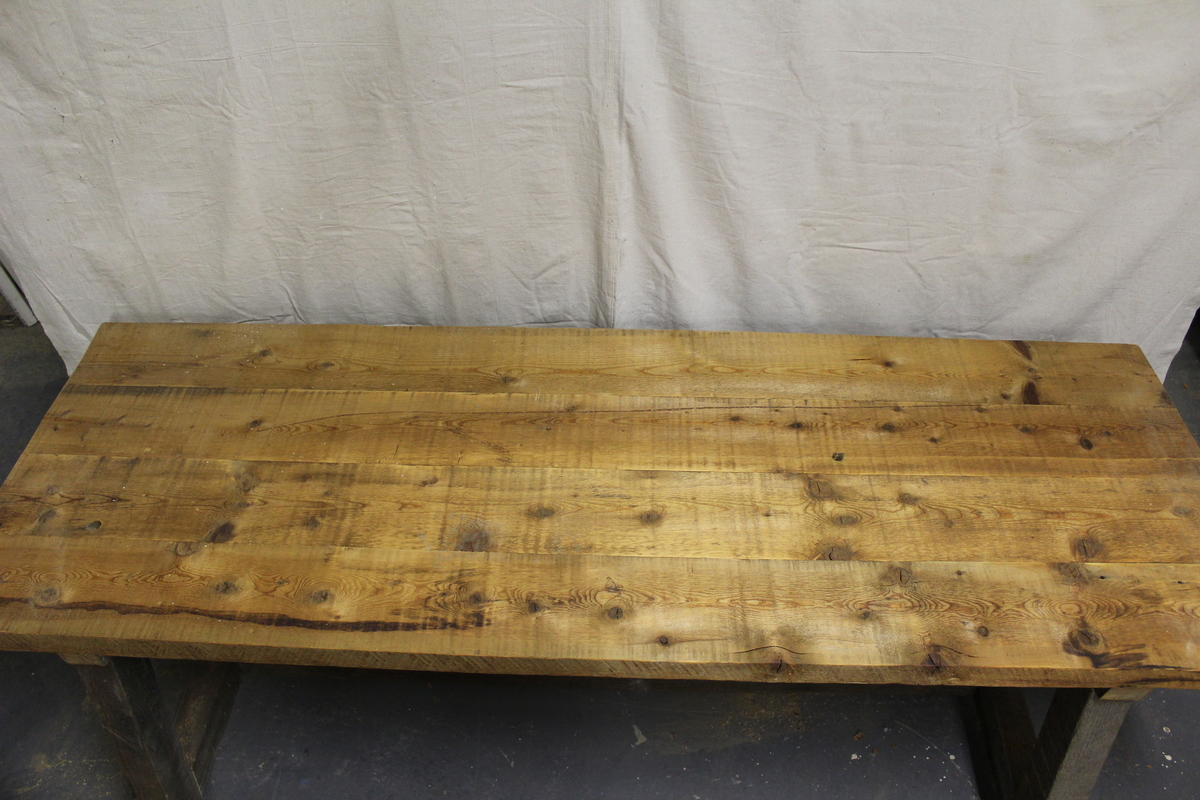
Nesting tables with golden oak stain and poly on top. The last pic of the small table made with 1x2's for 2 legs and 2x2's for the other 2. Distressed by my daughter Kimberly.
Fun project that my son and our next soon to be baby will enjoy for a long time. Plans were very easy to fallow and easy to build.
I built this queen size Farm House bed using the basic instructions from Ana's Plans. I wanted hidden storage underneath, so I altered the bed support. The bed opens on both sides for easy access. The bed box is pretty heavy so i want to make sure the weight was self supported. i went back in a stained the feet so you cannot see them. I also made a matching Farmhouse Doll Bed using Ana's plans!!
I was tired of having potting plants and soil stacked up at the end of my driveway taking away from the aesthetic of the gardens so I built myself a potting stand. I love the two tone although I wish I decided on the colours prior to assembling. It would have saved me a lot of masking.
Mary Wikene
I'd been wanting to add a piece of furniture at the end of my son's bed for awhile, but I had a difficult time deciding on what exactly to do. Not only did I want it to be something he could sit on, but also I wanted to add some extra storage. We had thought of a trunk but the idea of little fingers getting pinched made that idea a little scary. I turned to Ana-white's website for help. I didn't find exactly what I wanted, but I did get some inspiration from the new Kentwood Bookshelf. It's constructed the same way but with some sizing adjustments.
I made this for a grand-daughter for Christmas and followed the McKenna Doll plan from the plan catalog . My wife made the pad and quilt from a link on the doll plan site. Made from scraps left over using my Kreg jig and spray painted with a gloss purple, her favorite color. I also made a bulletin board near the desk and added cup hooks for the hangars on the ladder side.
Fun project. It ended up being more time consuming than I had originally planned.
Made my wife a Ana White DIY porch bench for our 10 year wedding anniversary. Had a custom plaque made: Sarah’s Bench.
Looks beauty on our front porch.
Jesse Micak, Ontario, Canada
Wed, 08/30/2023 - 09:55
Beautiful bench and I'm sure your wife loves it! Thanks for sharing.
My princess-loving daughter needed somewhere to keep her collection of dress up outfits, so I made her this 'rolling rack'. Some mods that I made: I routed the edges for some interest and added moulding to the bottom to disguise the casters.
I have been wanted to build this table for over a year and finally had the time for it. The plans made the cuts very simple.
Starting from the Extra Wide Shoe Bench plans, I expanded the upper section considerably. The cabinetry is all cut from hardwood plywood and joined with pocket screws and glue. I don't have a table saw, so a circular saw and straightedge were extensively used.
this table and chairs was a joint effort between my lifelong best friend’s son and I, his dad had just recently passed away and it was a good way for us to stay busy and also to help furnish his new house he’d just moved into, we used stock pine 2x and 1x lumber from the big box store and StoneCoat countertops epoxy resin on the table top.This was a lot fun and not too difficult to make and we were super happy with the way this project turned out!
Reclaimed wood projects.
In our living room/sun room we needed a place to lounge as well as a place for guests to sleep. We used the chunky leg bed frame plans with the full size modifications to build 2 of them to make a giant Hawaii style Punee. We were able to build both of these easily in 1 day. We modified the legs and used 4x4's to make them taller and more rustic looking.
Sat, 05/19/2012 - 14:47
Nice beds! They are very tropical looking - really blends in the outdoor with the indoors.
We built this in our living room start to finish - we live in an NYC apartment. Because of the small room size we chose to modify the plans to a small mattress - hoping that it will last our boys until they are about 5 and 7 (currently 2 and almost here). This blog post outlines our buy and cut list for the modified size: http://wp.me/p3DCu3-Kd
I started this in my garage this winter so that it was ready for spring. Nothing in this is too complicated but it requires some patience. It was all worth it to see how excited my daughter was to finally play with her friends.
I built two of these for my grandkids for Christmas. One for each of my kid's homes. I used Phillip Moore's folding modification where each side is a separate panel. (Great mod!). I used one T-Nut per hinge on the side where short screws had to be used. I just felt a little safer having that connection that cannot come apart since my grandkids can get pretty active. The kids love them!! Thank you for this plan!
Made a tall wood planter from cedar and pine fence posts using Ana’s plans this weekend! Modified slightly and added a frame around top to give it a more finished look.
Awesome plans! Thanks Ana.
My first real project from your site. This was my first time to use my pocket hole jig. Wow did it work great. The video was great made it very easy to follow the plans
So I altered the Emersen Buffet a little. We needed a changing table and I liked the idea of having the baskets handy for diapers, ect.. I will add the changing pad topper after we get the actual pad.
The door is from a weathered pallet I reclaimed.
I must say this is my first large project of this type. I would have NOT been able to do it without Ana White's site. However, now I feel capable of a lot more.
Thanks so much.
T S