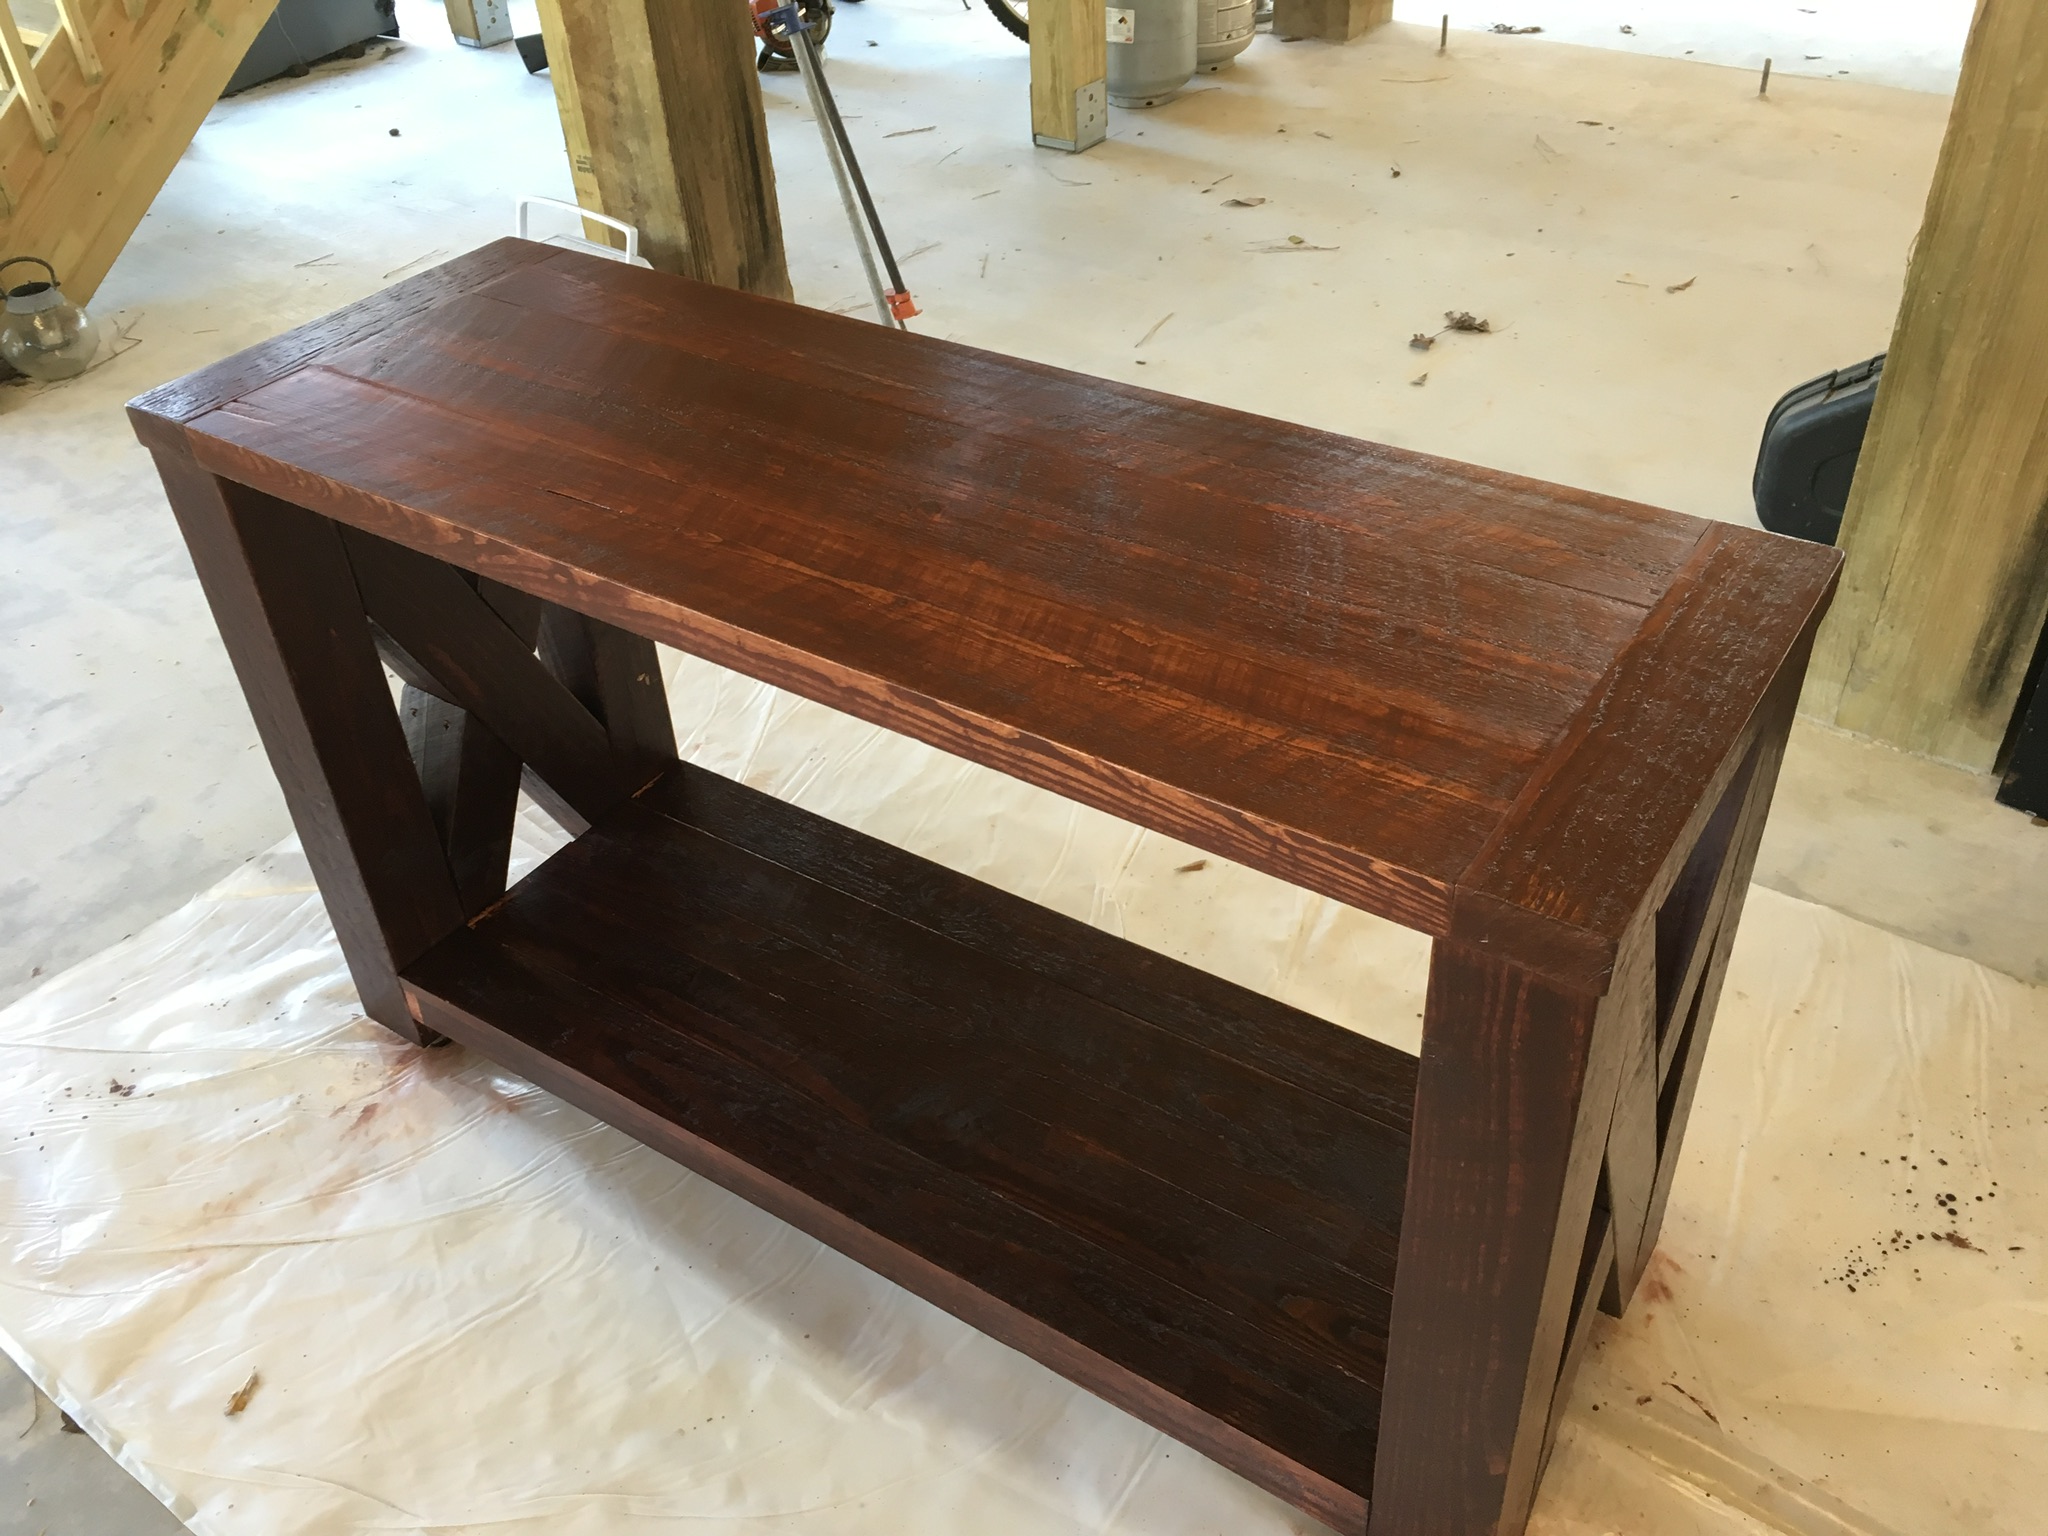
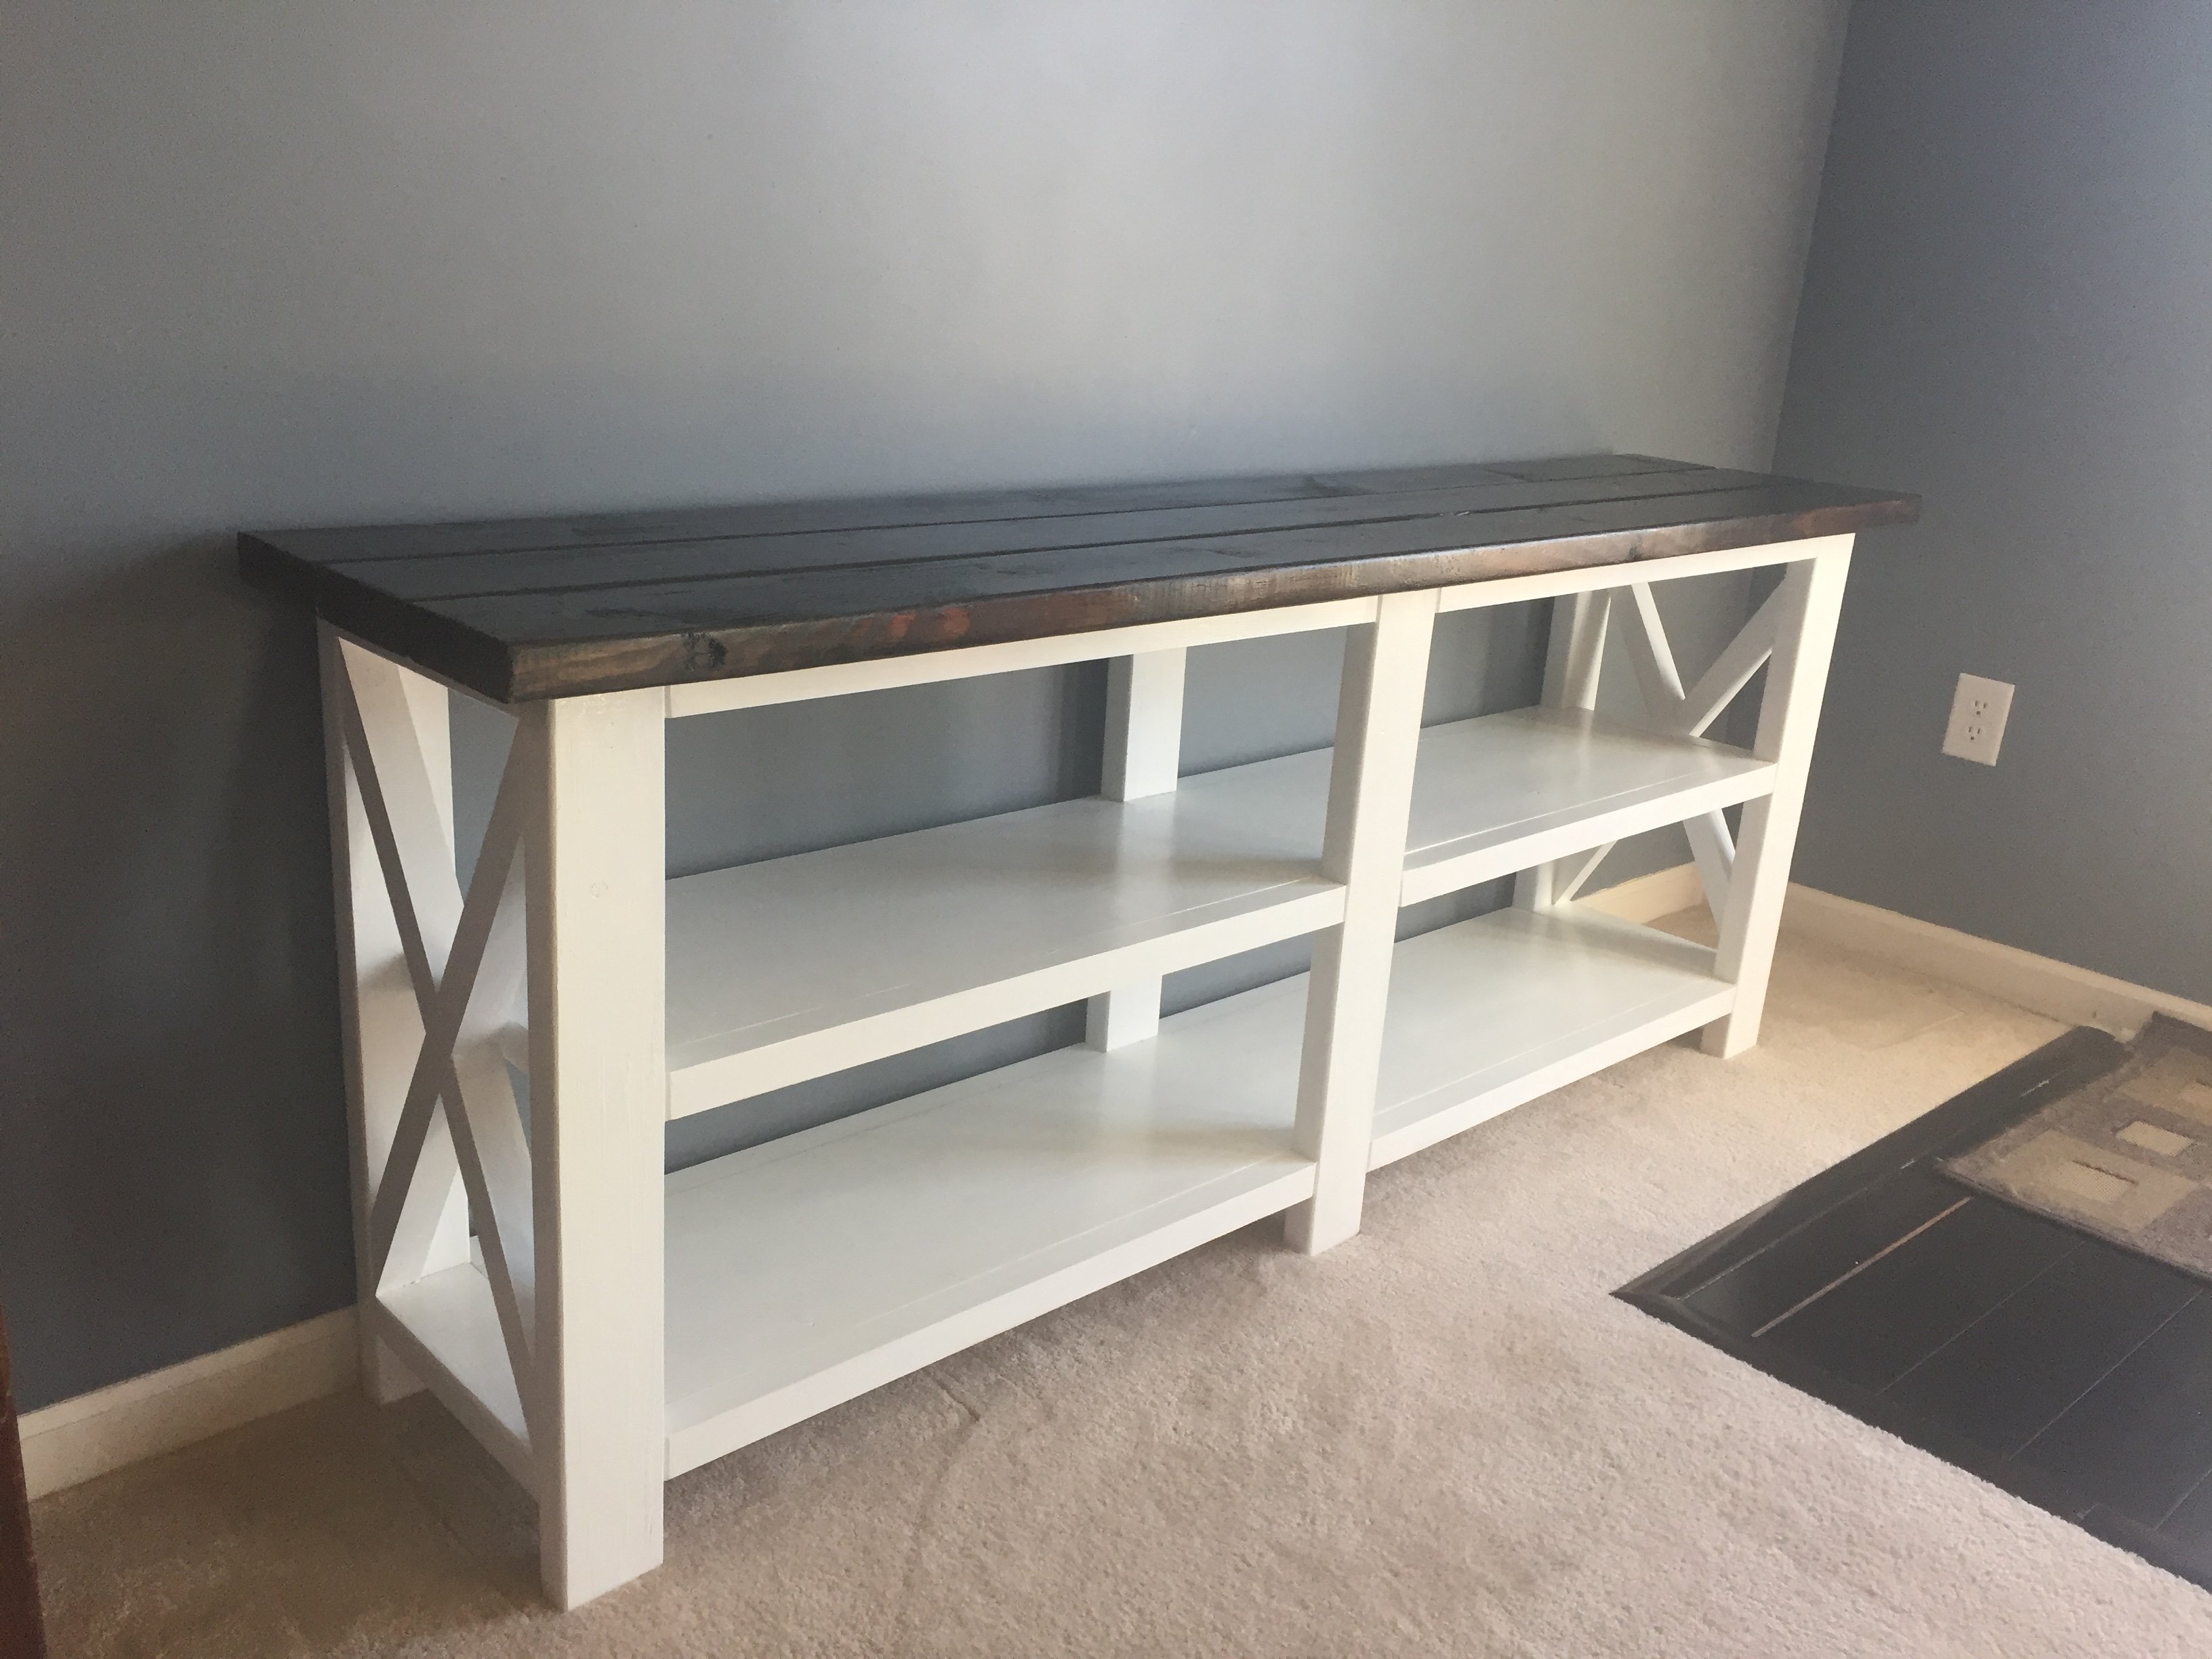
Mantel Moulding Headboard with Teal Accent
Used the smaller Dentil crown, and the blue accent that will match the accents on the end table that i will also put up when finished
this project was pretty easy over all, I had a little trouble getting the drawers level, but that was about it. I did have to change the measurements to make it a full size bed but it came out fitting perfectly!!
Needed a sturdy bed for our Autistic adult son. Added an extra bracket at the head and base to support the corners. Then used 4x4 for the legs. Painted it a fun color and he loves his new bed! Need to find some ideas for a headboard but this is such a sturdy bed. We love it! Thank you so much for these great plans.
First project using a kreg jig. It went well. Sanding was the worse part. If you are going to brace the legs you will need more wood than listed in the plans.
This is the second X desk I have built. For this one I used a pre-done aspen piece for the top that I got from Lowes for $40.00. That was the only modification.
overall pretty easy porject took me about 8 hours to build/paint I sized it down a little made it only 32" tall and about 64" wide but keeping the depth to the plans. The barn door hardware I ended up building myself. I took 4 1" pulleys bolted those to the doors and the track I built using some angle iron and 3/8" metal dowel. The stain is 'golden oak' from min wax and I just used a simple white paint two coats.
I have always been a fan of the Pottery Barn Rustic Bench. I have not always been a fan of the price tag. $149 for the small bench and $249 for the large bench was a bit more than I was comfortable spending on a piece of accent furniture. Luckily, Ana had building plans for the Pottery Barn bench. I built all three benches for around $60! You cannot beat that!
A company wanted to charge us $5800 for this! All told I think I spent about $500.
Ana,
My wife saw this and wanted one to match her benchwright coffee table. I decided to make her one and used rough cut pine to get that look. Just used 80 grit to knock off the roughness but not enough to sand into the saw marks and was pleased with how good the results came out. I don't like exposed fasteners so all the joints are pocket hole screwed and glued and the table top is biscuit jointed and the end piece is doweled into the long runners. Love your website and the other projects that you have shown here. Keep up the great work!
Josie
We purchased a fixer up house that requires a complete gut but the property came with a detached shop! I quickly realized I needed to get the shop cleaned up and organized so it would be easier and more efficient to work on projects for the house. I am a beginner as far as I am concerned and even though this was rated as an intermediate level build, as long as you take your time, it’s definitely doable for a beginner. The plans called for staples but since I just had a Brad nailer, I just used that and it worked fine. I did have one fail, and that was that I had a 1x2 to hang my clamps on but I placed it too far near the outside of the mobile work bench and when I went to store the work bench under the miter stand, the clamps prevented it from sliding in so I had to reposition it. Other than that, it was perfect and as soon as I save up for my Ryobi table saw then I will position it on one of the work benches. Because of the raise in the cost of lumber dut to COVID, the cost was probably twice as much as it should’ve been but I still feel I couldn’t have purchased a huge miter saw station and two mobile work stations for less than I spent on building this. Besides, I can be proud that I built this myself!
In reply to Heck yeah! by Ana White Admin
Mon, 11/30/2020 - 19:08
Well shoot, I thought this was saved as a draft and wanted to post it after I sanded and painted it. Oh well, thank you anyway Ana for all the great FREE plans!
Loved the farmhouse table plan, but didn't love the stretcher and stretcher supports. If you remove those, you have to find other ways to provide support, which I did by way of a stronger apron and the use of pockethole screws.
Also, I shortened the table. It's about 69 inches long, plenty of room for 6 people, and just right for our apartment dining room!
I made these for my new niece- Here's my story with recipe for a homemade sealer as the dye runs on drooly faces.
I loved Ana's 4x4 Truss Beam Table which was my inspiration for building this outdoor patio table Yesterday, I had a lot of fun. I used brown pressure treate wood because I wanted a table for my patio which would be weather resitant, a strong, great looking table that goes well with the rest of my patio anf I bet it wil last for a long time... Ready to entertain family and friends as soos as Spring comes!
Quick a-frame coop for 4 chickens.
I mixed the plans for the kids bench and small work bench from The Family Handyman to make a little work bench/step stool.
http://www.familyhandyman.com/DIY-Projects/Woodworking/Woodworking-Proj…
Built this table for our dining room and made it larger than the plans to fit 10 people around it.
Fri, 11/21/2014 - 09:13
Wow that looks really awesome! Great choice of stain!
Tue, 03/31/2015 - 12:42
Thank you and thanks for the plans! We are really happy how it turned out.
In reply to length by stephaniadawnia
Thu, 01/19/2017 - 10:34
Dimmensions of the table are 96 x 42 for the top. For the bench I measured the inside of the legs and made it 4 inches shorter than that dimmension to make sure I have a couple of inches on each side to slide the bench in and out easily.
I found this on the Pottery Barn site for $ 3,000. We wanted to make it for my grandson who had a lot of health issues. We thought he would really enjoy it. We made it around a full size bed & I really think it looks just like P.B's. !!!
Here is Ana White’s round farmhouse table miniaturized into a coffee table measuring 18” in height and 36” in diameter using hardwood Ash.
The table top construction was slightly simplified by screwing six (1.5” x 6” x 36”) panels together. The circular saw jig setup worked out well.
A Kreg jig and a variety of clamps were instrumental in securing clean, tight joints for the base.
Thanks for the inspiration and useful tips on your site!
Tue, 12/08/2020 - 11:25
Stunning mini version, love this coffee table!
Sun, 01/10/2021 - 19:59
Hi, would you be willing to share what measurements you used to make the smaller base? TIA!
I was in desperate need of nightstands that would match my AMAZING farmhouse bed and shoe dresser and I found these! I had to make a few modidications to fit the space on our walls. I also put a few braces inside so the drawer wouldn't tip out when it opened. Overall they turned out pretty awesome if I do say so myself...
we made this for our friends for a housewarming gift. Will definitely make again!
Comments
Ana White
Sat, 11/08/2014 - 11:57
Nice!
That is super cute!