E's scooter
Fairly easy to make with a jigsaw and sander. I would suggest to whomever makes one of the Charlie scooters to use a hardwood as some of the section in the handlebar area can be fragile when weight is applied.
Desk for my wifes craft room.
Joshua Moore
Super easy project to do with a Kreg Jig! I made two for my front stoop. The finials add that extra touch! Check out my blog link for more info!
We were in desperate need of a lego storage solution for our son's small bedroom. I made this for his 7th birthday. I saw a photo of a similar one as a result of a google or pinterest search and decided to draw up some plans.
I recessed the top slightly so that pieces won't fall off. I just glued thin cleats to the inside of the box to hold the lid, (using spacers to get it at the height I wanted) Ideally the top would be reversible however I didn't quite get one of the dividers square so it only fits one way. I used Posca water-based markers to do the text. Make sure you wait until the text is really dry before you try to seal it (don't ask me how I know that...) Turns out that the markers don't react well with the brush on poly so I just left the text unsealed.
I was just going to have one handle on the front but then I made a stupid mistake and wrote the text so it would be upside down when pulled out (I know, dumb right!) So I added another handle on the other side. I used a water-based enamel for the whole box. Not sure if that was worth it of if I should have just used flat and given it a top coat of poly. I used a brush on the inside corners and found it really hard to get an even finish because I rolled the flat surfaces. Painting the pieces before assembly would probably fix this.
Added some castors so it can be pushed under the bed.
Sun, 02/05/2017 - 08:48
This is so awesome. Do you think you could share a more detailed account of build. Dimensions? Supplies? I am a newbie at this! I would greatly appreciate!
My kids needed a step stool and I had some scrap wood (2x10) left over from a previous project
Thu, 08/18/2016 - 20:12
Thank you! The dimensions are the same as the Ana White "Simple 1x10 Single Step Stool" except I used 2x10's instead of 1x10's like the plans called for. I also used some scrap pallet wood to make a design on the top of the stool.
- Stool height: 7 1/2" for legs, 1 1/2" for top, and 1/2" for scrap pallet wood; which gives a total height of 9"
- Stool width: 9 1/4" x 16"
- 5 degree angle cuts were made on the legs
Wed, 04/17/2024 - 09:21
Are the rails a 2x10 cut in half.? Or is it pallet wood?
Great family project, thanks Ana!
Loved all your tables!! I was inspired by the tweaked plans of Modified Simple Outdoor Patio Table and made mine out of pallets :-) (Only the top slats, not the frame and supports)
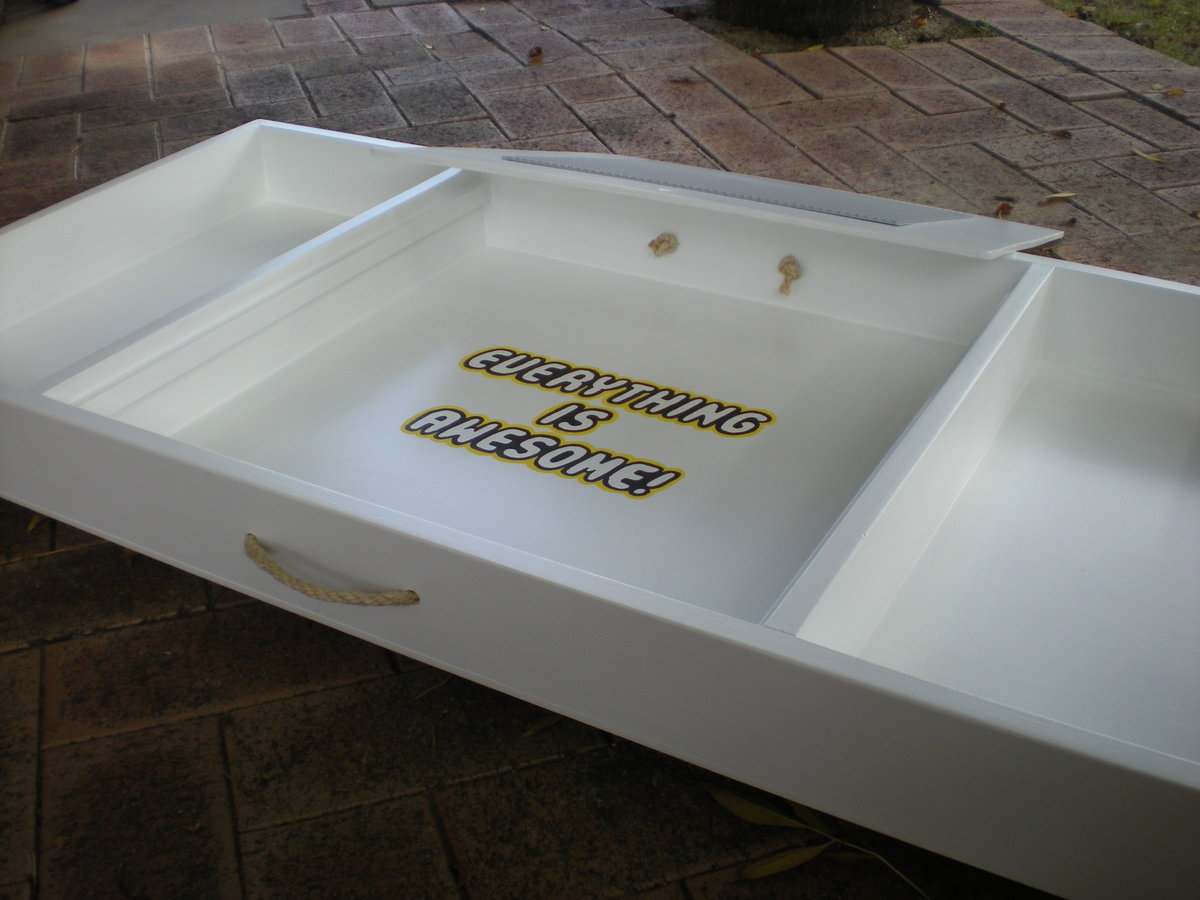
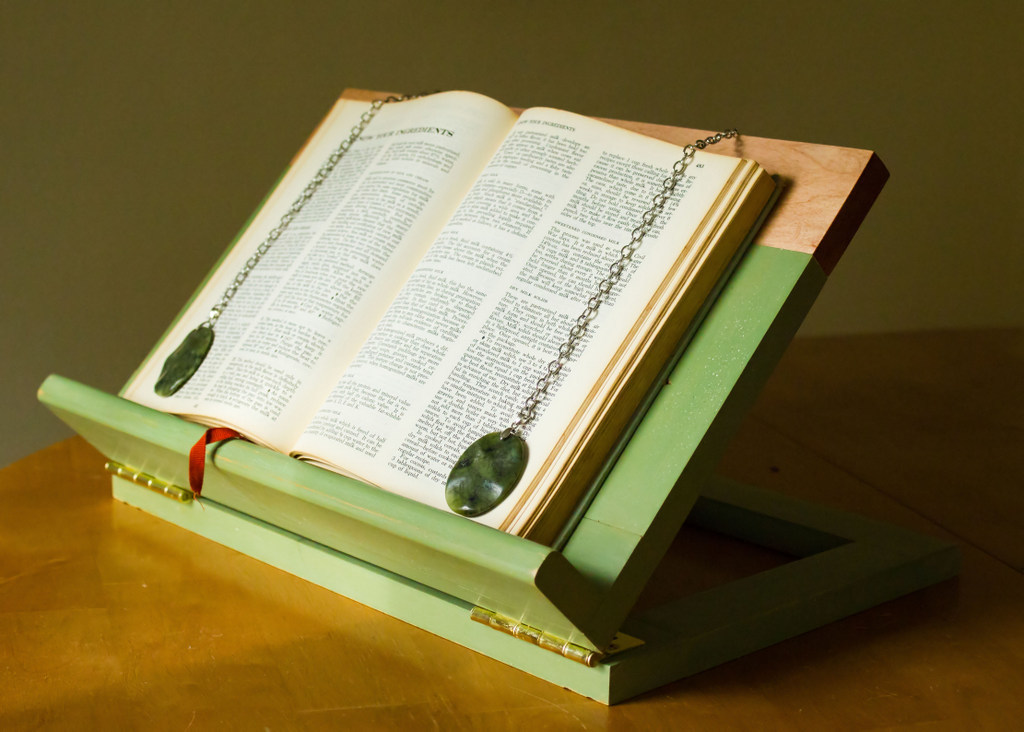
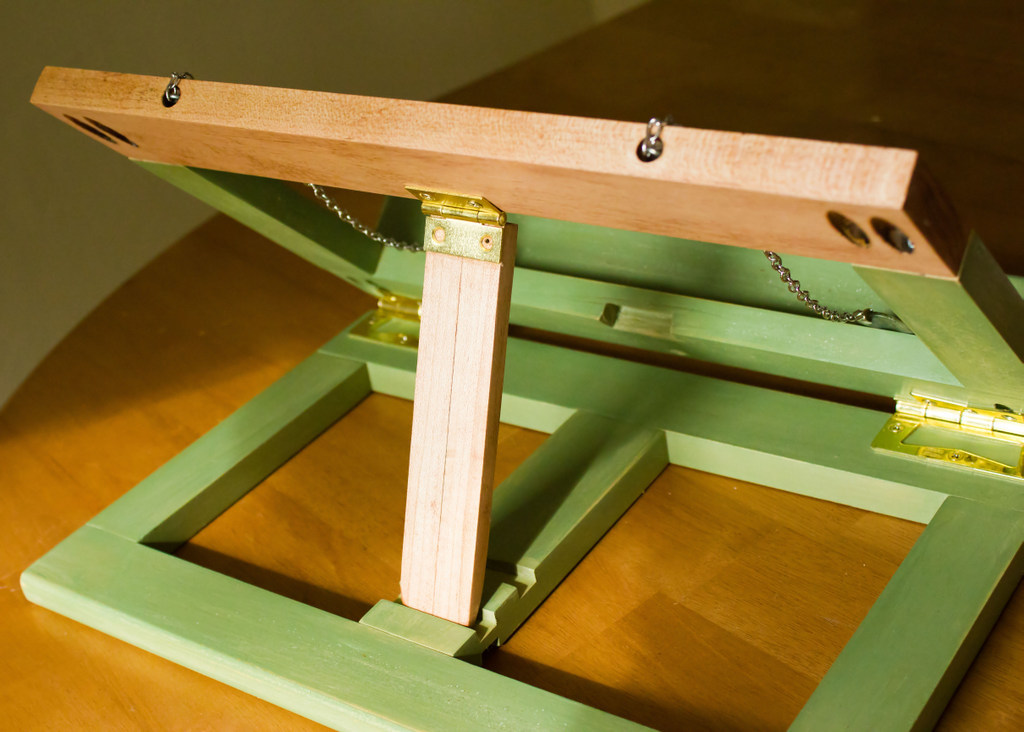
This was a project undertaken to facilitate my current pursuit of learning how to cook, but I think it will serve me well as I study, too, holding my textbooks up. It also let me experiment a little with staining and with using milk paint (which has NO VOCs but is kinda weird to work with). And it let me put to use some scrap wood that I think I was unconsciously saving for something special.
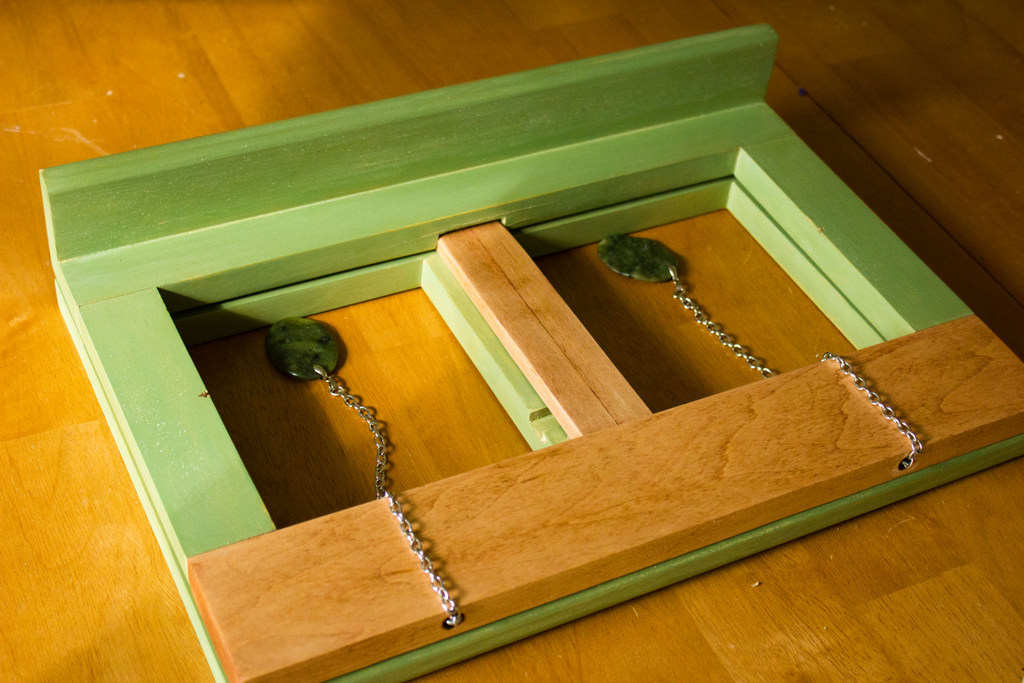
Because I had a scrap pile, screws, a few hinges, and the finishing products, this project was Almost free...I had to buy a narrow hinge ($1.50? I think?), and I chose to buy some pretty page weights ($3 including both pendants and the chain). So...not too bad, right? For a solid book stand that has meaningful beauty to me?
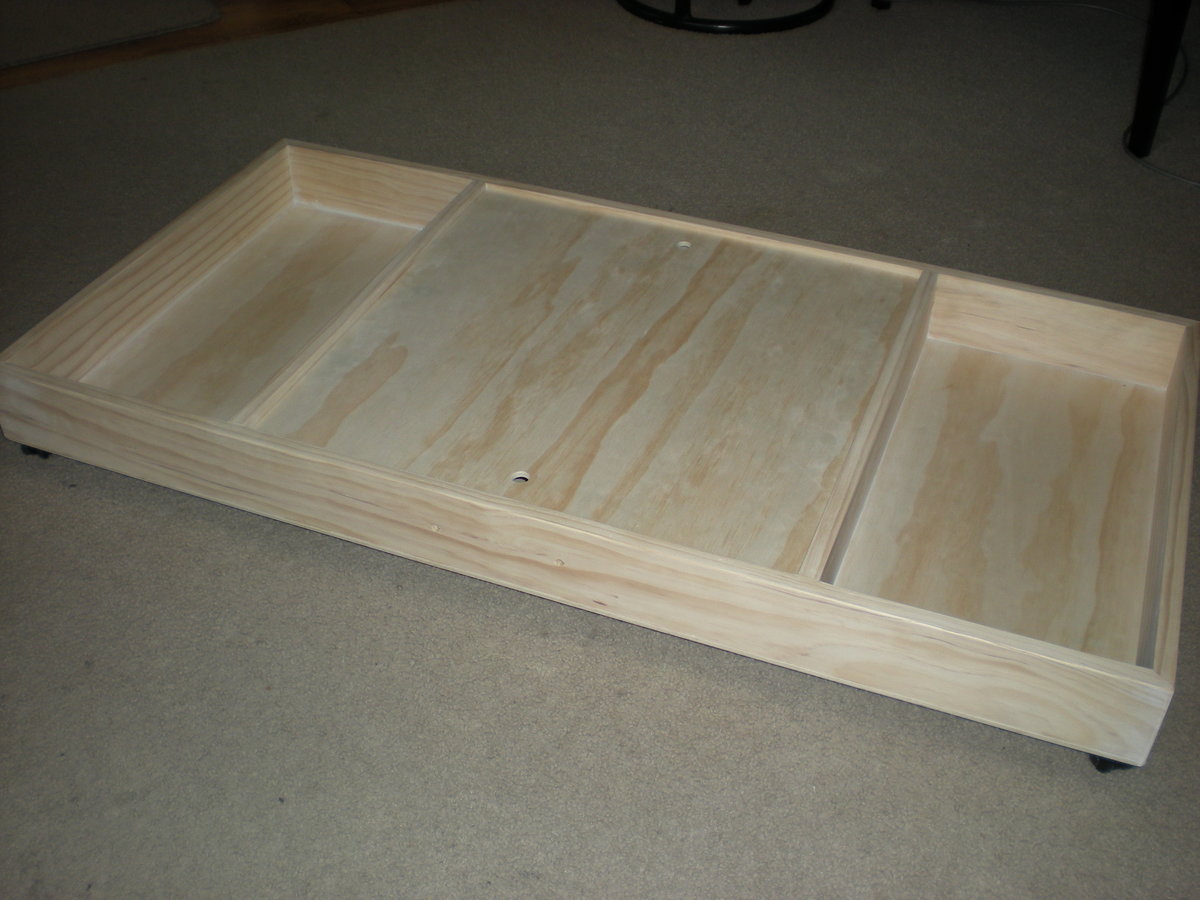
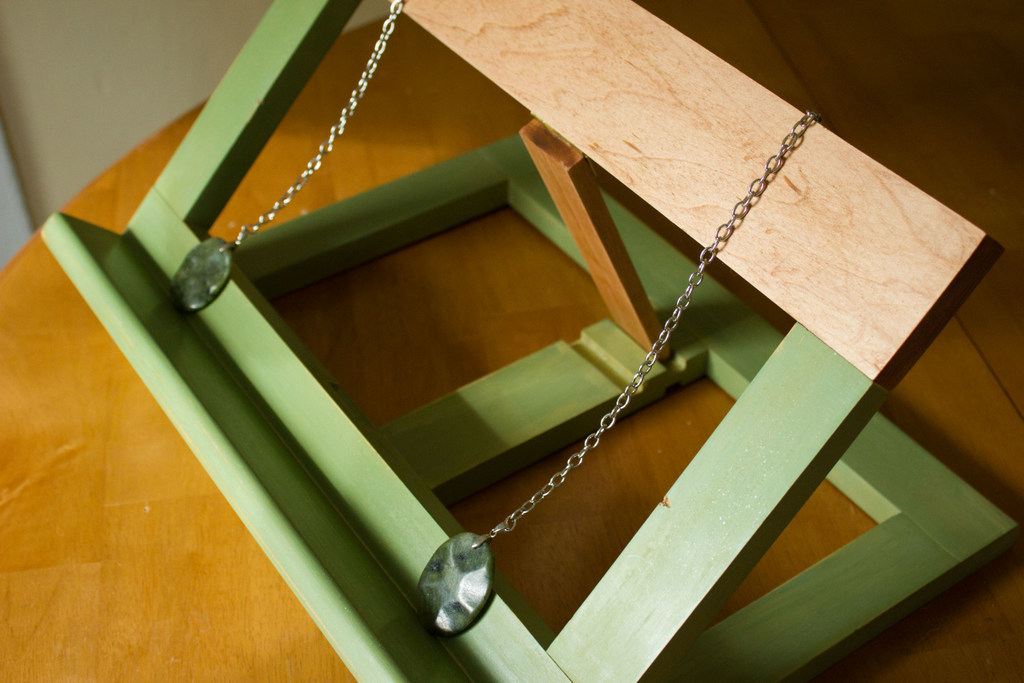
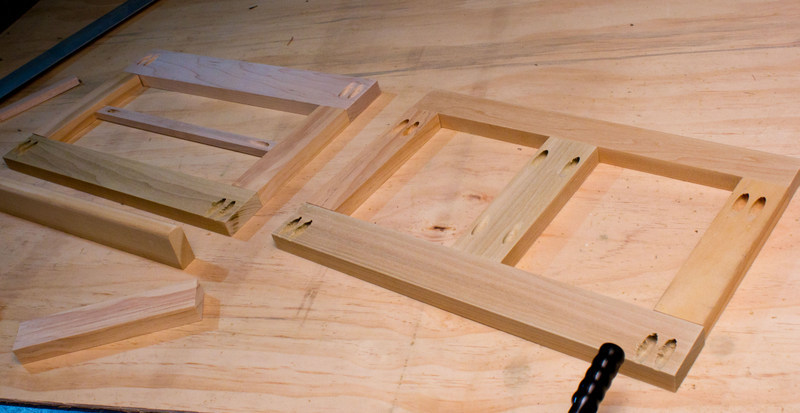
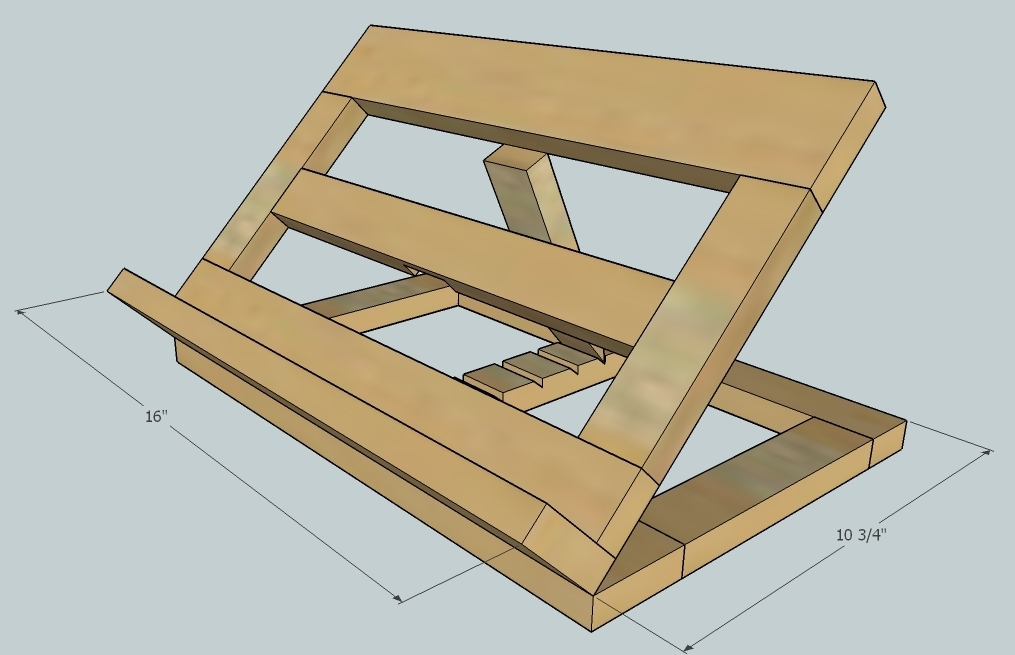
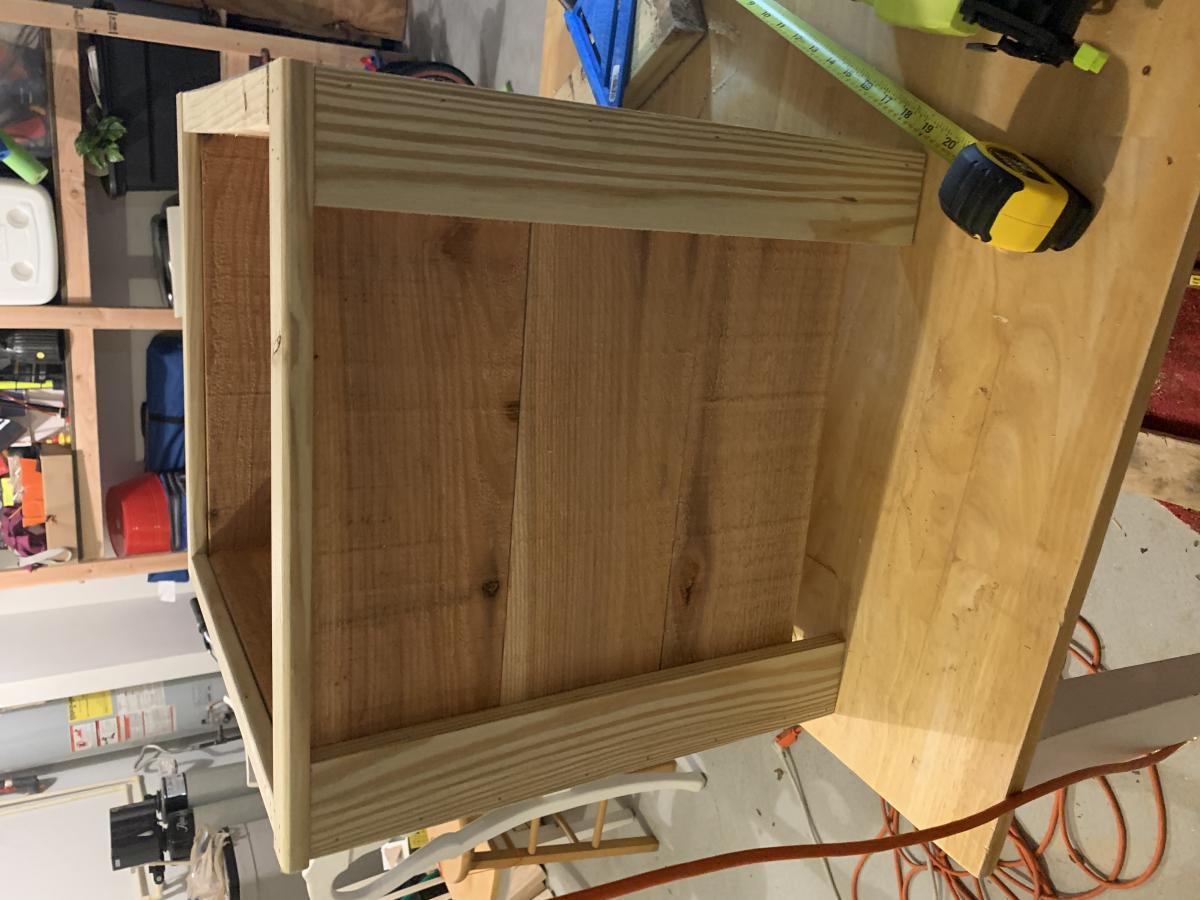
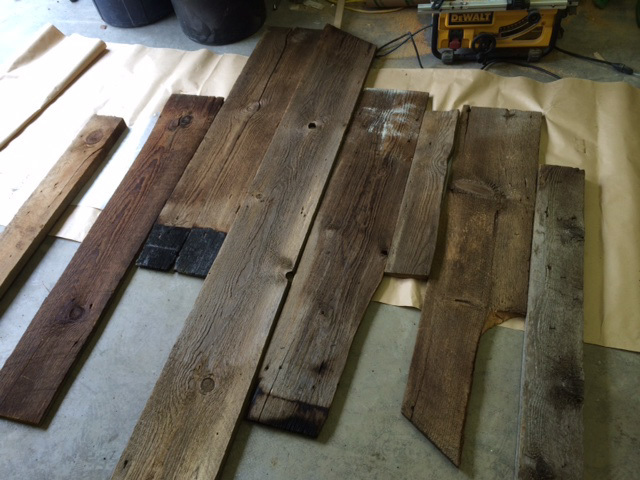
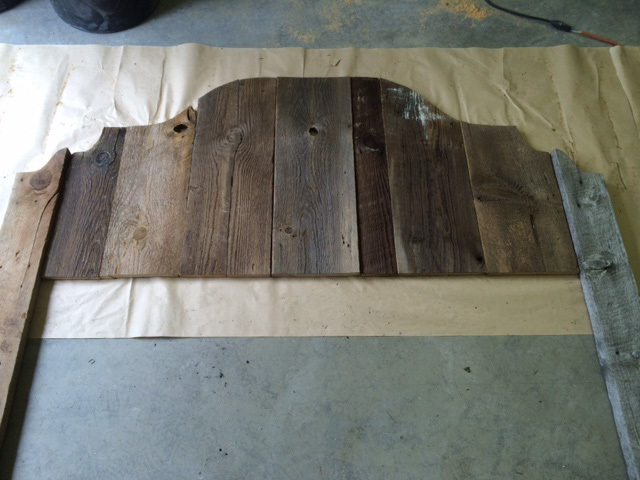
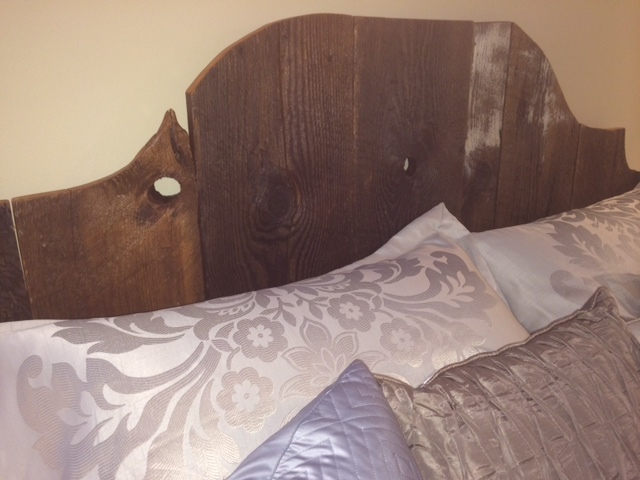
Ok, so this is all scrap wood. The stained pieces are maple leftovers from my cabinet project, and the rest is a mix of pine and poplar. See the dimensions in the last photo. The paint is Miss Mustard Seed Milk Paint in Lucketts Green, and the stain is Red Chestnut oil-based stain by Minwax. I finished the whole thing with one coat of wax buffed to a soft sheen (my new favorite finish).
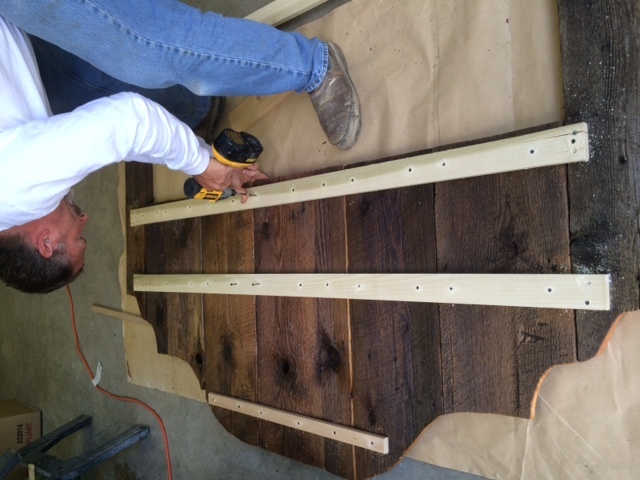
I used a miter saw for my cuts and a router for the kickstand grooves, but really a regular circular saw would've worked just as well (or better, for the grooves). It took me several days to finish this project, but there's no reason it should take (someone other than me) more than an afternoon.
This was a pretty easy build, always a plus when you're looking for more storage. I'm not sure about the darkness of the stain though; I usually go with a walnut to match the rest of the house and wanted to try something different. This seems like a bit much. Might be easier to build an entire second set vs re-doing the stain though...
Directions were perfect! This is my 3rd project and I really enjoyed it! Fast and easy.
Replacing a trash bin for a friend whose cats could not get into. At the last minute I thought a little hiding area on top would give them some storage for bags and things. Had to go one size down on the Rubbermaid to allow for clearance when tilting open. They love it, the cats hate it.
This was my first project to cut angles. I like the way it turned out! Clamps were a help to hold all the pieces together. Very easy to put together.
These chairs followed the simple white outdoor chair instructions. There were a few adaptations. I used 2x3s instead of 2x2s for the legs, like in the simple white outdoor loveseat instructions. I purchased my cushions from Target, and their dimensions are different than the cushions used in the instructions, so I changed some of the chair dimensions. I created the pattern for the ottomans, but it is very much based on the simple white outdoor chair instructions.
Fun project and happy with the results. Staining instead of painting probably made the project take twice as long.
Thu, 05/22/2014 - 13:37
Your chairs are gorgeous - I feel compelled to go copy your handiwork immediately. :)
Would you mind sharing a link to the Target cushions you used? They look great on your chairs.
Sat, 05/24/2014 - 10:56
Thanks!
Threshold Outdoor Deep Seating Cushion:
http://www.target.com/p/threshold-outdoor-deep-seating-cushion/-/A-1508…
Threshold Outdoor Deep Seating Back Cushion:
http://www.target.com/p/threshold-outdoor-deep-seating-back-cushion/-/A…
Just a note on the cushions, they are beautiful and highly economical, but that also means they likely aren't as supportive as cushions 2 or 3 times their price and the covers do not have a zipper, so you can't wash them. That being said, I am happy with cushions.
Fri, 05/23/2014 - 07:44
I built these chairs and love seat last summer and have sat on them wishing I had ottomans! You inspired me to build the ottomans. I have the same Theshold cushions from Target and they are great! Good job!
Sat, 05/24/2014 - 11:09
Thanks!
The only tricksy part about the ottomans for me was attaching the "armrests". There isn't enough room to use the pocket hole screws after attaching the side aprons. I tried screwing the "armrests" to the legs before the aprons, but that just caused problems. In the end I screwed the side aprons and legs together and then screwed the "armrests" down from the top. I used wood filler to fill in the holes above the screw heads. So it isn't quite as clean looking, but worked for me.
This was built off Ana's Outdoor Couch plans. I just made some additional things to it and made it larger.
I added the vertical back supports so the cushions don't slip out the back. I raised the seat height to 17".
An easy to build workbench to keep my tools organized in the garage.
I have to admit...I'm an Ana White and Pintrest addict. I was visiting my cousins farm and saw a pile of beautiful old & weathered barn wood. She let me take a big pile home. I washed and scrubbed the wood with a soft brush to get the years of dirt off. After dried, I layed down all the wood and picked out all the neat character pieces. I freehanded a template of the headboard on butcher paper and traced it on the boards. I cut the boards and lightly sanded the edges. I brushed on two coats of clear coat. When dried my hunky hubby helped me put it all together with 1x2"s and screws. We attached it to the bed frame and there ya have it! A gorgeous traditional-rustic headboard!
I am a really beginning builder (read: this is about my fifth project ever), but it works perfectly for our really tiny, narrow bathroom. I finished it with some stain we already had on hand. Thank you so much for the building plans!