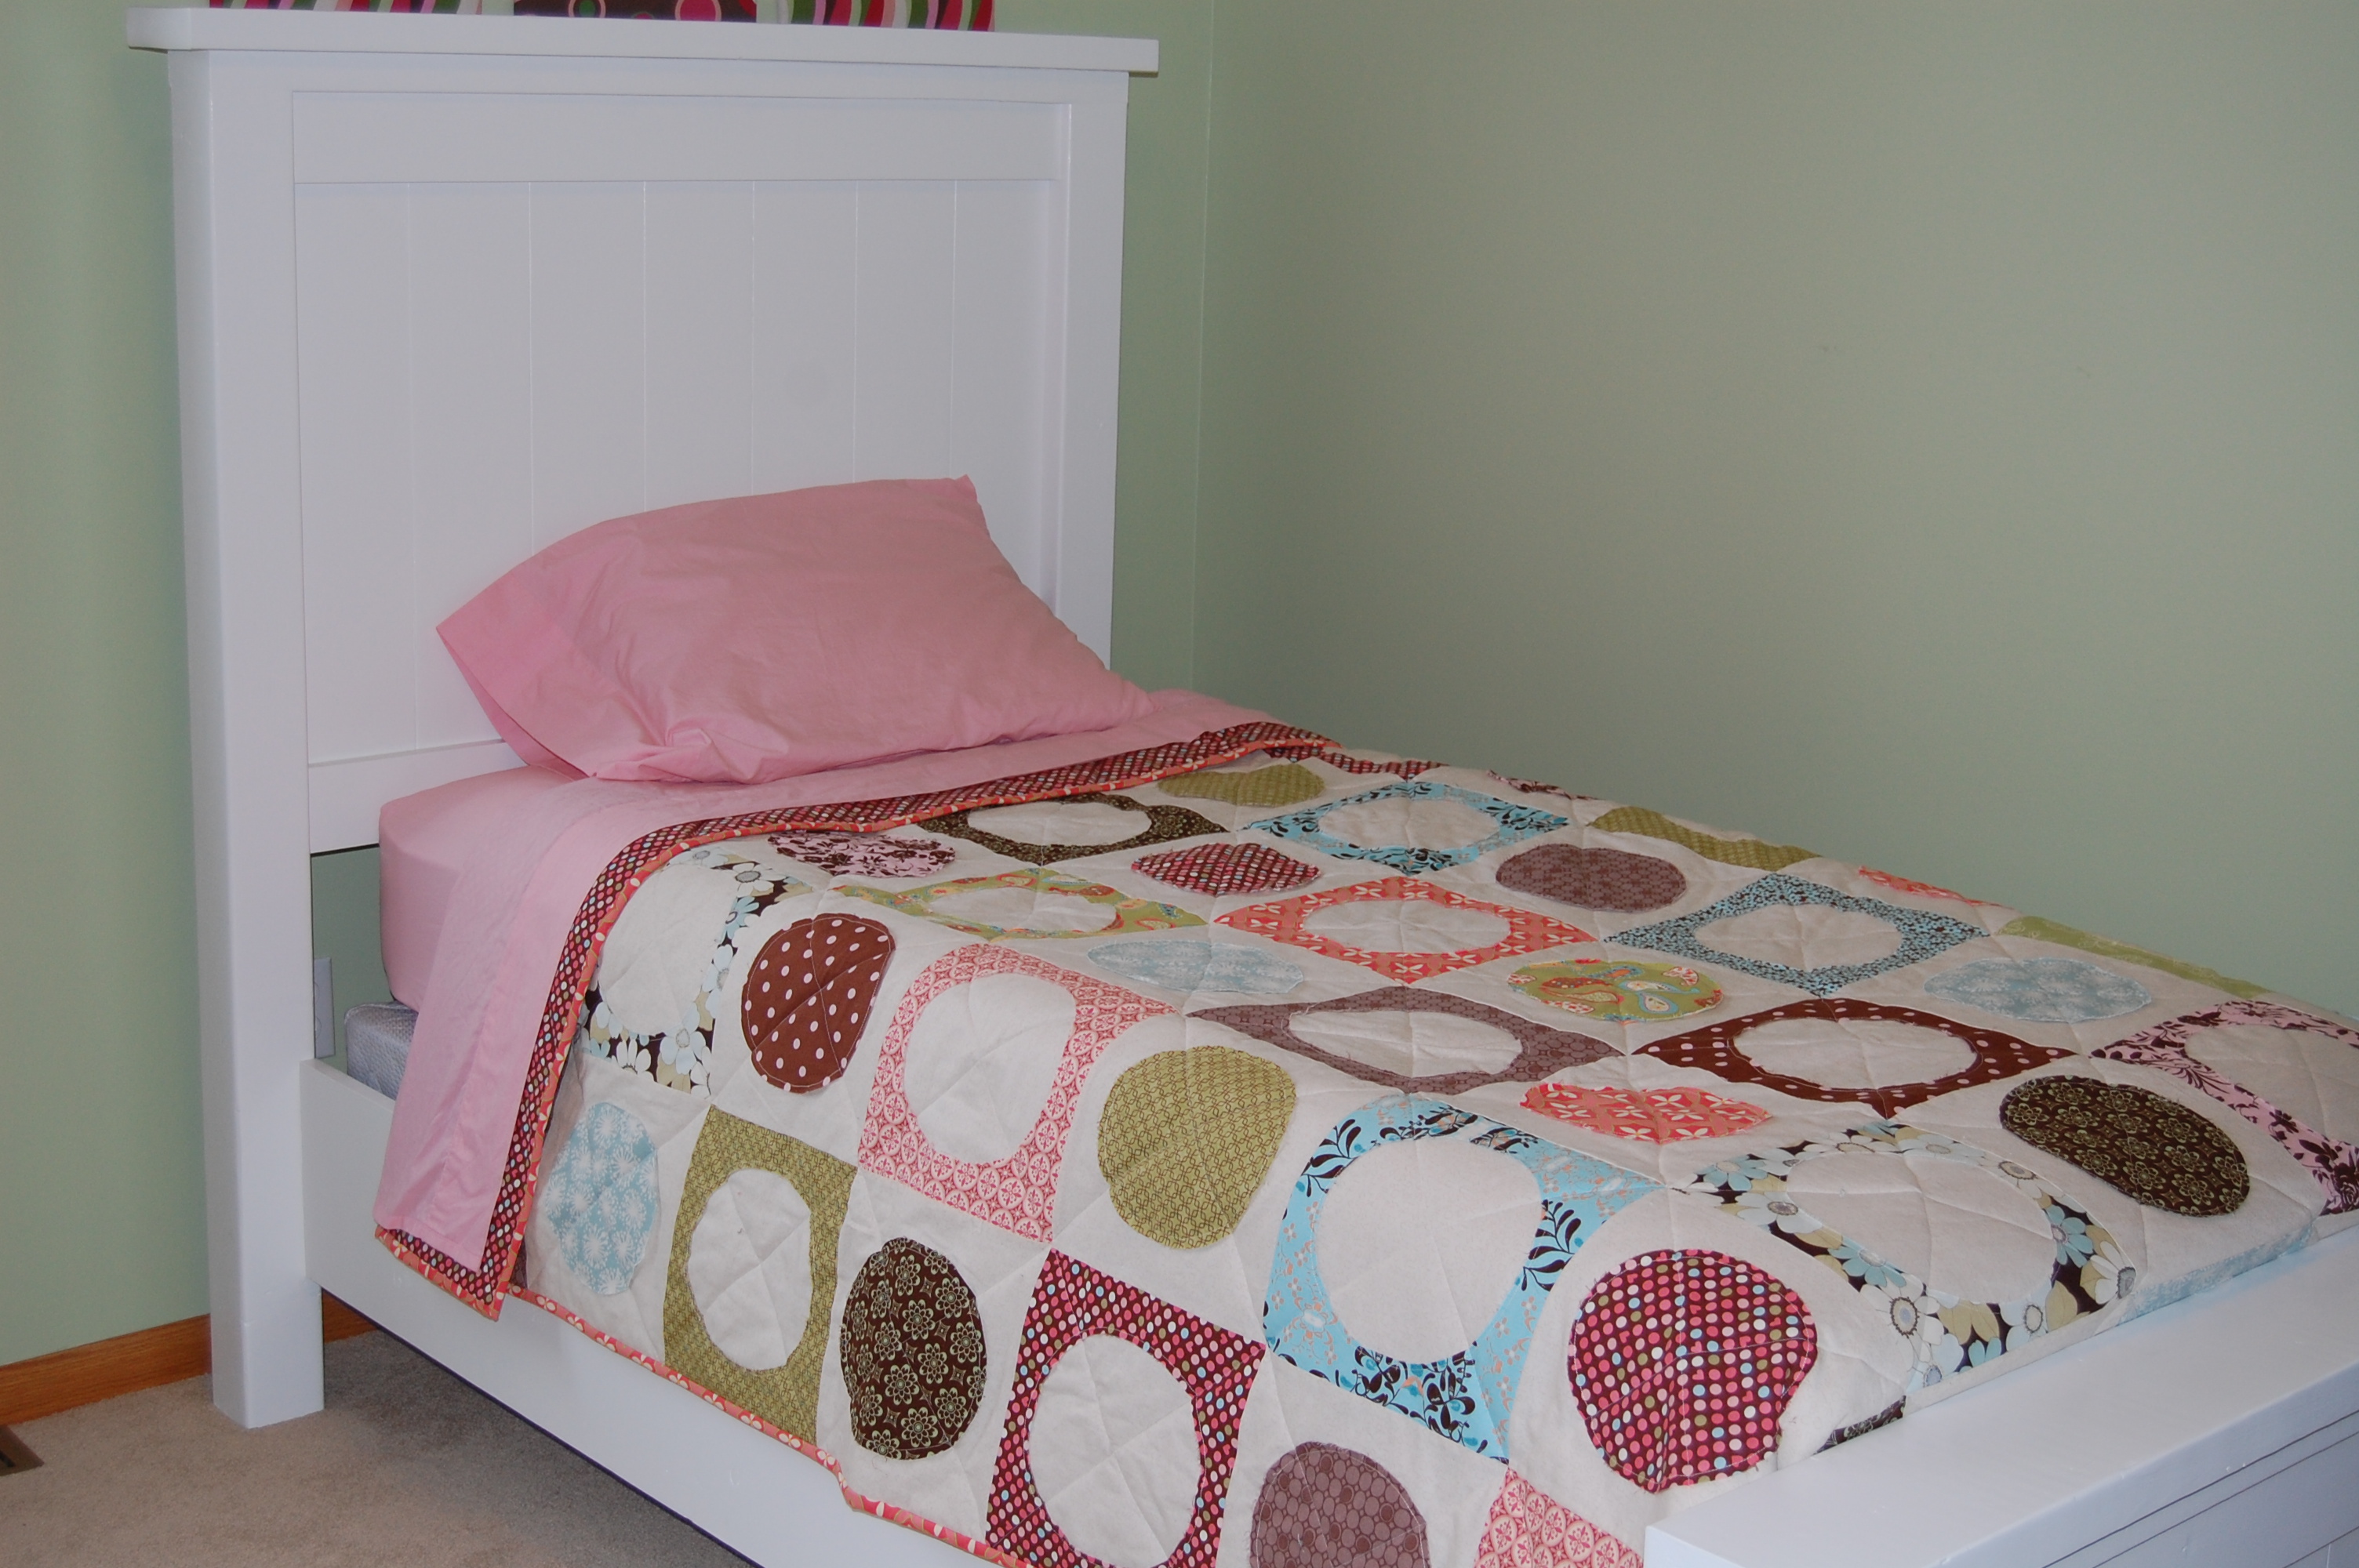
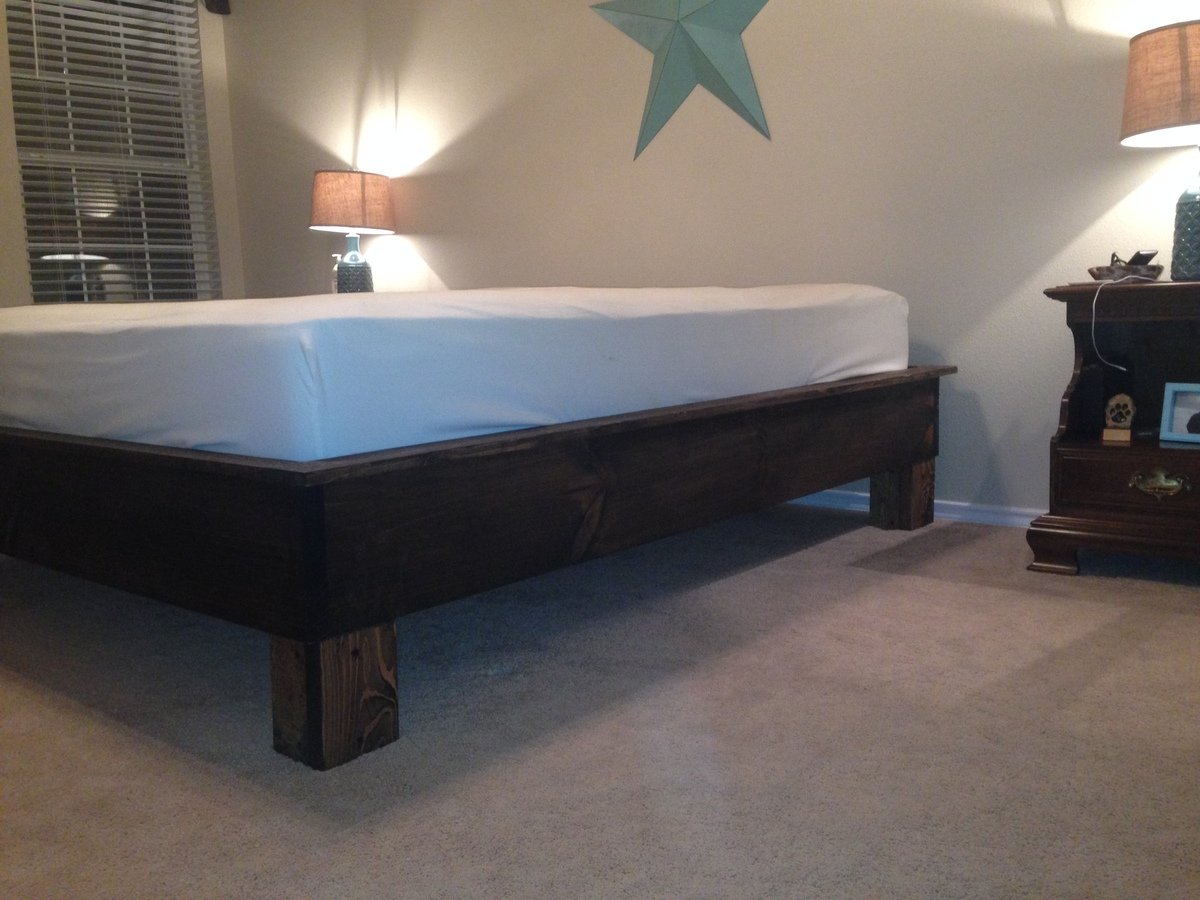
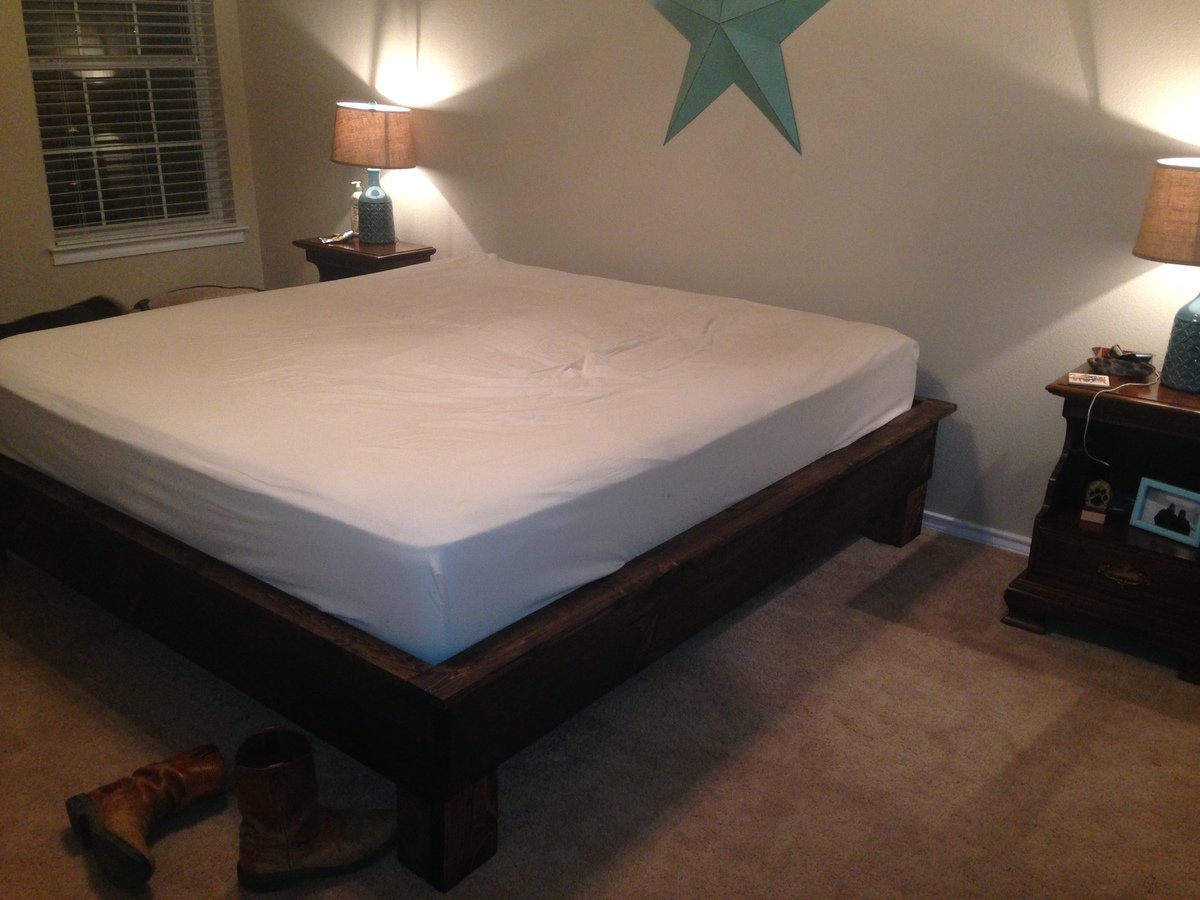
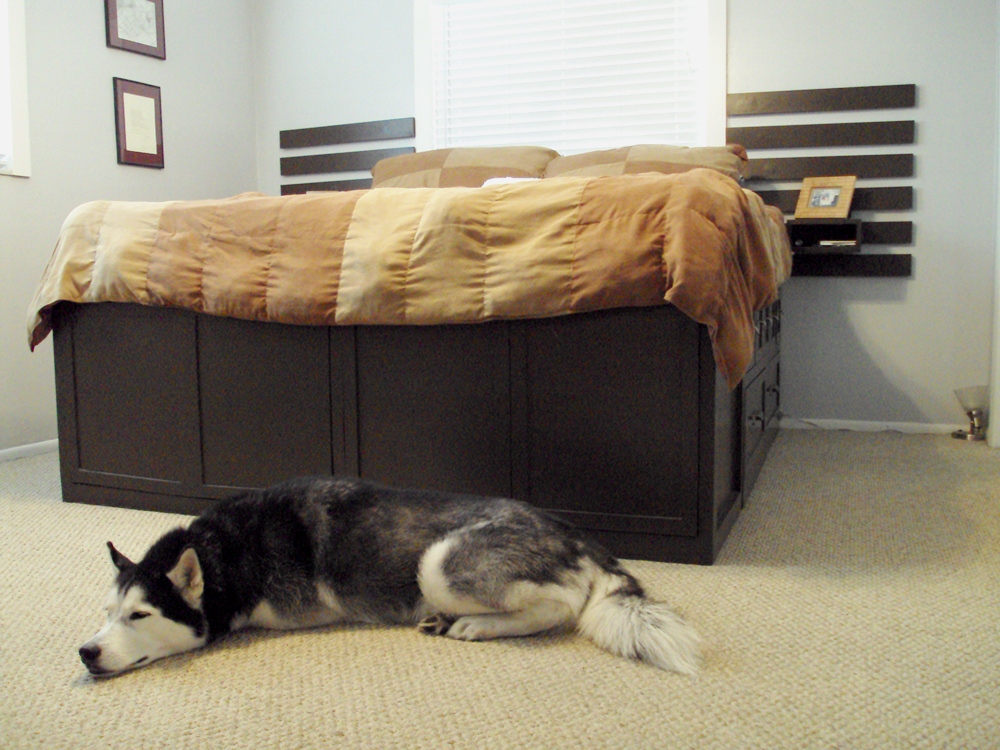
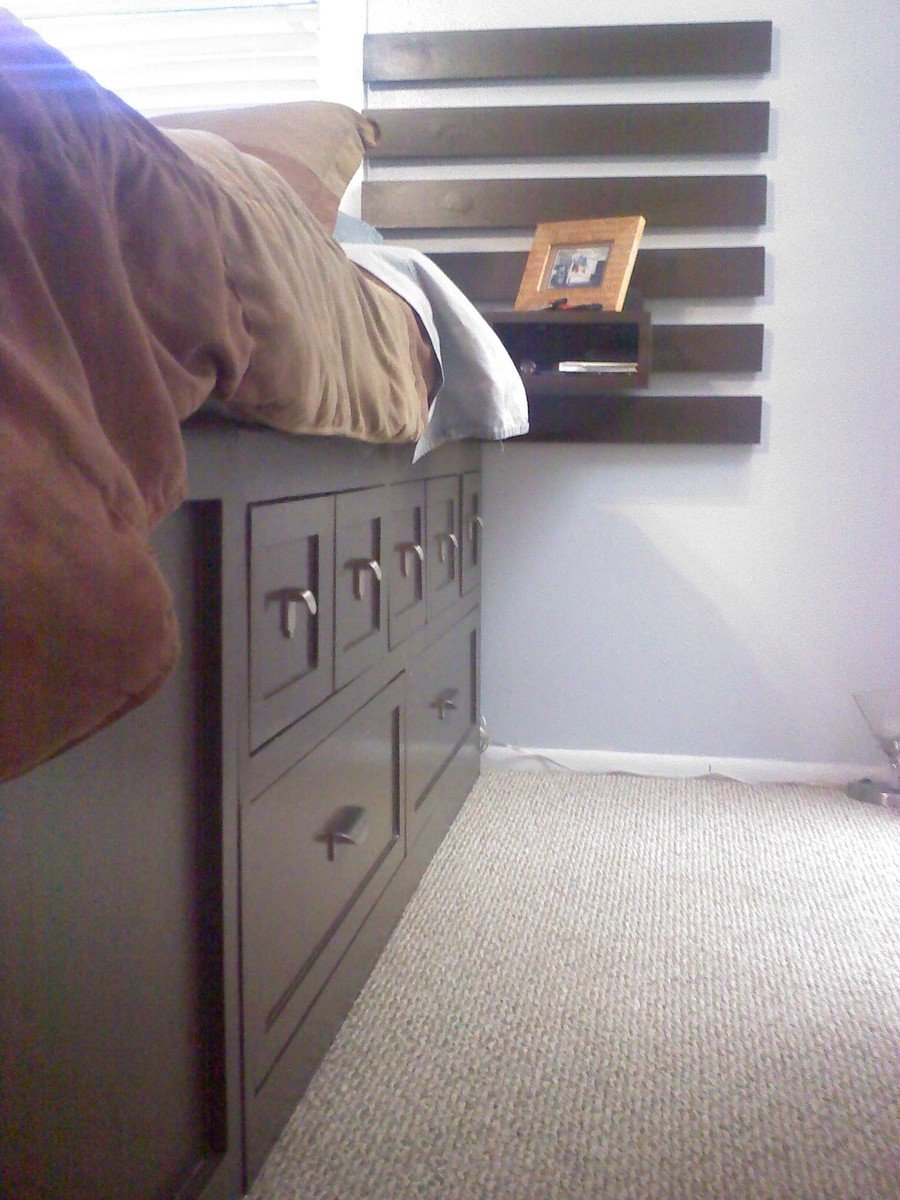
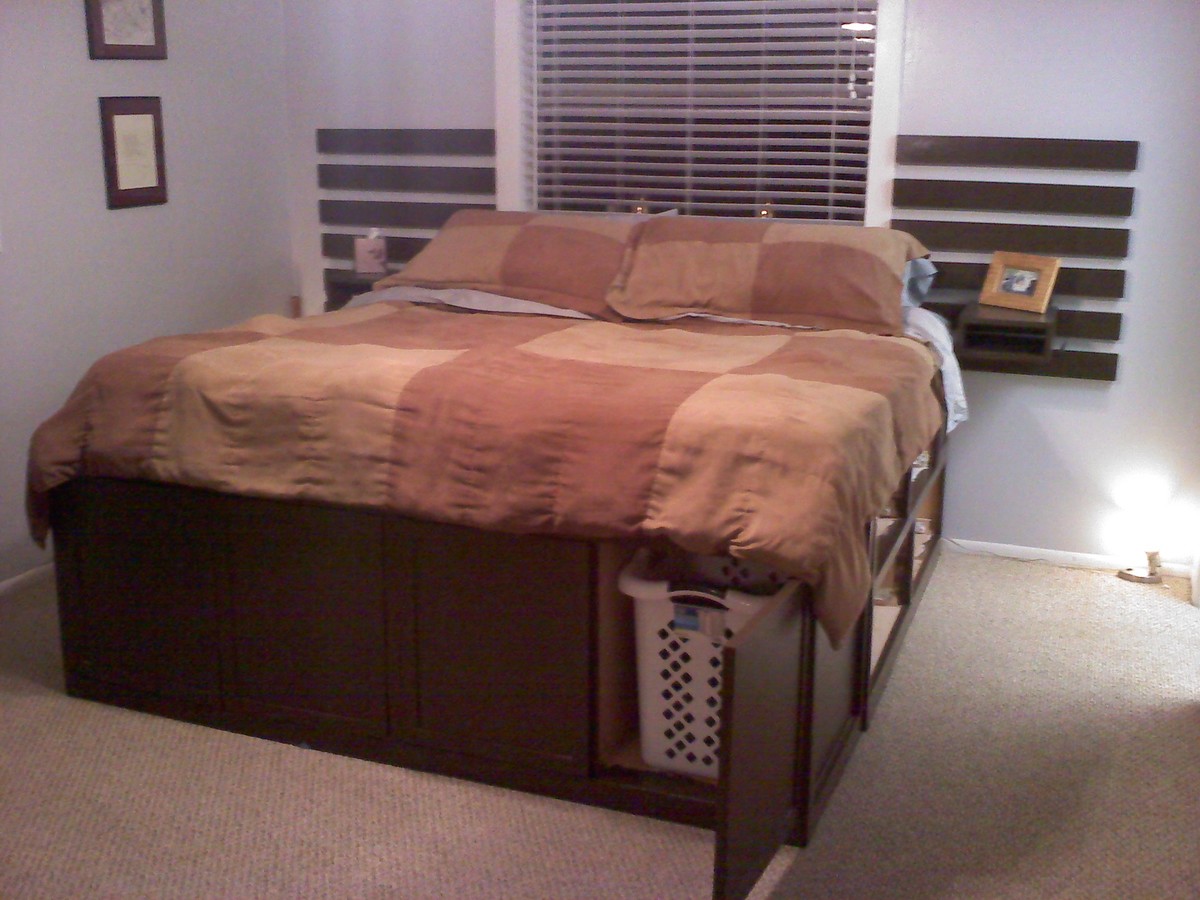
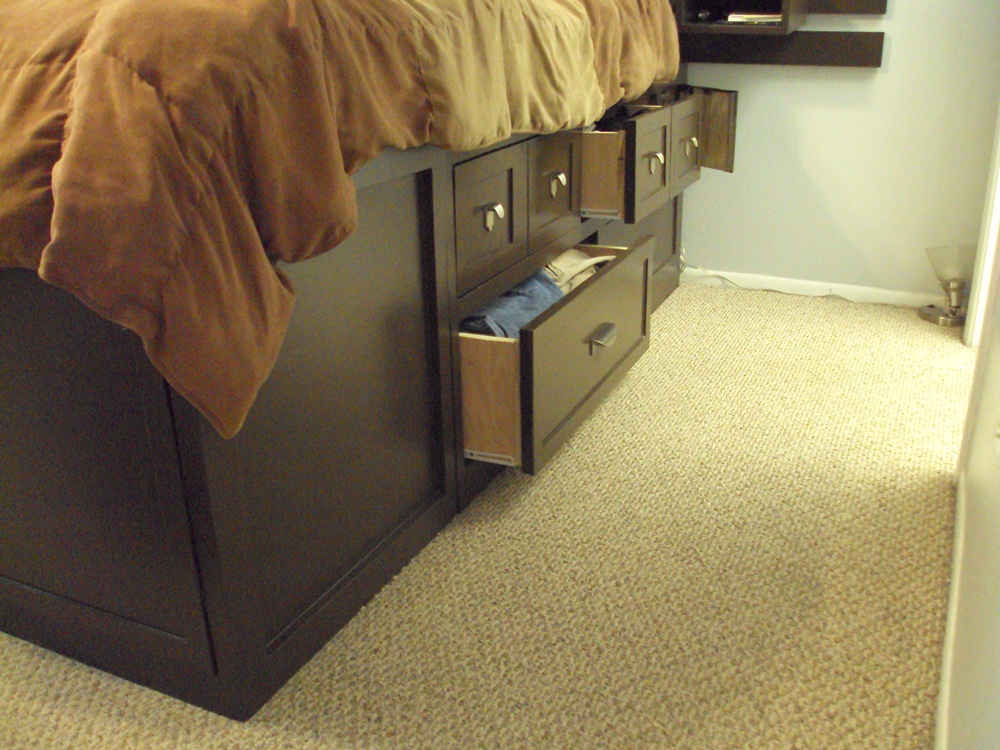
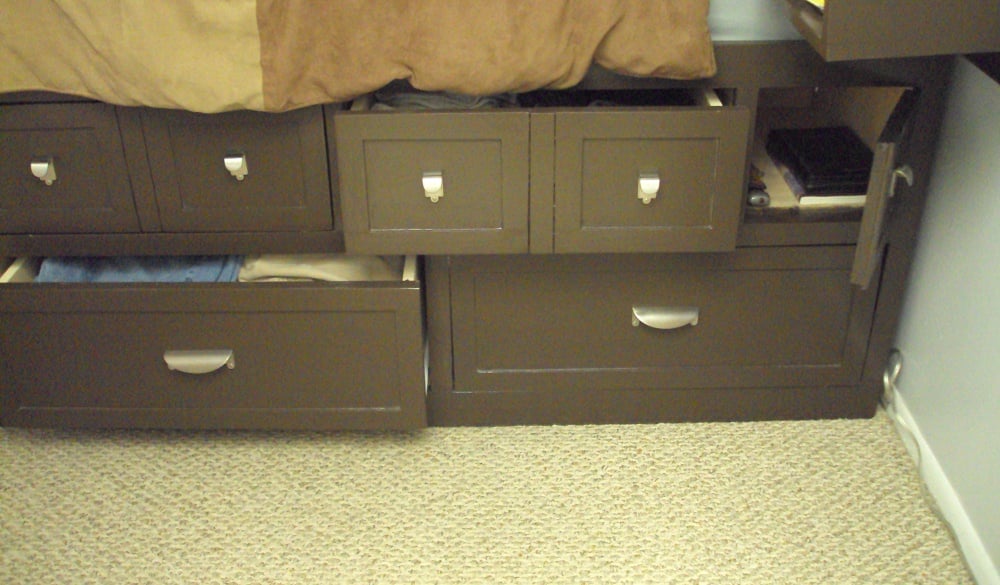
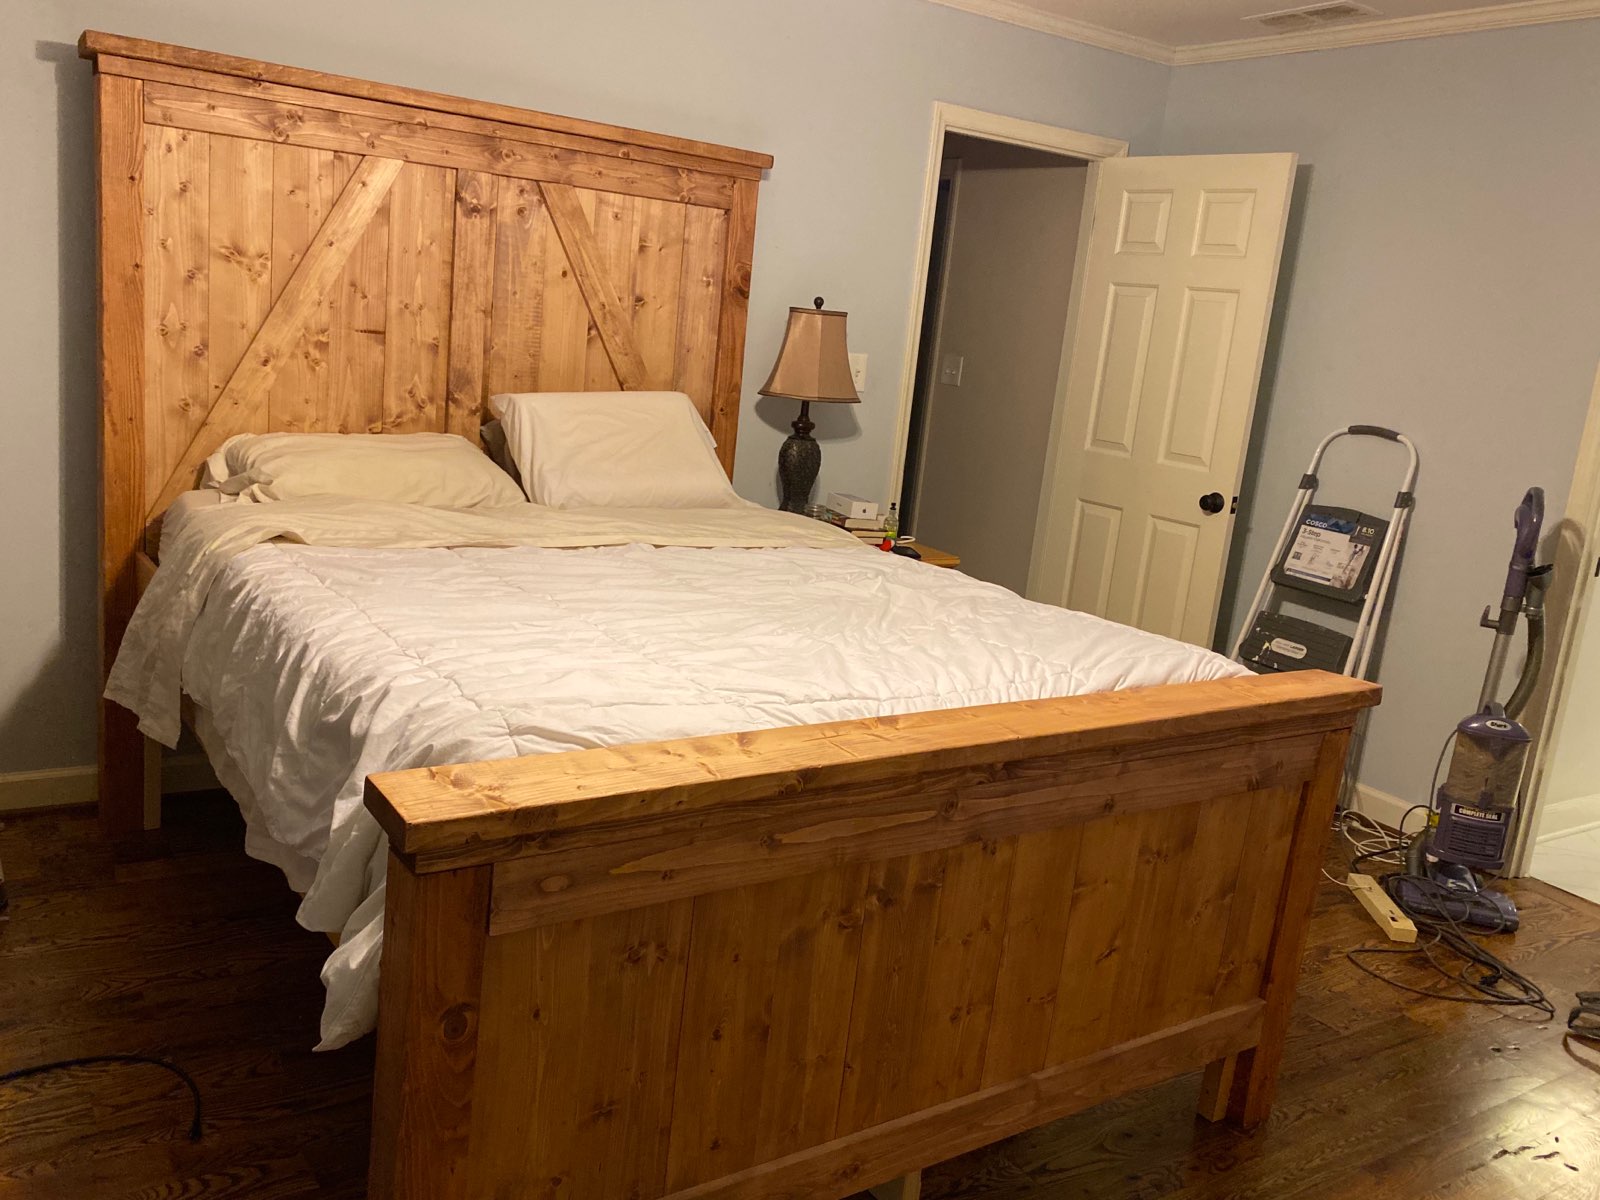
Twin Farmhouse Bed
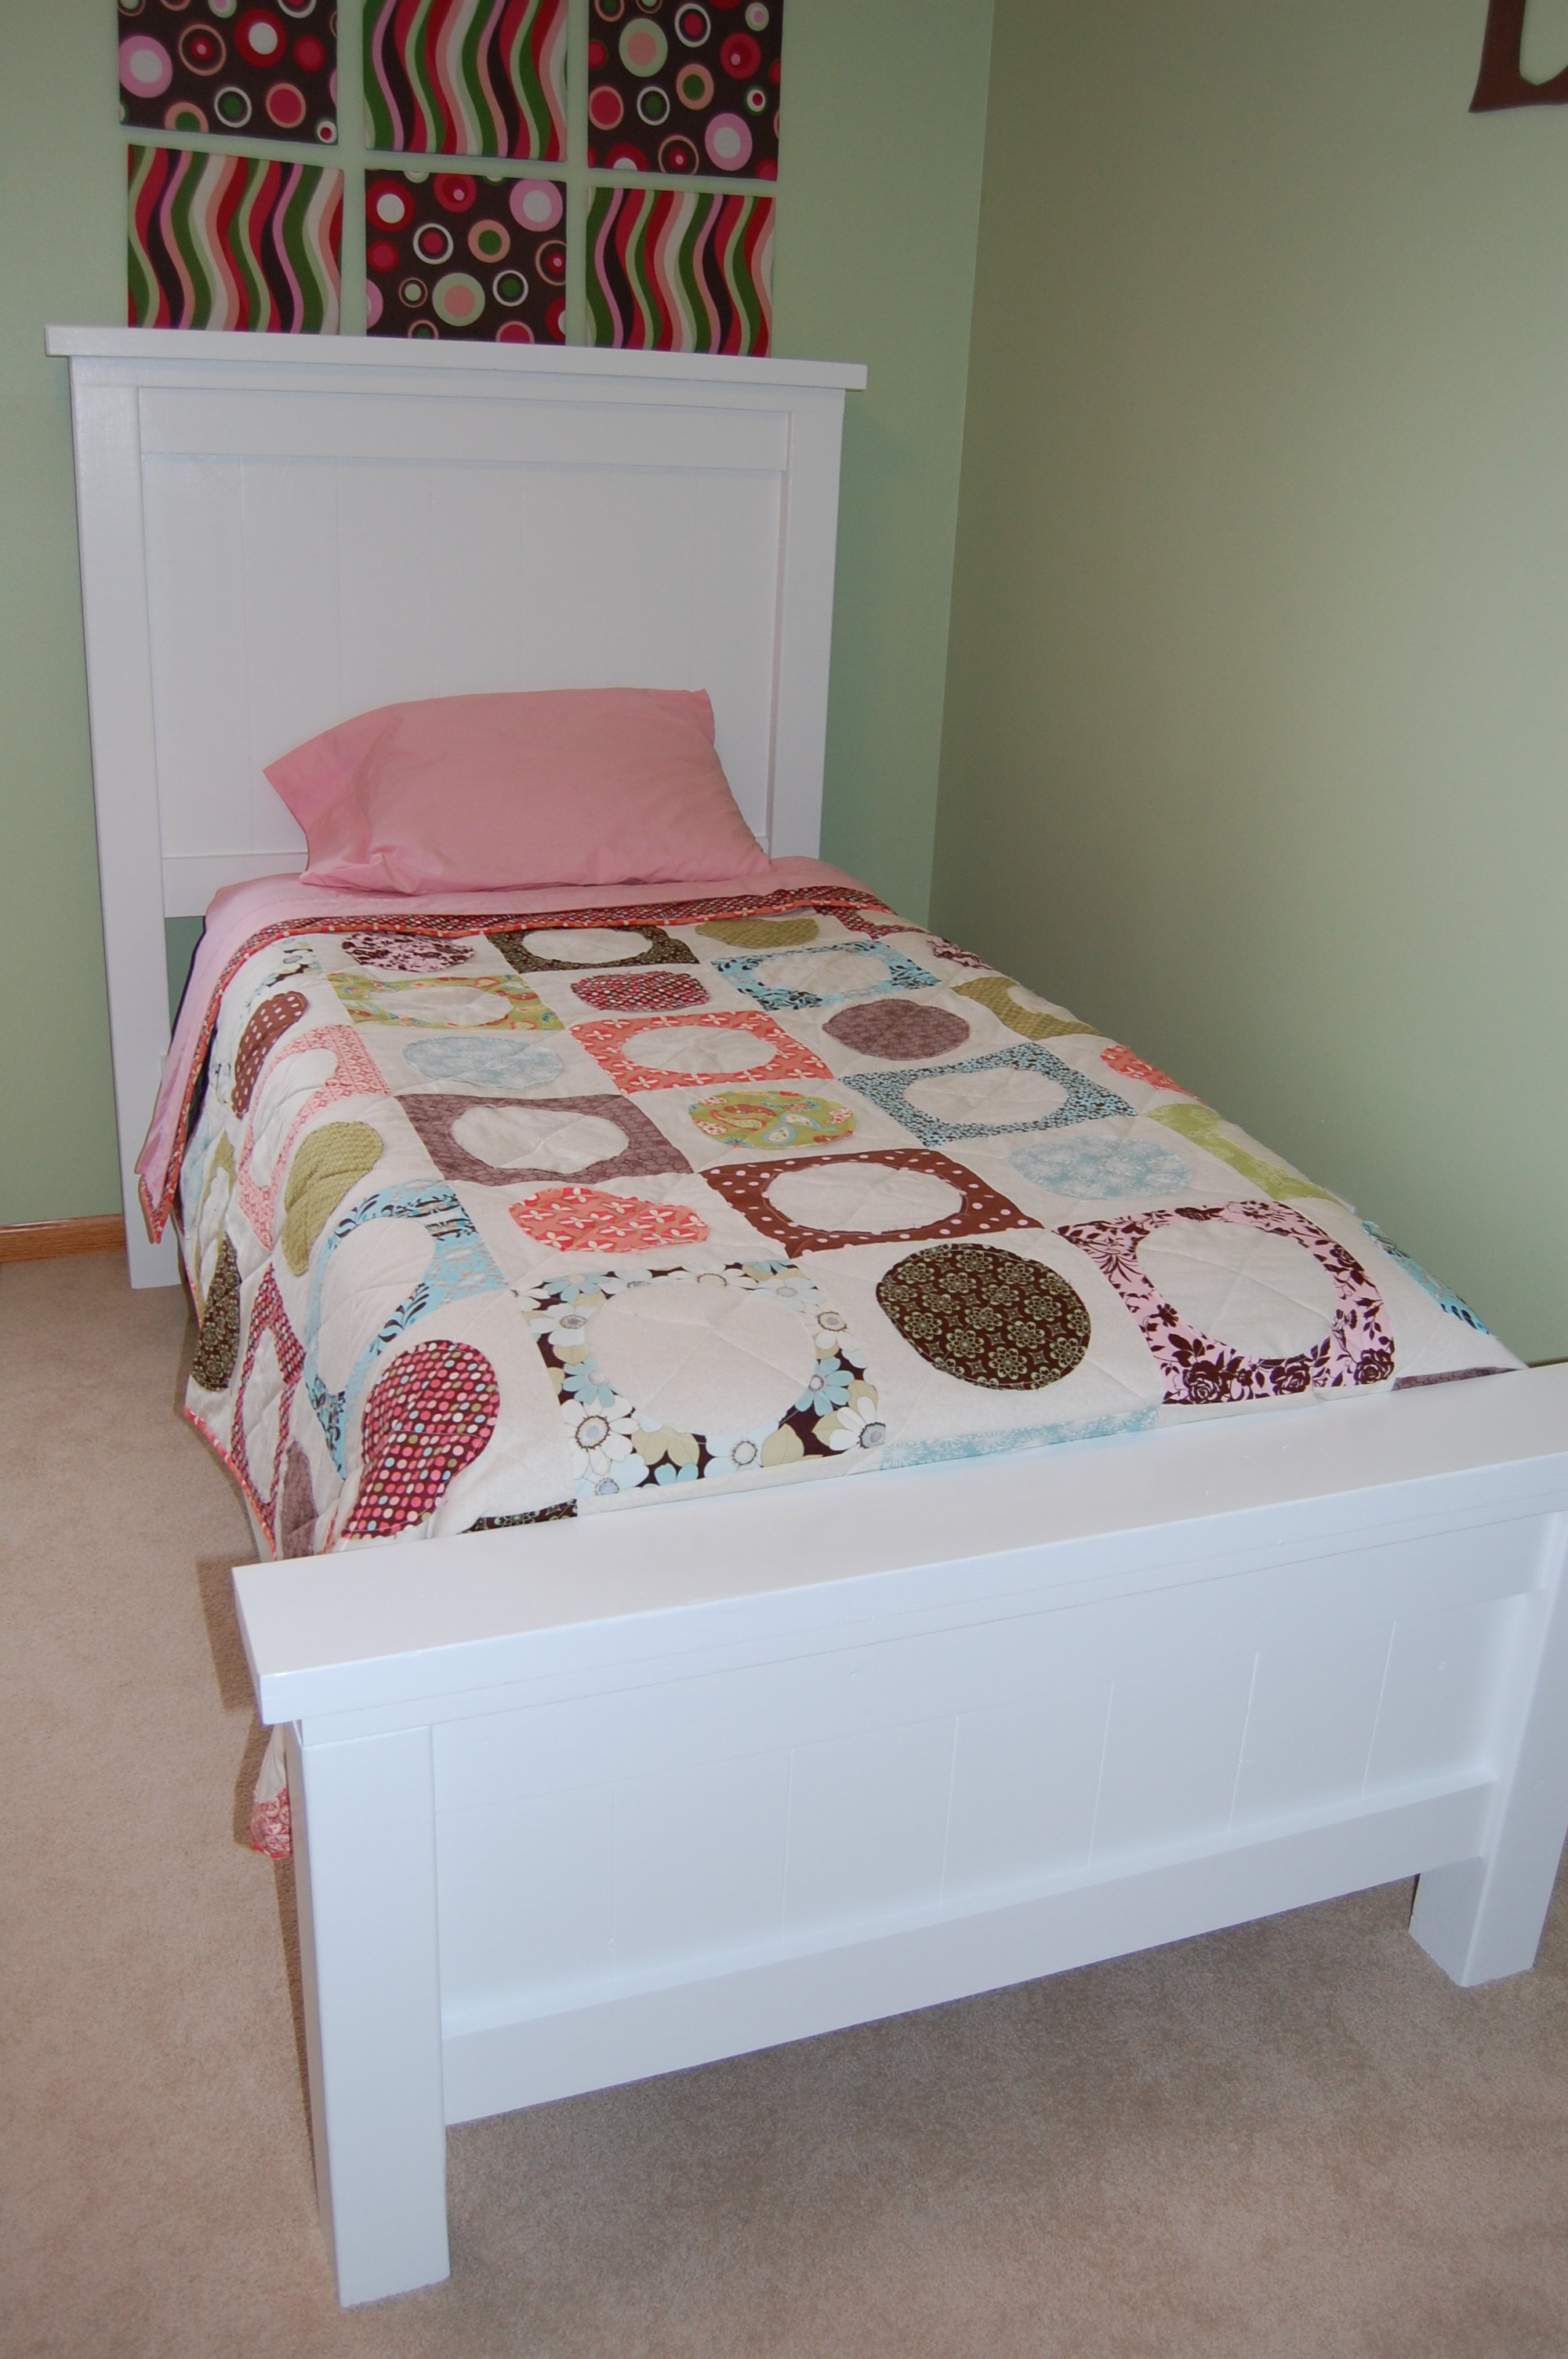
My daughter learned to climb out of her crib so we rushed to the furniture stores to find her a bed. I was very disappointed in the quality we found. I had this project in the back of my mind but didn't know how quickly I could get it done. It was really quite easy and we got her in her new bed in no time! She loves it and I think it was better than anything we saw in a store and way less expensive!! I even made the quilt for her.
Built from Plan(s)
Estimated Time Investment
Weekend Project (10-20 Hours)
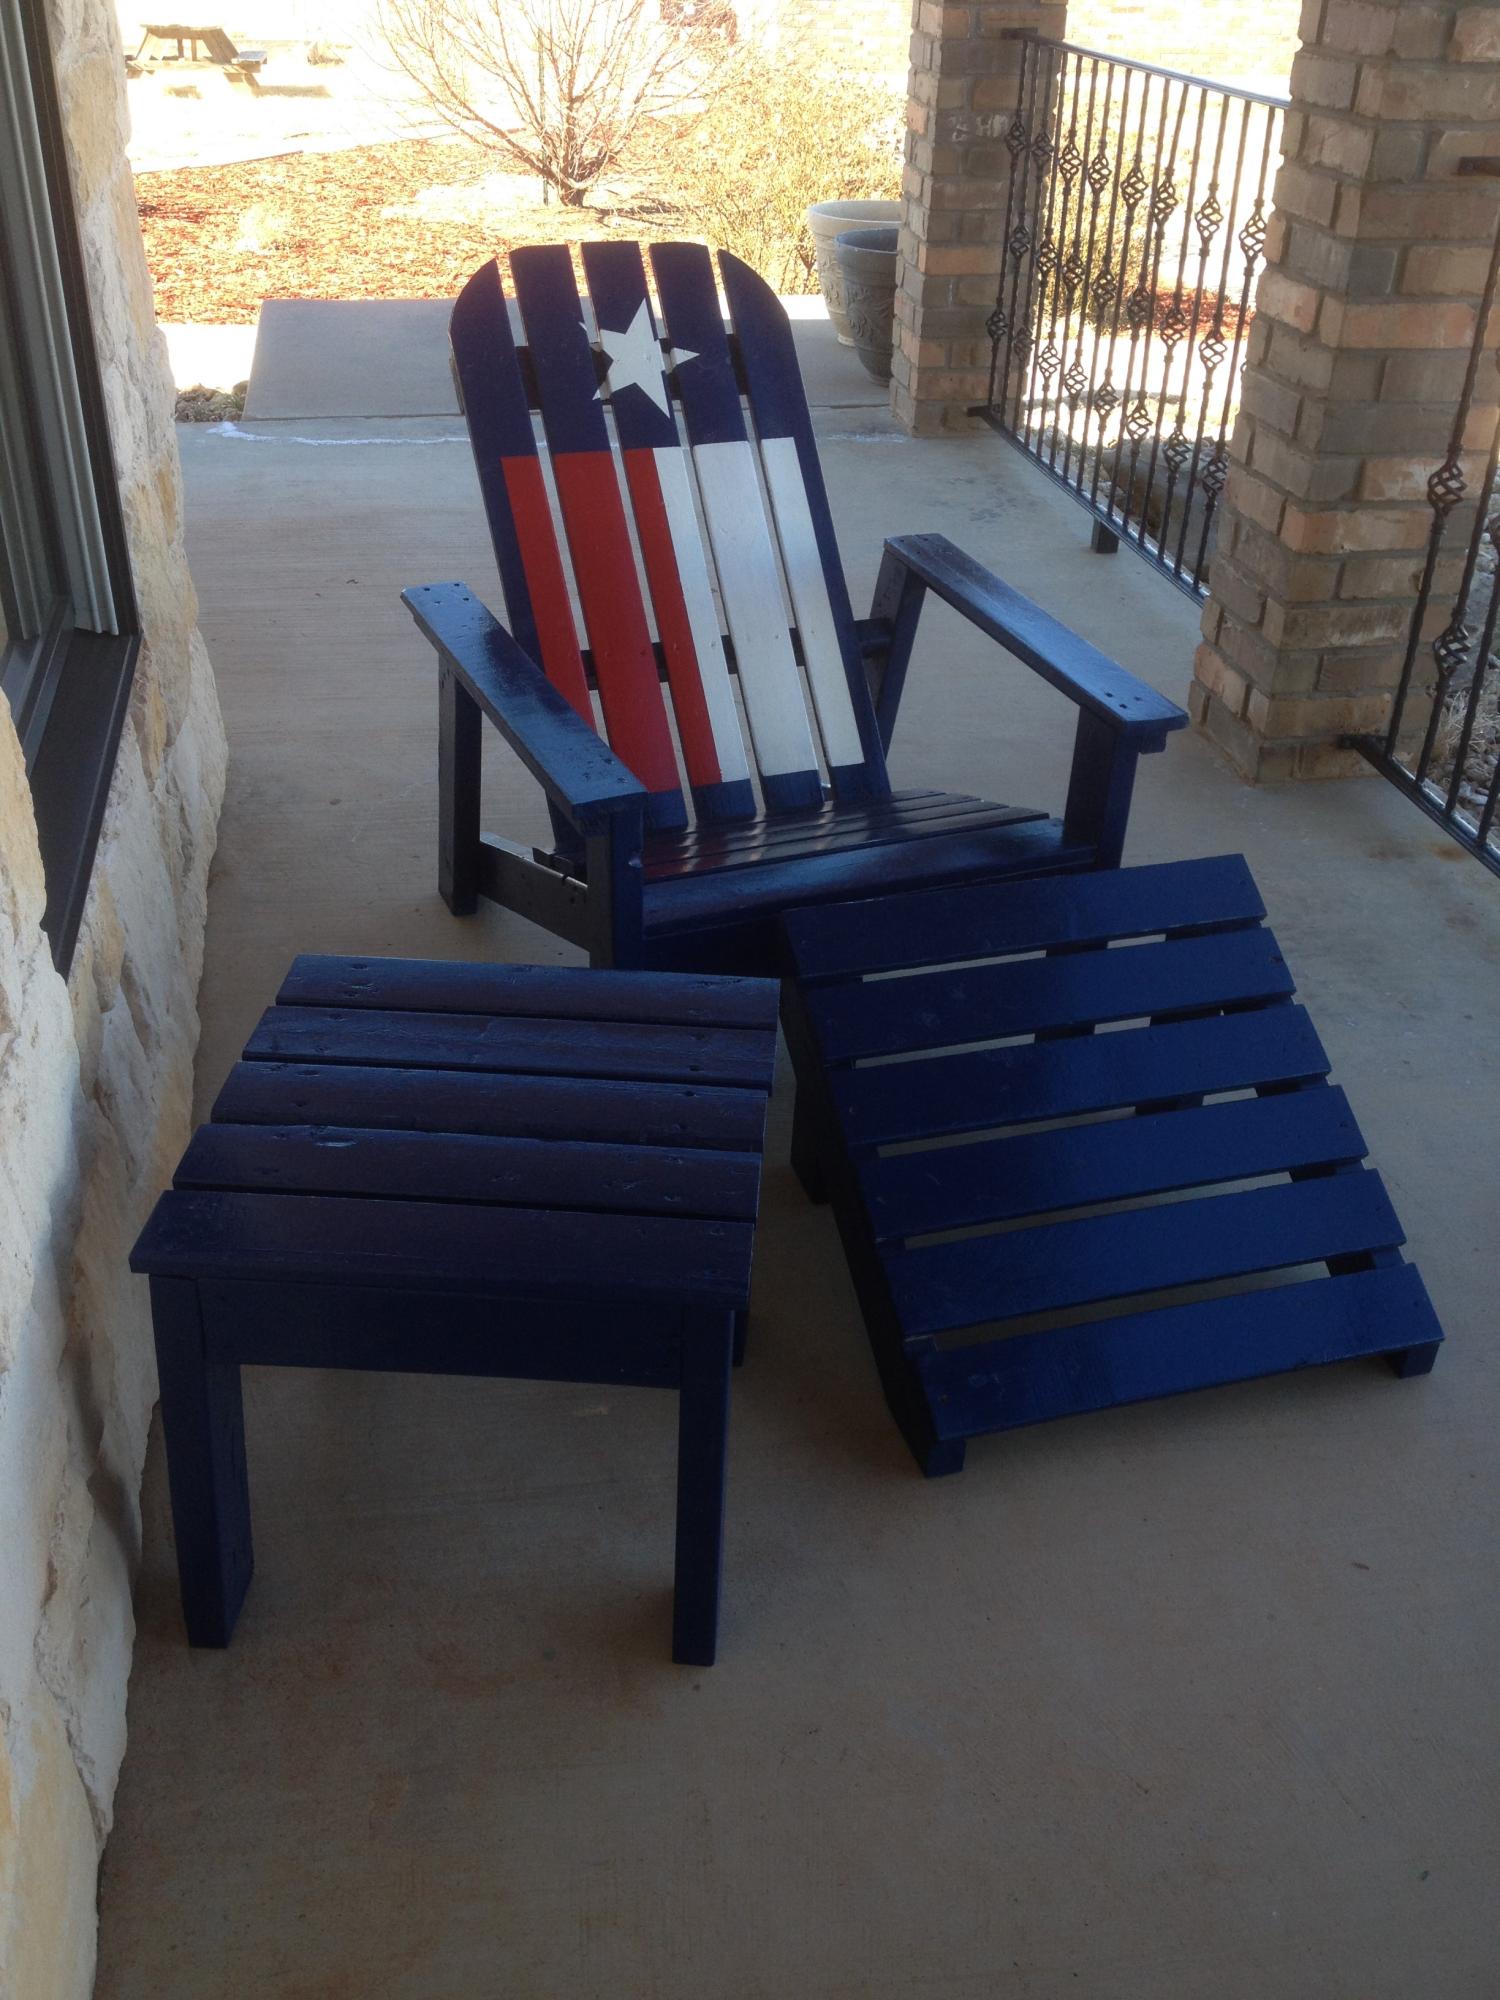
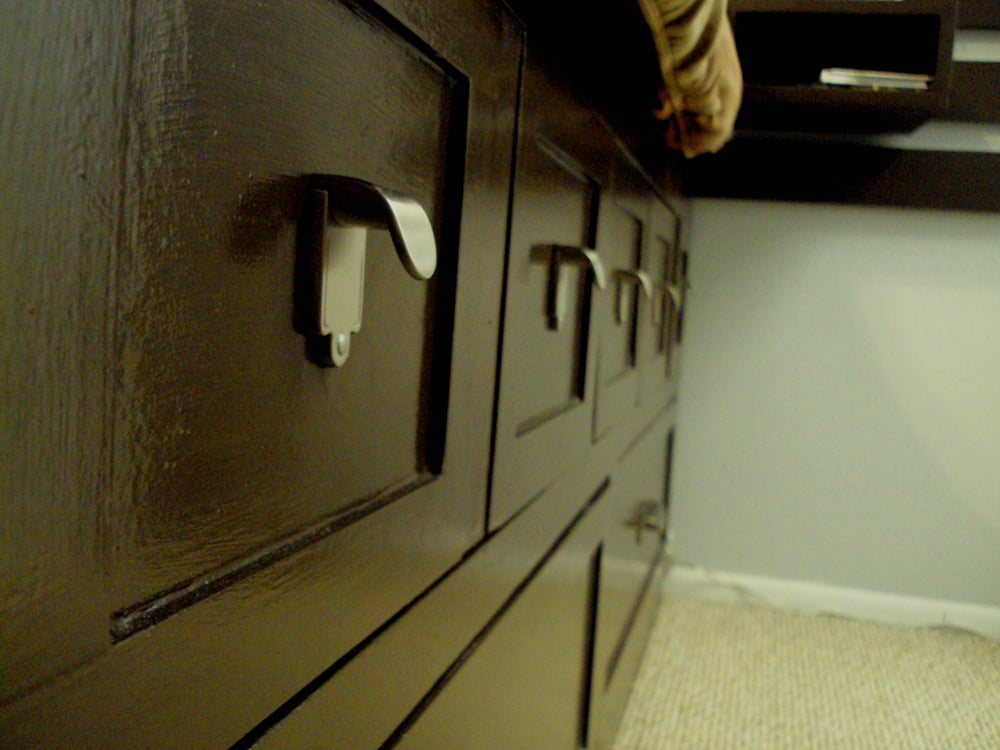
Finish Used
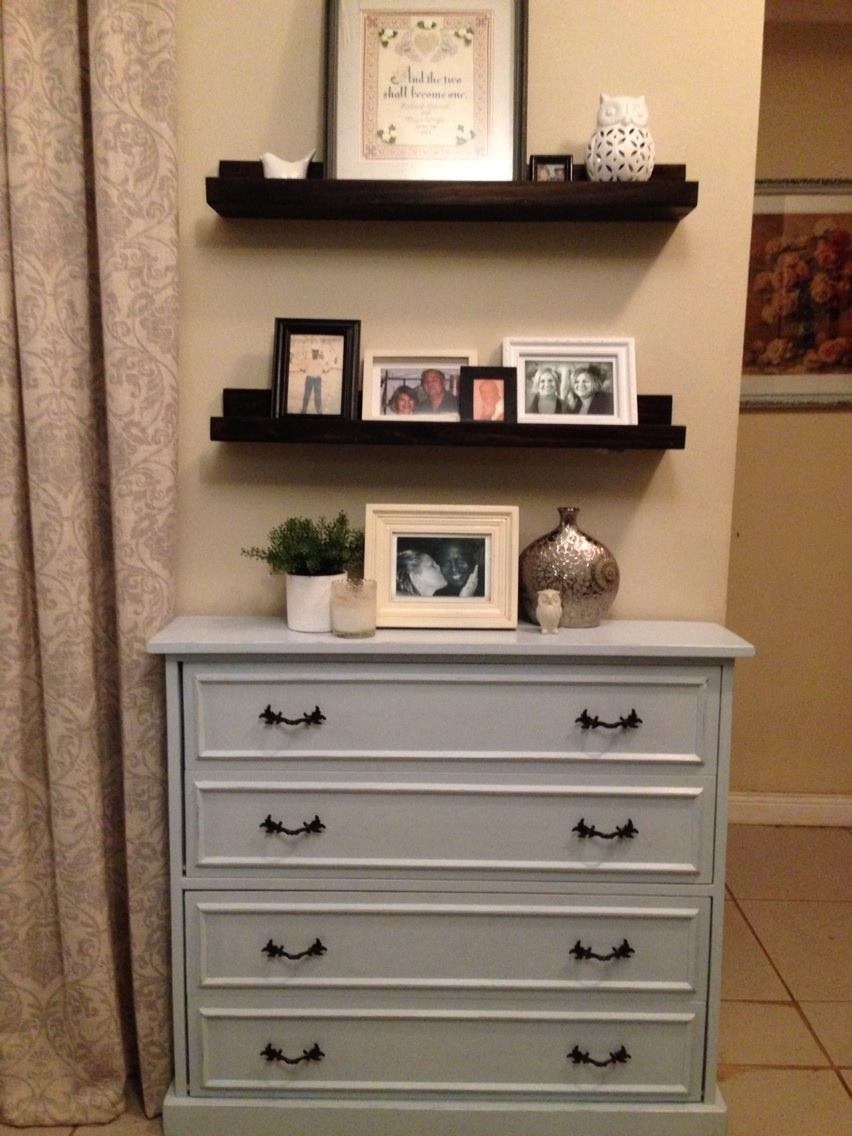
I used ProClassic Interior acrylic latex paint in gloss from Sherman Williams (as noted in another brag post). Using a mini roller saved a lot of time with the finish.
Recommended Skill Level
Starter Project


Comments
kylihoot
Thu, 03/08/2012 - 19:13
I love it!
I love it!