Community Brag Posts
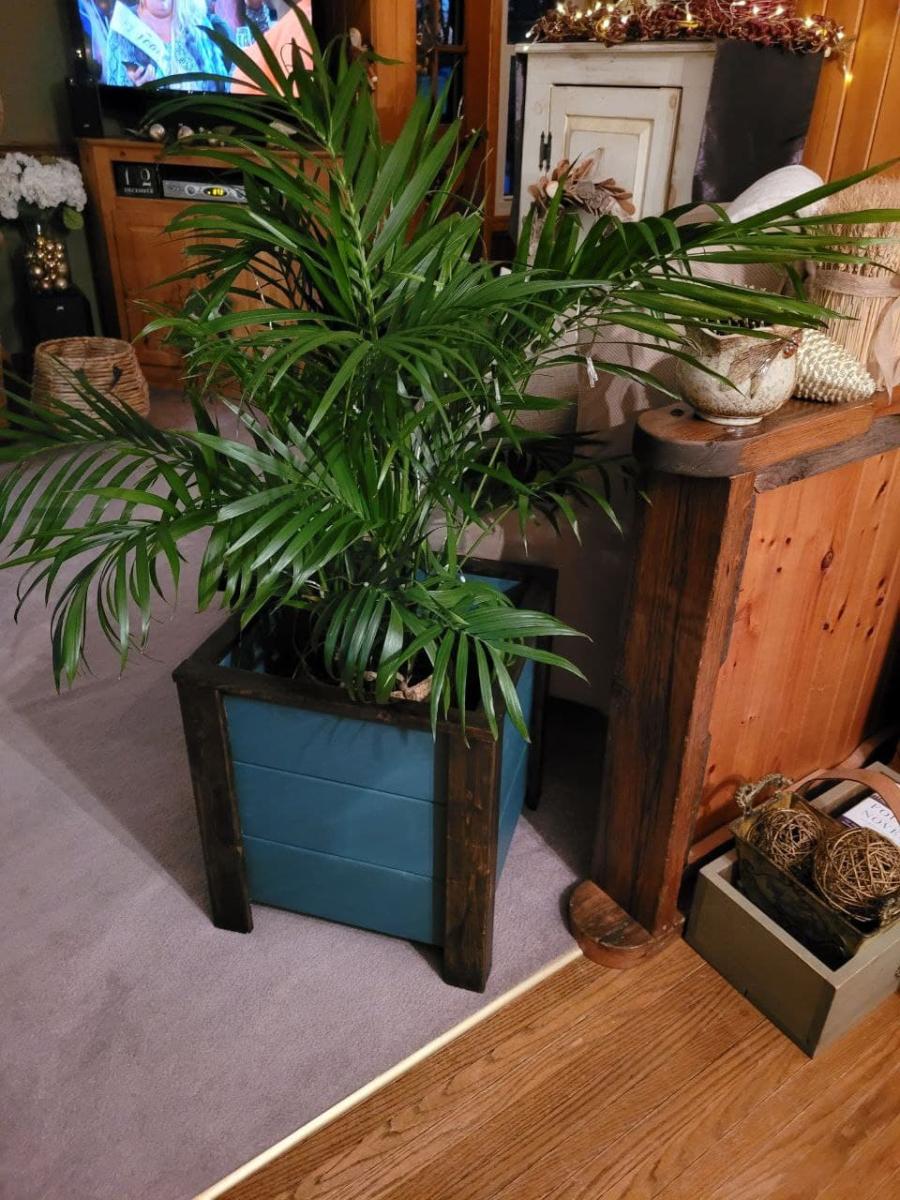
Lovely DIY Planter
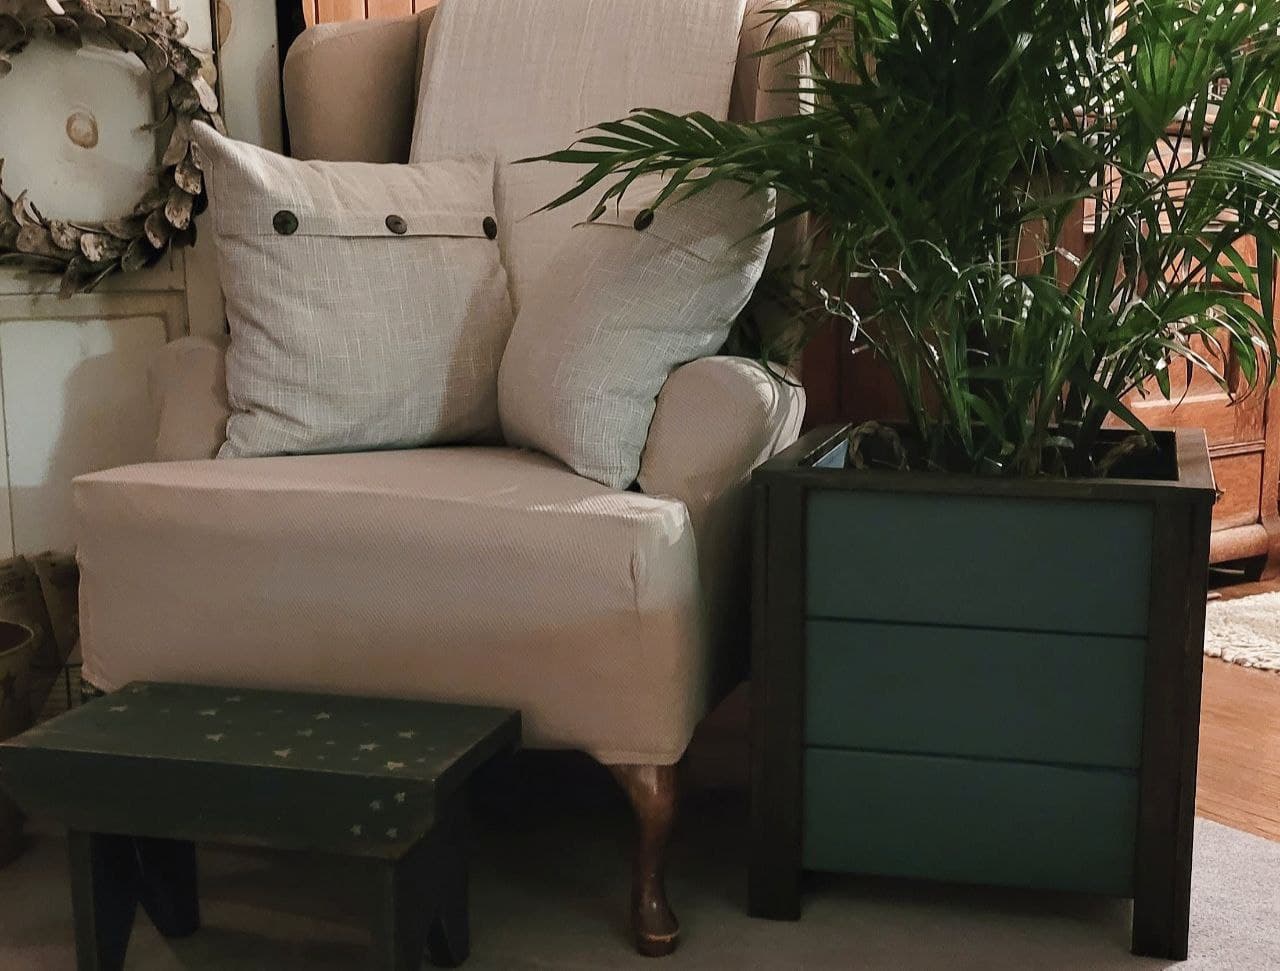
Loved making this. Was my first project ever. Thank you so much for the easy to use plans. Finished with Fusion Seaside and Dark Walnut stain.
Built from Plan(s)
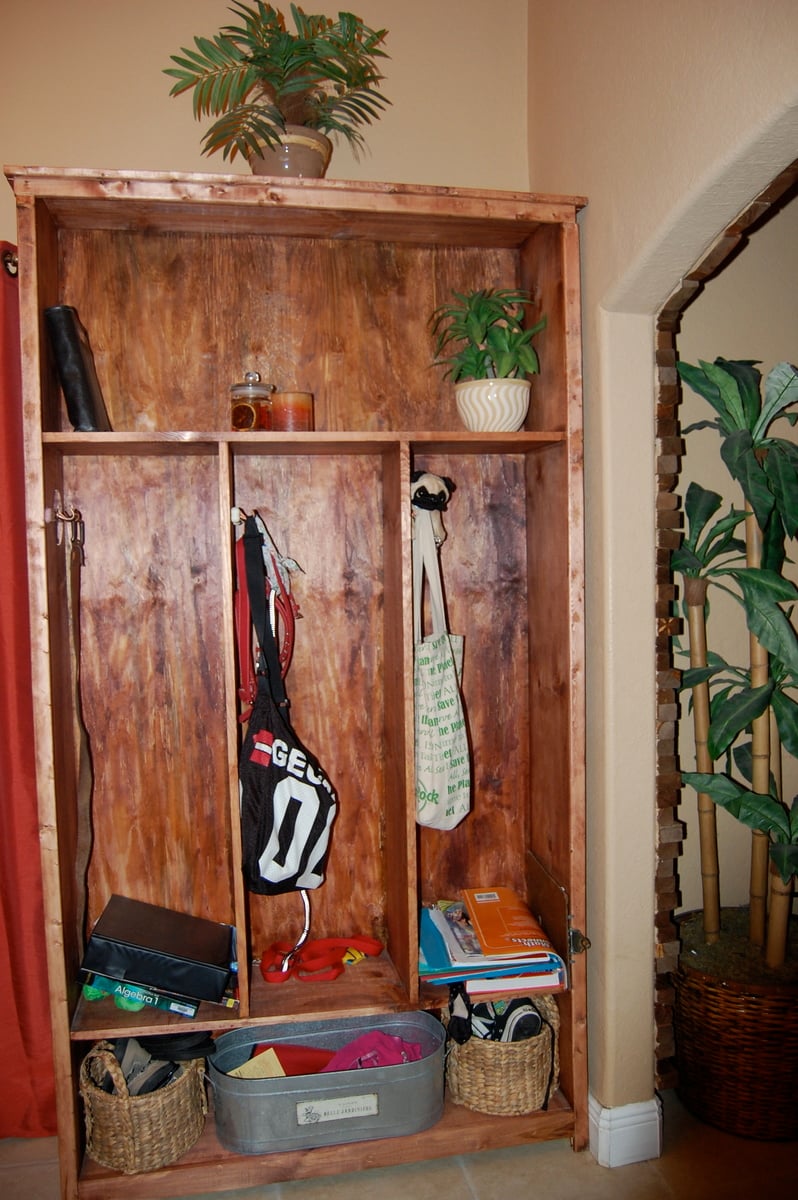
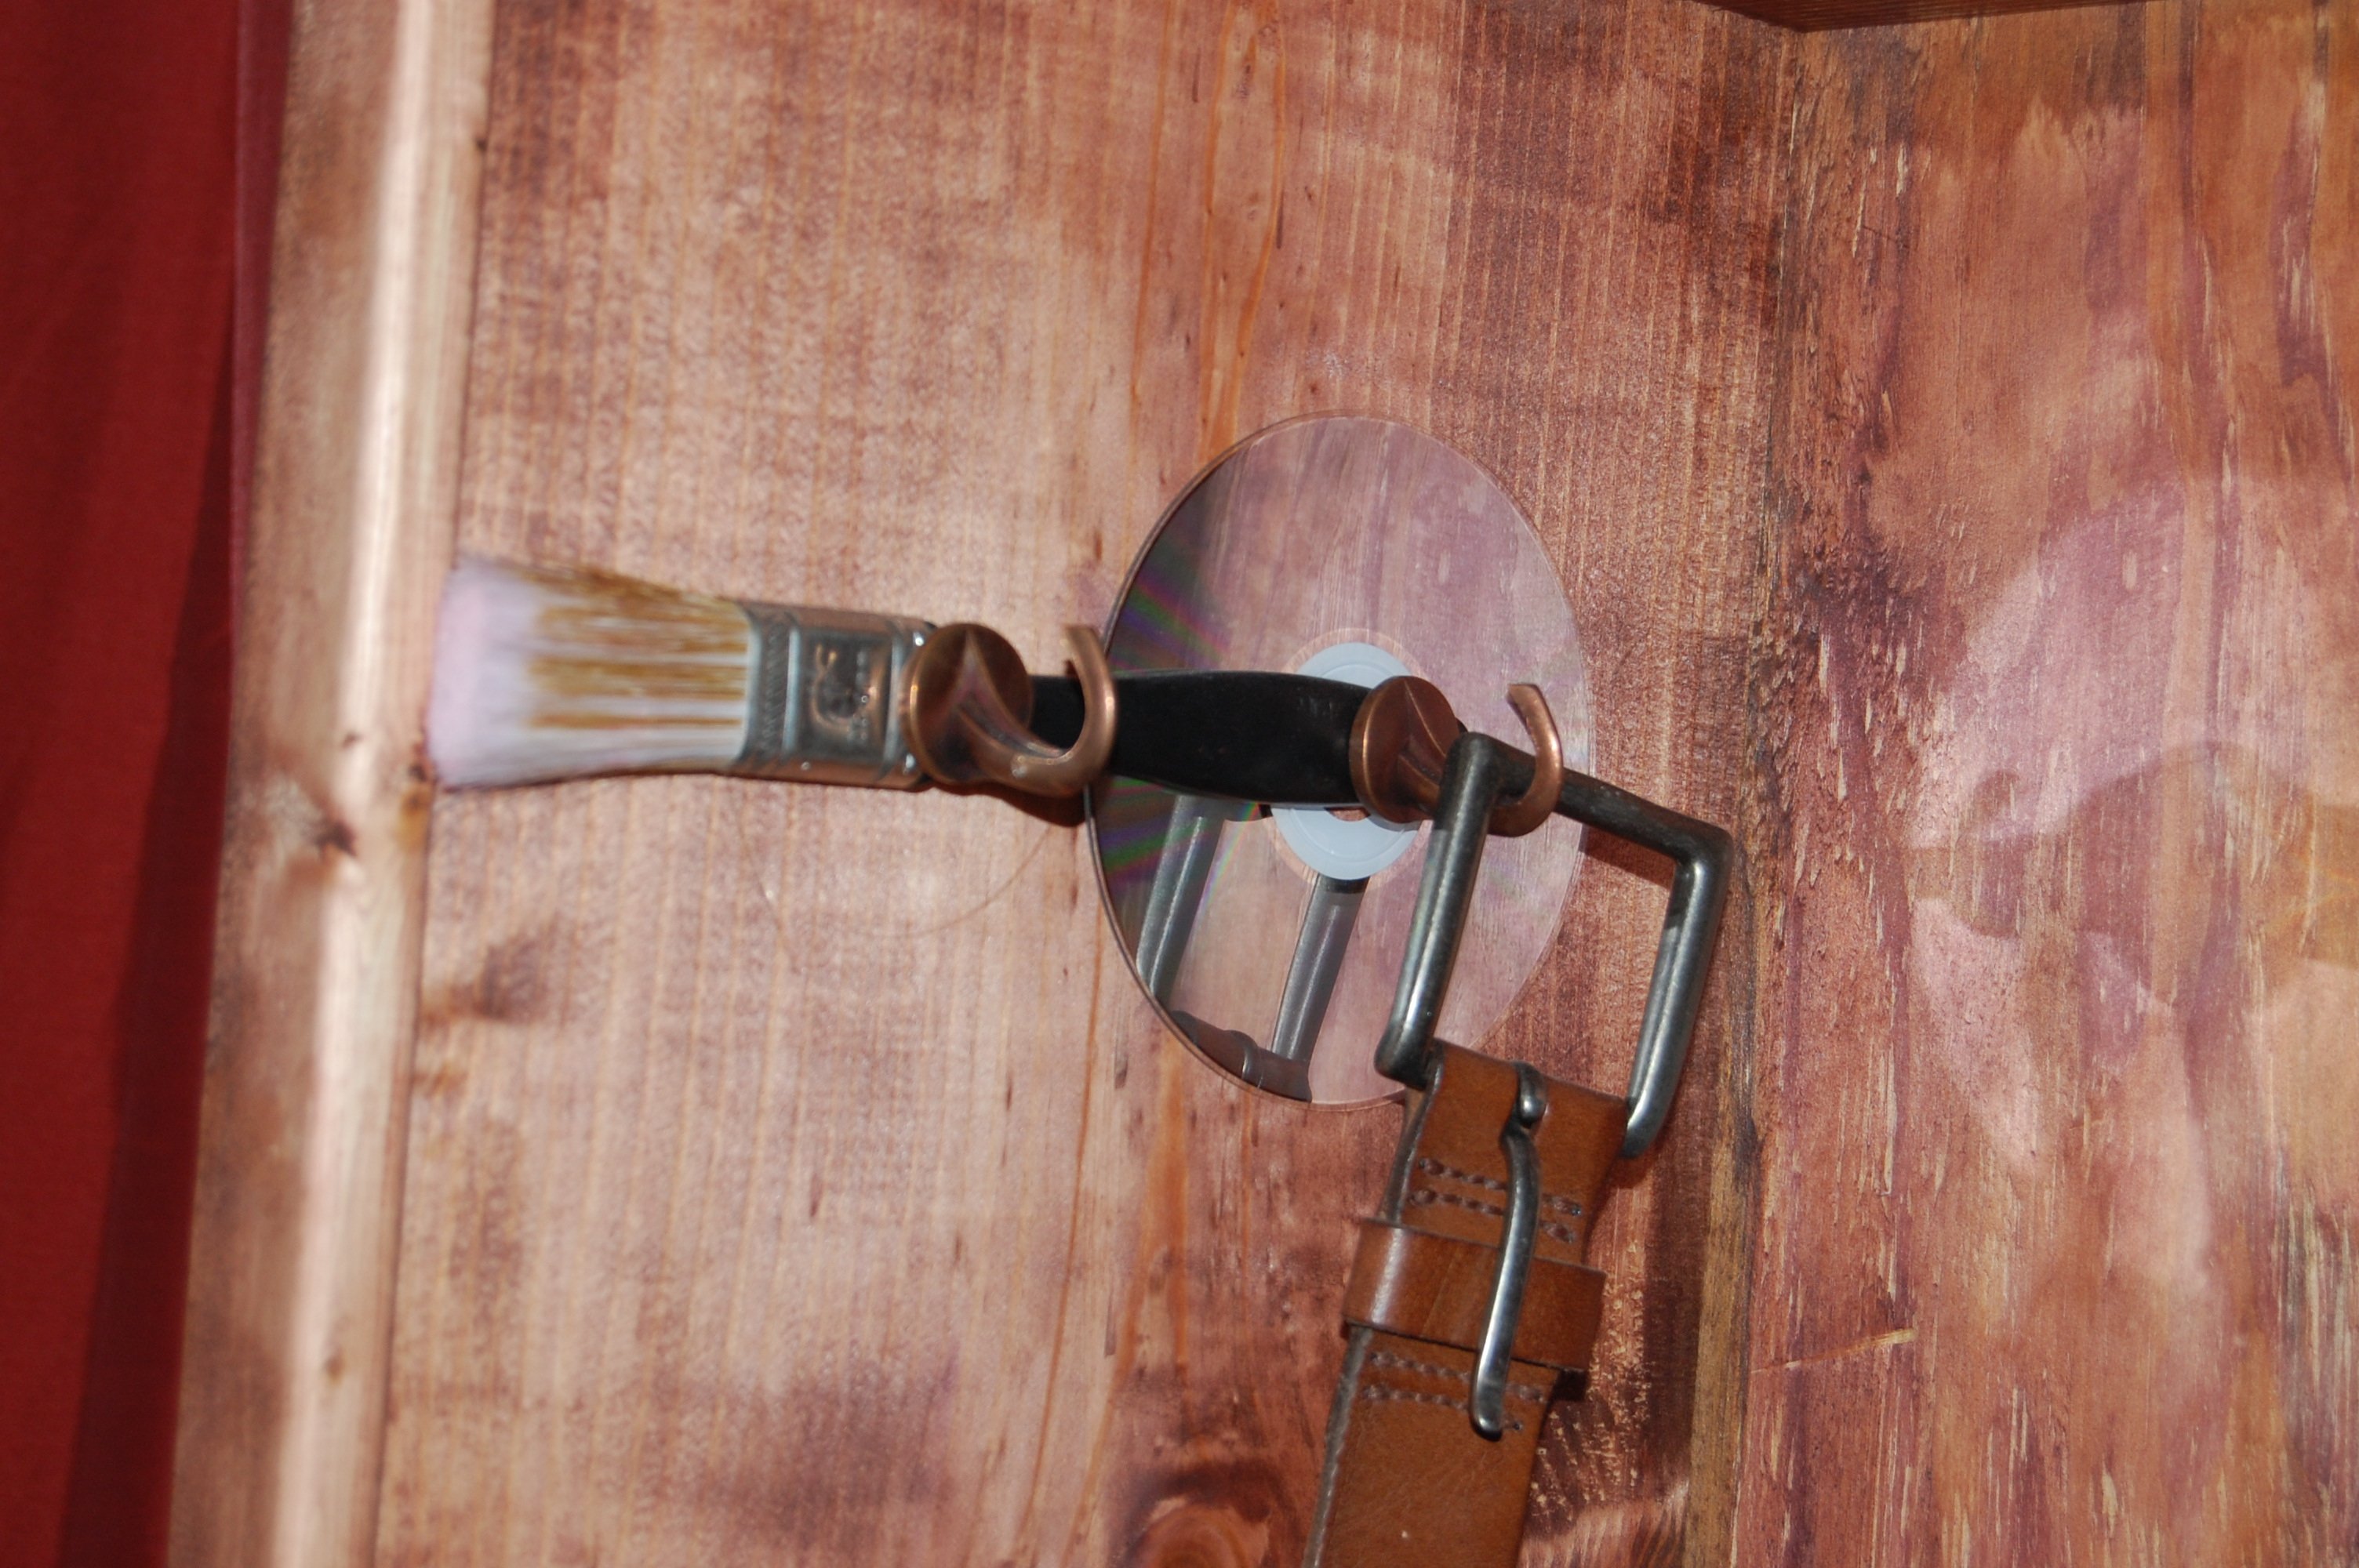
My locker Cabinet
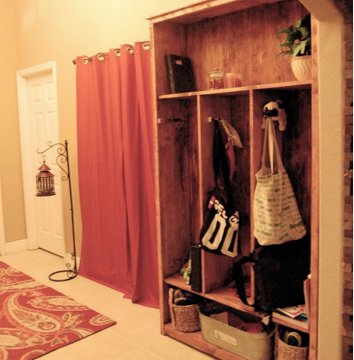
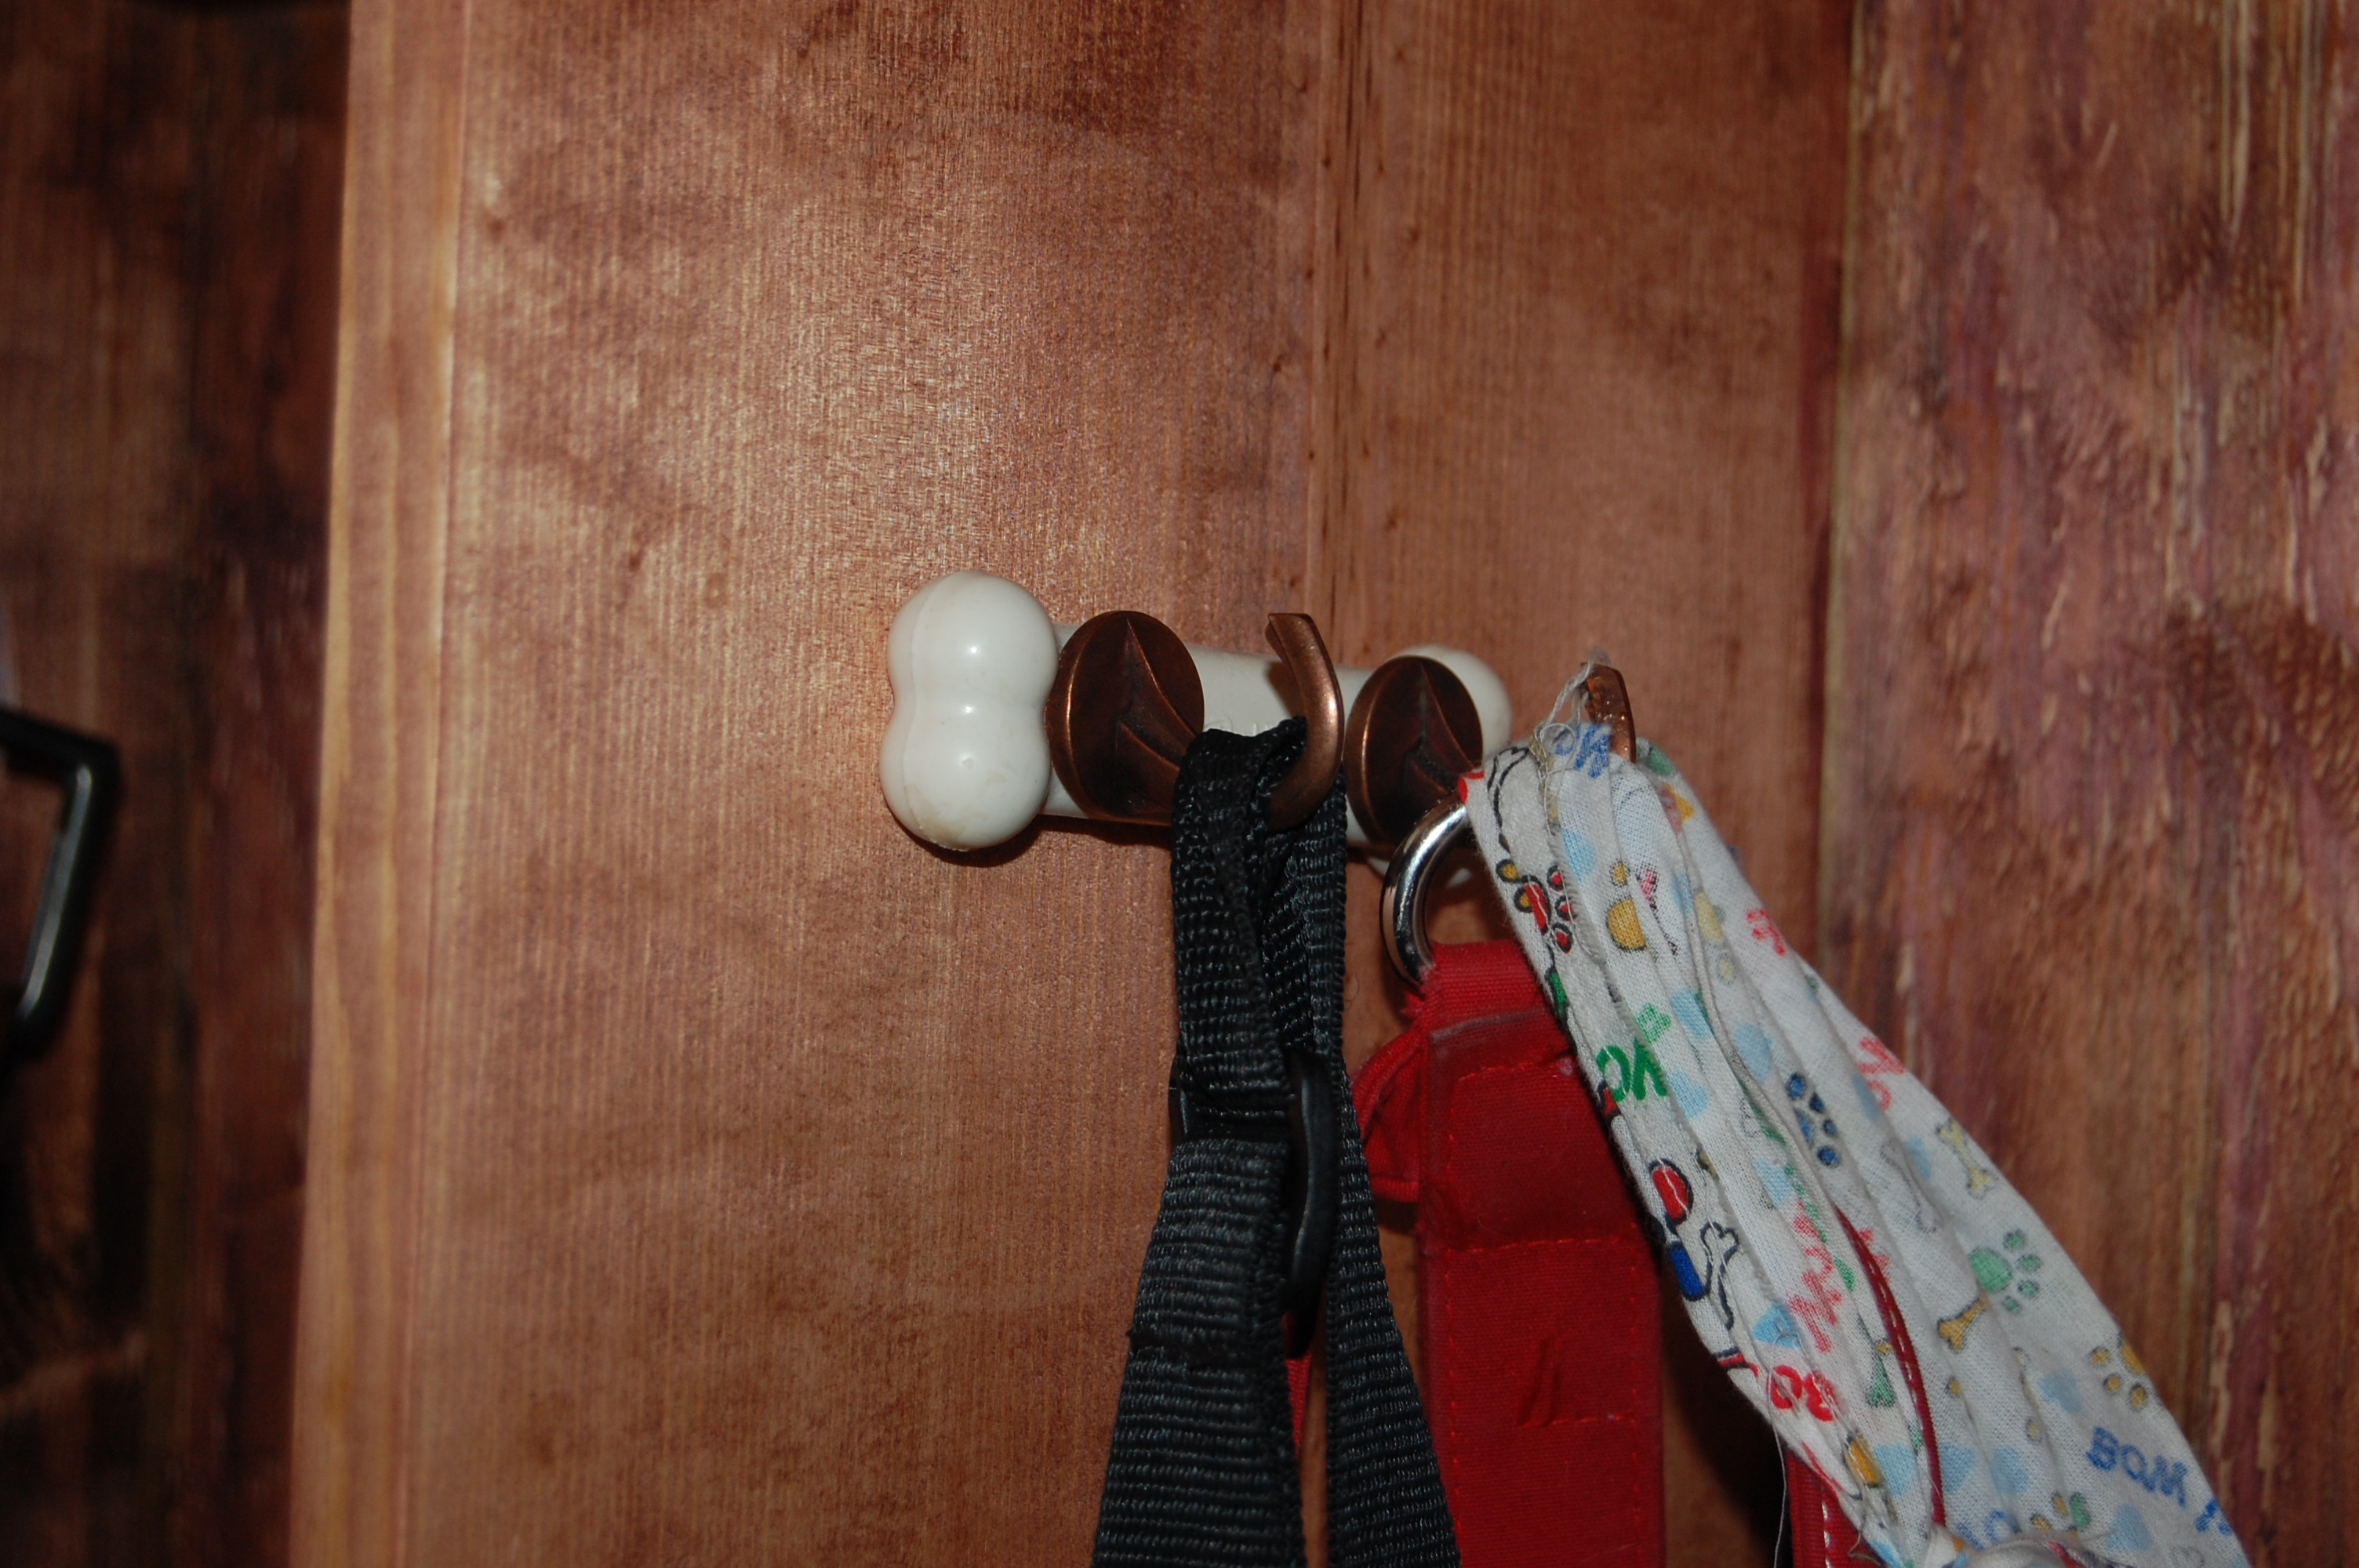
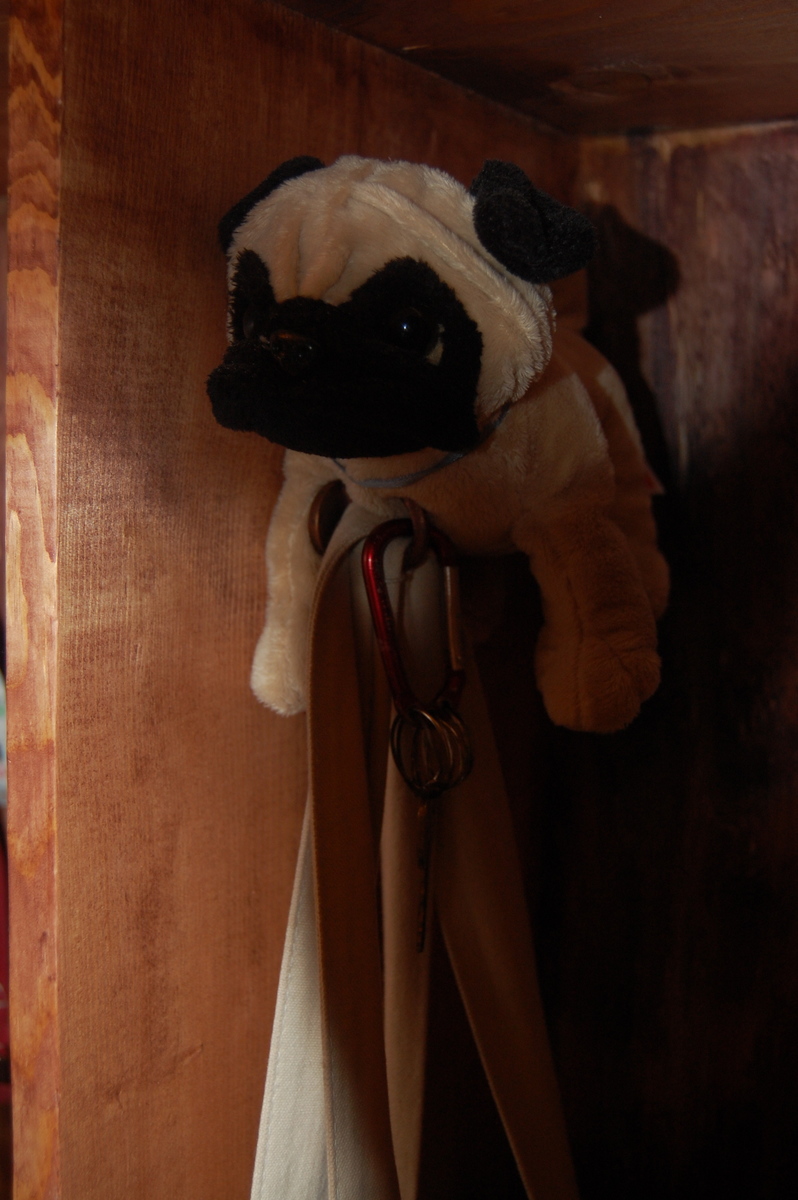
I built this locker system with a twist. I personalized the lockers by drilling the hooks into a cd and paint brush for my son because he is so artistic, a bone holds two hooks for my doggies' cubby, and my daughter has two hooks in a stuffed animal which represents her love for animals.
Built from Plan(s)
Estimated Cost
$60.00
Estimated Time Investment
An Hour or Two (0-2 Hours)
Recommended Skill Level
Beginner
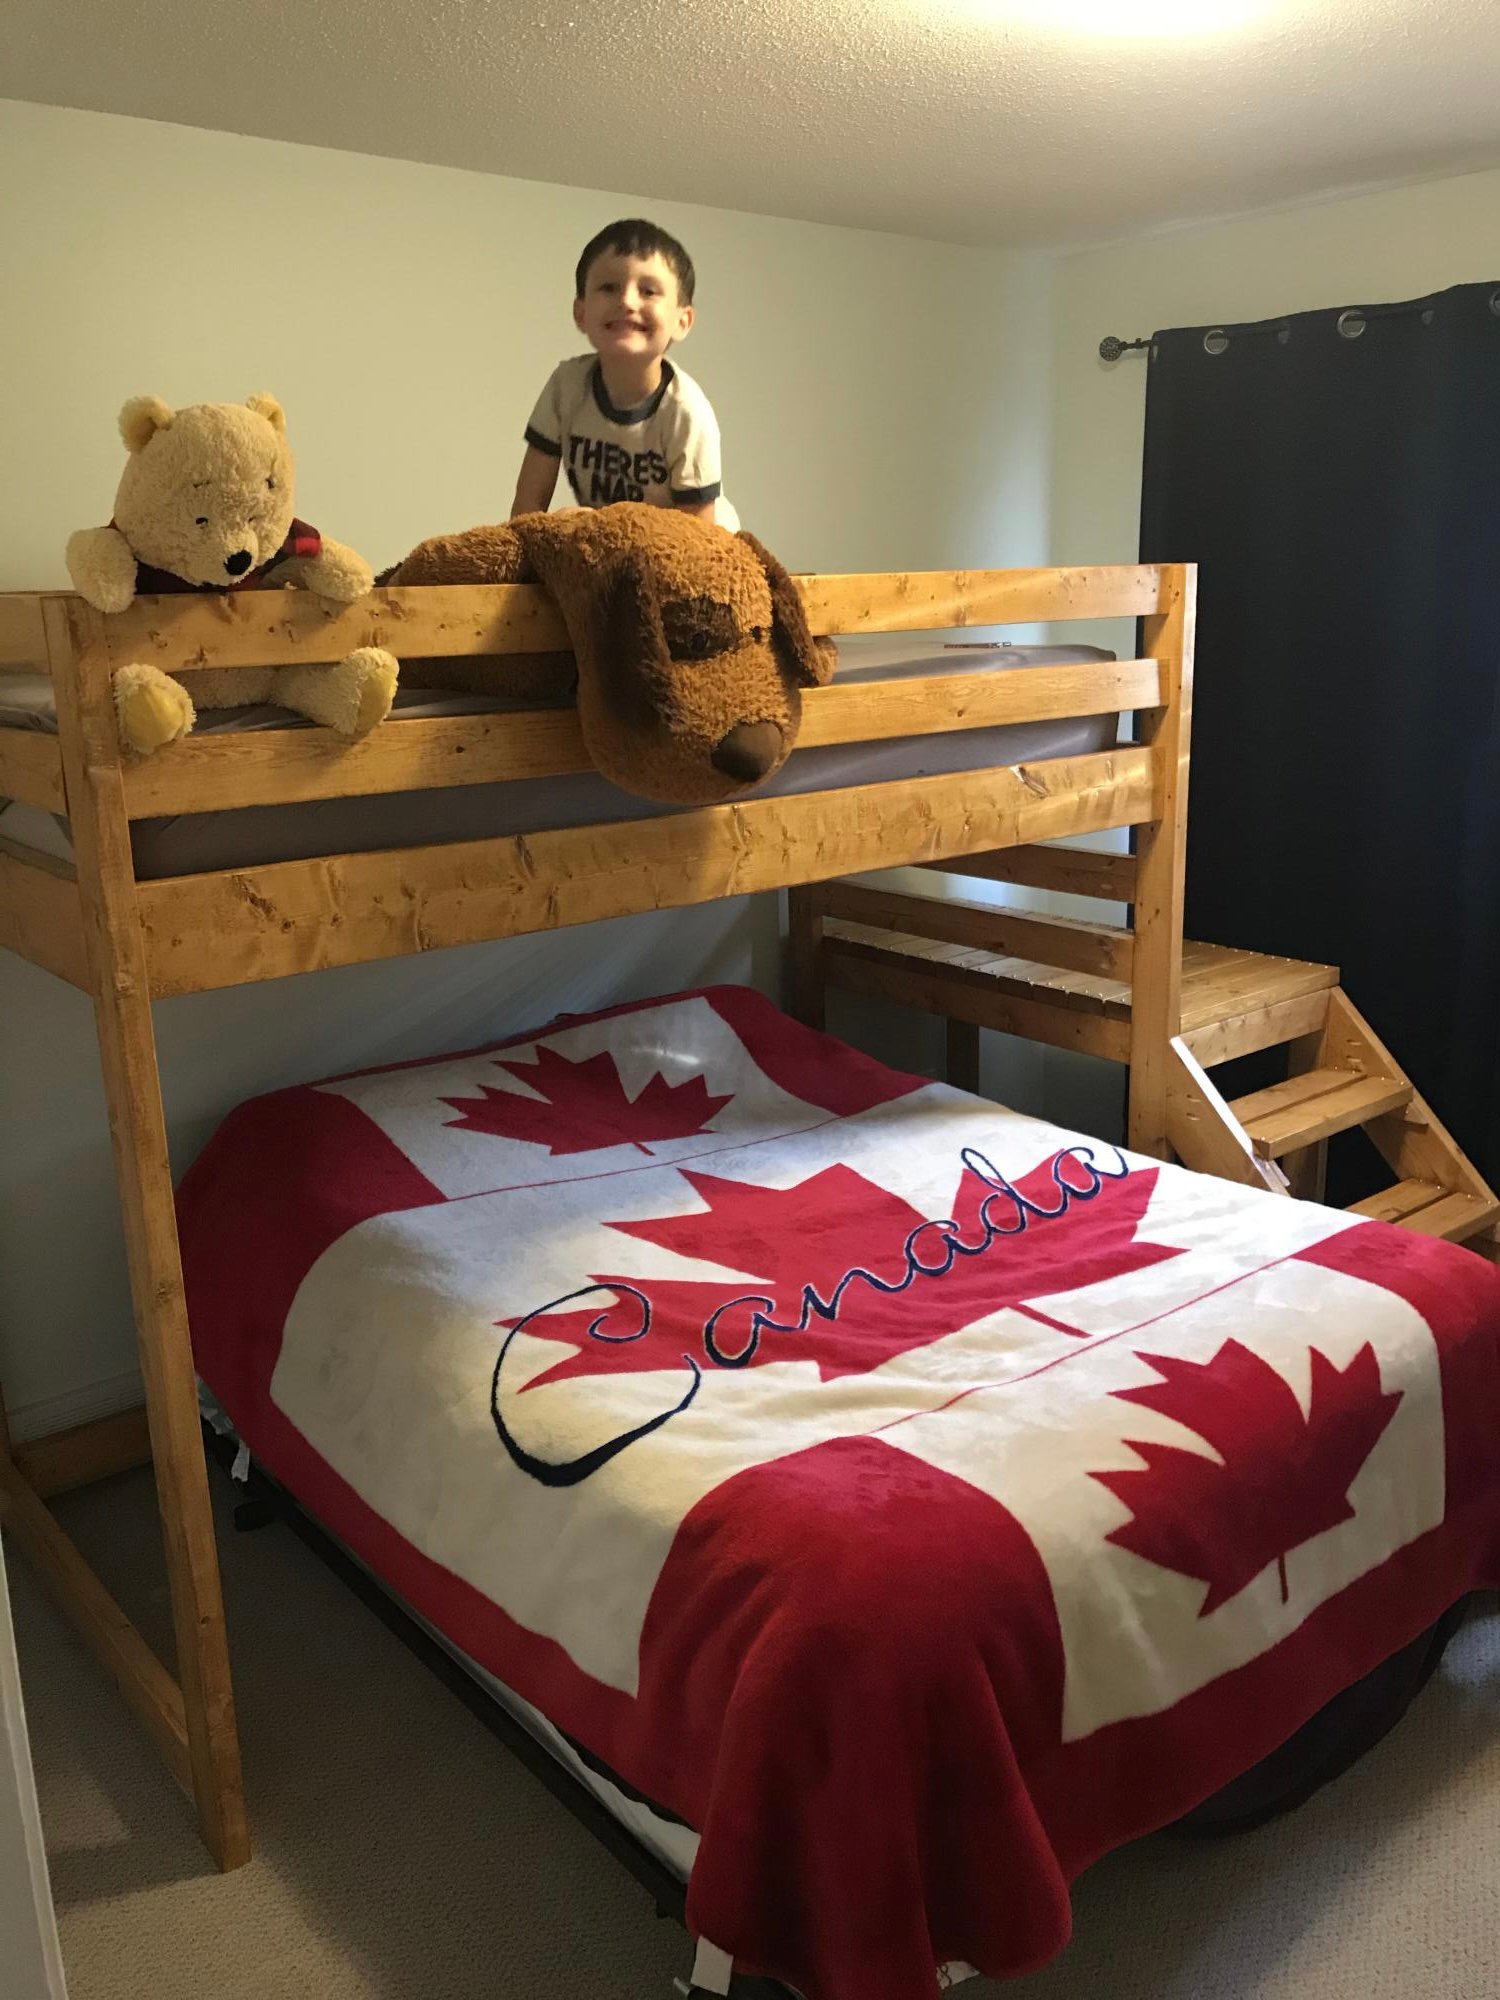
Loft Bed Turned Bunk Bed
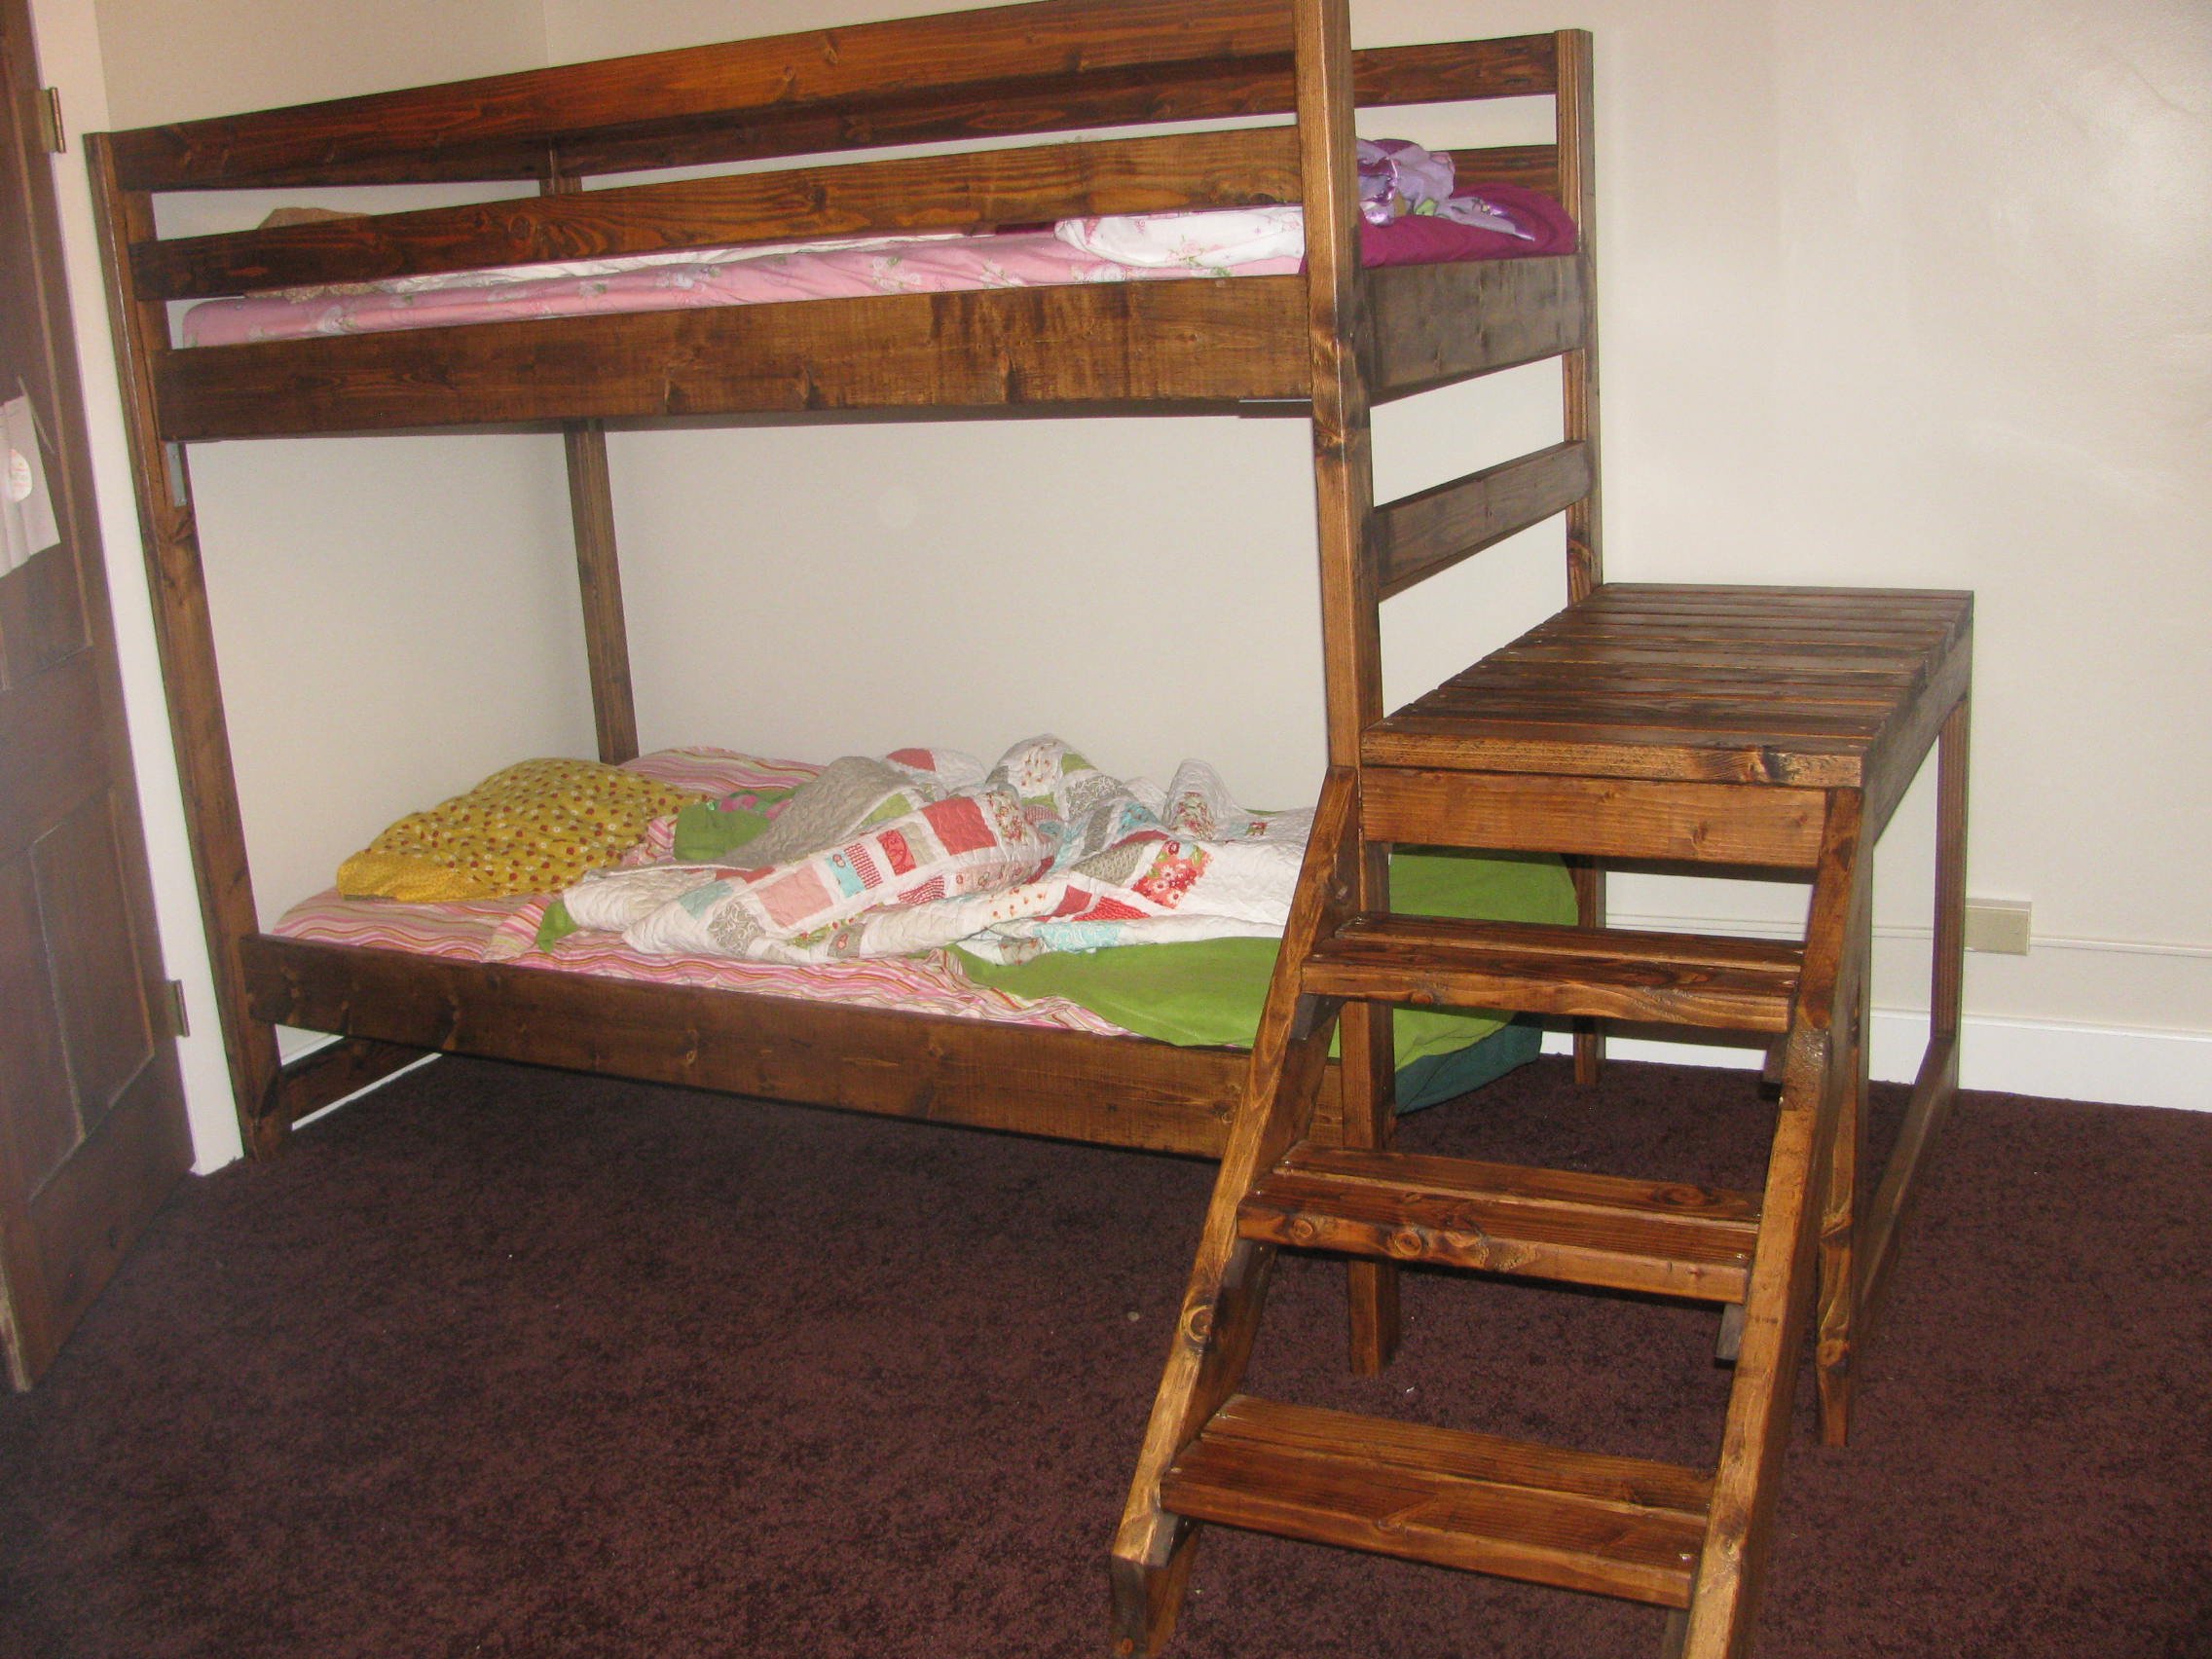
When we started building this bed, we liked that it wasn't too tall for our low ceilings, but could still utilize the space beneath it. As we were building it, we thought we would just put a 2nd mattress on the floor, but when we measured it, we decided we could safely turn it into a bunk bed for our 2 youngest daughters. We just built an additional set of rails. Instead of buying another piece of wood for the mattress support, we used the support from an ikea bed that we weren't using. We put the bottom mattress off the ground around 10 inches.
Built from Plan(s)
Recommended Skill Level
Beginner
Comments
Tue, 06/25/2013 - 19:12
We kept the overall height of
We kept the overall height of the bed the same. I think (and I will try to remember to check in the morning, the kids are all in bed) that there is about 37 inches between the bottoms of each support. WE had another bunkbed and the measurements are pretty similar between the commercial bed and the bed we made.
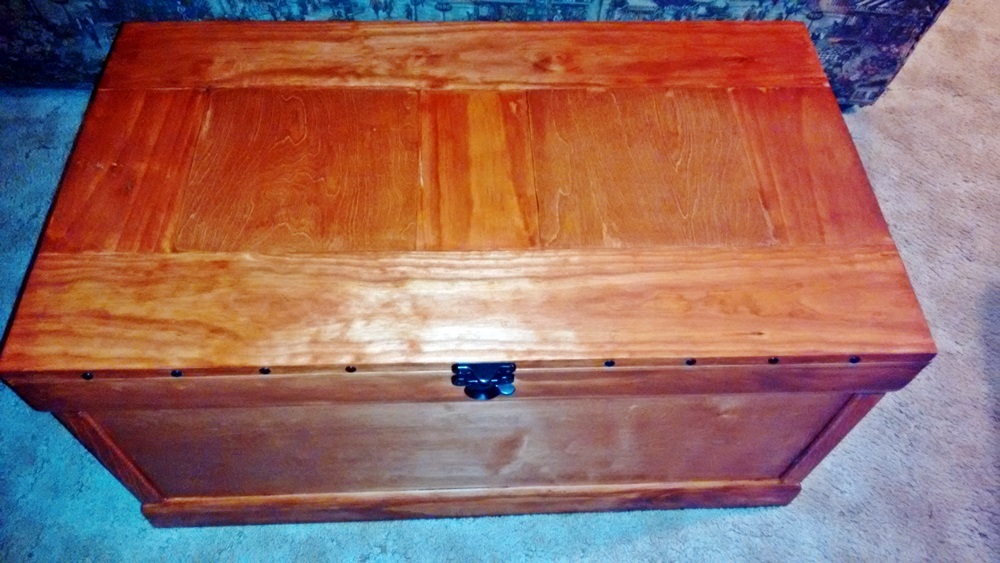
Becca Trunk
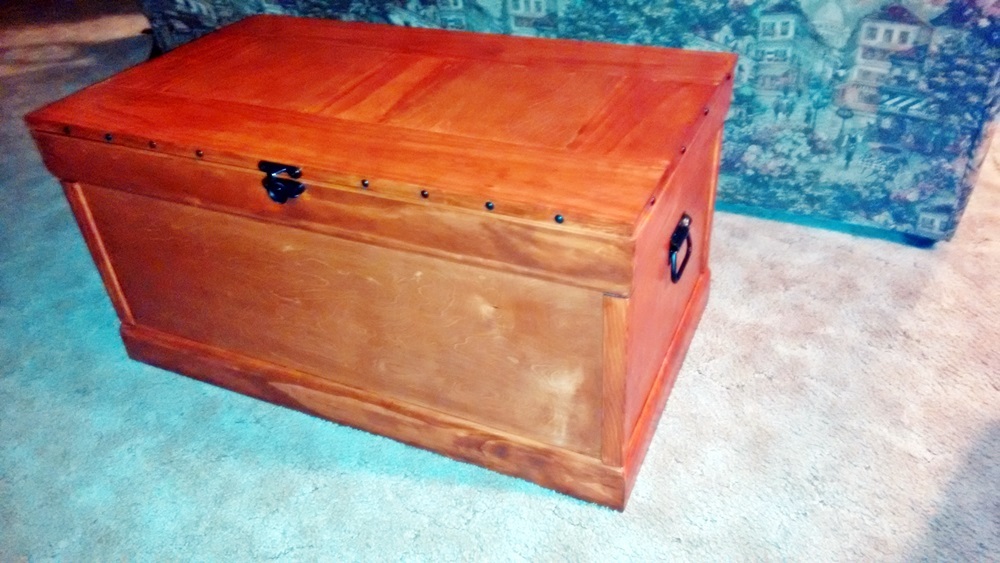
I built this trunk for my grandson’s high school graduation, and filled it with a lot of things he might need as he begins his life in the U.S. Air Force. Here are a few hints:
• Build the top after you place the moulding around the top of the box so you can measure exactly how long and wide the top needs to be.
• Don’t forget to measure the width of the 1” x 6” boards; if they are not exactly 5 ½”, adjust the length of the vertical boards on the trunk top or it could be slightly too small.
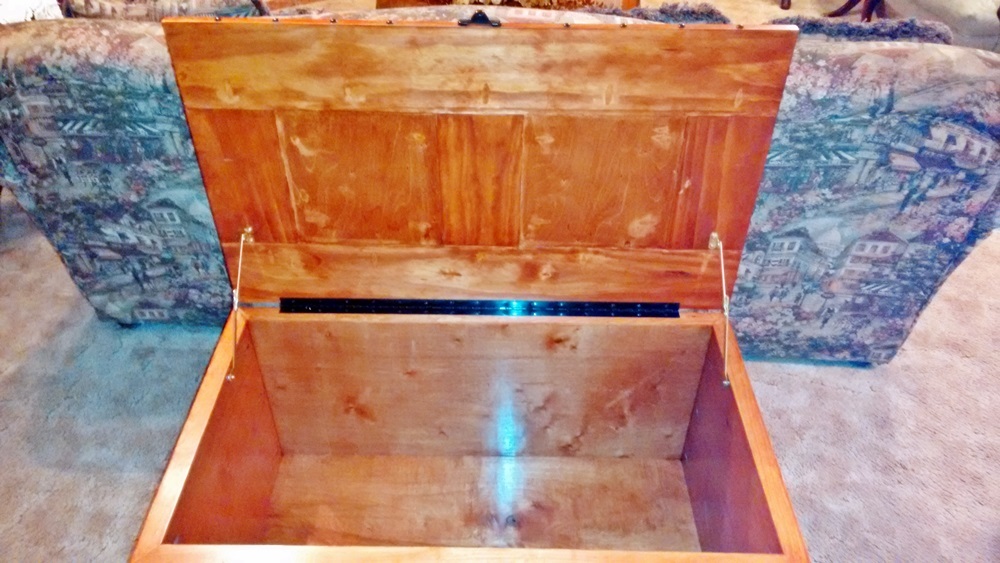
• Because of the extra width the moulding creates around the perimeter of the box, use narrow utility hinges, piano hinges, or Beverly of bzhays used black decorative strap hinges from Amazon.com.
• I used black handles from Amazon.com: Reliable Hardware Company RH-0540BK-2-A Set of 2 Chest Handle, Black
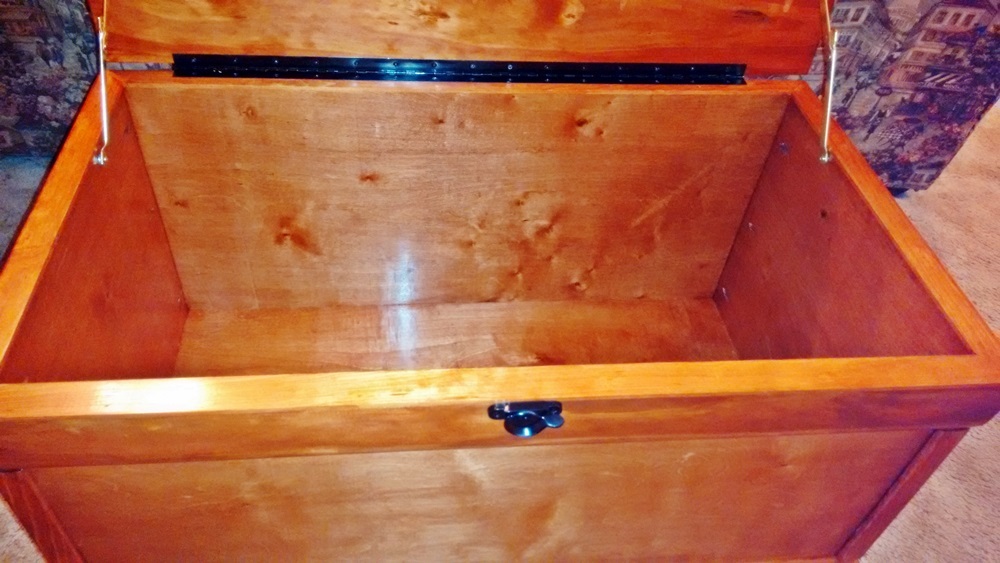
• For a more finished top on the inside, I filled the holes with wood putty and sanded it smooth, then stained and polyed like the outside of the trunk. The kreg holes are still visible, but not too much.
• Before screwing the box together, I recommend finishing the inside surfaces first; cover the edges that will meet with painter’s tape so the glue will have bonding surfaces.
I love the rustic look most have used in their finishes, but since I used a traditional stained finish, I used the ideas from Justin of jeverette1 who covered the exposed plywood edges with scrap. Since I didn’t have that, I used corner moulding for the corners, and lattice strips to cover the top edges of the box. This gives the trunk a more finished look if you are not going for the rustic/distressed look. I notated below a week-long project - I spend a lot of time in the finishing and do so over several days. Others could certainly finish in a weekend.
I’d like to thank Ana for the wonderful plans, and Whitney of Shanty 2 Chic for the great step-by-steps. Also, a big thank you to Beverly of bzhays and Justin of jeverette1 for responding to me with my questions; you were both so helpful.
Built from Plan(s)
Estimated Cost
$150.00 - I used better pine and stain-grade burch plywood to avoid hours of sanding.
Estimated Time Investment
Week Long Project (20 Hours or More)
Finish Used
Stain: Rusteoleum “classic cherry”; one coat and it took every drop of the small can. Finish: Minwax wipe-on poly, one can is enough for several coats. The pictures were taken at night with a flash, so it appears much shinier than it really is, plus the color is off too - not as "orange-ish" as it appears. I also had to paint the sash lock black (couldn't find any in black) and the piano hinge. The decorative tacks were found at Lowe's in the hardware section among the nails and they come in several finishes.
Recommended Skill Level
Beginner
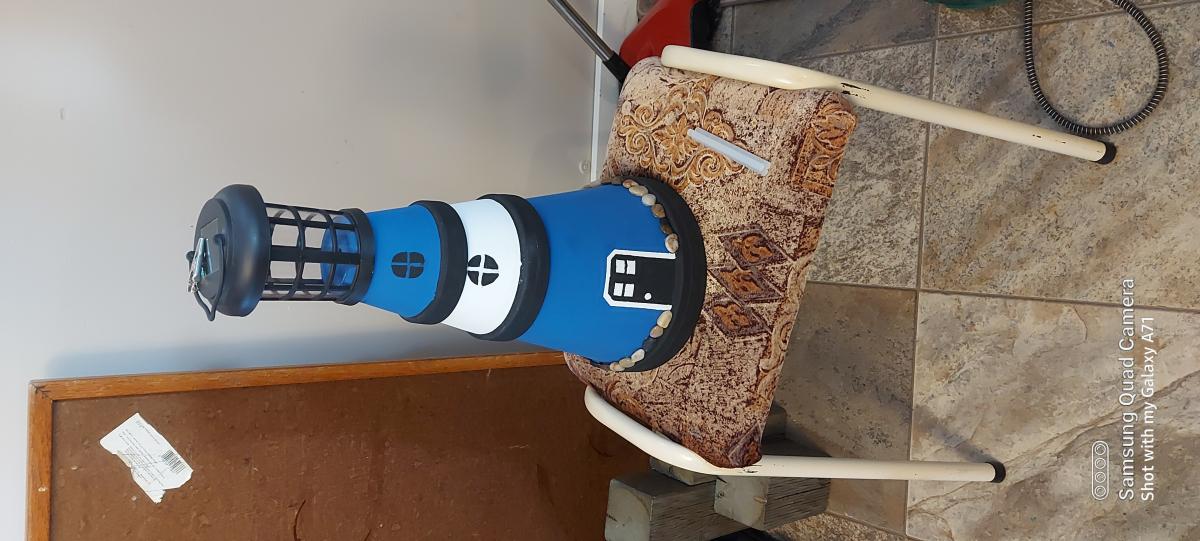
Carrots Included
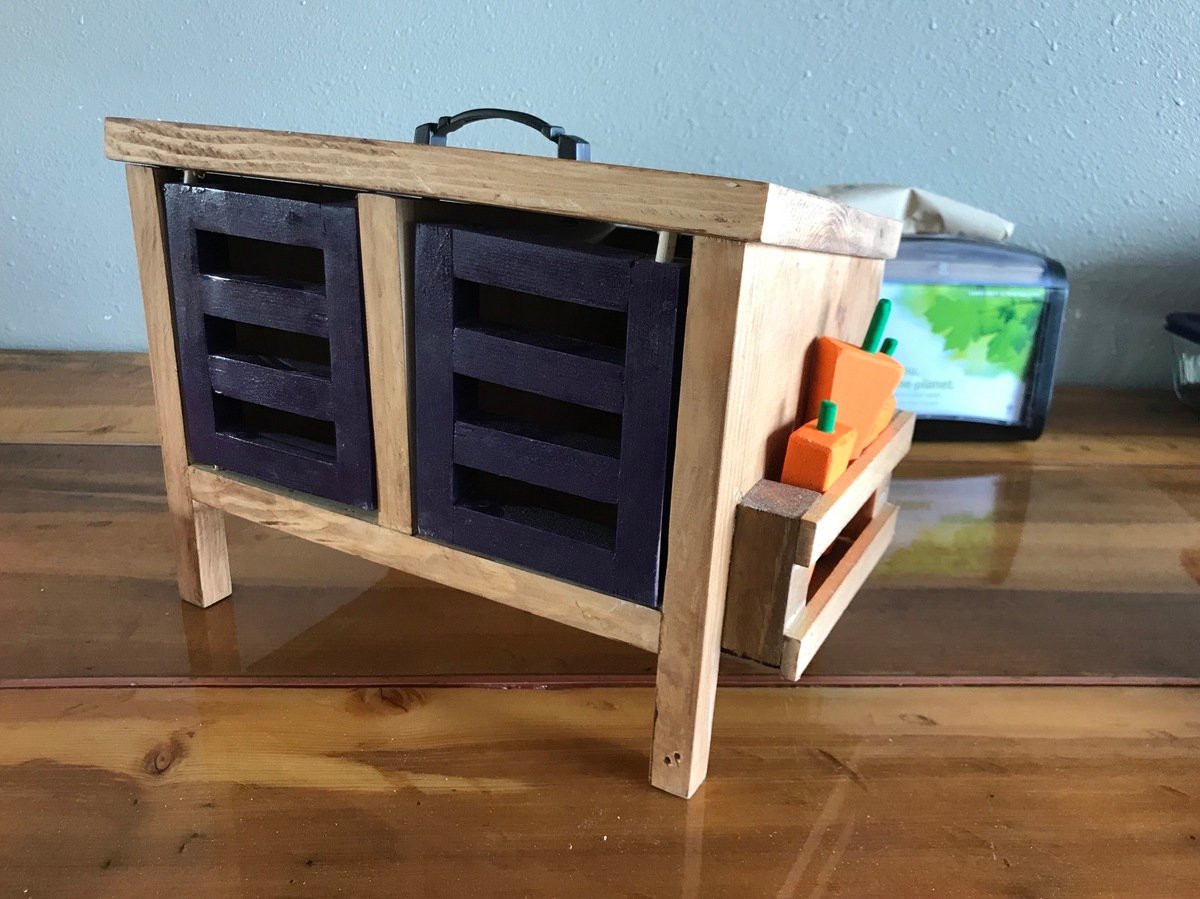
Adorable gift ready for Christmas!
Built from Plan(s)
Estimated Cost
This project was less than $10 because I used hardware and scraps in my shop.
Estimated Time Investment
Afternoon Project (3-6 Hours)
Finish Used
Minwax Express Colors
Spray Paint
Spray Paint
Recommended Skill Level
Beginner
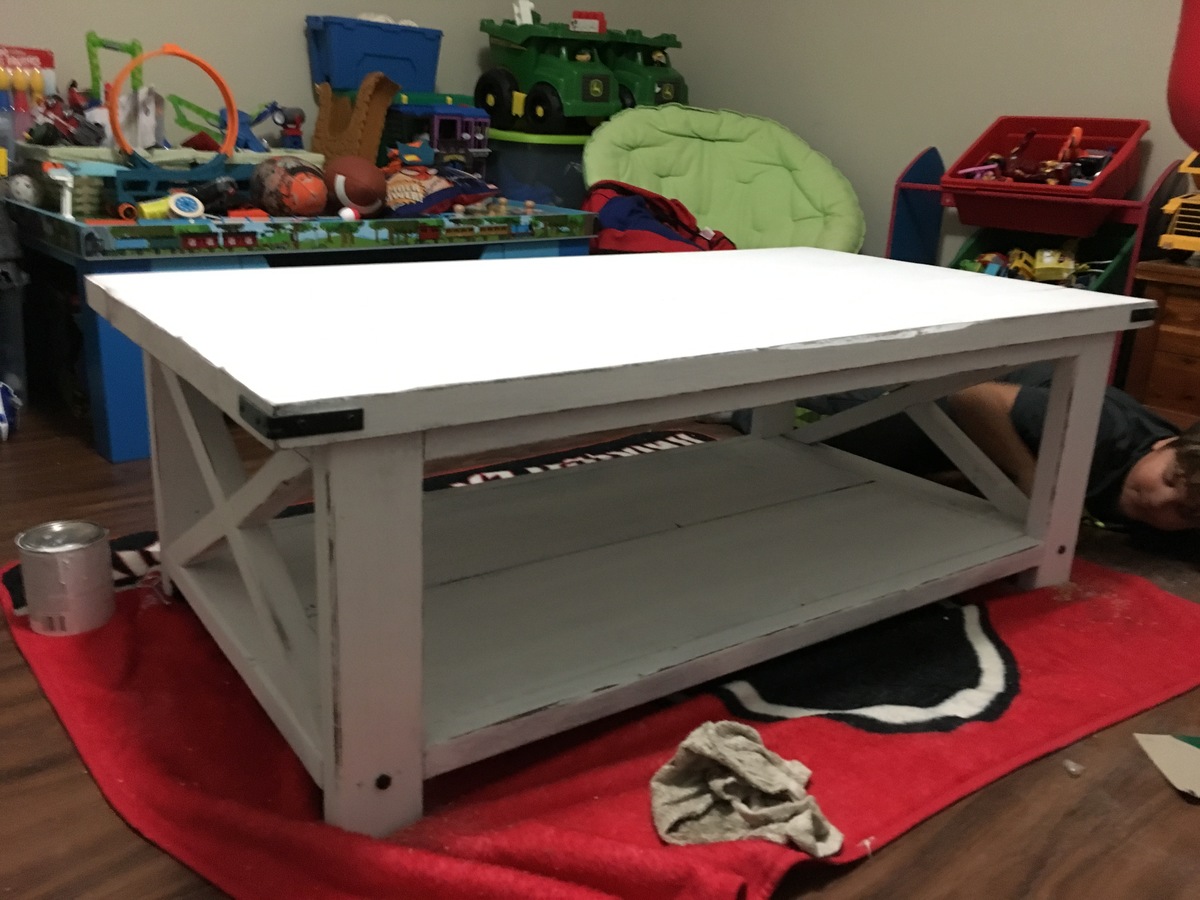
Work Bench
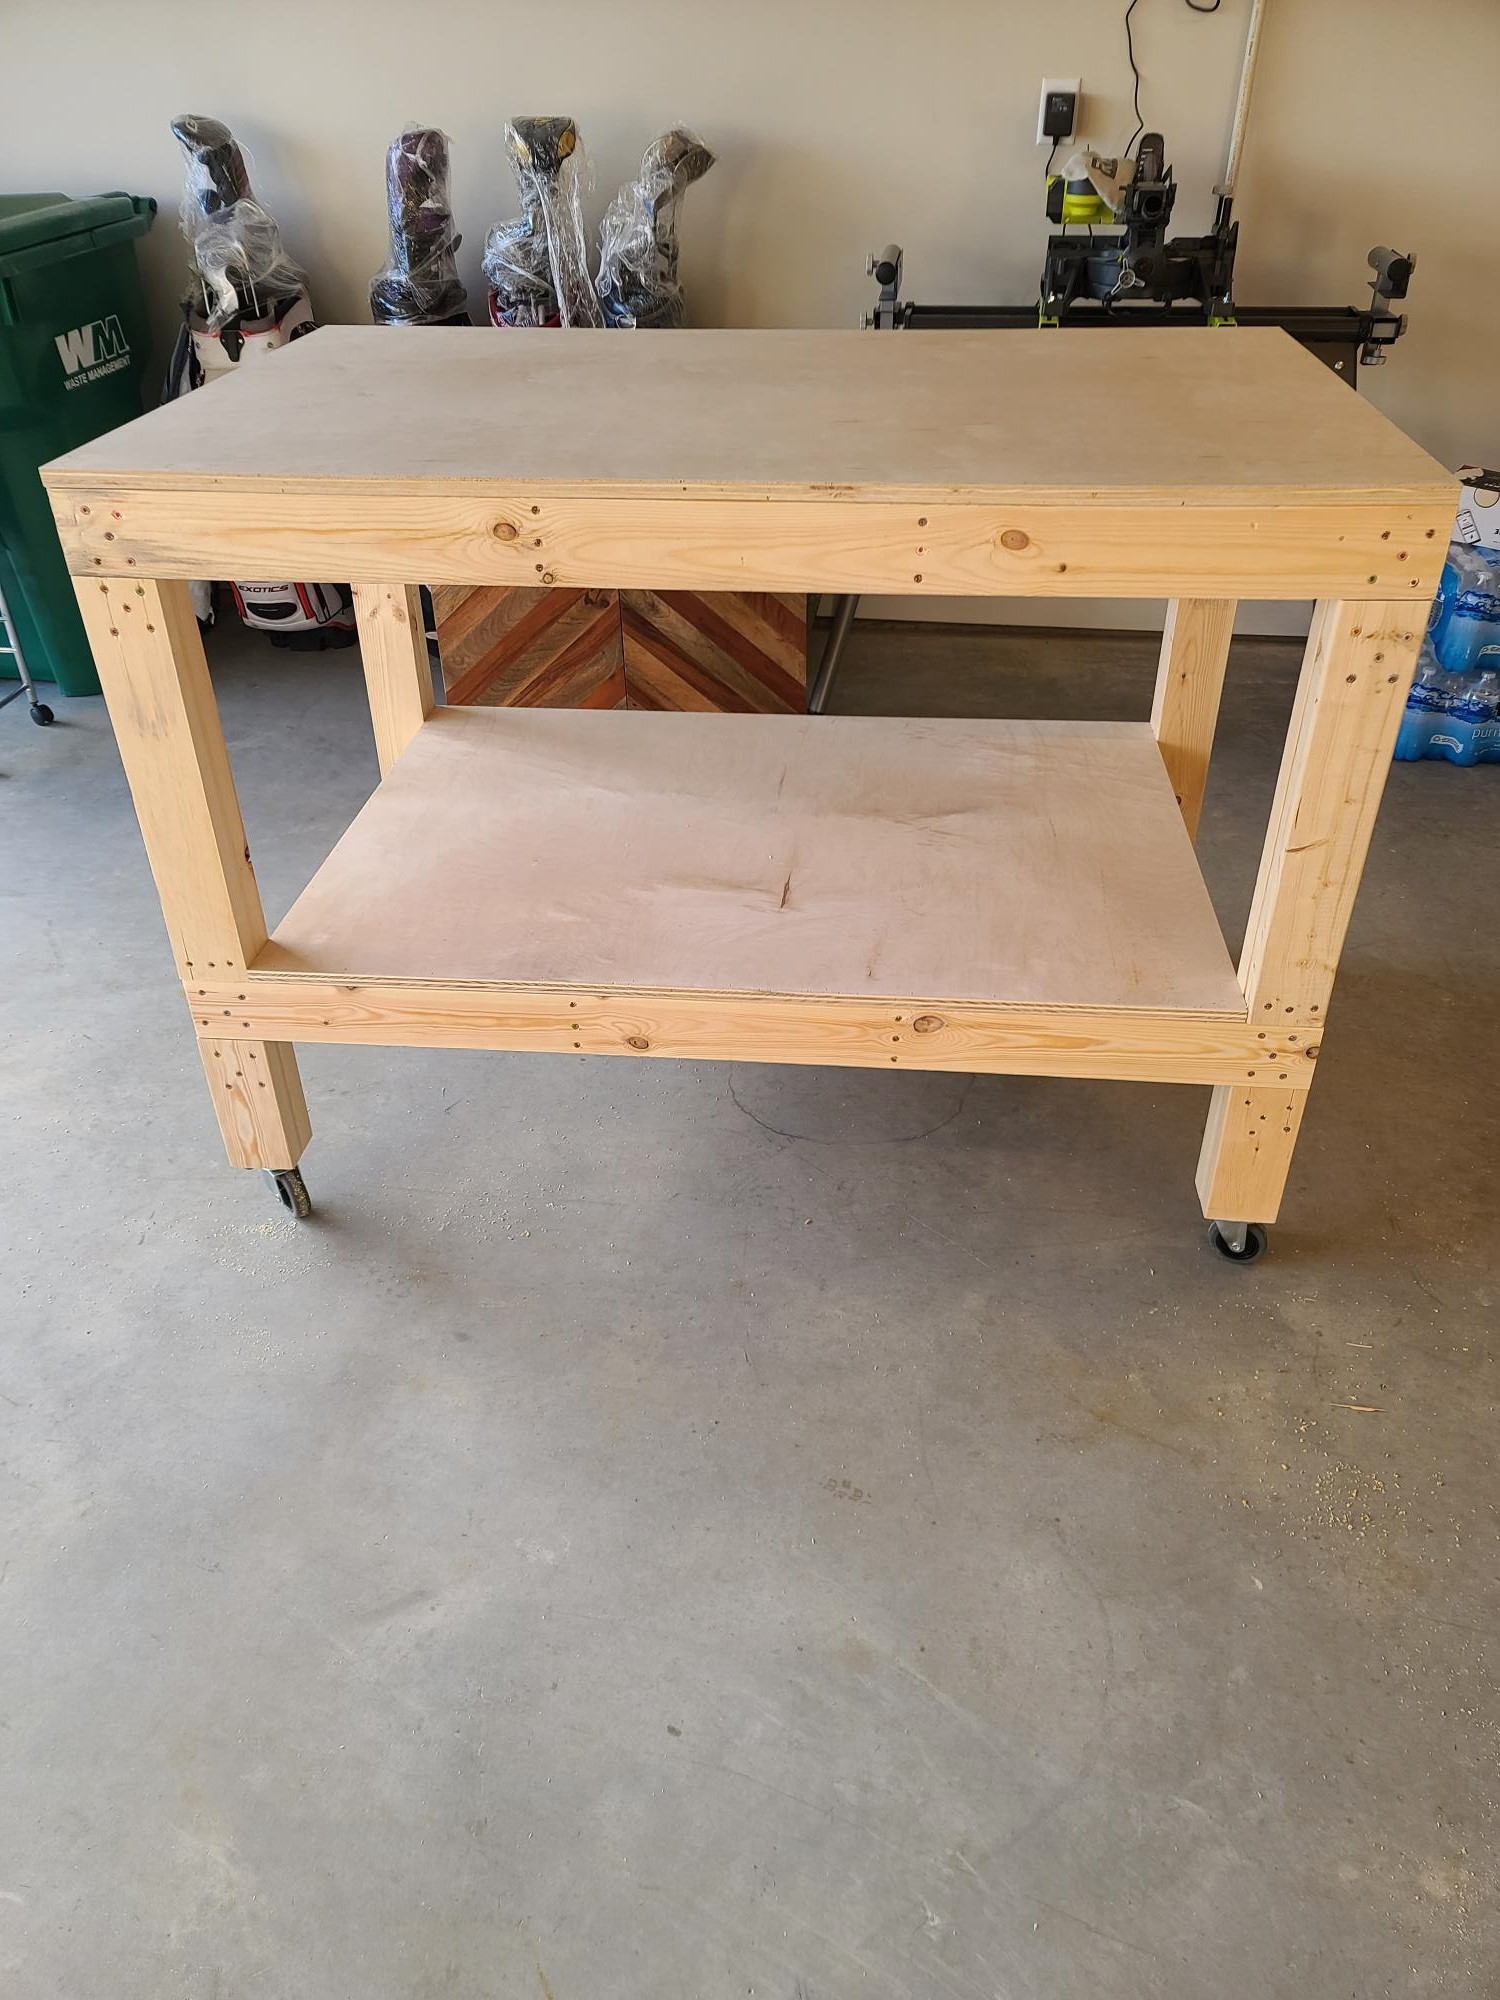
Built the DIY garage work bench, added wheels came out perfect...plans from Ana White were awesome@
Built from Plan(s)
Comments
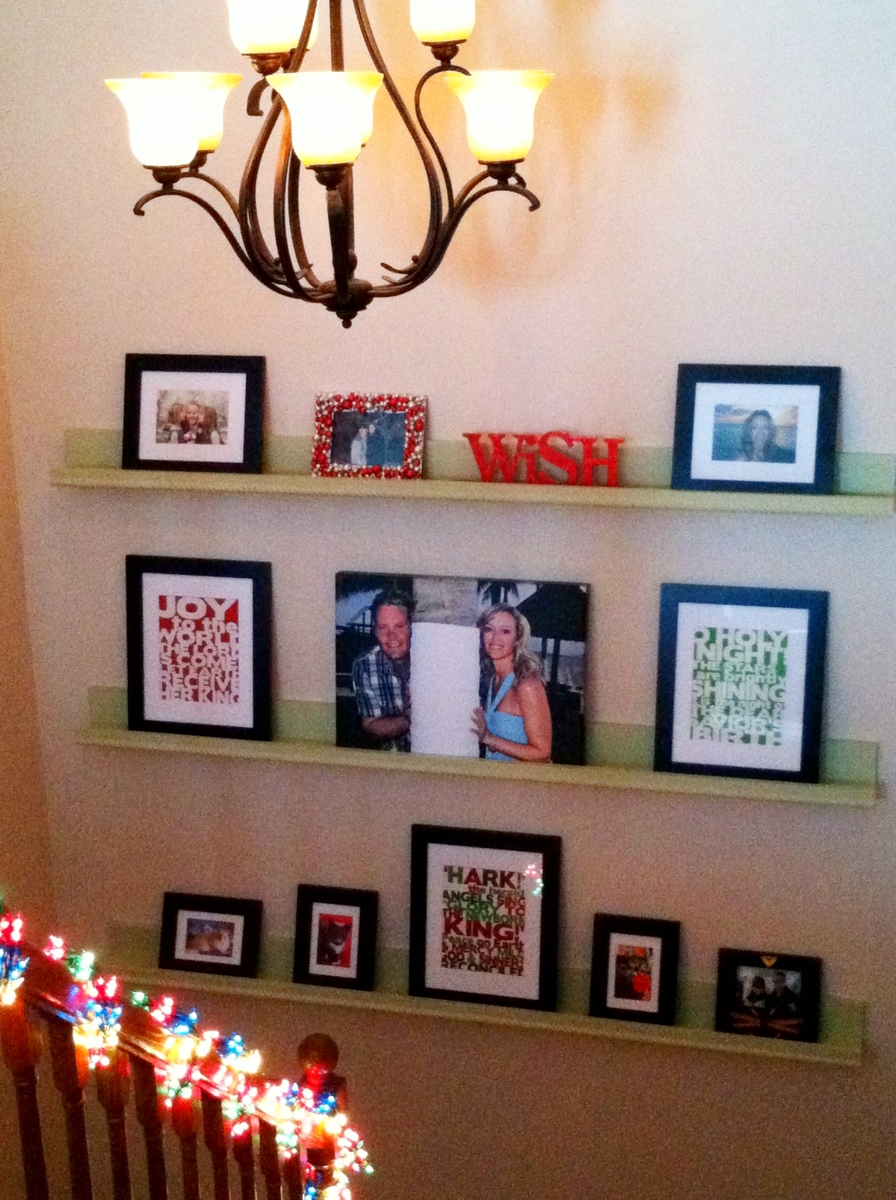
My first "build"
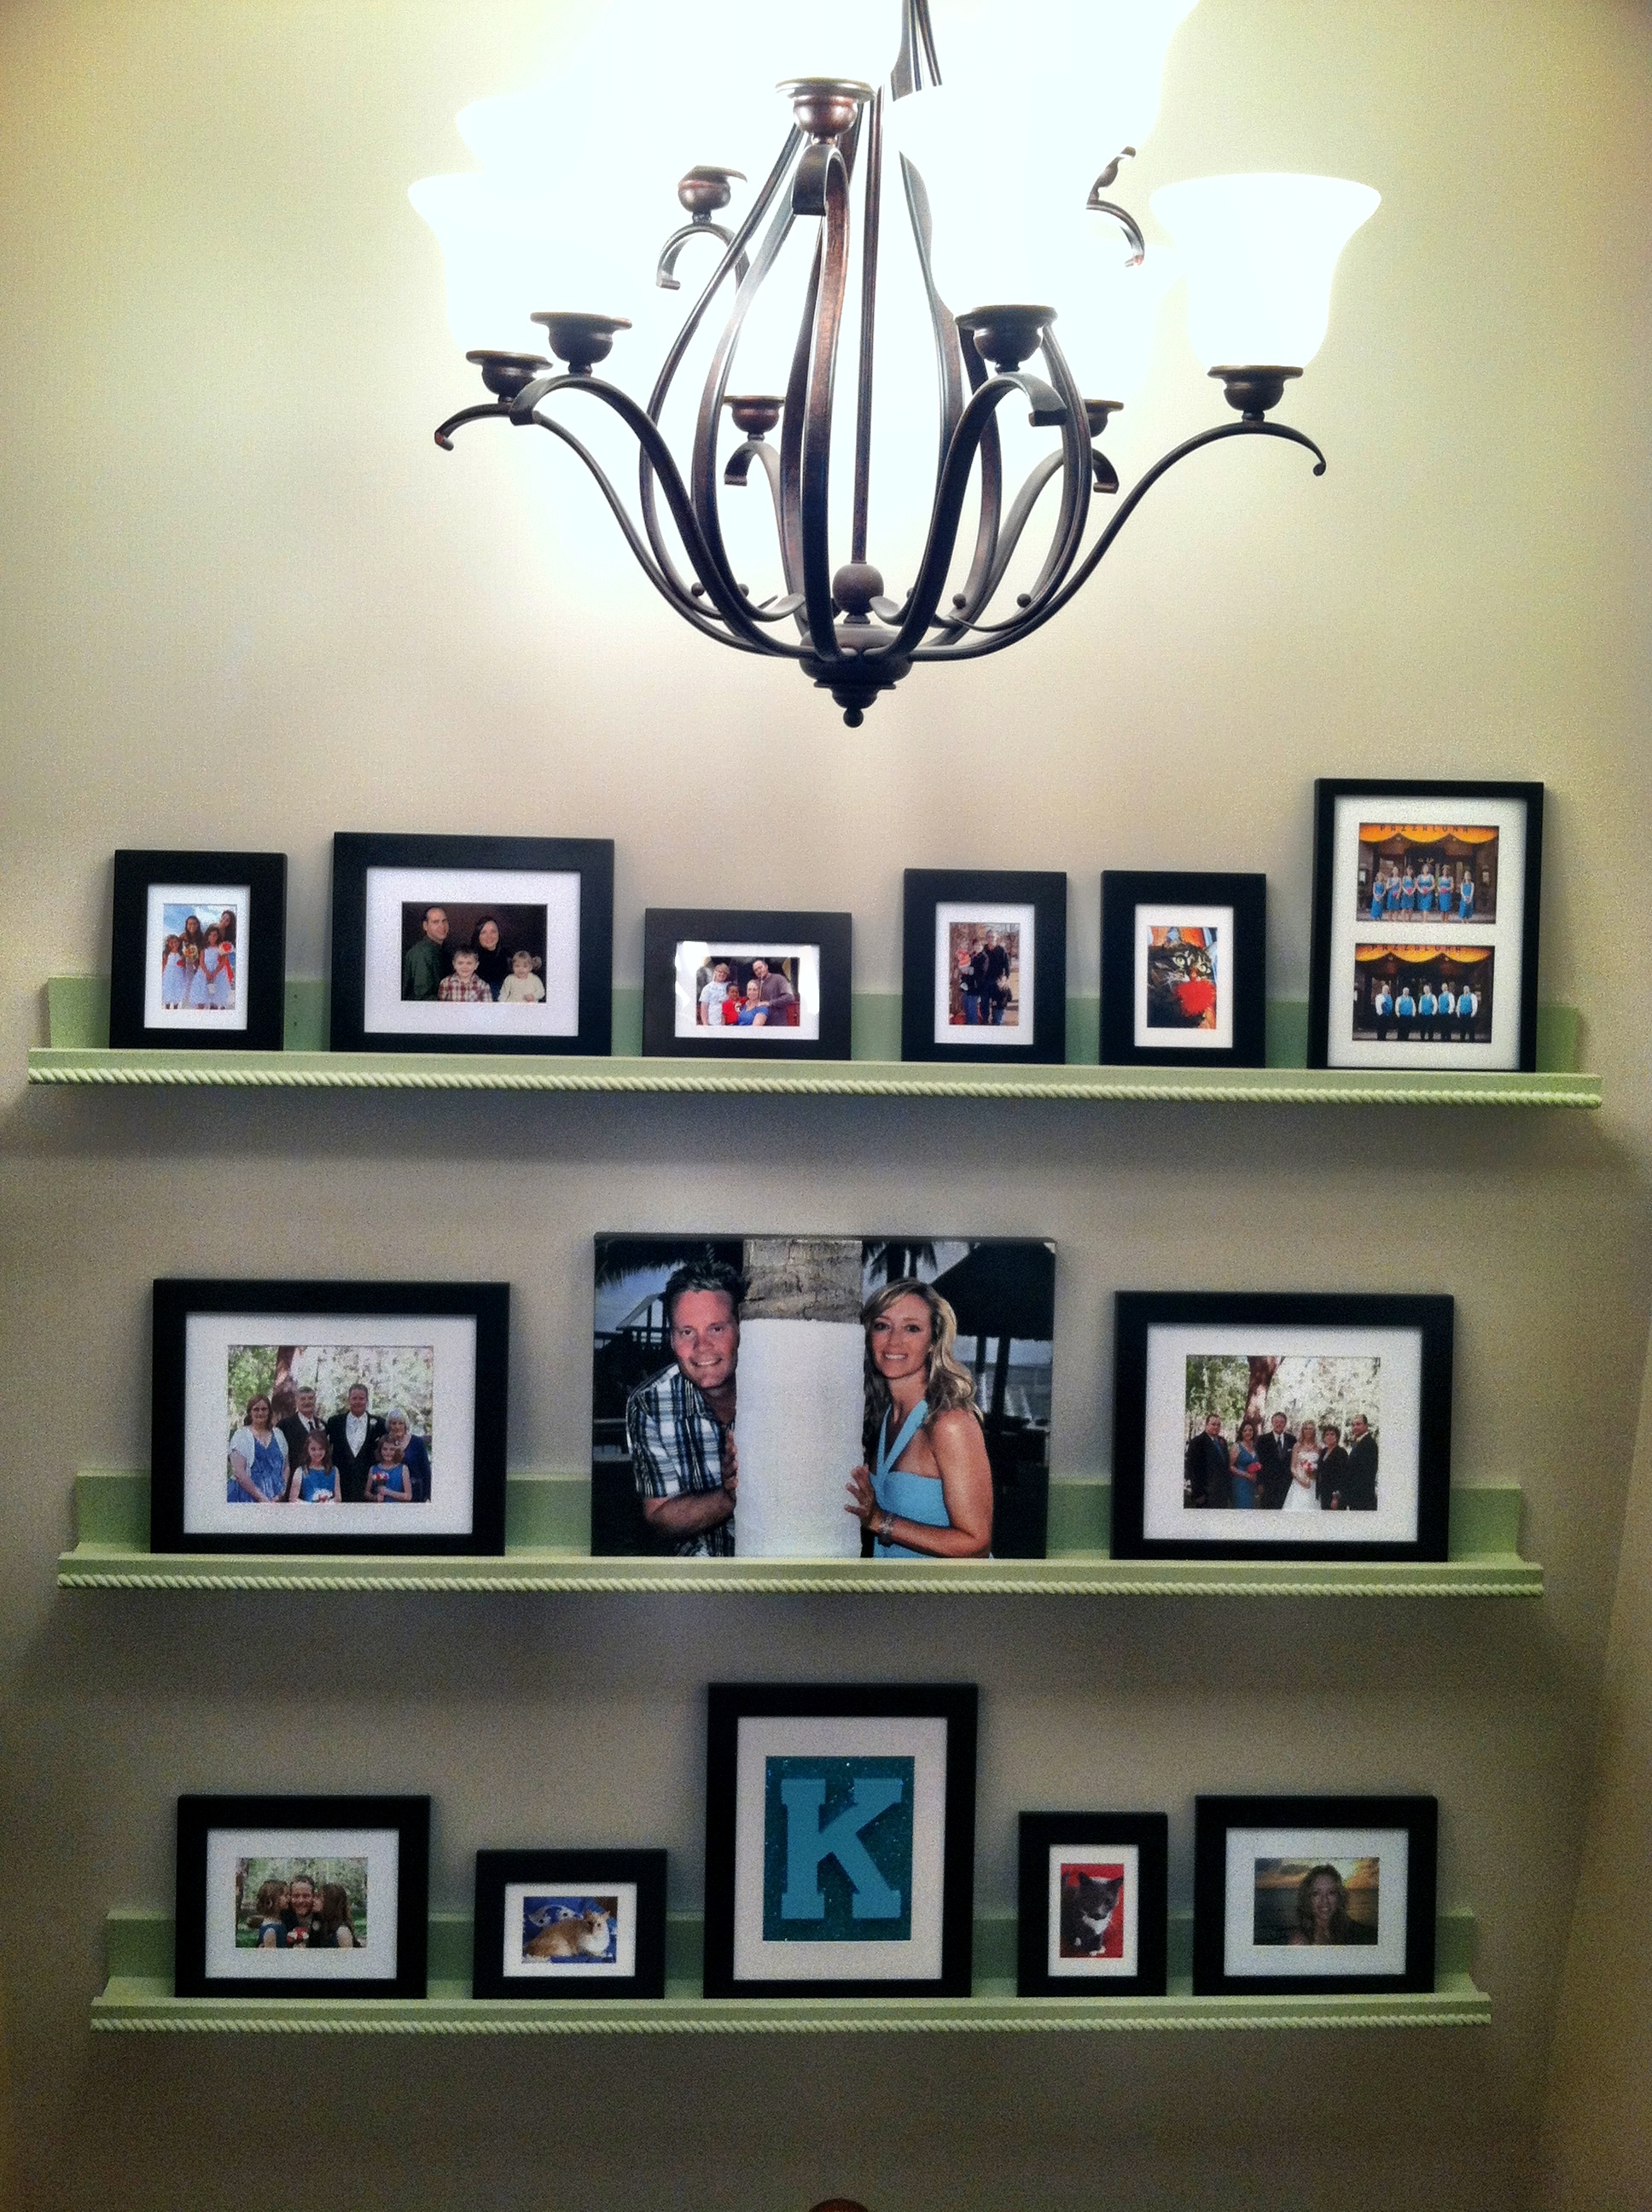
This was my first Ana White project. It was really super easy! I love the way it turned out! I can play around and change photos depending on my mood or the holiday. We had them all together pretty quick. I sanded and primed them and my husband used the spray gun to paint them. I quickly learned there is a technique to that and I didn't want to screw them up! Great beginner project, now I'm hooked on this site!
Built from Plan(s)
Estimated Cost
$70
Estimated Time Investment
Afternoon Project (3-6 Hours)
Finish Used
BEHR Rejuvinate
Recommended Skill Level
Starter Project
Farmhouse nightstand
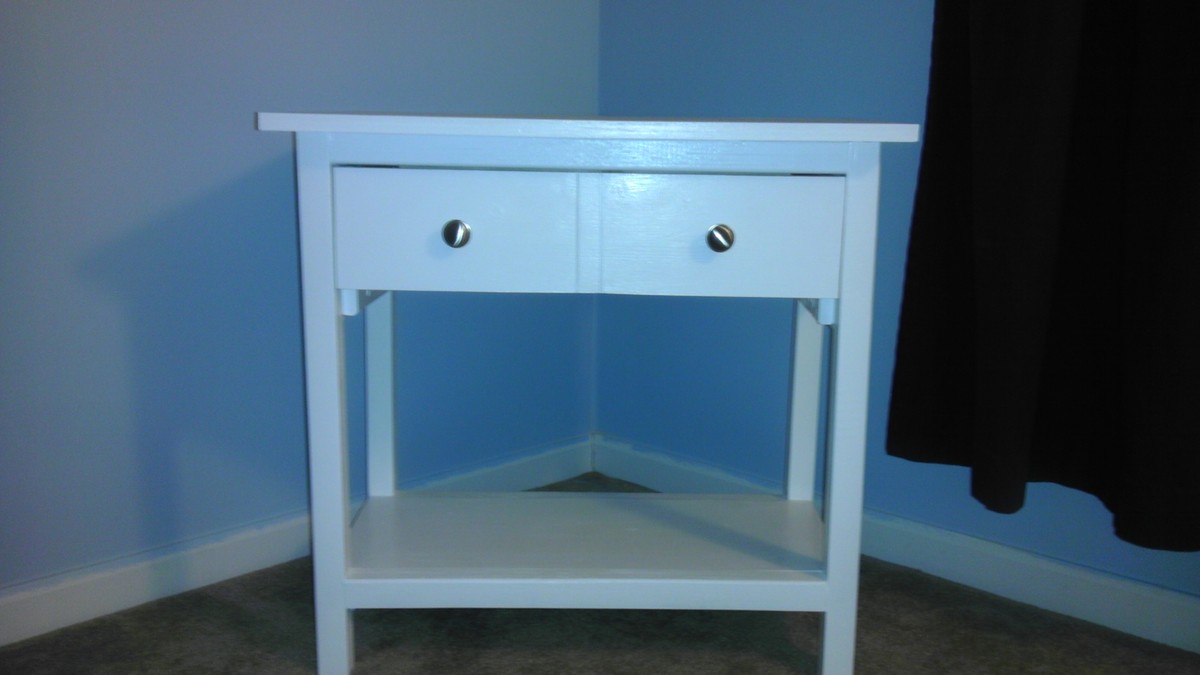
This project was very fun, and it was my first nightstand. The directions are so easy to follow. Thanks Ana : )
Built from Plan(s)
Estimated Time Investment
Weekend Project (10-20 Hours)
Recommended Skill Level
Beginner
Comments
Wed, 06/03/2015 - 22:59
Do you have a cut list that
Do you have a cut list that you used to modify the original plan? I love this version of it, very well done!
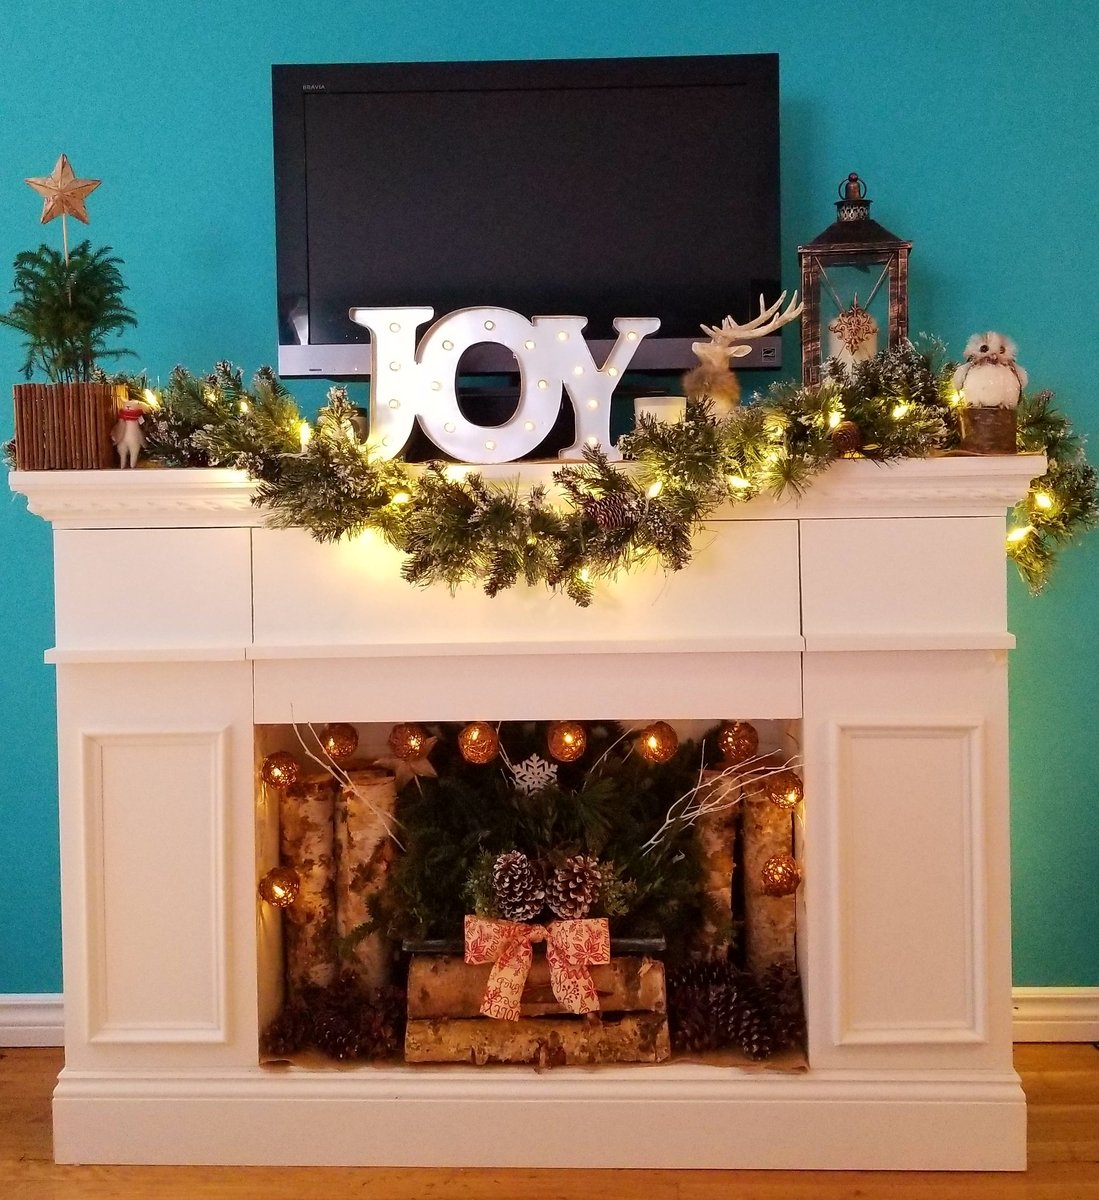
Faux Fireplace Mantle
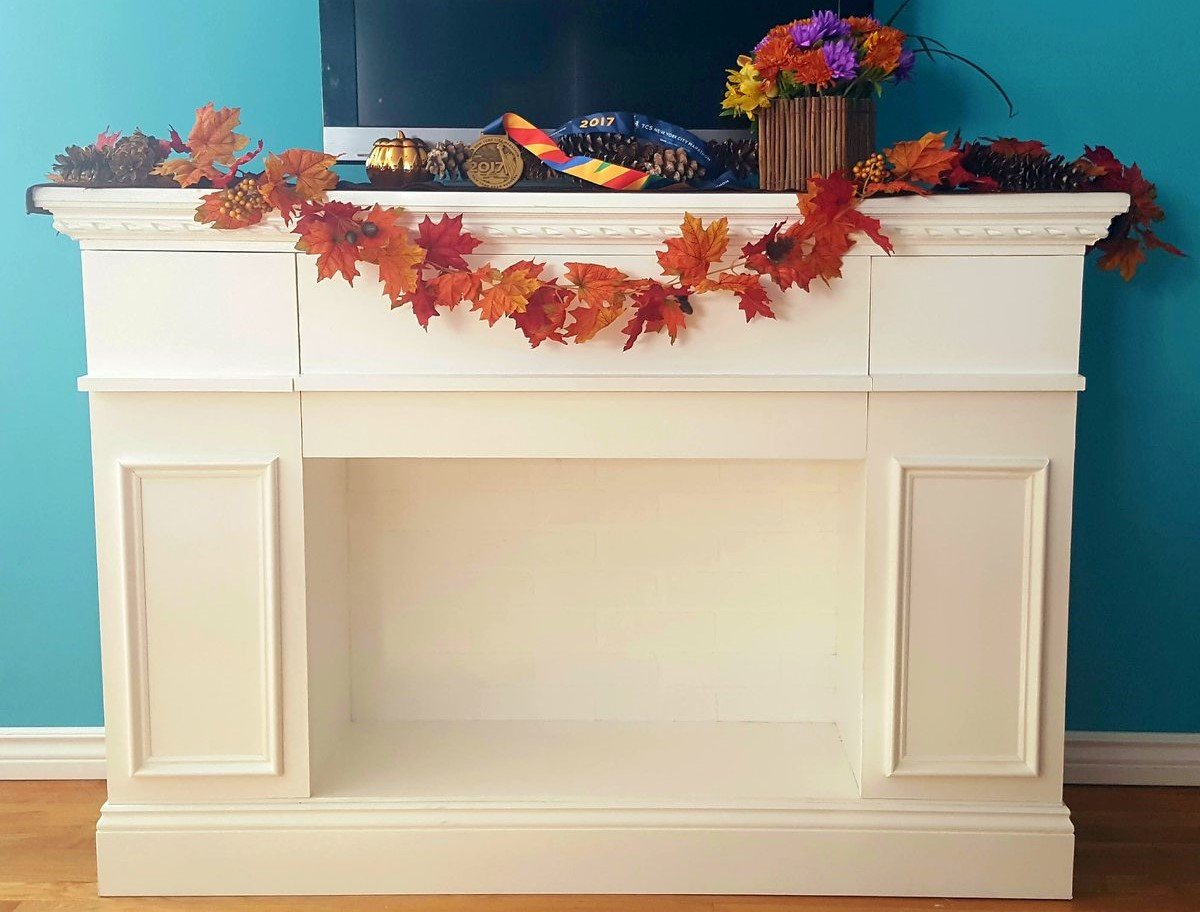
Thank you for providing the plans to this mantle. I had a lot of fun building it with my father while I was training for the NYC Marathon. We finished it the day before the race and was a great way to display both of my accomplishments! It was also a lot of fun to decorate for the holidays. Next I have to build a nice shelf to display all of my finisher medals!
Built from Plan(s)
Estimated Time Investment
Weekend Project (10-20 Hours)
Finish Used
Distant Gray paint with satin finish.
Recommended Skill Level
Beginner
Comments

Tue, 11/12/2019 - 16:34
Amazing! Turned out really…
Amazing! Turned out really well. Hope the marathon was awesome!
Seasonal And Holiday
Loft bed
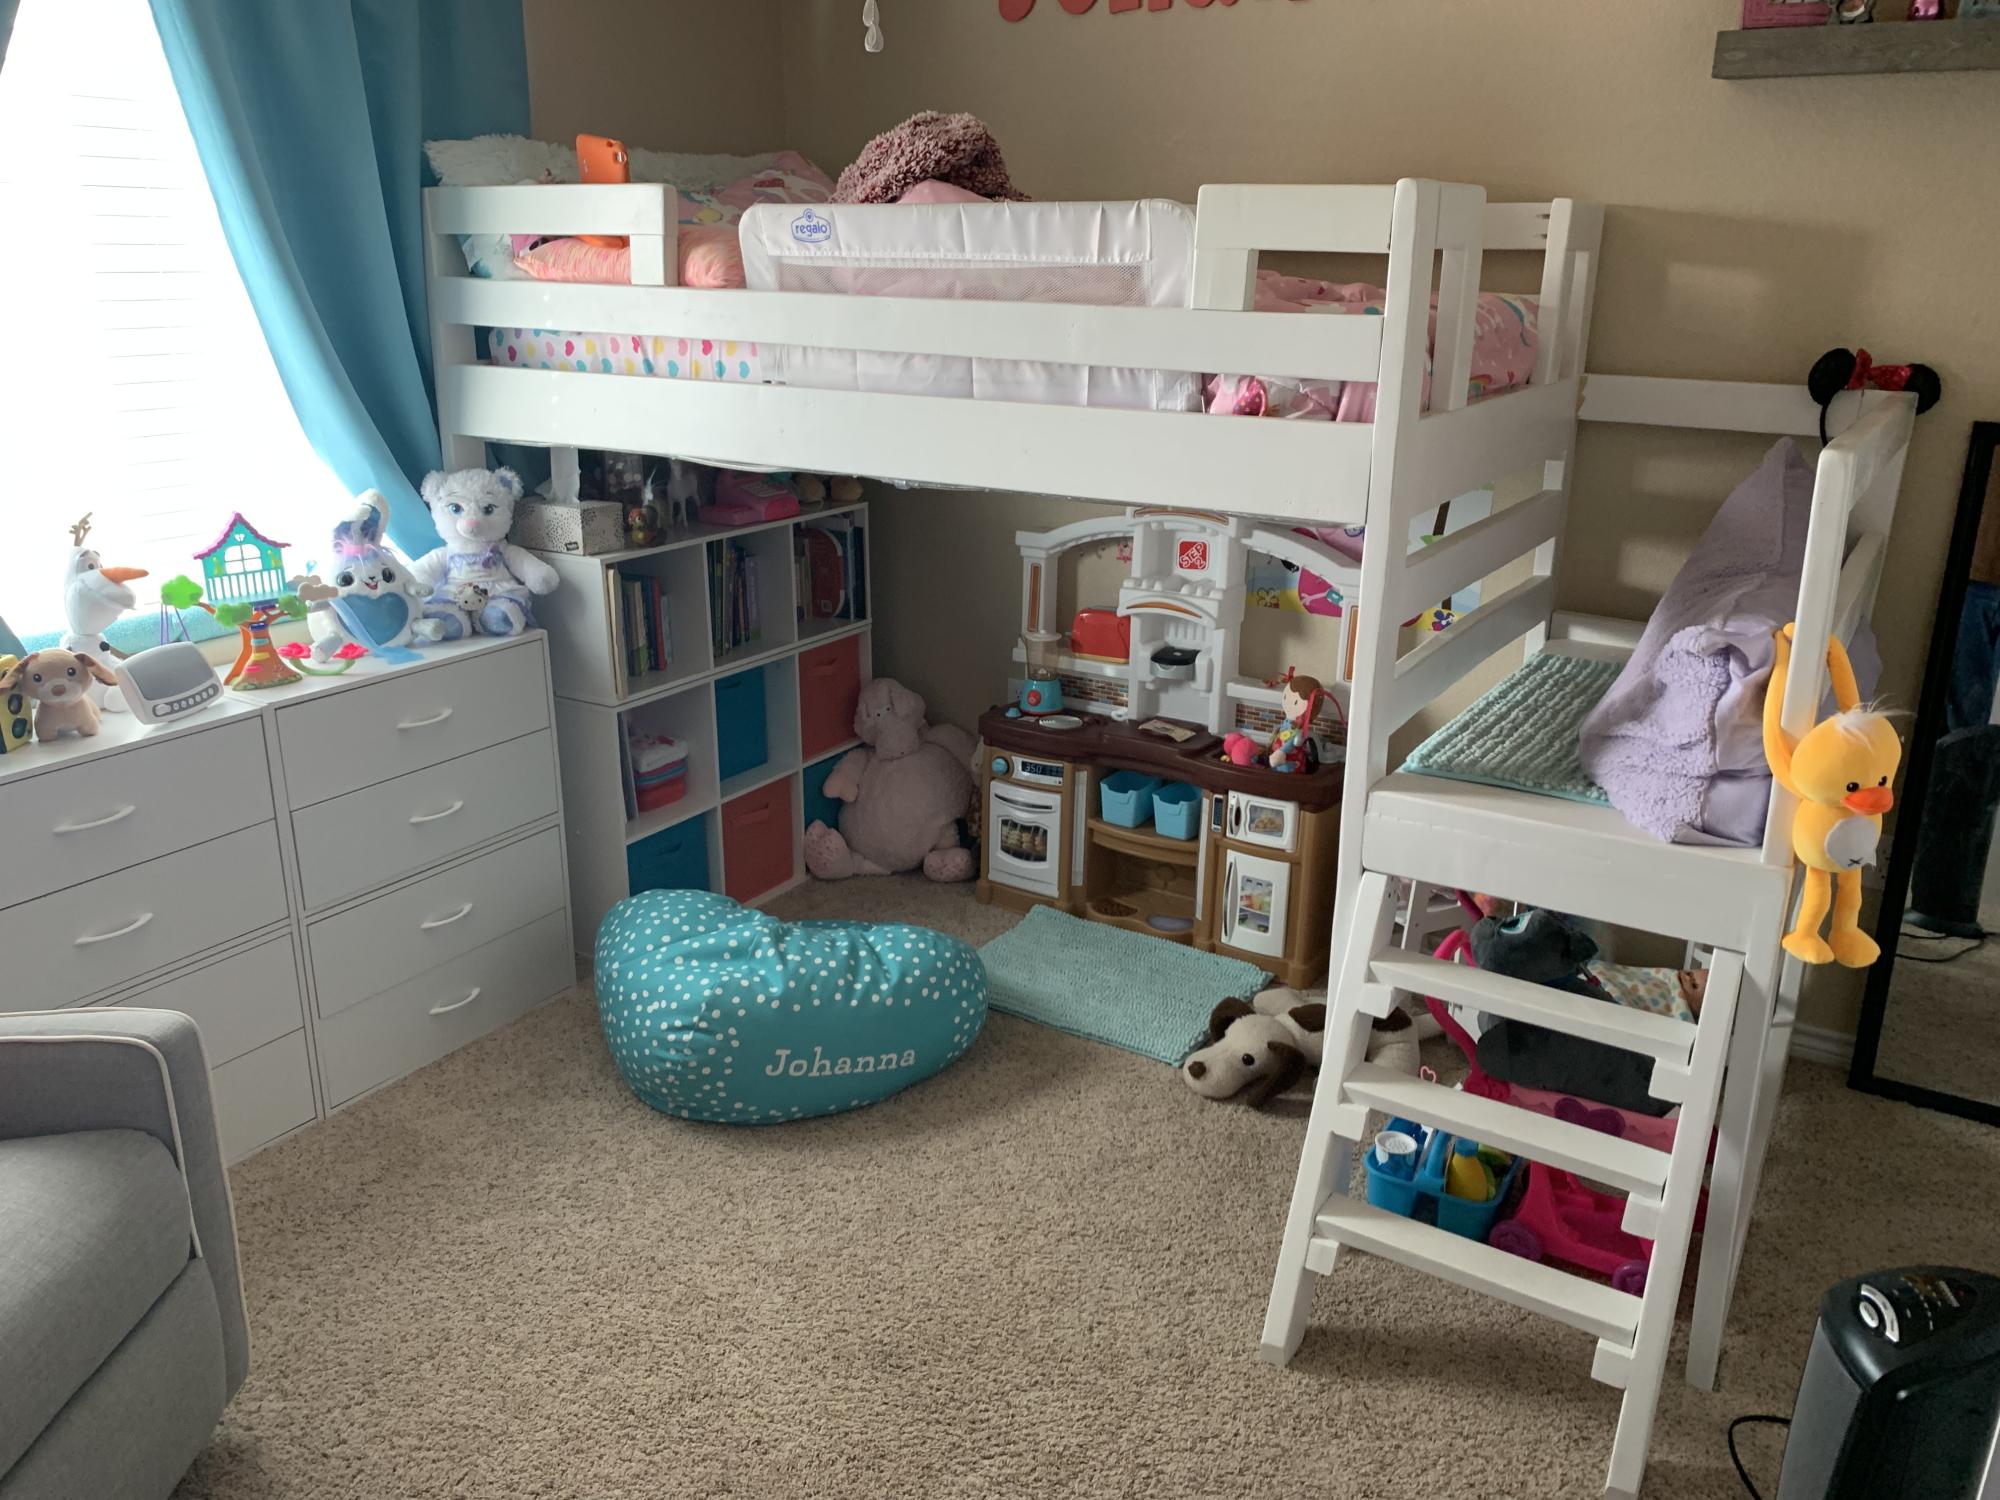
I used your loft bed plan and made some adjustments to better suit our needs. My daughter absolutely loves her bed and we love having all the extra room under her bed. Thank you and I will be using many more of your plans.
Justin
Built from Plan(s)
Comments
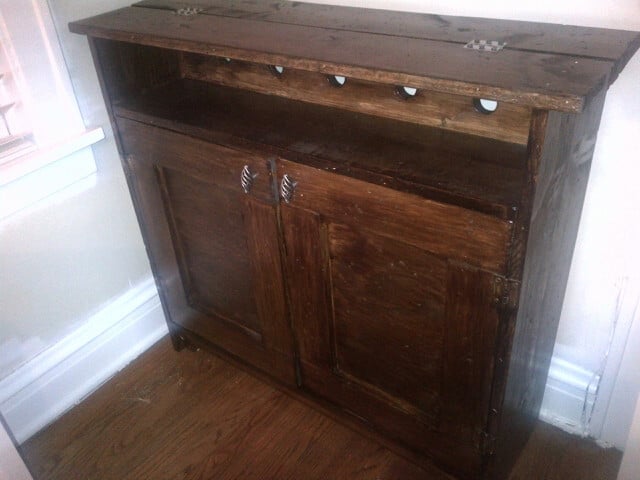
Tall Cupboard based on Single Locker Plan
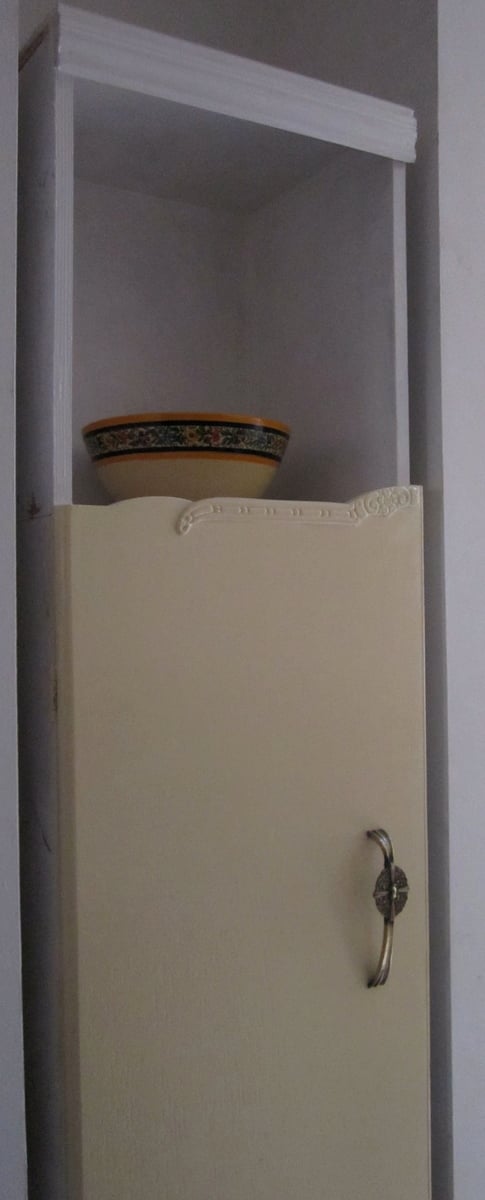
We have a funny alcove in our kitchen that is narrow but very high. I didn't want the space to go to waste, but because of the odd shape I couldn't find anything that would work. I modified the Single Locker Cabinet plans to design a tall cabinet and reclaimed a door from an old wardrobe we found on the street.
I tried cutting the wood myself with a circular saw, but the cuts weren't straight enough. So I took the wood to a lumber yard and had it professionally cut. I had to get a little help from a handyman to get the cupboard square, attach the door and get it anchored to the wall. (It's so tall it could easily topple without being secured!)
We primed the plywood with two coats and then used and Eco-Friendly eggshell in white to finish it. To keep the door securely closed we used a long double sided magnet strip. Now that funny alcove is being put to use.
Built from Plan(s)
Estimated Cost
50
Estimated Time Investment
Weekend Project (10-20 Hours)
Finish Used
Two coats primer with white eggshell for interior. Primed door and used Antique Cream cupboard paint.
Recommended Skill Level
Beginner
Workbench
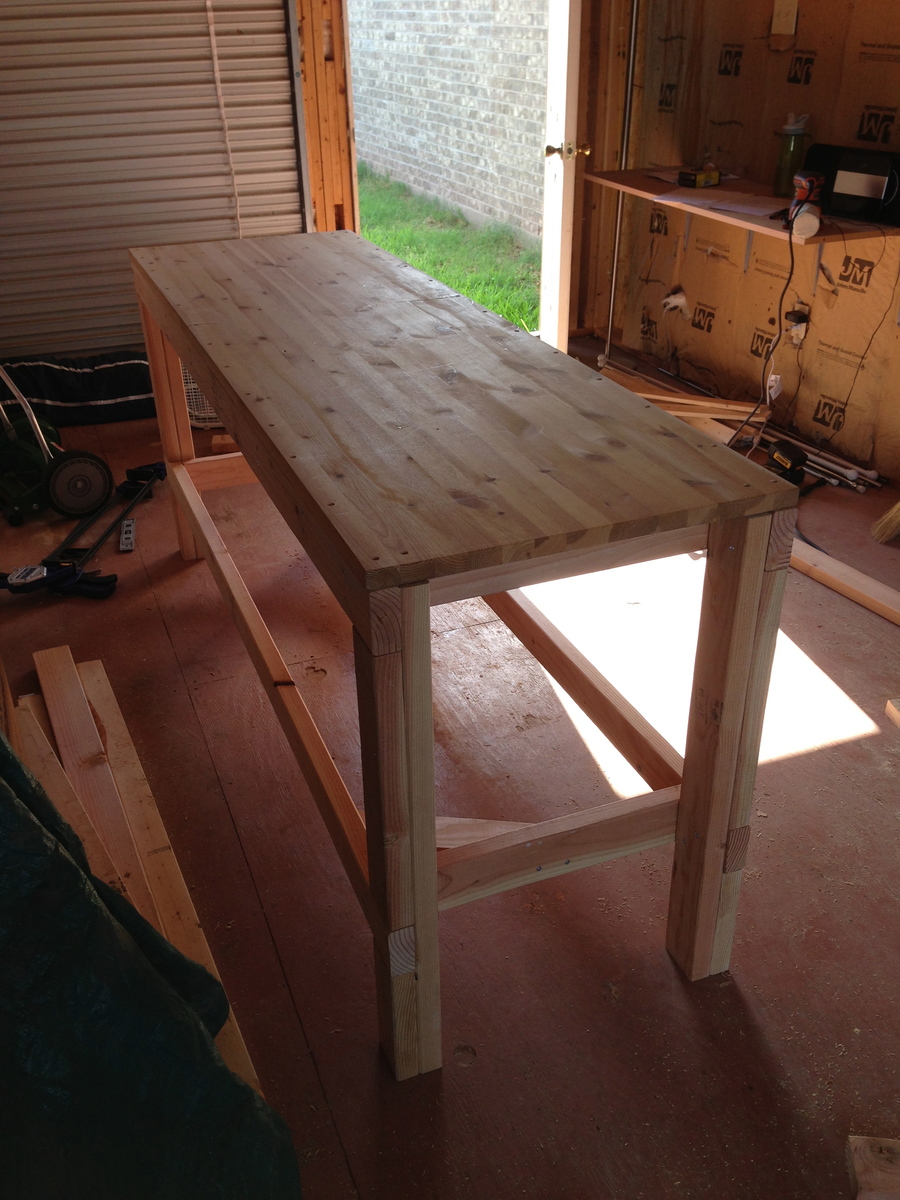
My husband and I just bought a home that has a fantastic shed/barn in the backyard. I've been wanting a workshop ever since college and this is finally my time to make that dream come true. Enter ana-white.com!! My sister had recommended this site after her husband created an unbelievable loft bed for their 6 year-old. Looking through all the plans I became ecstatic and couldn't wait to get my first project under way. I've printed out MANY plans and can't wait to work on them all, however I realized very quickly that I did not have a space to actually "work" on in the shed. When I came across this workbench plan I knew it was the right one for me.
Some changes were made, since I already had a perfectly good table top that I purchased from IKEA years ago. The top came out to be 23 1/2 x 78 3/4" so I had to make many adjustments in the cuts. I also left the bottom shelf free of plywood since I couldn't fit a piece that large in my Toyota Corolla. All in all, I couldn't be happier with the table. It's sturdy, reliable and provides a TON of workspace for me. My back is already thanking me!!
Built from Plan(s)
Estimated Time Investment
Afternoon Project (3-6 Hours)
Finish Used
No finish
Recommended Skill Level
Intermediate
Comments
Tue, 06/25/2013 - 05:58
Nice work
Good job on the workbench. Since you can't fit the piece of ply in your car, I would recommend cutting a 2x4 support to go between the leg supports. Then cut 1x4s to place perpendicular to the supports to create the shelf. Believe me, that shelf will come in VERY handy, so I would definitely recommend adding it. Its nice to be working on a project and simply reach down for the next tool/supply instead of walking away from your work area to get it.
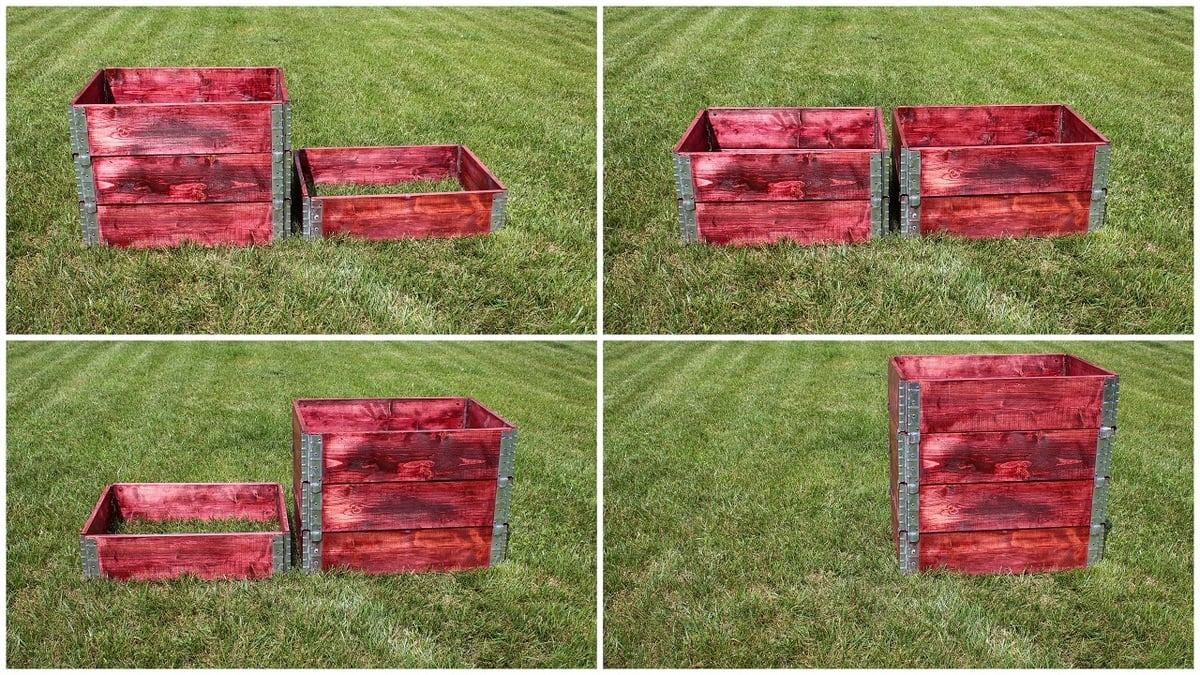
Simple Stackable Compost Bin from Pallets Collars
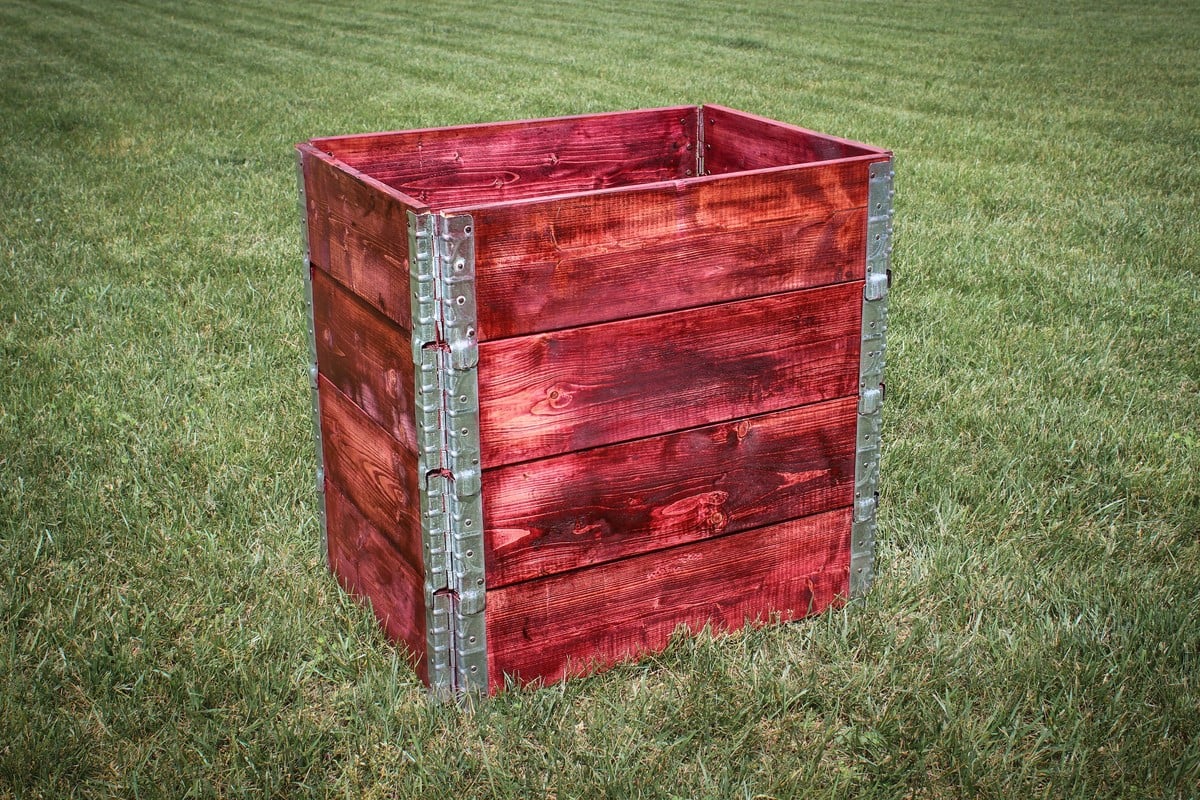
Build Instructions:
http://www.instructables.com/id/Simple-Stackable-Compost-Bin-from-Palle…
How it works:
https://www.youtube.com/watch?v=Tgtd88kKIn0
With one single unit as opposed to two or three bins, the space needed for composting is minimized. Each tier stacks on top of the other, latching together to make the bin. This setup makes it easy to turn and rotate the compost, since moving the collars is simple. Just remove the top collar and place in a new location adjacent to the original bin location. Turn the compost into the new location and stack the collars until finished. This is a great alternative to having multiple compost bins next to each other.
Estimated Cost
Free
Estimated Time Investment
An Hour or Two (0-2 Hours)
Finish Used
Cabernet colored stain from Varathane and a polyurethane from Minwax.
Recommended Skill Level
Beginner
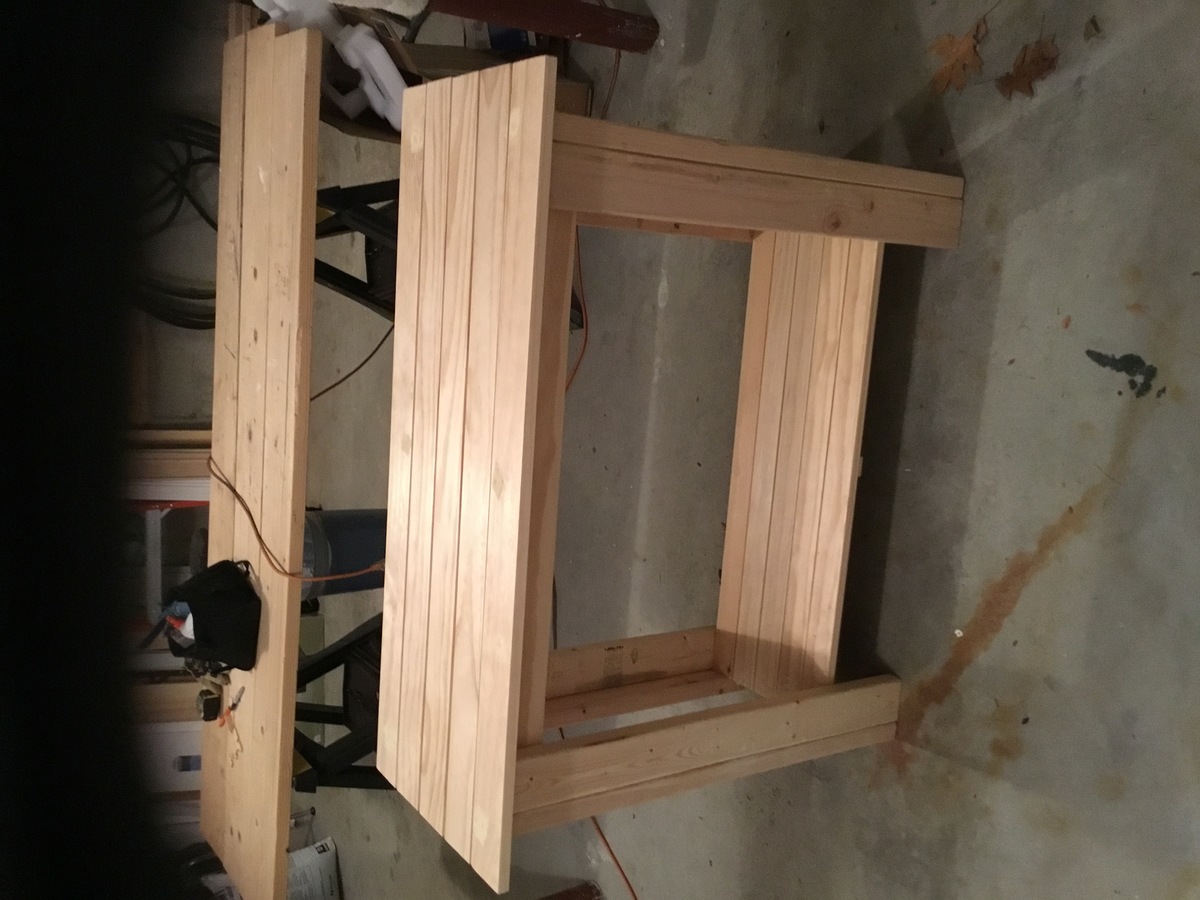
Table for barbecue

Modified plans to make it a little larger. Top is brown and bottom is ‘wild currant’ (red)
Estimated Cost
$80
Estimated Time Investment
Day Project (6-9 Hours)
Finish Used
Top was Olympic paint / sealant. Bottom was SW enamel acrylic
Recommended Skill Level
Intermediate
Bunk bed
Great build, easy to follow, very affordable. Thanks so much.
Built from Plan(s)
Comments
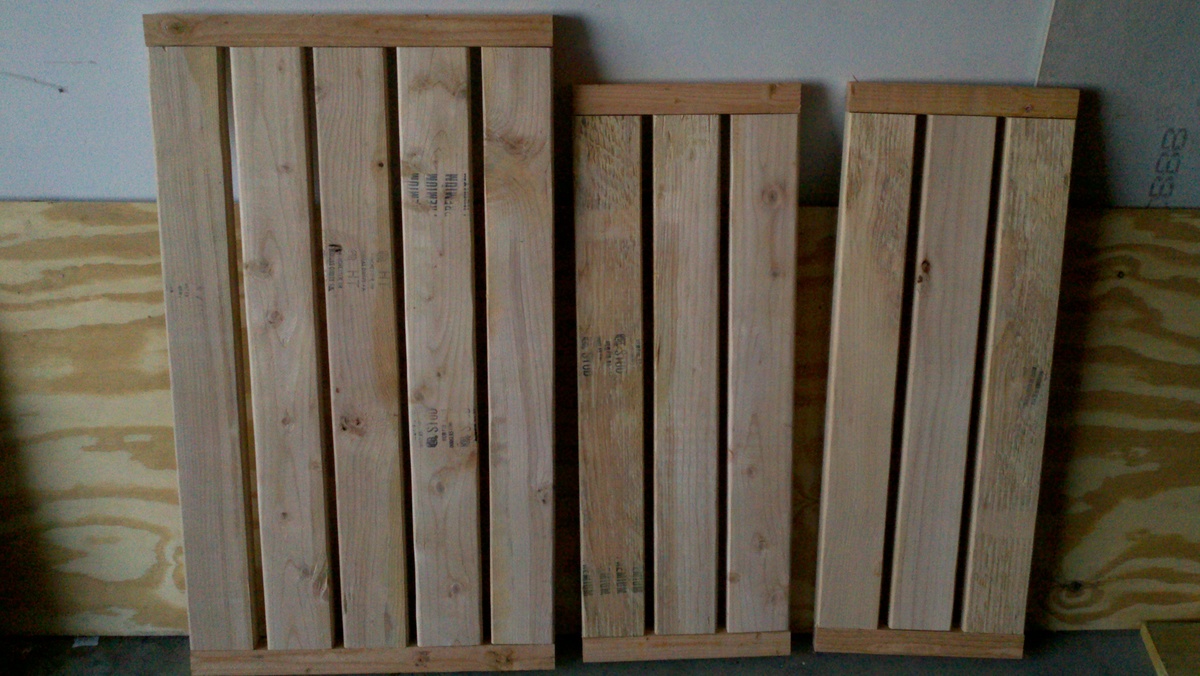
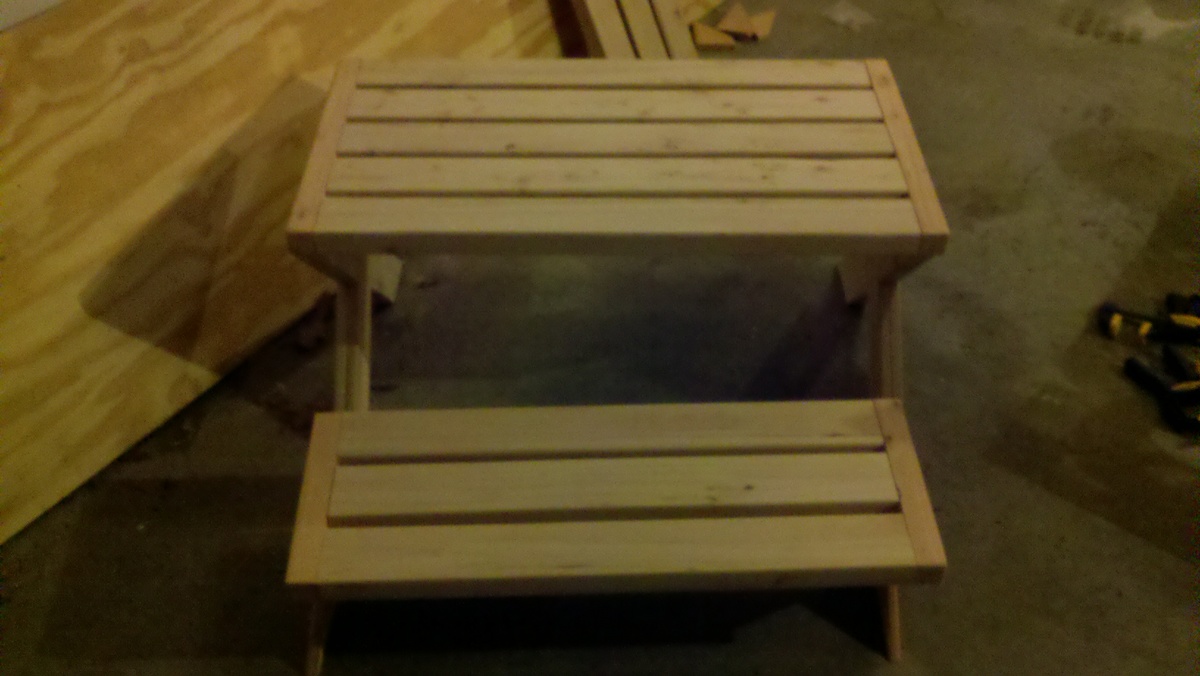
Little Bit Picnic Table
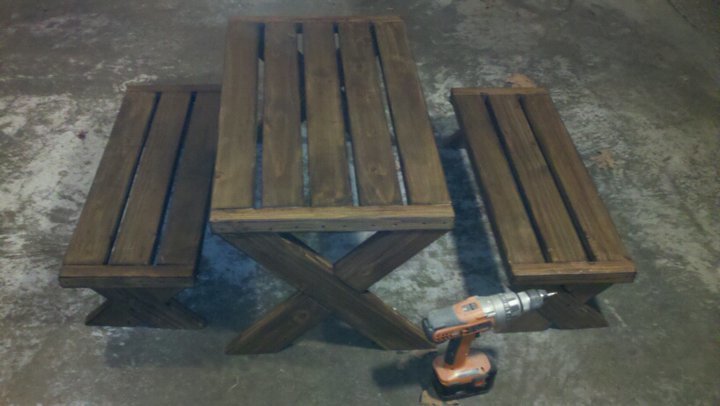
This is a great weekend project I would add supports to the table to make it a bit studier. I found out that any flat surface will be inviting for adults to want to sit on during a BBQ
Built from Plan(s)
Estimated Cost
$40
Estimated Time Investment
Afternoon Project (3-6 Hours)
Finish Used
semi transparent wood stain Behr tinted to Chocolate
Recommended Skill Level
Beginner
Charging Station supersized
We wanted a side piece for our kitchen so we followed the revised plans to make it a little taller. My wife is really happy with how it turned out. Easy, fun project that was finished quick.
Built from Plan(s)
Estimated Cost
$40-45
Estimated Time Investment
An Hour or Two (0-2 Hours)
Finish Used
Minwax weathered oak base coat topped with Minwax Polyshades Mission Oak Gloss. Used chip brushes, and Minwax pre-stain wood conditioner too. The gray from the weathered oak pops through just enough for our tastes.
Recommended Skill Level
Intermediate
Table and Chair for my Daughter "Hannah"

Such great and easy to follow plans. Even for a beginner like me. I did both projects in stages at my own pace and time. It probably could have been finished in a weekend, if I worked steady and straight through. Also if you are good and know exactly what you are doing, definitely in a weekend(haha). I just took my time and worked in baby steps, working through both plans. I am very pleased with the outcome. I did change a few things but that was my preference. I attempted to contour the chair seat, not bad but definitely not great. I used a handheld grinder with about 60 grit sandpaper to make the mold. If you are good and have a very very steady hand this can work. I have a router but not a jig for that type of pattern. All in all though I was very pleased with the outcome and so was my little Hannah. Thanks for this great website and keep up the great ideas.
Built from Plan(s)
Estimated Time Investment
Weekend Project (10-20 Hours)
Finish Used
No finish used yet at this time.
Recommended Skill Level
Beginner
Rustic table
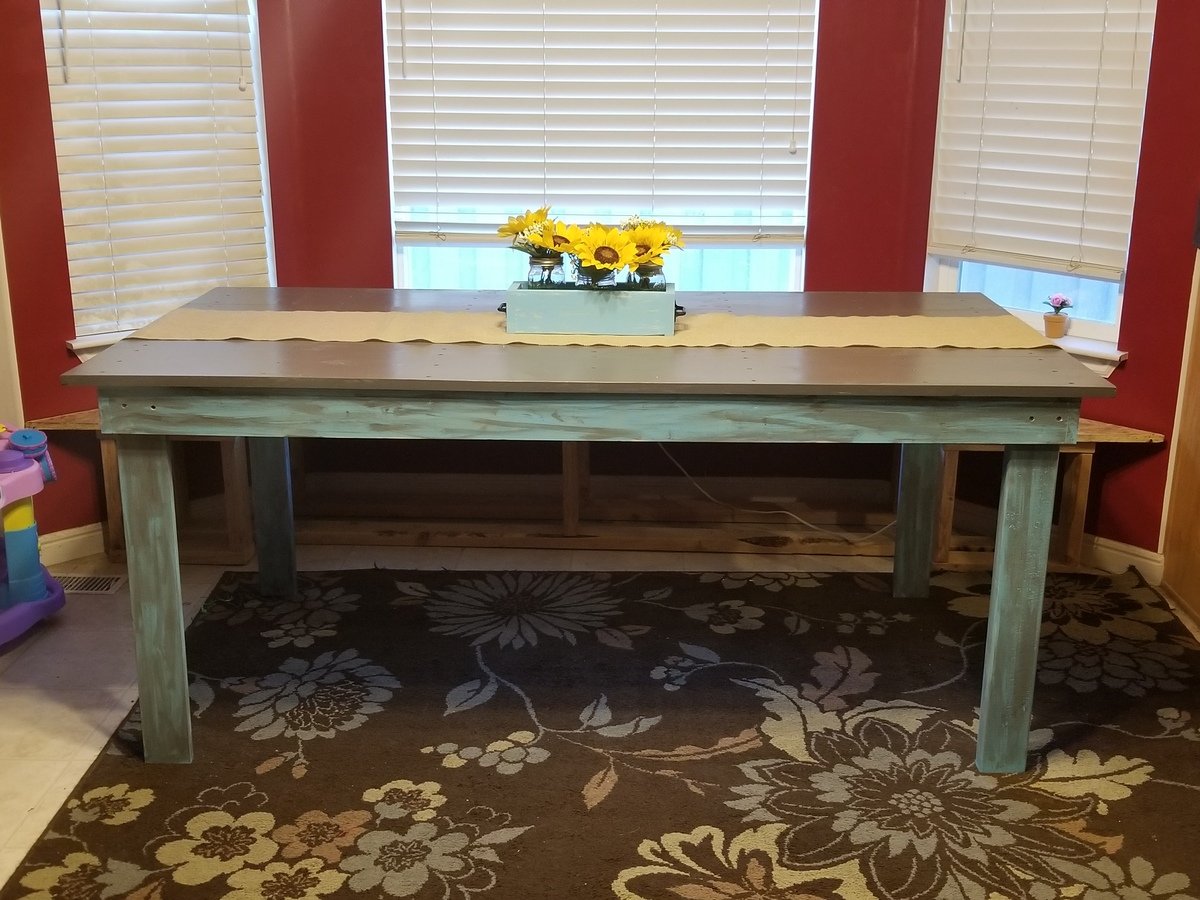
We built our table from the rustic table plans and I am in love. I am a beginner and I was so scared but it turned out amazing!! Thank you for giving me the courage and confidence to start building my own furniture!
Built from Plan(s)
Estimated Time Investment
Weekend Project (10-20 Hours)
Finish Used
Minwax stain in slate
Minwax polycrylic
Minwax polycrylic
Recommended Skill Level
Beginner
coffee mug tree
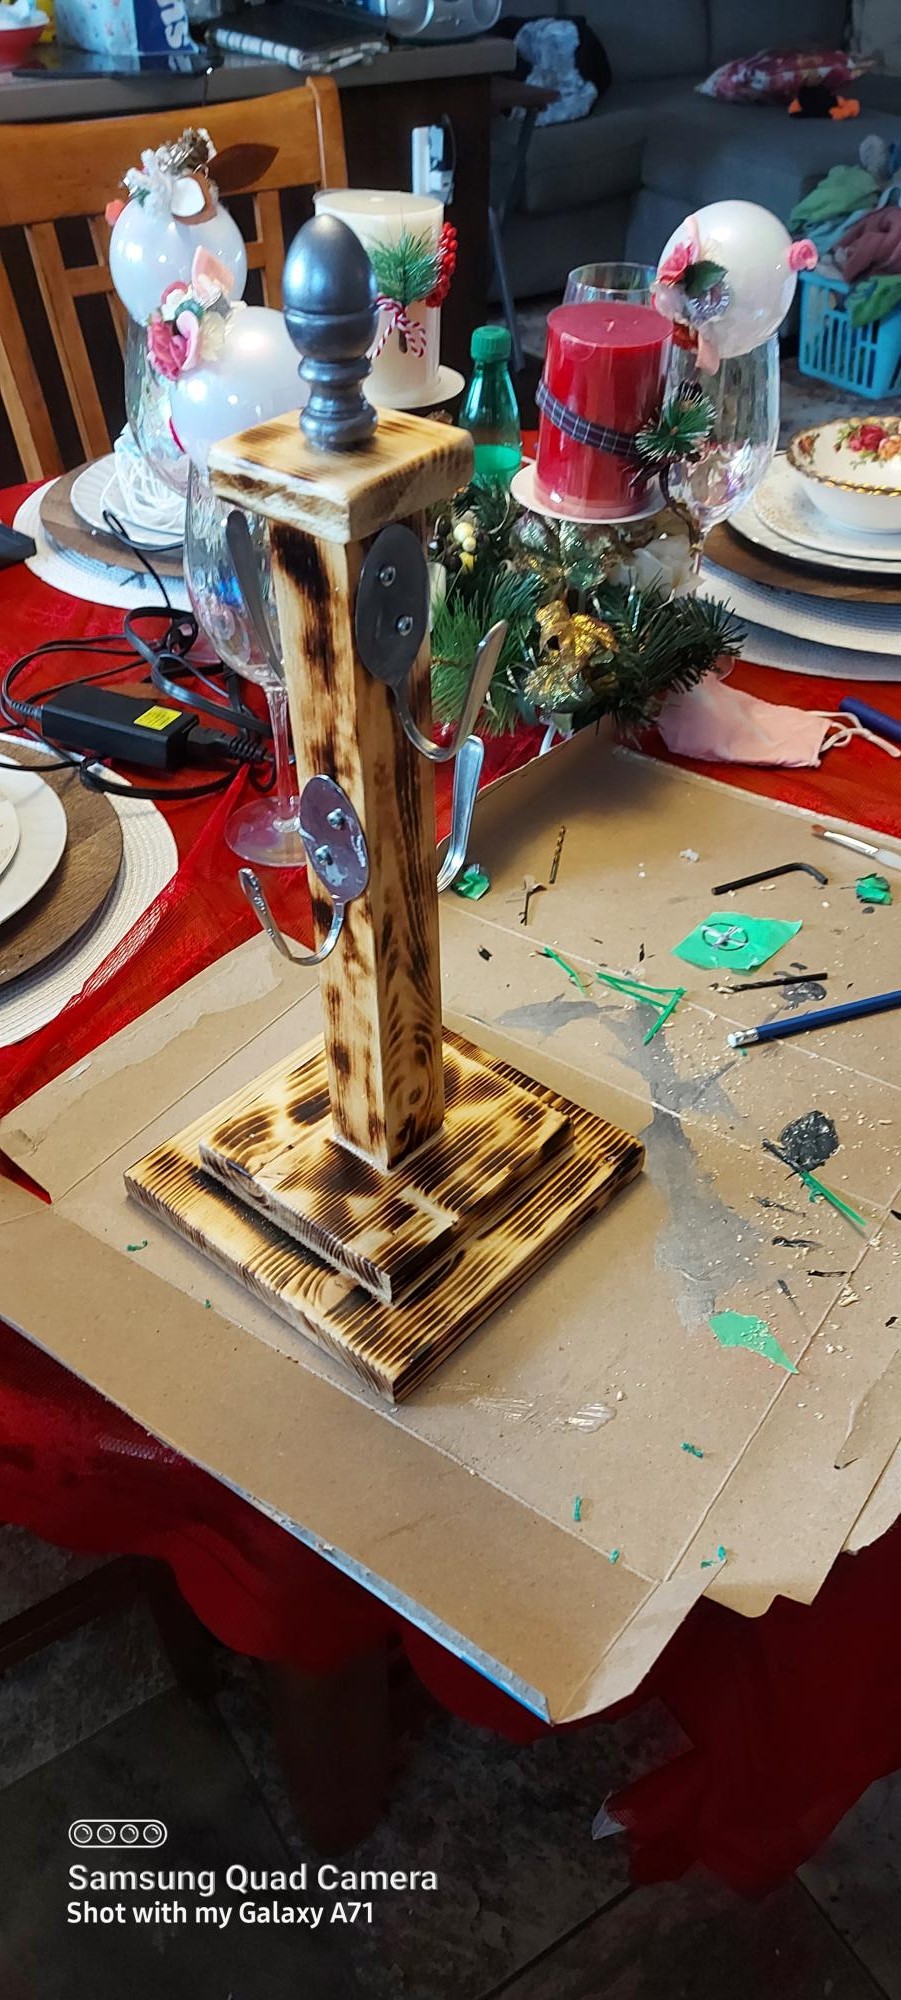
I followed most of the plan but put my own twist on it