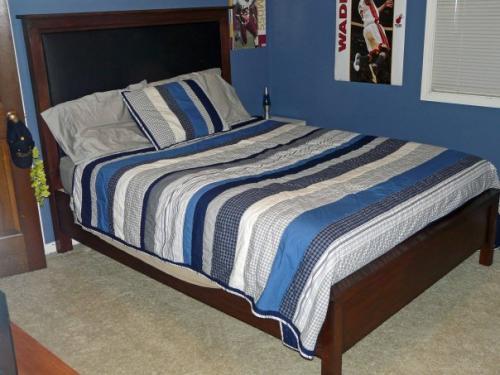
My two girls (9 and 12) share a room and their dressers (cheap from Ikea) were not only taking up too much space, but also falling apart!
I used Ana's closet organizer plan as inspiration for this, adding more shelves since they won't have any drawers to use.
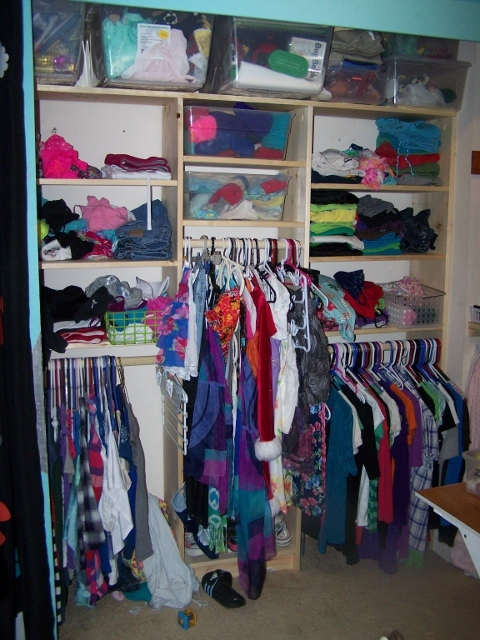
All of their clothes fit (though its tight!) and they each have their own space, plus much more space to move in the rest of the room.
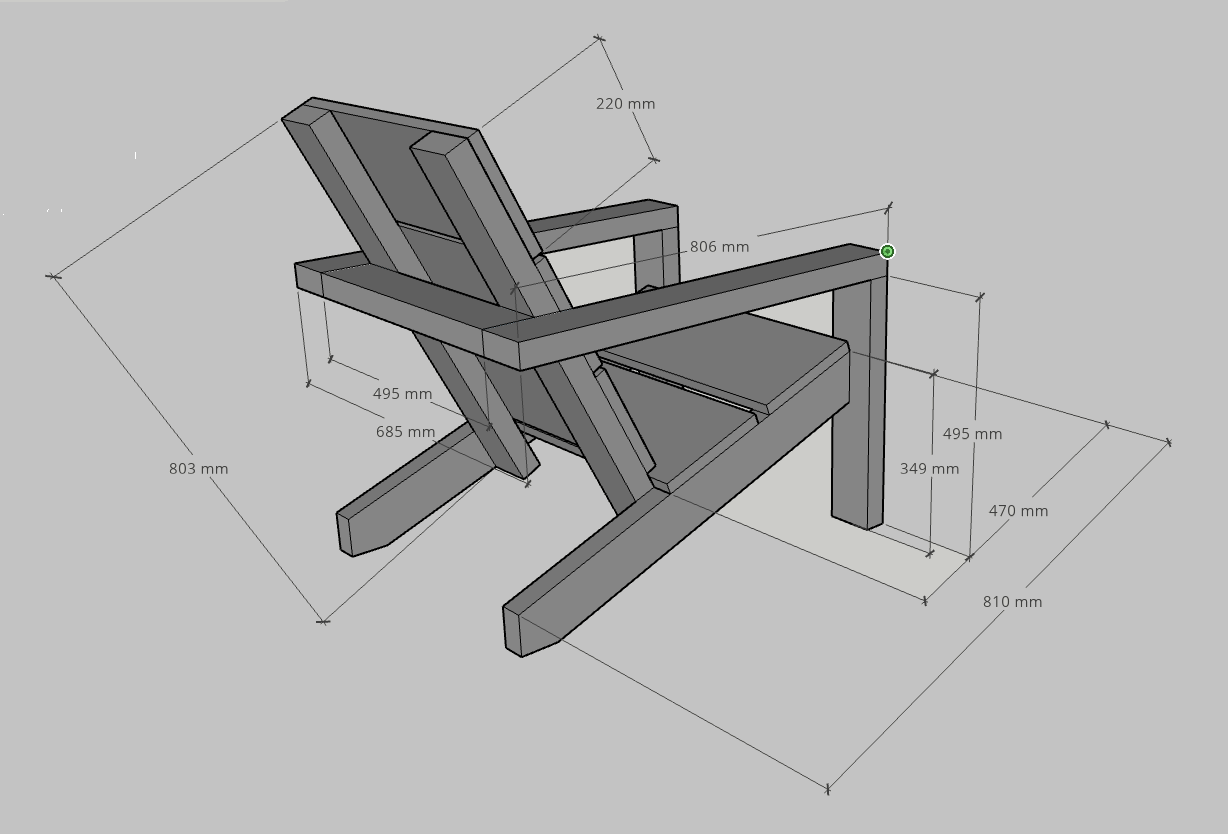
I made a google sketchup file to work with, but I'm not sure how to upload it?
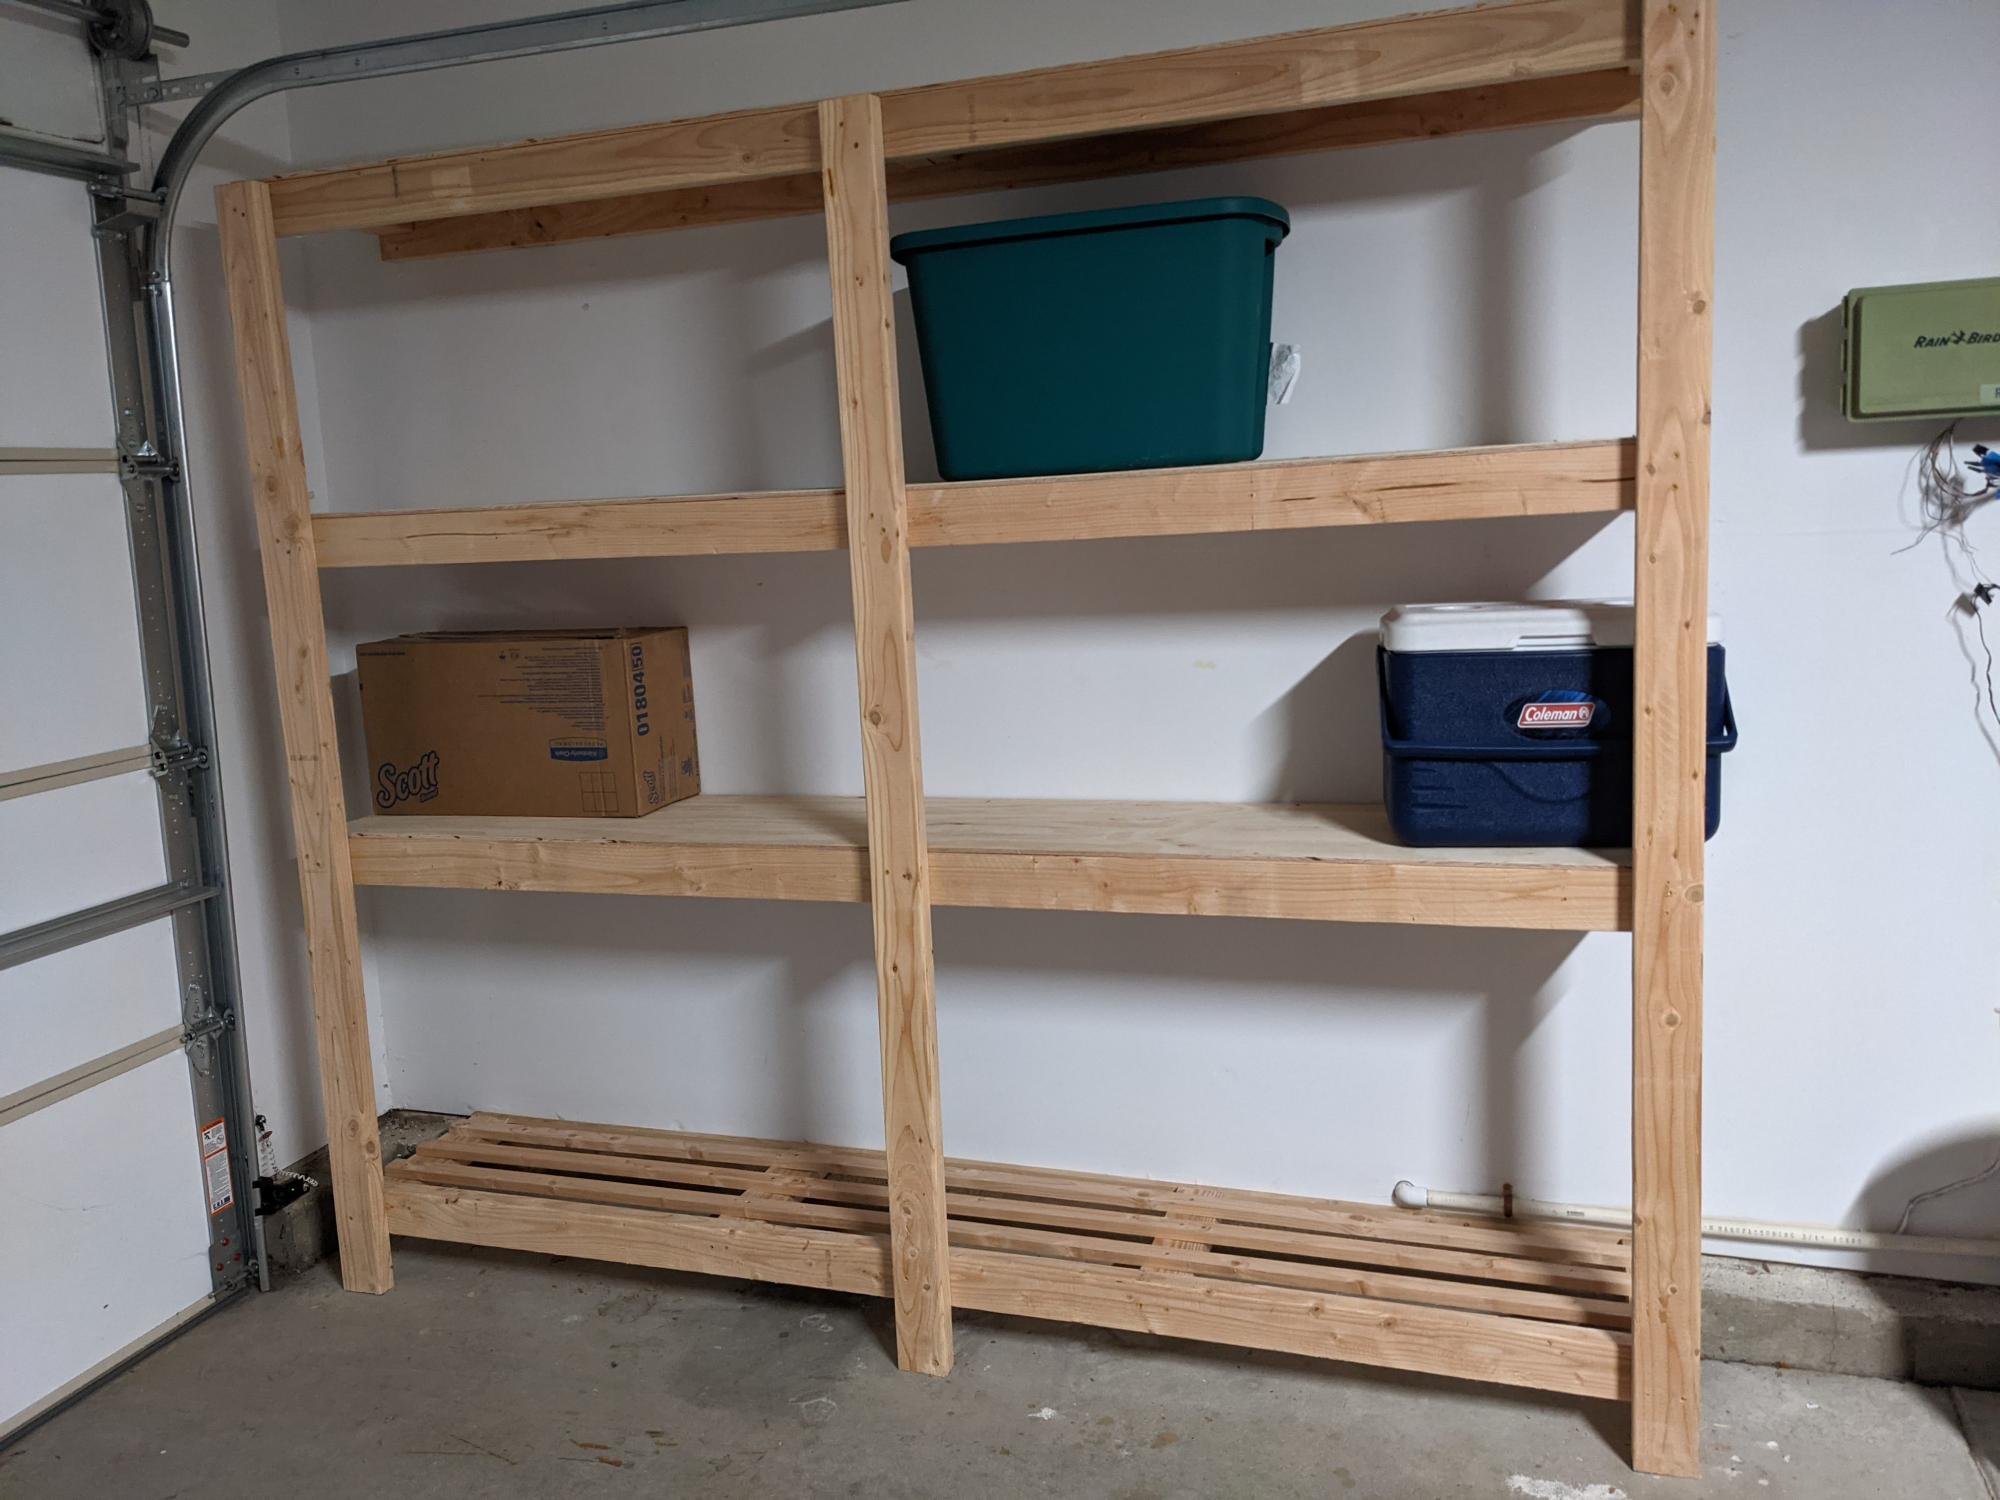
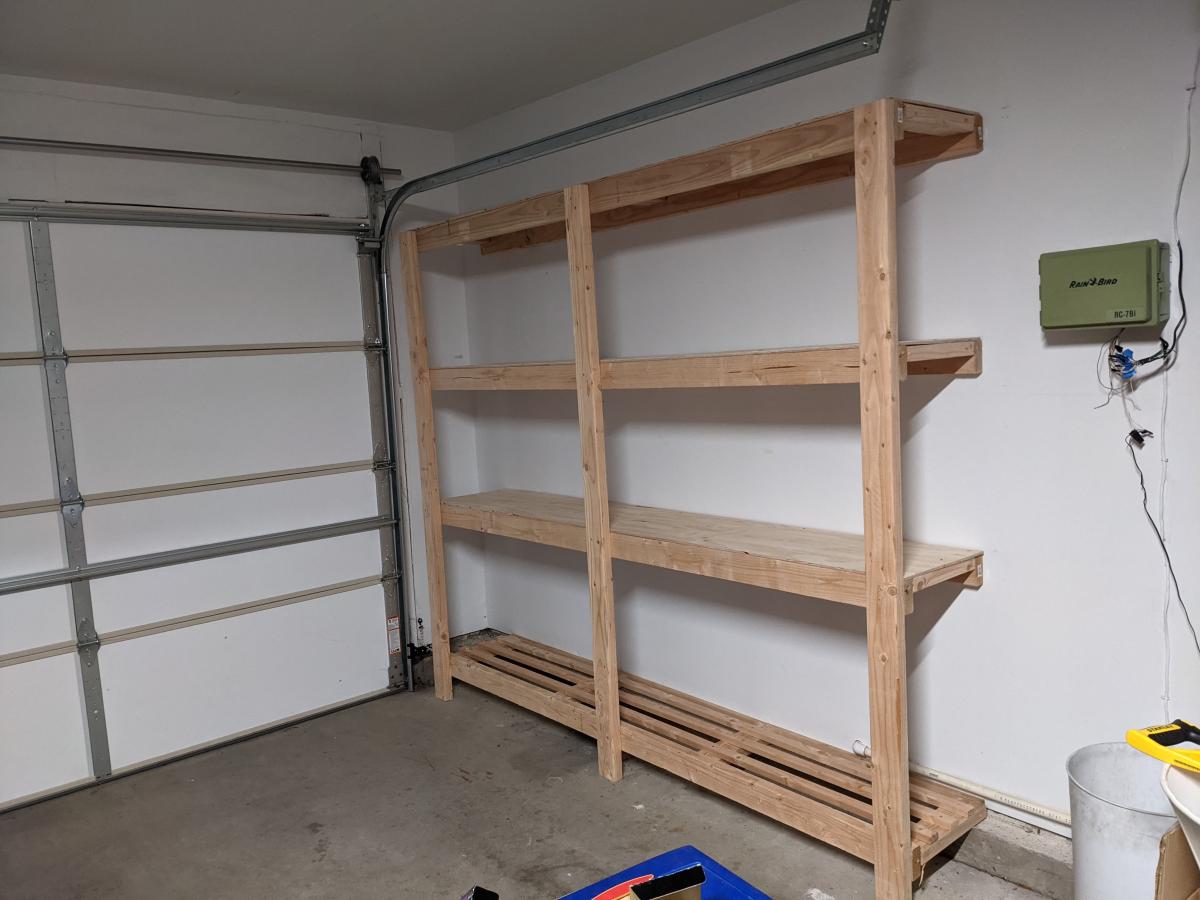
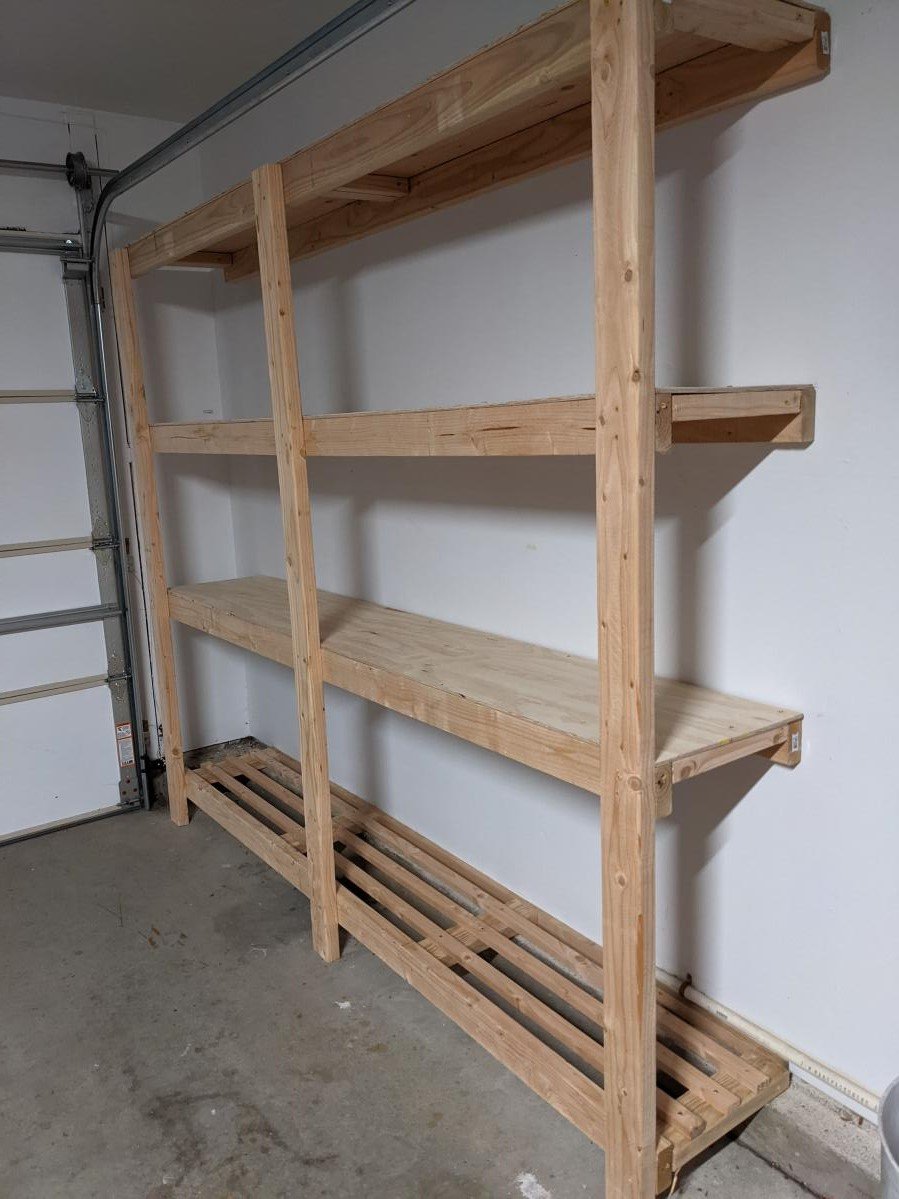
Basically, I just bought 7 1x12 boards (6' length).
I used 4 of them as uprights: one on either side wall because I couldn't find any studs!?
Then one more is the top shelf (for storage of things they don't use often)
Then the final three were cut to make the shelves - I had very little waste.
One 6' wood dowel (1.25" diameter) for the closet rods. I screwed them directly into the vertical supports instead of using a bracket.
Additionally, I used a couple small 1x4 scraps to make a toe-kick for the middle bottom shelf and a brace at the top. I was going to use the top brace to attach the whole unit to the back wall, but it ended up being too tight a fit and too heavy to pull out to drill into it :) So I think its stable for now at least!
I chose to leave it unfinished because I was in a hurry and the boards I got (at Lowes) were really clean and smooth to start with. The girls have been using it for a few months so far and I don't see any problems with it (splinters, etc.)
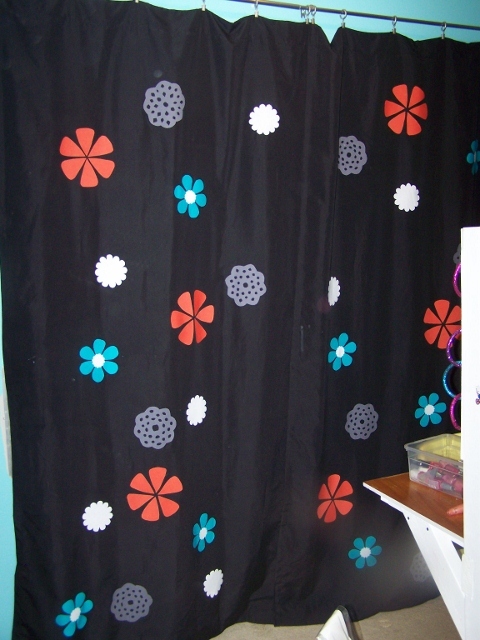
I managed to get a picture while it is tidy (hardly ever) and also a picture of the curtains I made to replace the doors - much easier to see the whole space now, and still close it up when (always!) its not tidy.


Comments
meredithl
Thu, 10/24/2019 - 16:35
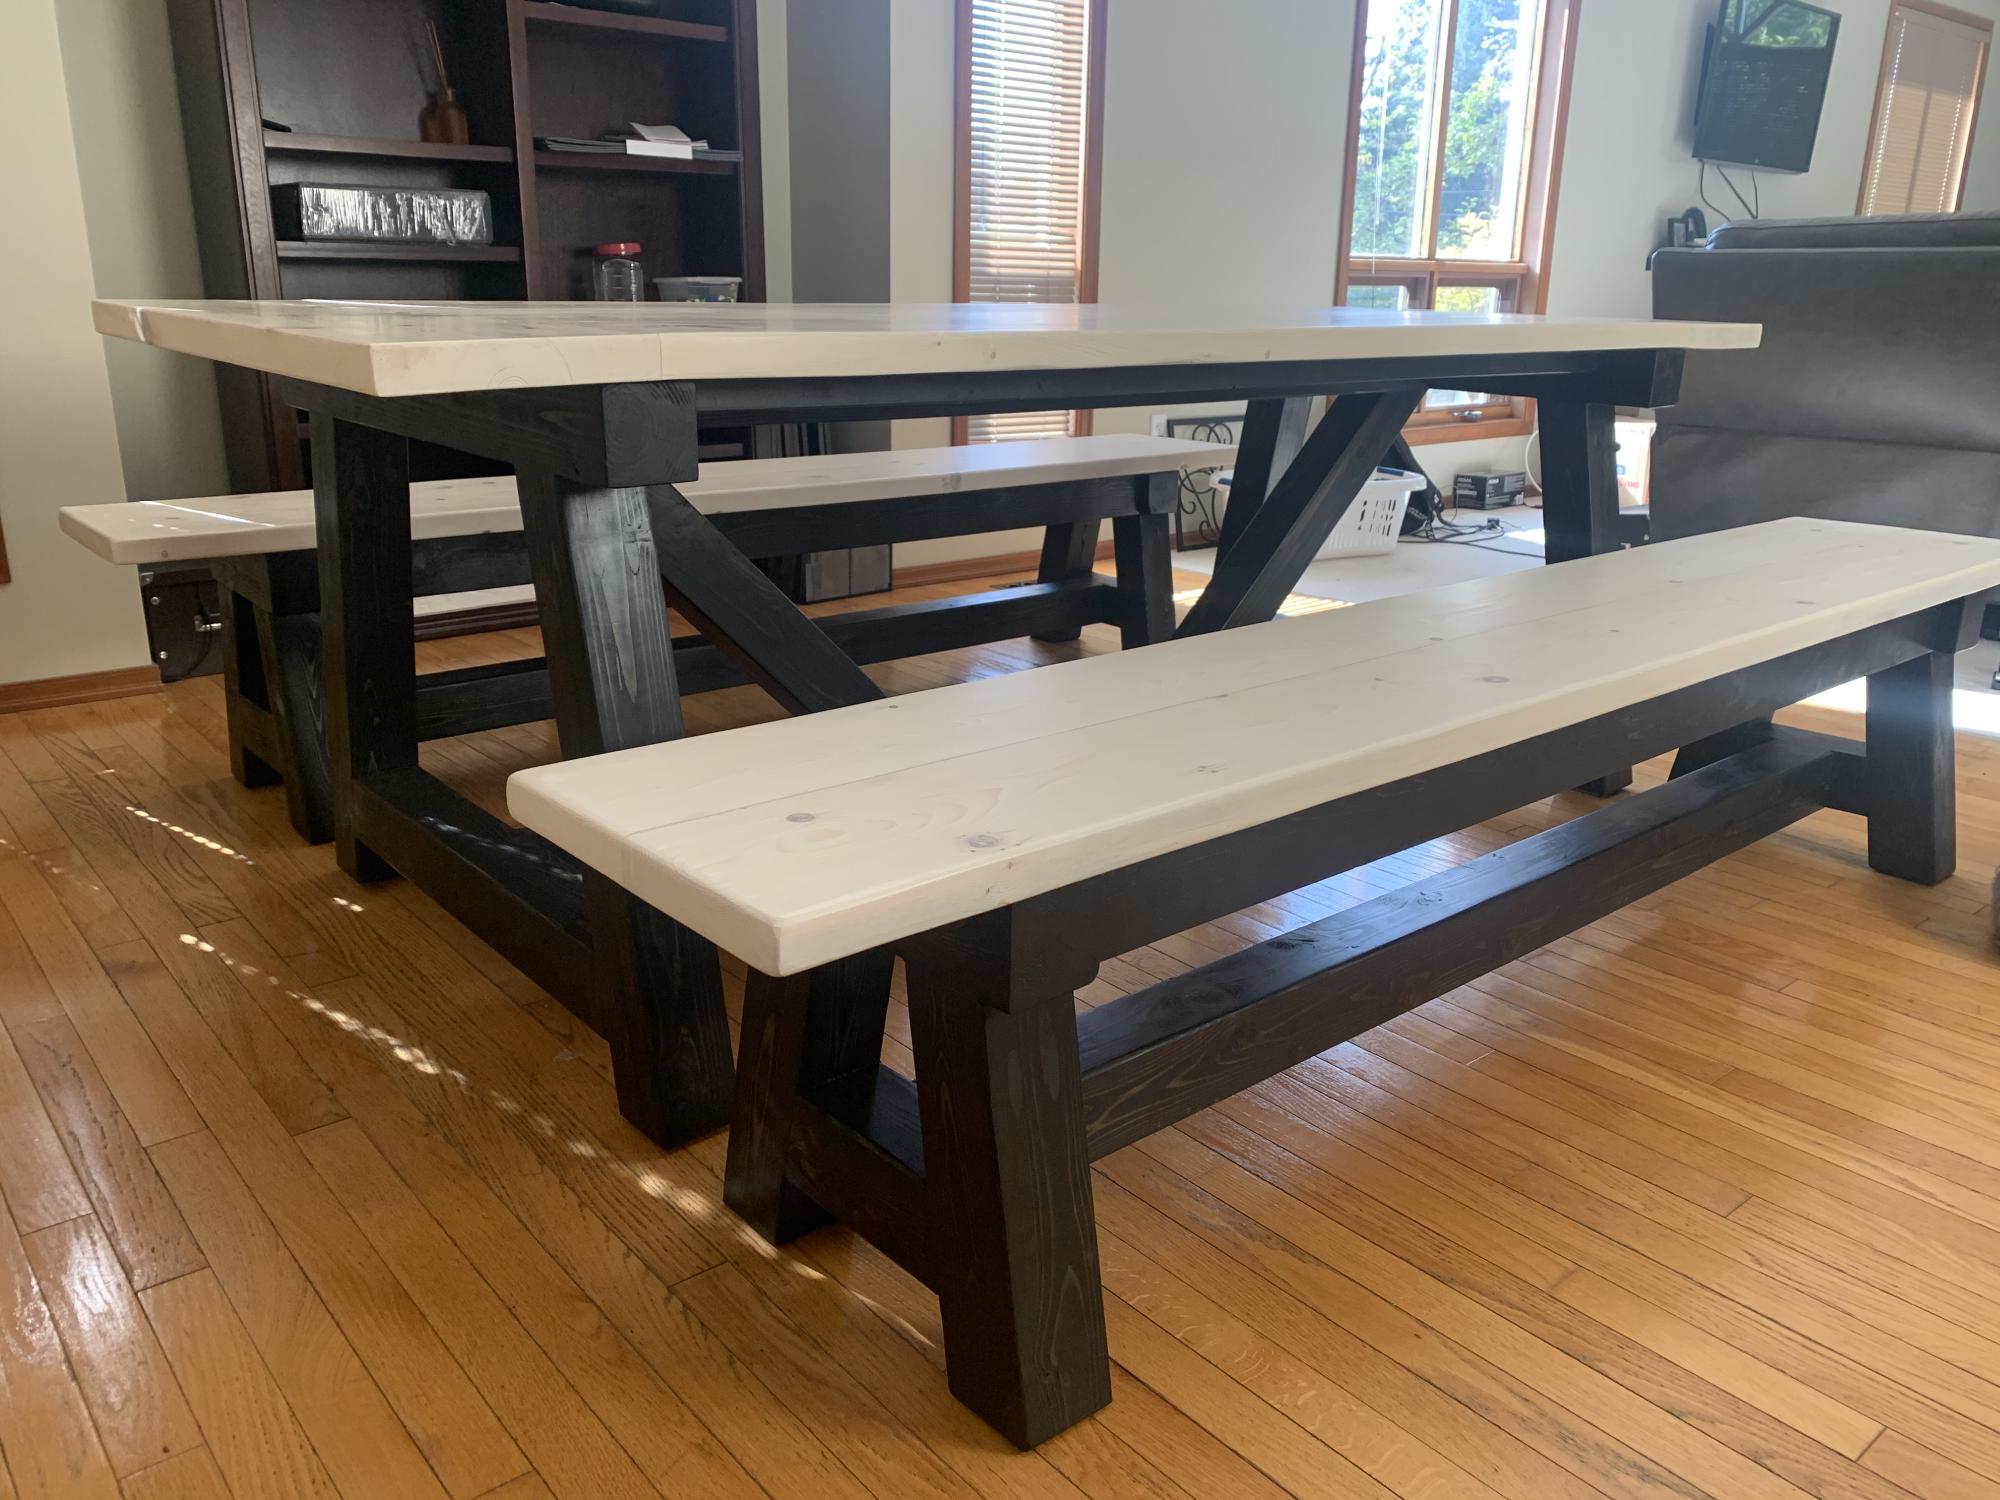
Stain and cushions?
Hi, your furniture is beautiful. May I ask: Where did you find your cushions? And what color/ brand stain did you use? Lovely job.