Community Brag Posts
2x4 Projects
Some 2x and 4x Wood Projects
Lee Lape
Built from Plan(s)
Work Bench
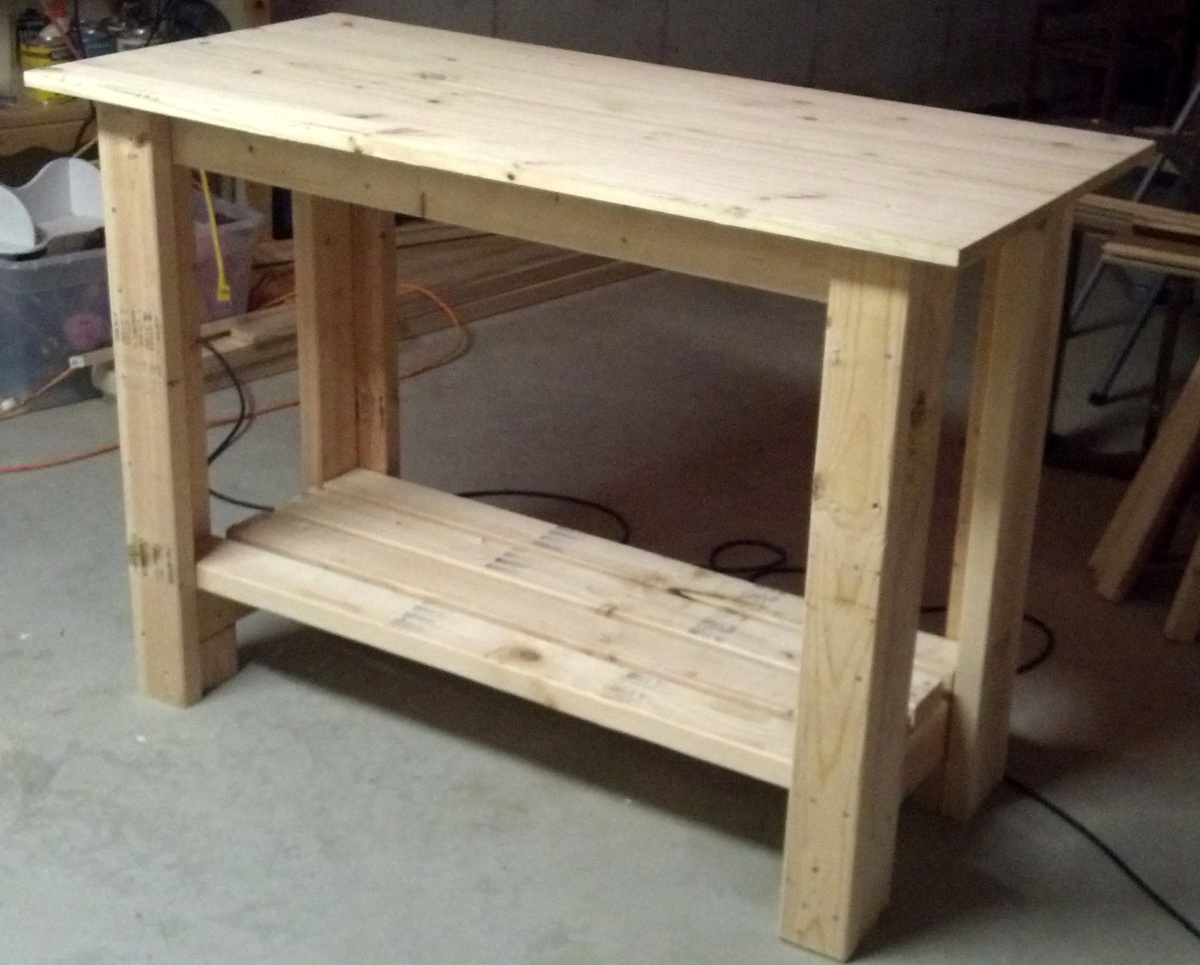
I figured the first thing I should make was a bench to work on :)
Built from Plan(s)
Estimated Time Investment
An Hour or Two (0-2 Hours)
Finish Used
Did not finish
Recommended Skill Level
Beginner
Daughters blue Playhouse

I used the basic framing plan for the project, but extended roof overhangs, added engineered siding / trim and cedar shake roofing. I put 2x4 bracing on for the platform.


Built from Plan(s)
Estimated Time Investment
Week Long Project (20 Hours or More)
Recommended Skill Level
Intermediate
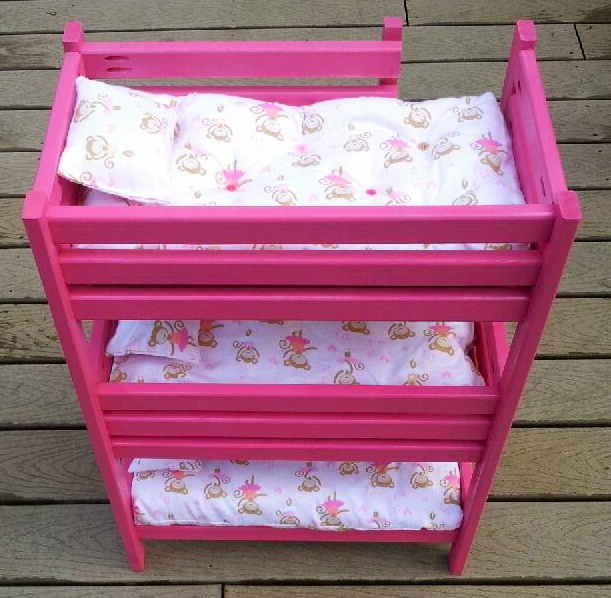
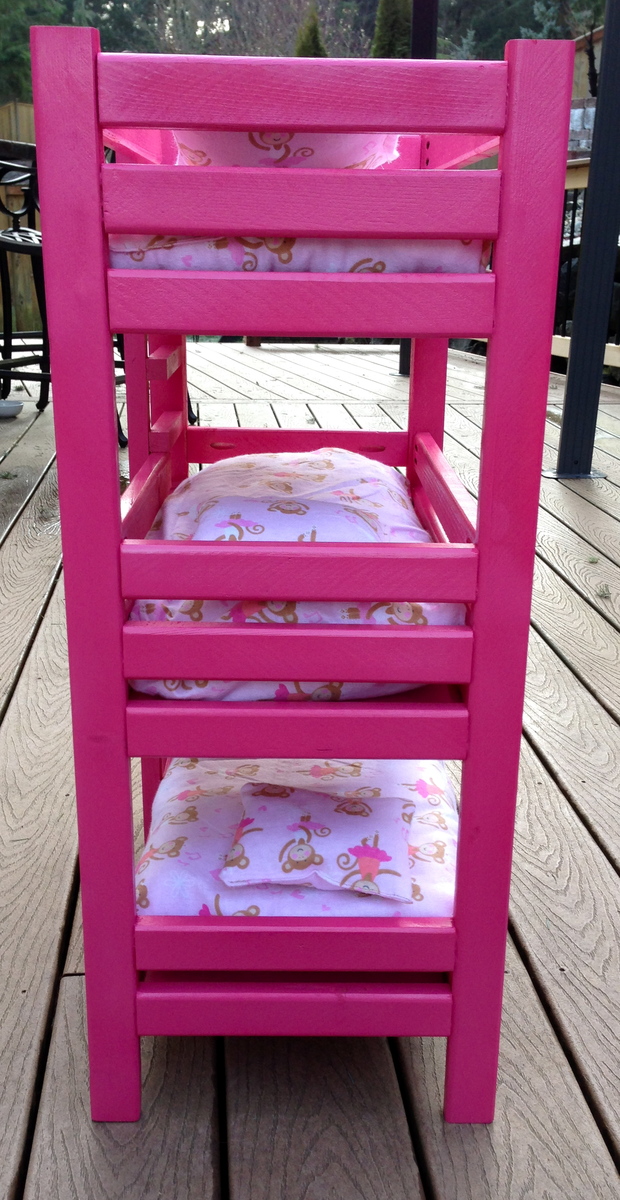
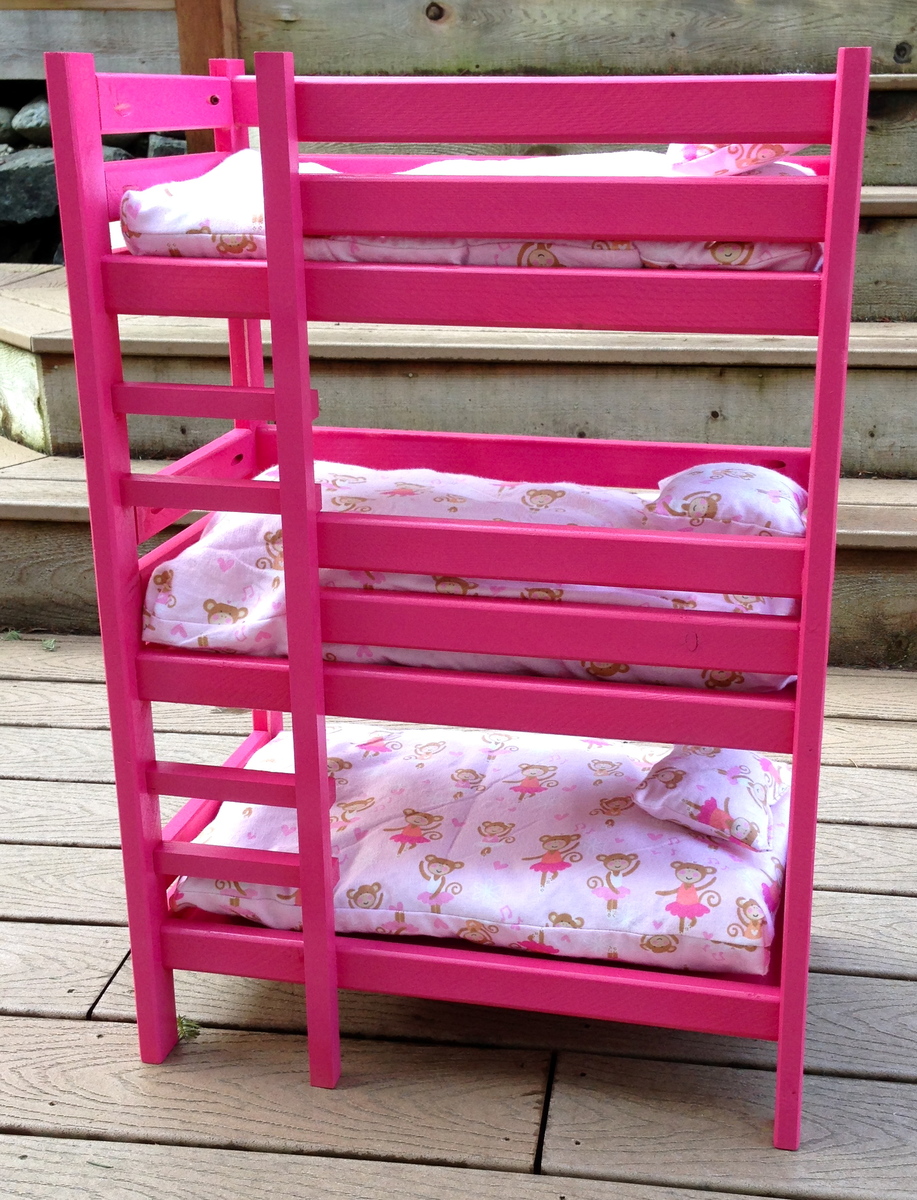
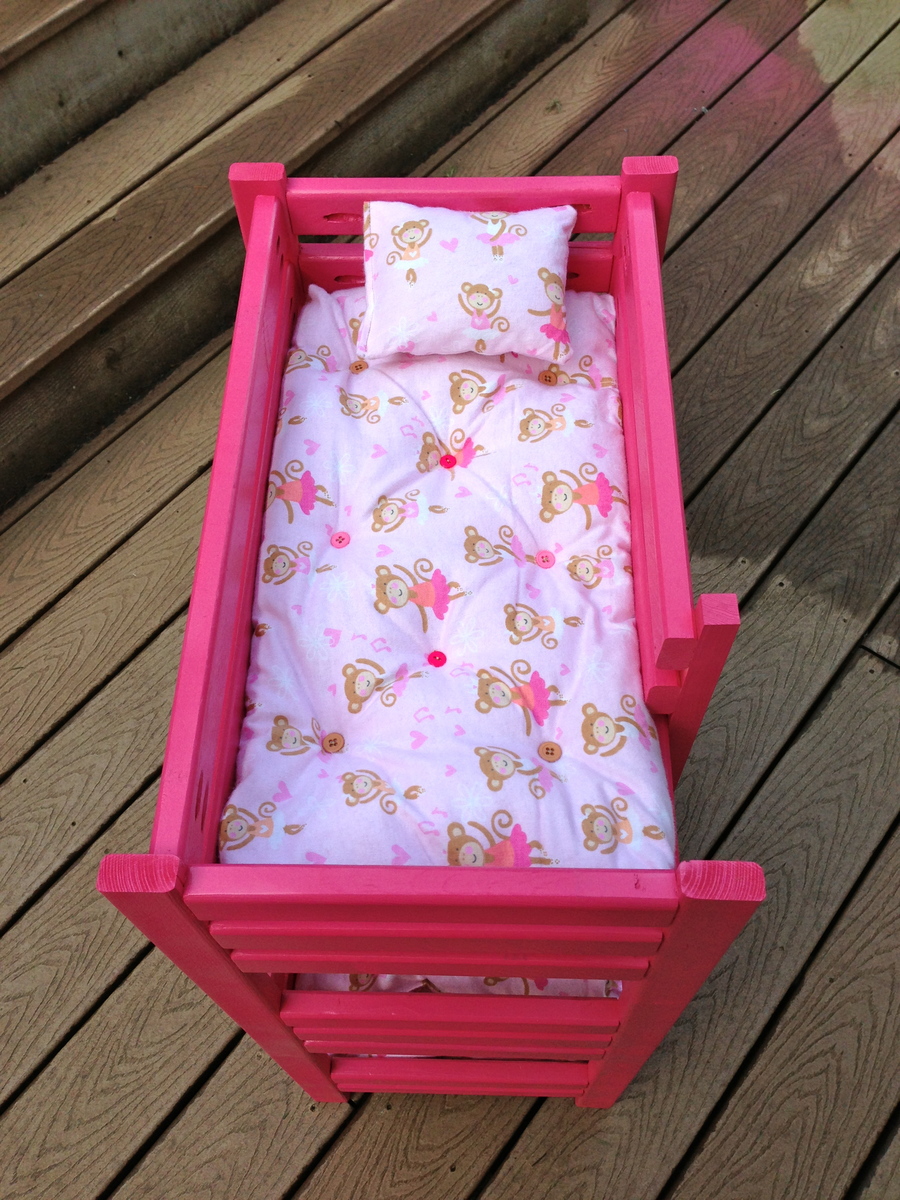
Triple Doll Bunk Bed

My friend's 7 year old daughter custom ordered this bunk bed! She asked for a bunk bed for her 3 dolls and she even picked the color! I had a lot of fun building it and learned a lot in the process. As usual, finishing took longest. Lucky for me, my hubby likes spray painting :-)

Built from Plan(s)
Estimated Time Investment
Weekend Project (10-20 Hours)
Finish Used
3 coats of Rustoleum Berry Pink spray paint, sanding btw. coats.
Recommended Skill Level
Beginner
Comments
Wed, 02/17/2016 - 17:41
Triple doll bunks bed
Can you please post the plans for this bunk bed. I want to make it for my daughter to play with her dolls with.
Thank you
Brett
Shoe Dresser
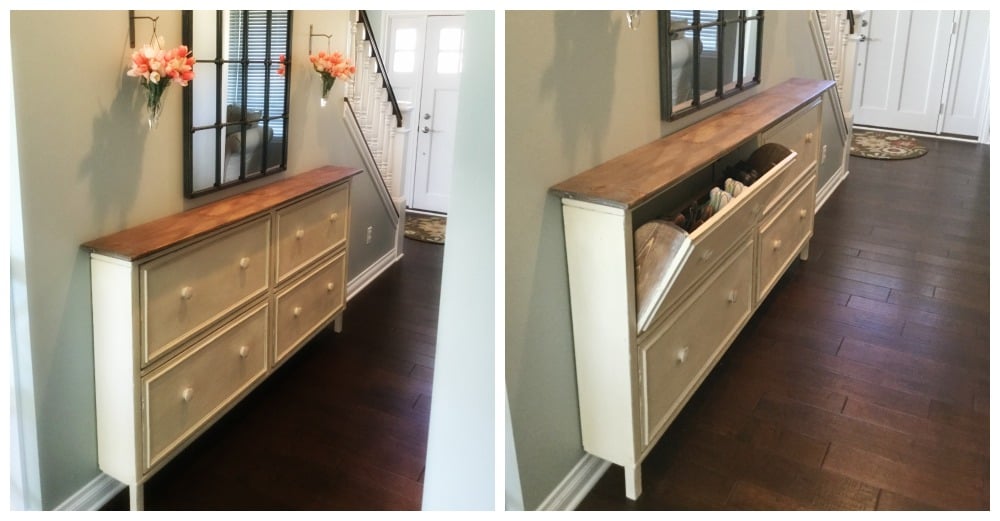
We used the shoe dresser instructions with some modifications to make it longer

Built from Plan(s)
Finish Used
Stain, polyerthane, chalk paint and wax
Recommended Skill Level
Advanced
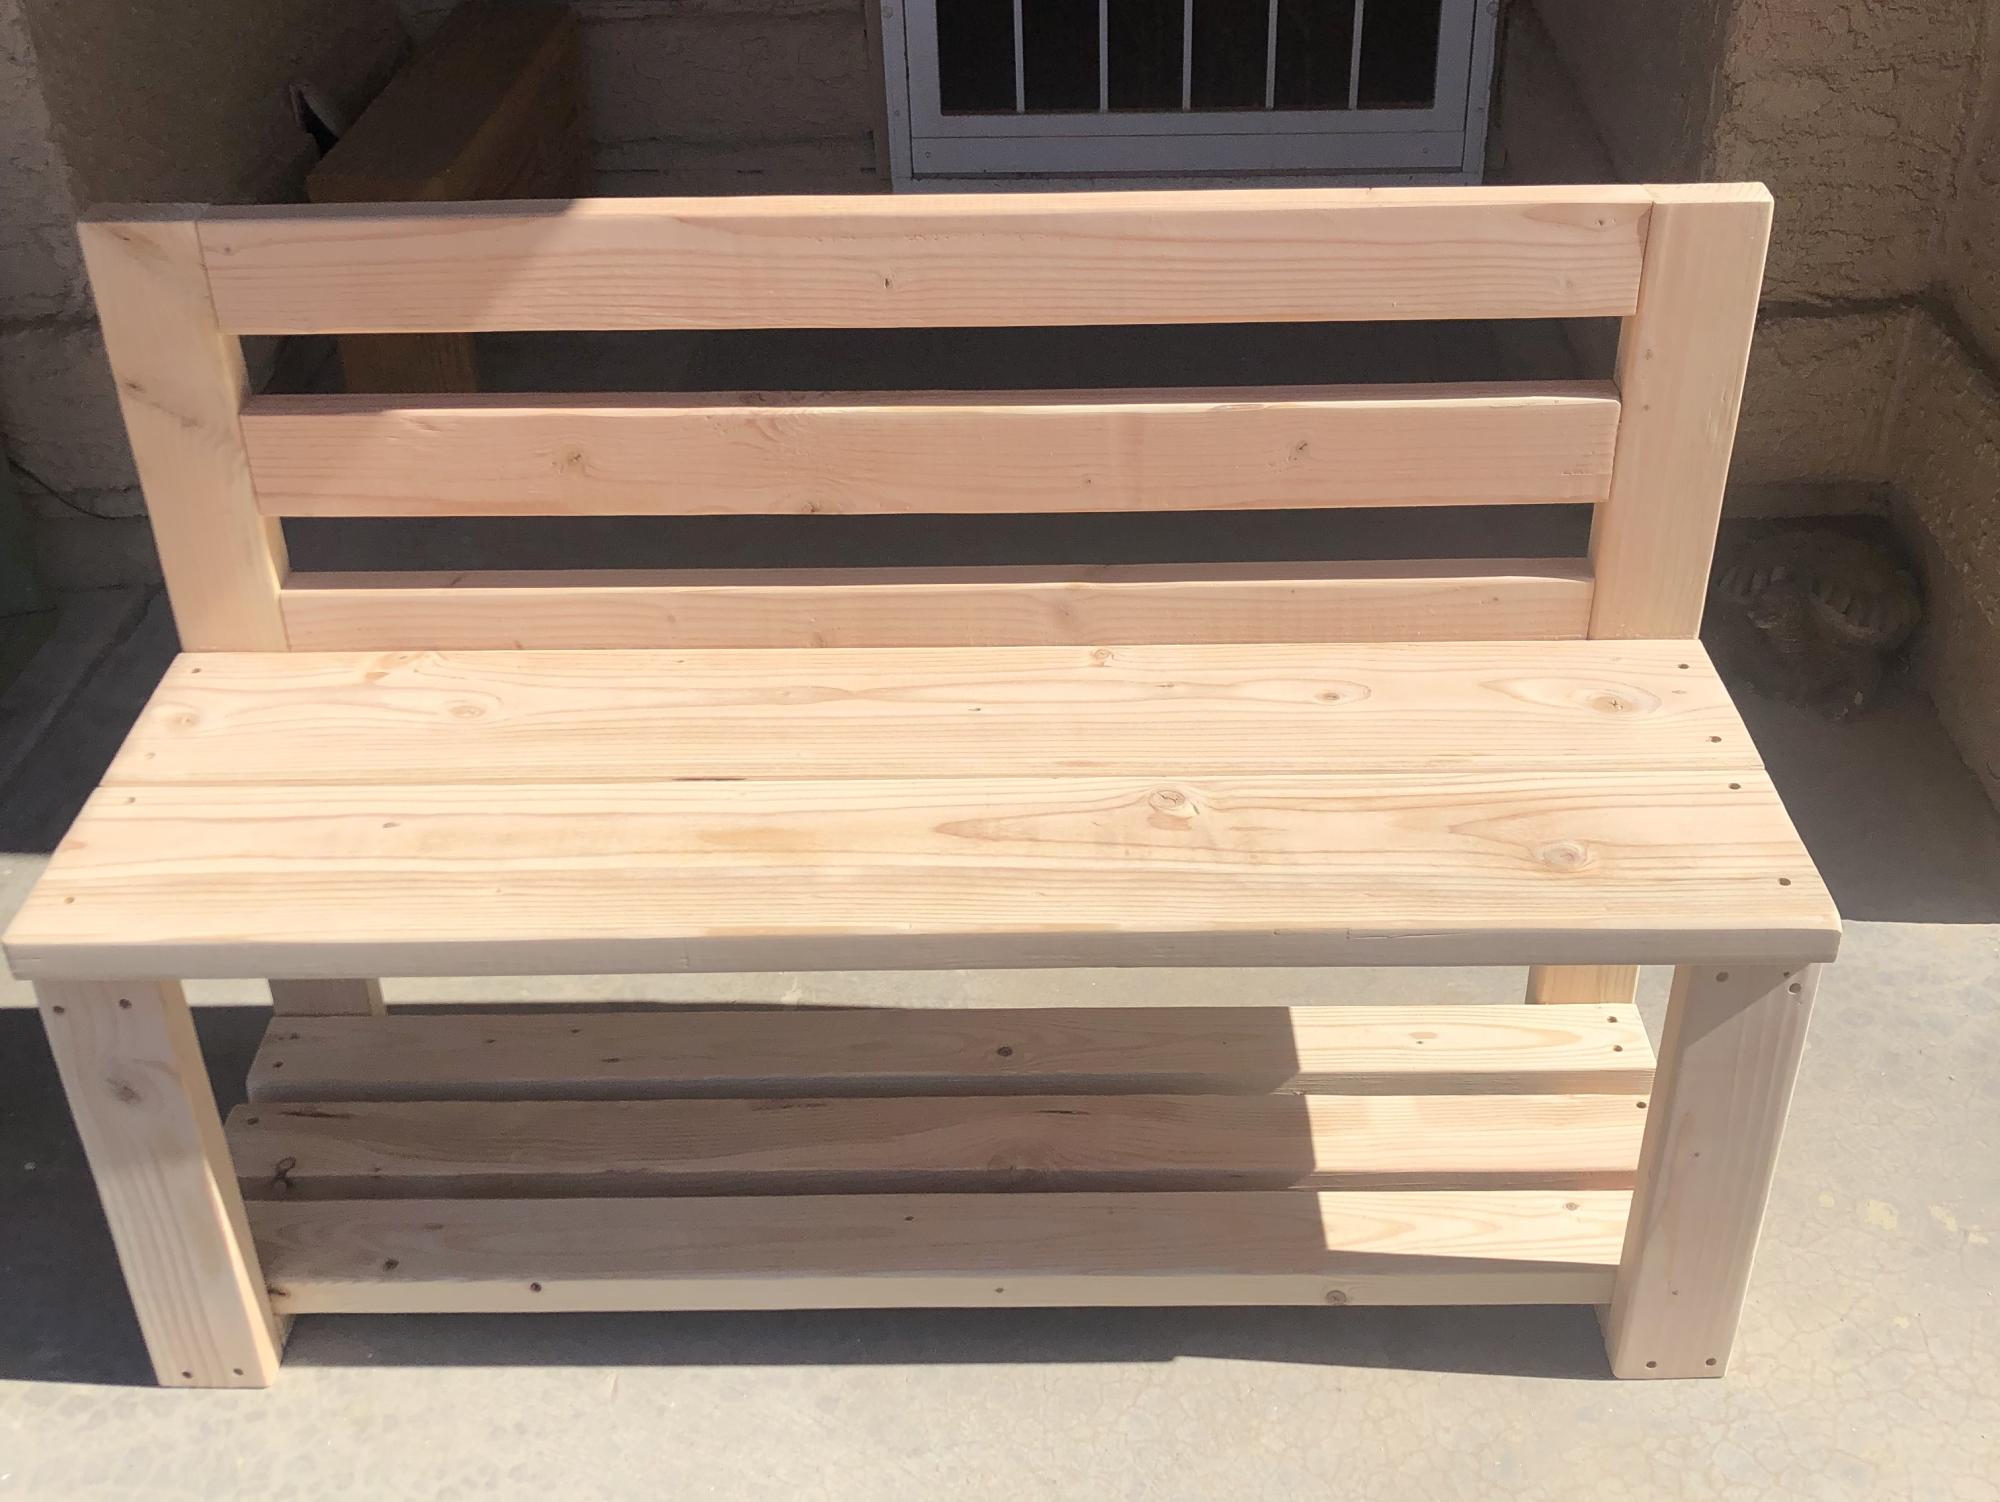
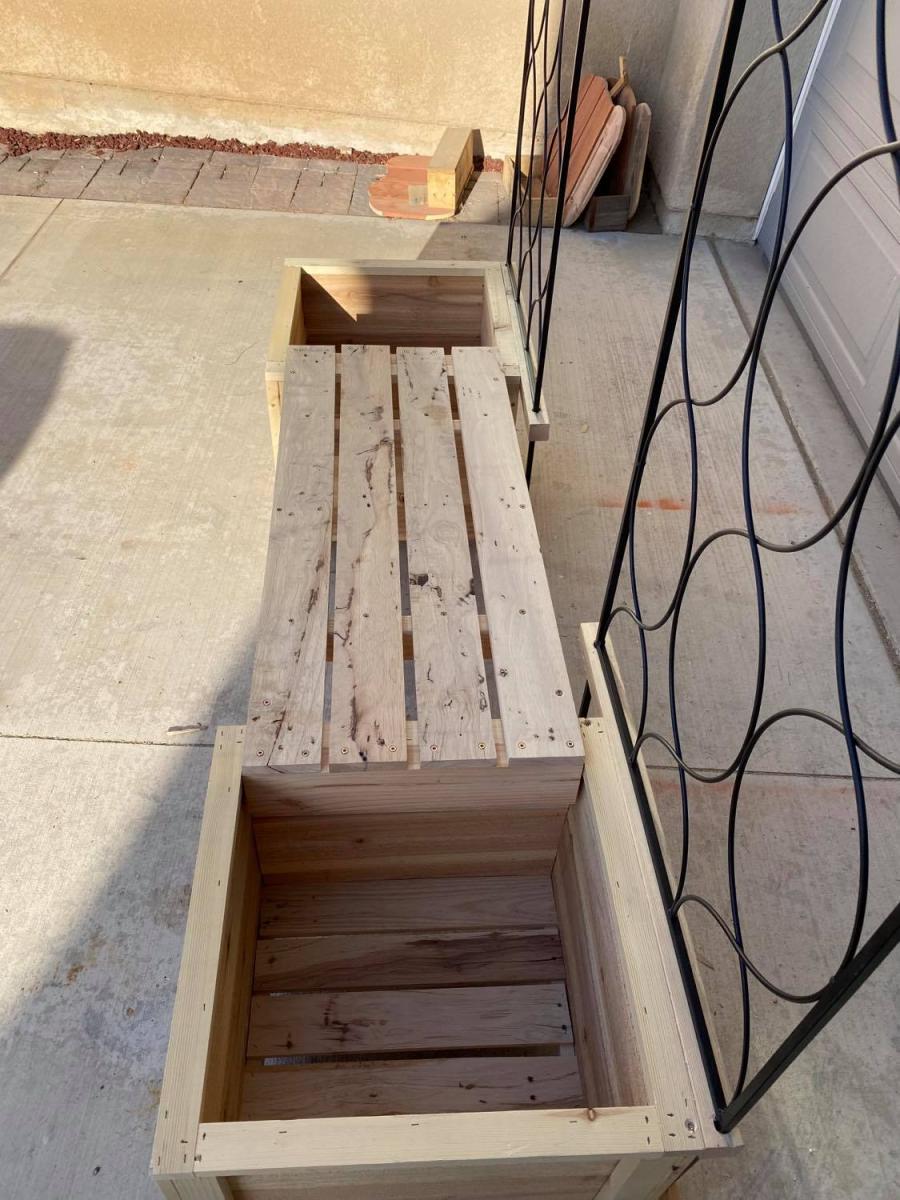
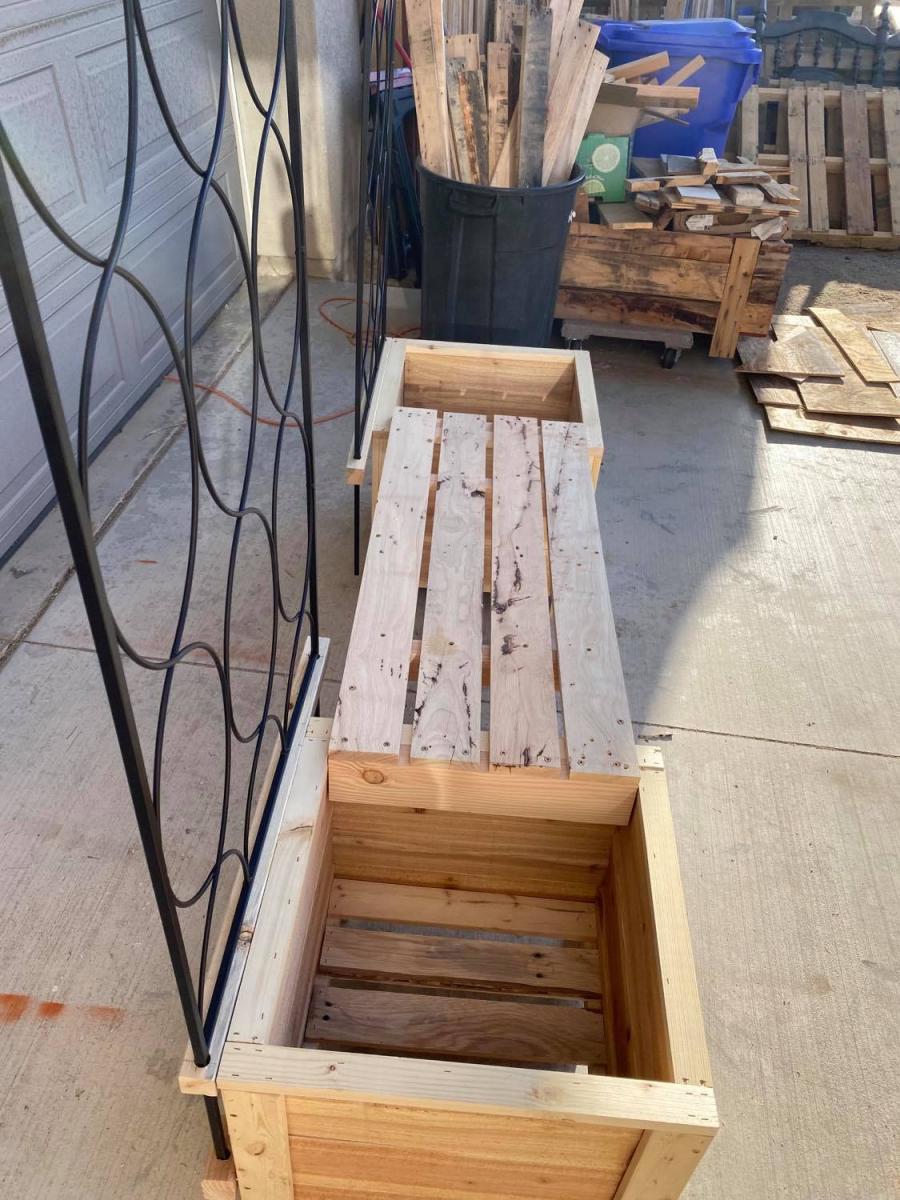
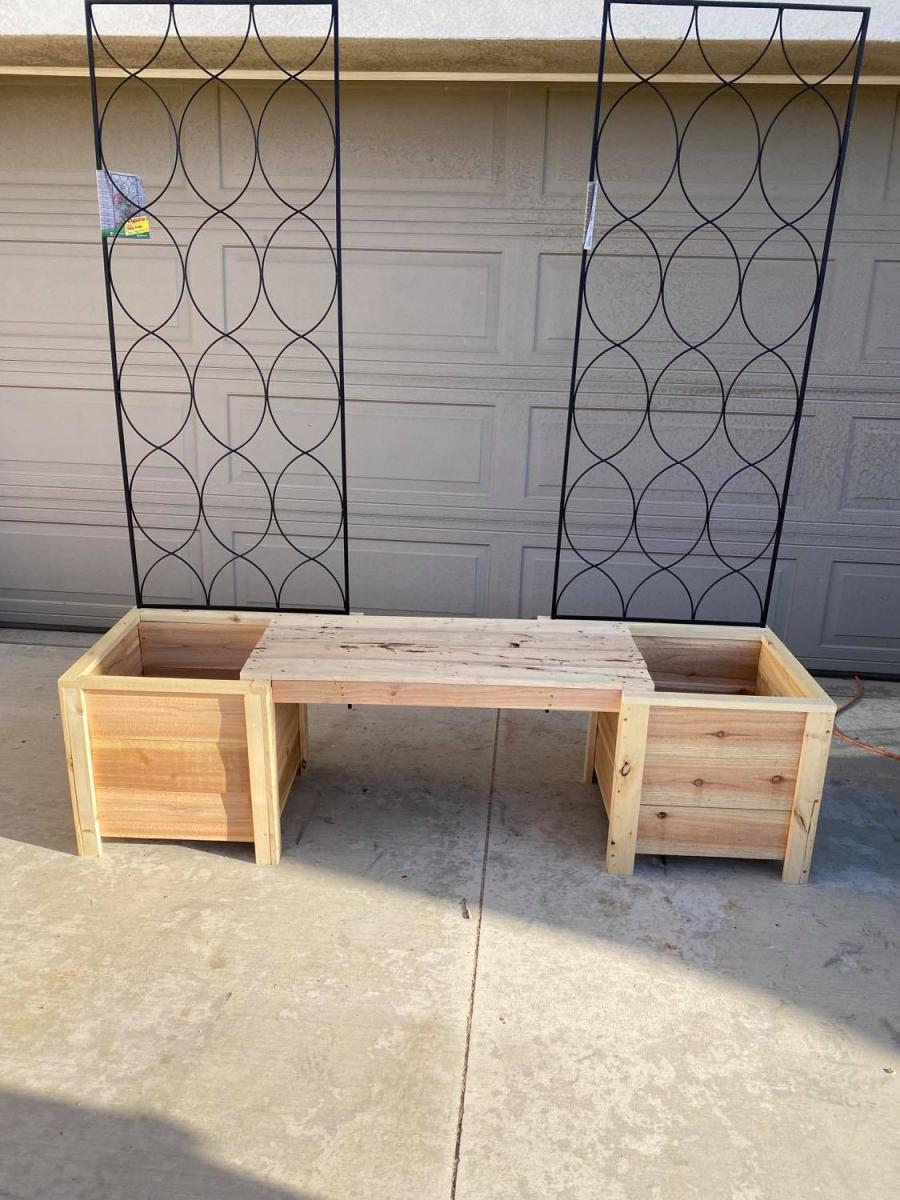
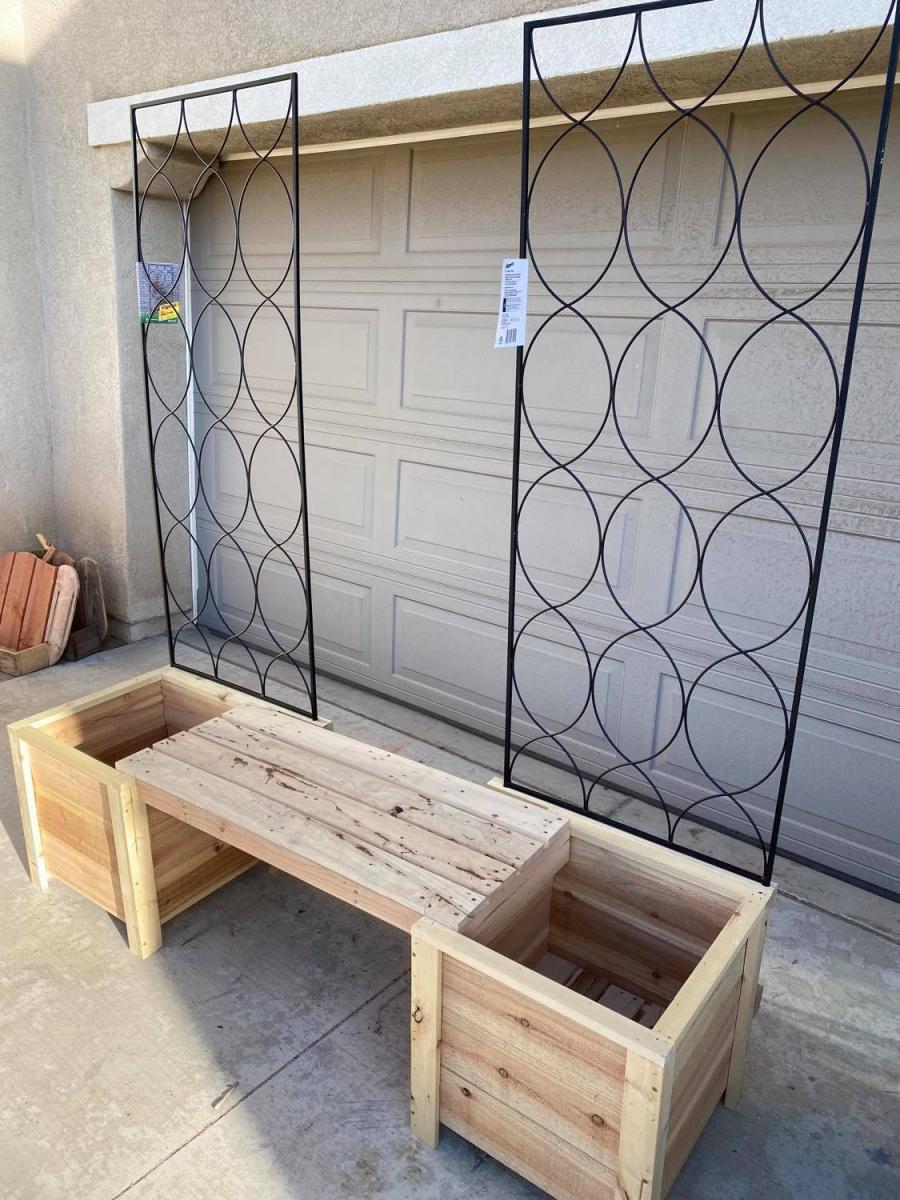
Planter Box/Bench with trellis
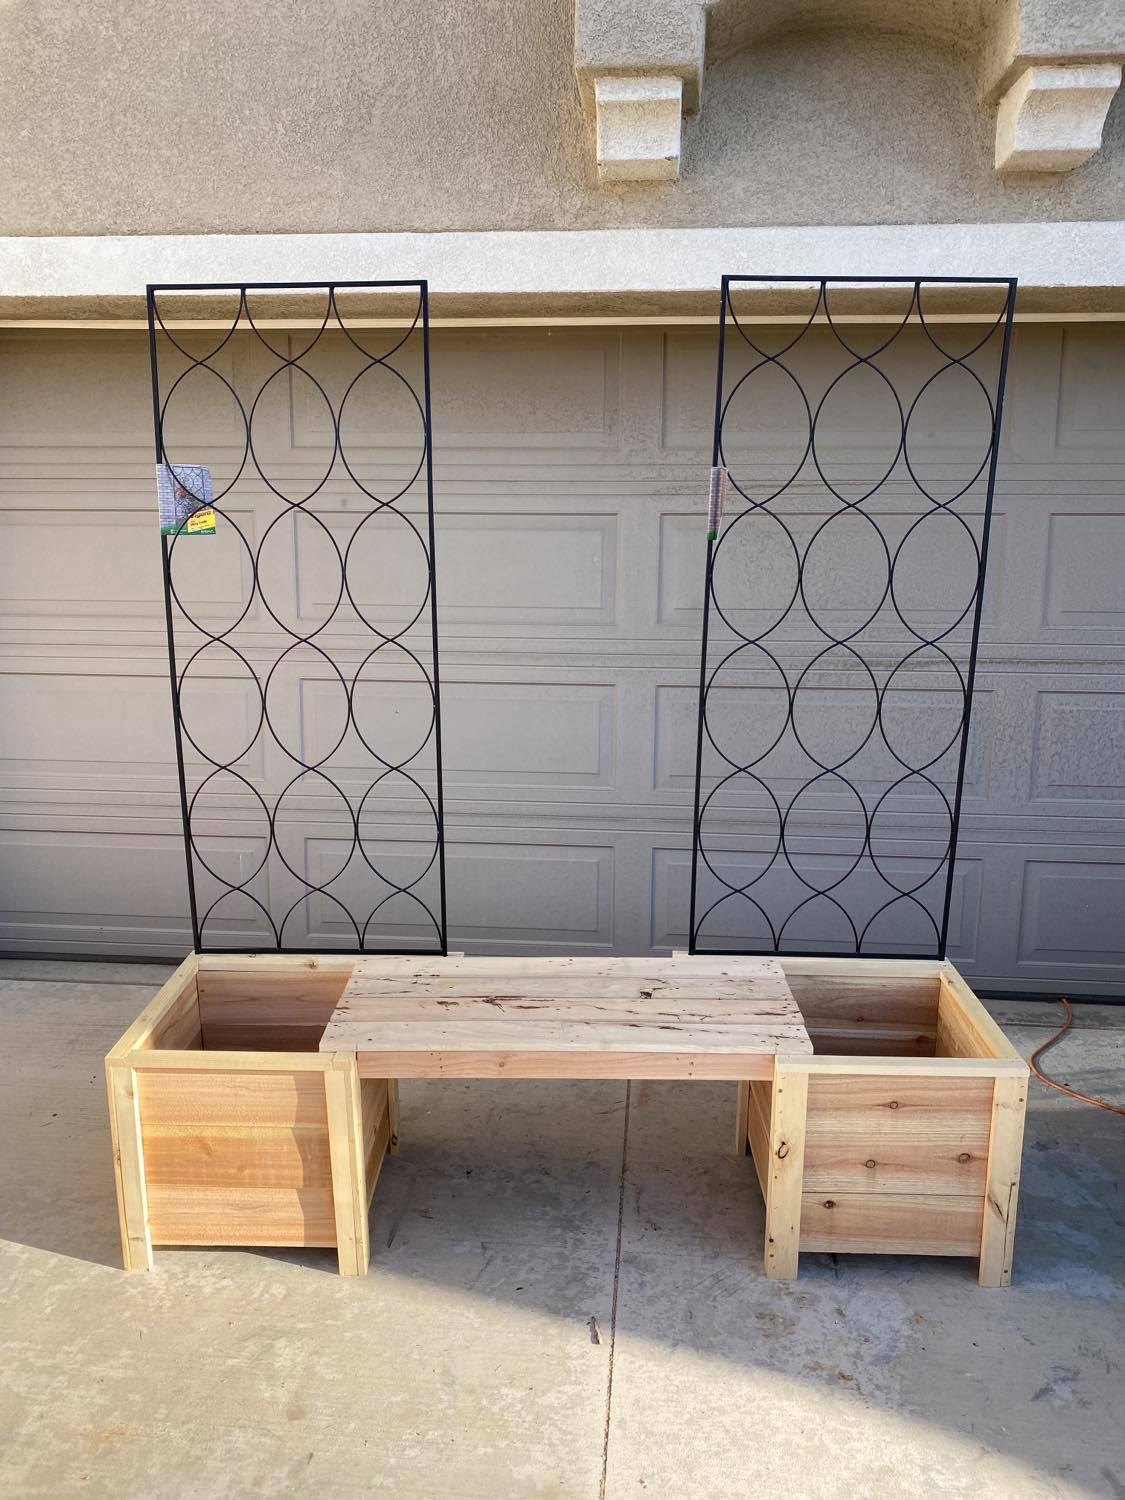
I used Ana's planter box plans and I designed and built the bench out of pallet wood, and purchased the power coated trellis's and custom fit then to the planters.
Estimated Cost
$110.00
Estimated Time Investment
Day Project (6-9 Hours)
Finish Used
unfinished
Recommended Skill Level
Intermediate
Comments
Grillin' and Chillin' - Outdoor Grill Food Prep Station
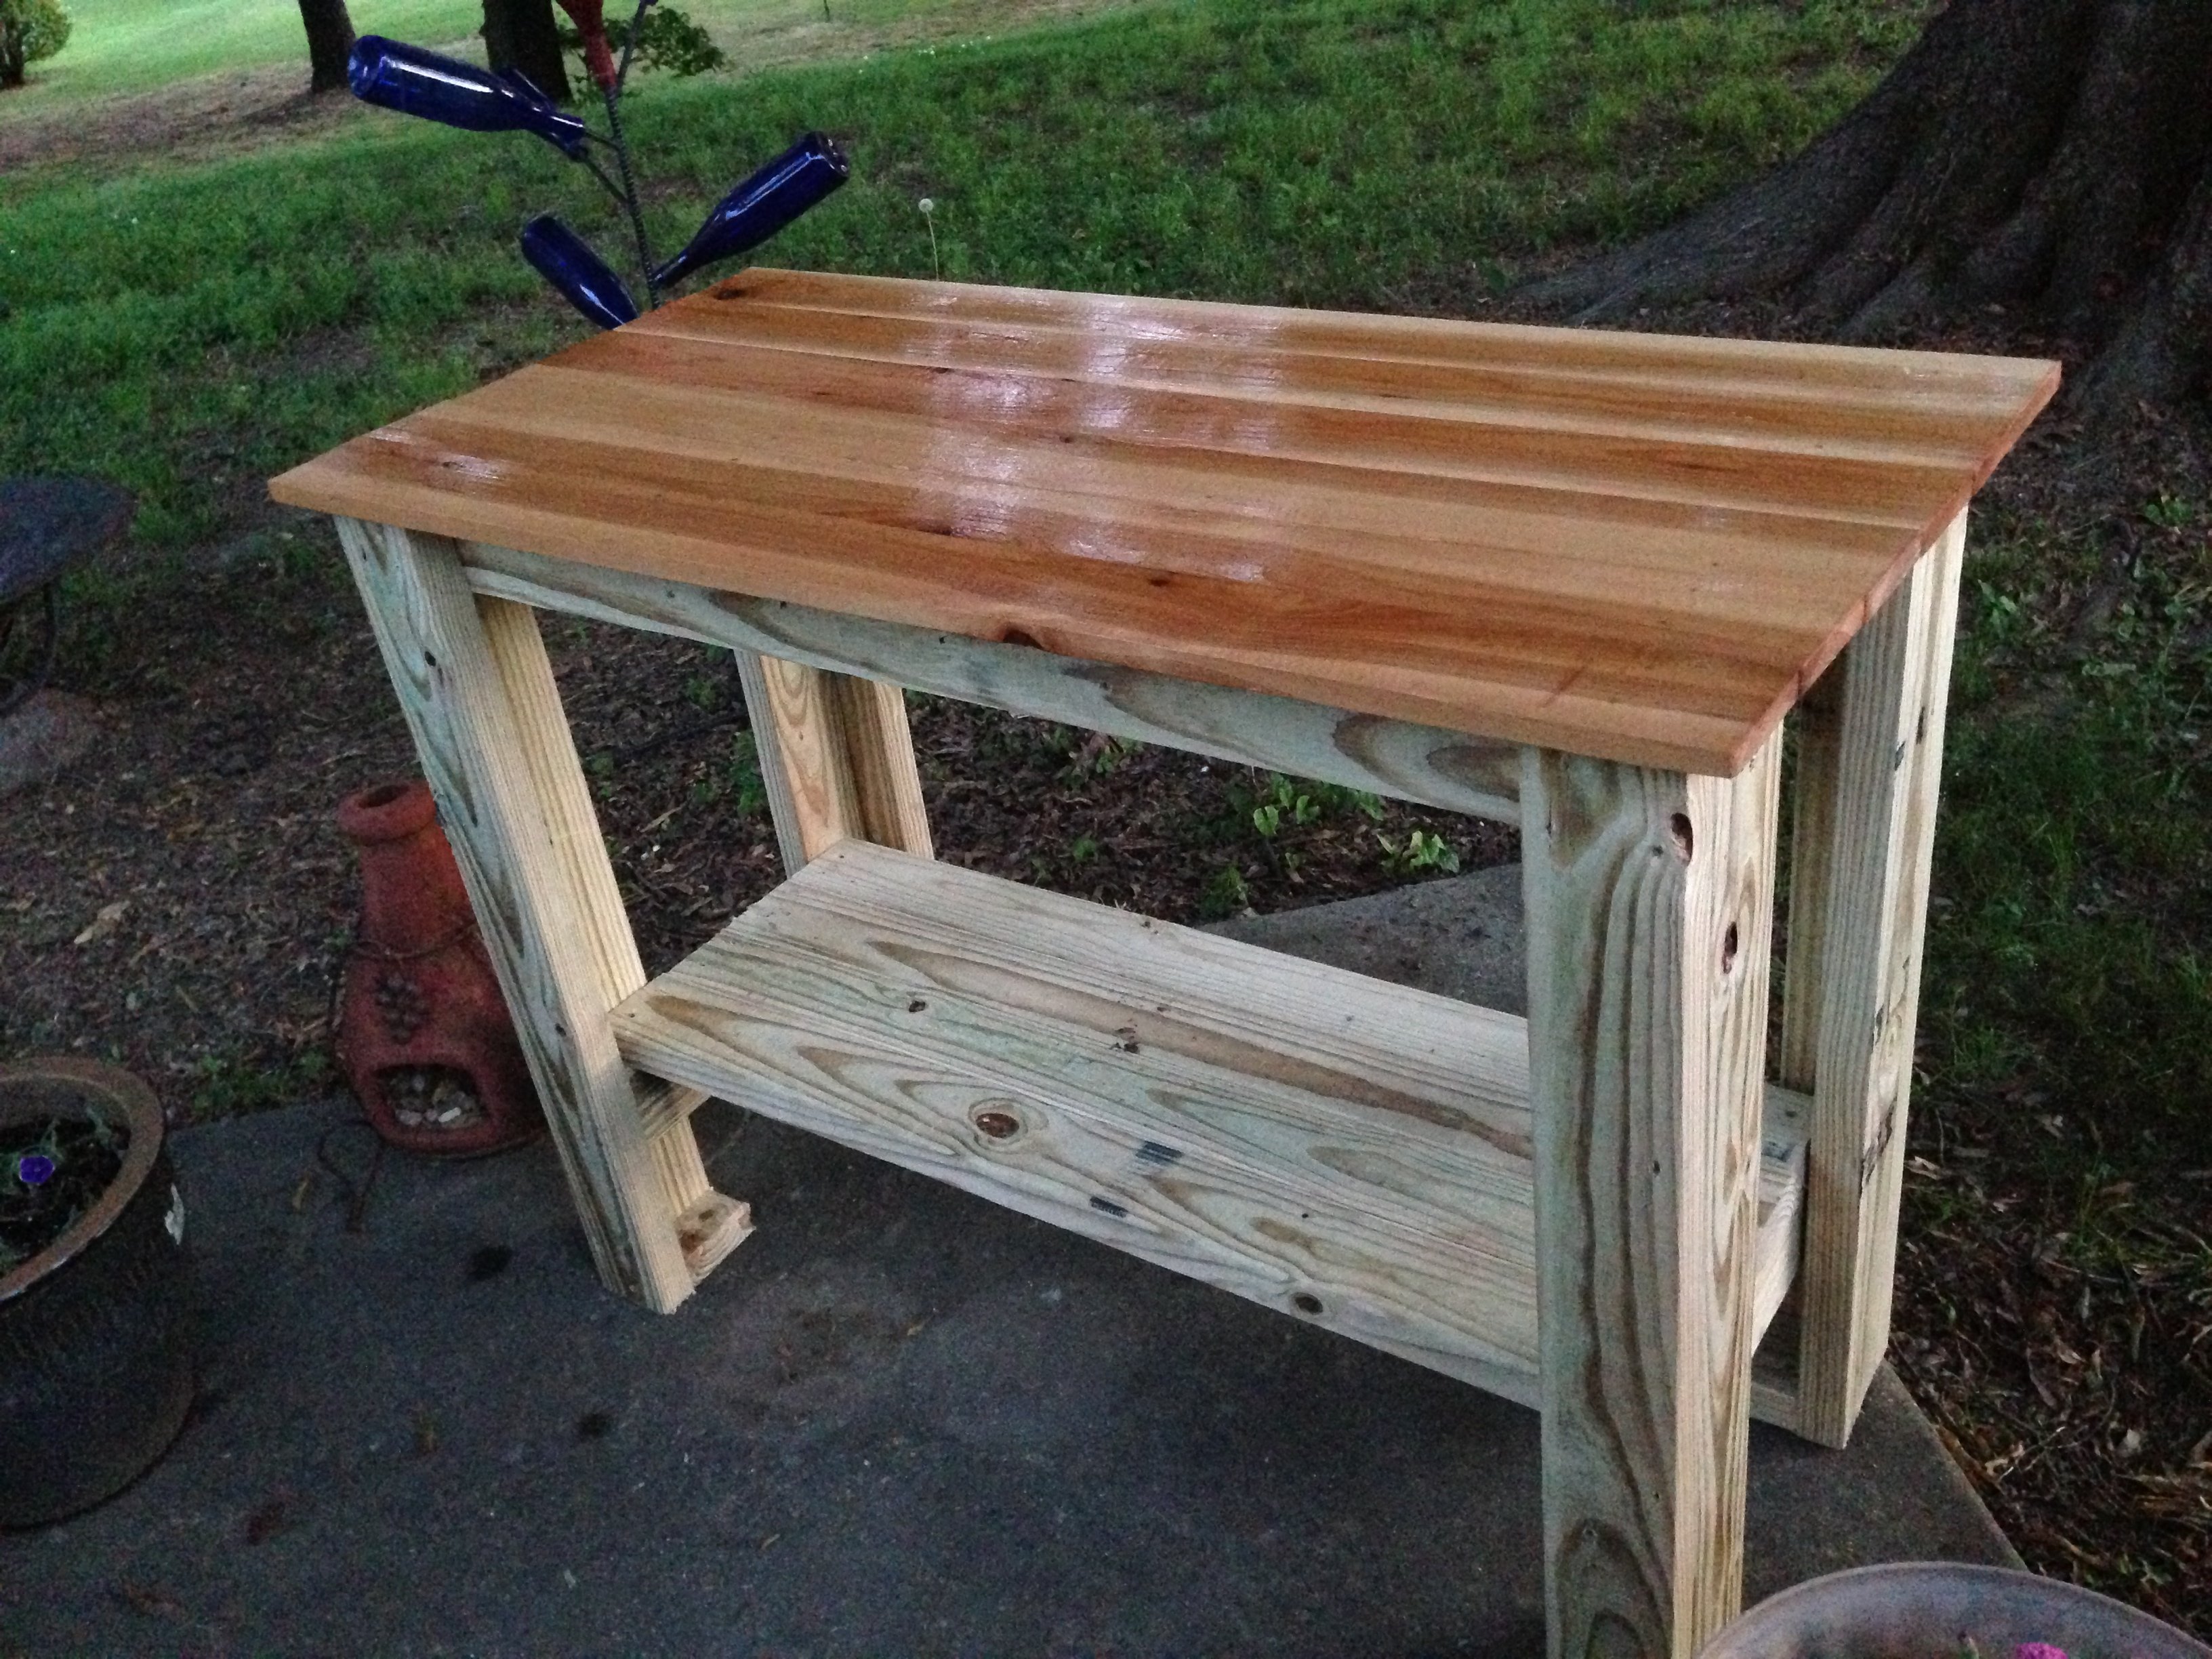
Needed a table for food prep with my grill and found your plans! I used treated lumber for the base and nice cedar planks for the top. The treated lumber had a whiter than usual color which made the base really pop out. I put a nice pecan stain on top and a few coats of poly so the BBQ sauce wouldn't stain it! This was so easy, literally took 2-3 hours to build, stain and poly was done over the next few days. Ready for my next ana-white project. Thanks for posting these plans.
Built from Plan(s)
Estimated Time Investment
Afternoon Project (3-6 Hours)
Finish Used
Simple pecan stain and minwax poly. Brushed on the stain and kept brushing until I got the darkness I wanted
Recommended Skill Level
Starter Project
Comments
Wed, 07/09/2014 - 16:24
Food Prep Table
I was looking on Pinterest and found this table. It was exactly what I was looking for. You inspired me to go out and buy a miter saw and some wood and make the table. It turned out wonderful. It now has a permanent place on my patio and gets used when I grill mostly. I was hoping to be able to upload a photo but don't see the option to do so. Anyway, I want to say thanks for the great plans/instructions.
Teeter Totter
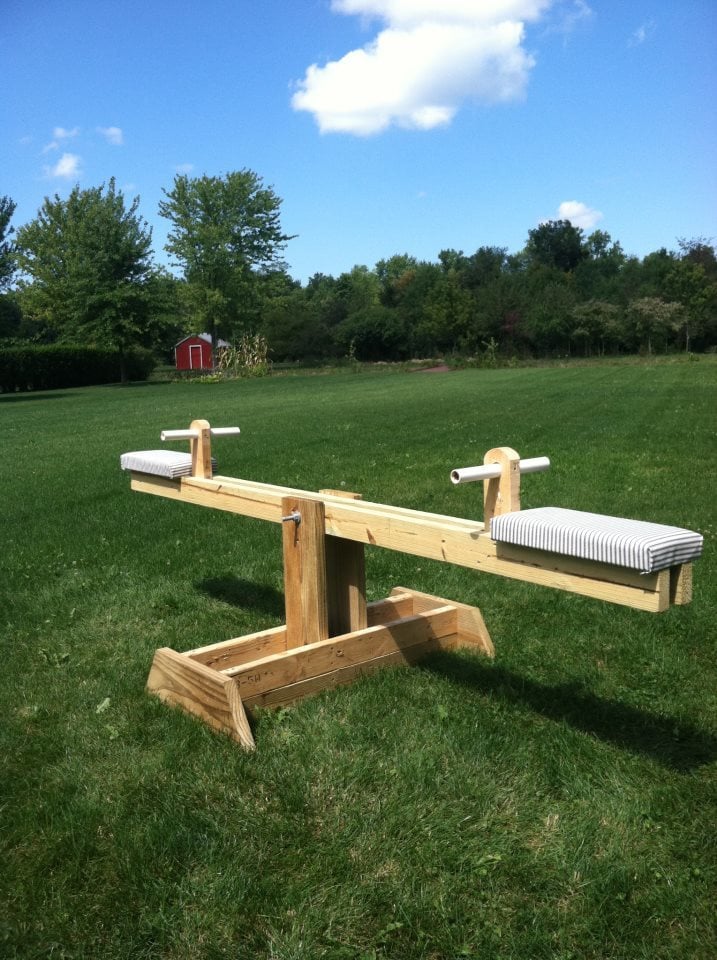
This is one of the cheapest projects for my kids I have ever completed!! And the most rewarding. I think everyone of my neighbors has been on the teeter totter...including adults :) My kids just love it and I am thinking of making a few for my nephews for Christmas. I was able to find all the wood I needed in my scrap pile. I had the PVC pipe and bolt already also so all I had to make a trip to the store for was the foam for the seats. My son helped me build this in an hour. I liked the unfinished look so I just sprayed it with a little Thompson Water Seal. Thank you Ana White!!
Built from Plan(s)
Estimated Cost
$0 Lumber (scrap wood) $5 Foam padding
Estimated Time Investment
An Hour or Two (0-2 Hours)
Finish Used
Thompson Water Seal
Recommended Skill Level
Starter Project
Comments
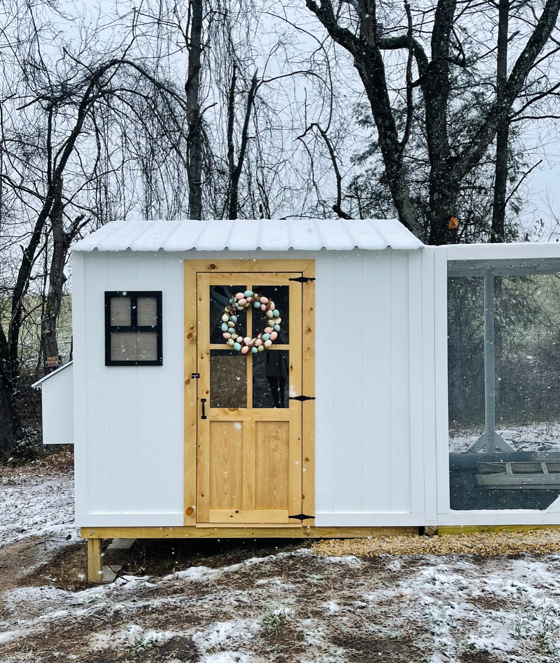
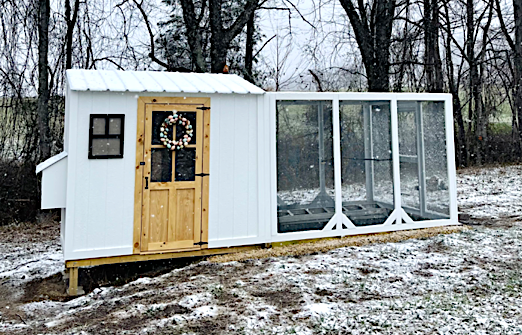
Farmhouse Coop and Run
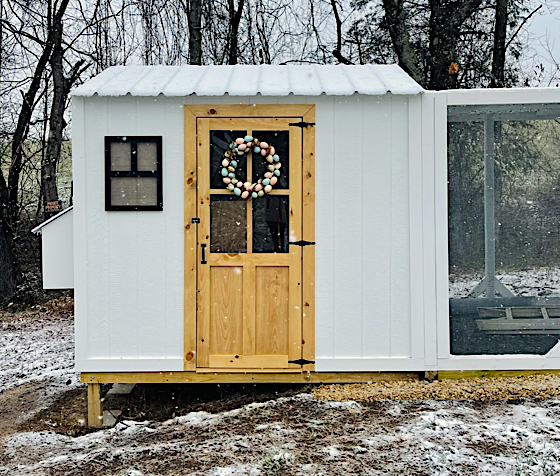
"I don’t consider ourselves experts at all and your plan was so easy to follow. We can’t wait to introduce our chicks when they’re old enough to transfer outside."
Built from Plan(s)
2 Person Picnic Table
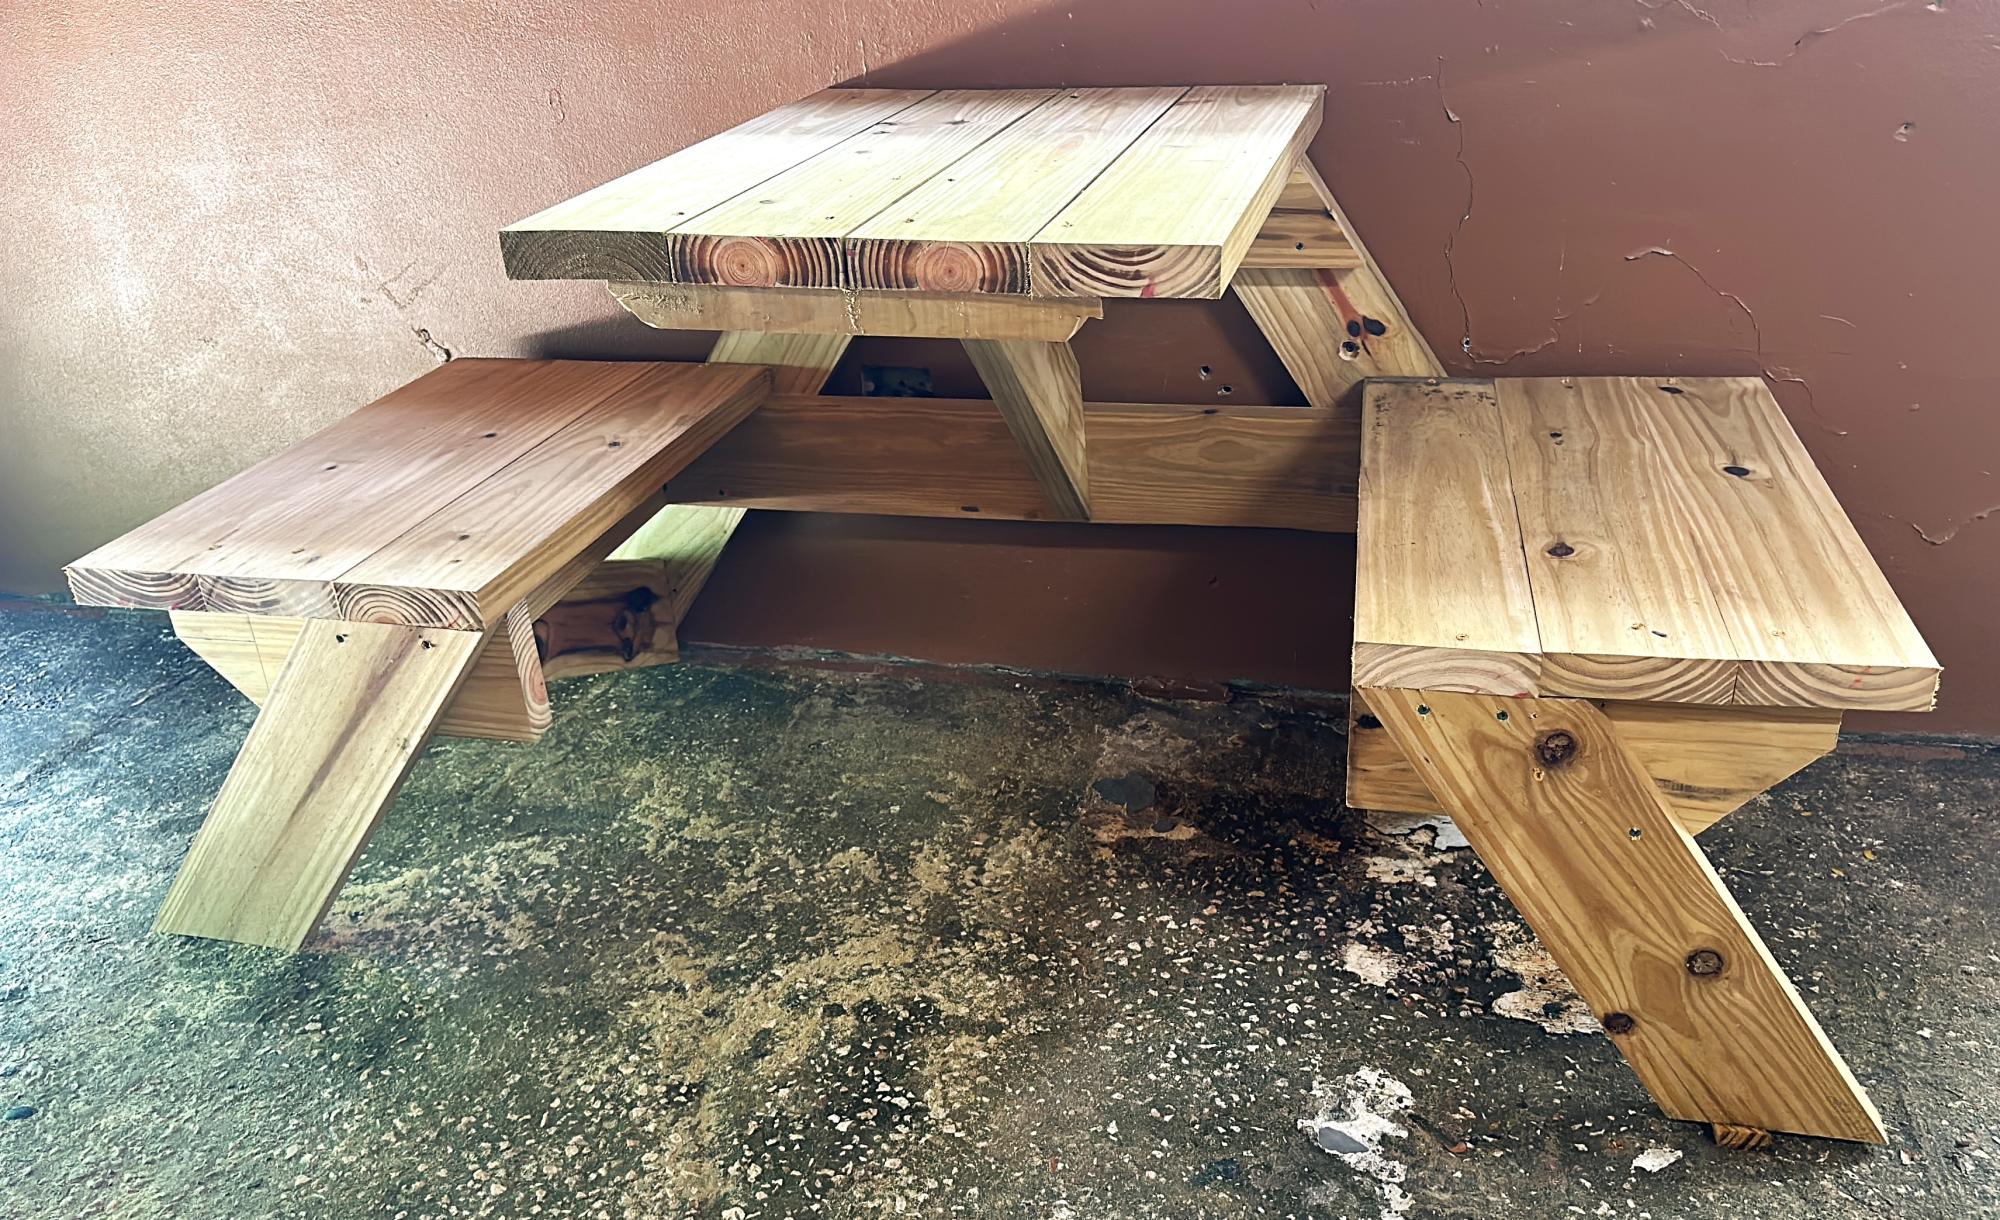
Made 2 of these for my coffee shop in Puerto Rico. Easy instructions. Thank you!
Javiel Cardona
Built from Plan(s)
Comments
Outdoor Play Kitchen!

We modified Ana White’s excellent Mud Kitchen plans, adding a third section and scaling the whole thing slightly larger to be a better size for our 4 and 6 year old grand daughters. It was so much fun to make and accessorize!
Built from Plan(s)
L Shaped Patio Couch

One day project with hubby! Wanted a wood set, but couldn’t find a reasonable price. Bought tools, wood, supplies, and cushions for under the cost of one online!
Built from Plan(s)
Outdoor Sectional

I scaled back the length of the sofa by a few inches and I made the sectional only one seat to fit my space on the deck. This was my first woodworking project that I did by myself. I got the cushions for more than 1/2 off at Ikea so the whole project cost about $150 ($80 for the cushions). It took me about a week to complete but the total time was less than 10 hours to build and stain. I'm pretty happy with how it turned out.

Built from Plan(s)
Estimated Cost
$150
Estimated Time Investment
Weekend Project (10-20 Hours)
Finish Used
Pittsburgh Paints Stain & Sealant in One for Decks, Fences, & Siding in Walnut. I brushed on the exterior stain just like a paint. I did the top part of the sofa first, then flipped it over and stained the bottom. Read instructions on the label.
Recommended Skill Level
Beginner
Comments
Chunky leg bedframe
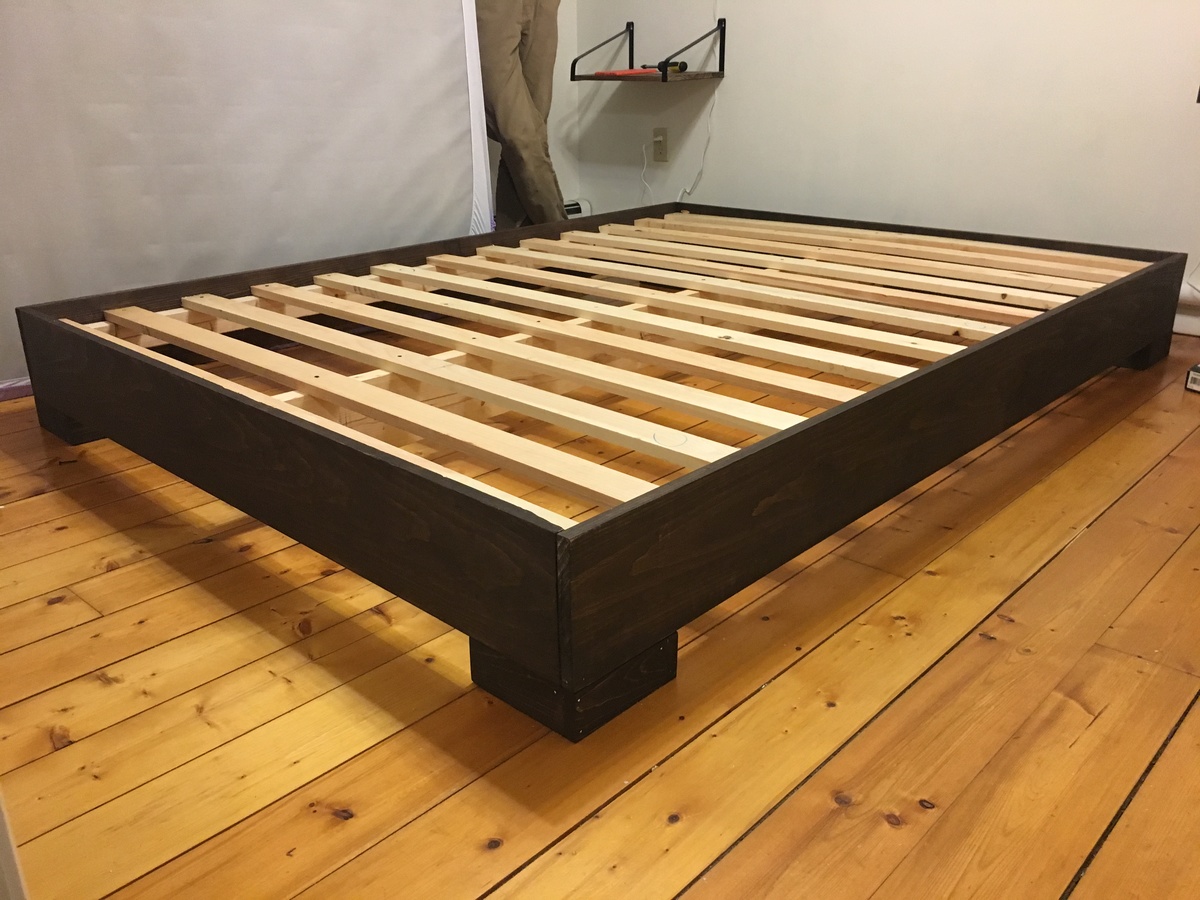
I got tired of sleeping on the floor like college kids, but I didn’t want to buy a junky particle board bedframe. My husband and I are novice woodworkers. Even still, we bought the lumber around noon and managed to finish the whole project in about 5-6 hours! We used a Kreg jig for the first time and it was pretty simple. I am really pleased with how this turned out, and I can’t wait to try more of Ana’s plans in the future.
Built from Plan(s)
Estimated Cost
$100 including the cost of pockethole screws and finishing nails.
Estimated Time Investment
Day Project (6-9 Hours)
Recommended Skill Level
Beginner
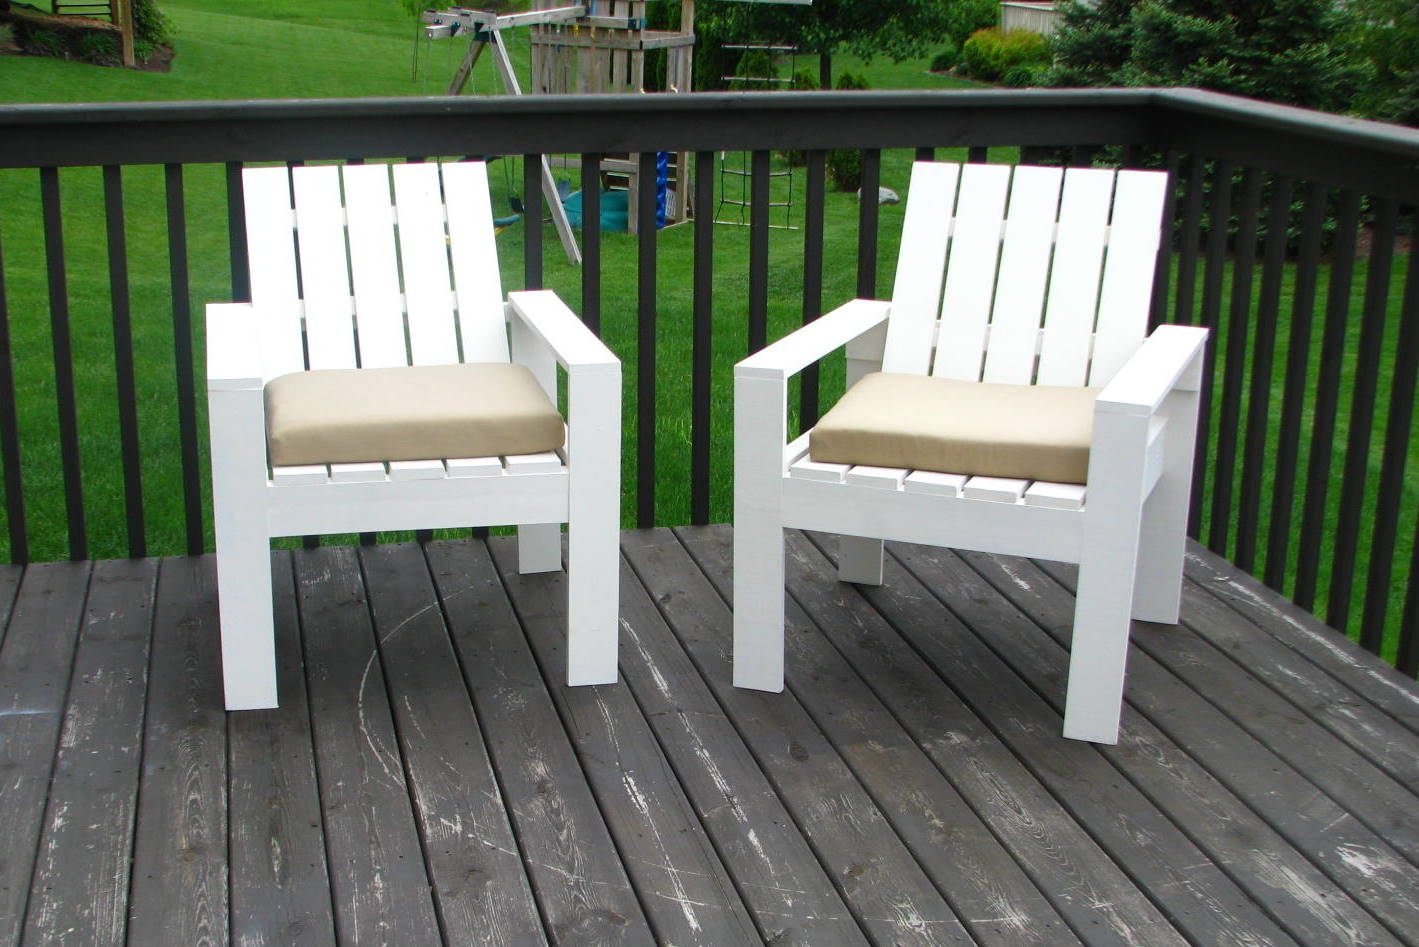
2x4 modern Adirondack Chair (modified)
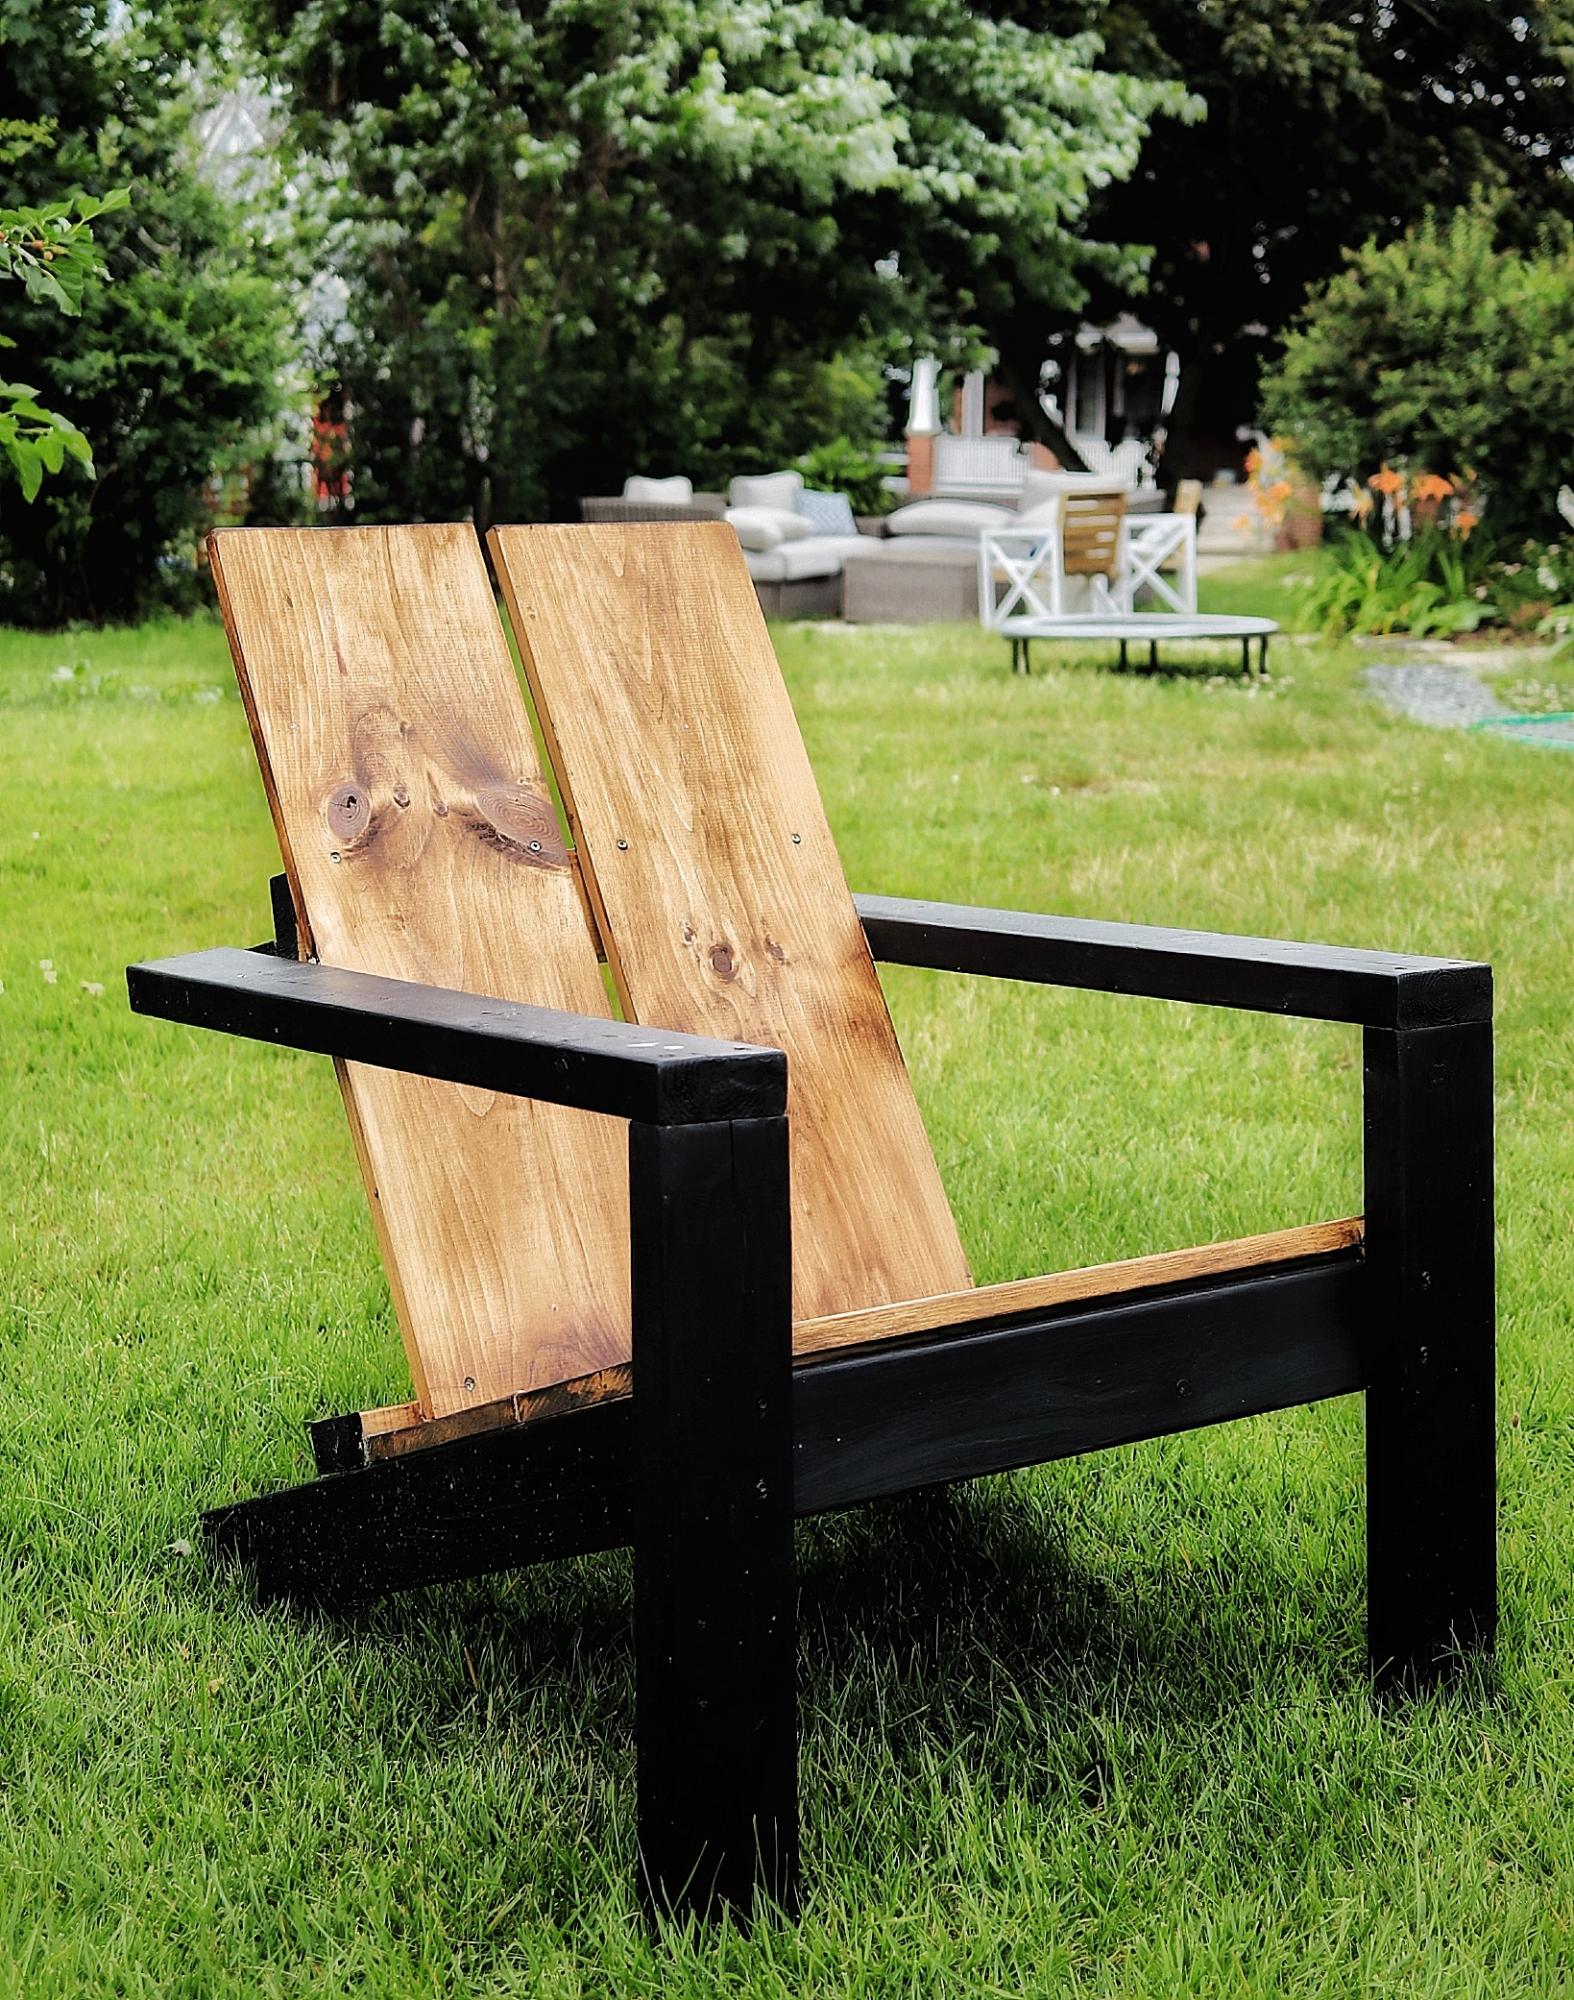
I was so excited to find the plans for these awesome chairs, I’ve built 7 this season already—the modification happened as an accident, but I loved the result !
Built from Plan(s)
Estimated Cost
$30
Estimated Time Investment
An Hour or Two (0-2 Hours)
Finish Used
MinWax Aged Oak and Black paint
Recommended Skill Level
Intermediate
Comments

Thu, 03/04/2021 - 10:59
This is absolutely gorgeous!…
This is absolutely gorgeous! I love the modification!
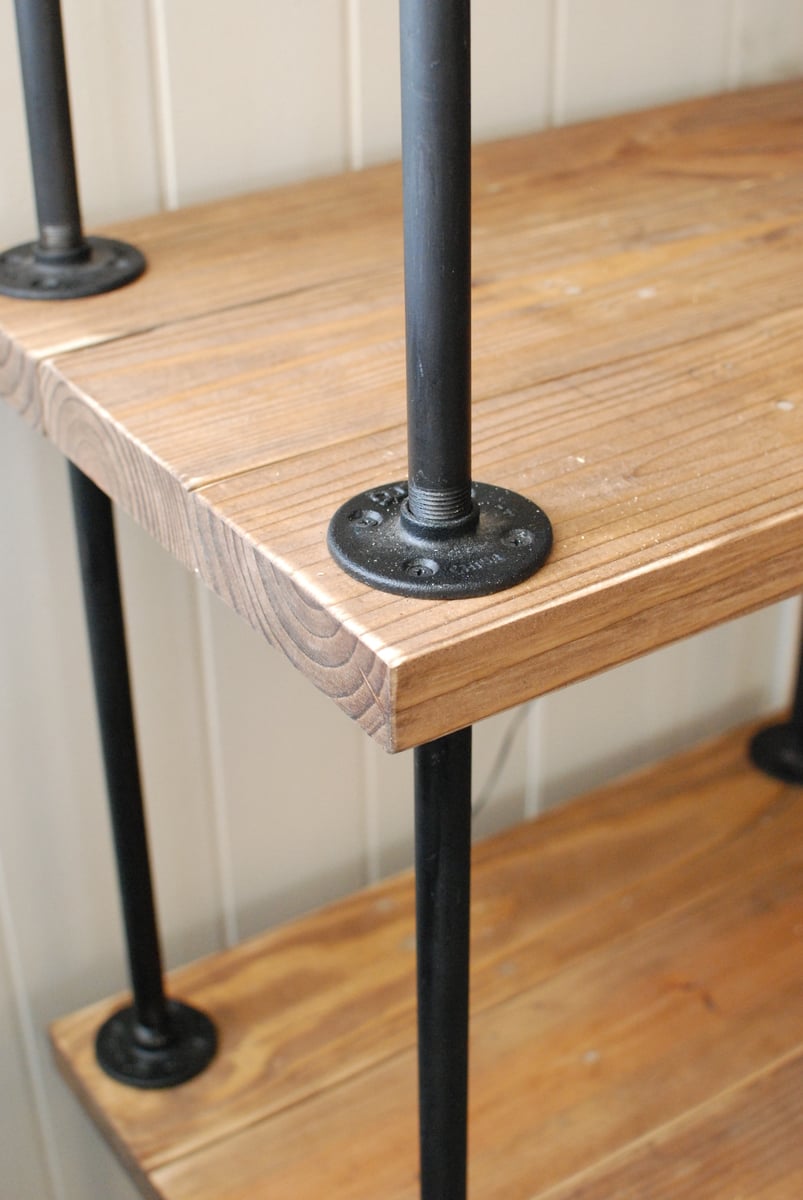
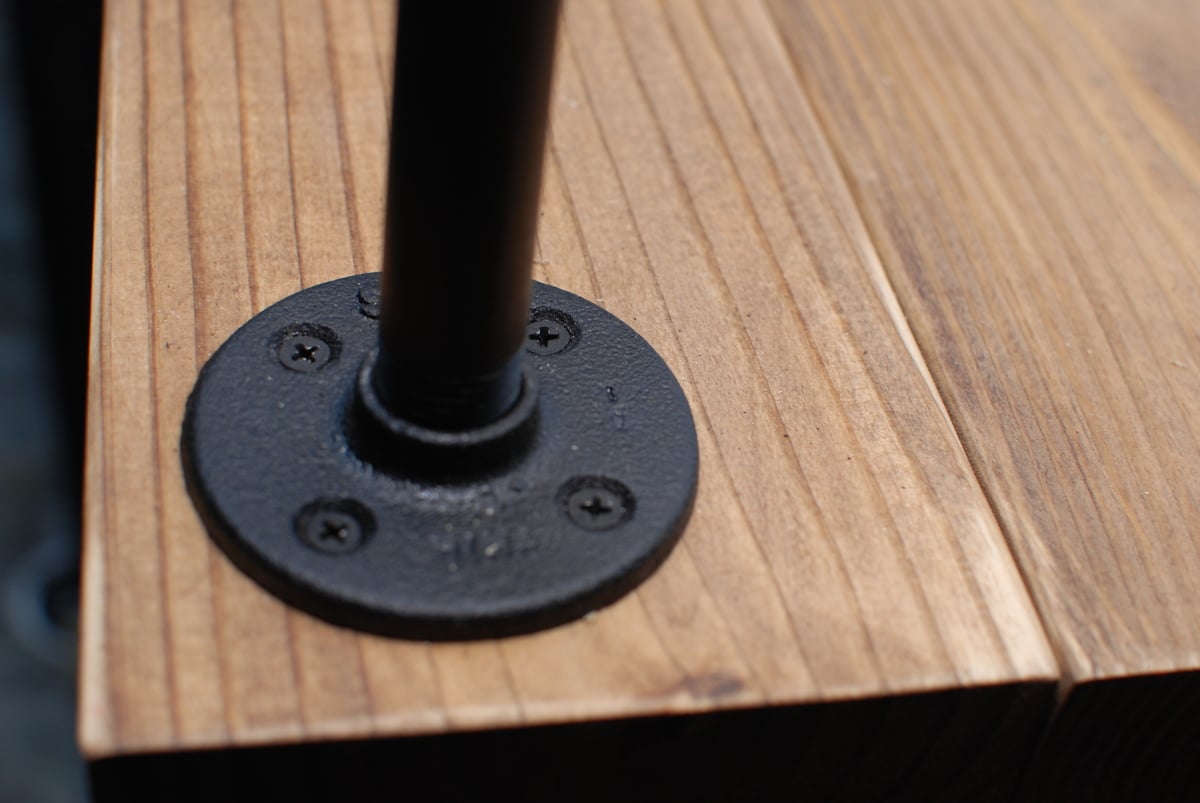
pipe/wood bookcase

1/2 ' x 18" black pipe was used along with 1/2 ' flanges. The wood was re-purposed 2x6' pine lumber that had been used for pallets, that would have been thrown away. The boards were joined with a Kreg Jig, It will house my stereo components.
Estimated Cost
$150 pipe/flange costs
Estimated Time Investment
Weekend Project (10-20 Hours)
Recommended Skill Level
Beginner
Entertainment Center
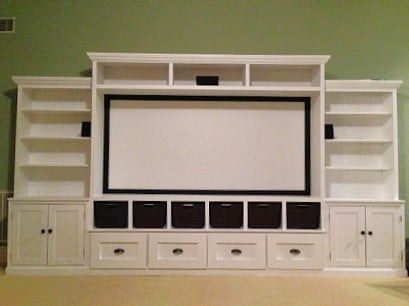
Thanks for the great plans!! Finally got this monster put together.
Built from Plan(s)
Estimated Cost
$400
Estimated Time Investment
Week Long Project (20 Hours or More)
Recommended Skill Level
Advanced
Comments

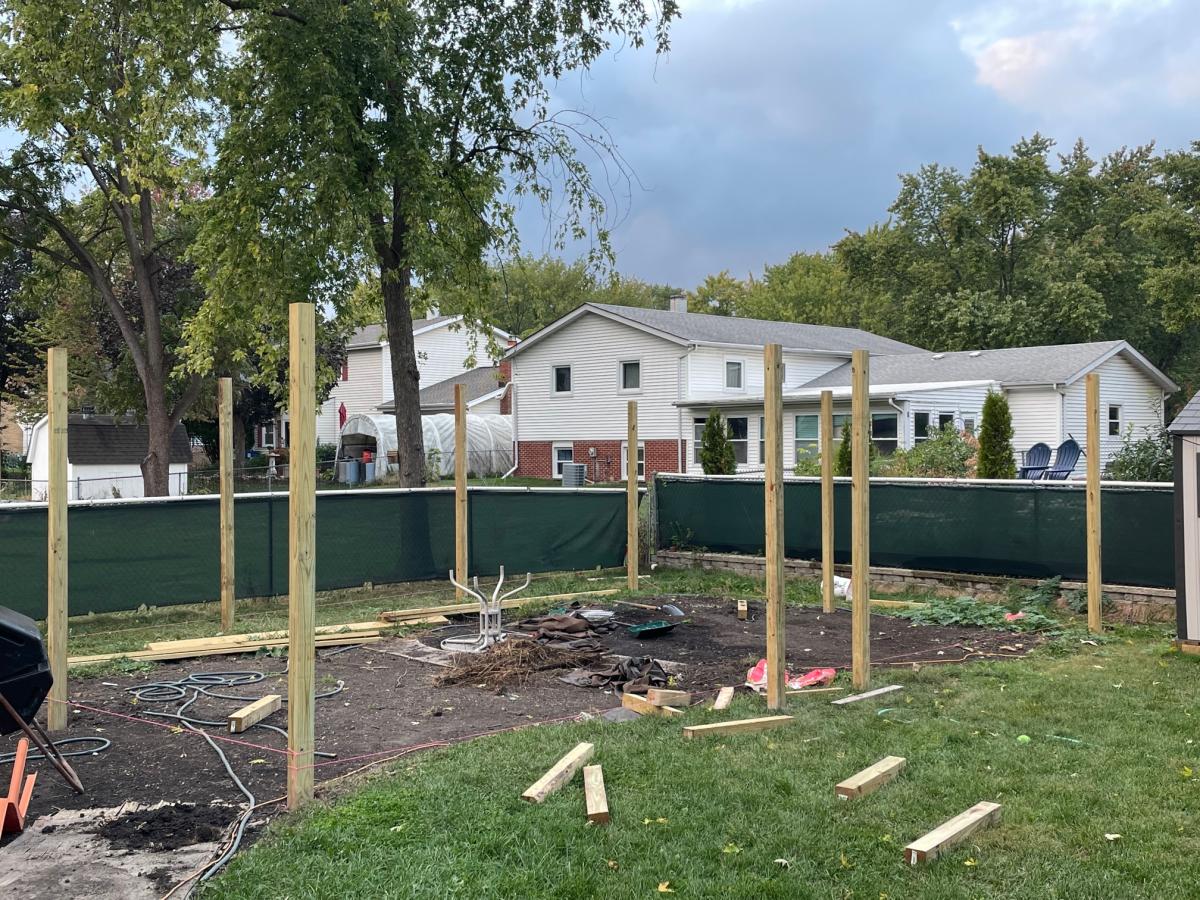
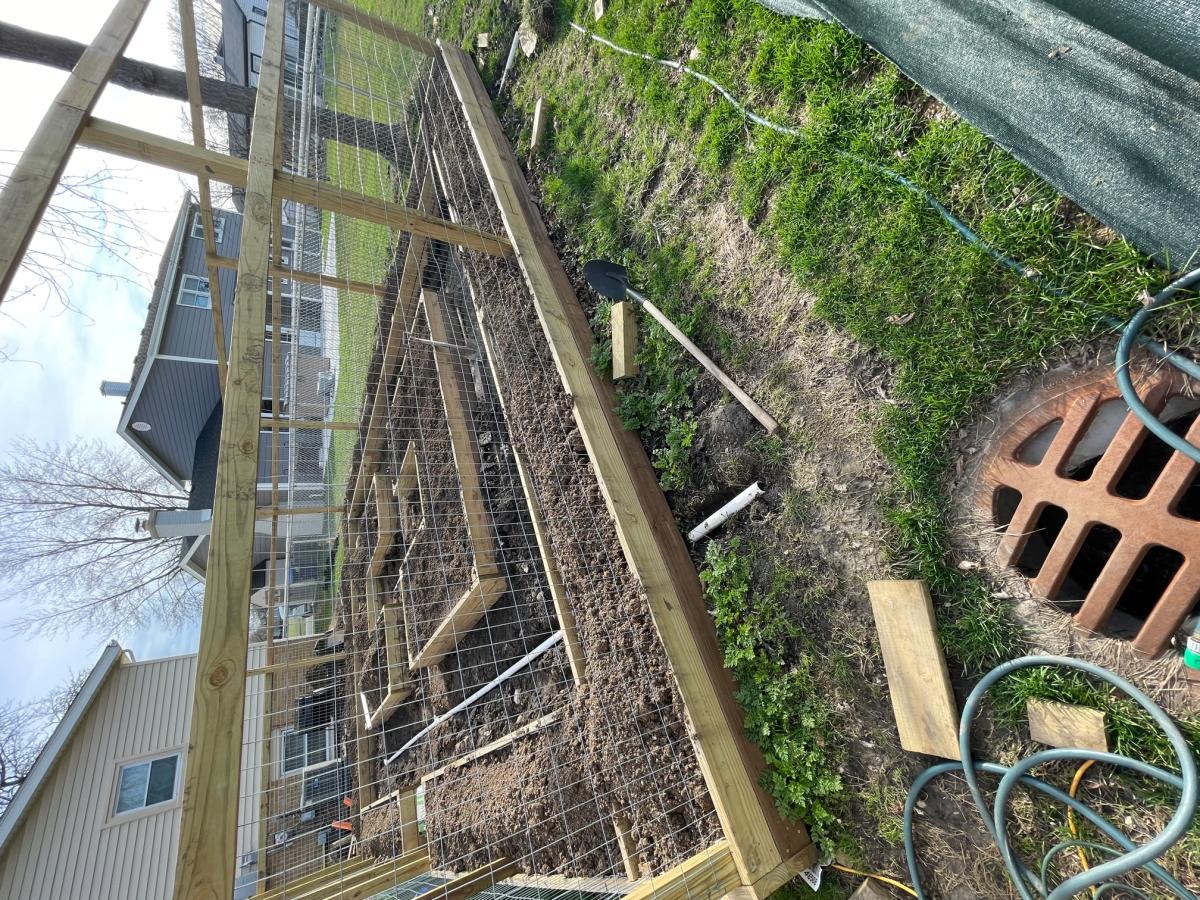
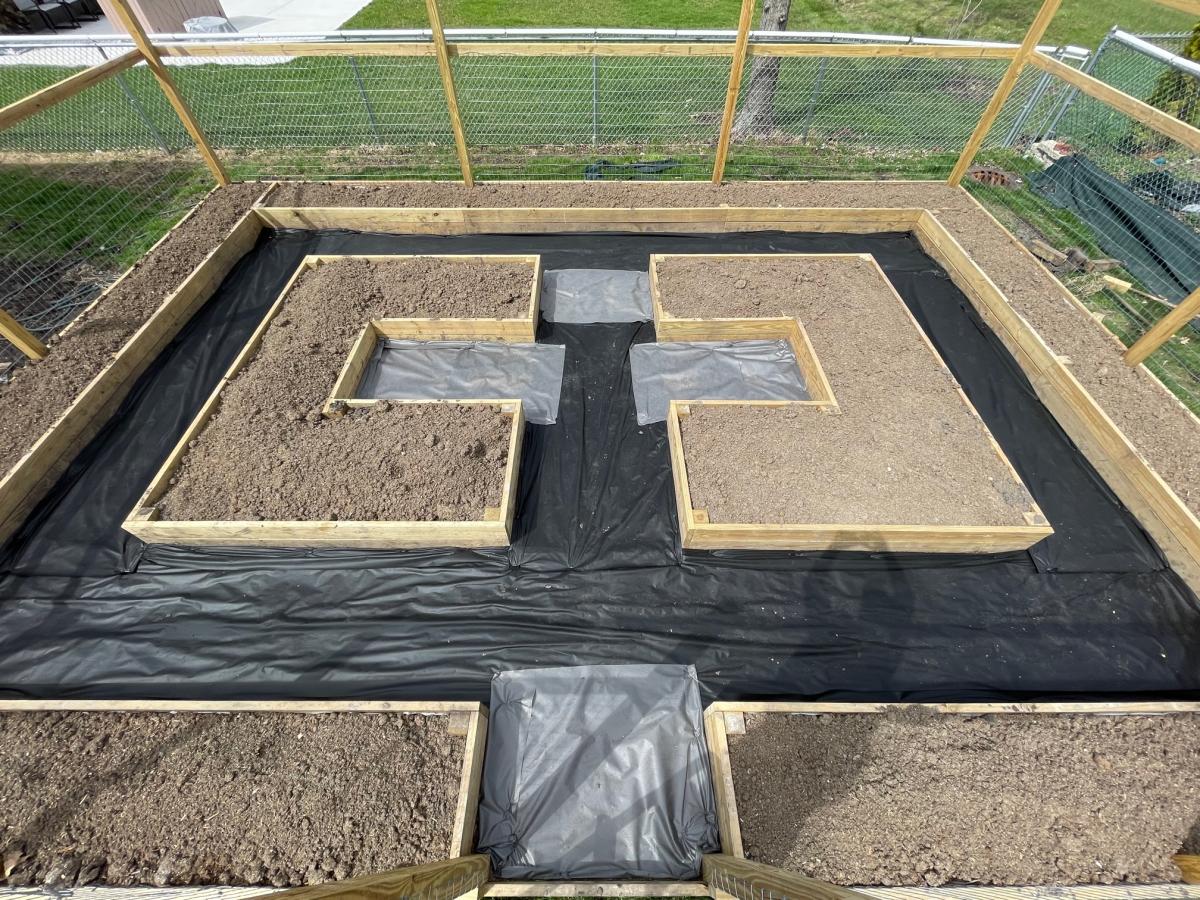
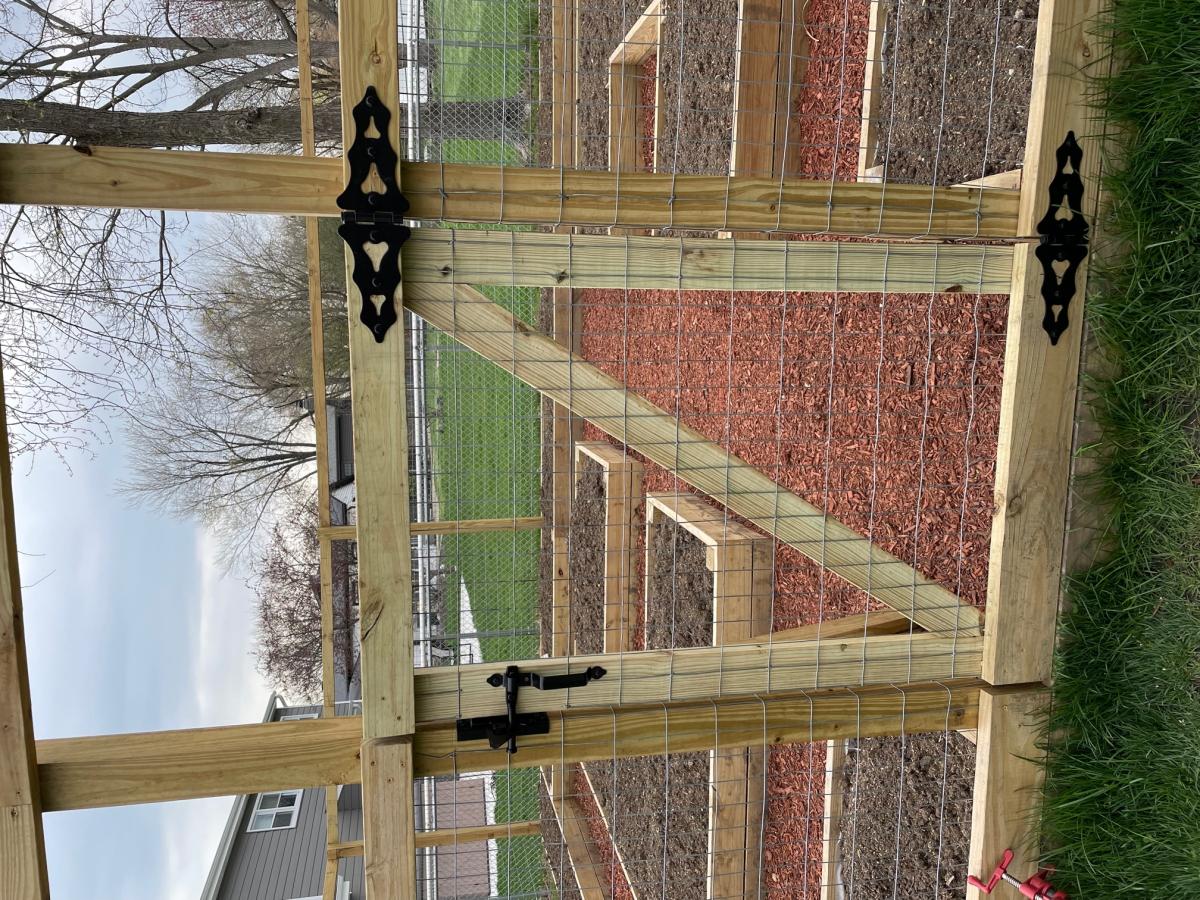
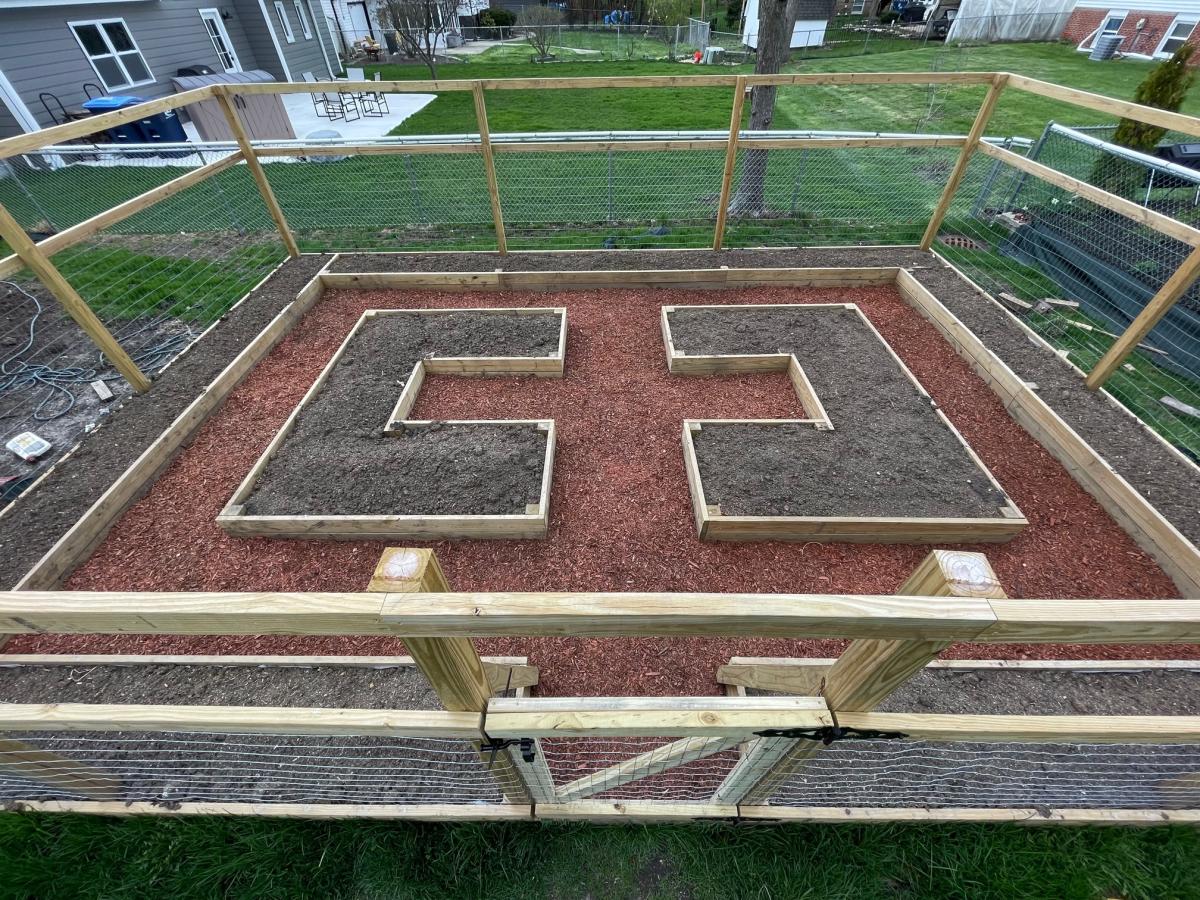
Fenced-In Walkthrough Garden

Used the Garden Enclosure plan as a reference, but wanted a much bigger area to walk through and relax in. Dimensions are about 30'x20'. Took a few months with a break for winter because it was just me working in spare time on weekends, would have gone a lot faster with an extra set of hands. Towards the end realized that drainage in the walk path was going to be an issue so I put in a very basic french drain before I weed fabric and mulched.
Really happy with how it turned out. Cost was pretty high, probably about $1500 all told, between wood, garden soil, etc. But we'll be able to enjoy it for many years.
Built from Plan(s)
Comments
Kitchen Island

The plans were easy to follow. I modified my island to fit my space and cut it down to 44 inches in length.

Built from Plan(s)
Estimated Cost
The entire project cost $47.00.
Estimated Time Investment
Day Project (6-9 Hours)
Finish Used
I stained the top and shelves with Watco Danish Oil in dark walnut and then used a satin finish varathane for only the top to protect it from spills, etc. The sides and legs were painted with an interior latex paint called "Sandbar" from Home Hardware.
Recommended Skill Level
Beginner
Comments
Fri, 07/22/2011 - 14:13
i was looking for THE PERFECT
i was looking for THE PERFECT ISLAND.. thank you so much for posting this. love it and can't wait to start building it. where did you find the shelves?
Mon, 10/31/2011 - 15:33
Shelving support
Your island is gorgeous, and I love the modification you made to the original plans on the shelving support! I would like to know what size the boards are that you used so that I can duplicate. Thank you!
Tue, 02/07/2012 - 19:43
I would think it would be
I would think it would be basically the same build, just add brackets to support the extra wood.
Mon, 03/05/2012 - 15:20
Small Kitchen Island
I want to make this Kitchen Island but if can't find the Supply List. Would you mind posting it or emailing me please! This will work perfect in my Kitchen
Mon, 03/05/2012 - 17:46
Small Kitchen Island!
Wow! Just a wonderfully simple project! I can figure it out by looking at it. I have a piece of Rock Maple Counter Top 24"x6'that needs legs. I'll probably use 4x4' for legs, six of them. But the shelves will be just like this. Thank you!
Mon, 03/05/2012 - 17:50
Small Kitchen Island!
Wow! Just a wonderfully simple project! I can figure it out by looking at it. I have a piece of Rock Maple Counter Top, 24in.x6ft., that needs legs. I'll probably use 4x4s for legs, six of them. But the shelves will be just like this. Thank you!
Mon, 03/05/2012 - 18:59
I have enjoyed what I have
I have enjoyed what I have seen so far. You are an awesome designer.
Mon, 03/19/2012 - 11:57
Do you have instructions on
Do you have instructions on how to build this? It's awesome!
Wed, 04/04/2012 - 11:58
How To Find The Instructions
Just click on the link for the instructions. It's under the heading 'About This Project' titled as 'From Plan: Easy Kitchen Island Plans'.
Click where it says 'Easy Kitchen Island Plans'. When you hover your cursor over the words, you will see that is a hyperlink.
Sun, 05/20/2012 - 06:48
I love your island and I also
I love your island and I also have a small kitchen...would you happen to know the sizes of the boards you used? Thanks
Wed, 07/25/2012 - 14:31
Could you send how you made this
Yours looks so different and so much better then the one that show how to make it, how did you do it? I really would love to build it but have no idea how...
Thanks so much!
Wed, 08/15/2012 - 13:08
Gorgeous and perfect!
This island is perfect. I love the shelves and the size. Any chance you could send me the dimensions of this island and details on how you did the shelves? Great job!
Wed, 12/31/2014 - 07:37
Modifications to original plans
Hi, this is my first time building anything. I really like the modification made to the original plans. I like the legs facing the other way. I can't figure out how to modify the cuts on the sides and front and back supports for the top to adjust for turning the legs the other way. Are there modified plans. LOL I need instructions, I’m not quite there yet on doing it myself. Thank you
Sat, 06/06/2015 - 18:33
Material
Hello, i love this island but maybe i missed it. What kind of wood is everyone using? Frosting said $47 but that could only be for pine right? Are people using pine to build this? I would like it to look just like the picture. Any help would be appreciated! thanks!
Fri, 08/14/2015 - 14:34
How Di I get these plans
I wnat to kow how much wood and what size I need ans the saws i need to build this project
Fri, 08/14/2015 - 14:35
How do I get these plans
I need to know how much wood and what size wood and also what kind of saws do I need for this job
Fri, 08/14/2015 - 14:35
How do I get these plans
I need to know how much wood and what size wood and also what kind of saws do I need for this job
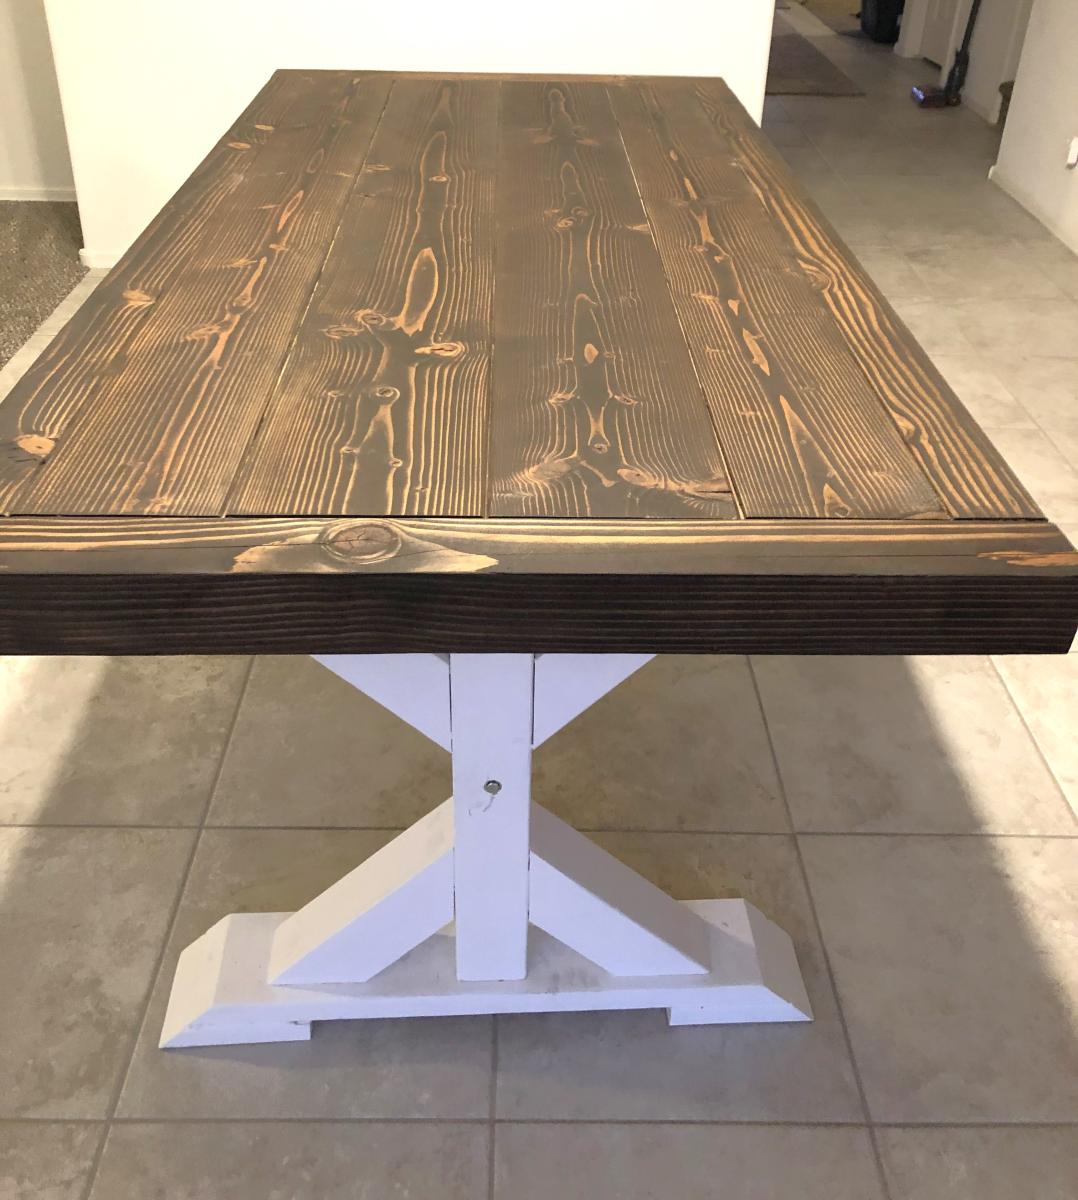
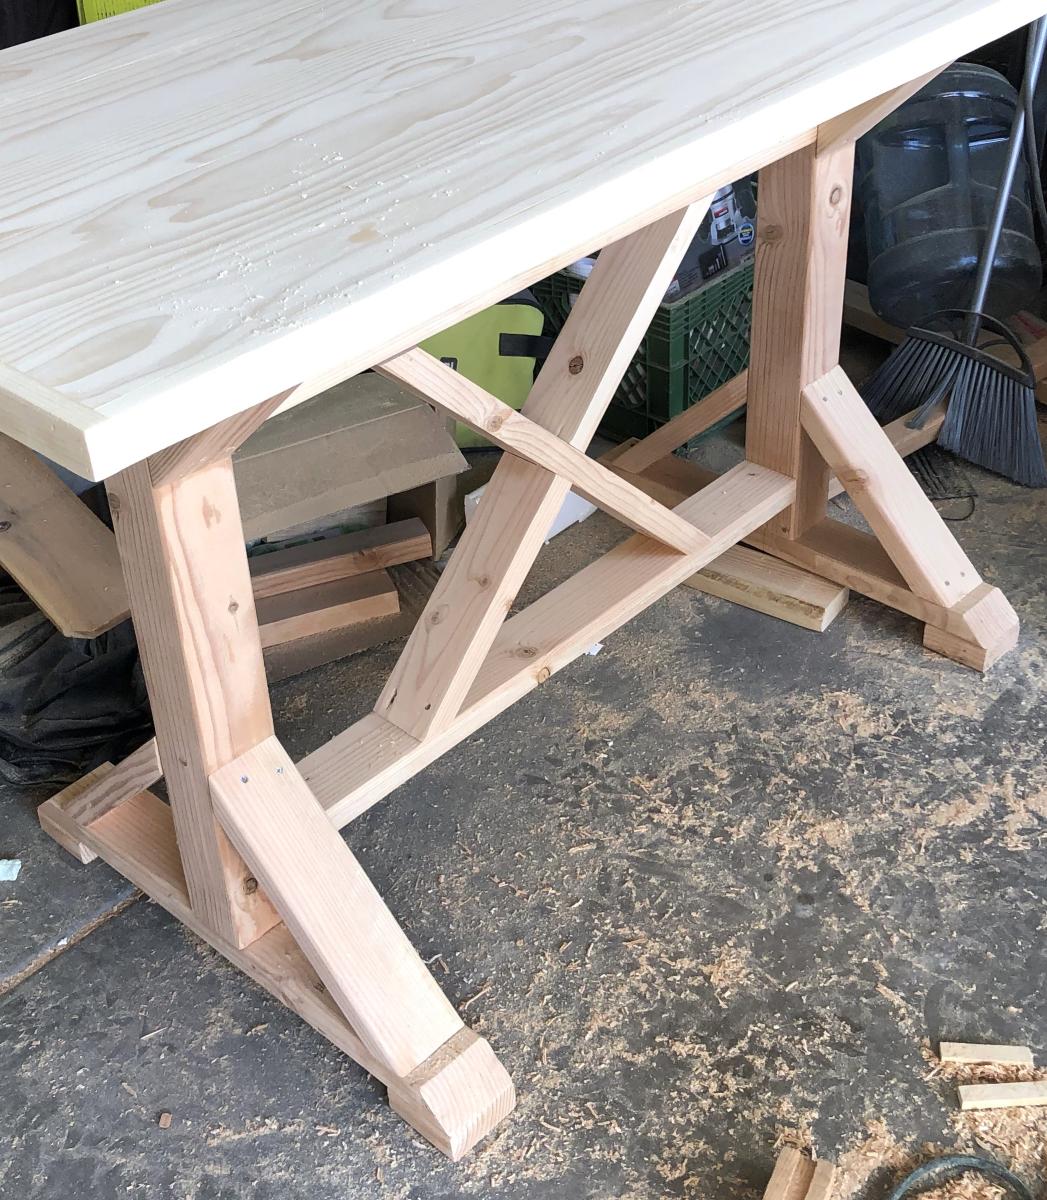
Farmhouse Table
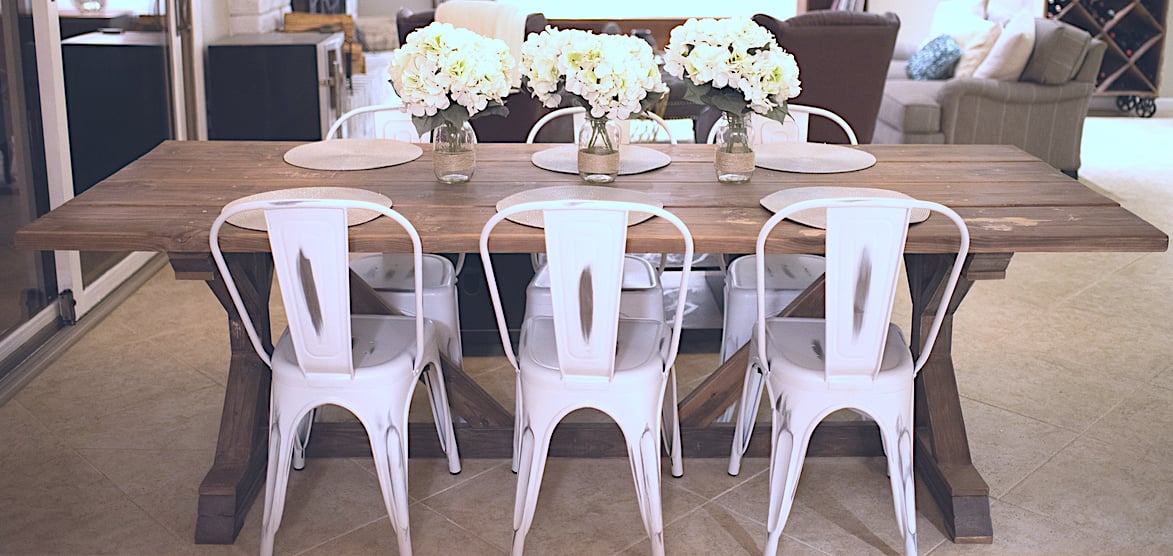
We were looking at buying this table at Restoration Hardware but couldn't get over the price. I love the look of the table but didn't want to take out a mortgage on it. Once I came across this plan, it was game over. Went out, got the supplies, and had it built before my wife knew what I was doing. It is built like a tank and even my kids can't hurt this! We get so many compliments on it , thanks!


Built from Plan(s)
Estimated Cost
$200
Estimated Time Investment
Weekend Project (10-20 Hours)
Finish Used
Steel wool and vinegar.
Recommended Skill Level
Beginner
Comments
Mon, 04/11/2016 - 07:56
Great job!
Beautiful!! The chairs go perfectly with the style!
And BTW, what about that wine rack on wheels?!? Did you make it, too? Love that! :) Would love to see a plan for that!
Mon, 04/11/2016 - 12:48
Thanks! We found that wine
Thanks! We found that wine rack at a store here in Phoenix. I thought about making one from scratch but I definitely was in over my head. We love it though
Tue, 04/12/2016 - 10:48
Maybe Ana can build a wine rack like your and add a plan for it!
Thanks for the info on the wine rack! Maybe Ana can add it to her list to make and add a for us! Hint, hint, Ana! :)
Comments
Rentzm
Fri, 03/31/2023 - 04:23
These are incredible. They…
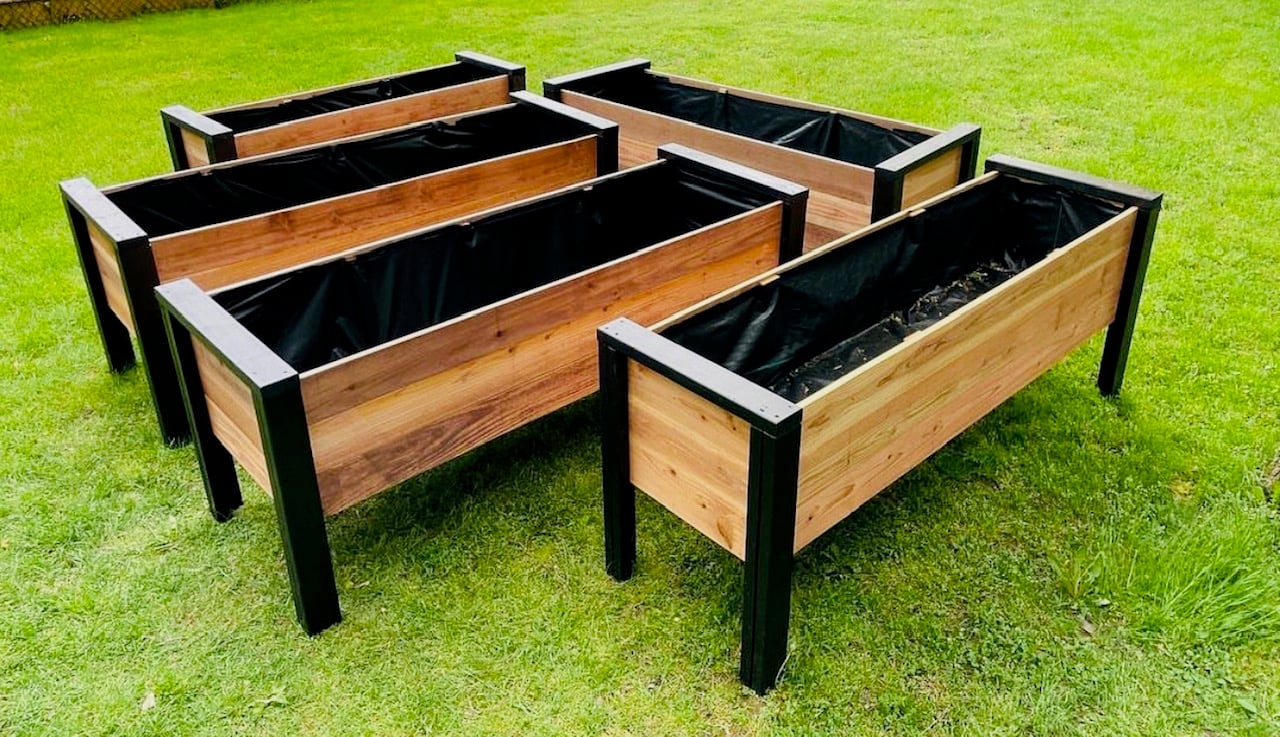
These are incredible. They look a little deeper, and would be good for vegetables. How deep are they?