Community Brag Posts

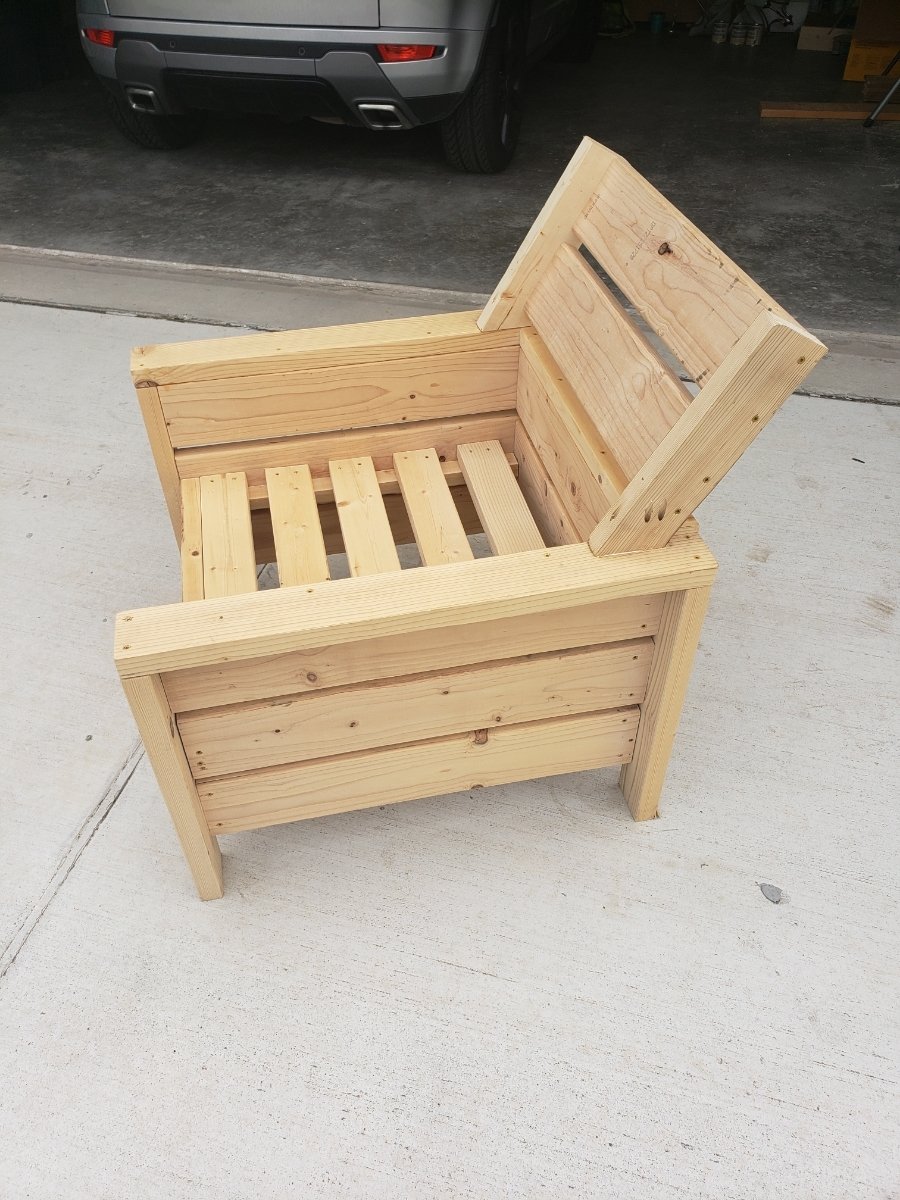
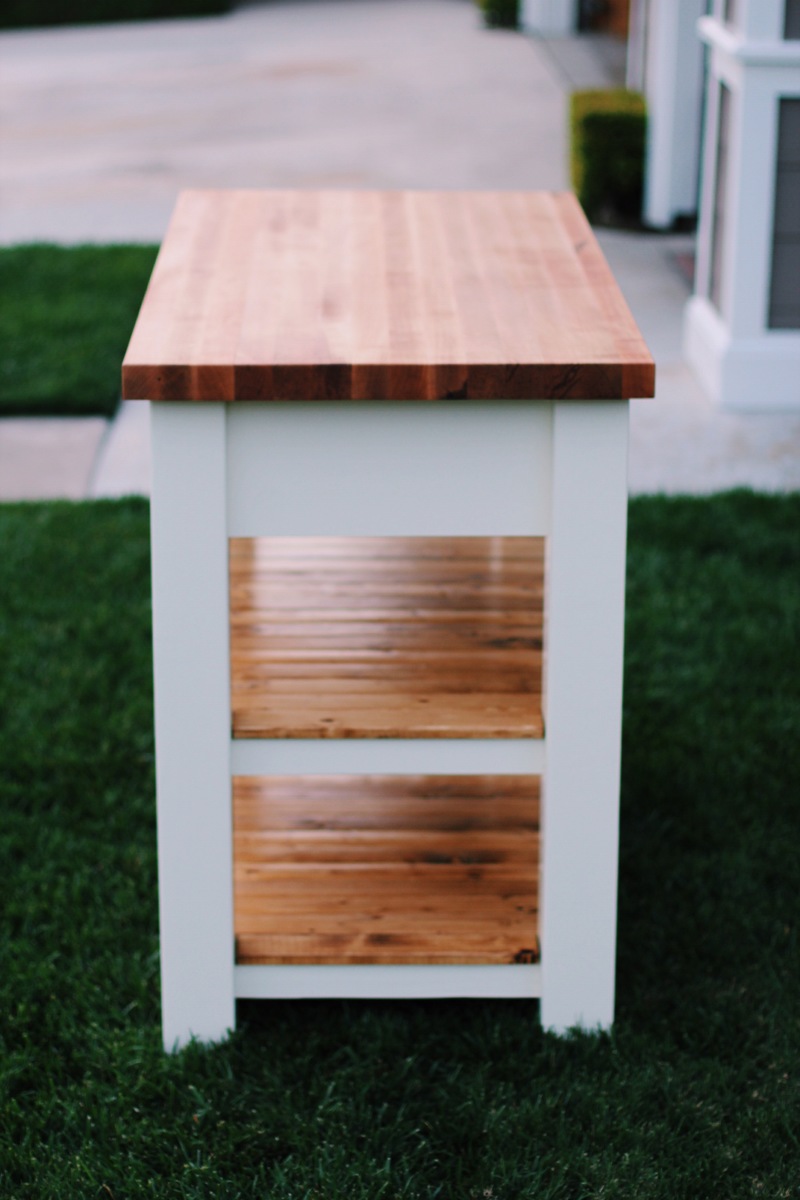
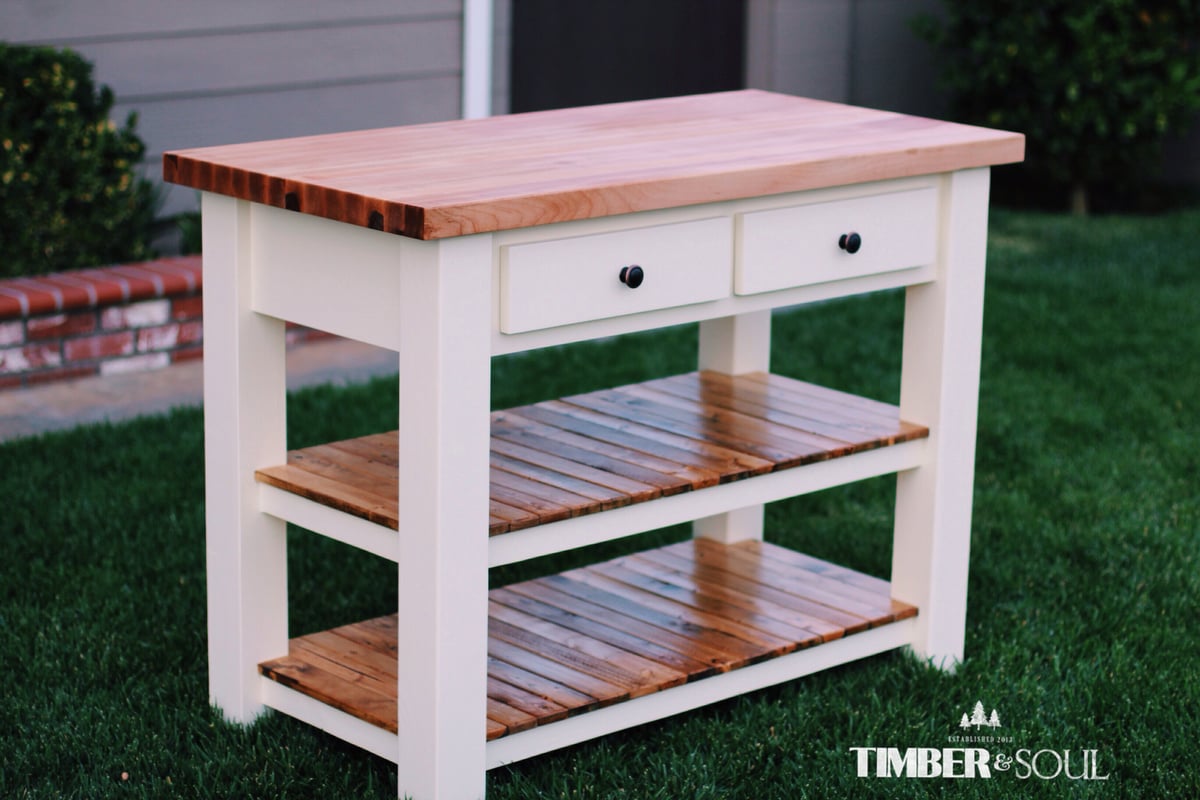
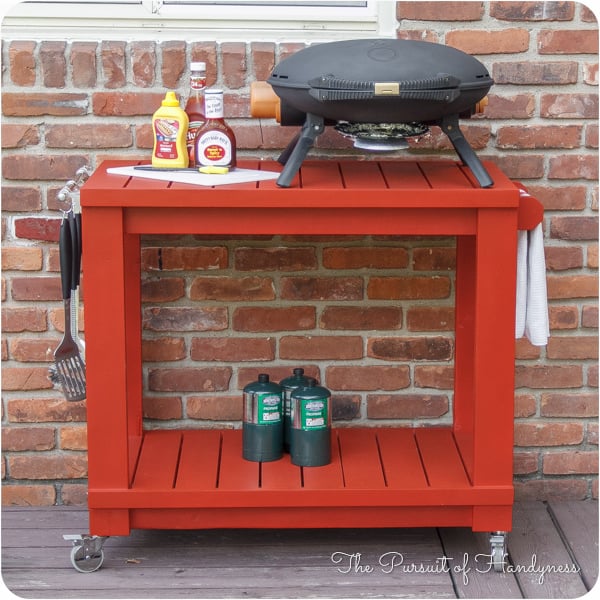
Patio Table with Built-in Beer/Wine Coolers

Submitted by ryan_king on Sun, 05/19/2013 - 19:50

I stumbled on this site a while back as I was looking for ideas for an enclosure for my grill. I decided that my current table was fine, but found a TON of great ideas here on this site.

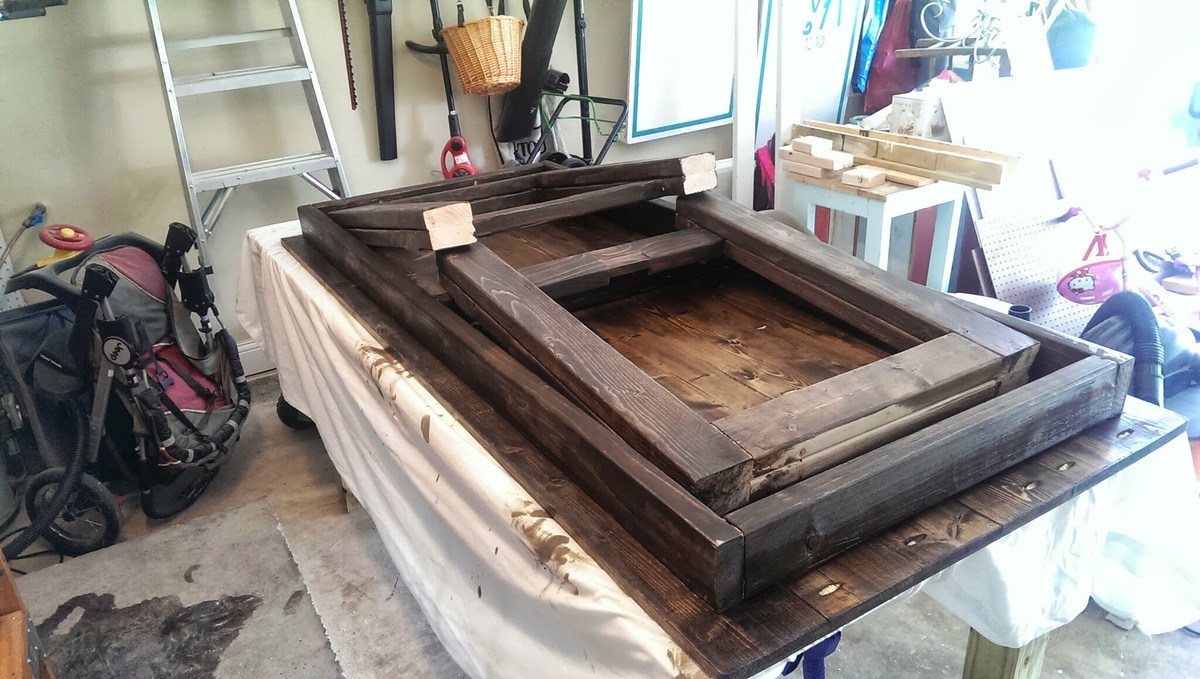
This patio table was first on my list. We enjoy having people over and I really like the built in coolers. We've started using our patio so much more already now that we have a good place to sit.

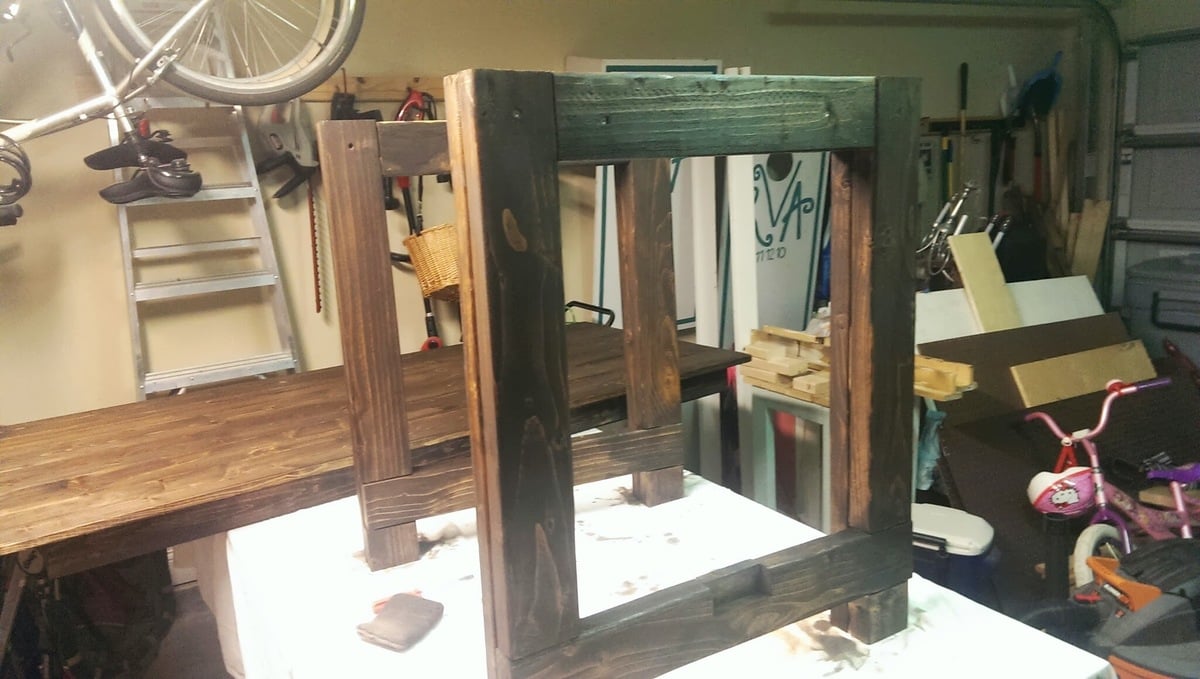
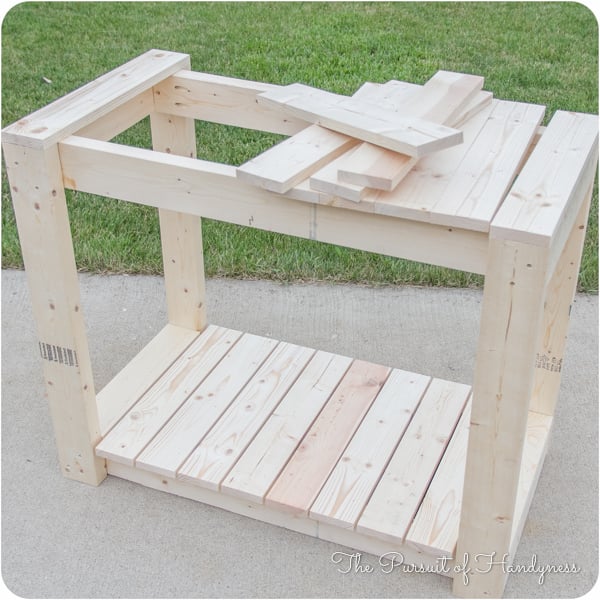
I modified the plans slightly: Extended the table so that we could fit up to 8 people, used 4x4's for the legs instead of 2x4's, and added a hole in the middle for an umbrella.

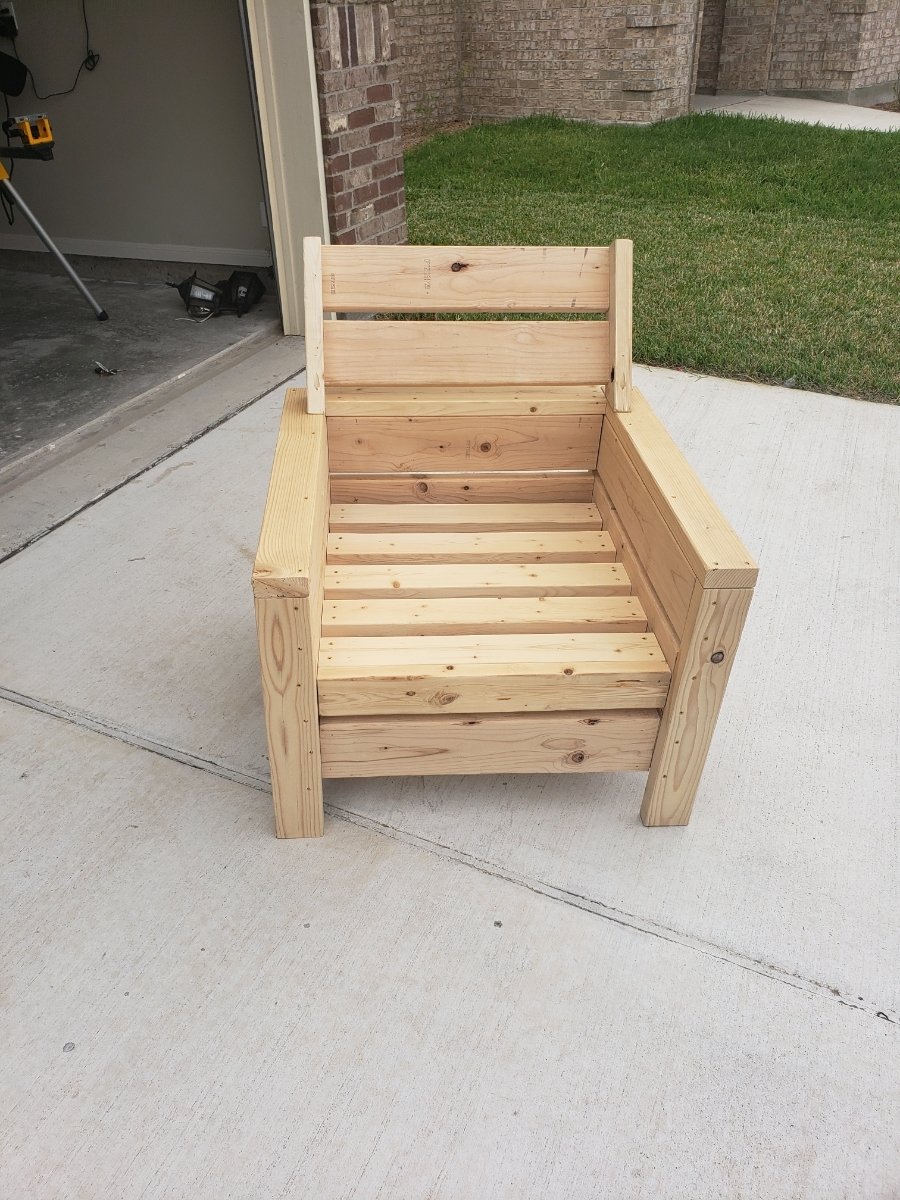
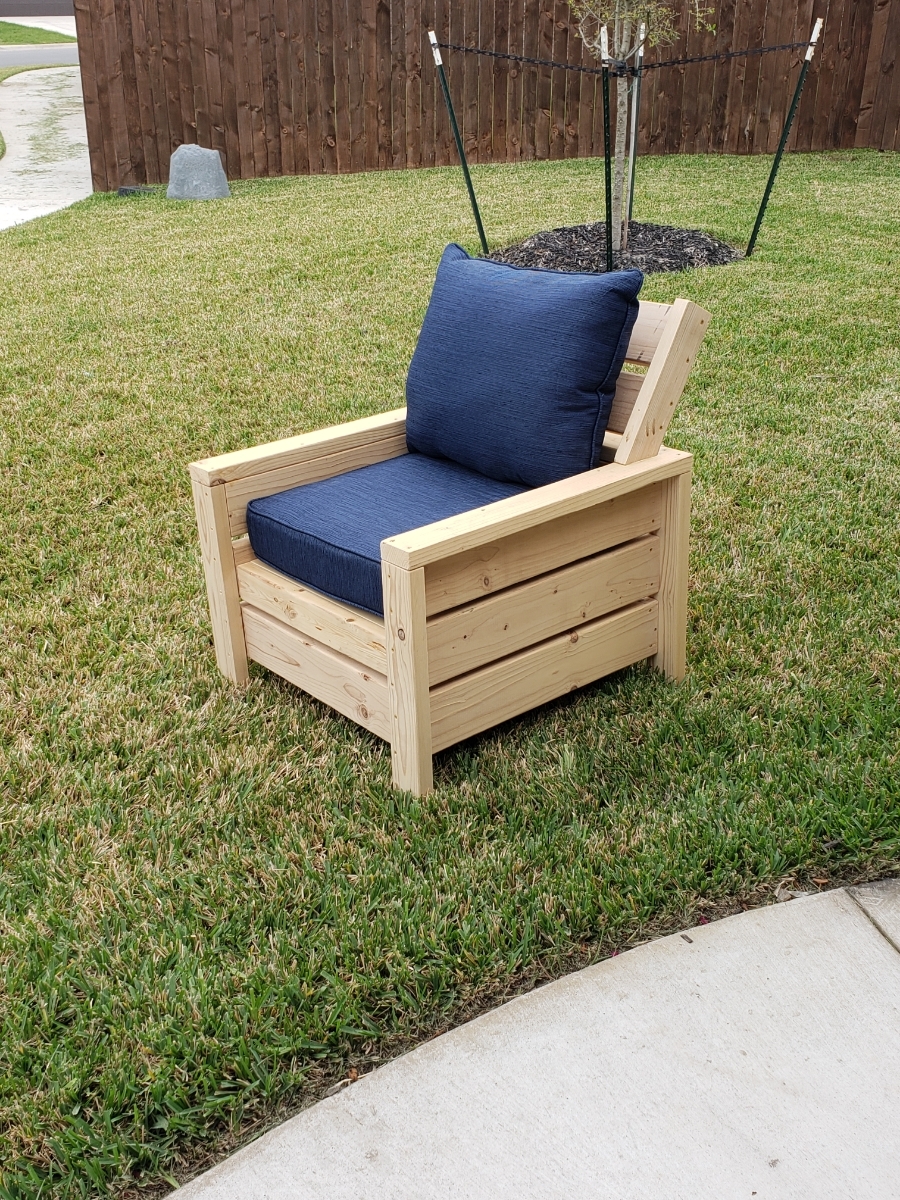
I need to build a couple benches (the chairs are a little low). That's the next project on the list!

Estimated Cost
probably about $90 for wood, screws, stain, and planter boxes
Estimated Time Investment
Weekend Project (10-20 Hours)
Finish Used
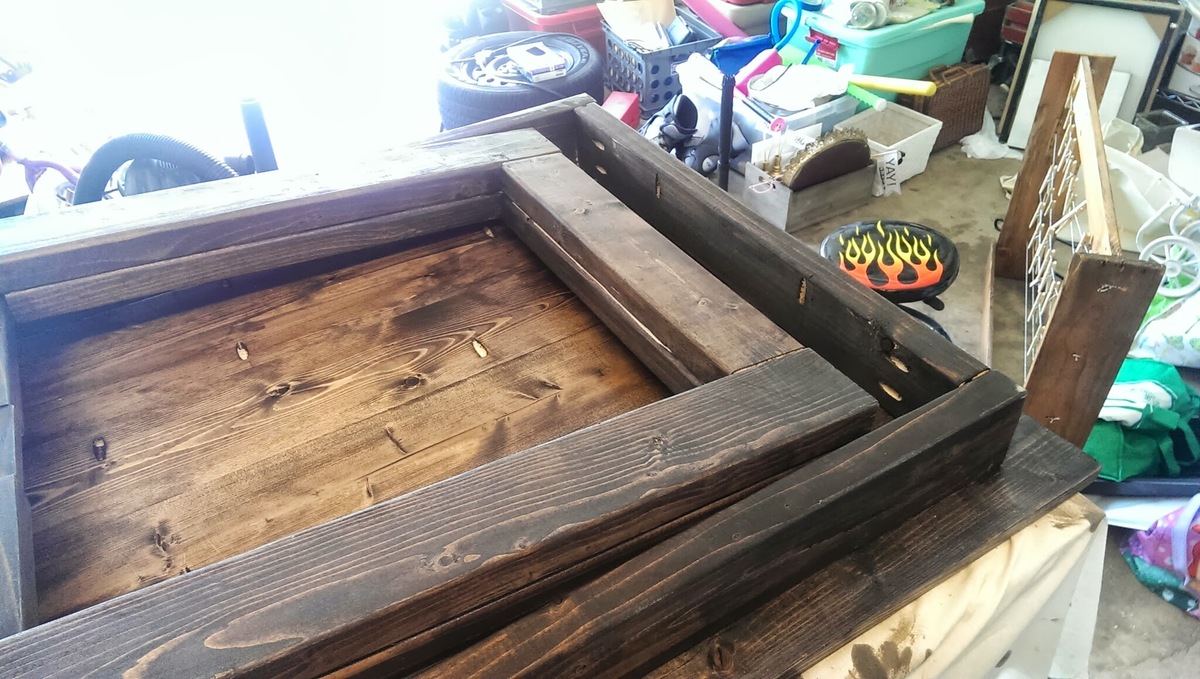
I finished with BEHR Premium Weatherproofing Wood Stain - Semi-Transparent, Drift Gray.

Two light coats. Used a synthetic brush for the first coat, then I lightly sanded w/220 grit and applied second coat the following day with a pad.

I'm not sure if this was the right way to go. I wanted something that would hold up to the elements, but have read several reviews about peeling etc. after I already applied it. I guess we'll see.
Recommended Skill Level
Beginner

Comments

porqueno

Sun, 05/26/2013 - 09:39

table looks amazing! did you just add a 6x2 to each end? did you feel the table is wide enough? thank you

ryan_king

Tue, 05/28/2013 - 16:57

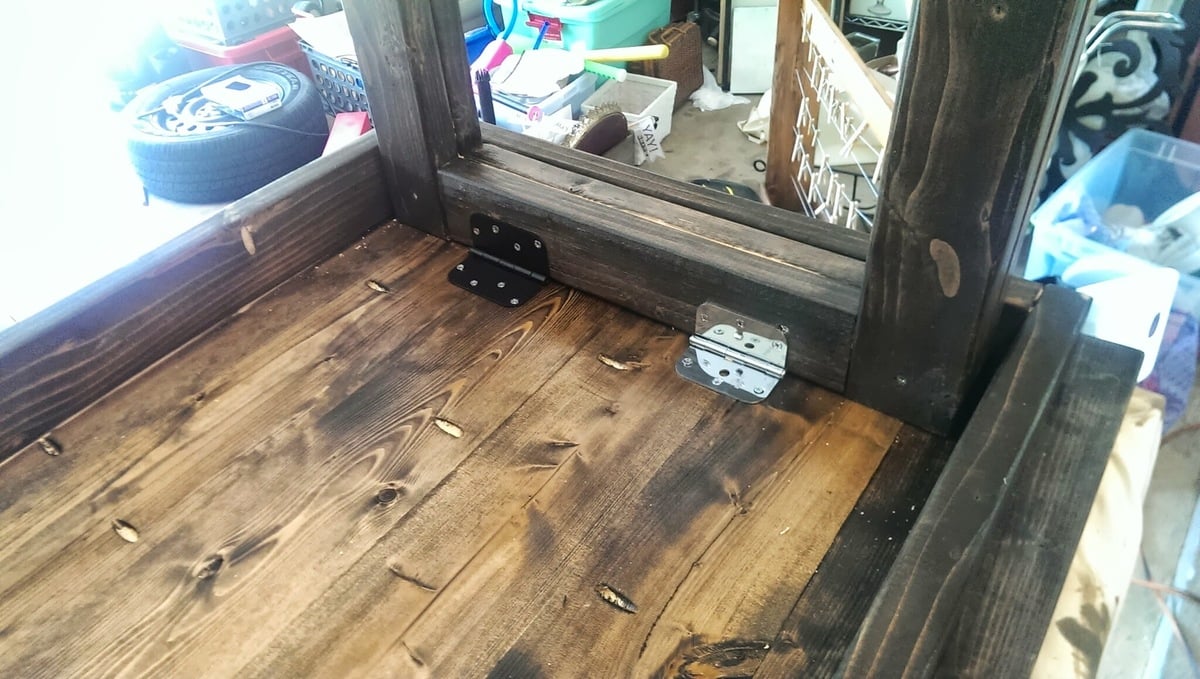
Yes, I added the 2x6's to each end and extended the skirt a bit on each end to bear the weight.

ryan_king

Tue, 05/28/2013 - 17:02

Yes, I added the extra 2x6's to each end and extended the skirt about 6 inches to help bear the weight.

It's wide enough for us so far. If you were planning on setting the table with a lot of extra food you might want to widen it or you can just keep one side covered.

CapinKnipp

Mon, 06/10/2013 - 14:11
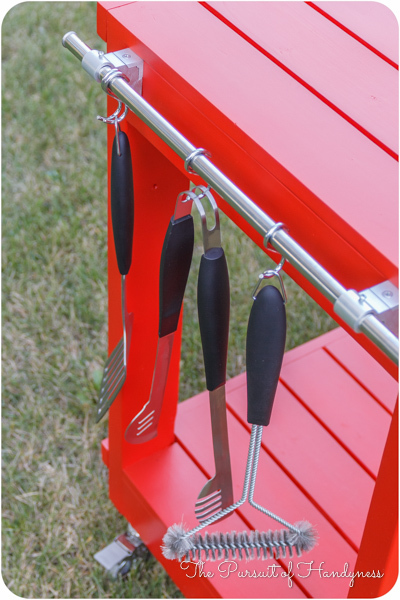
Did you create your own plans for the grill enclosure? I think it's great! We have an old Weber grill and it would be ice to have it as a back-up for foods that we want cooked over charcoal rather than gas. This dresses it up a bit. :)

GOOD JOB!

Pagejoli

Thu, 06/13/2013 - 11:55

I'm loving the idea but am curious about the melting ice....dripping, clean up, etc....Would it be possible to drill a hole and put a plug in?

Goldy272

Sun, 04/20/2014 - 14:03

Any update on how the stain is holding up? I am getting ready to stain mine and trying to figure out which way to go. Thanks so much, the table looks great!

SoCalMatt

Sat, 01/23/2016 - 18:50

Ryan, fantastic job.  I am for sure going to mirror everything you did here.  I also want to make it a bit wider so we can fit a few more folks around it.  Do you have to have the additional measurements that you implemented?

Thanks, Matt

Simple Outhouse

I built this outhouse to go with a dry cabin I'm working on, and also as an emergency backup for my house. I used treated lumber on the base/deck and splurged on T-111 for the siding. I wanted to use greenhouse polycarbonate for the roof, but found a piece of metal roofing in my shed that was exactly the right size so I used that instead. I thought about doing a fancy cutout on the door but ended up going with a half moon because it was easy. I'm thinking about cutting out stars of different sizes all over the rest of the door to let in more light. I'll trim and stain it next summer.

Built from Plan(s)
Estimated Cost
$450 - I used T-111 which is $40/sheet here in Alaska. I also used treated lumber where recommended and stainless steel screws.
Estimated Time Investment
Weekend Project (10-20 Hours)
Recommended Skill Level
Beginner

Comments

CH

Mon, 01/13/2020 - 15:25

WHAT HAPPENS TO THE 'STUFF' THAT YOU DEPOSIT IN THE TOILET?  I DIDN'T READ ANYTHING ABOUT DIGGING A PIT/TREATMENTS, ETC.  PLEASE LET ME KNOW.  THANK YOU!  CH.

French Cleat Sanding Station

Estimated Cost
Free! I used scraps to make this.
Estimated Time Investment
Weekend Project (10-20 Hours)
Recommended Skill Level
Intermediate

Becca Trunk

Submitted by DMax2010 on Sat, 04/25/2015 - 17:44

Love this trunk! It was my first attempt at moulding and I probably should have practiced on scrap wood first (recommend)! But it turned out great and one of my favorite pieces (because it's filled with toys).

Built from Plan(s)
Estimated Cost
Not sure, I purchased the purebond plywood and the moulding but pretty much had the rest already
Estimated Time Investment
Day Project (6-9 Hours)
Finish Used
Body of trunk:
Minwax Express Color in Walnut (base)
Behr Premium Plus Flat in Juniper Ash
Rustoleum Soft Touch Matte Poly

Top:
Minwax Express Color in Walnut
Rustoleum Soft Touch Matte Poly
Recommended Skill Level
Intermediate

Eagle Project Workbench - Ultimate Roll Away Workbench with Miter Saw Stand

Submitted by nelsoncc on Mon, 10/18/2021 - 11:32

My son chose to make a workbench for his high school theater for his Eagle Scout project, and selected the Ultimate Roll Away Workbench with Miter Saw Stand as the basis for the project. The theater teacher wanted pegboard for tool storage, so we extended the rear legs on each workbench and notched the top to allow them to pass through. We built two frames from 1x3s to fit inside the rear legs, then put a pegboard inside each one.

To secure the extended legs, we added a riser shelf from 1x8s. We put a storage station for drills at one end of the riser shelf.

We also made all the cart shelves adjustable and added an adjustable shelf under the miter saw, and added lighting and power strips.

We left out the panels at the end of the workbench to allow access to the shelves there without having to remove the carts. Once we had constructed it, we added a brace at each end of the workbench to better support the outside front legs.

This plan was the perfect one for the theater, giving a stable work area for the miter saw and allowing for tool and materials storage. The carts can be rolled around to where a work surface is needed. This will come in handy for years of set construction in the theater. So proud of my son and all the leadership and hard work he put into this project!

Comments

Foldable Farmhouse Table 2

I recently published my first foldable farmhouse table last week here: http://ana-white.com/2013/06/foldable-farmhouse-table The first one I made was very heavy because I used 2x6 tops and 4x4 legs. I decided to make another one that would be lighter and easier to transport. The plans are basically the same just instead I used 1x6 for the top and put 2x4s together for the legs. I also shorted the length by about a foot. The only issue with making the table shorter length is that the legs don't fold completely flush. You could easily make the legs short enough to fold flush, but then the table was a little too short from the ground up for us. The same as before I simply used kreg joints to join the top boards together. I then made a 2x4 frame and attached it to the bottom. I made each of the legs separately by joining 2x4s together and sanding everything down. Everything was stained before putting the legs on using Miniwax Dark walnut stain. I used 2 coats of Miniwax water based clear coat to seal it. A notch was cut out on each of the bottom 2x4 supports on the legs and I glued in a small piece of wood cut to size. These are so I can put in a 2x4 support board under the table so that the legs do not fold in on themselves when it is standing up. The legs are just attached using door hinges you can buy in packs in the hardware section. Be careful when screwing into the 1x6 top not to use too long of screws or else you will over screw and have them come through into your table top. Table design was by Amber Veatch Designs and photographed by Andi Mans Photography

Estimated Cost
120.00
Estimated Time Investment
Day Project (6-9 Hours)
Finish Used
Sand to finish and then used Miniax dark walnut stain followed by Miniwax water based clear coat.
Recommended Skill Level
Beginner

Comments

Freddyflis

Tue, 07/07/2015 - 06:41

We have built something very similar and we have a good bit of wobble at the top, even though the stretcher down the center of the table is holding solid in there and secred with clasps. Were thinking of some sort of sliding pin into the top of the leg to the apron. Anyone run into this before?

Seasonal And Holiday

Red Hen Home's Farmhouse Storage Bed

I made the Farmhouse Storage bed for my son's room, which also has to double as the guest room. It has a planked headbord and footboard. I made the slats in removable sections under the mattress to access the storage between the drawer boxes. Also modified the drawers somewhat to use less wood (basically they don't have a double-thickness front). I also used 1/2" plywood to cut down on the weight of the drawers, and they seem to work great! I used iron-on veneer to cover up the raw edges of the plywood on the drawer boxes. More information and pictures on my blog! http://redhenhome.blogspot.com/2013/06/the-handbuilt-bedroom-pt-4-bed.h… http://redhenhome.blogspot.com/2013/07/the-handbuilt-bedroom-pt-6-drawe…

Estimated Cost
$250
Estimated Time Investment
Weekend Project (10-20 Hours)
Finish Used
Custom mix of Minwax Antique Walnut/Weathered Oak stain.
Recommended Skill Level
Intermediate

Comments

My take on the chicken coop design

Submitted by Anonymous (not verified) on Thu, 12/30/2021 - 13:01

When we became accidental chicken owners, we had to build a coop fast. I found the plans for Ana’s replica of the Williams Sonoma chicken coop and got to work. They were very easy to follow and easy to modify to fit our own needs and aesthetic. We decided to enlarge the coop and remove the planter in the original plans do we could accommodate more chickens while keeping the original footprint. Instead of plywood, we used cedar reclaimed from an old fence we had recently replaced. We also enlarged the rear door to make clean out as easy as possible. I cut pieces of corrugated plastic that fit inside the door and windows to winterize the coop when temps drop below freezing. The run is designed to follow the shape of the coop and is large enough to give our 5 chickens plenty of space. The planter box runs the length of the chicken run, providing some plants to munch on inside and shady vines that will eventually cover the outside. Thanks for the awesome plans!

Comments

Home is Where the HEARTH is (Faux Fireplace)

Submitted by cbeach1717 on Fri, 07/08/2011 - 14:11

Only about a month before Ana published her Christmas plan for a faux fireplace, the hubby and I built one of our own out of a sheet of quality plywood, 1x12's, crown moulding, and a little trim. Originally we simply wanted a place to hang our stockings over the holiday season, but now our HUGE faux fireplace is the HEART(H) of our home.

Built from Plan(s)
Estimated Cost
$150
Estimated Time Investment
Weekend Project (10-20 Hours)
Finish Used
We just primed and painted white! So easy :o)
Recommended Skill Level
Intermediate

Comments

Pug Bug (not verified)

Fri, 07/08/2011 - 15:22

Wow...that's gorgeous! Nice attention to detail, too! Just a suggestion...have you considered painting the inset of the "fireplace" black? I painted the inset of my fireplace with a flat black paint and it made ALL the difference in the world. Just something to consider. Either way, job well done!

In reply to by Pug Bug (not verified)

cbeach1717

Mon, 07/11/2011 - 08:28

Thanks so much! Would you believe that I am not as brave as I would like to be when it comes to painting anything black? We are planning to have faux logs made and stacked in the faux fireplace! We think that will do the "trick"--pardon the pun :o) Thanks again!

jharm

Tue, 07/12/2011 - 13:06

Have you considered trying a faux marble paint treatment? Or, marble-look wallpaper might be a little more fail safe and could even be applied in squares like marble tiles.

I love the proportions you chose. I think a foundation would really sell it, and would increase the safety if using candles.

Allison Byles (not verified)

Thu, 10/27/2011 - 10:07

Do you have the plans for your fireplace? Love your design and clean lines, I am planning to make one!

Guest (not verified)

Fri, 11/25/2011 - 13:22

Love this fireplace, very beautiful but very disappointed that there isn't any plans and just pictures lol a little bit of a tease.

cbeach1717

Sun, 02/26/2012 - 04:44

Hello Everyone,

I am so sorry I have not responded sooner, but I wasn't even aware that there were any recent comments on this post :o)

Now that I do know, I just wanted to let you know that I will try to get something drawn up and post it here. I am not entirely well suited for design drawing software, but maybe you all wouldn't mind if I literally draw them out for you and post pictures of those drawings, yes?

Thanks for your kind comments, and I promise to have something soon! This project really is so simple, I just know you'll love the finished product :o)

In reply to by Wendy T (not verified)

cbeach1717

Mon, 06/25/2012 - 06:17

Hello Everyone,

I apologize for the delay, but we have been out of the country for six months and don't have any way of knowing the dimensions of the faux fireplace without measuring it personally. But we will be home within the next few weeks and I will try to measure and draw up some simple plans for those of you would like to see them.

Thanks :o)

srush (not verified)

Thu, 10/11/2012 - 10:35

Hi!
I love this room, do you know who makes the paint and what the color is called?

Thanks so much! Great job on the fireplace!

srush (not verified)

Thu, 10/11/2012 - 10:36

Hi!
I love this room, do you know who makes the paint and what the color is called?

Thanks so much! Great job on the fireplace!

Coffee Bar

Submitted by Anonymous (not verified) on Wed, 12/28/2022 - 18:35

My wife wanted a coffee bar and I wanted a fridge for wine and beer. So we compromised on this.

Comments

Modern outdoor 2x4 chair with modification

Submitted by Anonymous (not verified) on Fri, 03/08/2019 - 13:31

This chair was made off Ana white'smodern outdoor chair with modification to add back support. Without the back support the back pillow would keep falling off.  The cushion are 25x25 but very thick for comfort.

Estimated Time Investment
Afternoon Project (3-6 Hours)
Recommended Skill Level
Beginner

Comments

Brittsiana

Sun, 08/16/2020 - 10:03

Does anyone know what degree angle this is for the back support?
I would like to add it to my newly finished chairs I made over the weekend. The pillow keeps falling down.

sectional and chairs!

Submitted by Anonymous (not verified) on Mon, 04/03/2023 - 13:57

my husband and I used your plans for the sectional, end tables and chairs I made the pillows thanks so much for the designs we love them

Comments

Complete Full Sized Hailey Bed and Storage System

This project was our largest build to date, but the outcome was definitely worth the sweat! The build went relatively fast between my mom and I. I had a little problem assembling the tower bases, but we'll blame the 108 degree heat on my inability to figure out where to place my Kreg holes! I included a picture of how I did the tower base, in case anyone else runs into the same issue.

To accommodate for our base boards we added furring strips to the wall to bring all of the pieces flush. The hutch is secured into the studs with multiple L-brackets and so are the towers.

Finishing was very time consuming, but we'll worth the end result and look on my daughter's face! This system provides an incredible amount of storage. Thank you so much for the plans Ana!

Estimated Cost
$350
Estimated Time Investment
Week Long Project (20 Hours or More)
Finish Used
*All visible edges of the MDF were sealed with a mixture of white school glue & water, sanded and repeated until they were smooth.
*3 very light coats of Zinsser oil based primer with a foam roller, sanding between each coat
*2 coats of Behr Hi-Gloss lacquer in off the shelf white. Finishing was definitely the most time consuming part of the project.
Recommended Skill Level
Intermediate

My work bench

I'm so excited. I have my very own work bench! Thank you Ana for the sturdy work bench plans. I've added drawers and some curtains to keep the dust out. My brother did most of the work on this but I did some of the build at the end and all of the painting. Even though this will be stored in the garage, I wanted it to look like a piece of furniture found inside the house. I love the distressed look and I think I've succeeded in making it look old. I've made a few of your projects which I will post later. Right now I'm enjoying my new (old looking) work bench and I think it's really cool that it looks like it belongs to a girl.

Built from Plan(s)
Estimated Cost
200.00
Estimated Time Investment
Weekend Project (10-20 Hours)
Finish Used
Color paint: A day at the jewelers from Lowes. Minwax Gunstock stain mixed with a glaze for distressed areas.
Recommended Skill Level
Beginner

Comments

Val Manchuk

Sun, 01/26/2014 - 00:12

Never thought I'd say this about a workbench, but it's very pretty!
I'd be so tempted to keep it in the house! Have fun with your new
Workbench!
Val @ artsybuildinglady.blogspot.ca

nicholaix

Sun, 01/26/2014 - 09:38

Now I am going to have to pretty up my workbench to be as fab as yours. Maybe it will keep the guys outta my tools(fat chance!)

Butcher Block Kitchen Island

I built this piece from ana white's plans. I modified the shelf design and also the dimensions to meet my needs. Instead of using 2x6 douglas fir for the top, I built the top out of hard maple. The top is built by ripping down several strips of hard maple 1.75 inches wide, turn the strips on there edge and gluing all the strip together. This is what is known as a edge grain cutting board. I finished the top with mineral oil and bees wax. The top is food safe and knife friendly. If you have any questions please don't hesitate to ask. - Brad

Built from Plan(s)
Estimated Time Investment
Week Long Project (20 Hours or More)
Finish Used
Cream brulee paint by behr
early american stain by minwax
mineral oil and bees wax
Recommended Skill Level
Advanced

Comments

romanweel

Tue, 01/28/2014 - 18:42

Did you use a planer to level your top and bottom surfaces here, or just lots of sanding? I've been told not to attempt butcher block construction without a planer...but I'm thinking of maybe going for it!

timberandsoul

Fri, 01/31/2014 - 23:01

I did use a planer for this top. But because my planer is only 12 inches wide I had to glue three individual boards together leaving two seams that I could not plane but instead had to sand out. Just sanding those two seams took a long time, I cannot imagine sanding 20 seams. I would not suggest attempting without a planer.

Calmly

Mon, 04/10/2017 - 18:45

is it possible for you to share your measurements.  I need a smaller island. Thank you.

Biff Loman

Wed, 02/05/2014 - 17:25

I'm curious how you joined the stretchers to the legs. The construction appears different from the plans. Did you use pocket screws or something more advanced like mortise and tenon?

timberandsoul

Fri, 02/07/2014 - 16:58

I am not sure exactly what you mean by stretchers. If you are referring to the shelf frame, yes it is different than the plans, I modified it. I felt the shelf design on the plans was not enough for the weigh that was going to be place on top. I used simple pocket holes to joint the frame to the legs. Hope this helps, have a great day.

voorheisb

Fri, 08/12/2016 - 10:41

Thank you Brad.  This is a really nice piece.  I recently picked up an old table from a college.  I discarded the base and plan to use the heavy butcher-block-style top to build something similar to this.  Do you have plans you could share?   Thanks again, Brian

My first planter box!

This planter box turned-out looking great! I put it together the first go-round using all kreg-jig screws, but couldn't get the pieces to sit flush with each other, so I took everything apart...and used star-drive screws instead of nails). I have decided that I hate nails.

I used the kreg jig to attach the 4 posts, but then used brackets to attach the rest of the panels -- this worked well! Once I put the slats in the bottom, it was very sturdy.


TIPS: don't be afraid to alter the plan. If you like working with brackets, use them!

Built from Plan(s)
Estimated Cost
$20
Estimated Time Investment
Afternoon Project (3-6 Hours)
Finish Used
n/a
Recommended Skill Level
Beginner

Storage Desk System

Submitted by Anonymous (not verified) on Sat, 02/17/2024 - 10:04

Custom built-in desk and bookshelves. We combined plans for a massive desk with bookshelves. Working from home, I needed to maximize my storage space but wanted to create beauty and function at the same time. I love the finished results! I admire my new desk everyday I "go to work."


Modern Sectional Sofa

Submitted by reinkense on Fri, 05/30/2014 - 17:22

I looked all around my town for a sofa that meet my needs. I wanted something with tall legs, modern lines and fit my living room. I did not have $3,000 to buy one online so I said to myself why not???


Estimated Cost
$400
Estimated Time Investment
Week Long Project (20 Hours or More)
Recommended Skill Level
Intermediate

Comments

reinkense

Sat, 05/31/2014 - 15:58

Thank you! I am really proud of it. I was thinking of putting together some plans.

Samigdal

Fri, 12/25/2015 - 17:48

Are there step-by-step instructions for building this posted anywhere?

walthoca

Fri, 01/06/2017 - 11:06

I am so impressed. We recently spent a small fortune on a sectional, but yours looks equally beautiful. You are incredibly talented! 

Toybox chest turned window seat

I've tried this before as a gift for a friend's new baby. I then wanted to do one for myself but change the measurements somewhat. This is 45" long and the same width as the original. I reduced the height to account for the 3" foam cushion. Besides that it's pretty much the same as the toy chest plan.

Building and sanding took about 3 days working after work only. Painting took the longest time.

Estimated Cost
$90 including foam and upholstery
Estimated Time Investment
Weekend Project (10-20 Hours)
Finish Used
Primer followed by white paint in semi gloss
Recommended Skill Level
Beginner

Modified Simple Rolling Bar Cart

I honestly think Ana is a mind reader. Whenever I need plans for a particular piece of furniture, they magically appear on her site. Of course if she was a true mind reader, everything will be exactly as I need it requiring no modifications. That's what makes her plans so amazing. I can build bigger and better because I've learned to modify her plans to fit my current needs.

This Cart was no exception. I had to make mine a few inches deeper and change the height of the legs and it was a piece of cake. I put this together in less than 2 hours and finishing was easy too.

I did a blog post all about what I did differently including how I constructed a towel bar instead of the pipe. Check it out at www.thepursuitofhandyness.com

Built from Plan(s)
Estimated Cost
$25 Depending upon the type of casters used
Estimated Time Investment
Afternoon Project (3-6 Hours)
Finish Used
Oil Based Primer & Rustoleum Painters Touch Spray Paint in Paprika Satin
Recommended Skill Level
Starter Project