Doll Bed
This was my first wood working project. I made this for my little sister for Christmas. It was a great starter project. I may be biased but I think it turned out pretty good.
Used the design and got really ugly knotty and grainy wood to give it more character, as well as distressed it with a hammer and a 2' chain and hand planned/sanded. Stained Aqua Blue and sanded parts back to bare wood, then restrained with heavy spots and light spots of Wheatherd Gray and did 3 coats of Satin polyurethane.
I loved the plans for the cedar planter. It was a quick build and it's such a versatile item. I left the wood natural to give it a more rustic look. I'm planning to make a longer planter to use as a gift basket for Christmas gifts.
Beautiful Rustic Bed Build by Natalie Riley
My wife Tracy and I wanted a dresser like this for one of the bedrooms in the new house. Well Tracy went to work looking for one on Craigslist and E Bay ( She is the best at hunting down a bargain). After only one day she found an add for a solid wood dresser for sale in our area. When I came home from work she let me know there was a project in the back of her vehicle for me.
I was very impressed with what she had found. This was a serious solid wood dresser. With me having a couple of days off prior to our trip to Cabo (and Tracy needing me out of her hair while she finished all the details needed for the trip) I started on this right away.
The dresser had never been finished, it was just raw wood. This was a plus for me because no stripping was needed. Just a little light sanding is all it required for prep work.
I discovered that the knobs did not match. After a quick trip to Menards the dresser was complete.
Total cost of our dresser $65.00
See more pictures at buildandsave-mike.blogspot.com
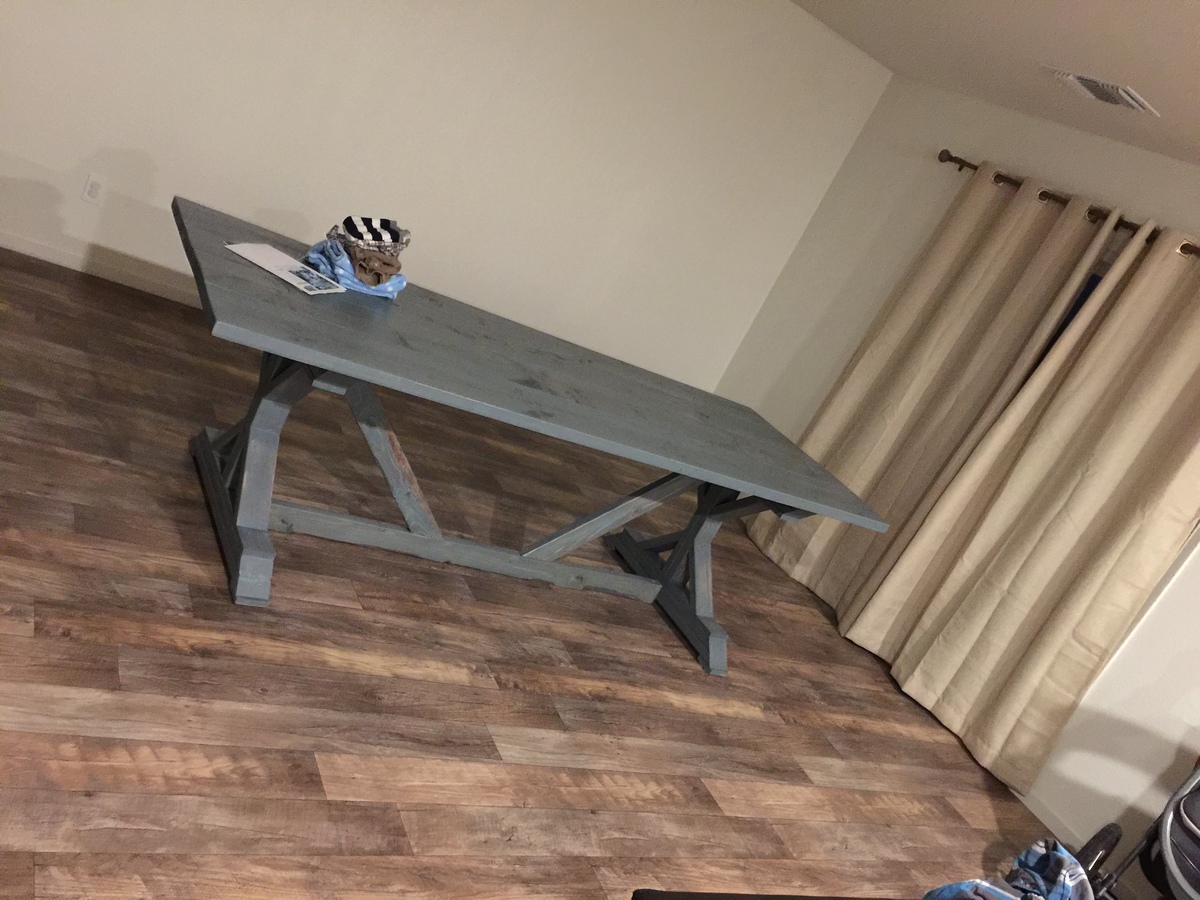
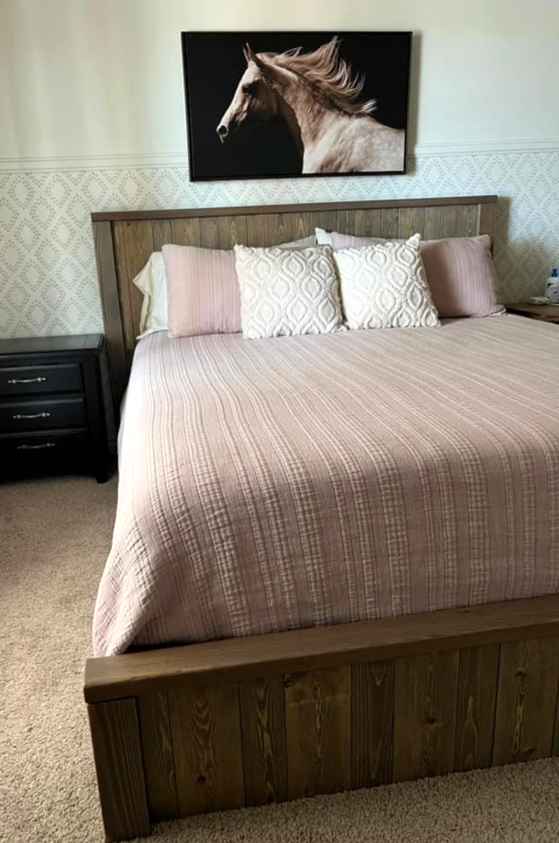
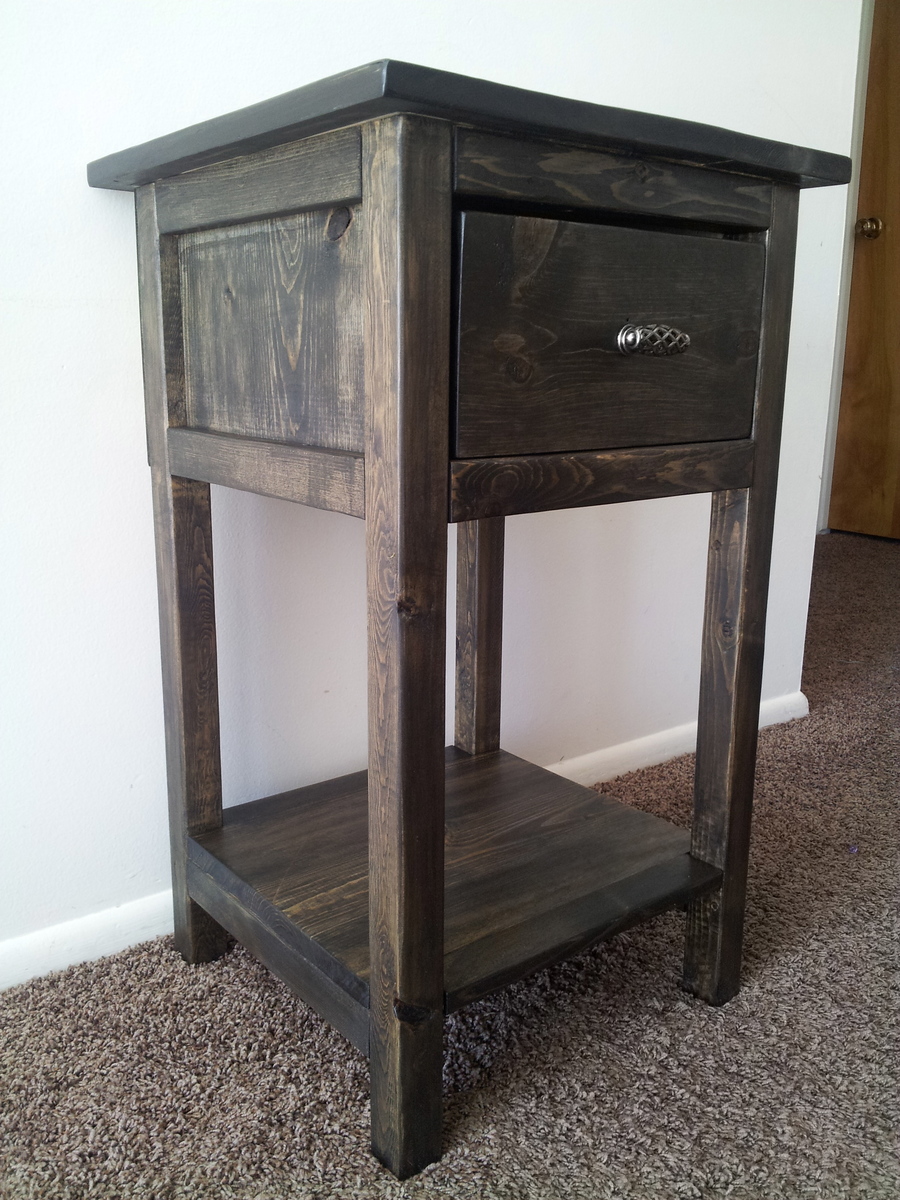
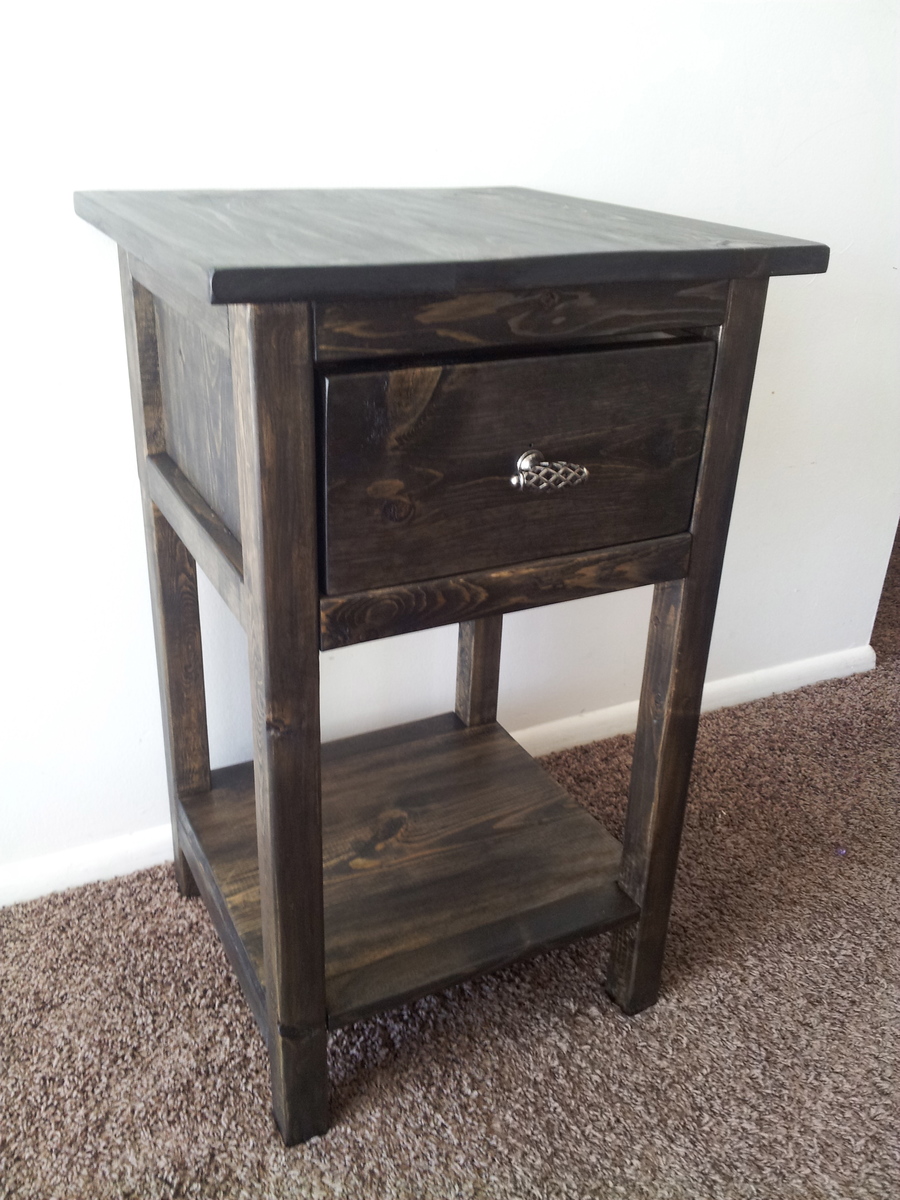
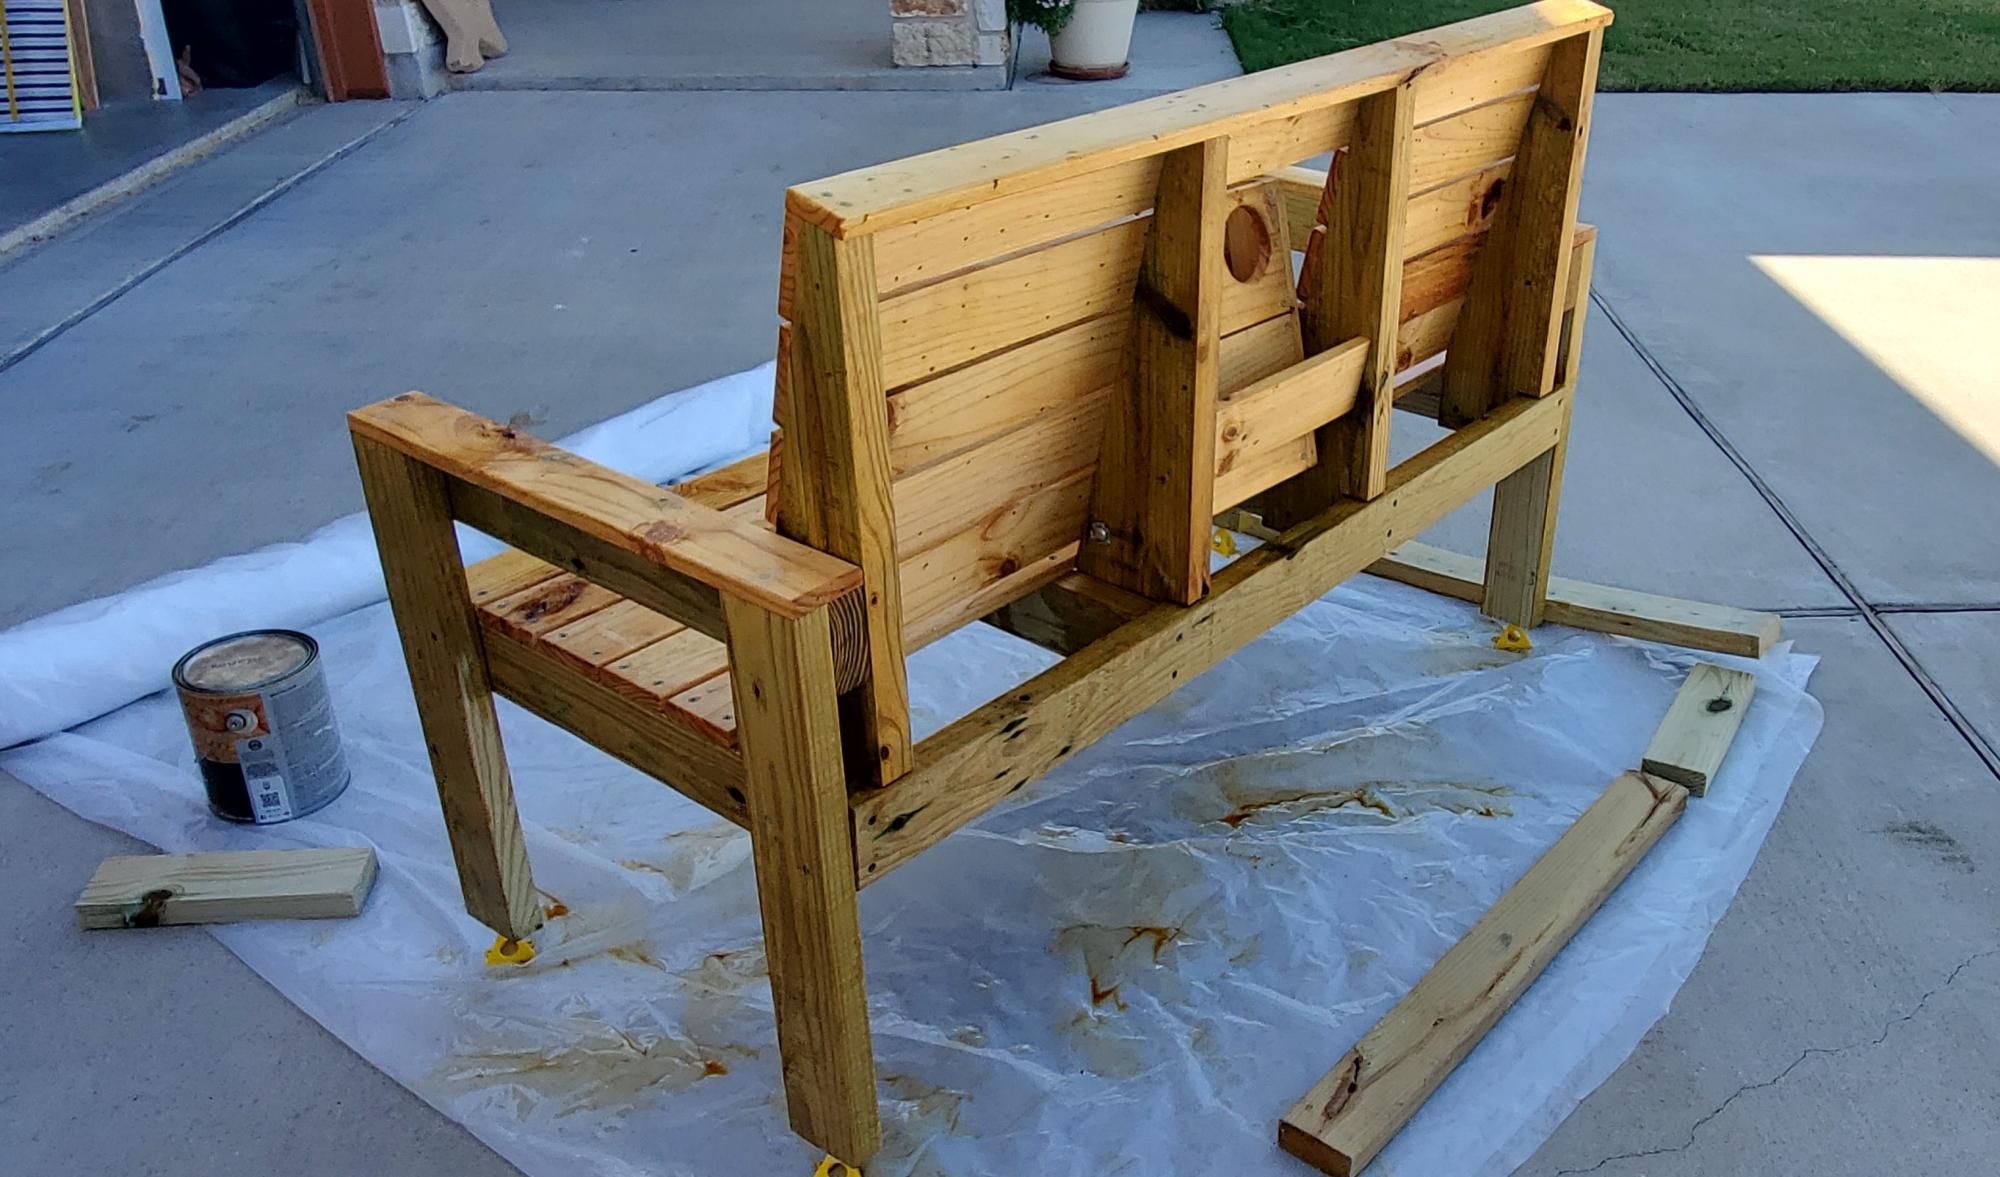
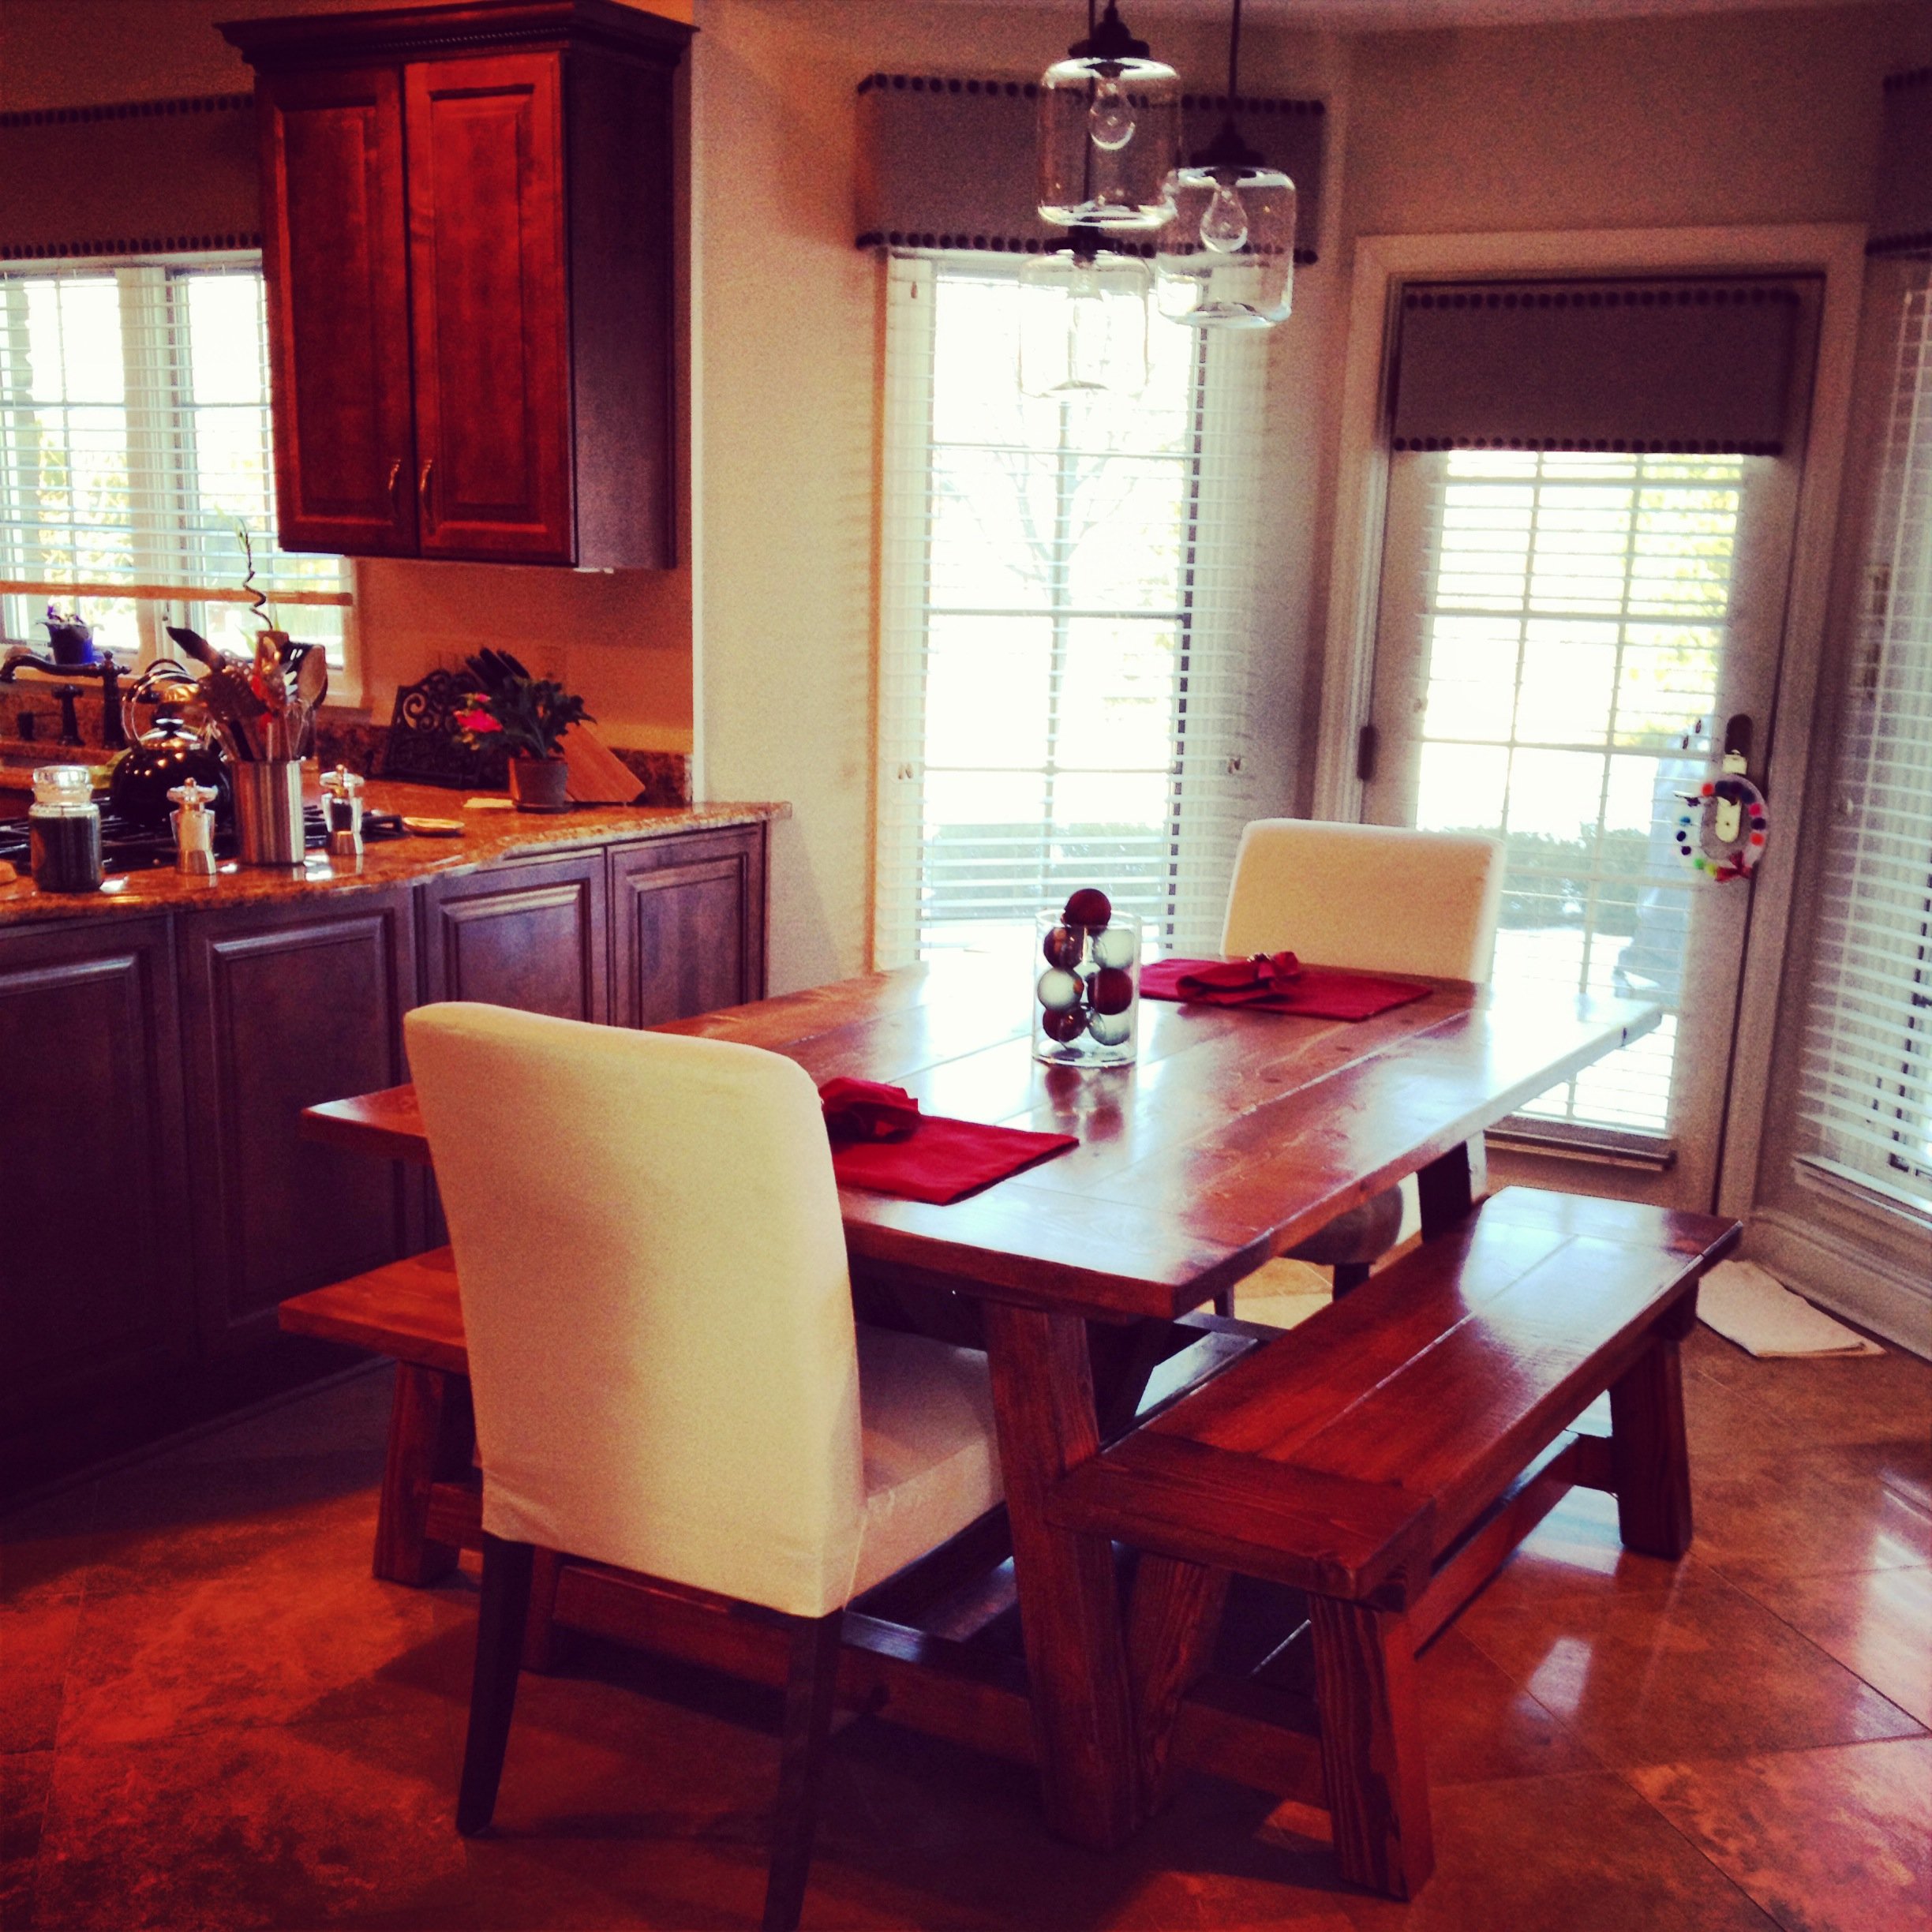
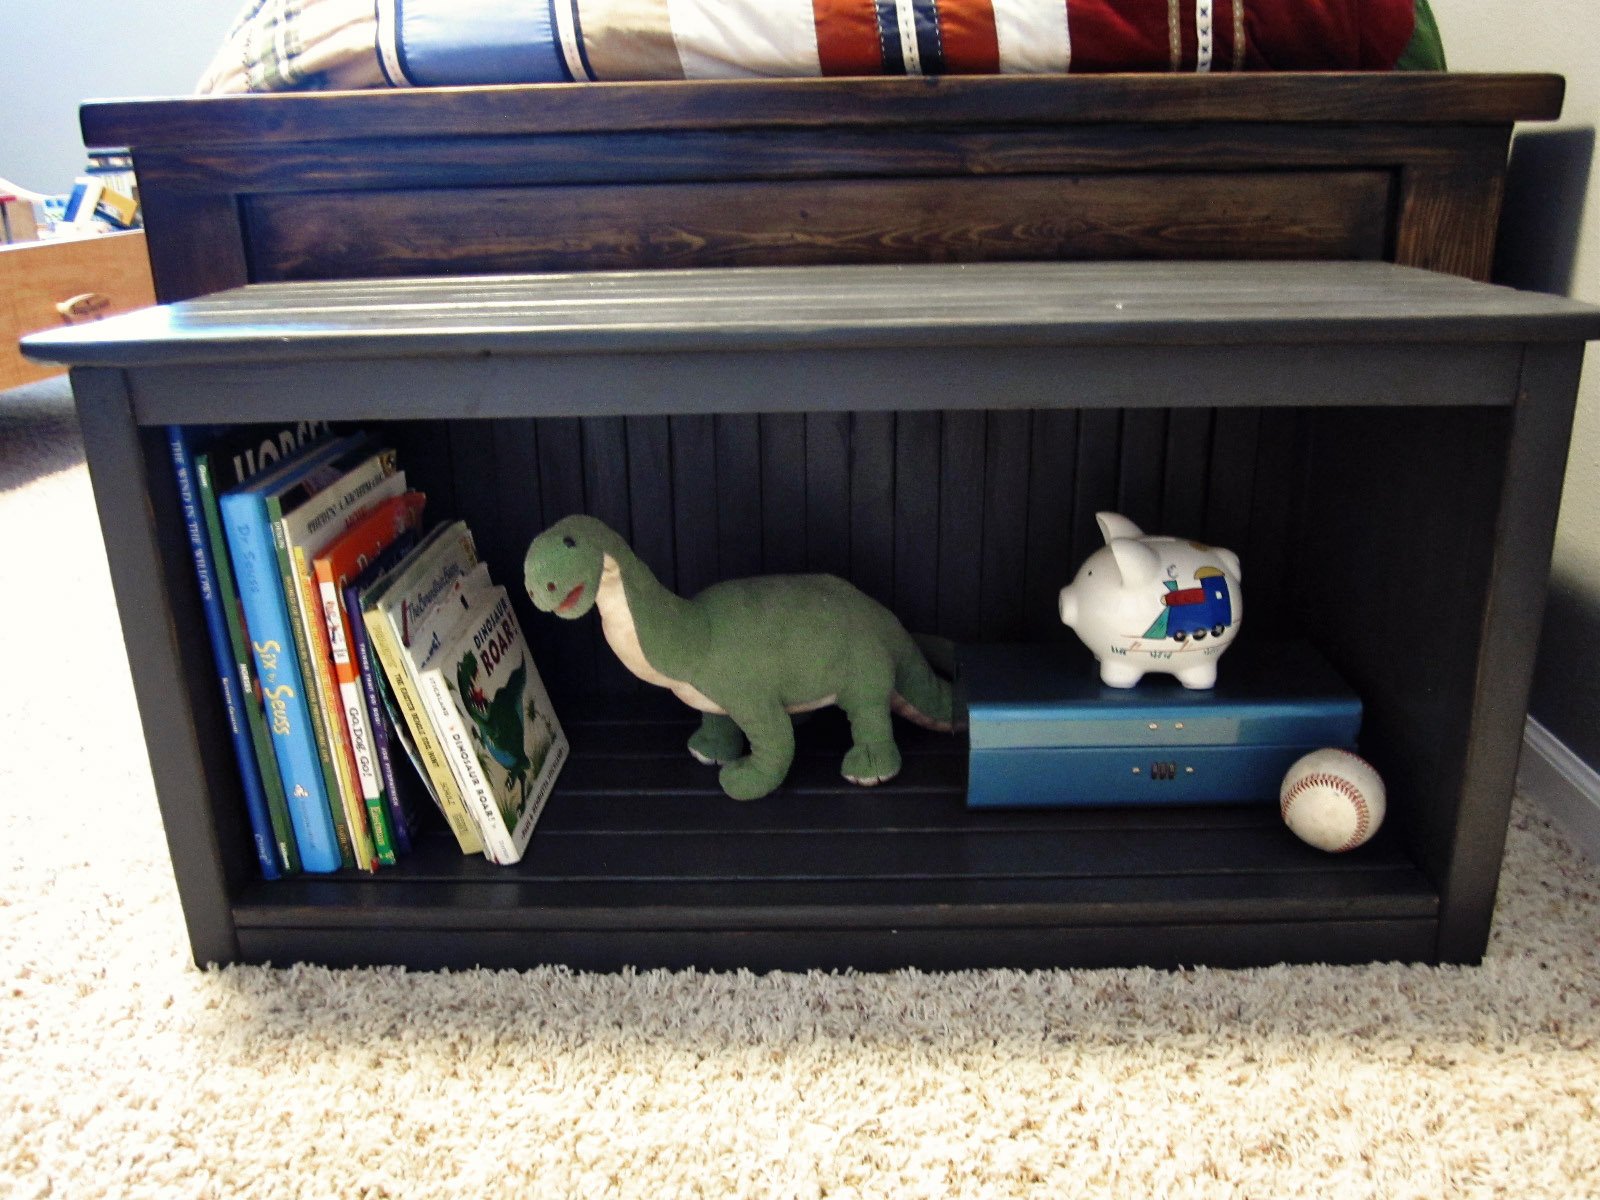
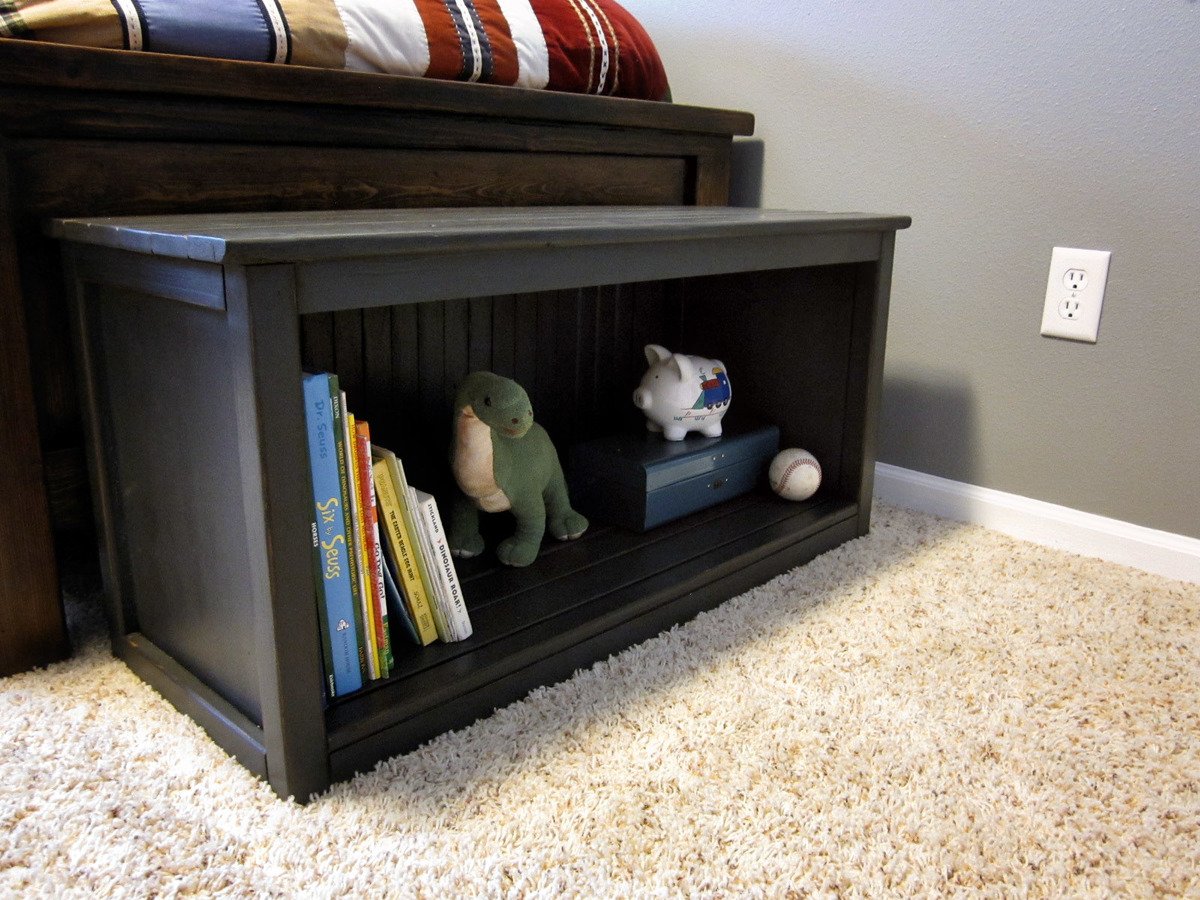
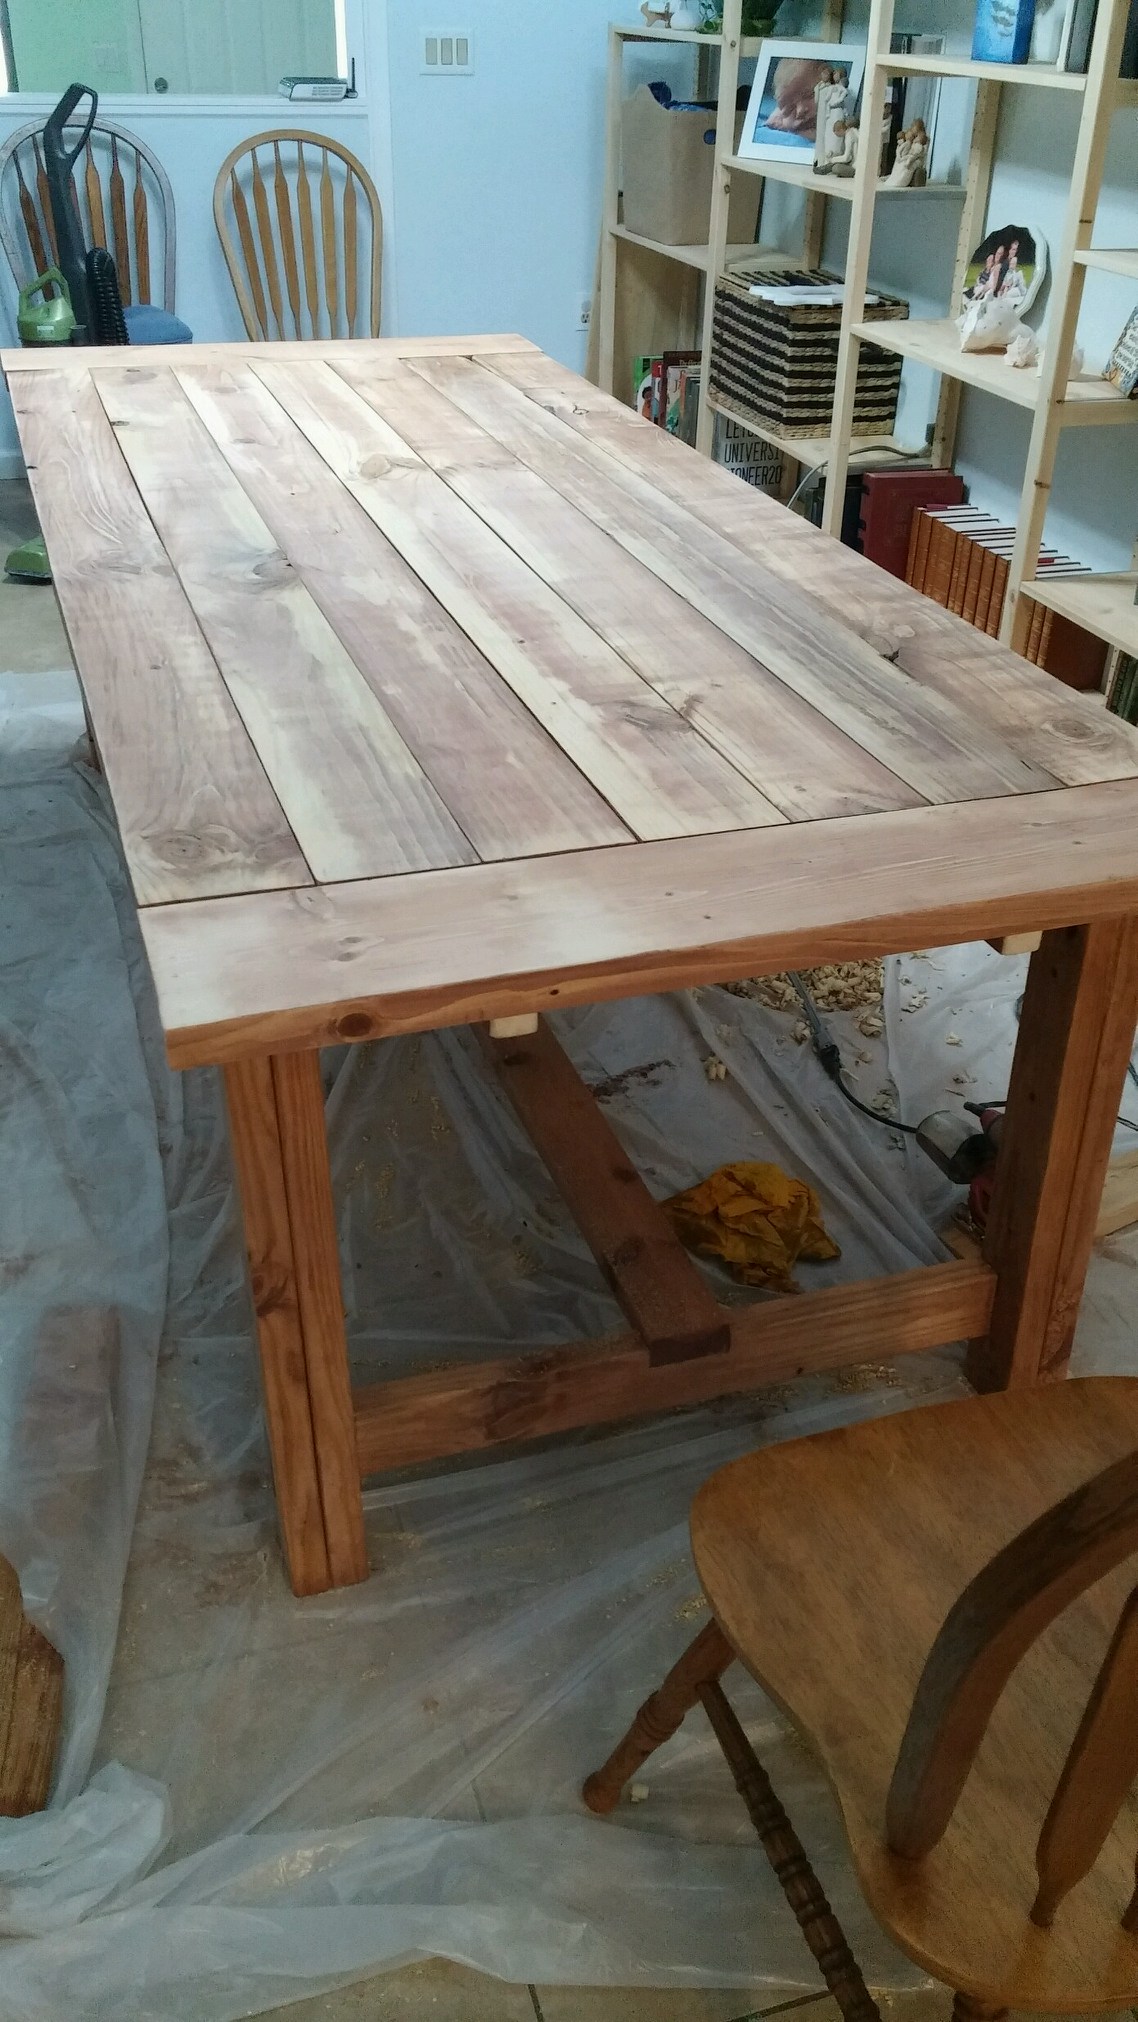
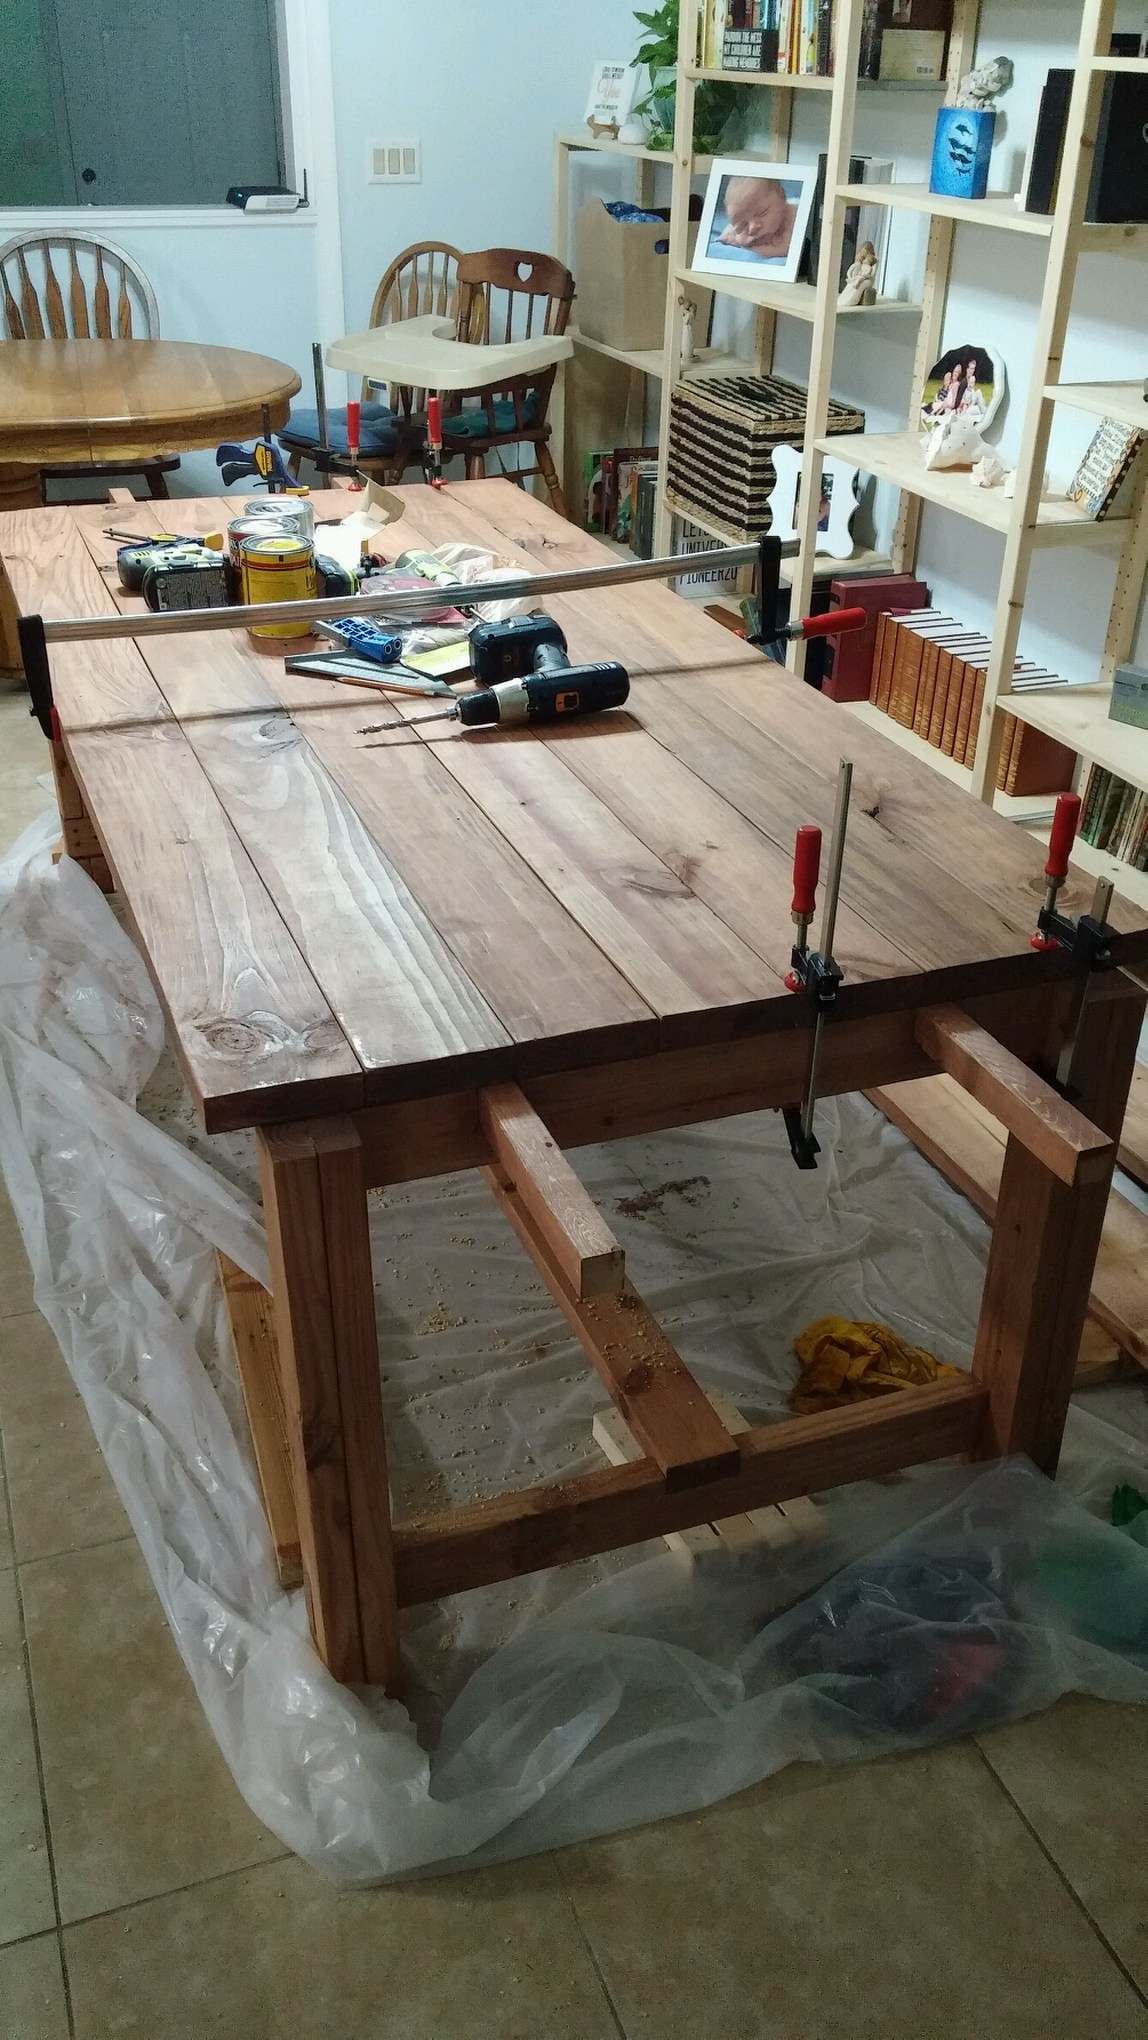
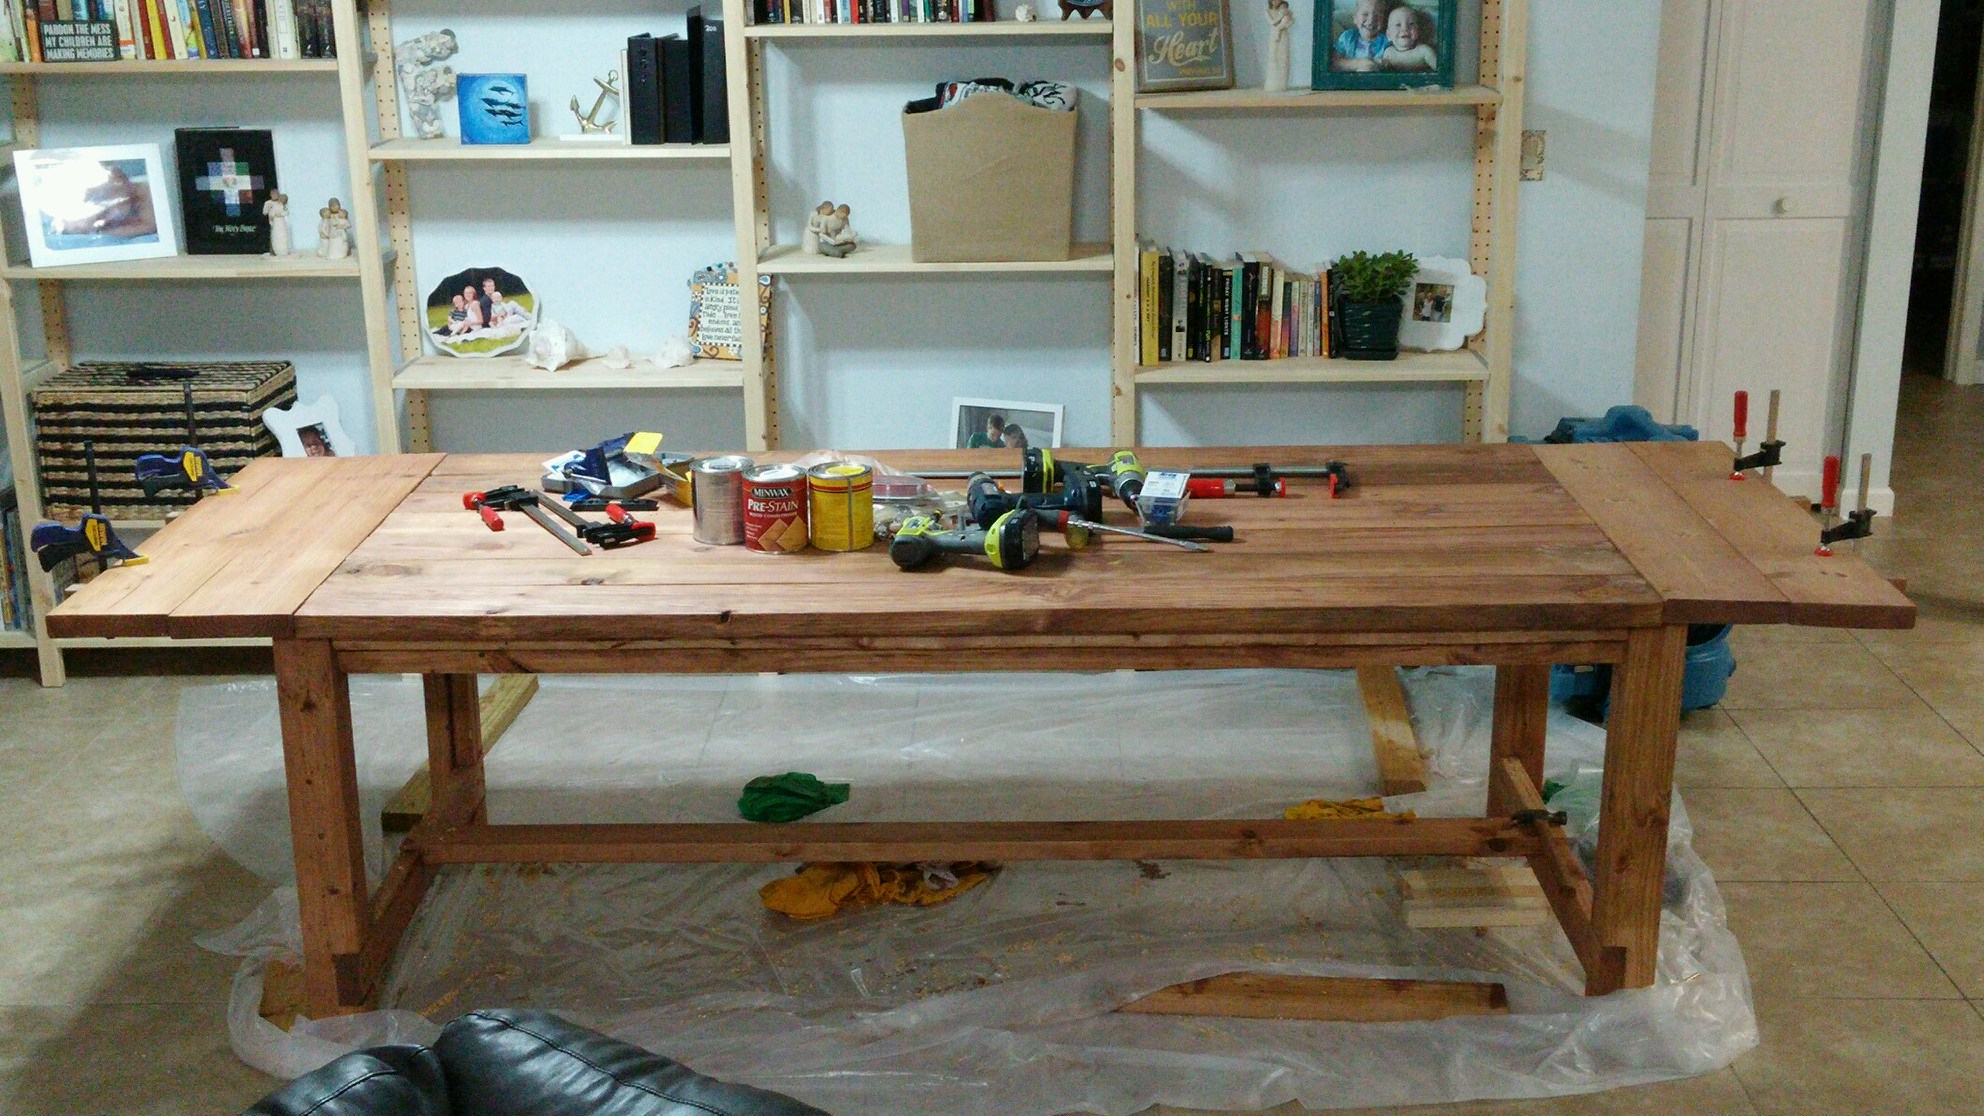
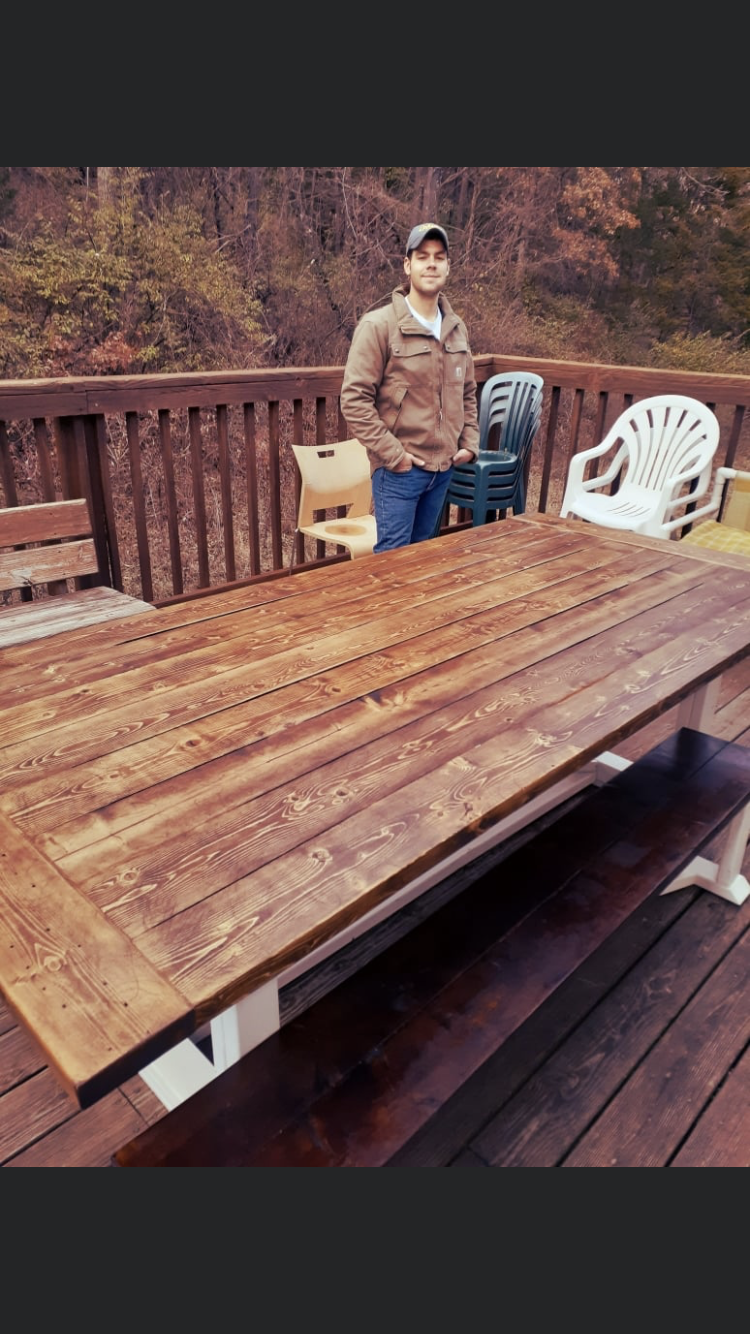
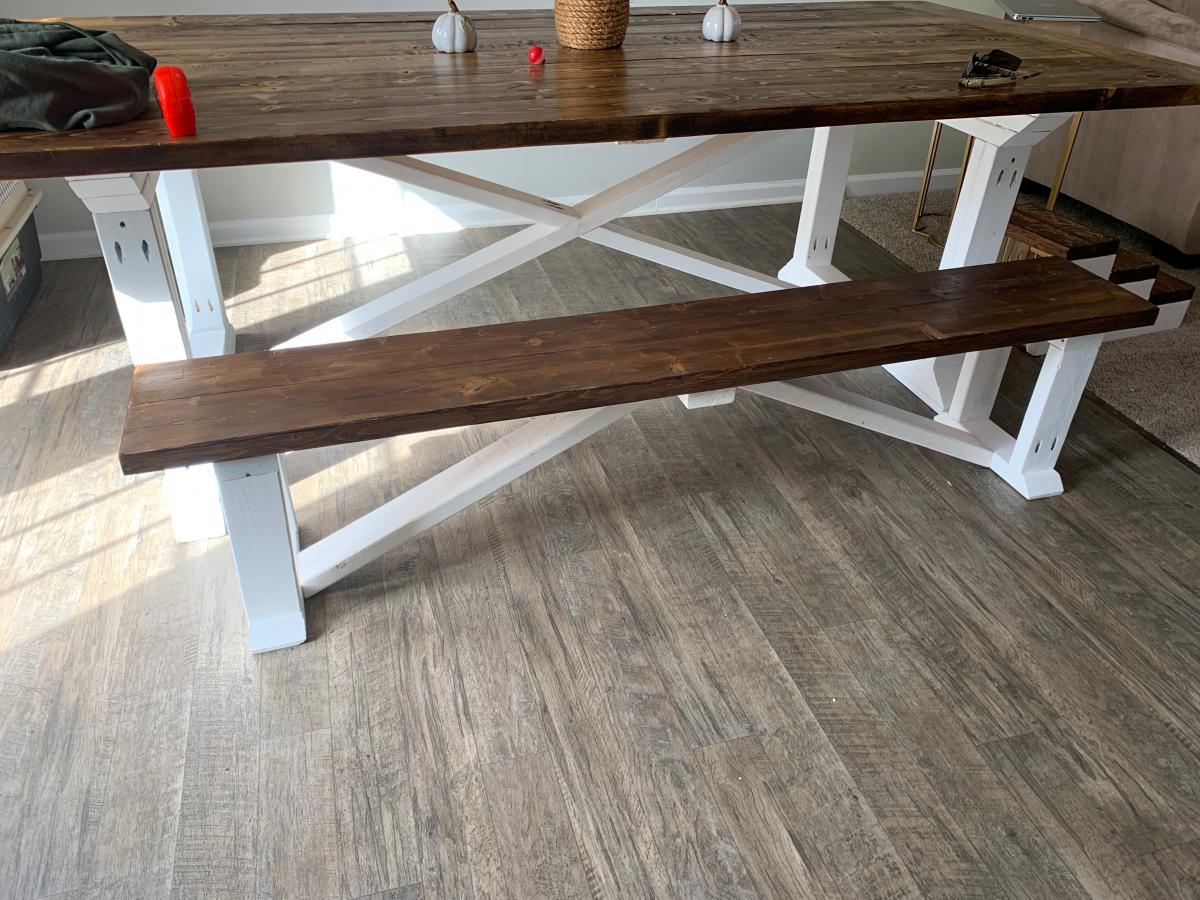
FIRST BUILD!! We've been using metal decorative plant stands as our nightstands, but they're just too wobbly on the carpet in our bedroom, and don't have any storage except the top of them, so when we saw the plans for the Mini Farmhouse Bedside Table, we knew it would be perfect. We don't have a lot of space next to the bed, so we went with the Mini plans, and built 2 of the nightstands, one for each side. We do a lot of projects, and I have refinished furniture for a few years, but we've never built anything from scratch. We have all the tools, so we decided to give it a try. This is our first build, and even though they're not perfect, I think they turned out nice, and we learned a lot that we will bring into future builds. We've already since built a Farmhouse Bench, and are getting lumber this weekend to build a dining table! Thanks to Ana's plans, there are endless possibilities!!
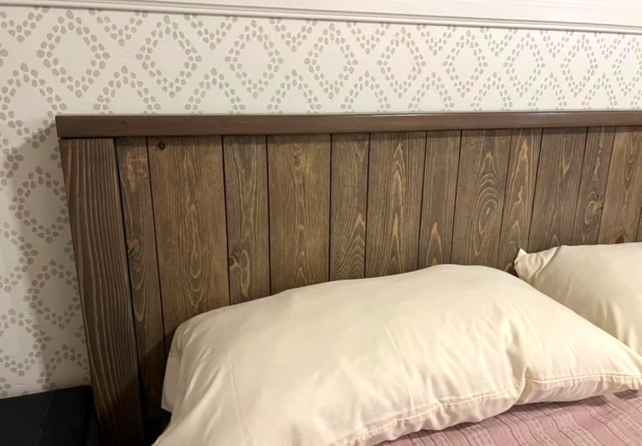
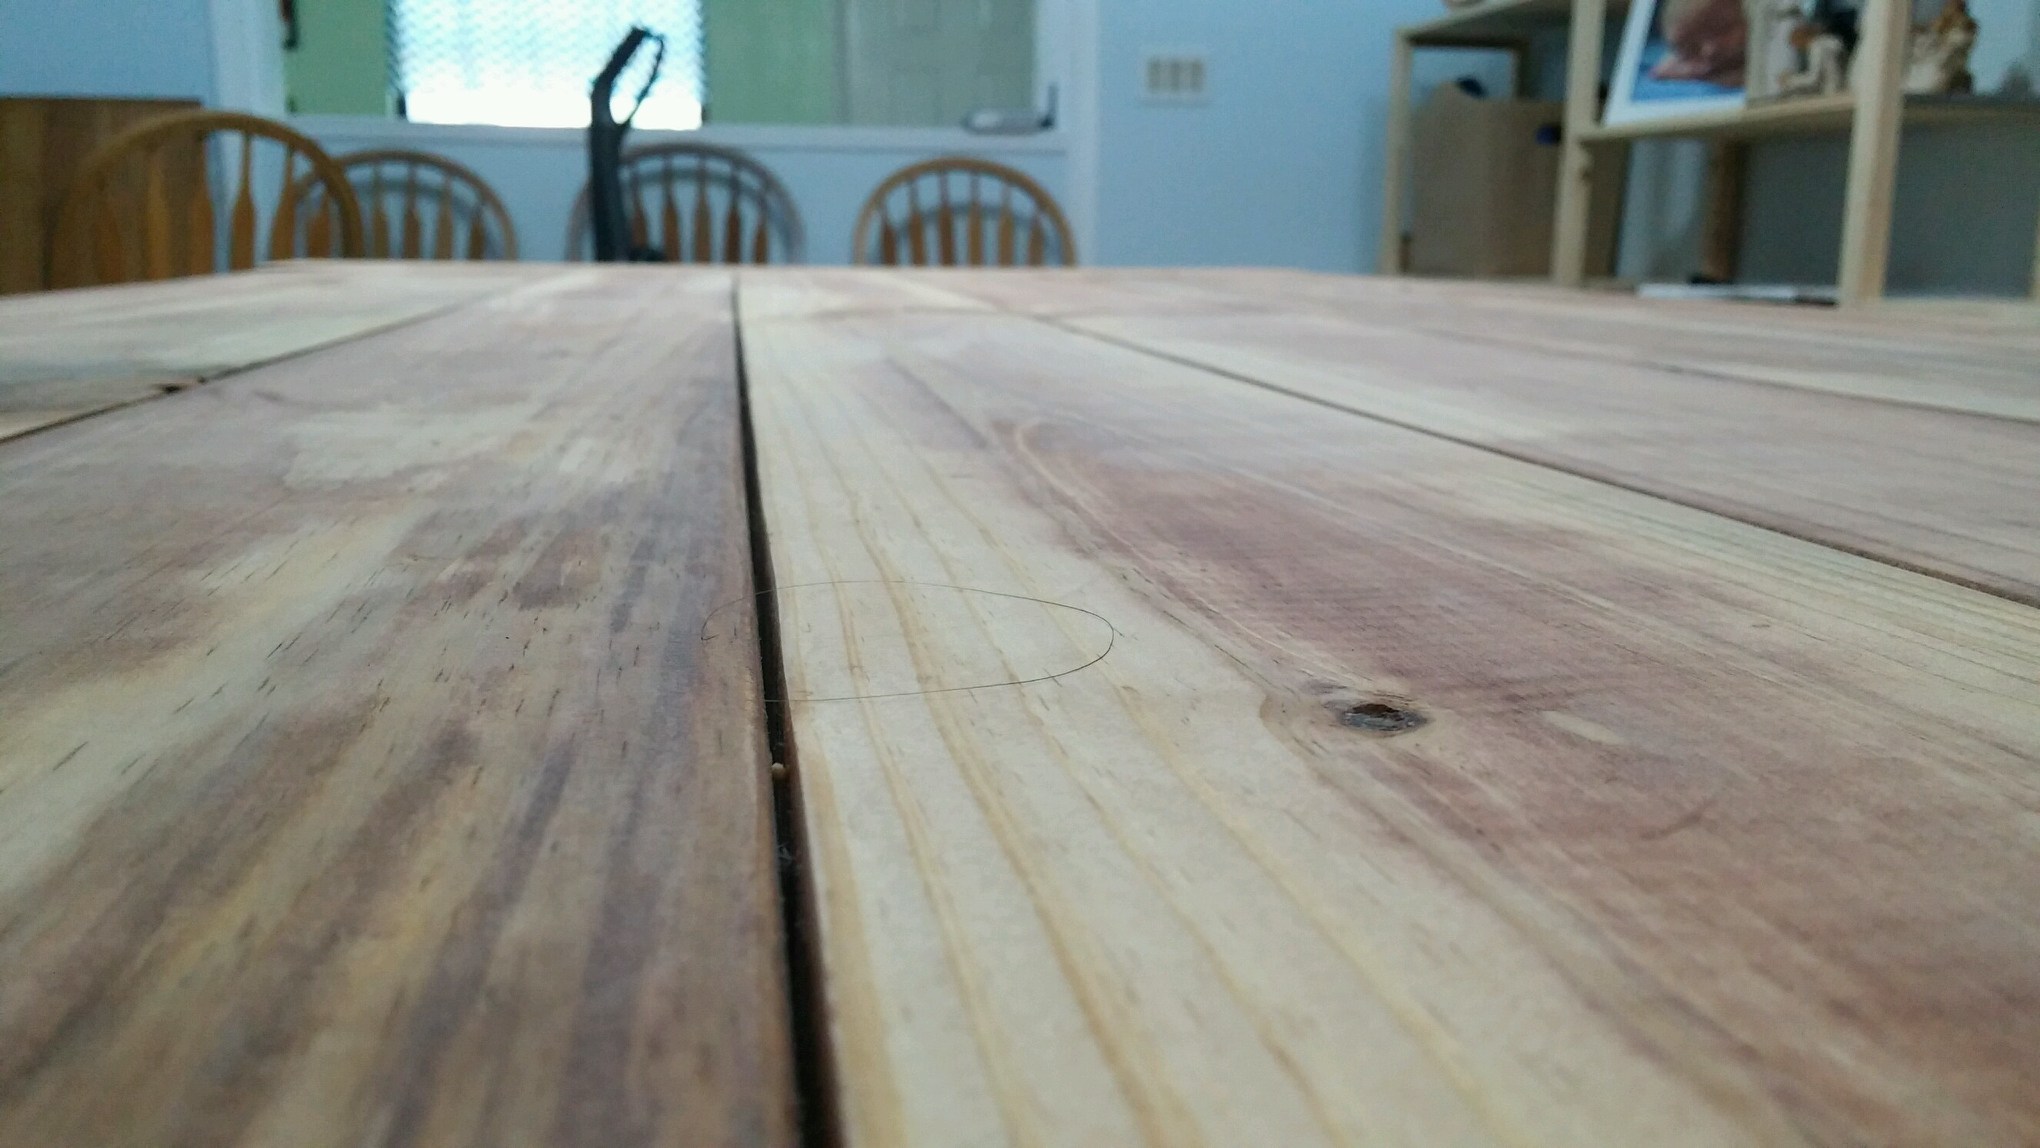
We used 3 pieces of 1x6 for a planked top instead of one large piece of wood, just because we had extra 1x6. Otherwise, we followed the plans pretty close to exact. We bought a Kreg Jig mini before starting on this project, and it's the BEST tool ever!! I want the more expensive kreg jig now, haha I love it!
This project cost me approx $160. I added a fire truck wallpaper border across the front and sides, finished the top in chalk board paint, and used torsion hinges from Rockler. Pricey but very nice for a lid. I also added plastic feet to the bottom and felt tabs where the lid touches the four legs. I like finishing details. It took me about a week to complete, mostly because of the time needed for the chalk board paint to set up. Loved the way it came out and hated to part with it! Ana's plans are always easy to follow and turn out great
I made this for my almost 2 year old niece for Christmas this year.
Built this Lazy Bench over the course of one weekend. Had to make some modifications to the way the arm rest / cup holder moves, but overall happy with how it turned out.
When I build this again - I gave this one away as a donation to our local Catholic Radio station - I'll make a bigger point to make sure that all four of the back supports are exactly the same, and that I pre-drill the carriage bolts that secure the cup holder before I start assembling.
UTtanker
It was after getting to know your website and seeing all your nice craftsgirlship we decided to make our own garden furniture.
We are wery satisfied with the results, thanks a lot for the inspiration!
PS) Time investment = per item.
Table and benches were made to plan, except I shortened the overall length and added another 2x10 to the top to give it some additional width. The benches were also shortened slightly so the legs of the benches slide between the legs of the table; which allows the benches to be pushed further under the table when not in use. Avoid my rookie furniture making mistake and go to a specialty lumber store that sells wood that is already aged (dry). Most everything you find at the big box stores will still be wet and shrink/warp on you if not completely dry first.
Mon, 04/28/2014 - 15:51
Your table turned out gorgeous!! Love it! what was the length you ended up using?
Tue, 05/20/2014 - 16:23
Appreciate the compliments. Sorry for the delayed response, but the final dimensions turned out 72" x 46". Let me know if you have any other questions.
No more IKEA for me!
This is a fun little puzzle that goes by the name of Golf, Nine Hole and, my favorite, Gopher Hole Puzzle. The goal is to fit all six pieces into the box. The possible combinations make it pretty challenging.
I'd been wanting to add a piece of furniture at the end of my son's bed for awhile, but I had a difficult time deciding on what exactly to do. Not only did I want it to be something he could sit on, but also I wanted to add some extra storage. We had thought of a trunk but the idea of little fingers getting pinched made that idea a little scary. I turned to Ana-white's website for help. I didn't find exactly what I wanted, but I did get some inspiration from the new Kentwood Bookshelf. It's constructed the same way but with some sizing adjustments.
Thanks Ana for your wonderfull website! even in The Netherlands your designs are shown.
Modified the plans from the farmhouse table to add leaves in order to extend it another 15" total. Turned out well with the locking latches.
Tue, 04/12/2016 - 19:23
Just claiming this post if there are any questions. Had a great time building and modifying these plans to fit our families needs!
We have been in need of a place to store our horse tack for several years, and finally got around to it. We modified the small cedar shed with a little extra support and added saddle racks and bridle hooks. Super pleased with how it turned out!
Gabi Johnson
Wed, 08/30/2023 - 09:13
Beautiful build and so organized, thanks for sharing!
My princess-loving daughter needed somewhere to keep her collection of dress up outfits, so I made her this 'rolling rack'. Some mods that I made: I routed the edges for some interest and added moulding to the bottom to disguise the casters.
We wanted to create more seating space and a cosier breakfast experience with this nook. We made the benches with hinges for storage. The table was customized to fit our space and we chose to change the legs rather than buying the $20 each legs. We love how it turned out!
Thu, 03/05/2015 - 07:25
Where are the plans for the bench?
This would look great in our Kitchen nook!
Comments
Pam the Goatherd
Mon, 01/13/2014 - 07:31
Looks good! I especially like
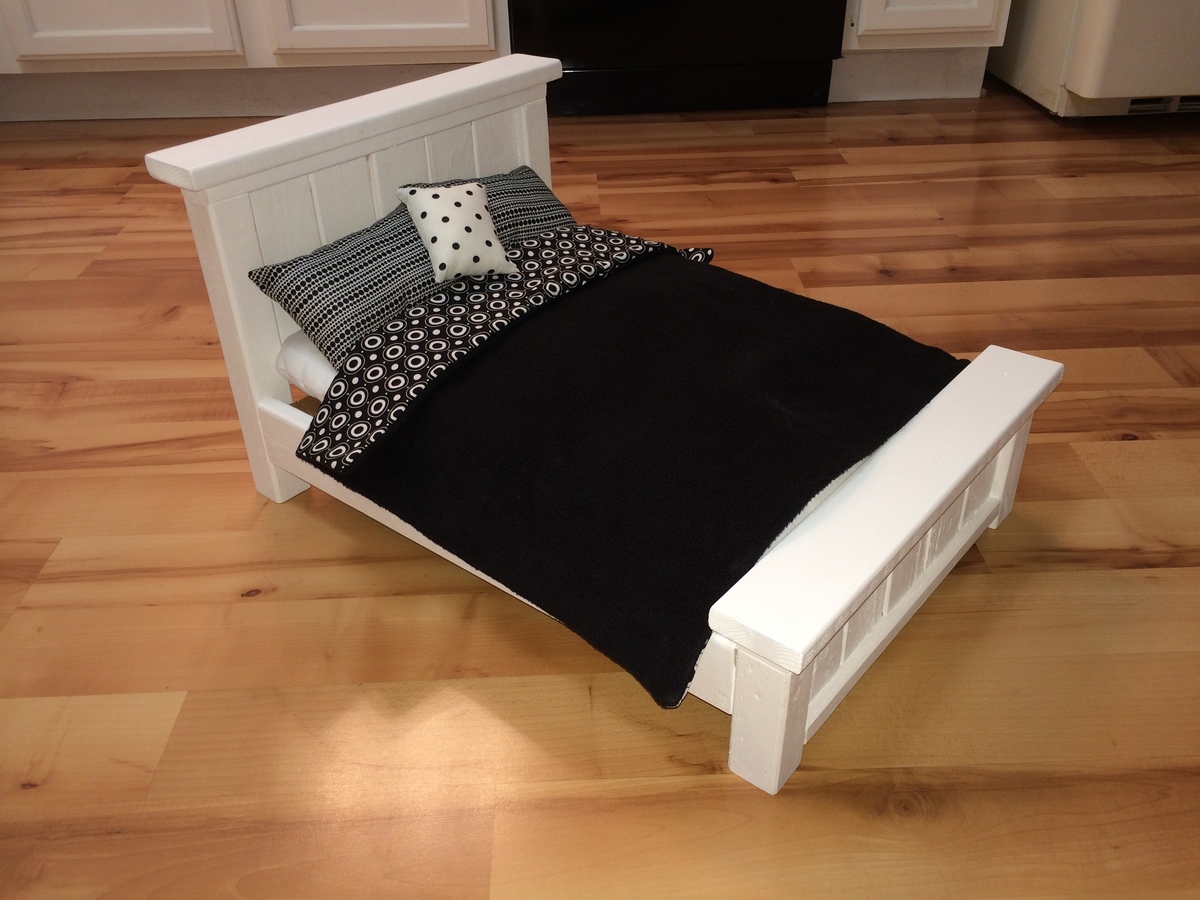
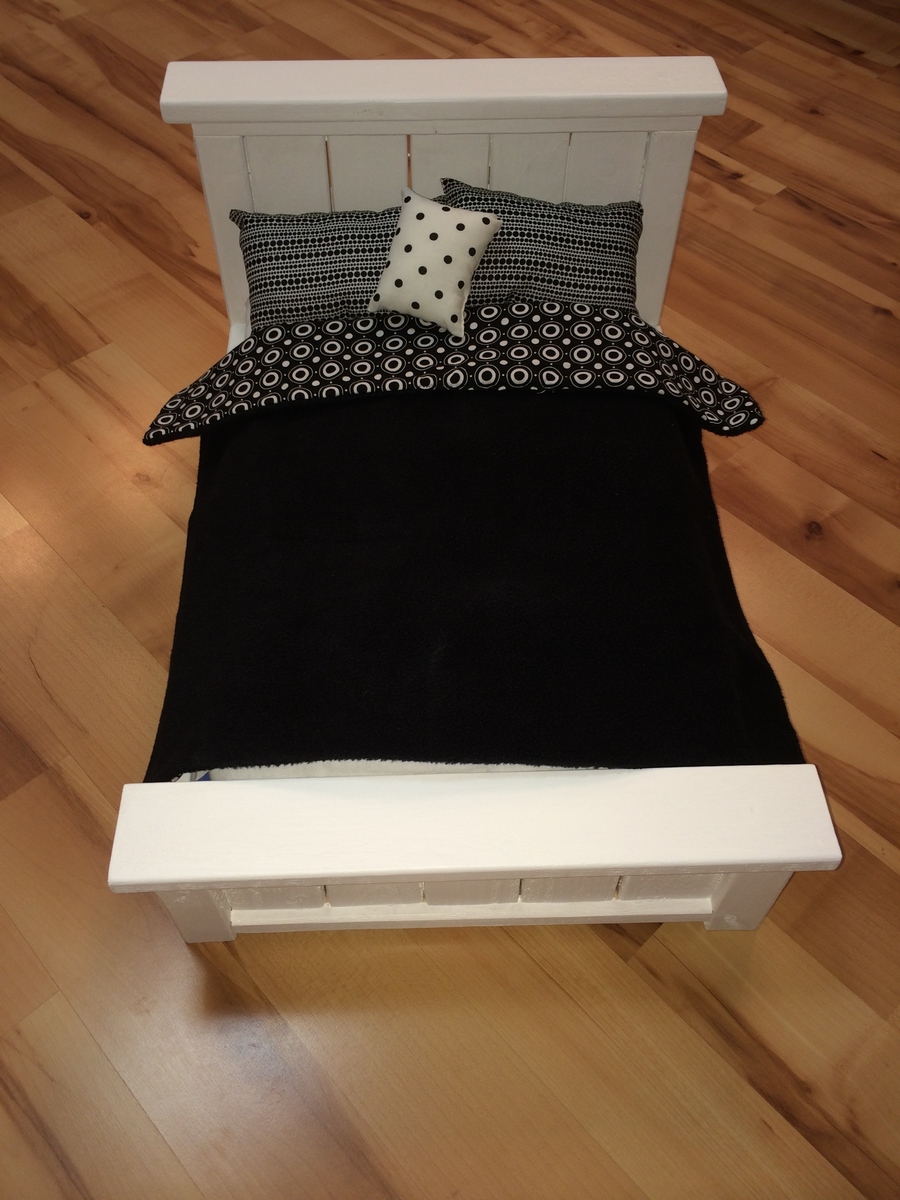
Looks good! I especially like the black and white bedding. I'd do that for my own bedroom!