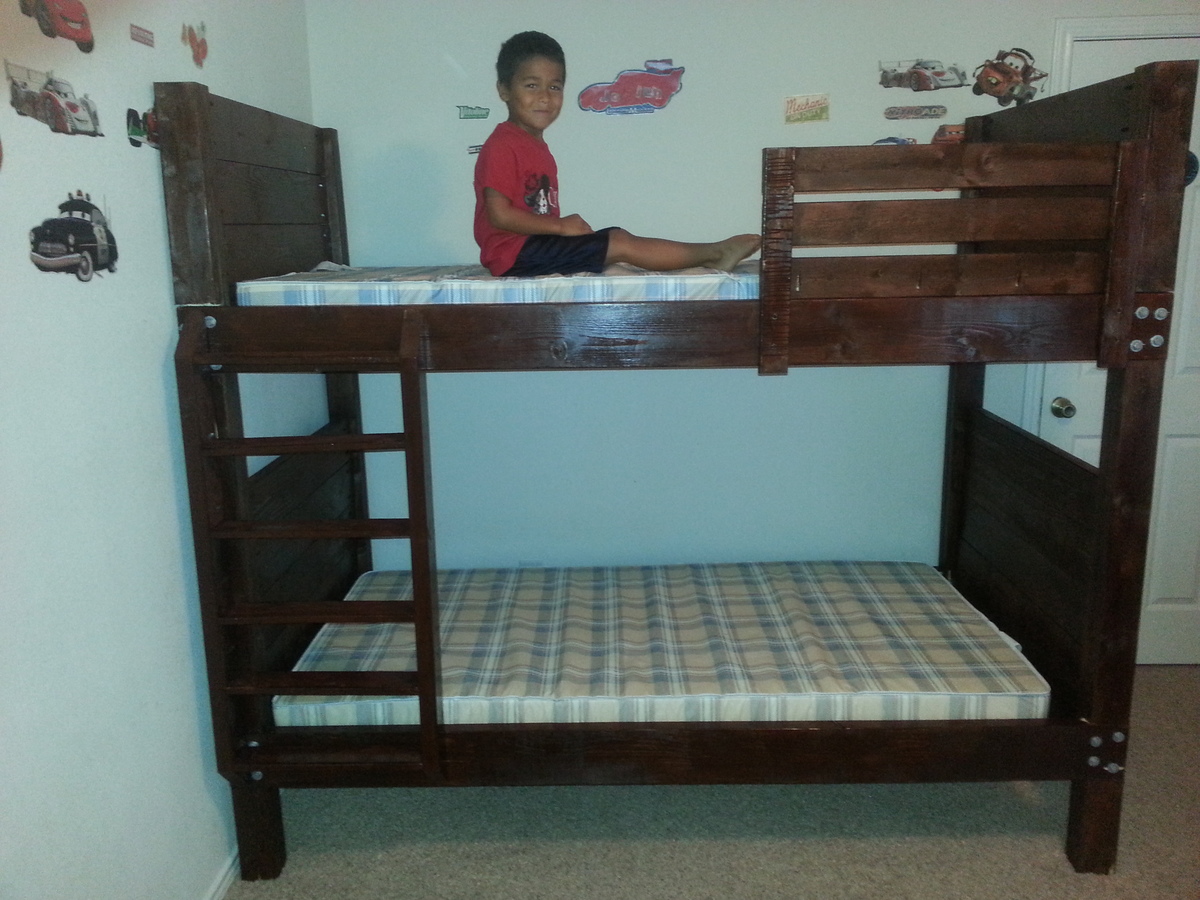
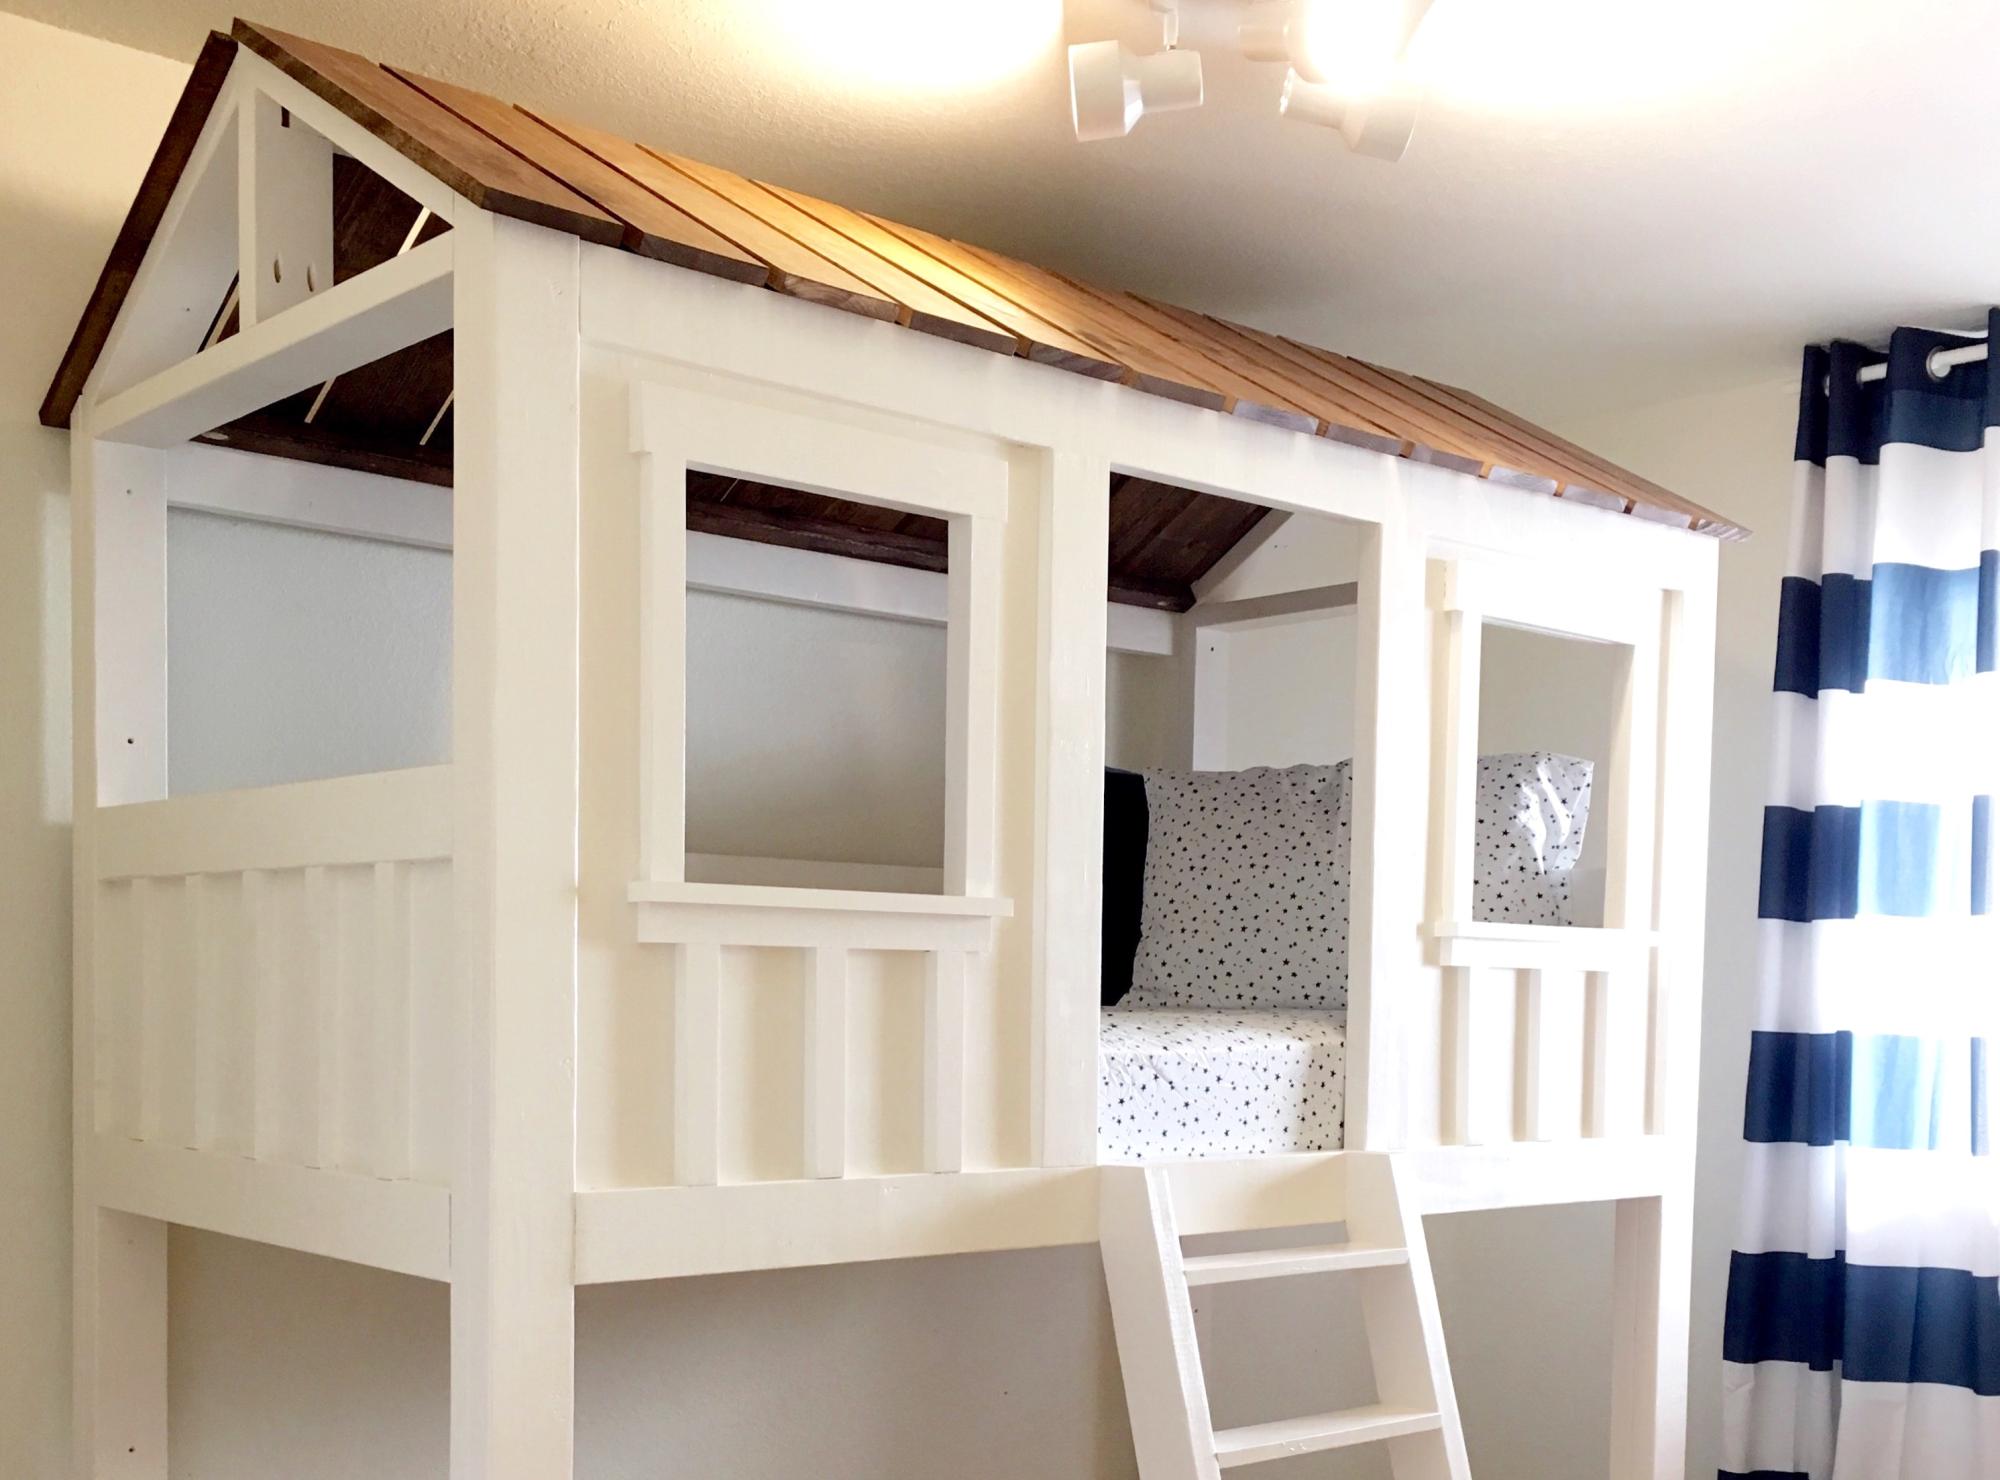
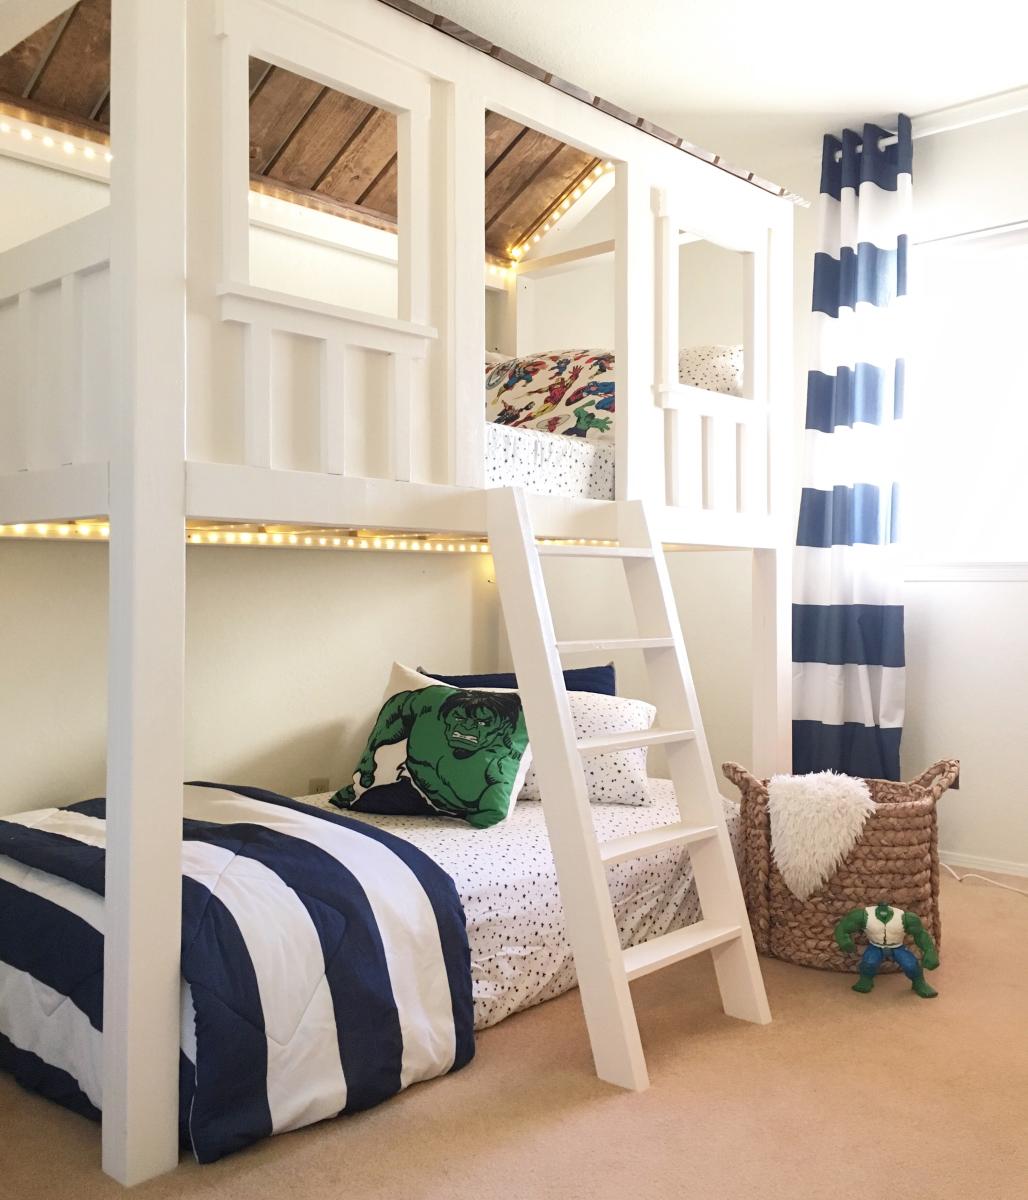
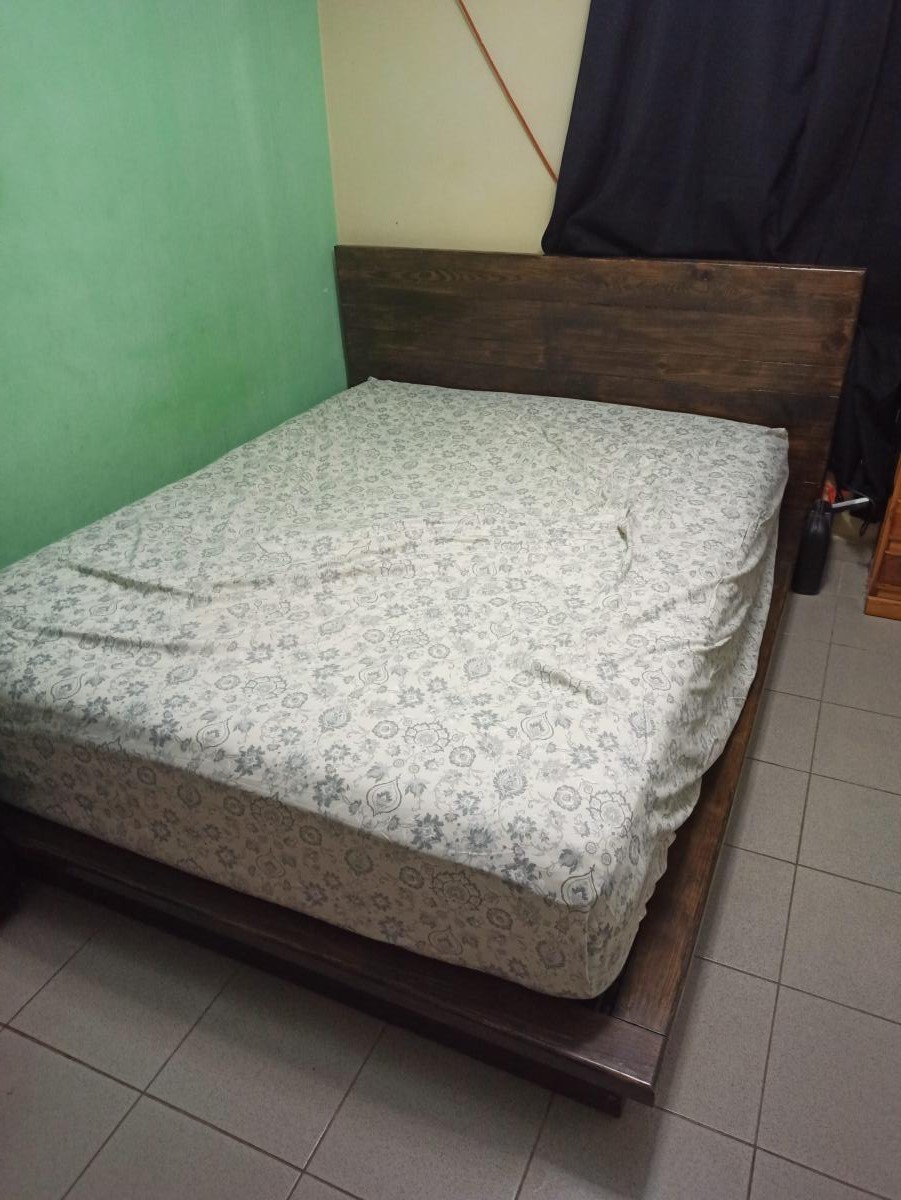
Rustic blue Bed
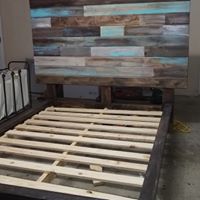
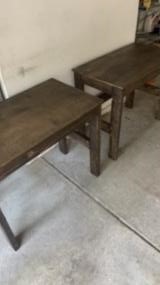
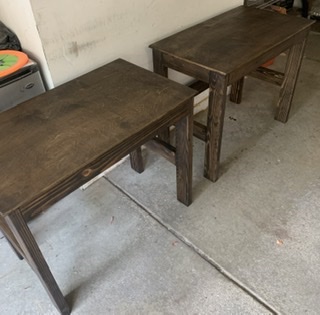
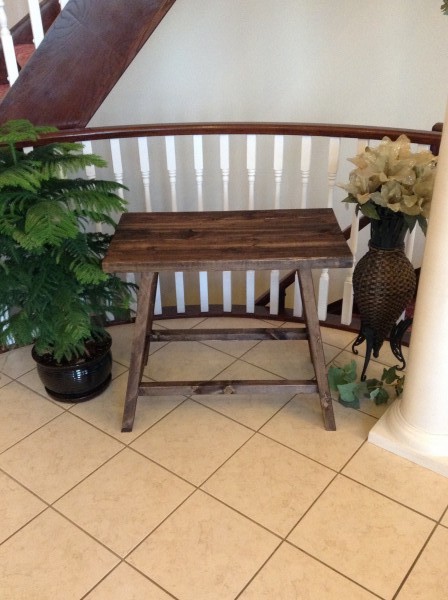
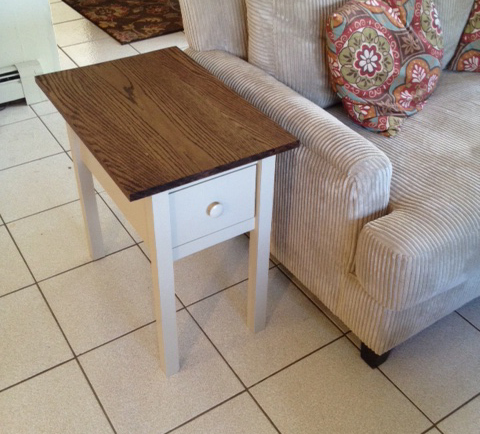
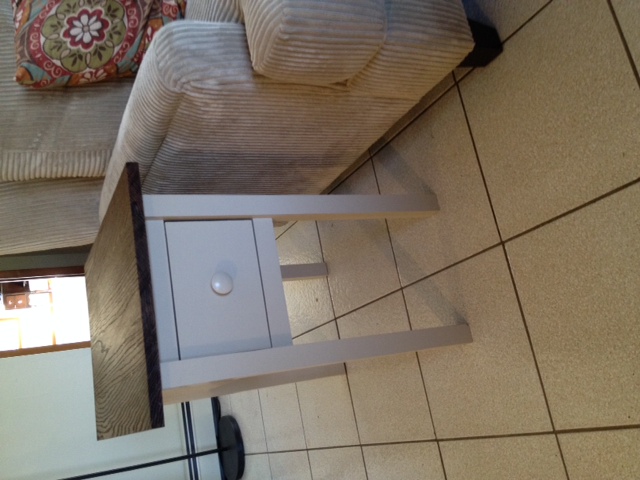
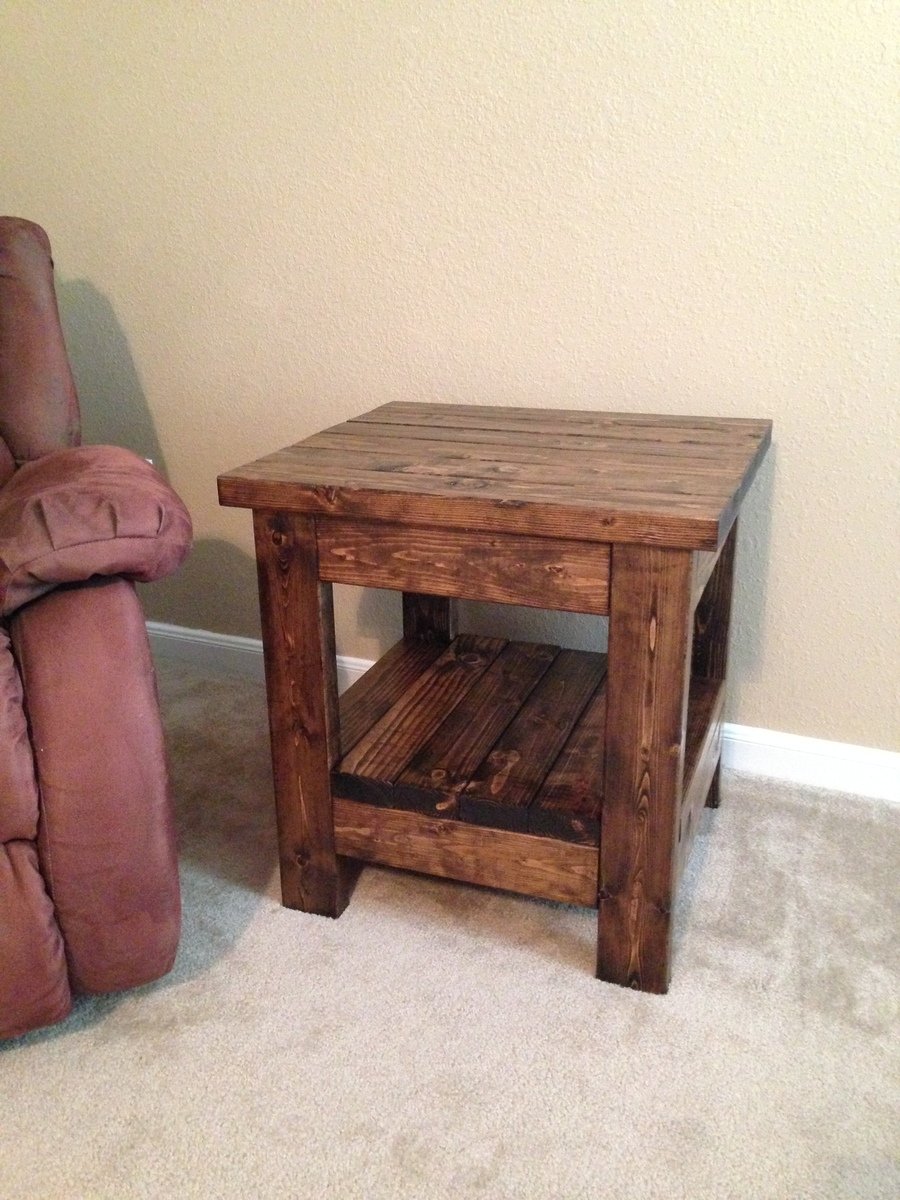
This was a build for a client's daughter's new bedroom. The clients added lights to the head board but I could not post the pic. I also built a cute bedside table mostly out of remnants of the bed to match.
Built from Plan(s)
Estimated Cost
$150
Estimated Time Investment
Week Long Project (20 Hours or More)
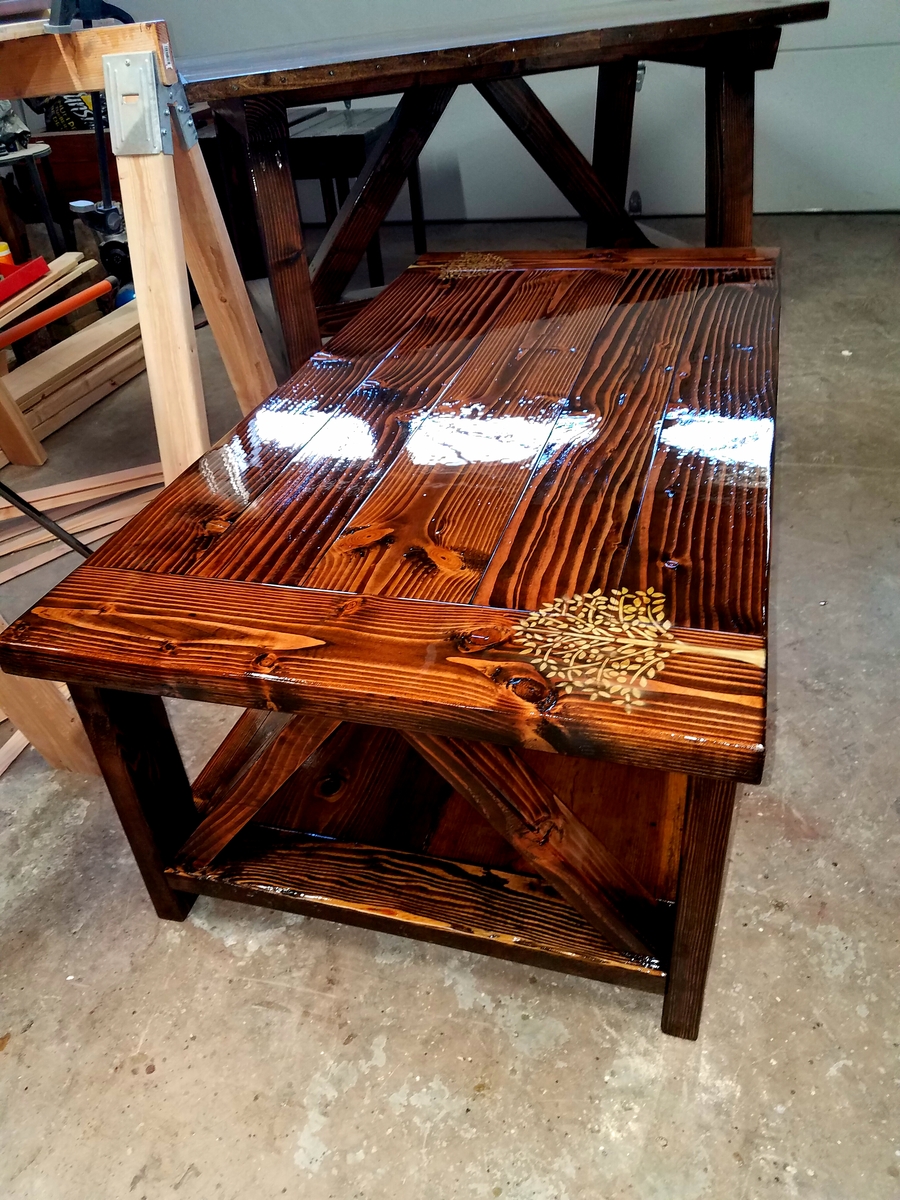
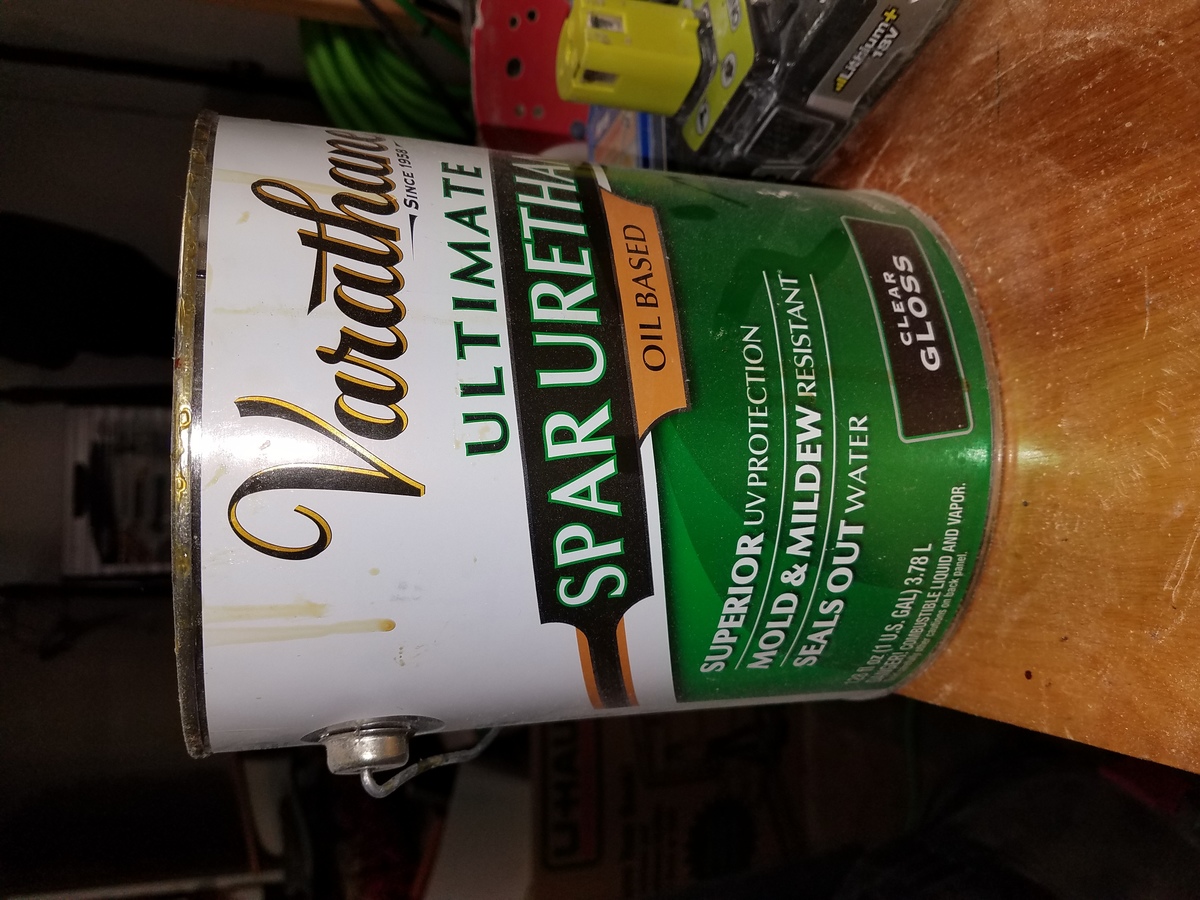
Finish Used
Combination