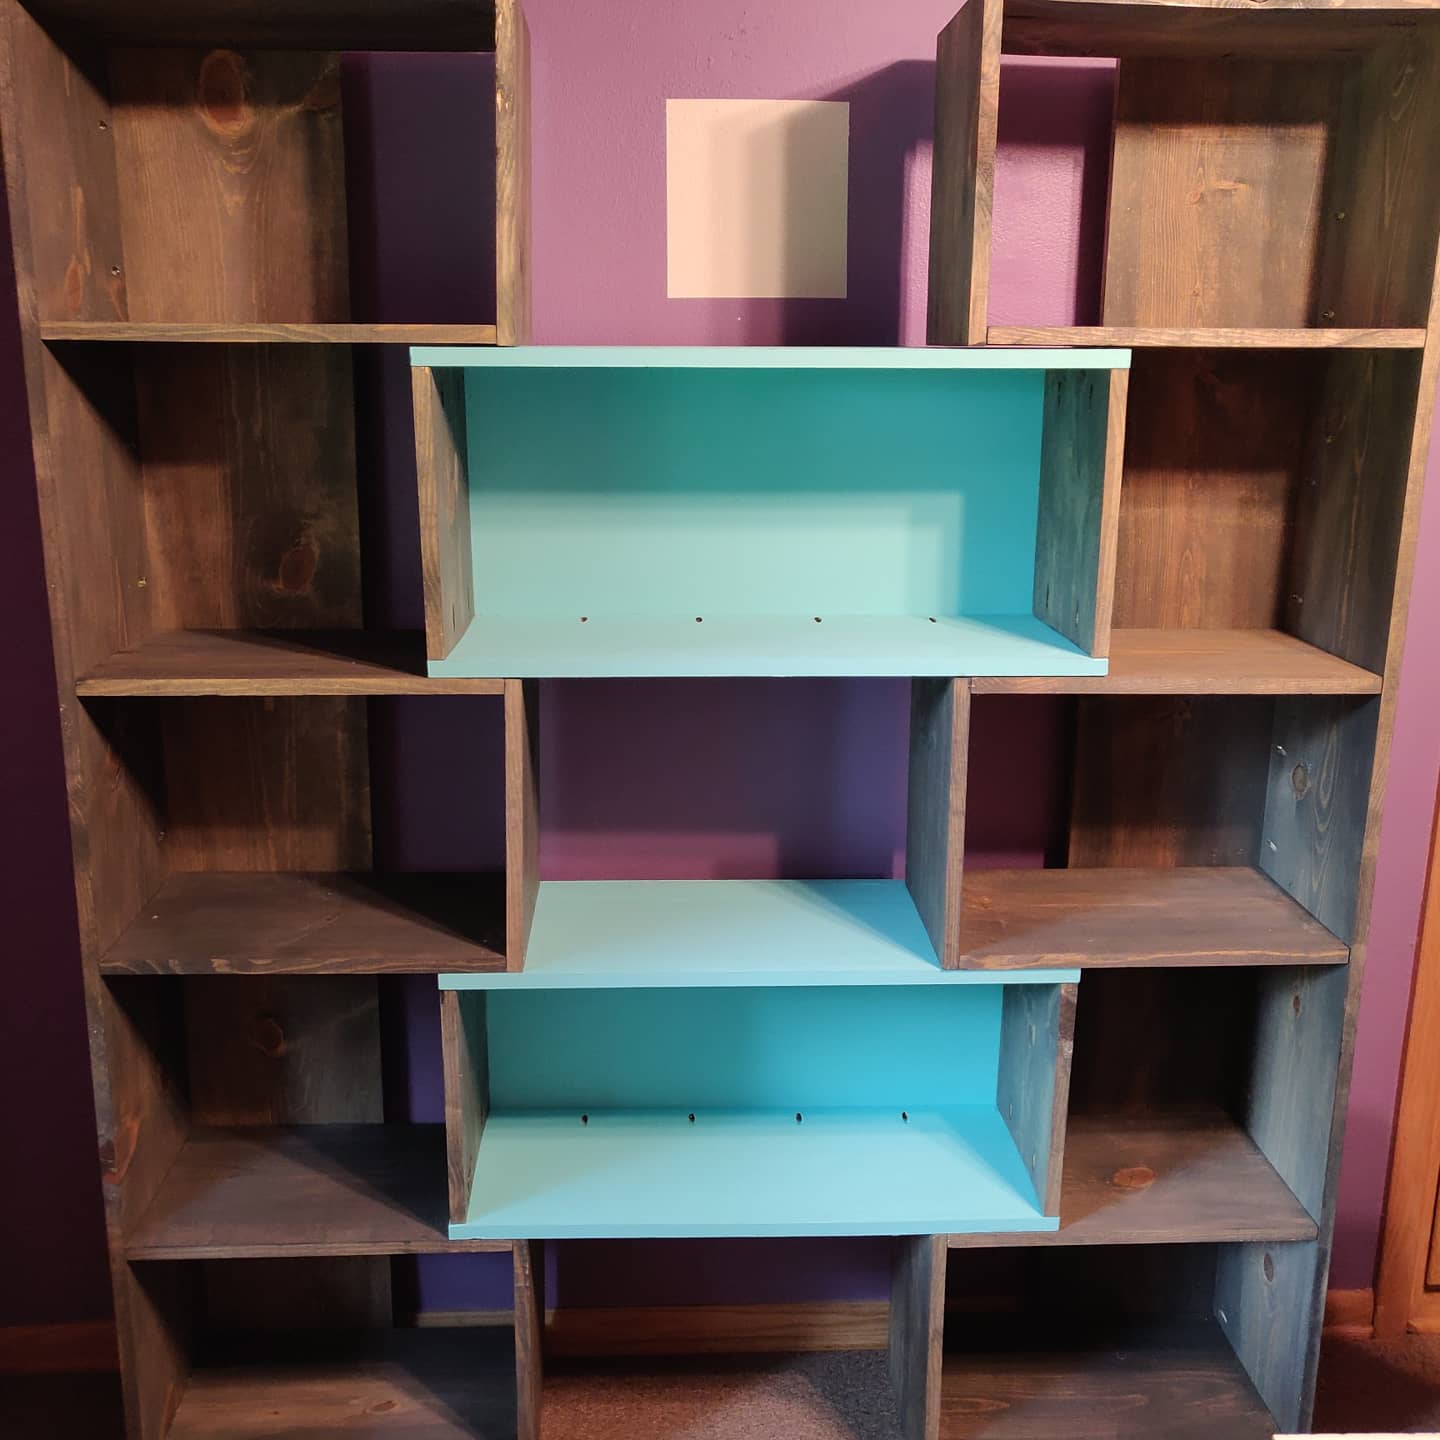
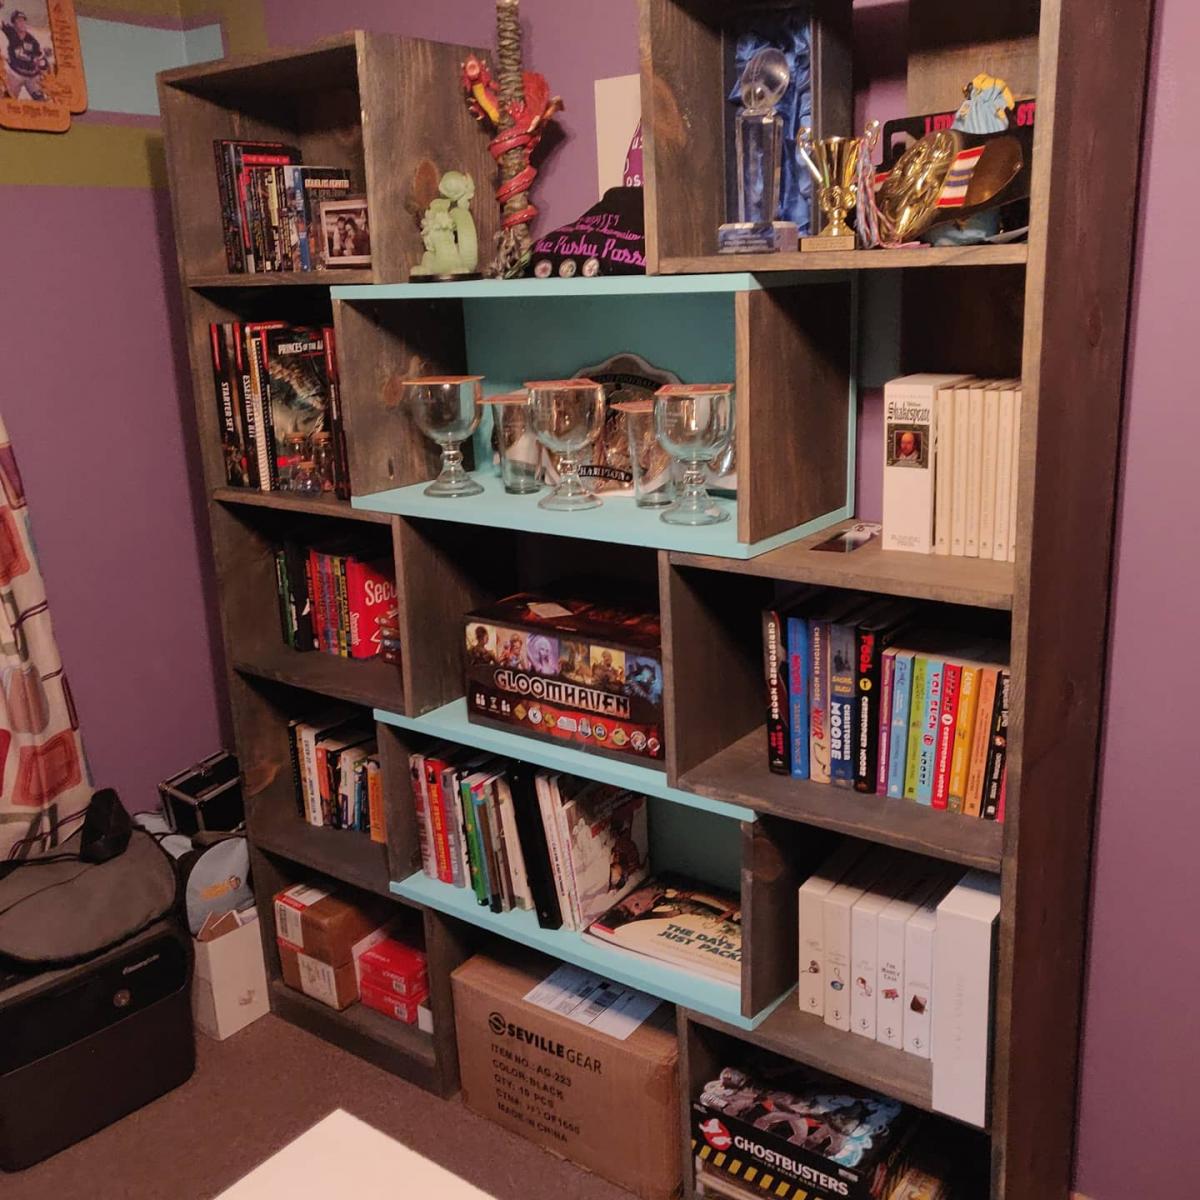
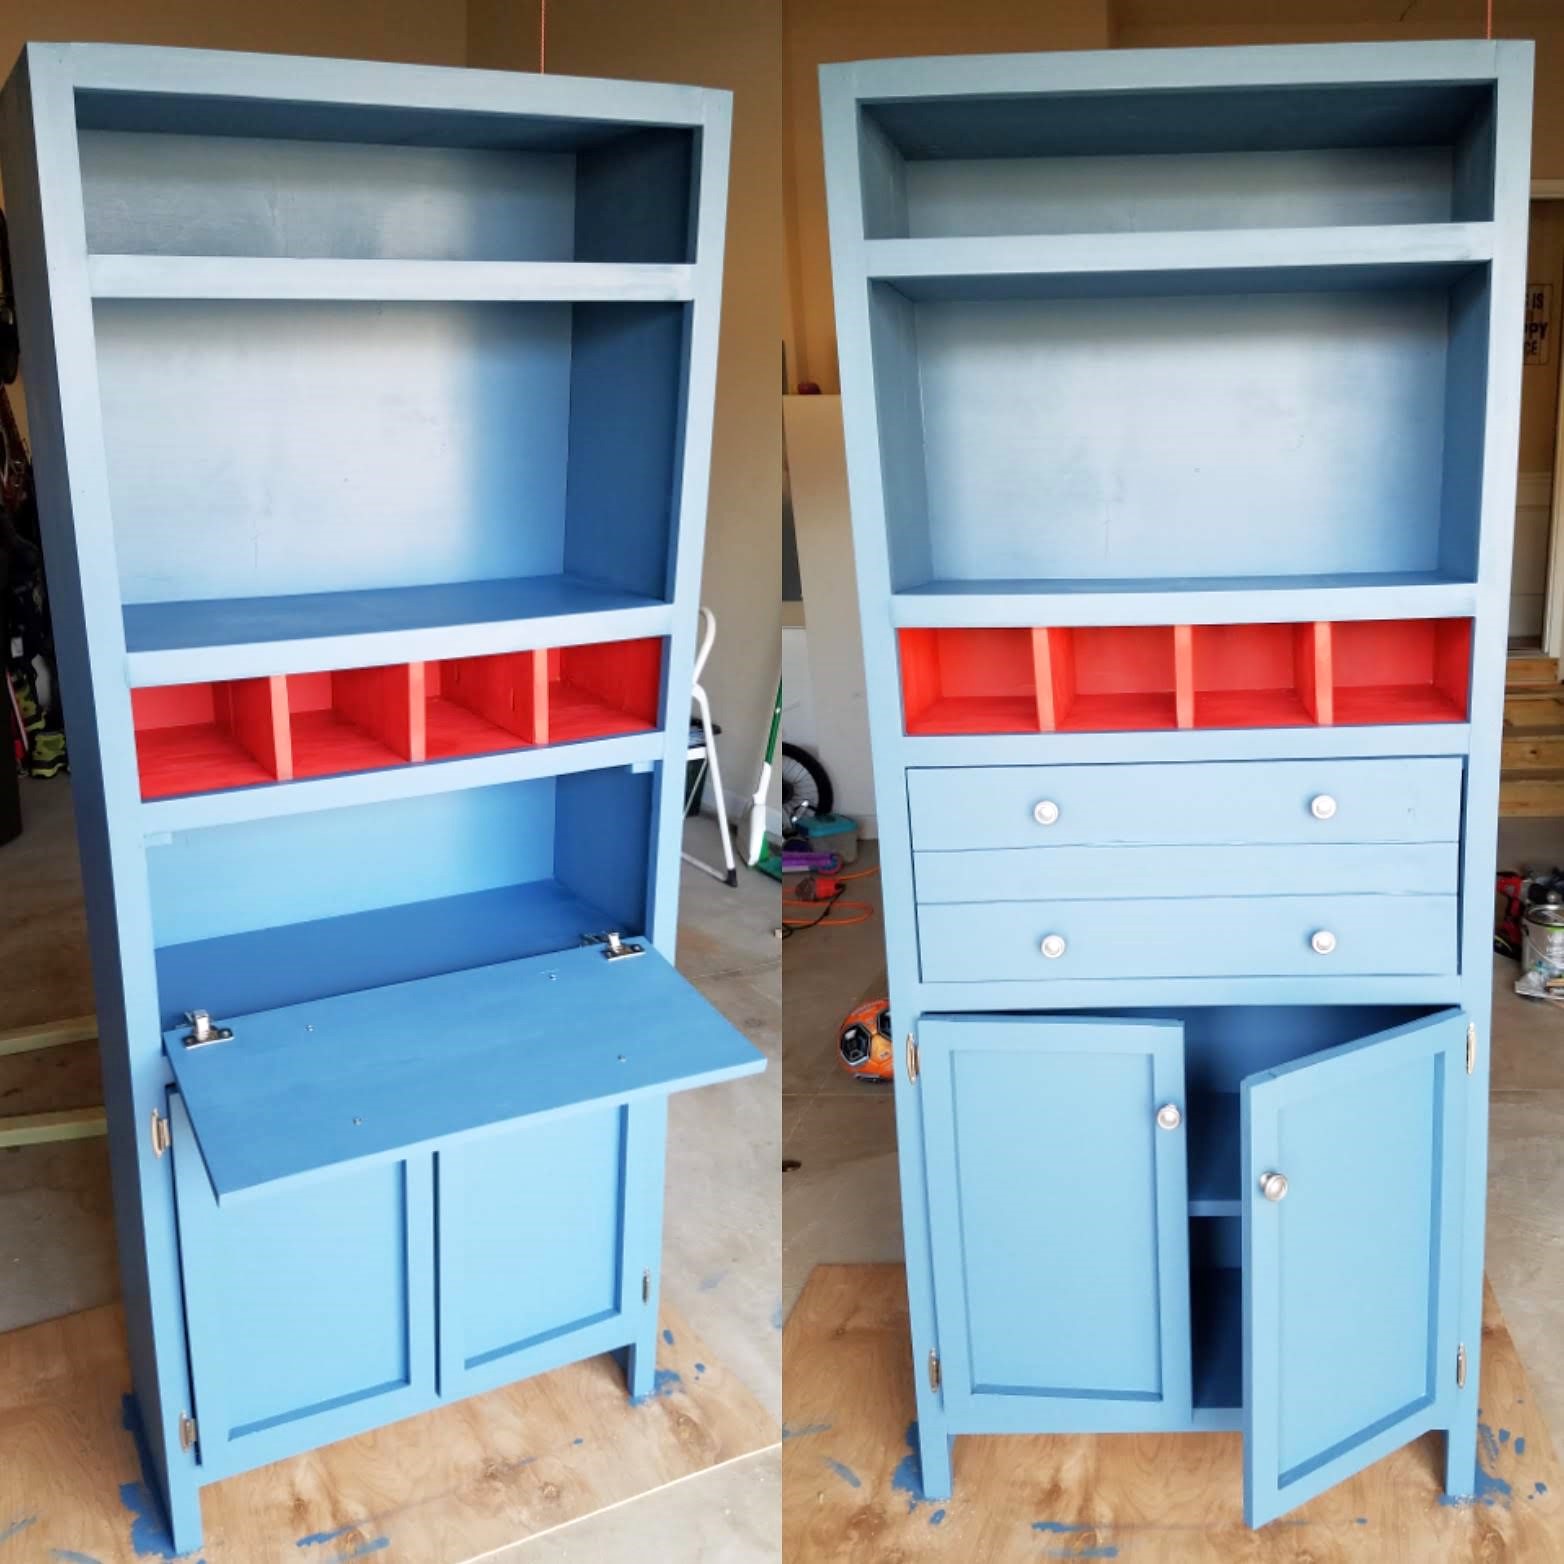
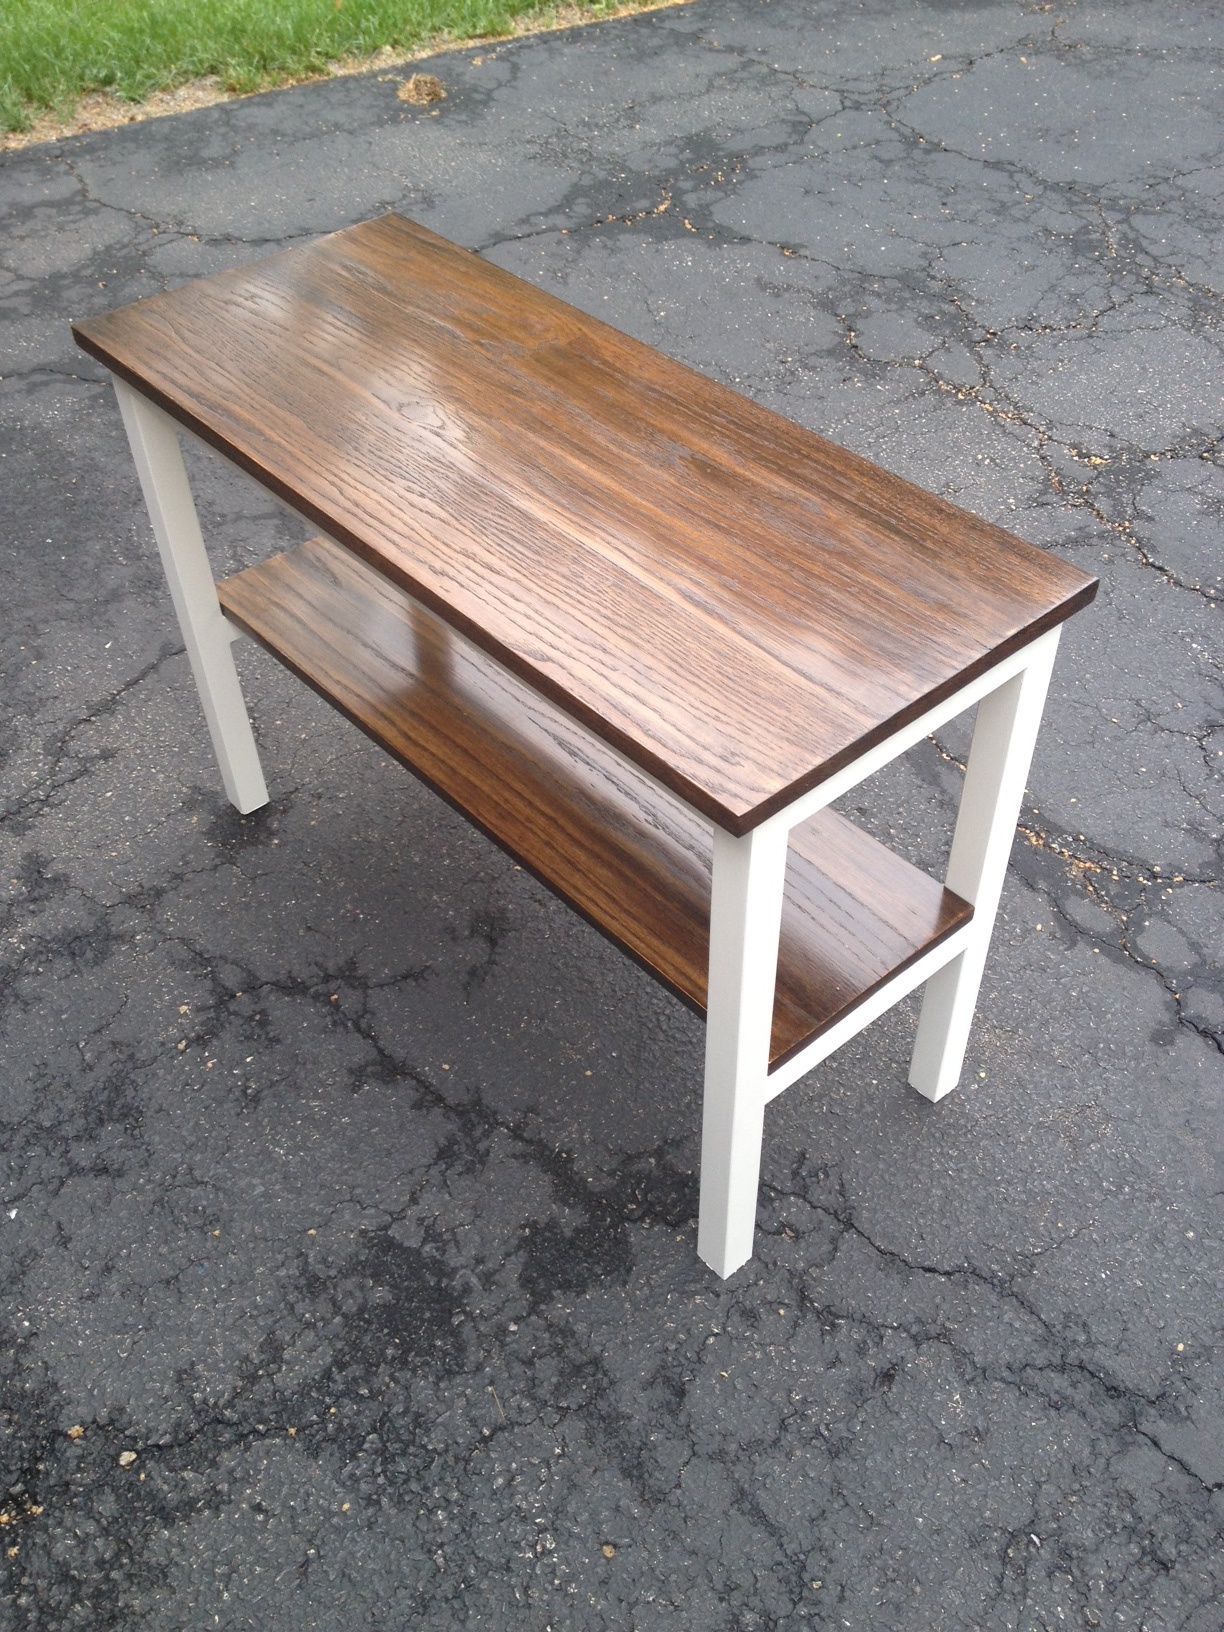
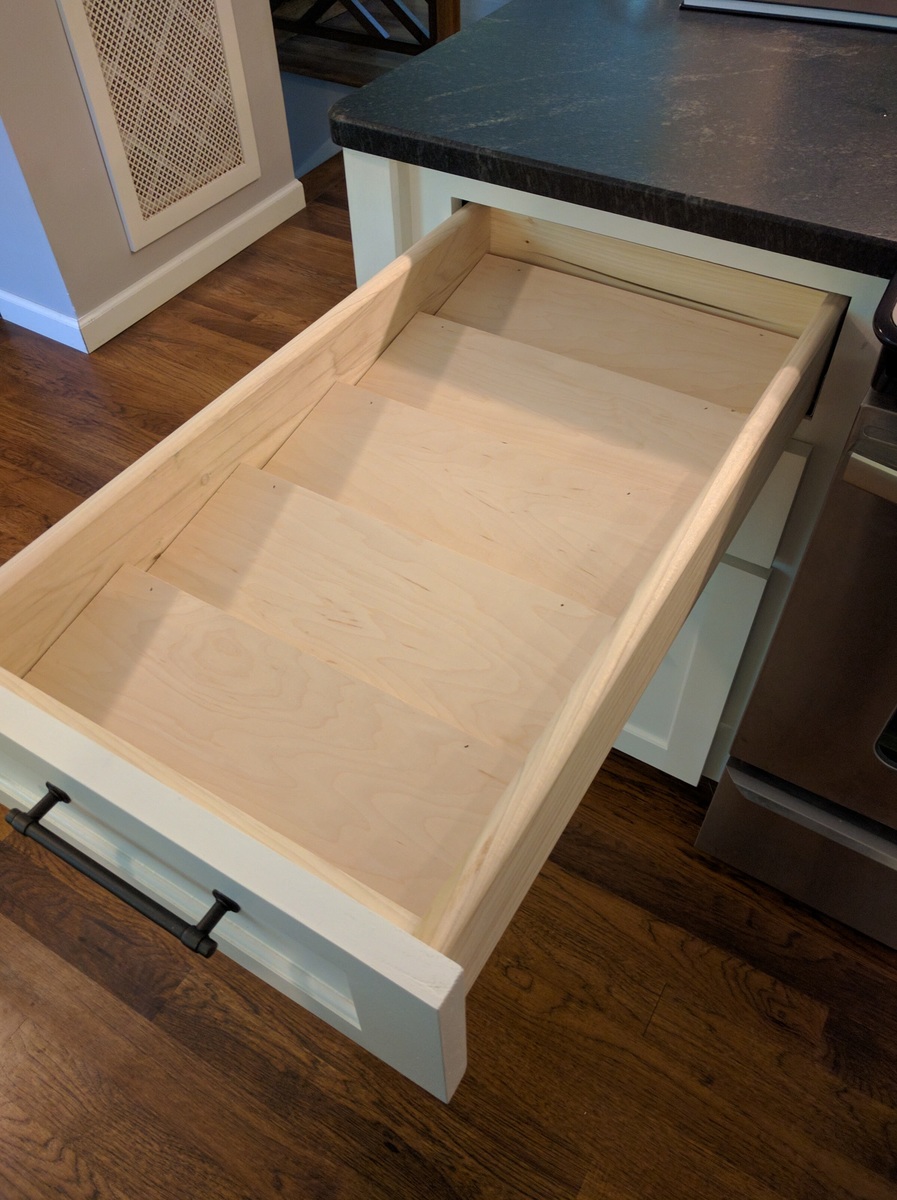
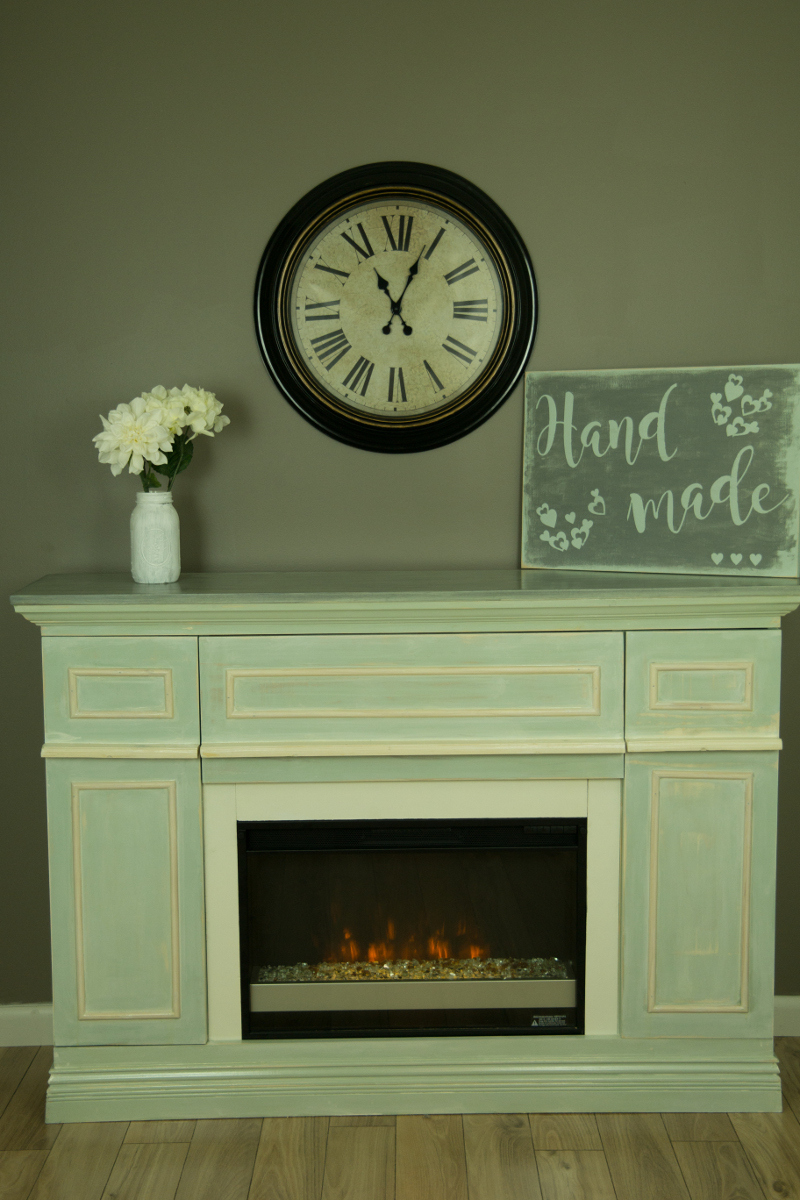
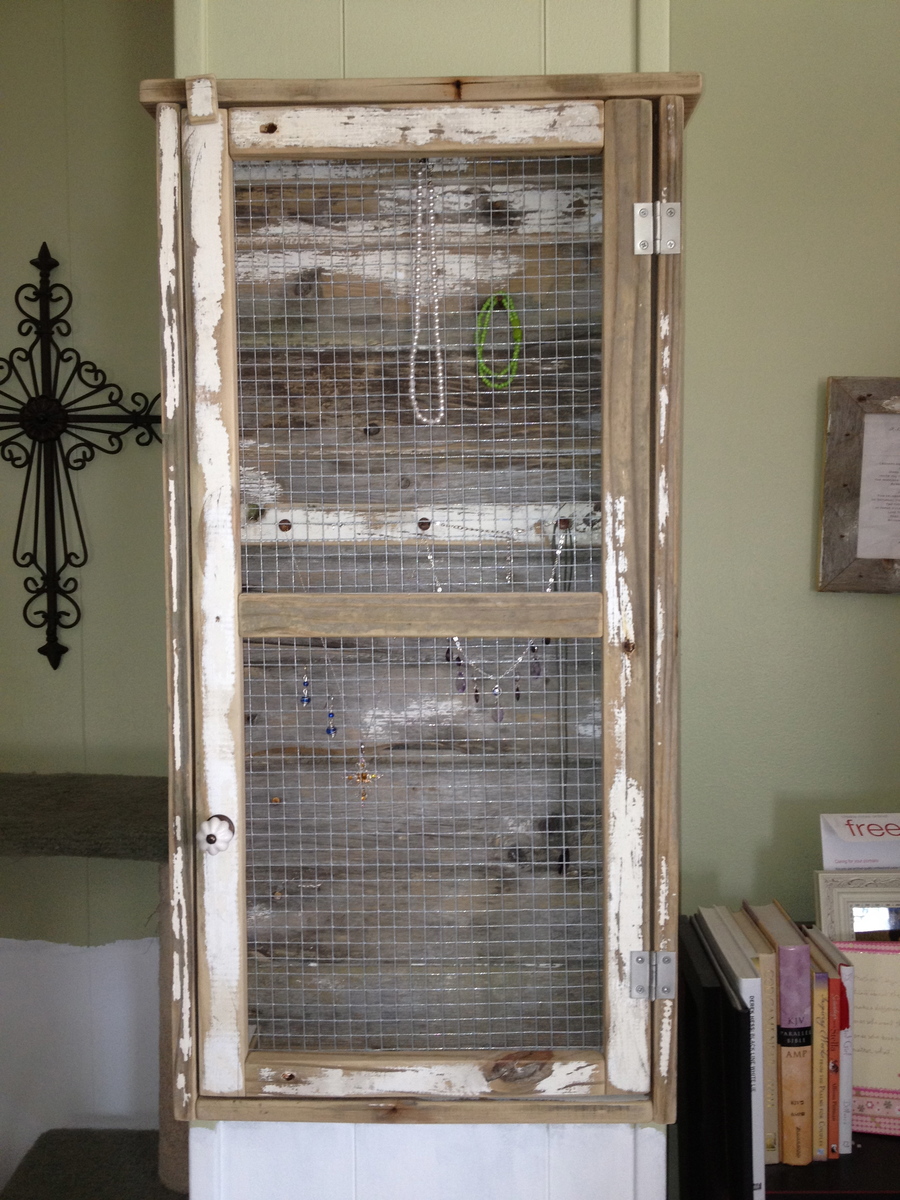
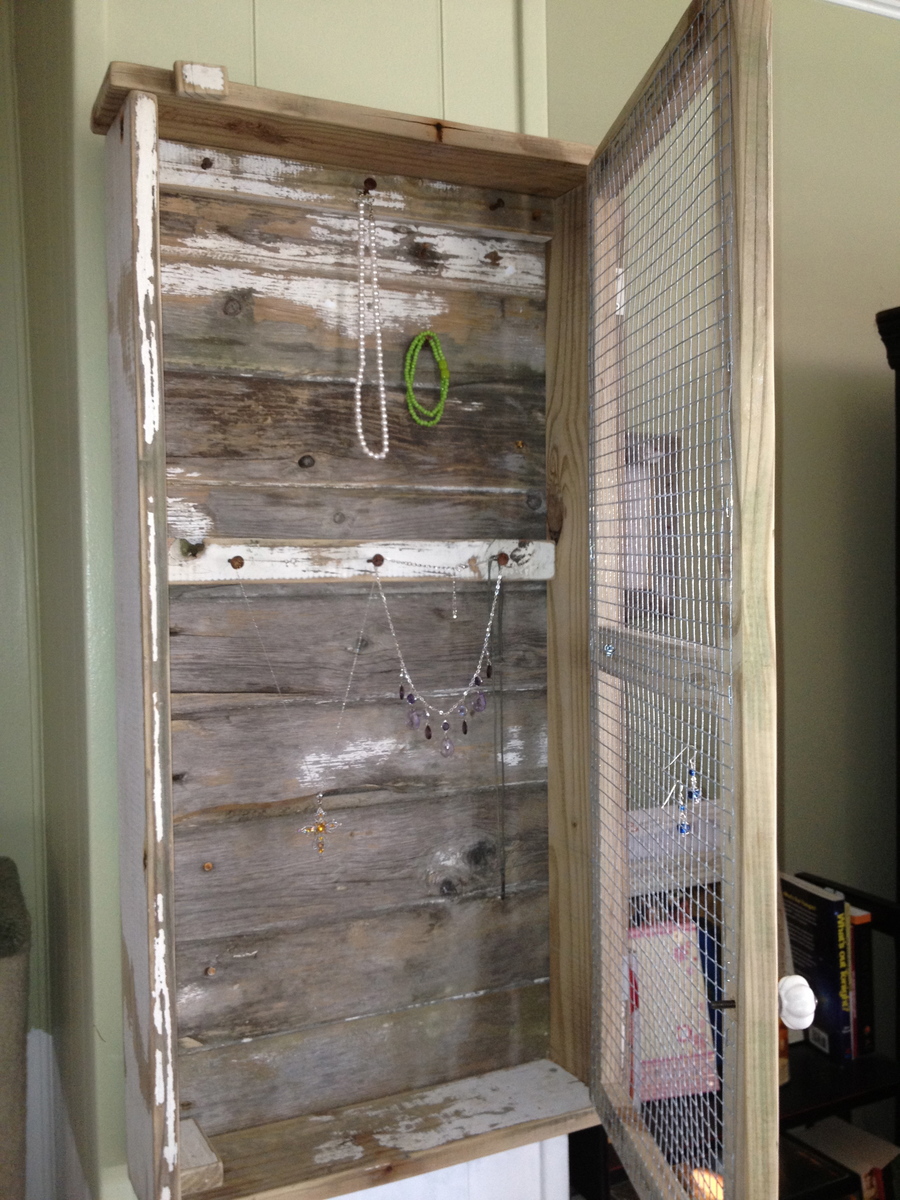
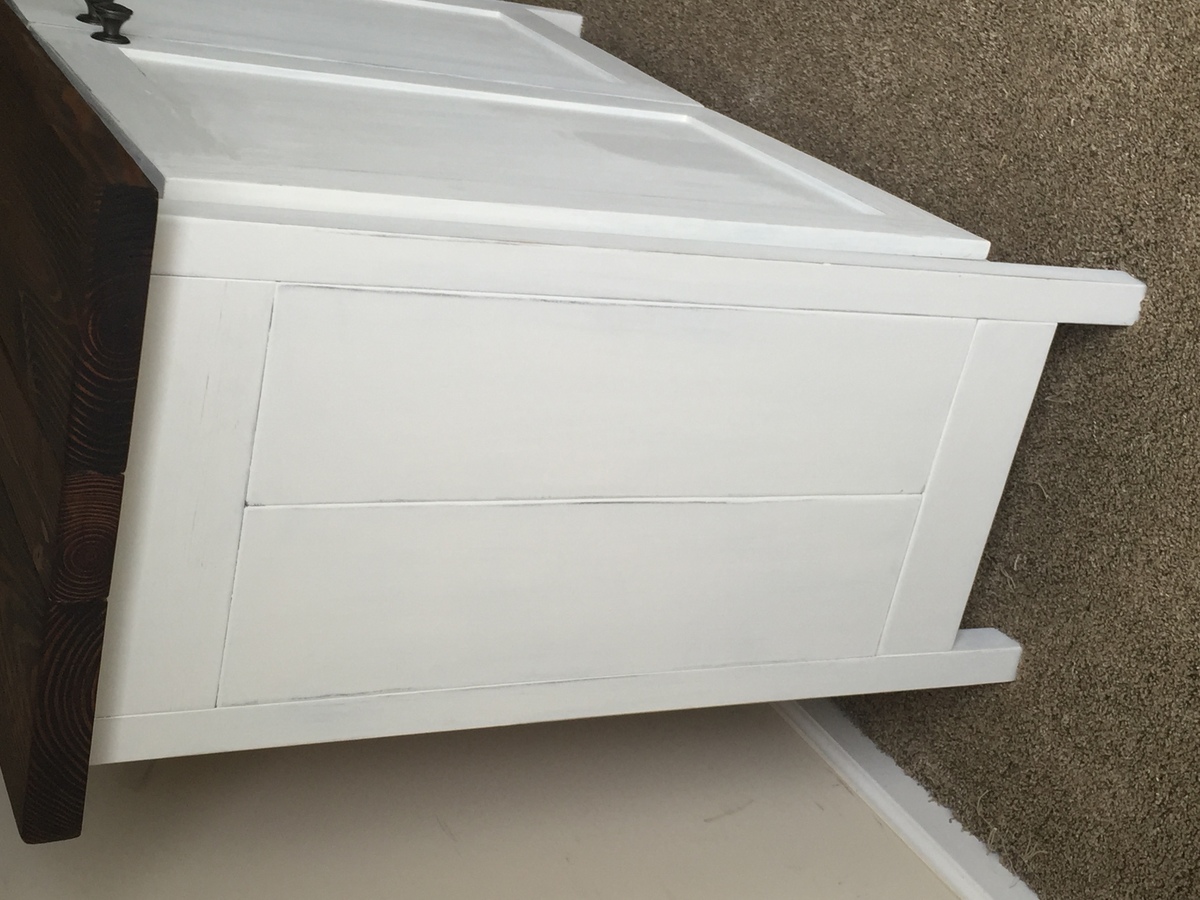
Cabinet with doors and shelf

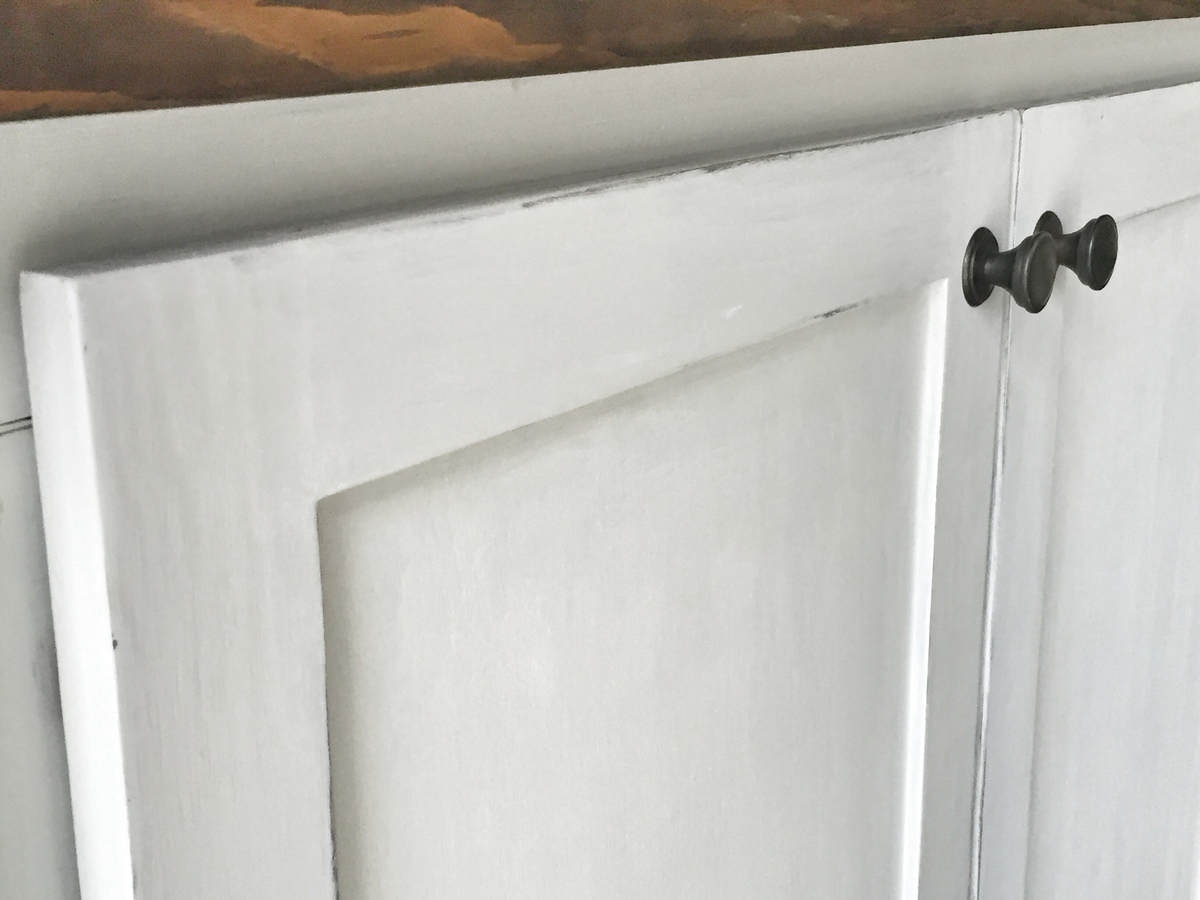
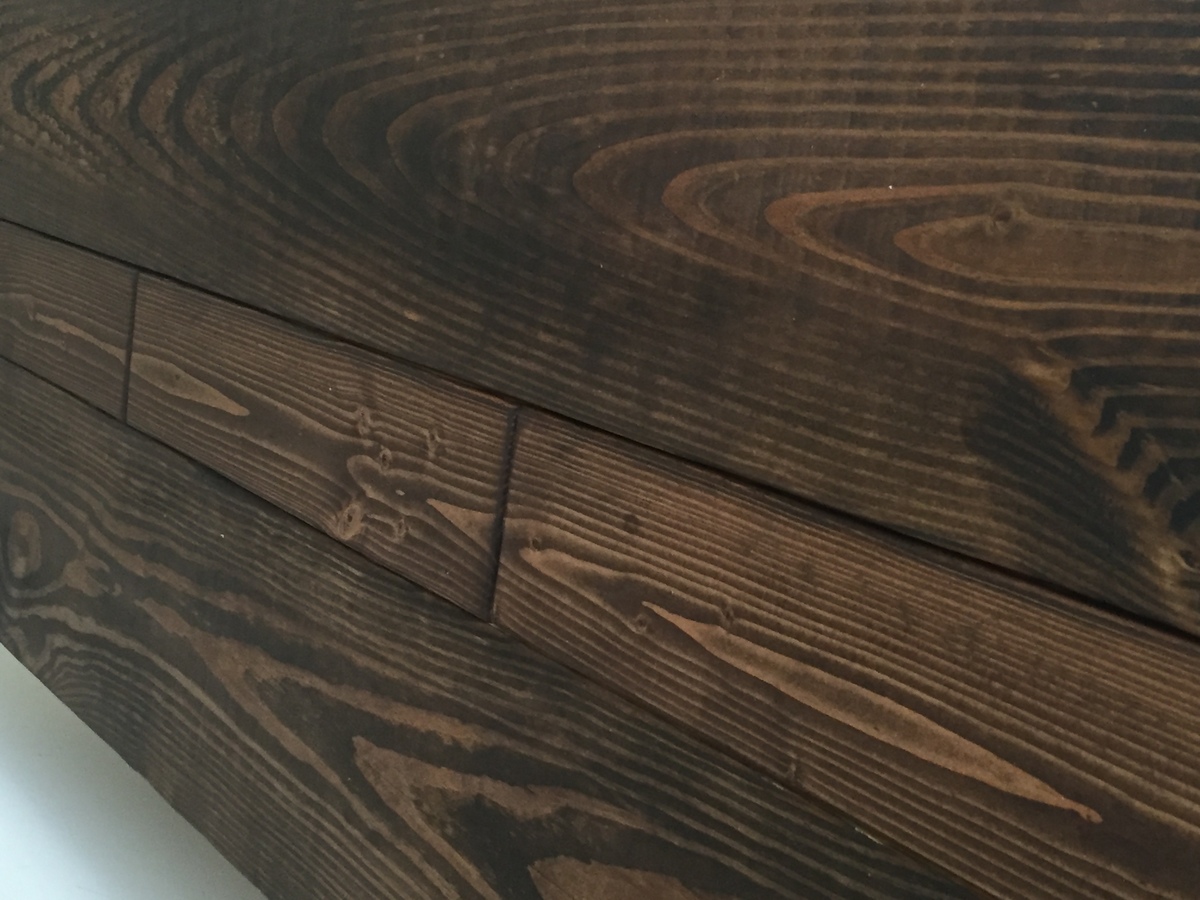
White cabinet made from some doors and hardware left over from my built in book case project and other wood left over from the book case and closet projects. All I bought was the wood for the top and the legs.
Estimated Cost
$30 (as used leftover wood)
Estimated Time Investment
Weekend Project (10-20 Hours)
Finish Used
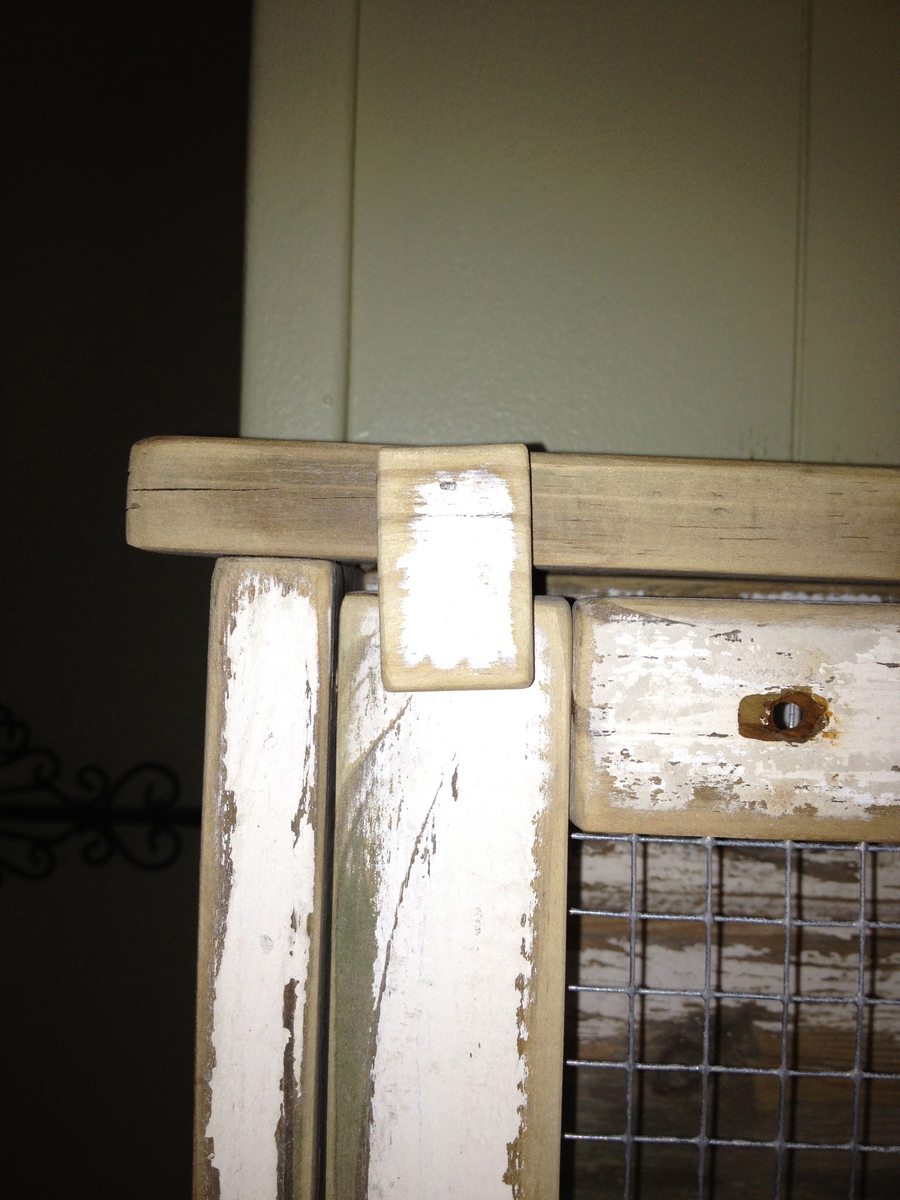
Stained gray and then two coats of white satin paint sanding between each coat.
Recommended Skill Level
Beginner