Community Brag Posts

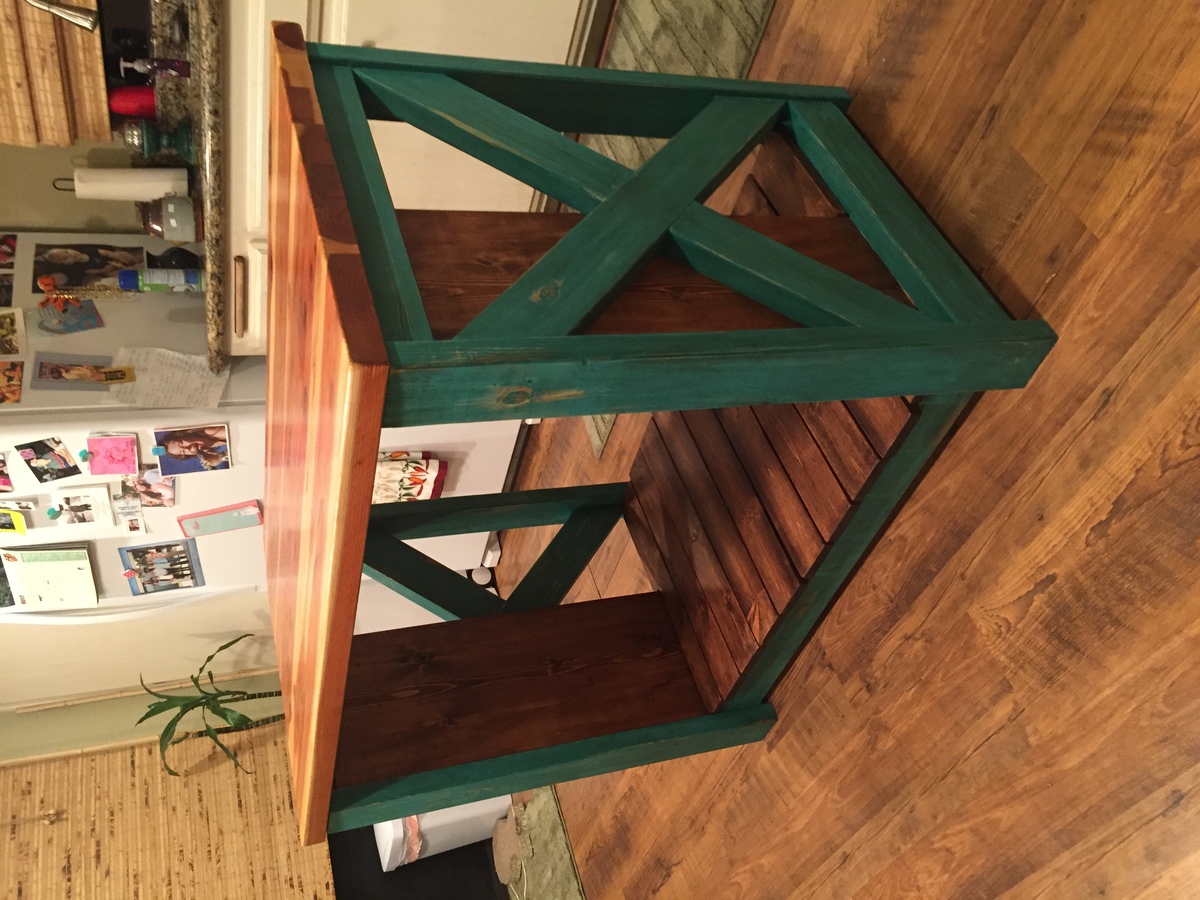
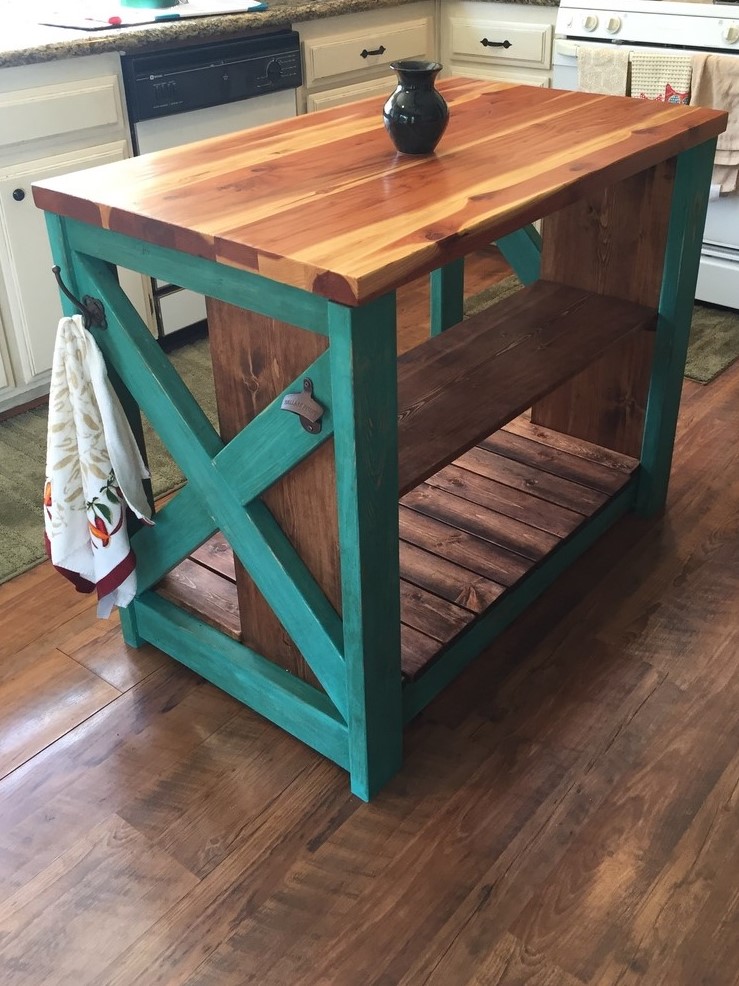
Good ol kitchen island

Submitted by Anonymous (not verified) on Sat, 03/26/2016 - 17:22

I saw the plans for this project and decided I wanted to do something of the sort. I tweaked the plans a bit and made it longer and took out the drawer. My favorite part about it is Annie sloans chalk paint. Look into it, it's great stuff. 

Estimated Cost
200$
Estimated Time Investment
Week Long Project (20 Hours or More)
Finish Used
Polyurethane, Annie Sloan waxing paint, cherry stain. To get the rustic color Google Annie Sloan, she has a ton of YouTube videos.
Recommended Skill Level
Intermediate

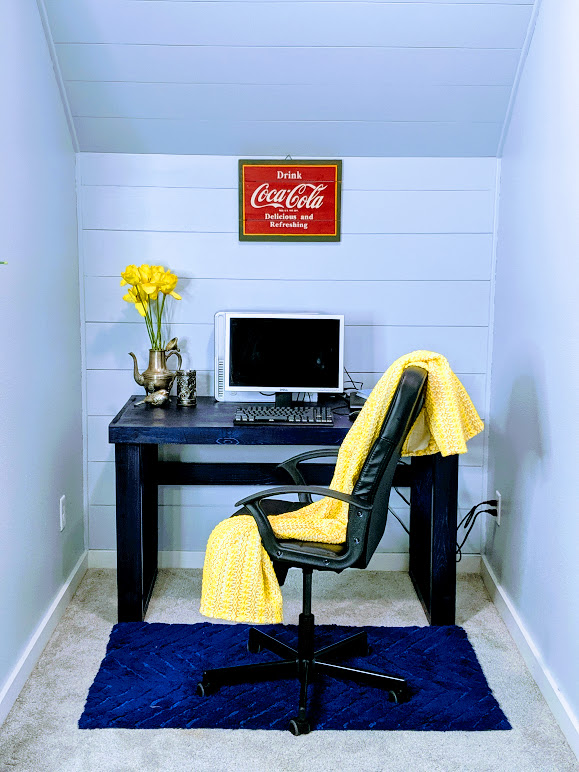
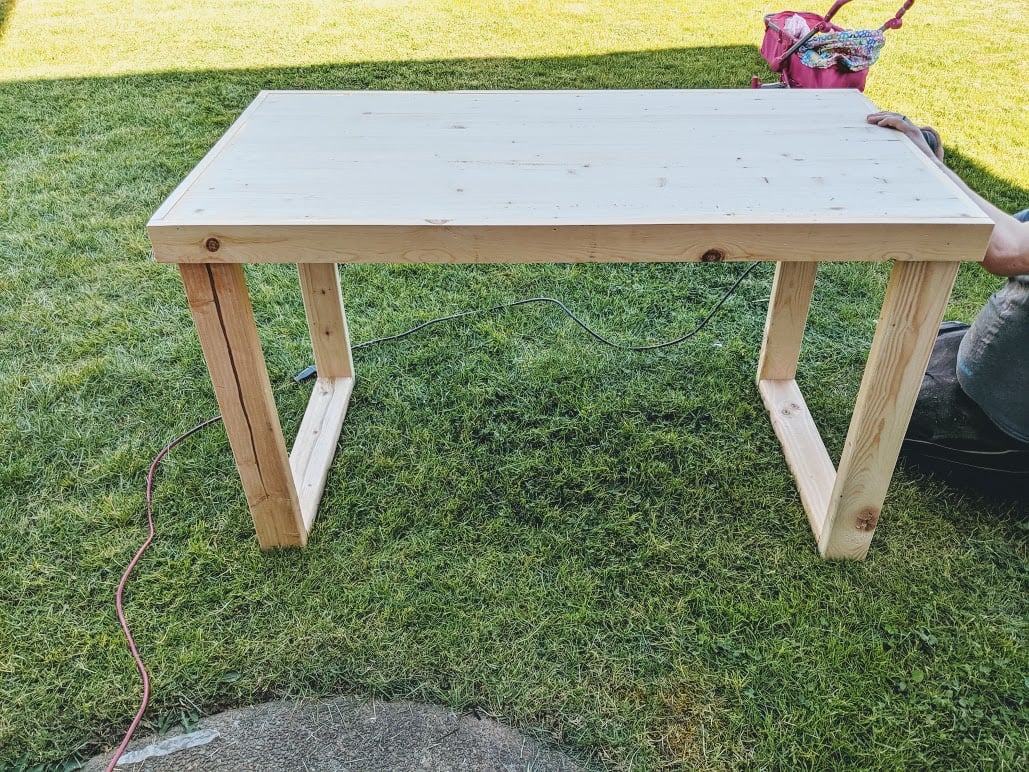
Beautiful DIY Computer Desk Under 50 Dollars

We were looking for a table with custom dimensions for our little office nook, but it was really hard to find. Most of them were very expensive, too. We decided to make our own table and share it with all of you as well. It's an easy project to do and minimum tools are required. You can also always use substitute tools as opposed to using the exact one we did in the project. 

Step-by-Step Tutorial

Step one: Cut the Wood

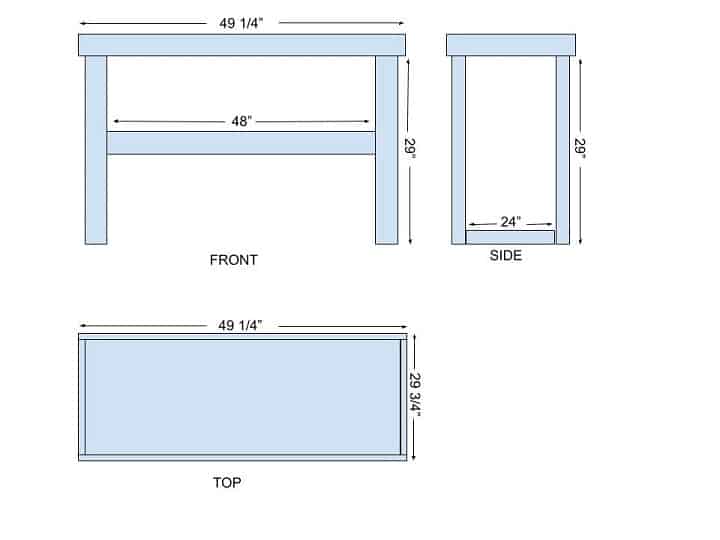
You need to cut 4 (2 x 4's) pieces for the legs using a miter saw, or you can have The Home Depot or Lowes cut it for you. You can adjust your own measurements according to the plan above. The plan is according to our space. We drew it in Google Drawings, and you can get that idea and draw your own.  

Step Two: Pocket Holes

Drill pocket holes in the legs using a Kreg Jig but if you don't have that tool it's okay too. Tou can use regular nails as well. I am in love with the Kreg Jig though, and I highly recommend the product to everyone as it makes your joints stronger. 

Step 3: Put The Leg Together

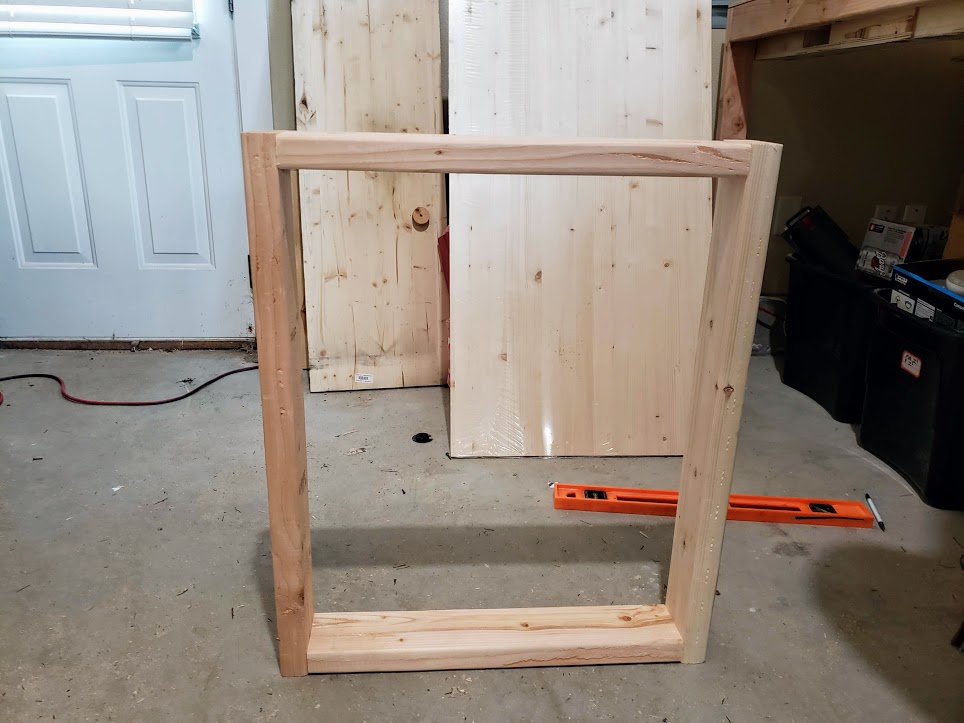
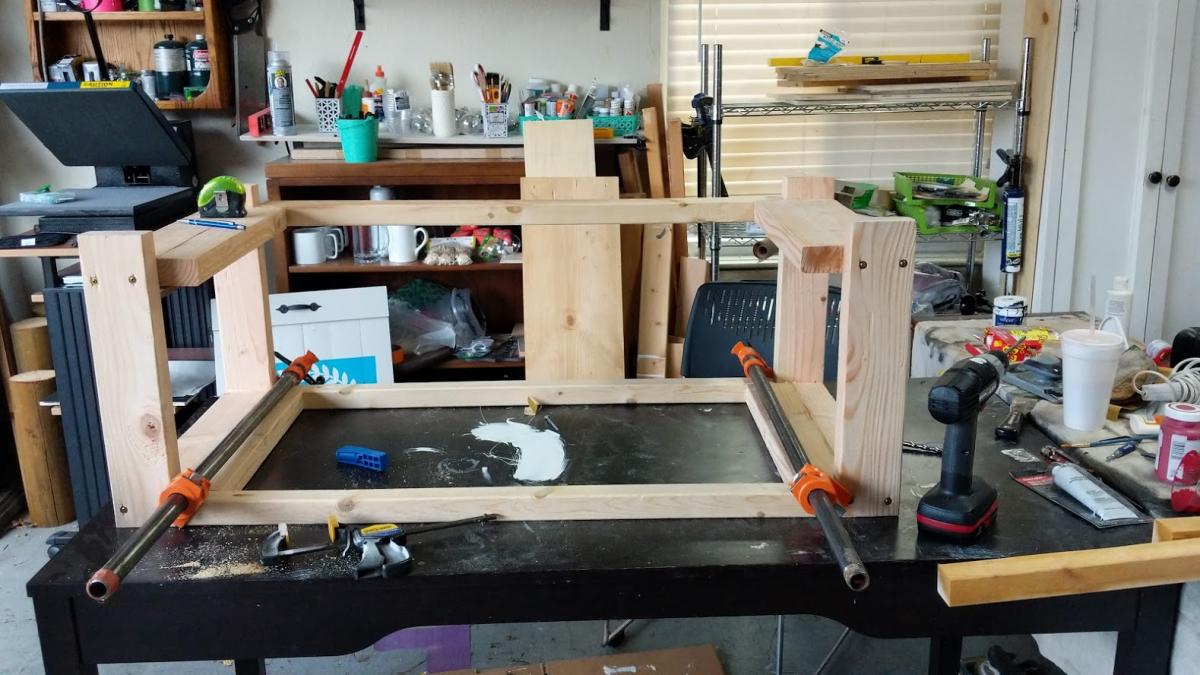
Once you are done with making the joints, it's time to screw the legs together to make it like a frame. See the picture. It should look like a rectangular box. We also placed scrap wood in the middle just to give extra support to the table, so it will not go wobbly. 

Step 4: Attach The Top 

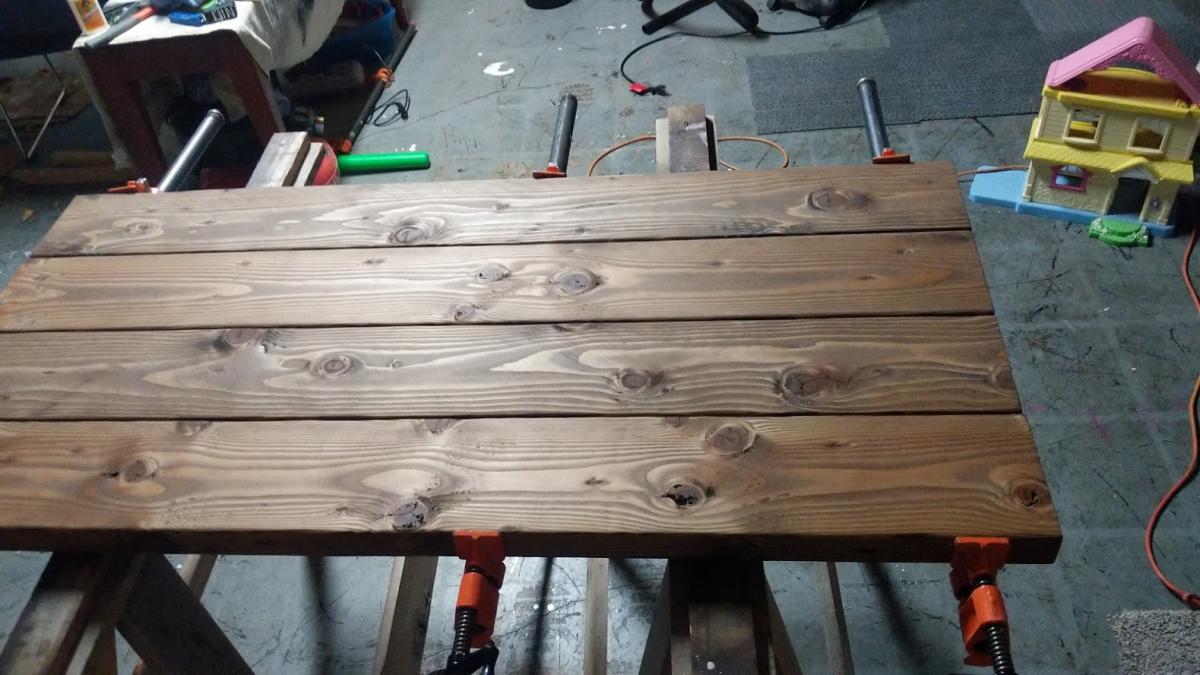
Now, since your legs are ready, it's time to attach the top onto the legs, which is also an easy process. You can attach them using a brad nailer or regular nails. We just happened to have those tools but you don't have to buy everything. 

Step 5: Cut the lips 

In the end, we placed lips or edges around the table to make it both more sturdy and prettier. 

Step 6: Sand It 

Now, since your table is ready, you need to sand it to paint or stain it. Sanding is a very important part. Otherwise, your paint won't adhere to the wood unless you are chalk painting. We used an electric sander but you can use any 120 grit sanding block from your local store. Just use your elbow grease to sand it nicely. 

Step 7: Paint or Stain It

Paint it with whatever paint you would like We wanted to stain it so we used color stain to match with other furniture in the room. We are pretty happy with the project turned out. It saved us tons of money and looks nice in the room as well. 

Hope you liked it and I would love to see your project using my plan. You can read the whole blog post in-depth on my blog. Let me know if you have any questions or concerns.  

Happy DIY'ing! Love,

Bushra
Estimated Cost
$50
Estimated Time Investment
Afternoon Project (3-6 Hours)
Finish Used
Blue Stain a bit shiny look.
Recommended Skill Level
Beginner

Comments

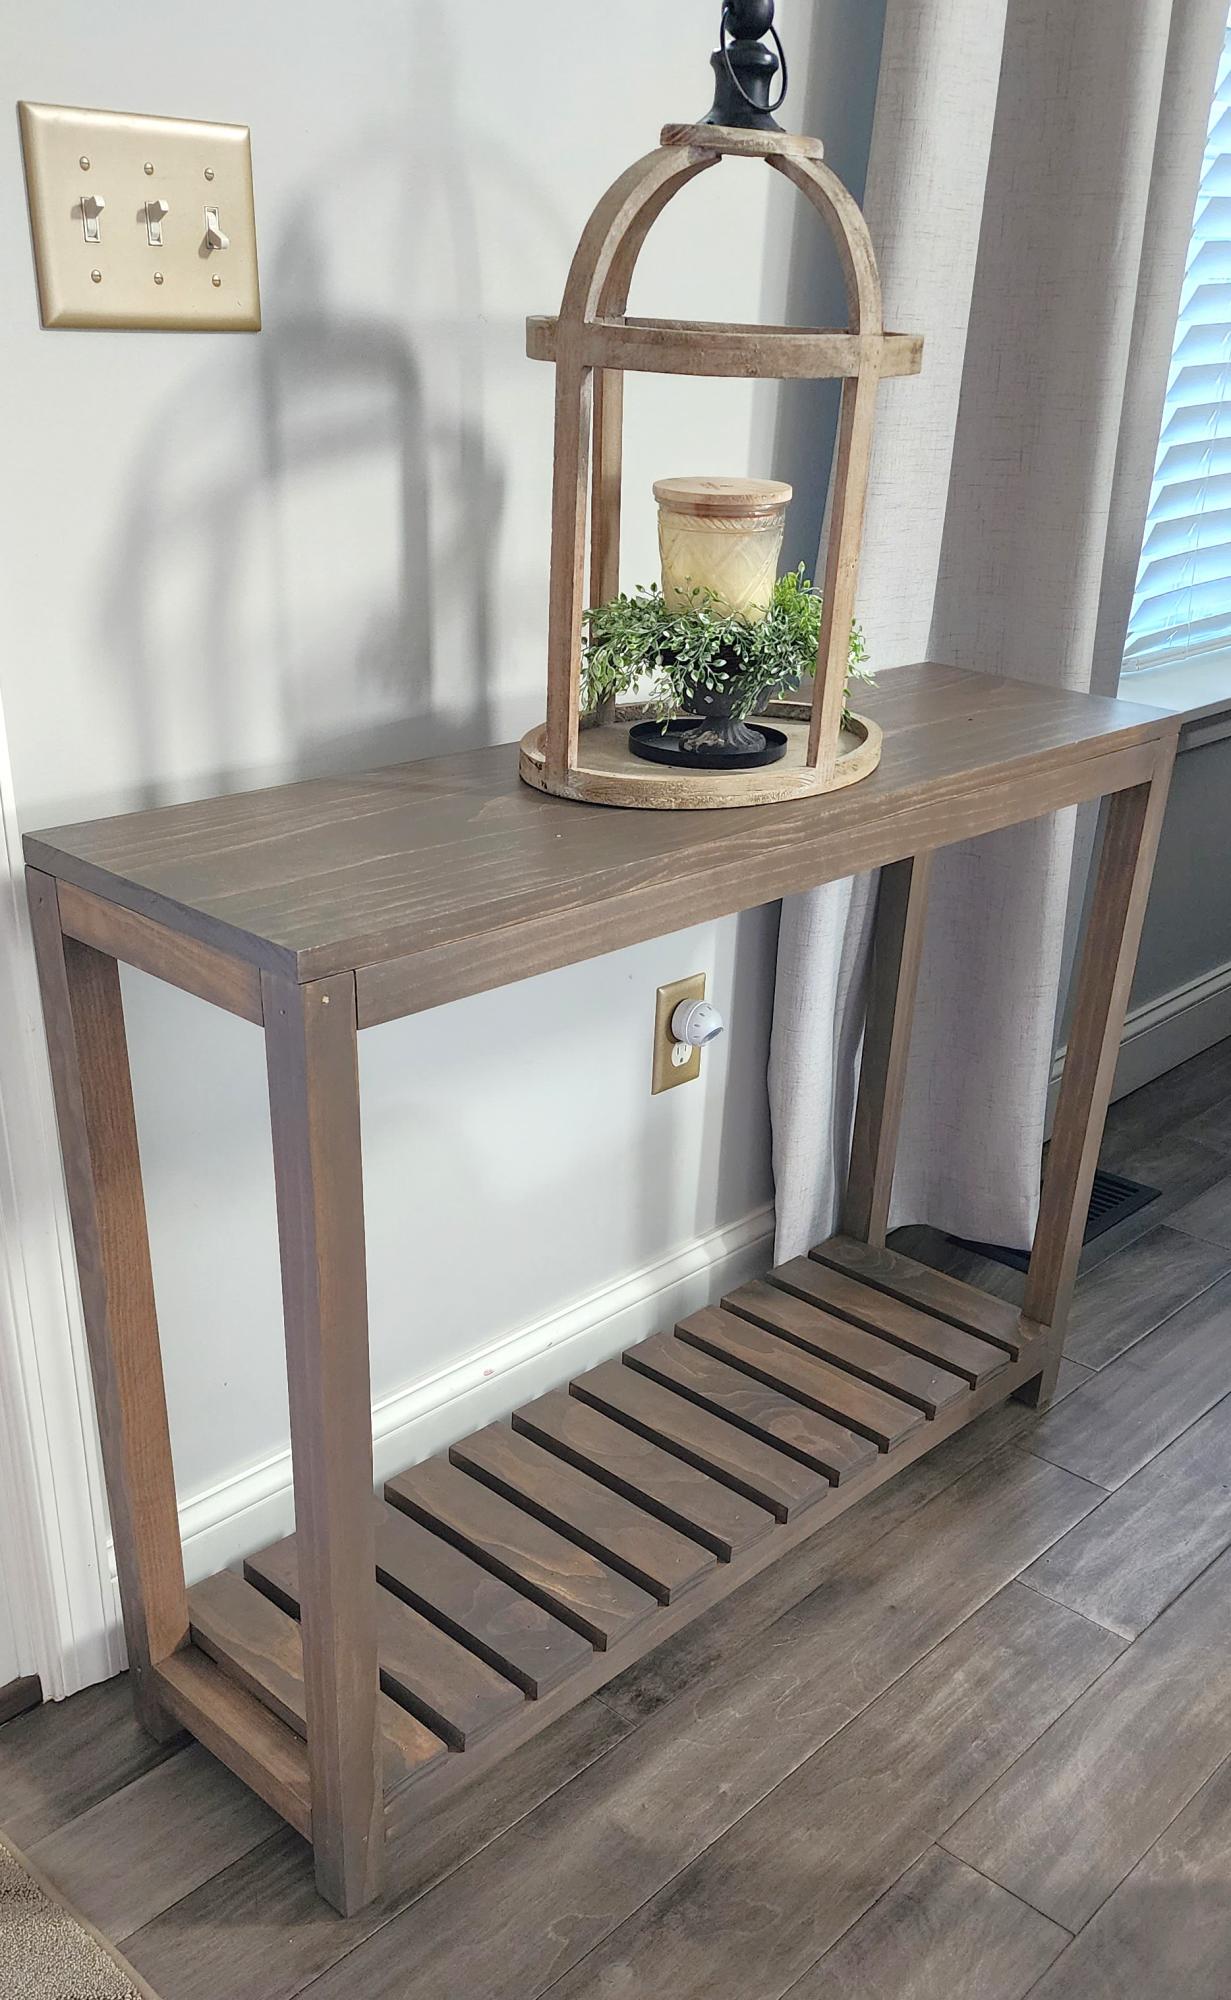
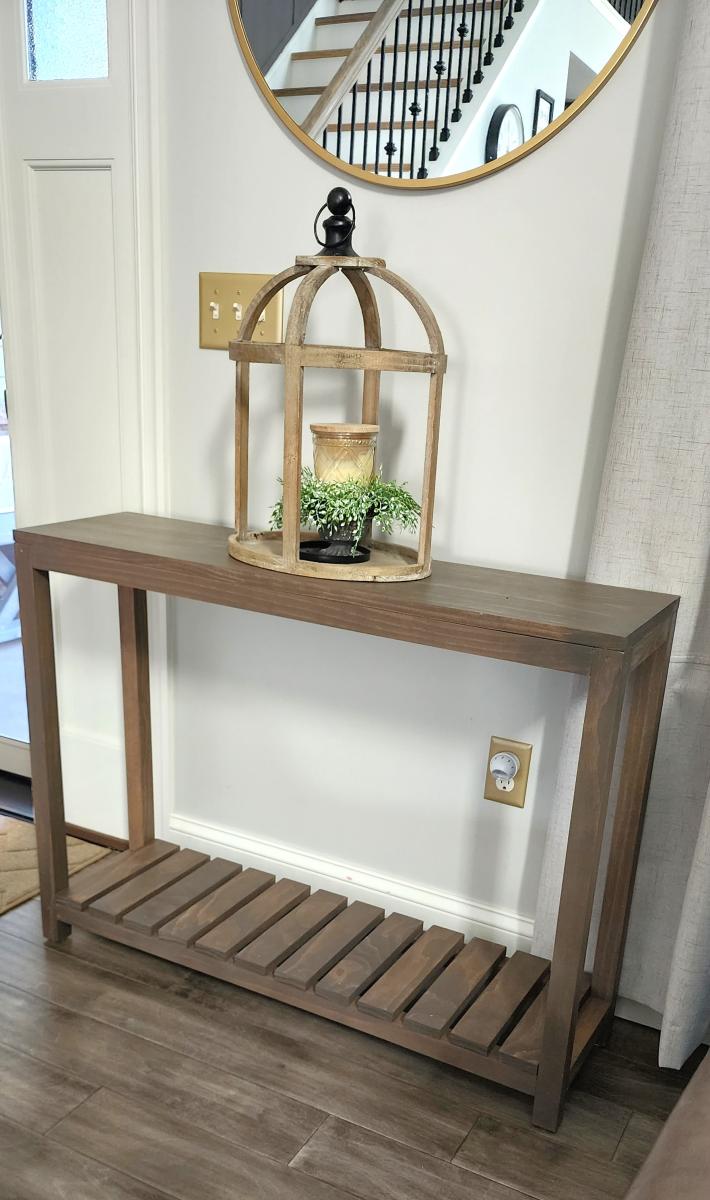
Box Frame Console with Bottom Shelf

Submitted by Anonymous (not verified) on Mon, 07/24/2023 - 13:46

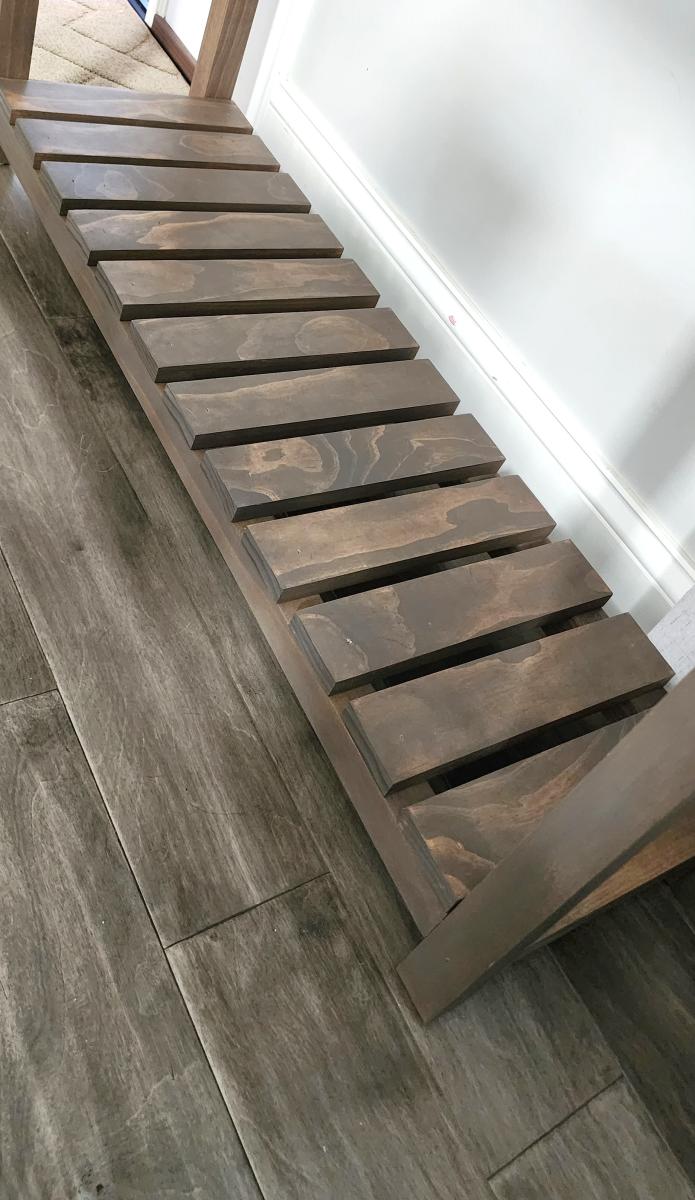
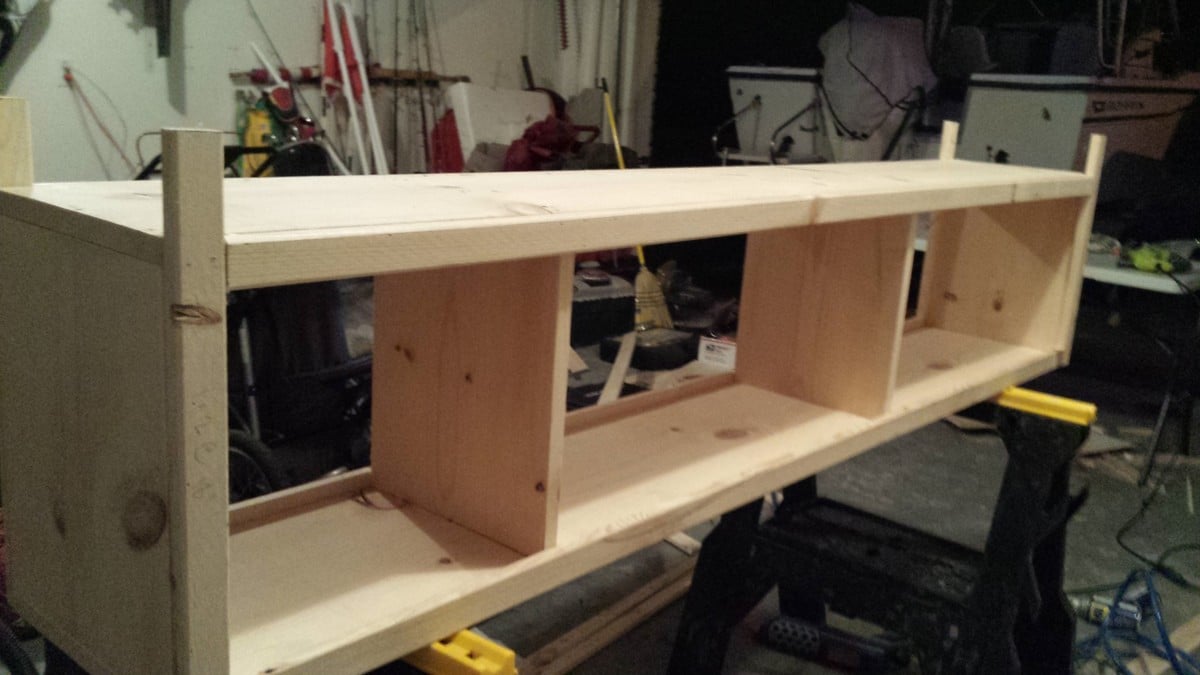
Entry Way Table with Slatted Bottom!

by Missy J Zee on Facebook

Built from Plan(s)

Comments

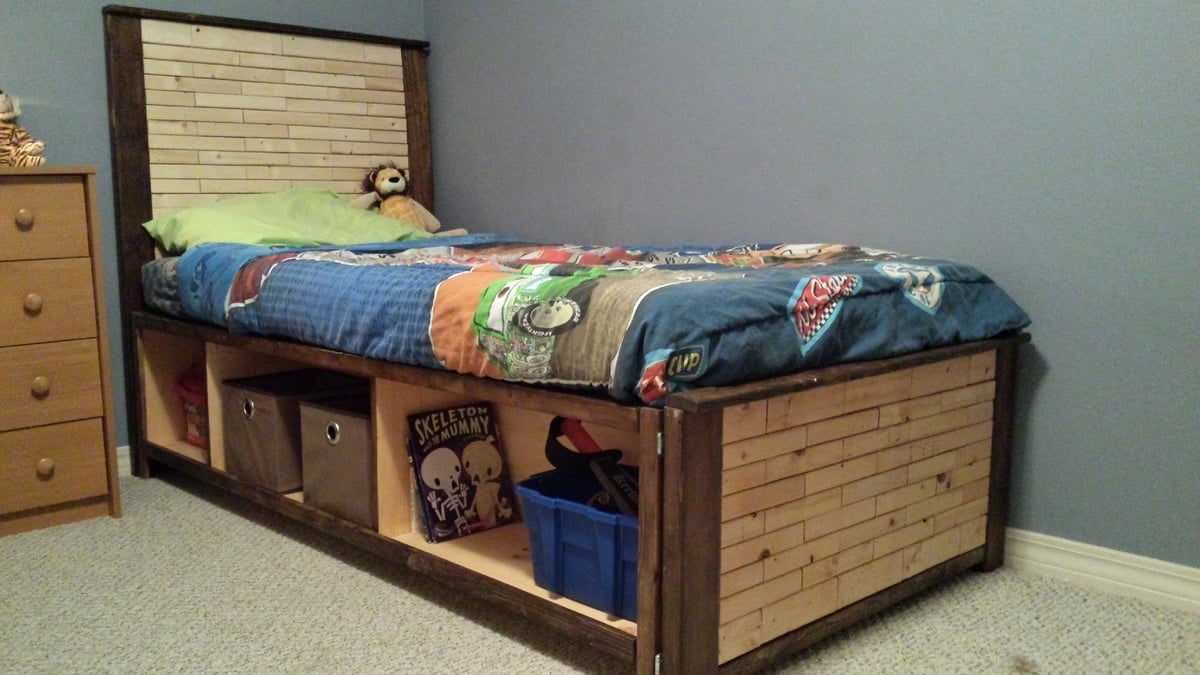
Customized Hailey storage bed

I got tired of the aluminum framed bunk beds in my kids room, and wanted to build something they can enjoy for years to come.

My 7 year old didn't have the luxury of one of our dogs jumping up on his bed, as he was on the top bunk, and my wife and I didn't interact with him as much as we would have liked during his reading time prior to bed.

Only one thing to do....build the boys some beds. Although they have a little less room in their bedroom, they have their own individual beds and storage nooks.

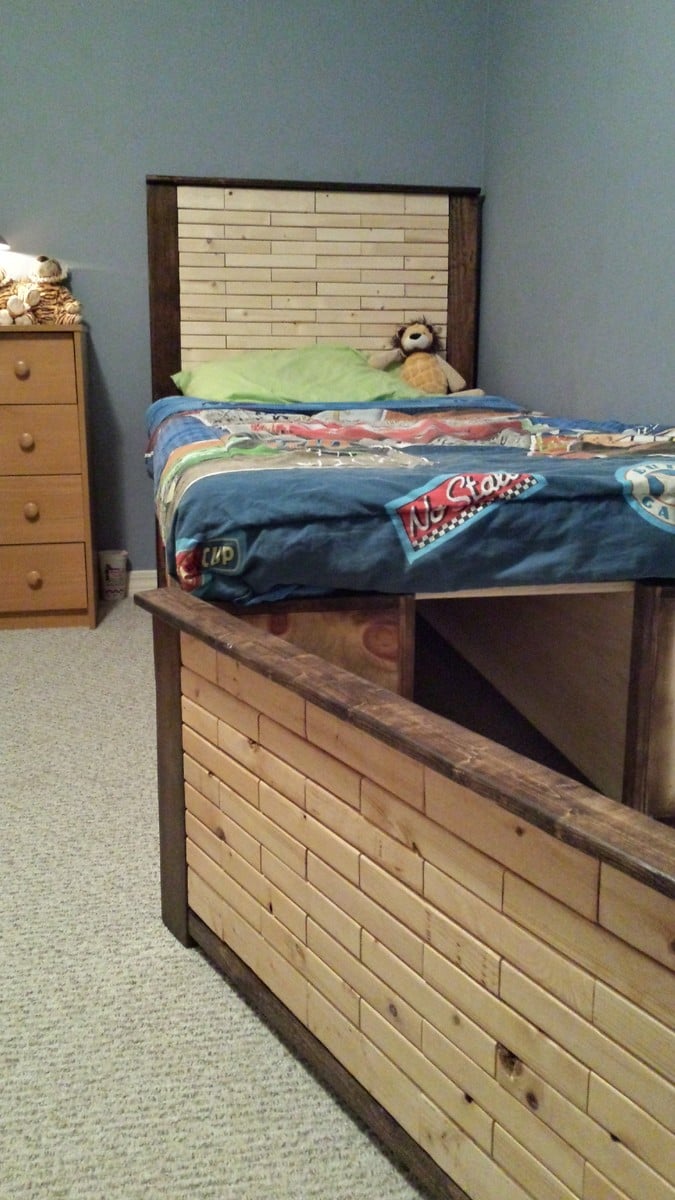
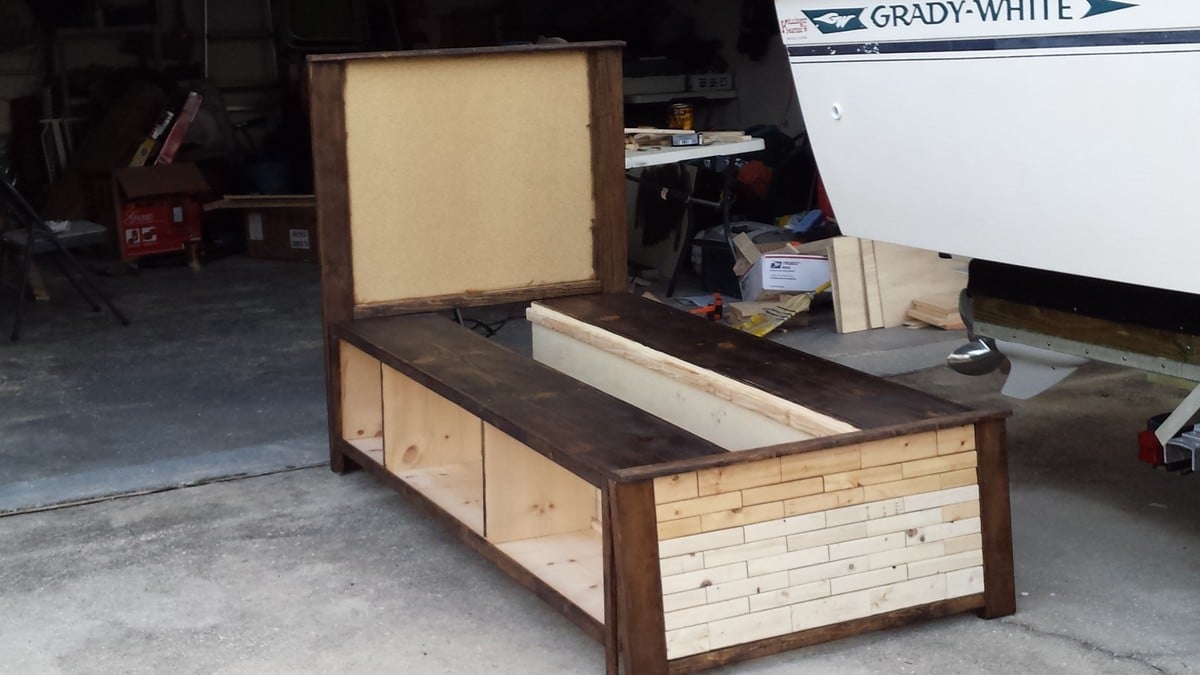
In an effort to reduce wasted space, I took a similar page out of birdsandsoap's book by hinging the footboard to create easy access to the void under the slats.

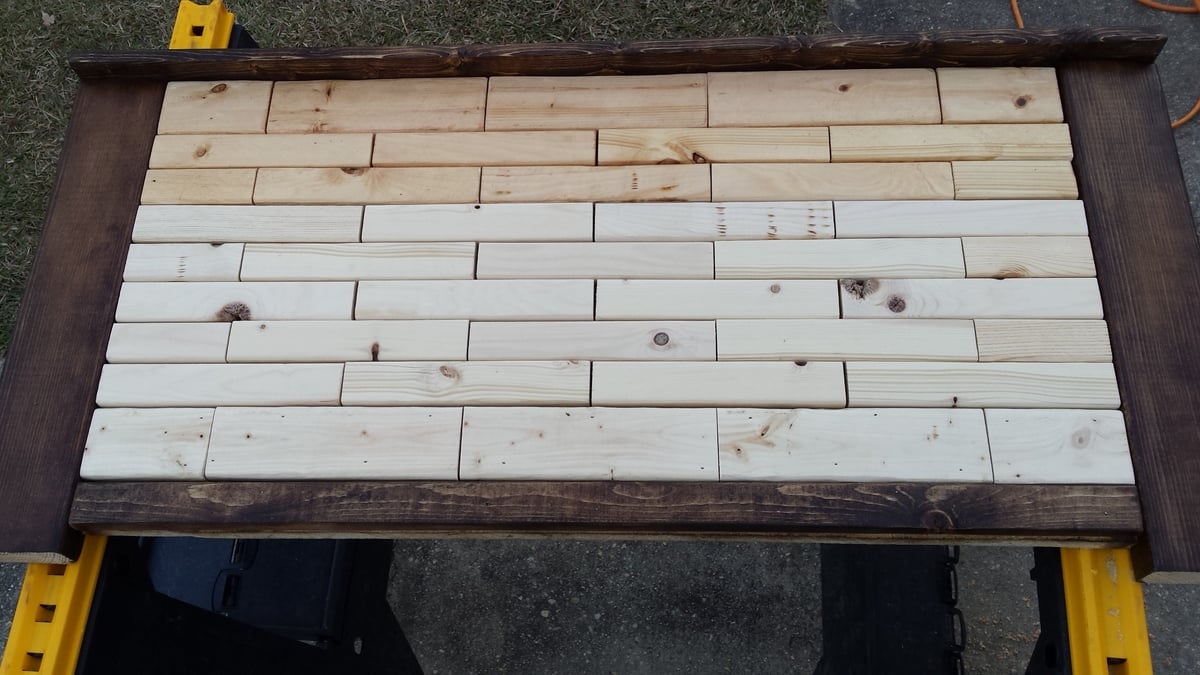
The head and footboards were 'tiled' by simply cutting 1x2 and 1x3 pieces and attaching them with wood glue.

Between the sanding, staining, and poly coats, it took about a week (on and off) to complete the set, but overall am very happy with the finished project.

Only 1 bed is included in the pics, as the other one is identical.

Built from Plan(s)
Estimated Time Investment
Week Long Project (20 Hours or More)
Recommended Skill Level
Beginner

Comments

Knot Good with Wood

Thu, 01/09/2014 - 04:05

I was unsure exactly how I wanted to design and finish, so I just looked through tons of brags on here. I think they are very cool now that they are done, and my kids end up using the hinged footboard to gain access to build small forts.....

Thanks for the great feedback!

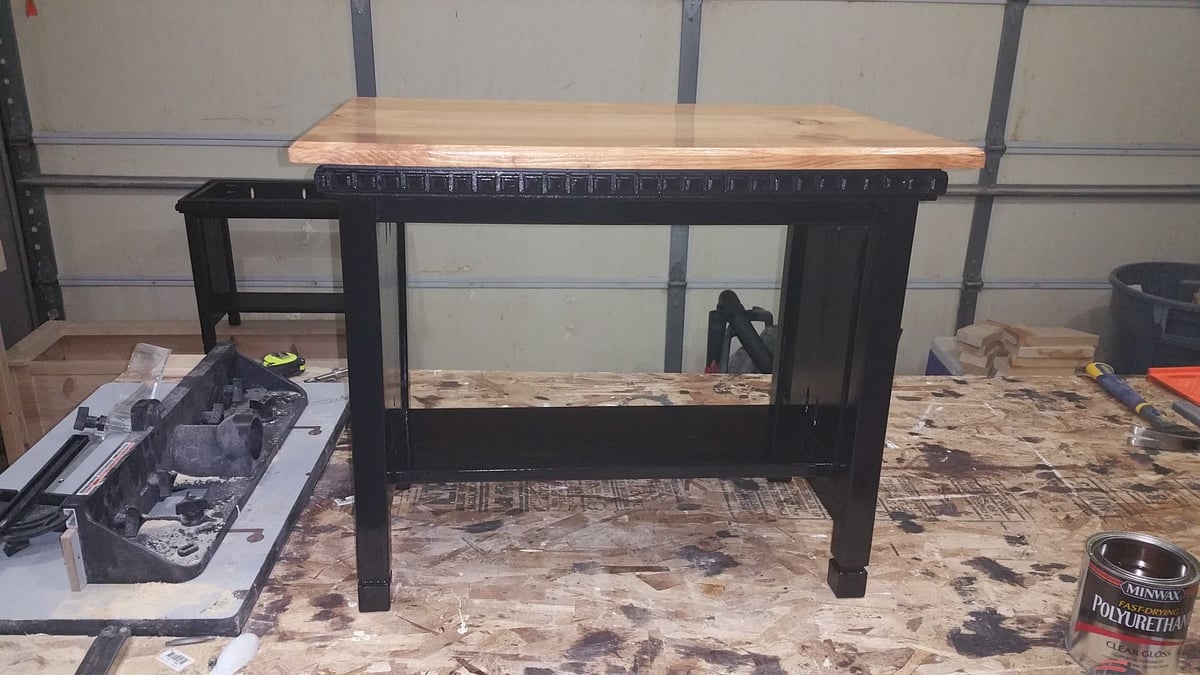
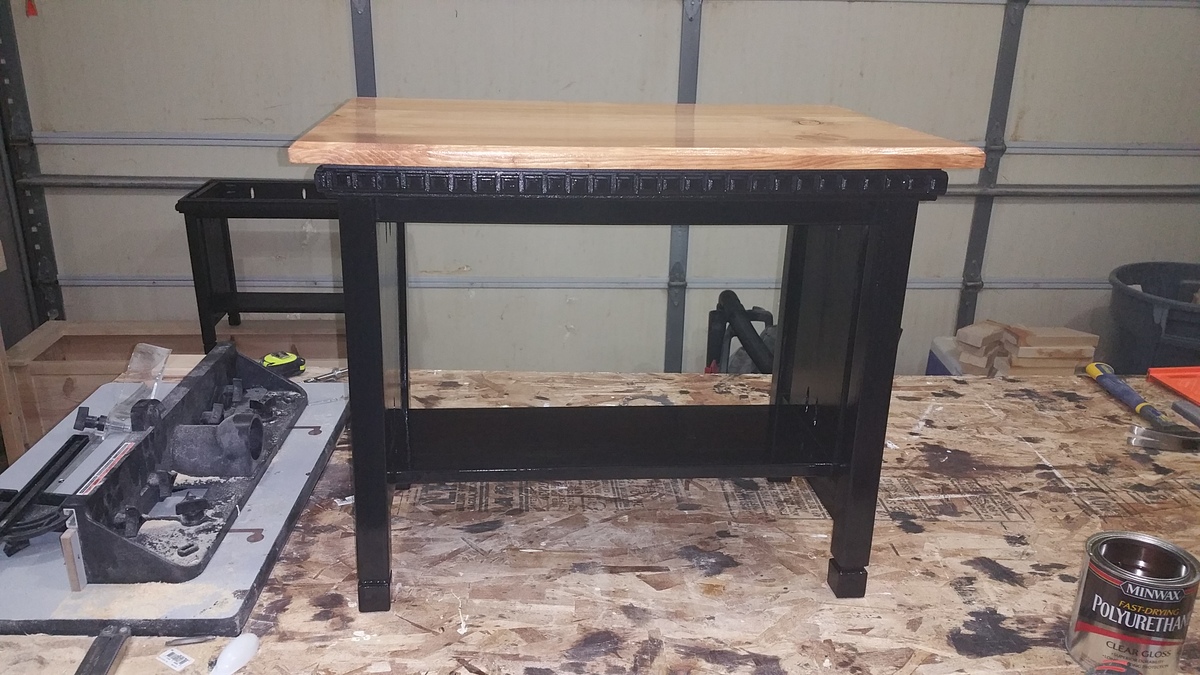
handcrafted amish style side table

Submitted by Anonymous (not verified) on Tue, 03/29/2016 - 10:46

Handcrafted amish side table. Easy to do

Estimated Cost
$25.
Estimated Time Investment
Afternoon Project (3-6 Hours)
Finish Used
Provincall stain and black satin paint
Recommended Skill Level
Intermediate

Comments

rburmania

Tue, 03/29/2016 - 11:29

i also do these table completely stained, i would love to do some beautiful stuff for anyone. We do shipping if you would like, please check out our facebook page R&L Custom Creations of West Michigan

Rustic X coffee table

Submitted by LampAtFeet on Fri, 11/22/2019 - 13:57

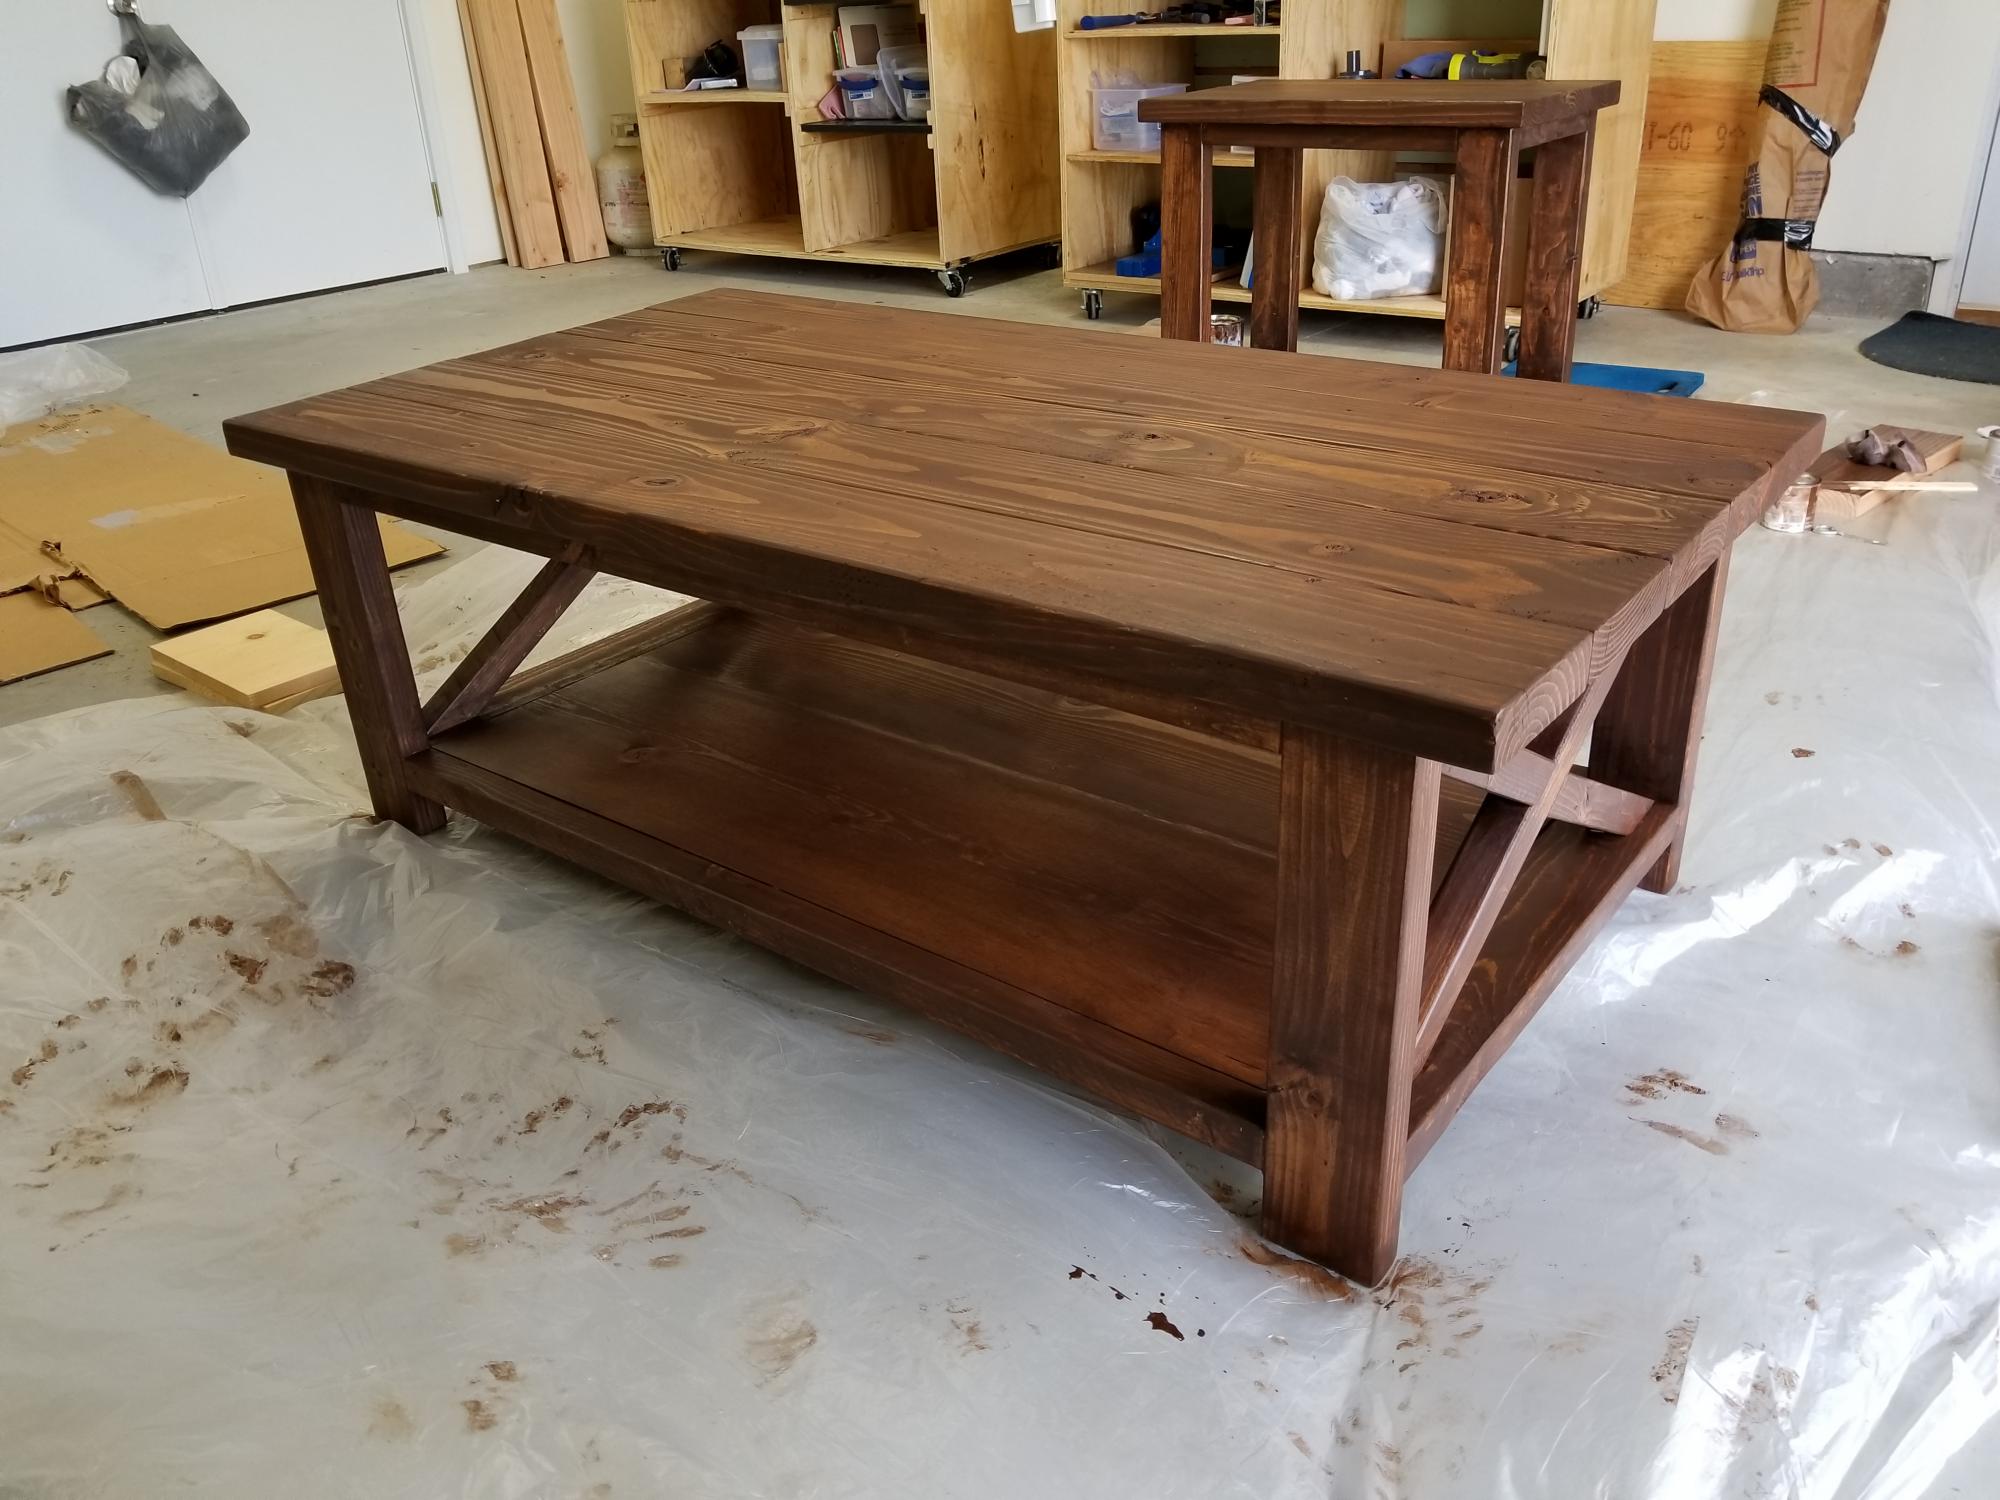
I built this coffee table for my son's first apartment, along with the rustic X end table. It's a very sturdy table and the plans were easy to follow! It's so much fun being able to build my kids furniture!

Built from Plan(s)
Estimated Cost
$50
Estimated Time Investment
Afternoon Project (3-6 Hours)
Finish Used
Dark Walnut stain, then a coat of satin wipe on polyurethane to seal it.
Recommended Skill Level
Intermediate

Round Accent Table

Submitted by Anonymous (not verified) on Sun, 07/30/2023 - 14:29

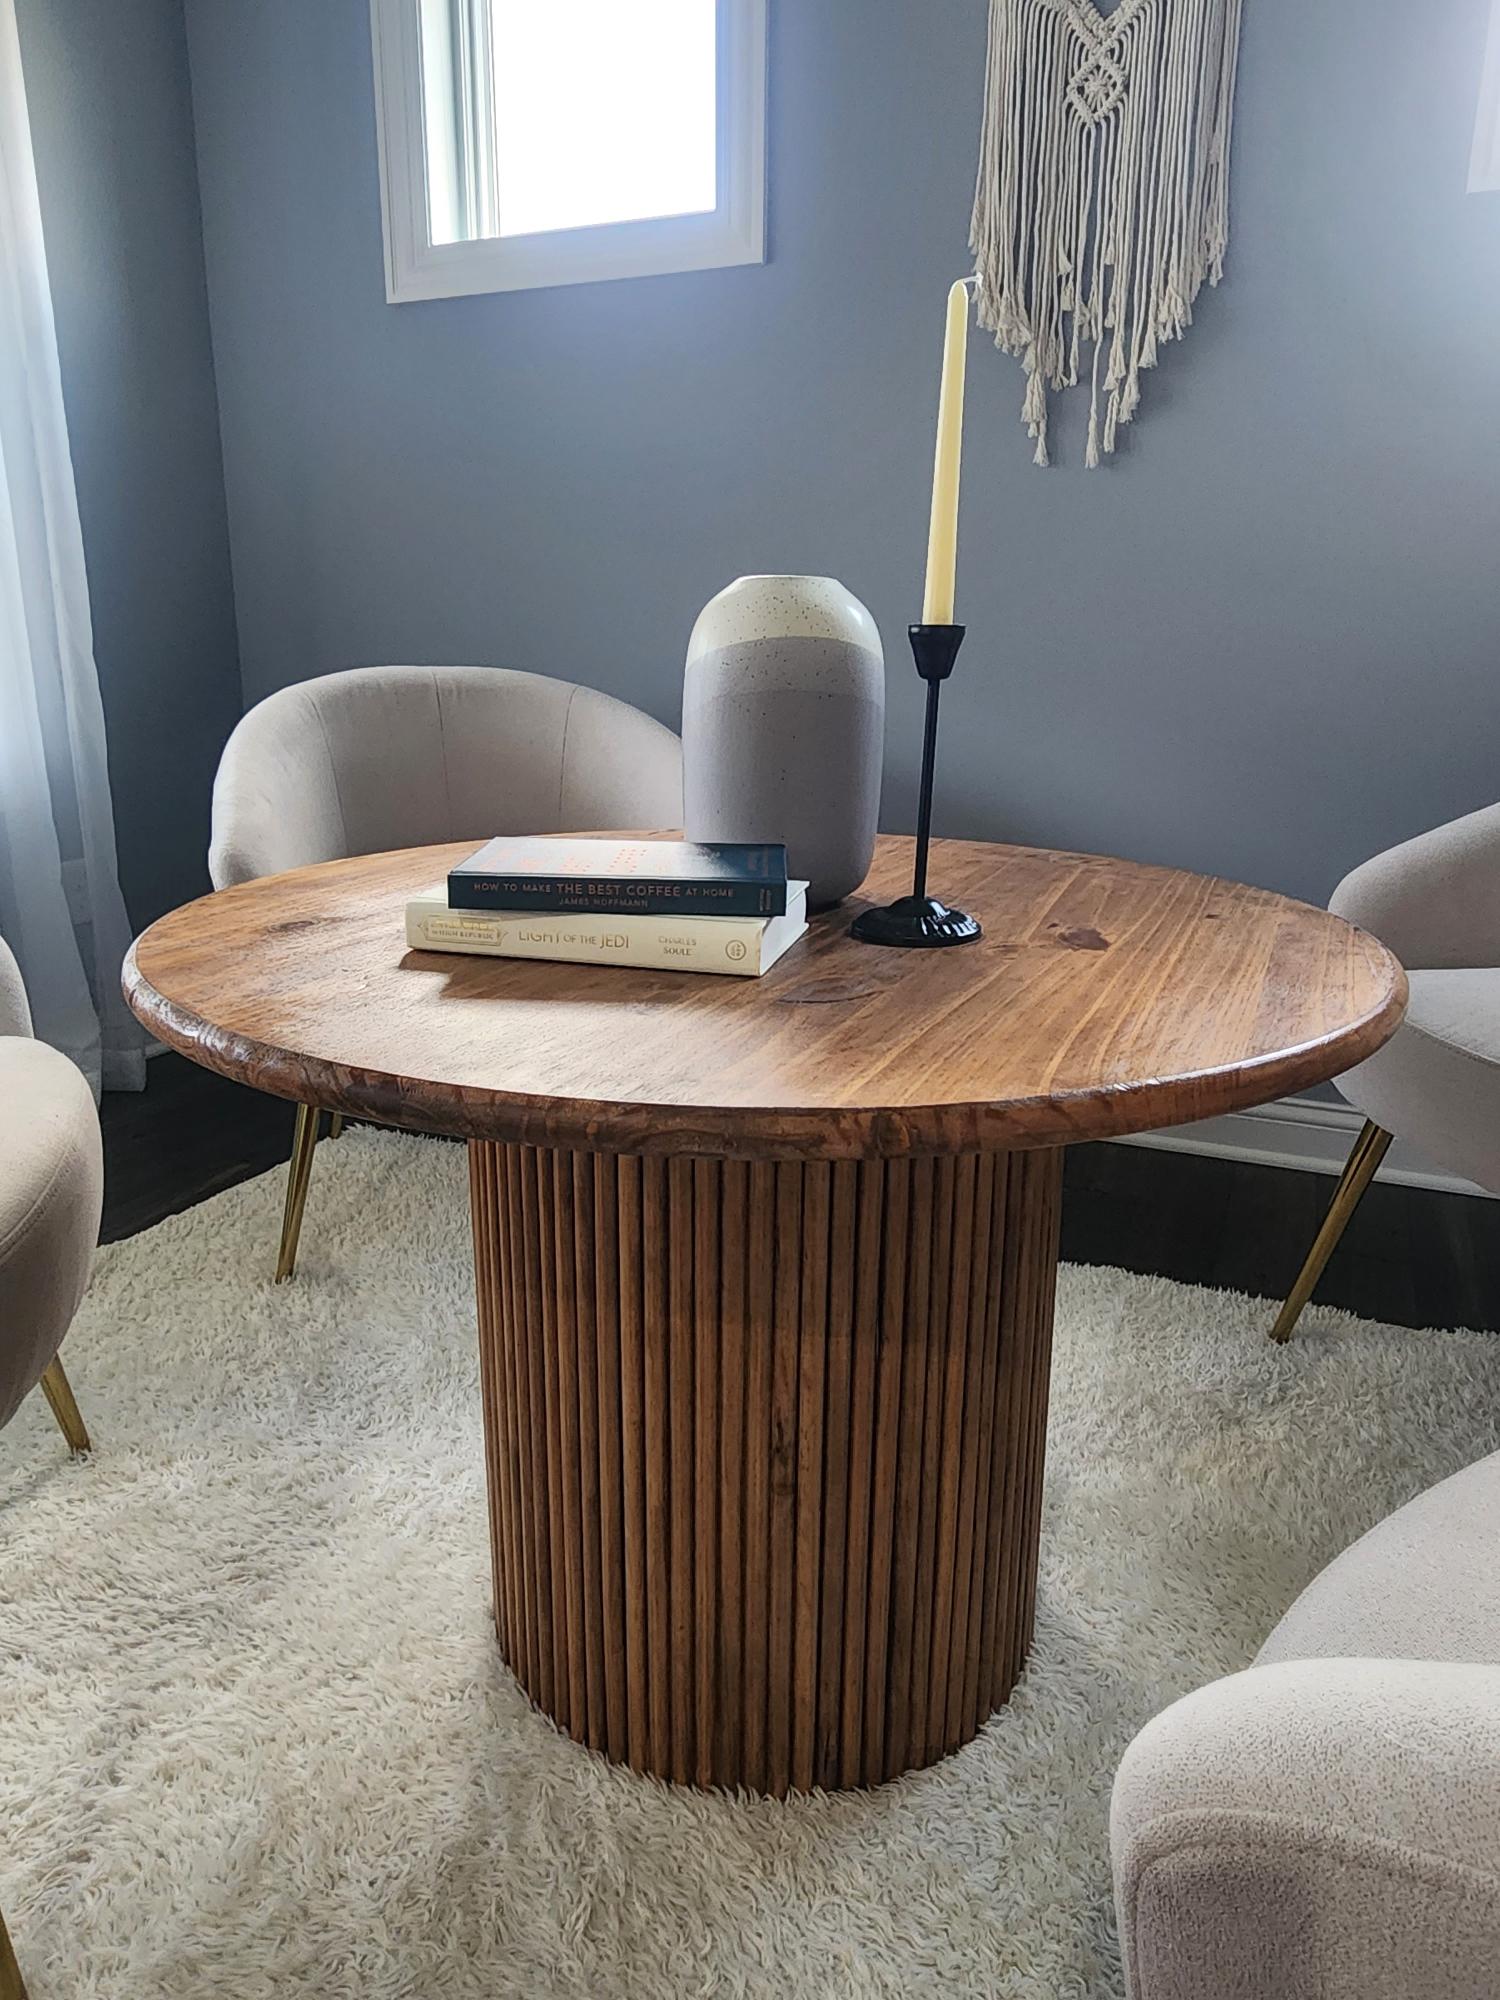
This is my very first build ever! I learned so much from this project. I also bought my first power drill and brad nailer for this project. My husband helped me cut the wood pieces to my measurements and I did everything else. I never knew how fun woodworking can be!

Emily Mangiaracina

Pedestals

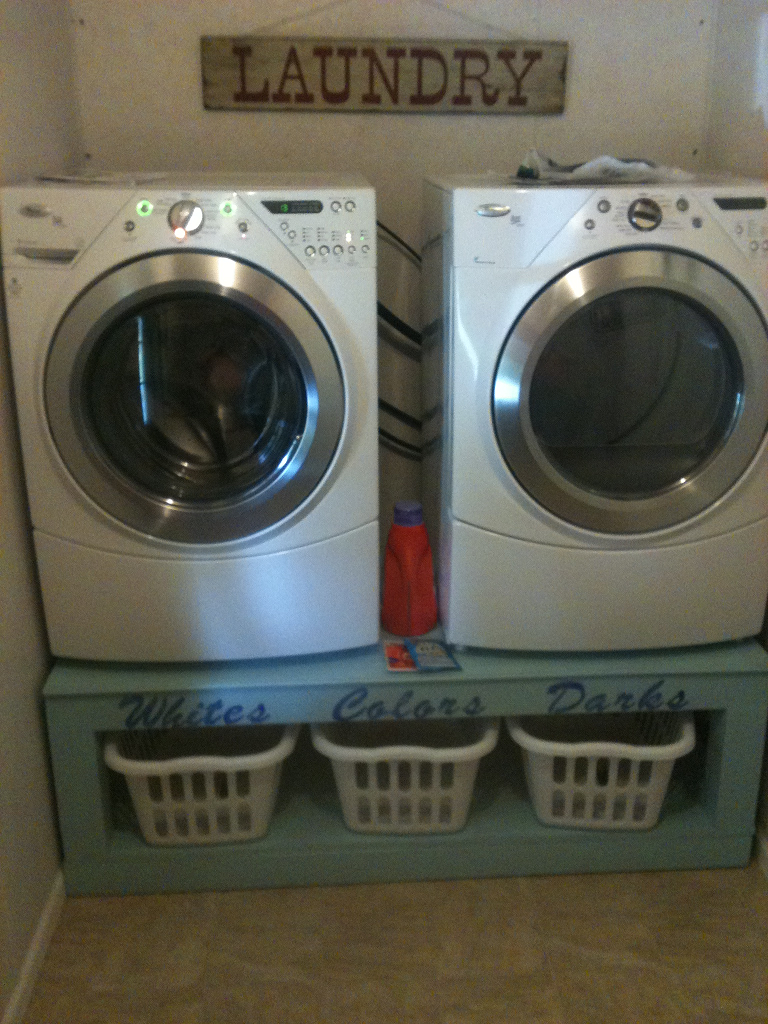
My husband built this for me because it cost as much for one pedestal as it did to build this. I got storage and height for both my washer and dryer for the price of one pedestal. My husband built it, We painted it and I stenciled it.

Estimated Time Investment
Day Project (6-9 Hours)
Recommended Skill Level
Beginner

Doll bunkbeds

Submitted by Benjies on Thu, 01/09/2014 - 11:44

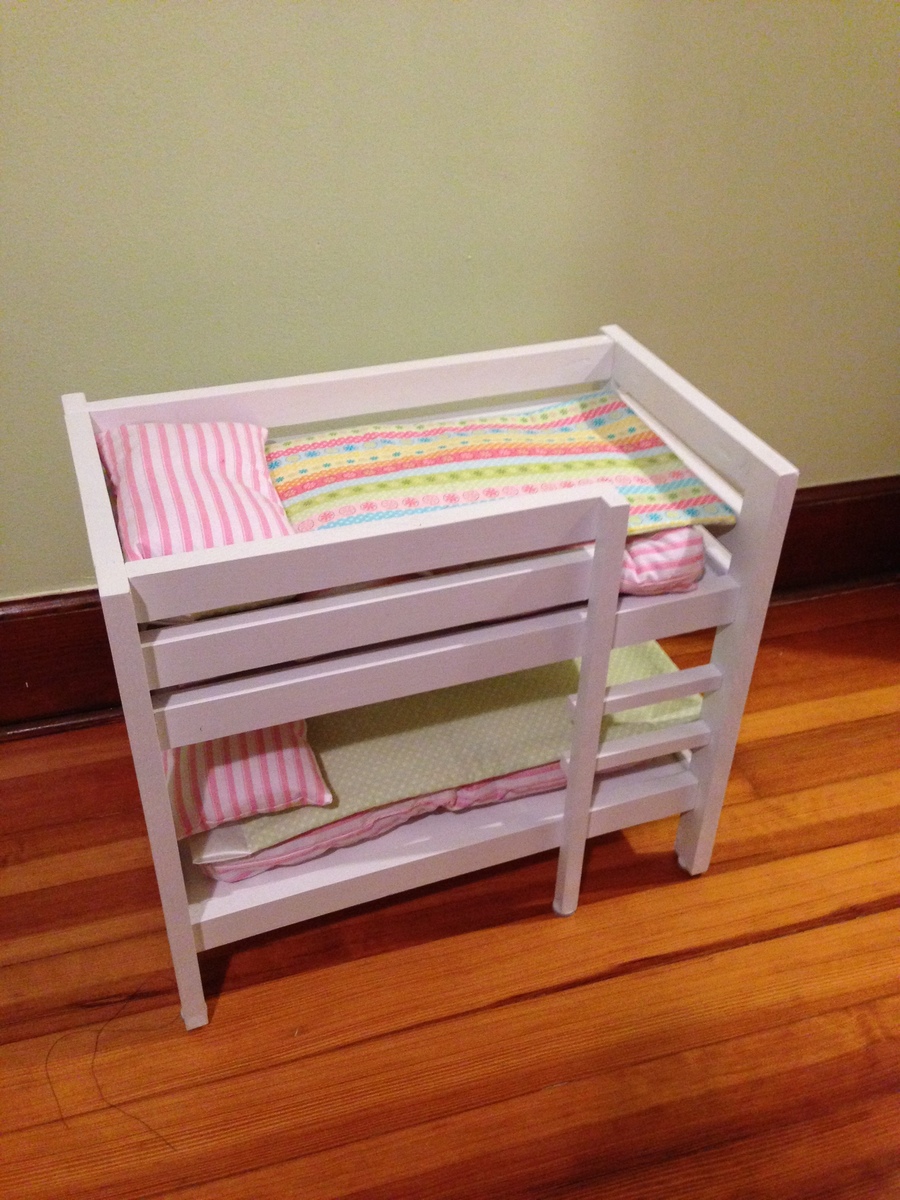
This was really a quick project. It's sized to fit a standard American girl doll. I tag-teamed with my mother to make a Christmas gift for my 4-year old daughter. I built the bed and she sewed the mattresses, reversible blankets, and pillows. My daughter loved them. My only regret was using plywood instead of backboard for the box springs. The plywood was too thick making it a tight squeeze to get the dolls in the bed with the pillows and mattresses.

Estimated Cost
>$15
Estimated Time Investment
Afternoon Project (3-6 Hours)
Finish Used
I used krylon white spray paint with a gloss finish. I then did a couple of clear coats of a gloss enamel for protection.
Recommended Skill Level
Starter Project

Grandy Sliding Door Console

Submitted by lseib262 on Thu, 03/31/2016 - 15:49

I used the plans here and the hardware plans that are linked in the comments (with the 1-1/2 inch pulleys). In retrospect, it wasn't that hard, although I built it up to be so since I was doing so many things for the first time, including cutting and drilling metal. With the right blades and drill bits, it was a breeze. This took me a few months to actually finish, but if I were to do it again start to finish, I'd say one person could do it in 3-4 days. I got the reclaimed barnwood from a local salvage place. I used the tea/steel wool/vinegar stain for the top and regular paint for the body. Total cost was somewhere in the low $200's. I absolutely love it and am so grateful that a site like this exists! Thank you!!

Built from Plan(s)
Estimated Time Investment
Week Long Project (20 Hours or More)
Recommended Skill Level
Intermediate

Comments

tgrott

Sat, 04/02/2016 - 16:02

You did an amazing job! It looks beautiful! Also love the dog wall!!! :))) Can you email me the instructions on how to make the hardware at [email protected] or post them? 

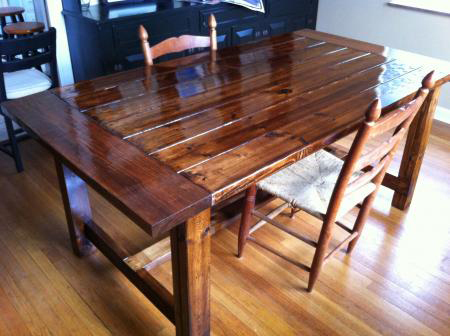
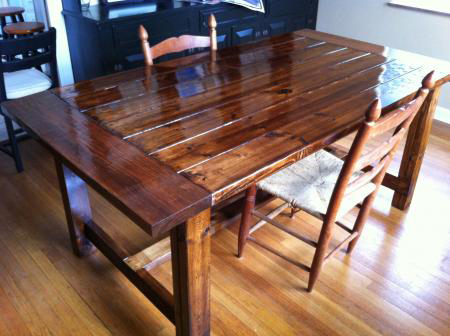
Super easy farmhouse dining table !

Submitted by Anonymous (not verified) on Wed, 11/27/2019 - 07:15

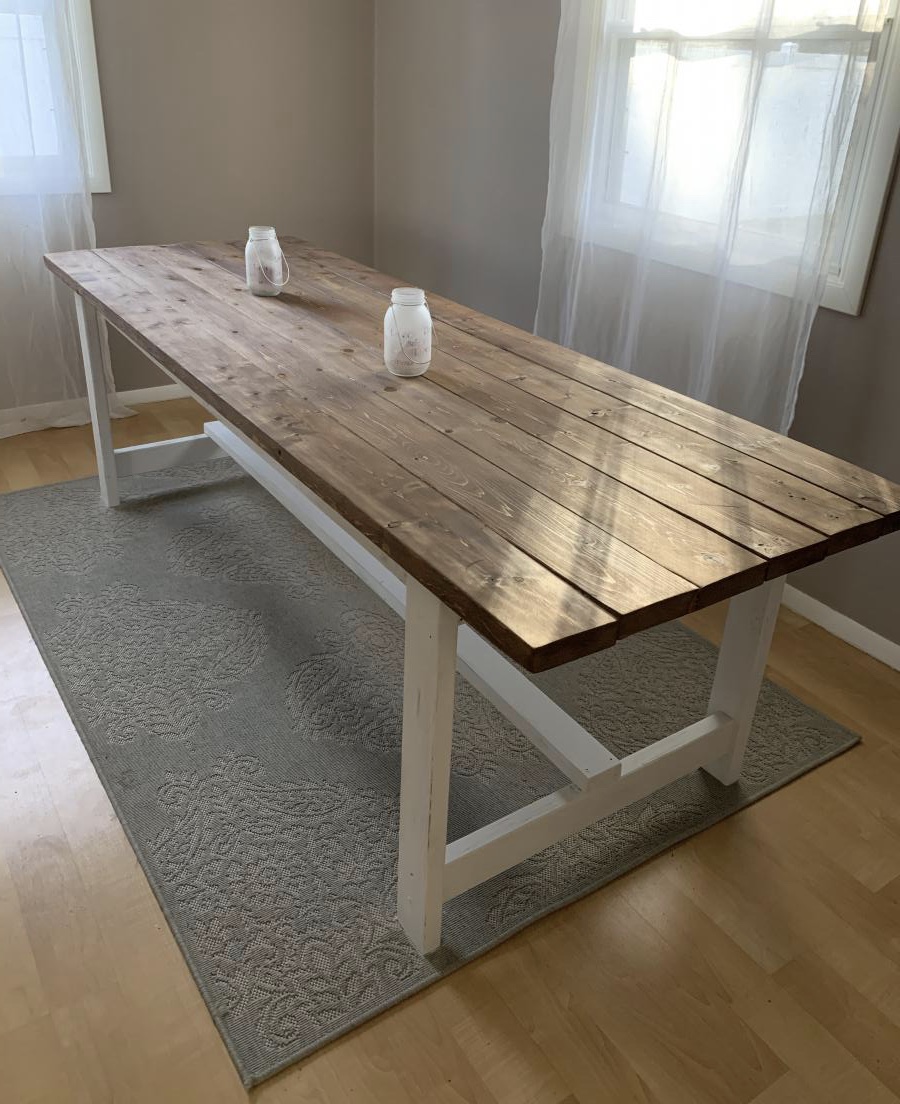
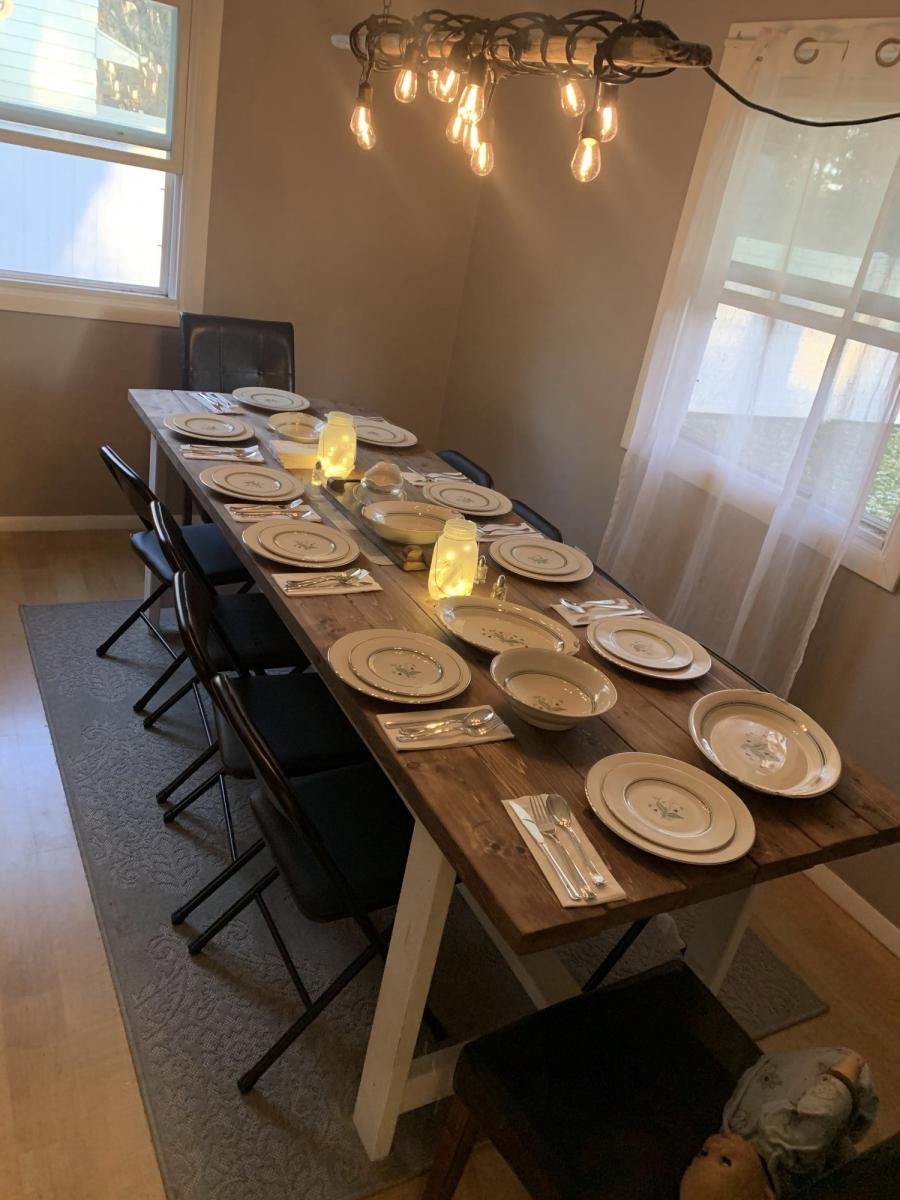
This was our first project like this .. was last minute cost about $64 with lumber and screws , we already had the stain and paint .. only took 2 days ! I’m so happy !!! The only thing different I would do is put pocket holes in which we might add . Perfect project for a beginner !

Estimated Cost
$64
Estimated Time Investment
Weekend Project (10-20 Hours)
Finish Used
We didn’t use any finish yet as we are still deciding lol
Recommended Skill Level
Beginner

Soda Crate Caddy

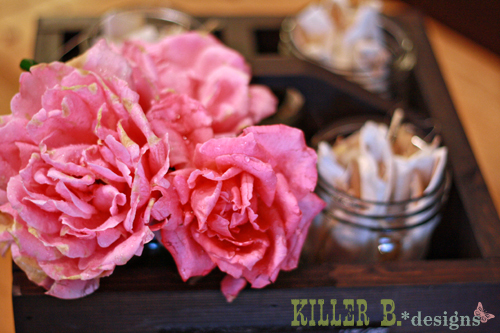
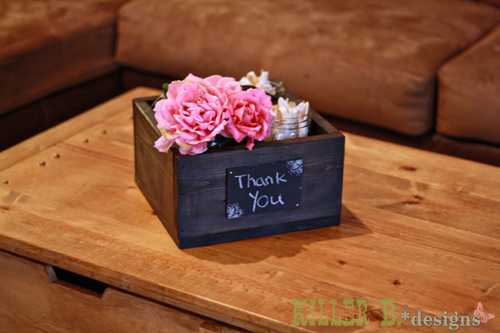
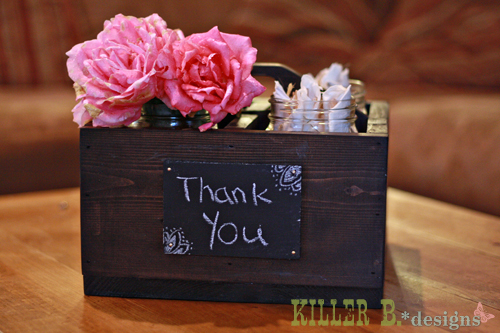
I had some scraps lying around, and it was just the right amount to do this soda crate caddy. The only change was using scrap 1x12 on the bottom instead of two 1x6's. I finished the whole thing in under 2 hours, including stain and the chalkboard front. I gave it to a friend as a thank you present for baby sitting my baby girl.

Built from Plan(s)
Estimated Cost
free - used scraps
Estimated Time Investment
An Hour or Two (0-2 Hours)
Finish Used
Rustoleum's Ultimate Stain in Kona
Recommended Skill Level
Beginner

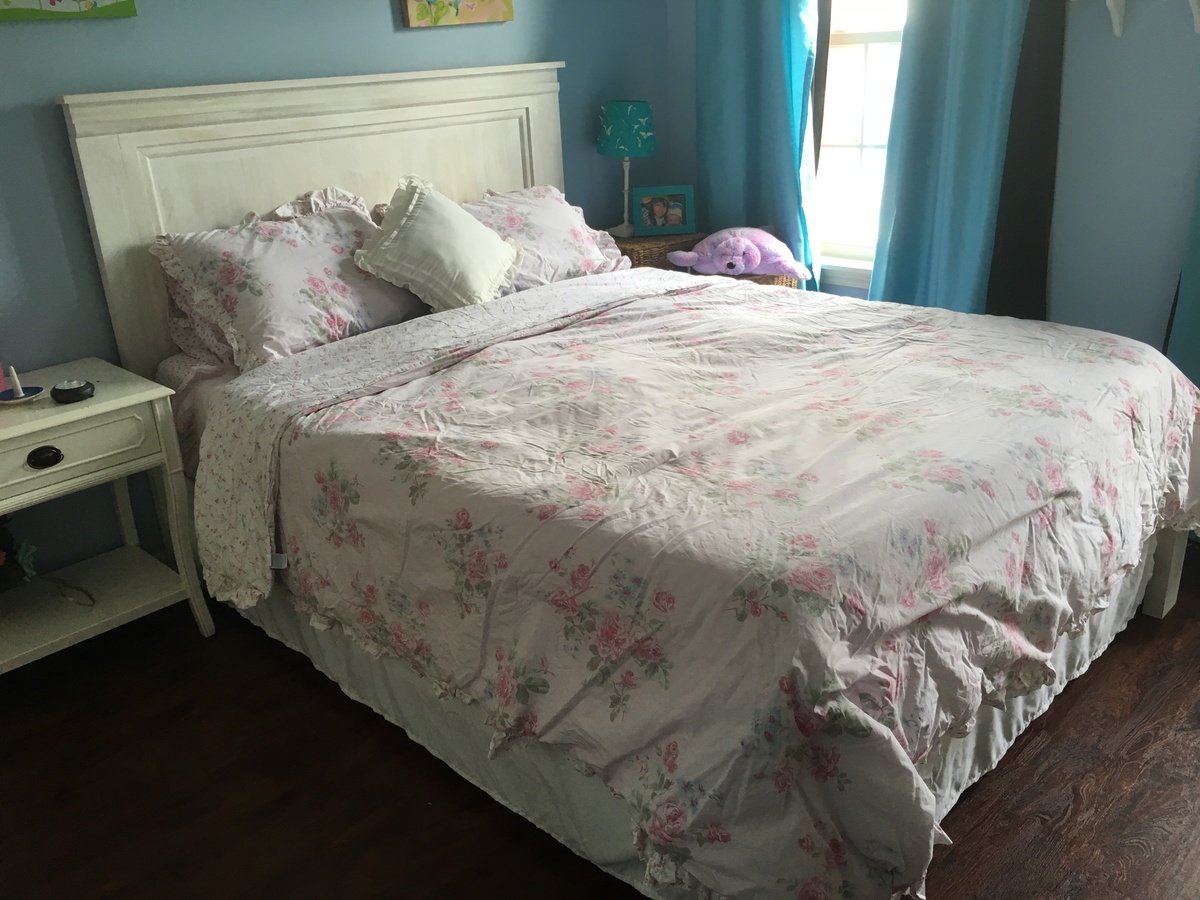
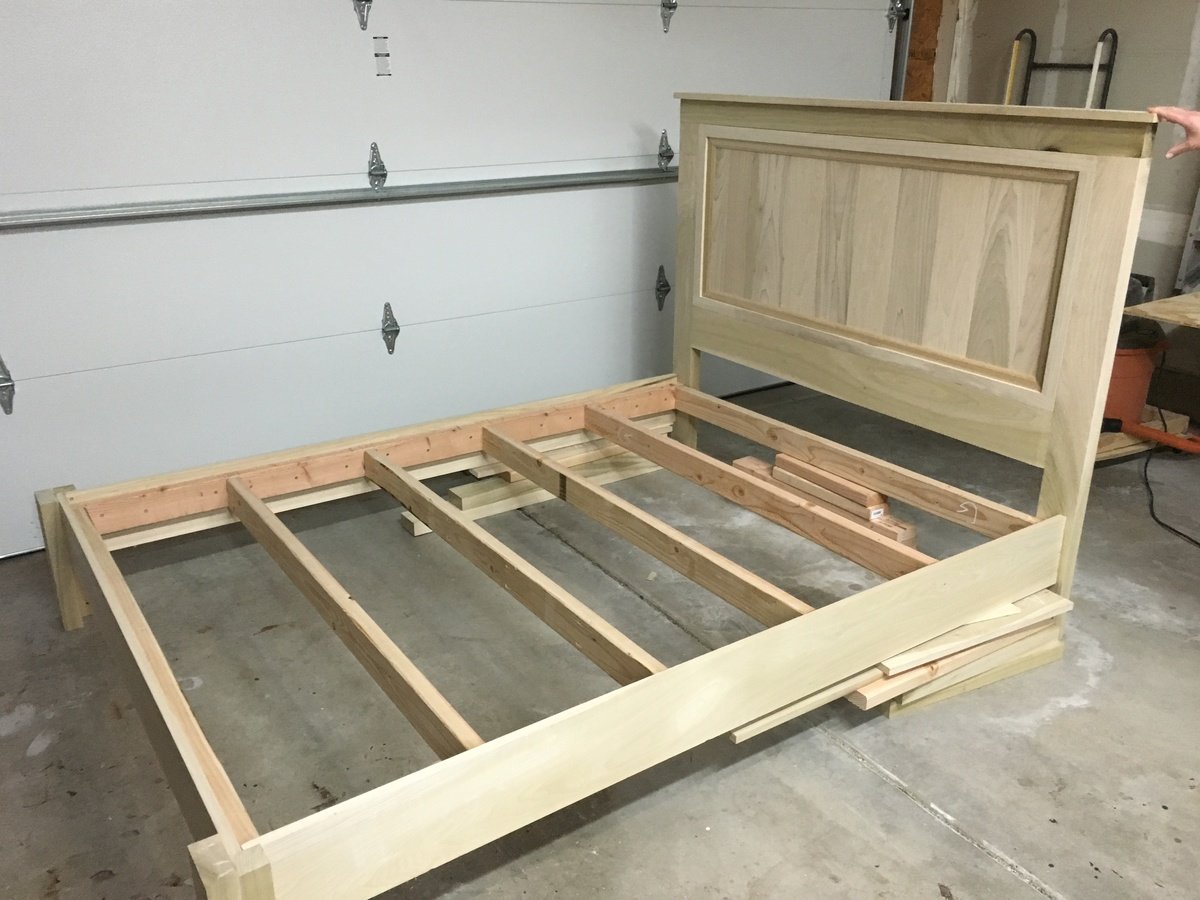
Farmhouse bed Queen

Submitted by fdfp84 on Sat, 04/02/2016 - 17:33

I built this for my youngest daughter, she loved it

Estimated Cost
250.00
Estimated Time Investment
Weekend Project (10-20 Hours)
Recommended Skill Level
Beginner

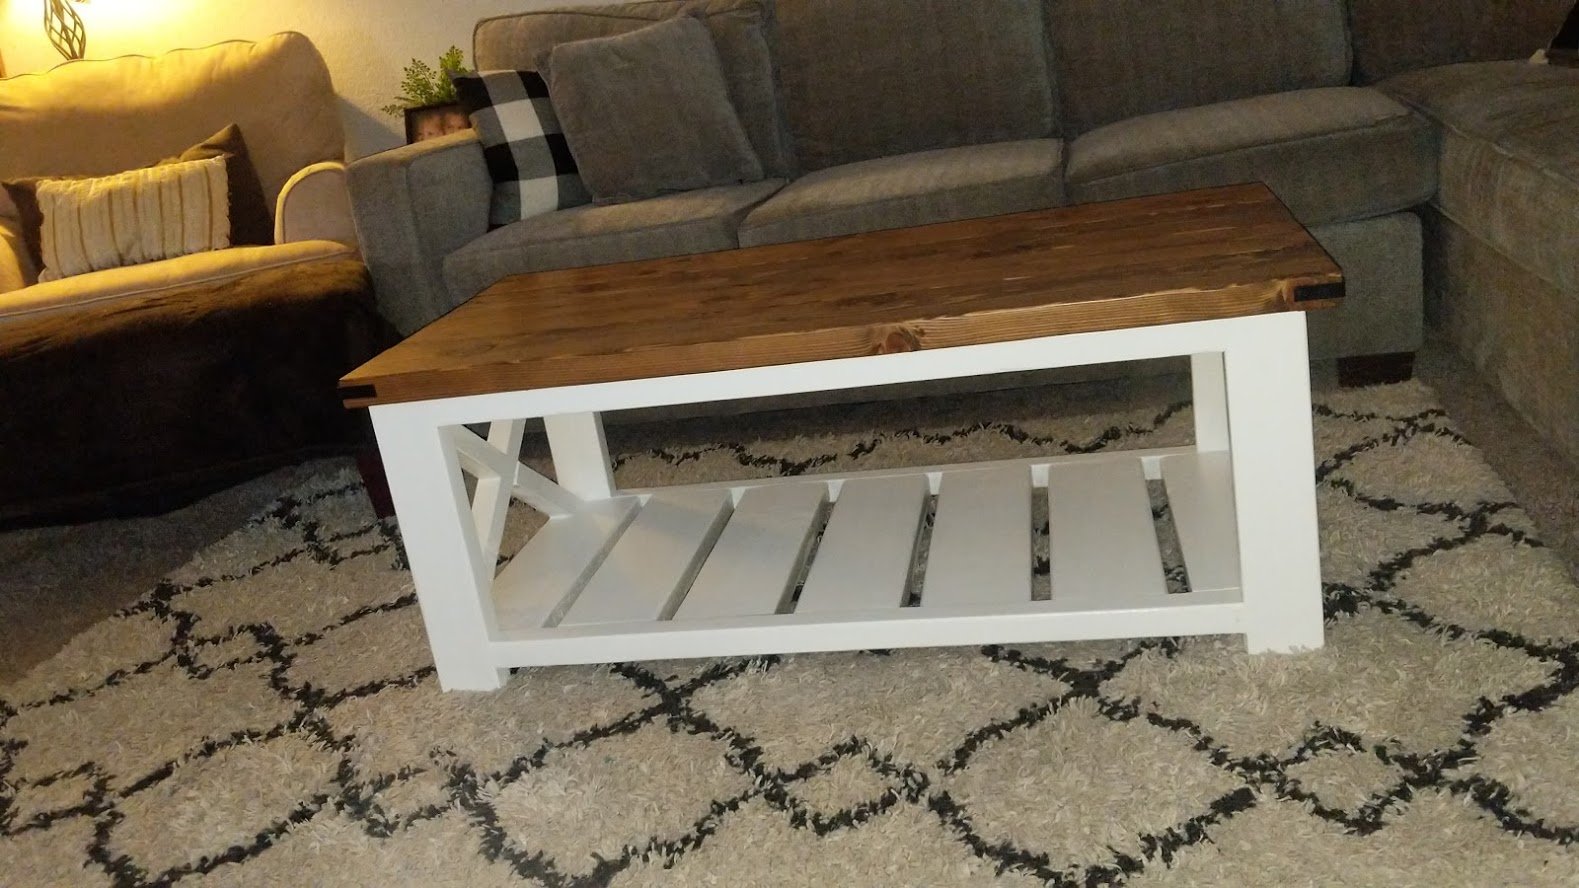
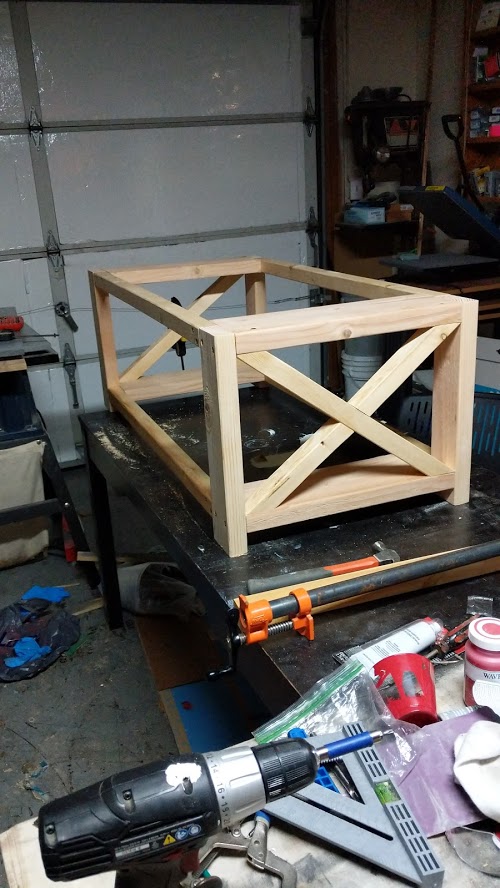
Farmhouse Coffee Table [Beginner/Under $40]

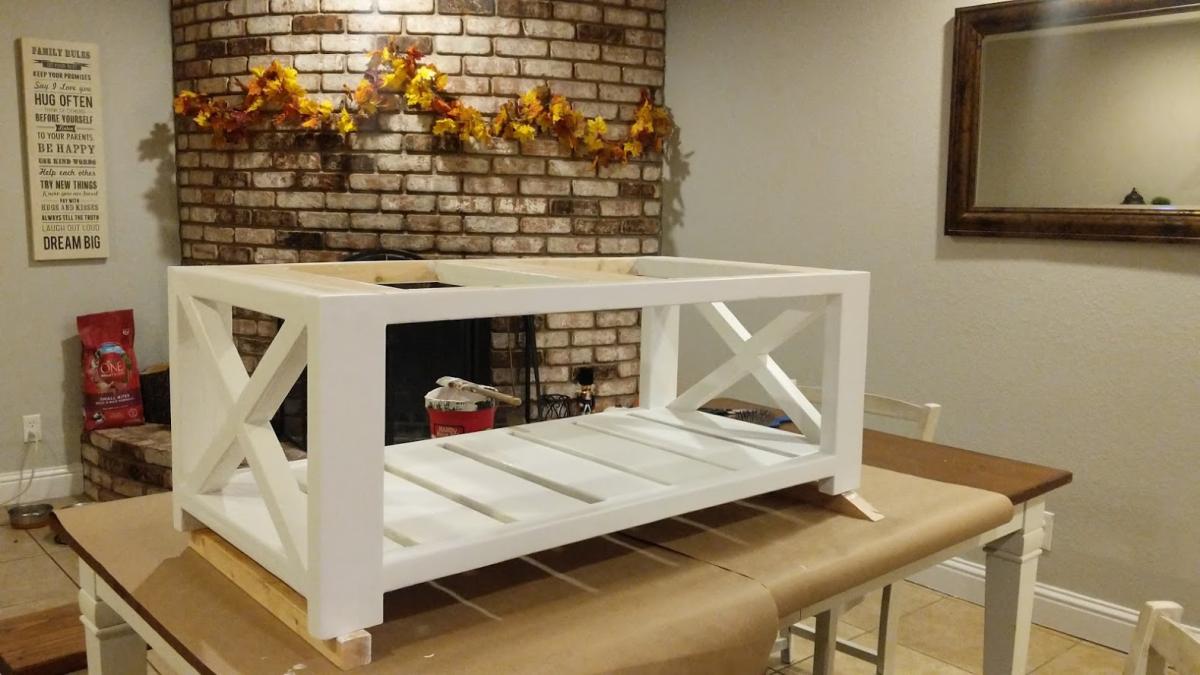
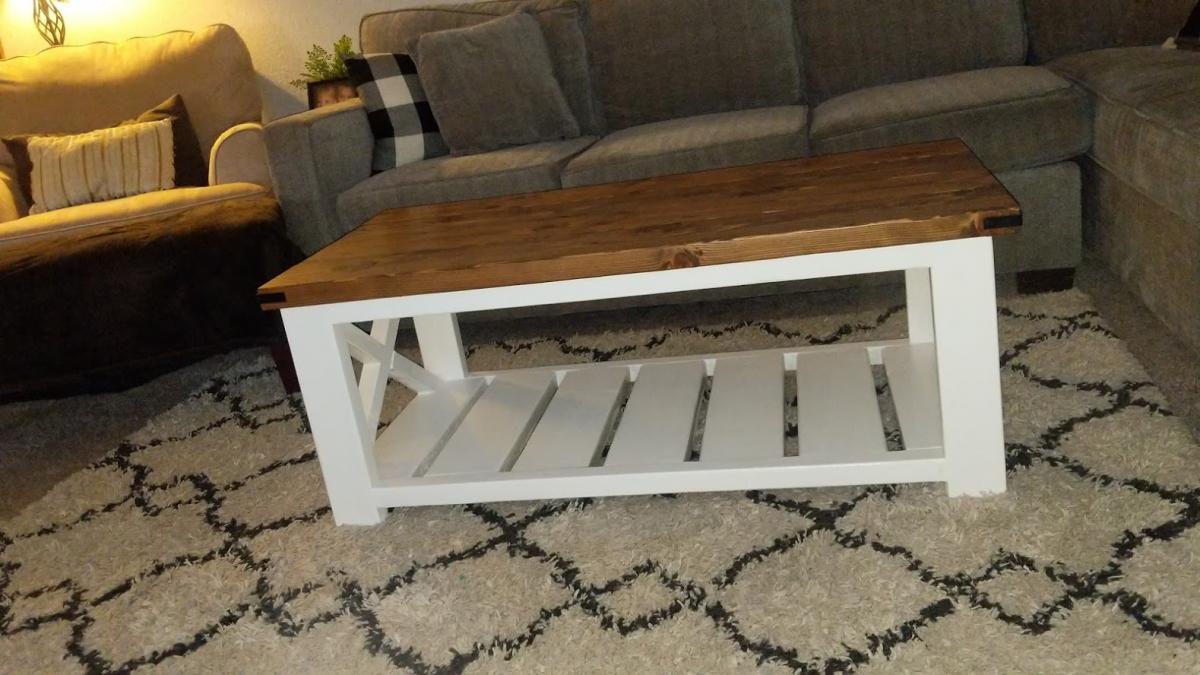
I altered the design slightly by using pocket holes on the top and the bottom slats.  I didn't want any of the screws to show since i was painting the base white.  I used all purpose bondo to smooth the seams for a more finished look.  This has been my favorite build so far and I can't wait for the matching end table to be released.  

Estimated Cost
$50
Estimated Time Investment
Weekend Project (10-20 Hours)
Finish Used
Minwax special walnut 2 coats , rustoleum chalk paint 4 coats , verathane polyurethane water based 4 coats .
Recommended Skill Level
Beginner

Comments

annab3

Fri, 12/27/2019 - 11:13

That looks so good!  ....and is exactly how I want to paint mine (stained wood top, white painted bottom). I have two questions-

1. Did you paint the base white after assembling it together (minus the table top piece) or did you paint it before assembly?

2. Did you bondo every gap, or were you referring to just the table top?

Again, it looks so great and now I really want to get going on making my own.

First Woodworking Project Workbench

Submitted by Anonymous (not verified) on Mon, 08/07/2023 - 12:14

My first build!!! Before this, the only thing I'd ever done was some board and batten. It's far from perfect, but I learned so much in the process. Thank you Ana for wonderful plans that you offer so generously. Next, I think I'll attempt a headboard.

April Bean

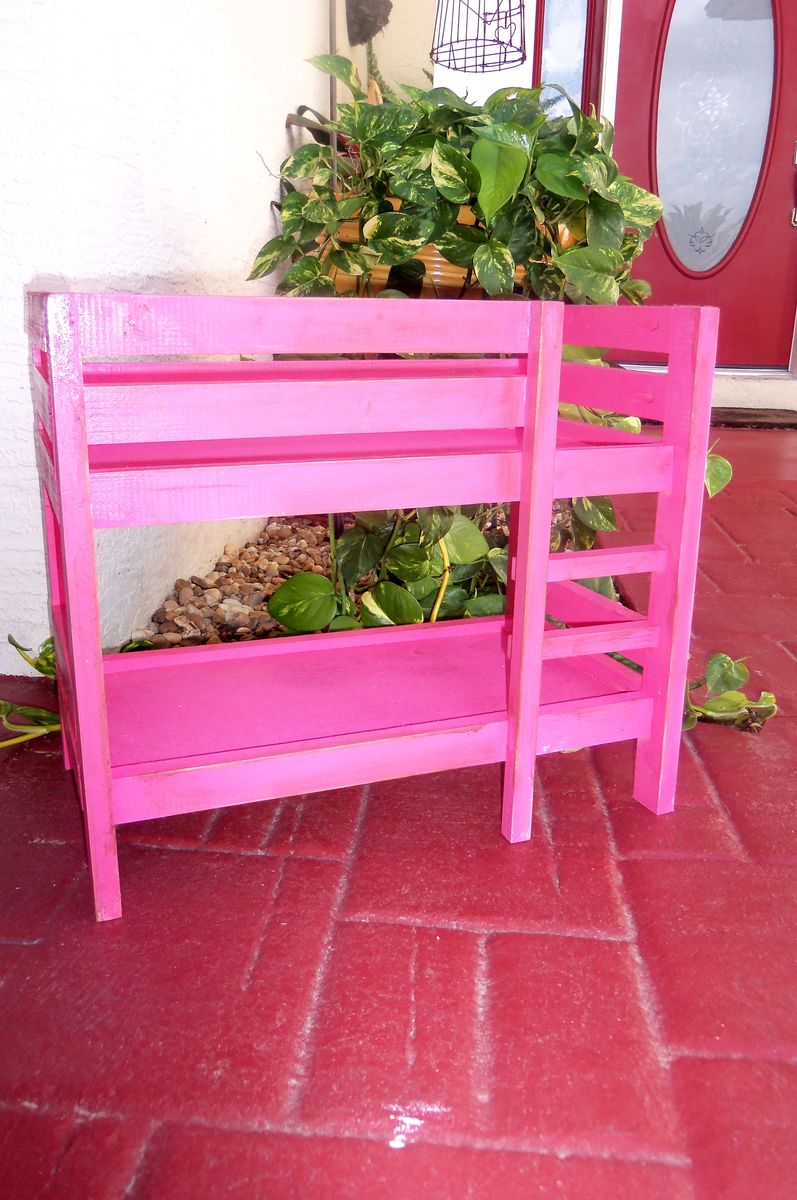
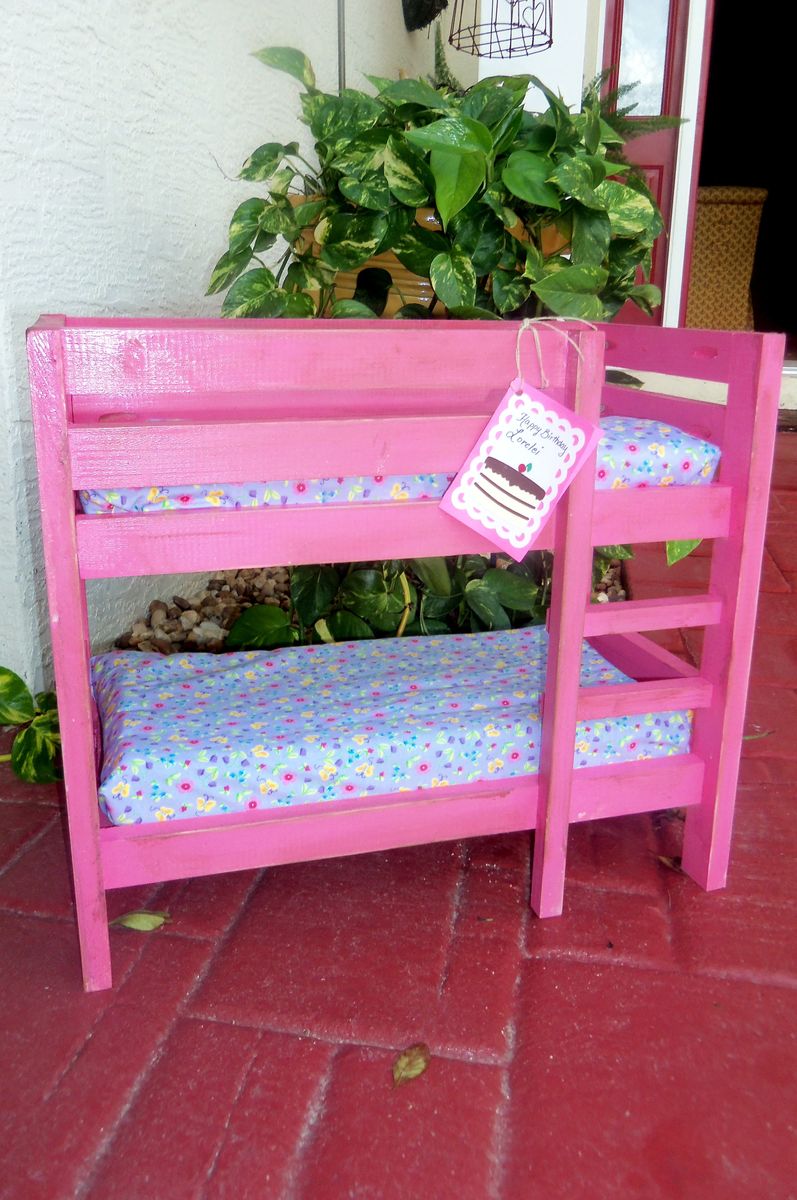
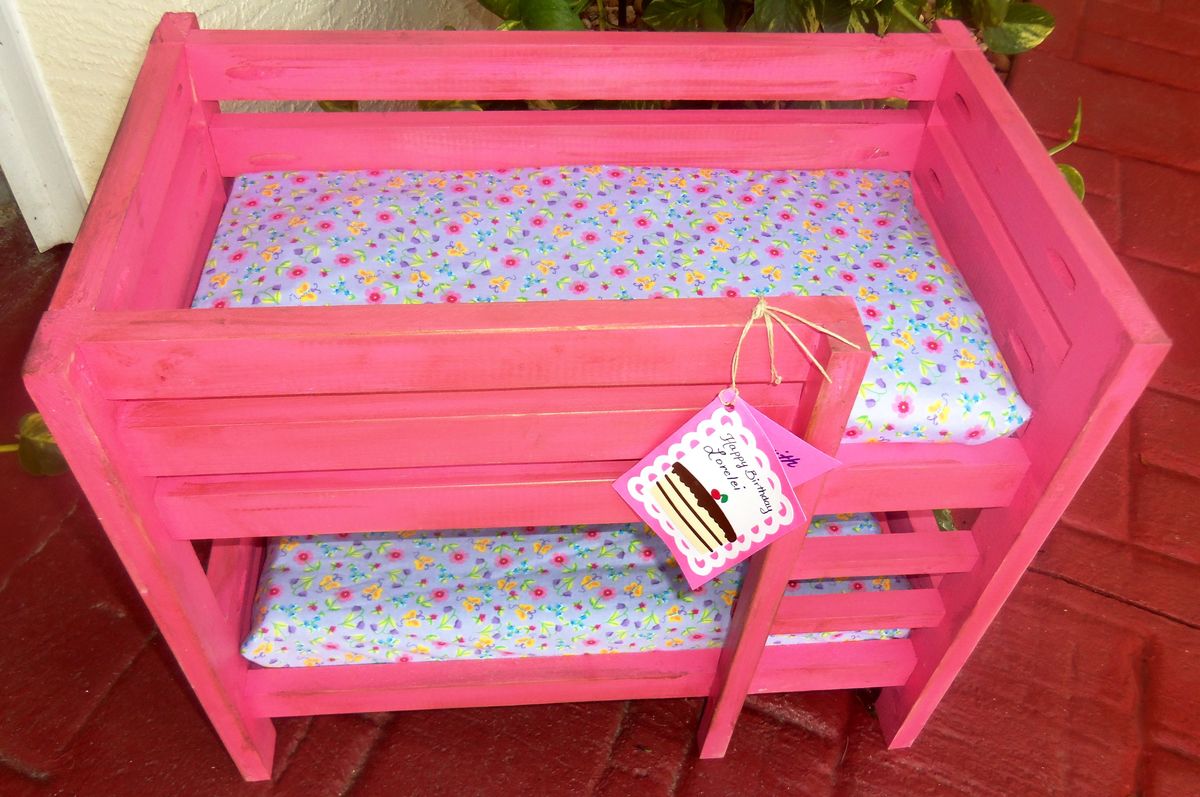
A wee Bunk Bed for a Birthday

Submitted by doorcrazy on Sun, 03/25/2012 - 06:57

We have a lot of birthdays (5-6 year old range) this week so we decided to try some of these plans out. So much fun and they get easier each time :)

Estimated Cost
20
Estimated Time Investment
Afternoon Project (3-6 Hours)
Finish Used
Just some extra pink paint I had lying around
Recommended Skill Level
Beginner

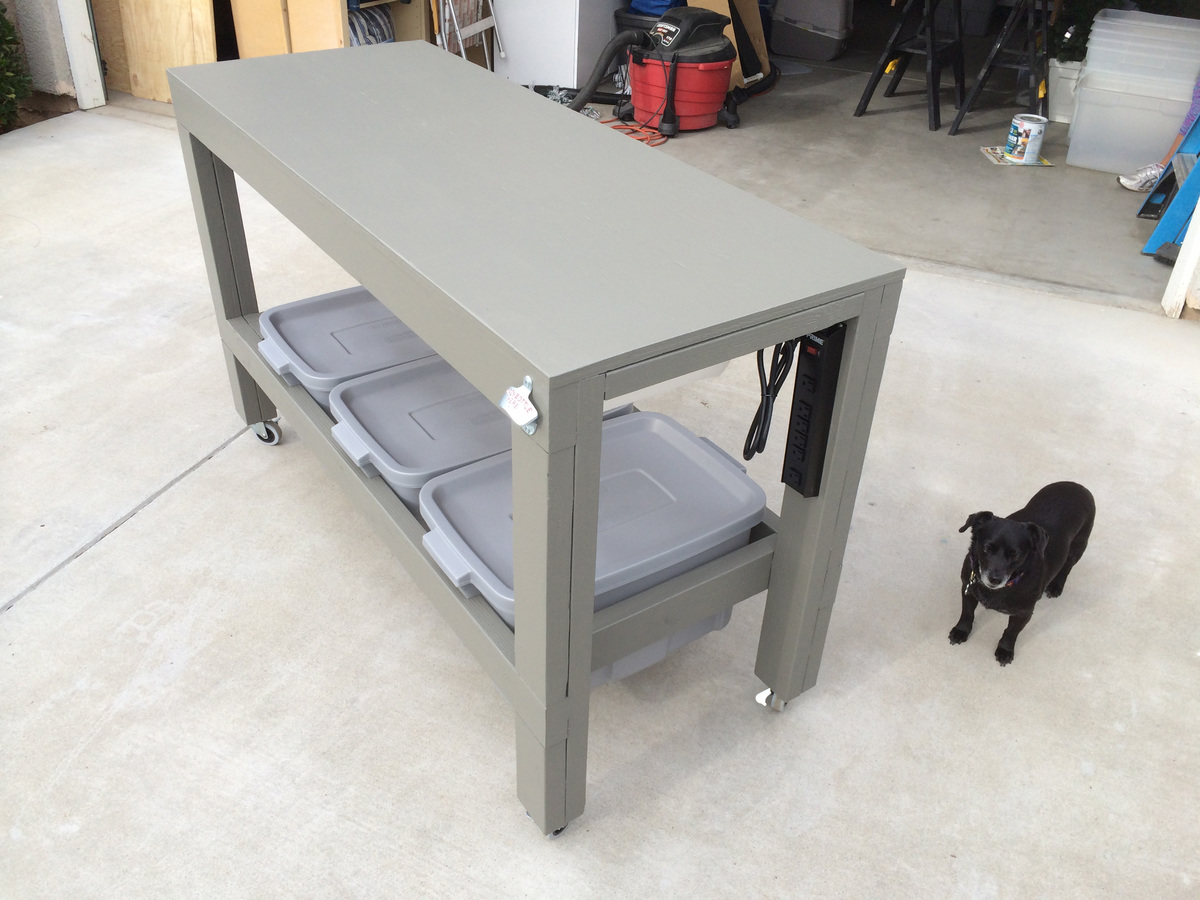
Mobile Workbench

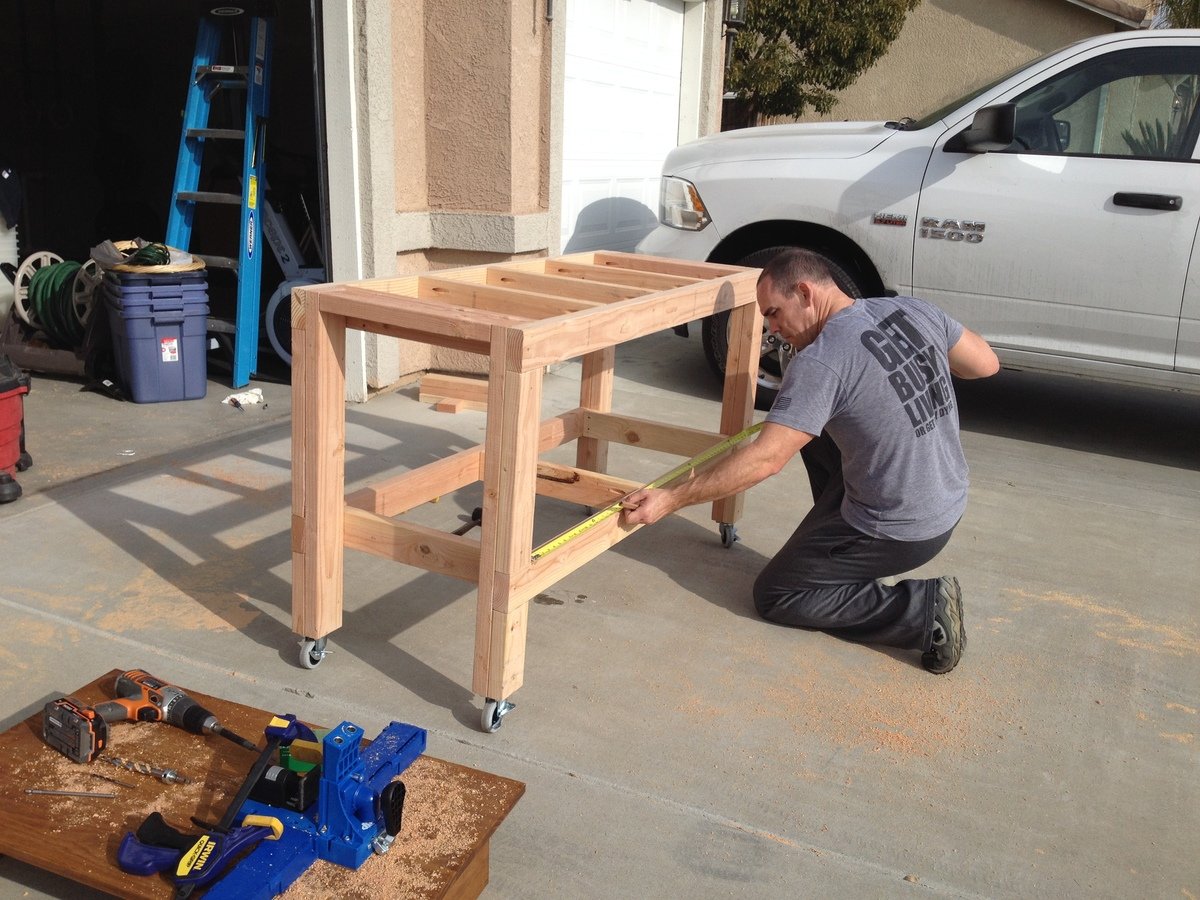
This is from Ana White's "Get the Job Done Workbench" post,
http://ana-white.com/2011/11/workbench-get-job-done

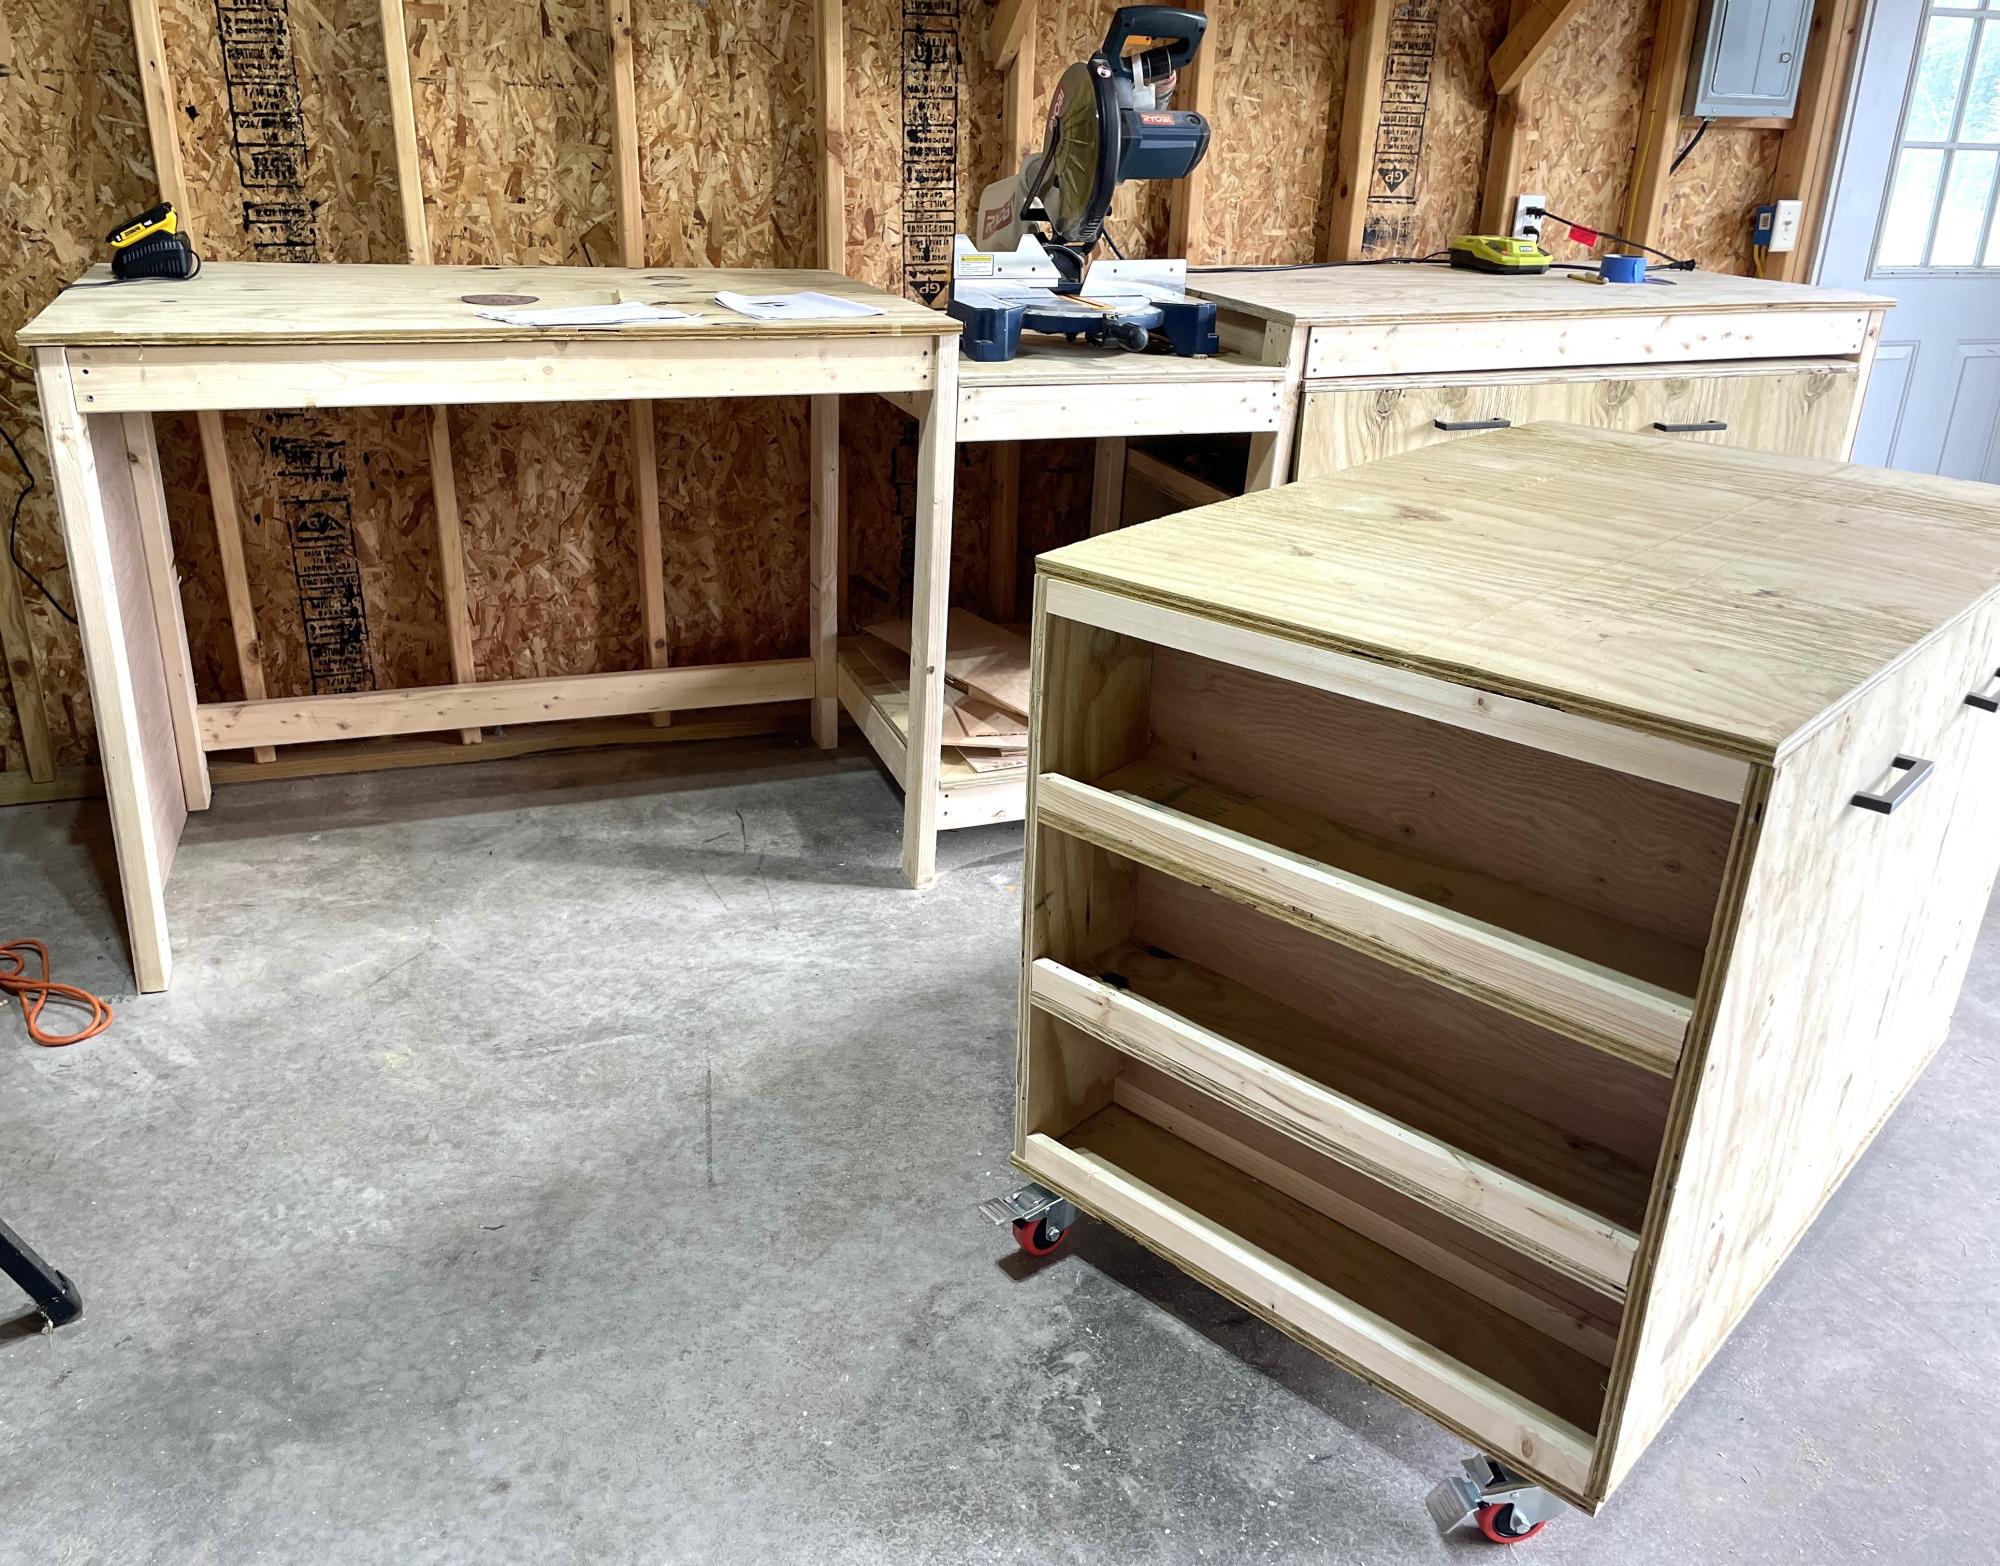
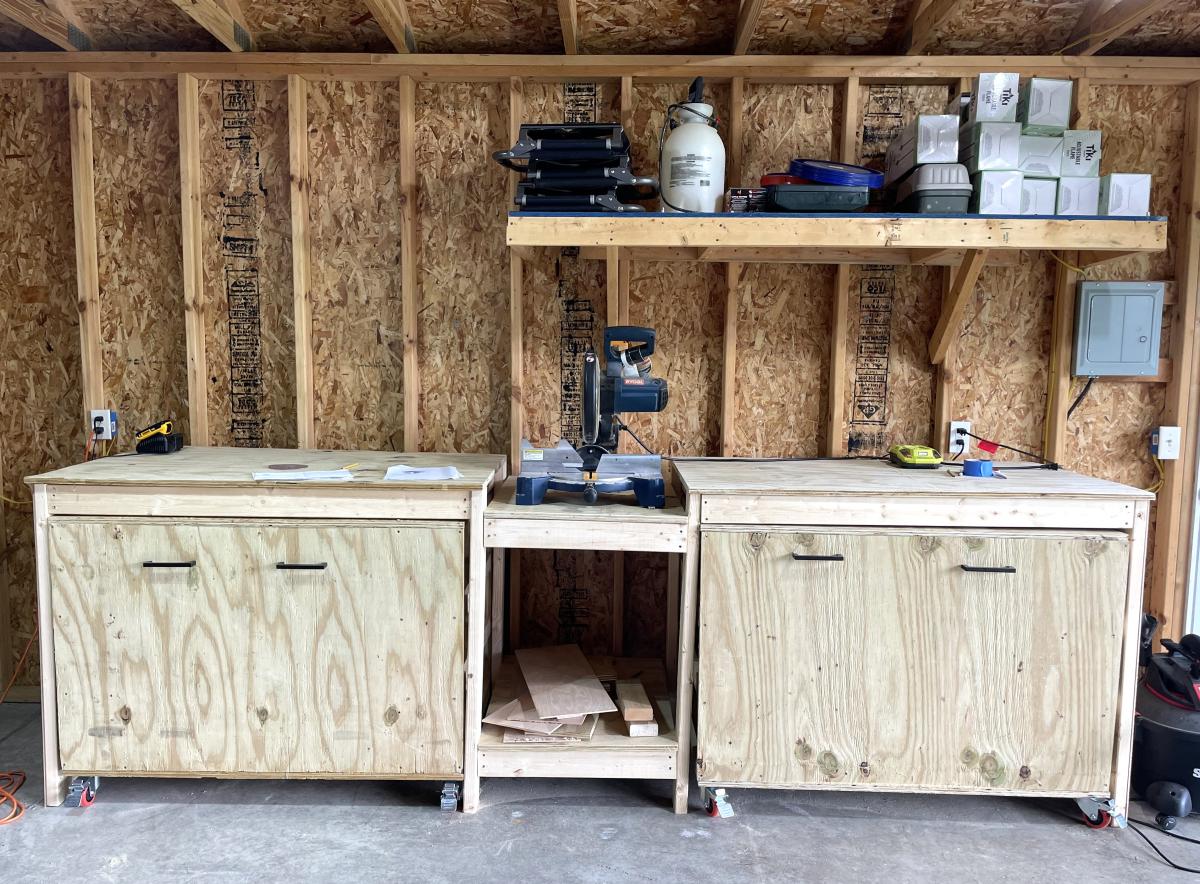
First project using my new Ridgid Sliding Compound miter saw/table and new Kreg HD Jig for pocket holes.

Thanks to my girlfriend for noticing that the depth worked out perfectly for resting three Rubbermaid Roughneck Totes underneath for holding clamps, tools, etc. Also added a paper towel holder under neath, a power strip and of course a bottle opener to the front. :)

Primer and some cheap $2.50 "Oops" paint from Lowe's finished the project.

Now I can move on to other projects and use this sweet new workbench!

Loved these plans. Super easy to follow and modify as needed.

And "Marty" in the photo also approves of the final product.

Thanks!

Built from Plan(s)
Estimated Cost
$125
Estimated Time Investment
Weekend Project (10-20 Hours)
Finish Used
Primer + Paint
Recommended Skill Level
Starter Project

Comments

RRPPBBSS@22

Fri, 08/12/2022 - 13:47

Adding to my prior comment, I thought the plans were different because it does not mention casters that I can see. I now see the bench is in the plans but no mentioned of casters other than comments. I will double check. Thank you.

HERB GARDEN PLANTER

Submitted by Codding58 on Tue, 04/05/2016 - 10:18

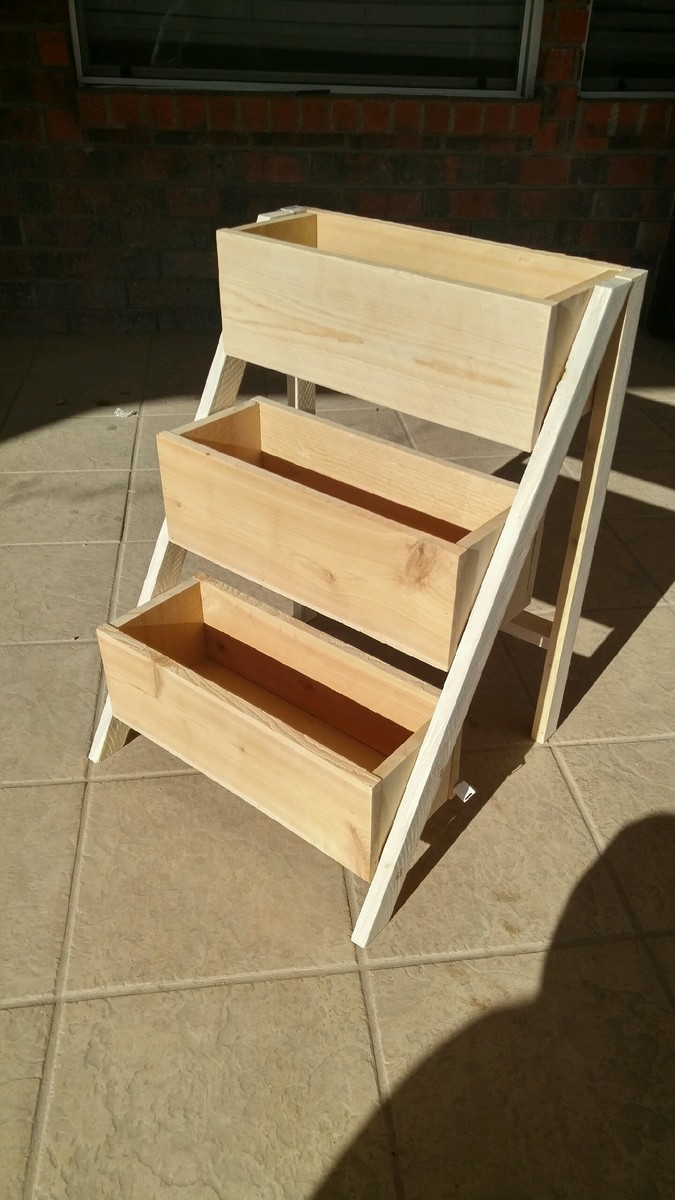
This project was a super easy and fun build that I made for my mother's herbs. In total I spent probably around $12 in material, and only spent about 2 hours building it. Came out great!

Estimated Cost
$12
Estimated Time Investment
An Hour or Two (0-2 Hours)
Finish Used
none
Recommended Skill Level
Beginner

Comments

In reply to by jfwoodworking

Codding58

Tue, 04/26/2016 - 14:13

Being that its going to be holding moist soil, and inevitably warping some, I didn't want to waste too much money on better wood, so i went with cedar fence boards (5 1/2") for this build. It DID move around a little when I first watered, but everything has held together fine, and I defiantly think it will add to the "rustic" look for my herb garden planter. i will try to upload some pictures as it "ages"

Simple, Easy Console Table

Submitted by LampAtFeet on Wed, 12/11/2019 - 15:25

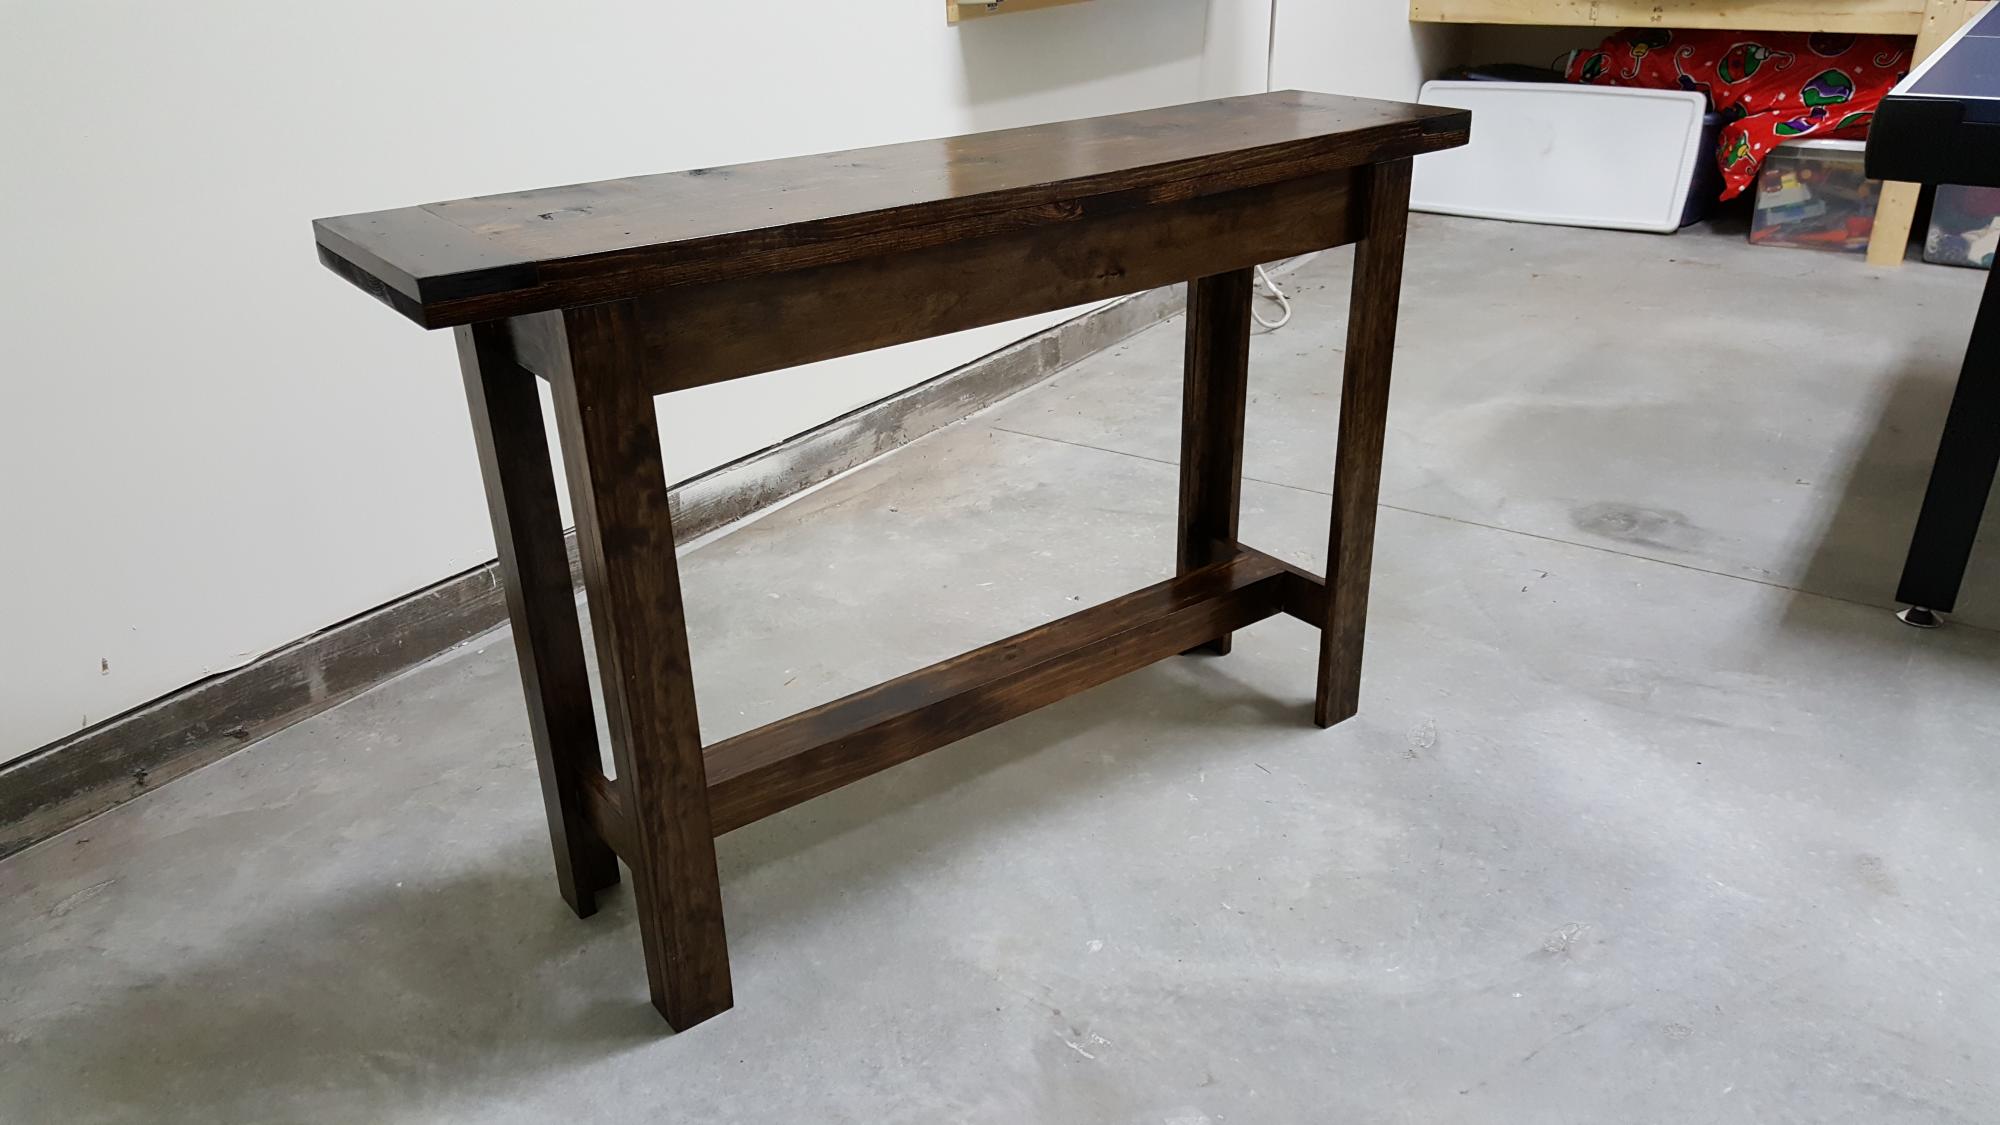
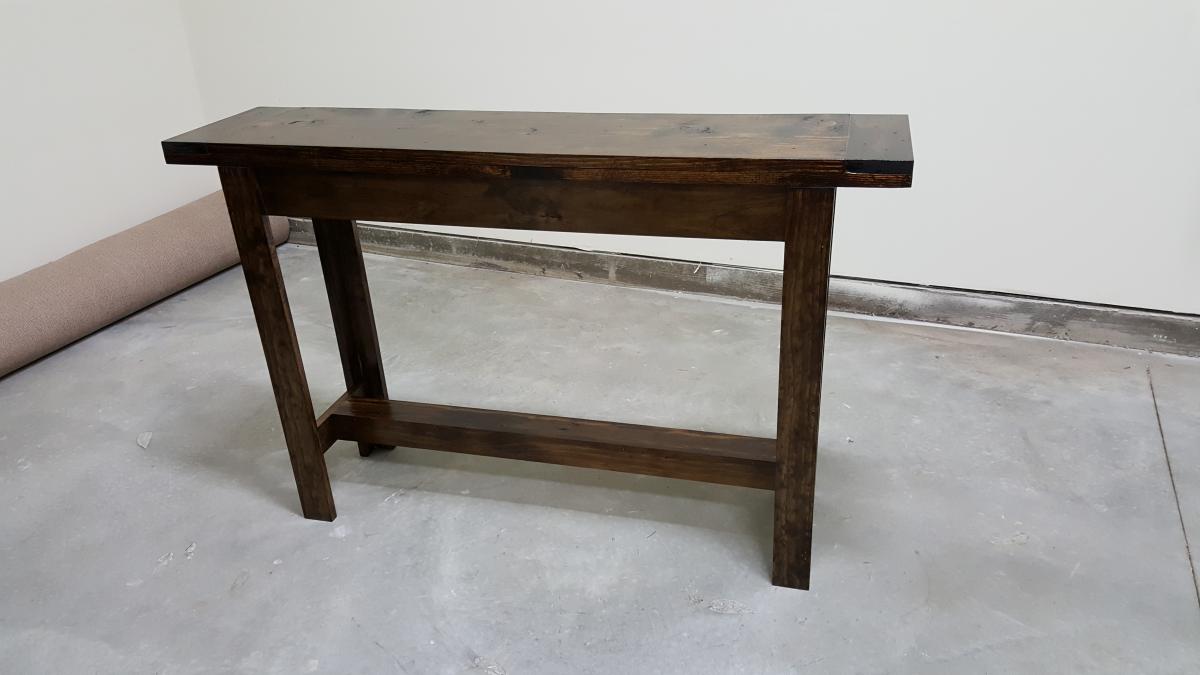
This was my very first build... a few years ago. I built it for my son's first apartment and it has survived several moves since then. It's great for an entry table or for a flat screen tv. Thanks for all the plans, Ana!

Estimated Cost
$20
Estimated Time Investment
An Hour or Two (0-2 Hours)
Finish Used
Dark walnut stain with a couple coats of wipe on polyurethane
Recommended Skill Level
Beginner

Farmhouse Table-First Project = Big Success!

Submitted by dianek on Wed, 03/28/2012 - 20:43

This was our first project; and definitley and inspiration to do more. I am so excited to have this in our dining room. Project took about 8 hrs to build and 4-5 days to stain and poly. We used a Gunstock stain with 2 coats of Walnut over that.

Overall cost was about $150 with wood, stain, materials and poly. We ended up working with 2 types of wood (yellow & white pine) which proved frustrating as we tried to match the stain color. All ended up OK after a couple of trial and error on some scrap wood.

I can't wait to make the matching benches. Thanks Ana!

Estimated Cost
$150
Estimated Time Investment
Weekend Project (10-20 Hours)
Finish Used
Stained
Recommended Skill Level
Beginner

Comments

ferbit

Fri, 03/30/2012 - 10:01

Gorgeous table!!! I can't believe this is your first project! Yay! Now it'll never end! Ha! My husband thinks I'm nuts - I want to build everything!

I wish I had used Pine instead of Hemlock. I made a table very similar to this, but my HD only carries 2x stock in hemlock. Apparently Lowes carries 2x pine. I like the sharp square edges of pine better. Hemlock has rounded edges. Blah blah blah, your table looks awesome!

Dress Up Closet

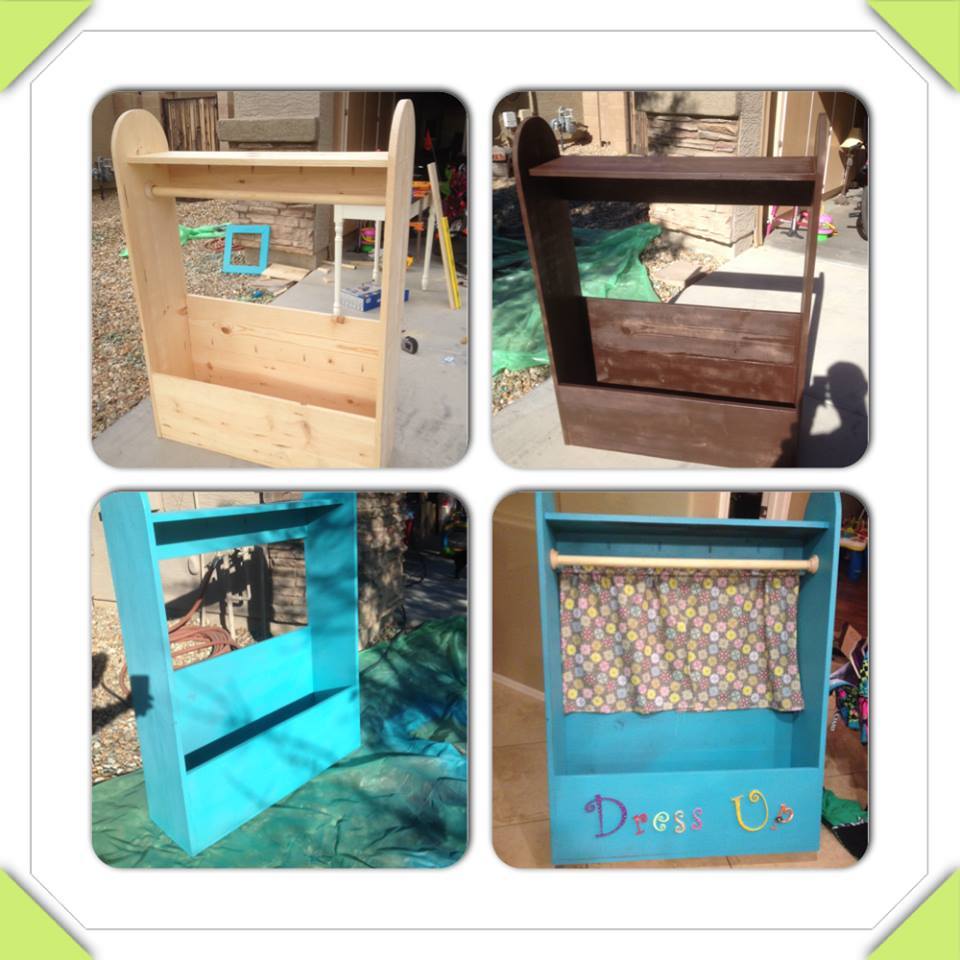
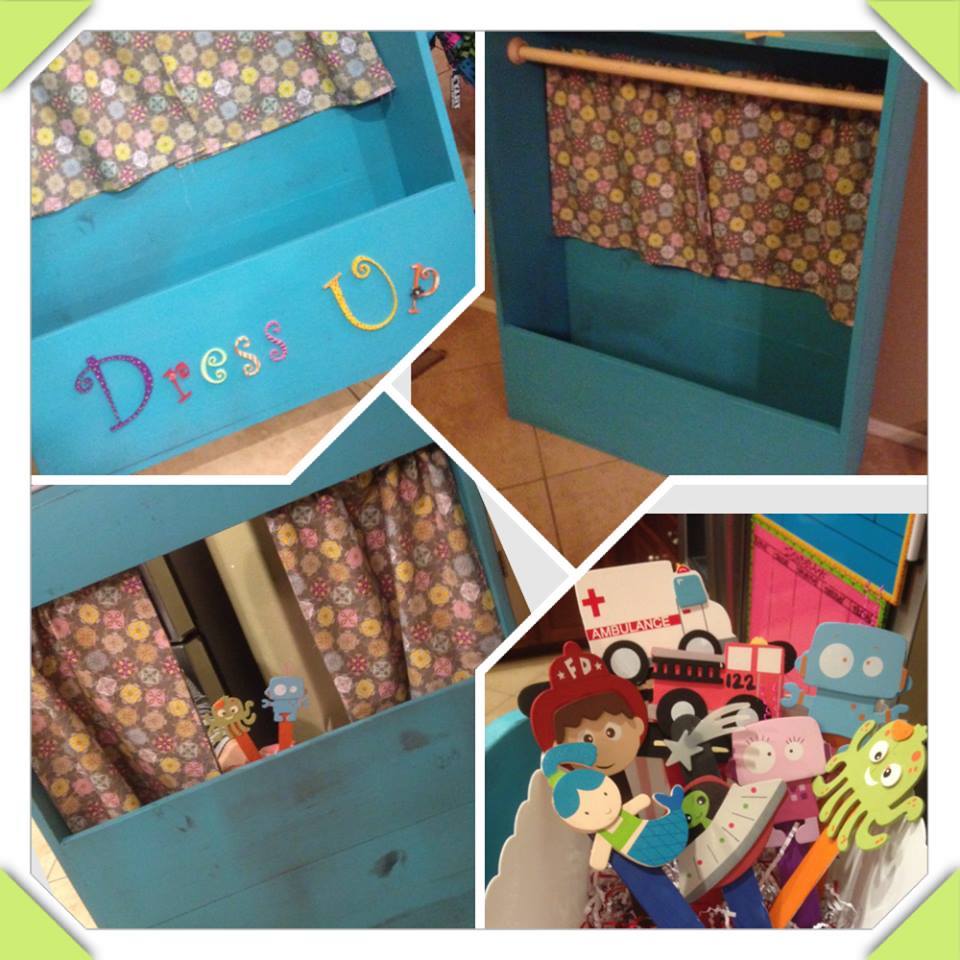
We turned the back into a puppet show theater for the kids. We added a shelf up top for storage, inclosed the back and added curtains w/ rod. For the puppets we kept it cheap...found some wooden cutouts and large popsicle sticks. The letters on the front were small ones bought from the craft store and used some paint I had around the house.

Estimated Time Investment
Afternoon Project (3-6 Hours)
Recommended Skill Level
Beginner
Back