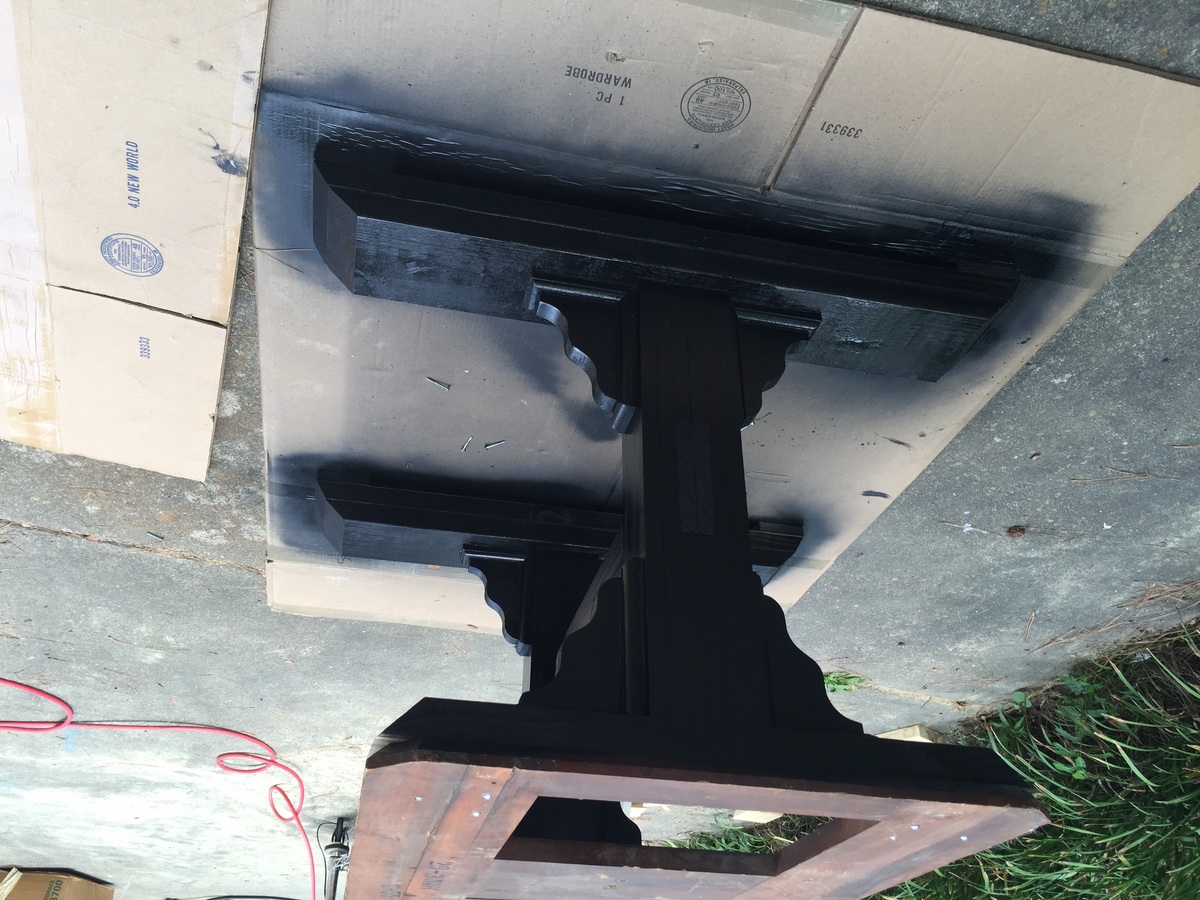
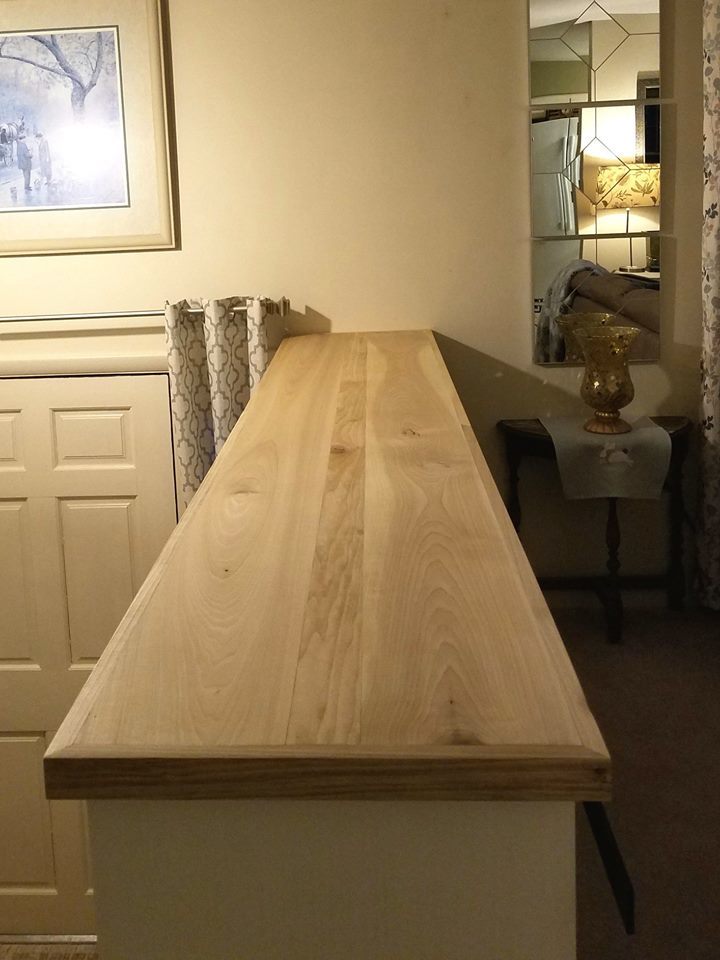
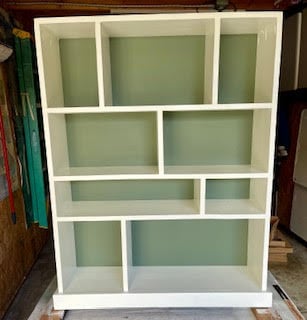
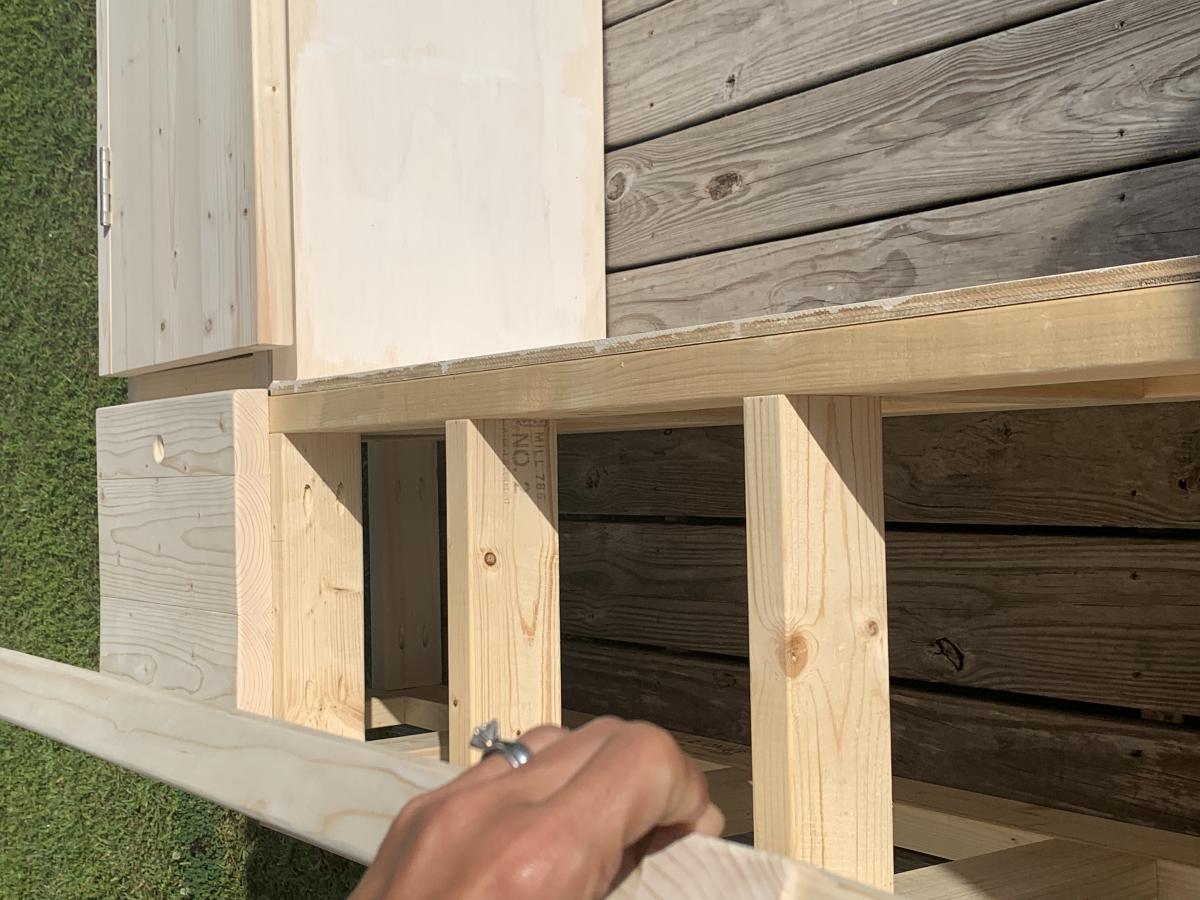
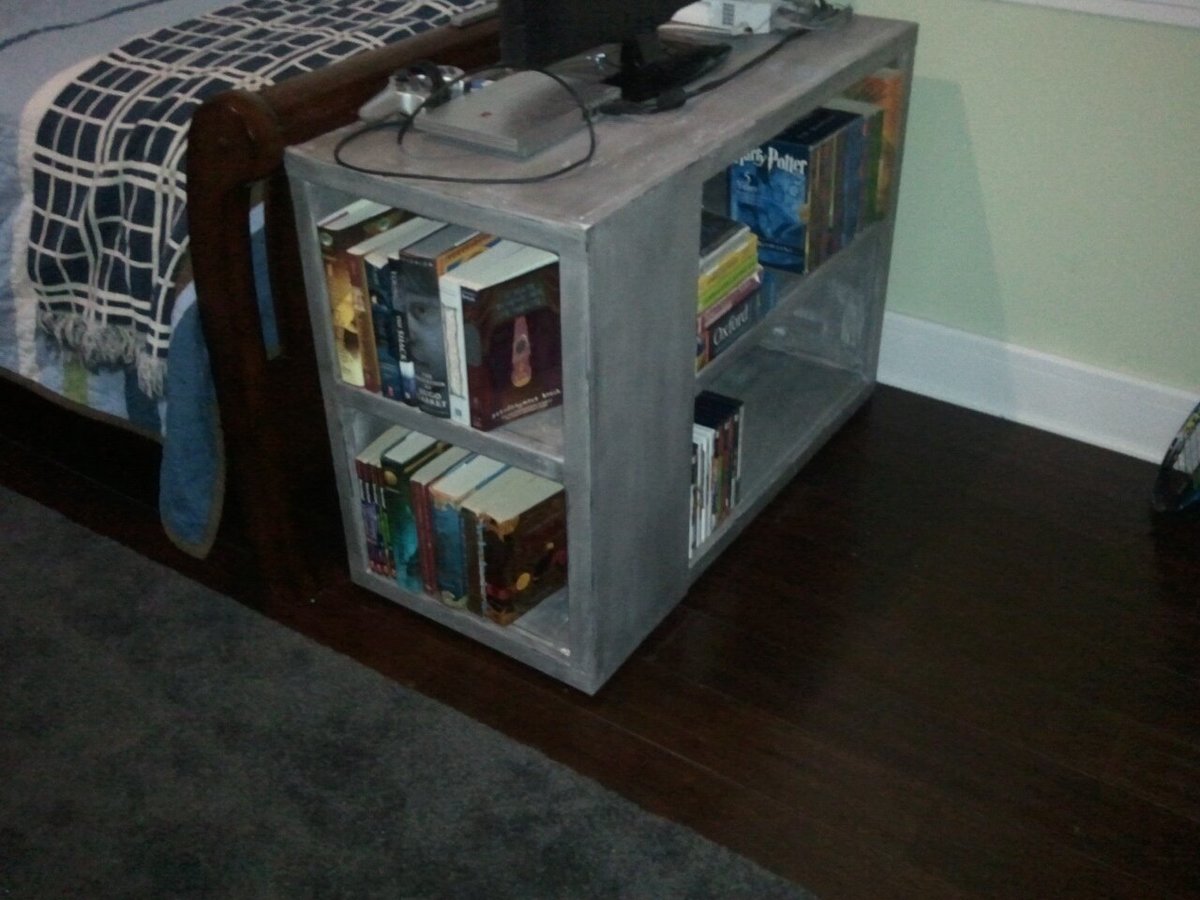
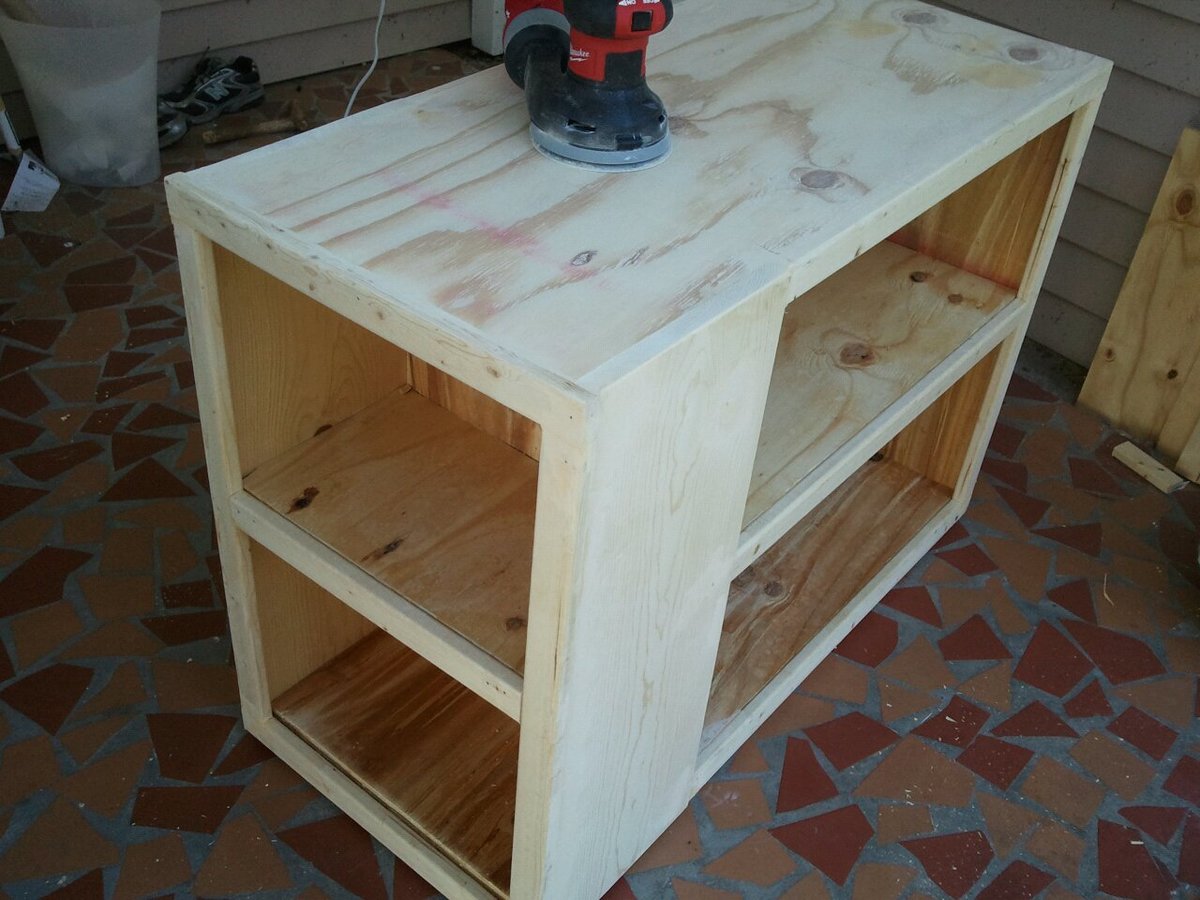
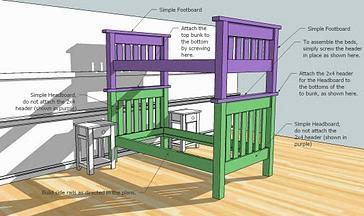
Community Brag Posts

Laundry Pedestal

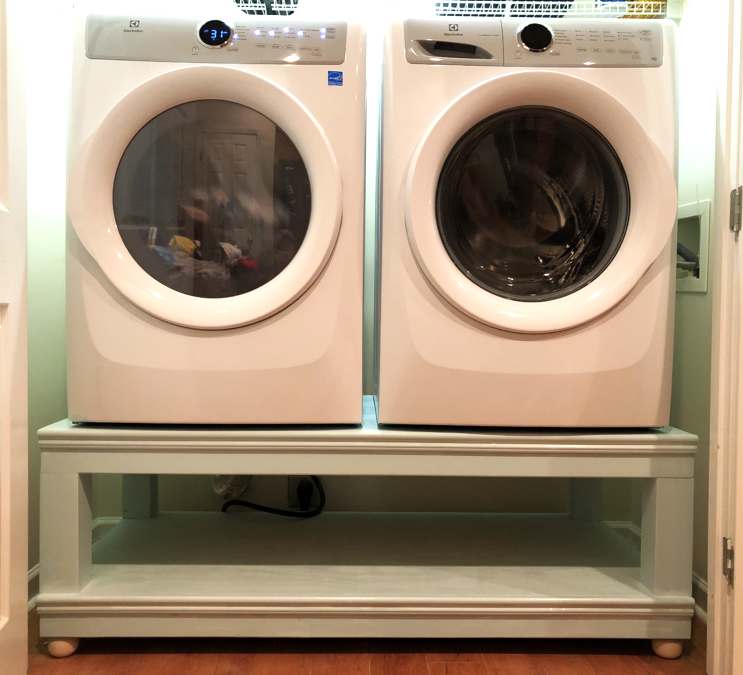
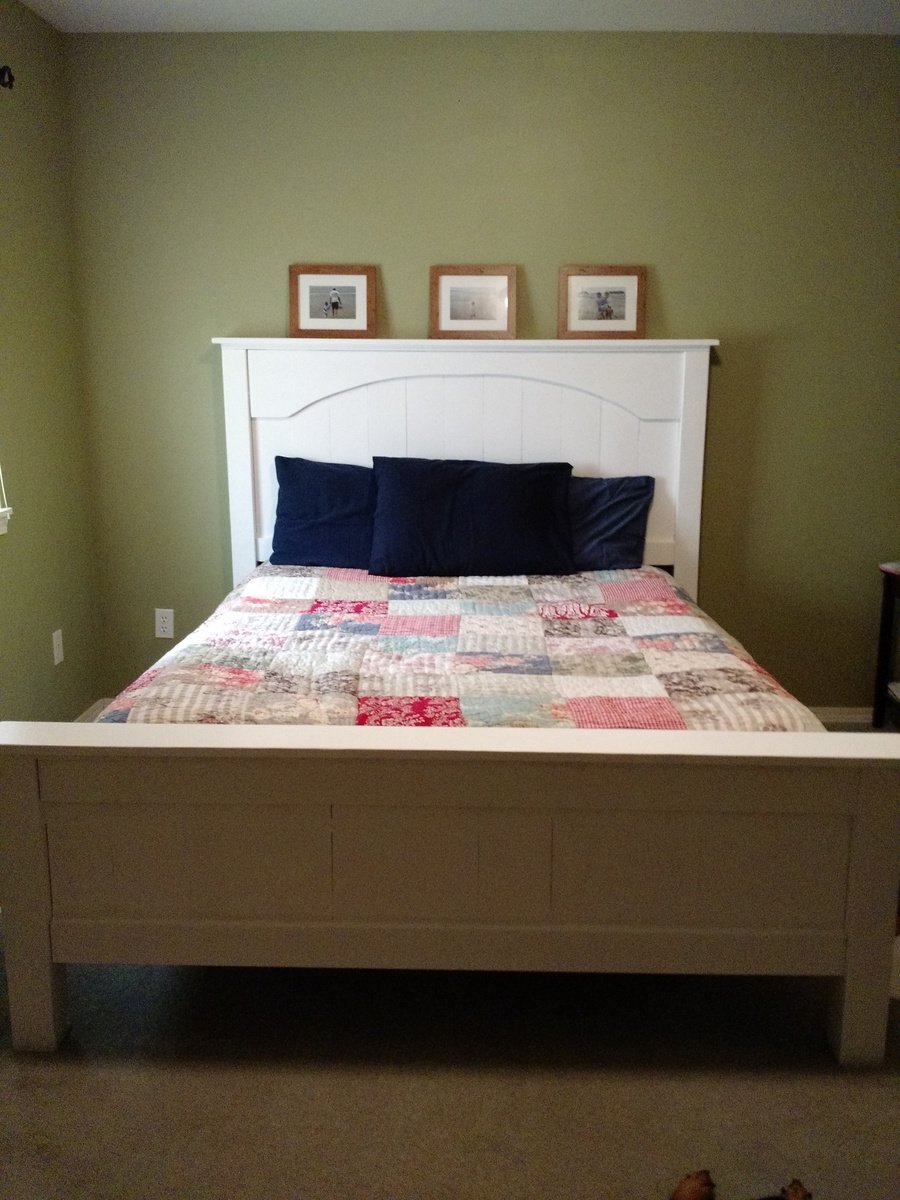
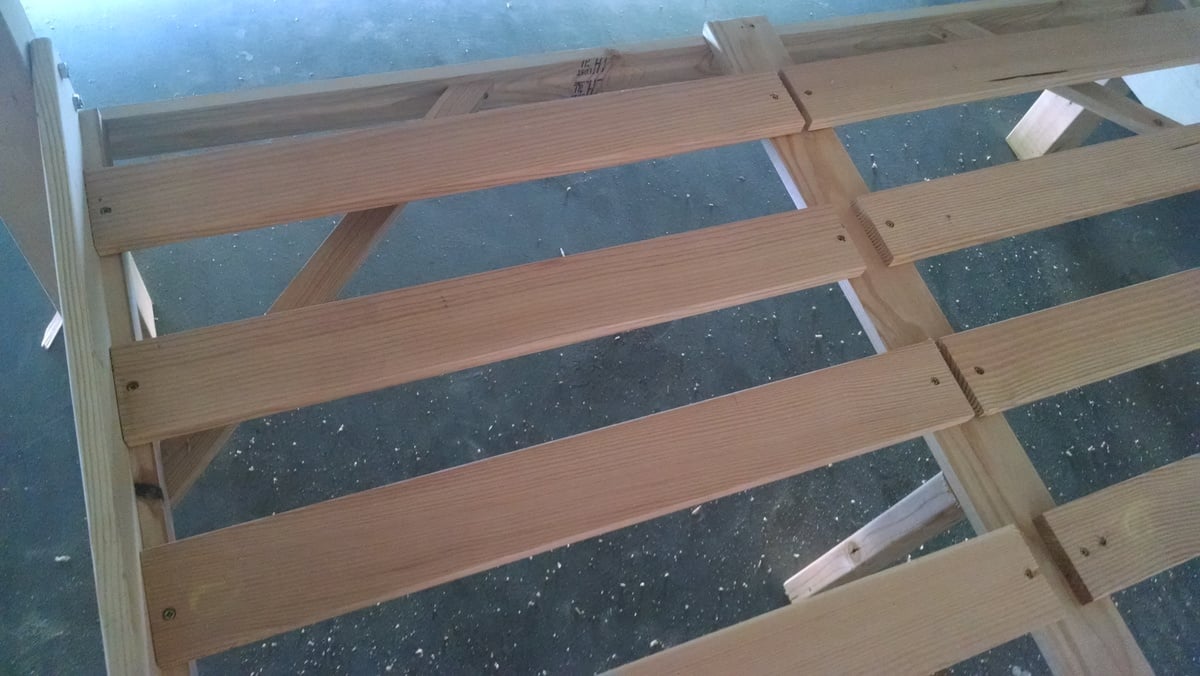
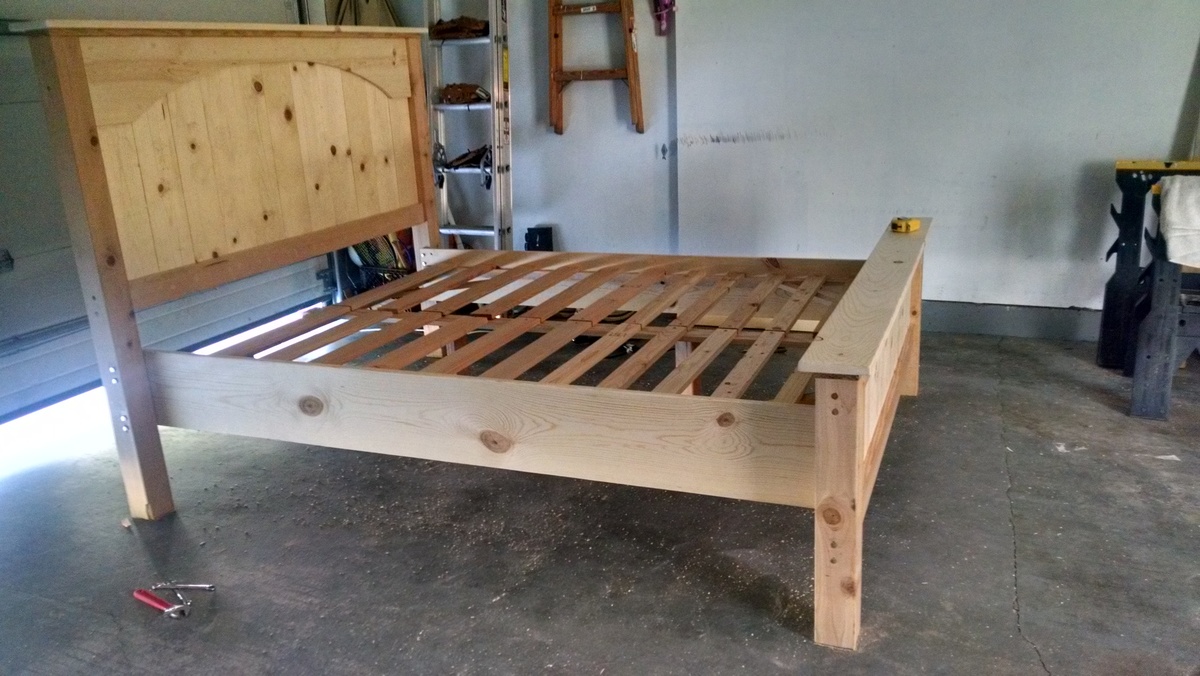
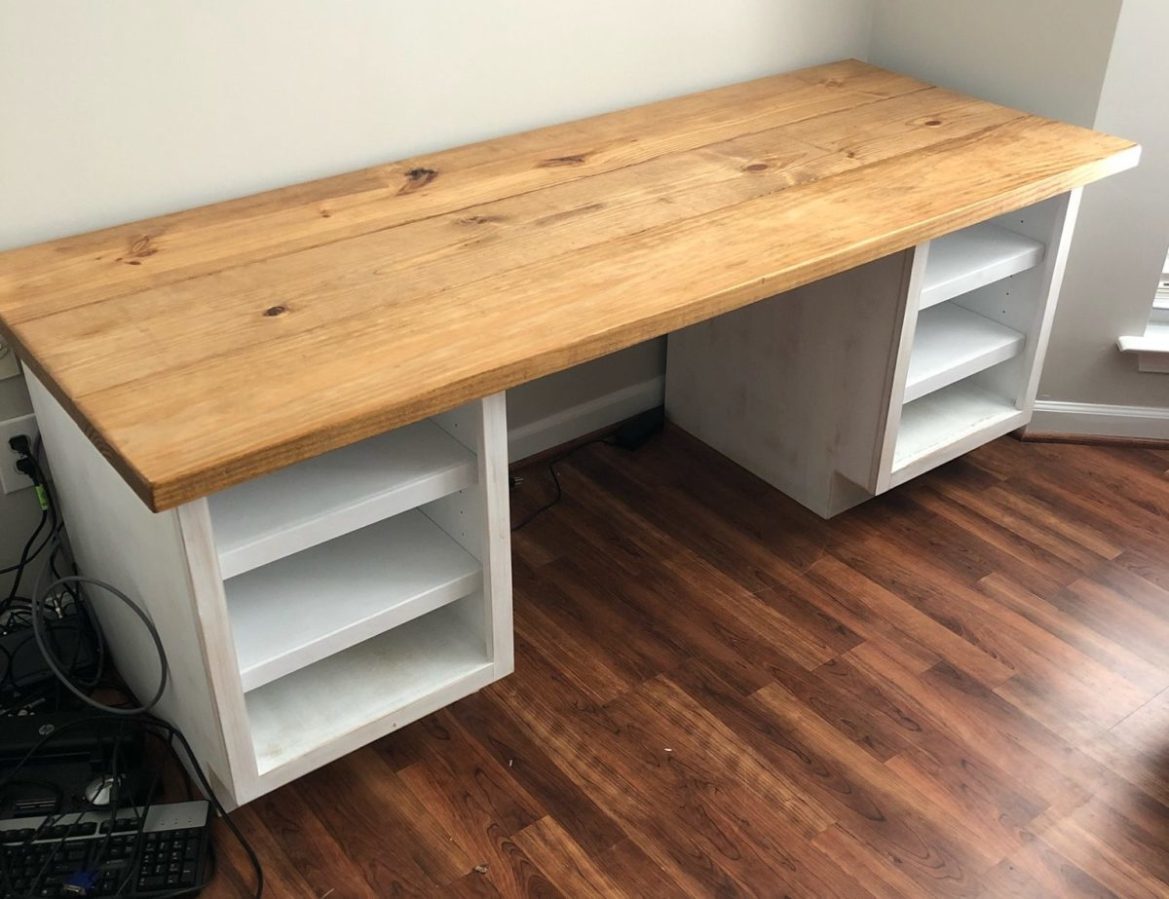
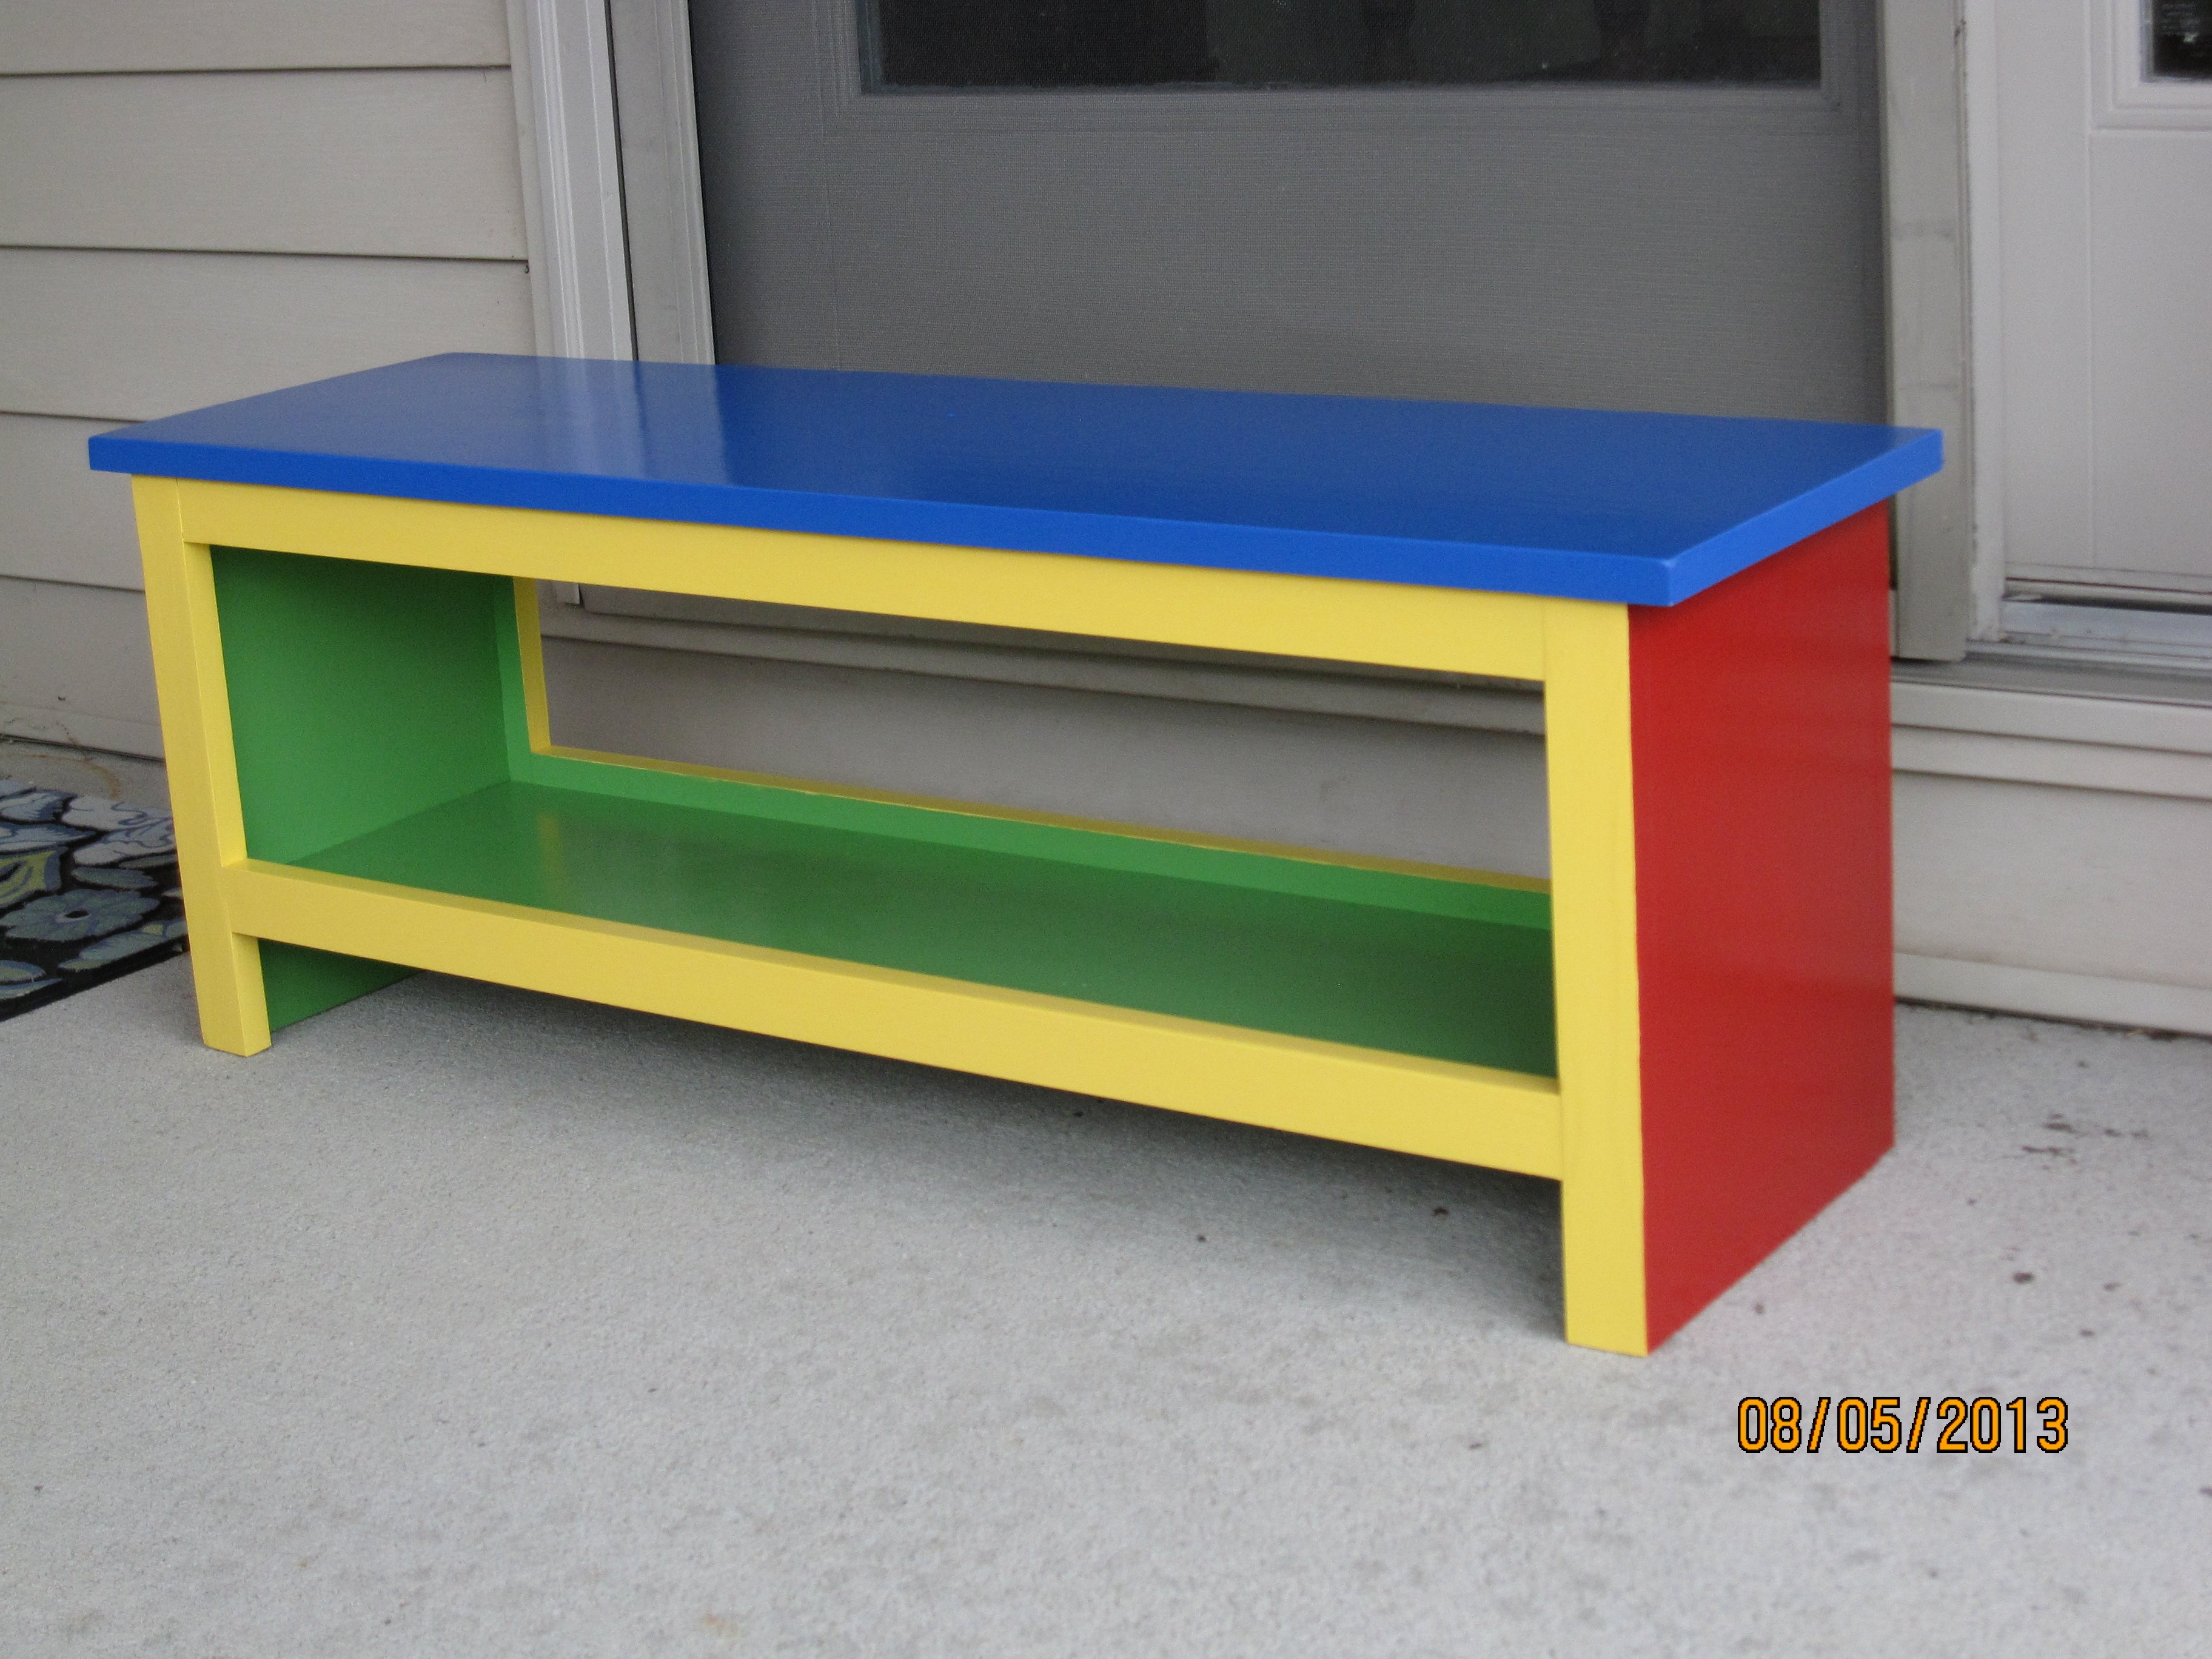
I took this plan from www.Ana-White.com Home Depot cut my wood and I was off and running. I added a few ball feet on the bottom to give it a little pizzaz. I felt so accomplished after my first project... especially after the install guys told me it wouldn’t fit and it DID and it was level. I’m getting ready to make a coffee table now. Thanks for the inspiration, confidence and help!!

Estimated Cost
$150
Estimated Time Investment
Afternoon Project (3-6 Hours)
Finish Used
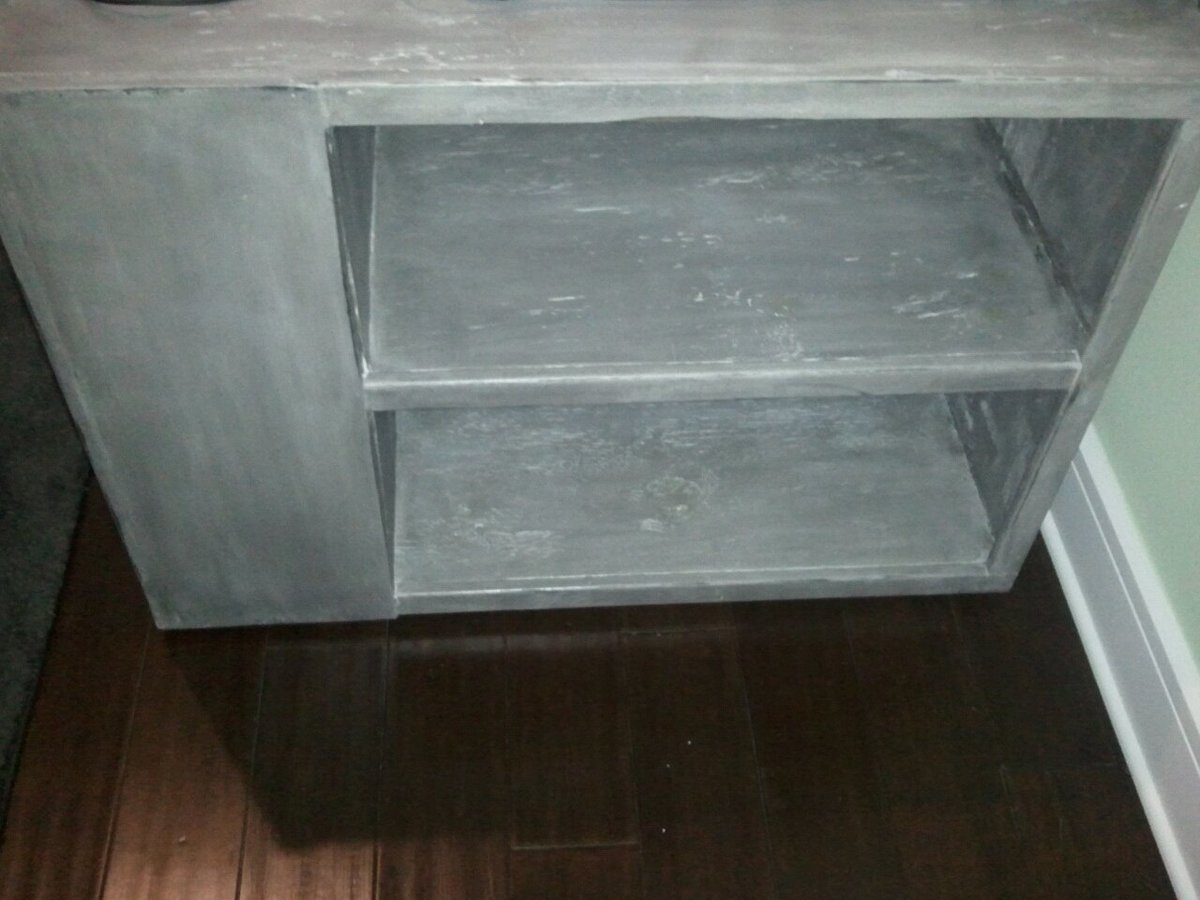
Satin Furniture paint
Recommended Skill Level
Beginner

Workbench

Submitted by Anonymous (not verified) on Fri, 04/22/2022 - 13:19

Workbench with tons of storage! Not from a plan on the site. 

by La Nin

The Magic Tree House

We adapted these plans to build our treehouse, I hope it's not too much of a stretch for brag posts! Every kid seems to have two wishes: a fort or tree house and a secret passage way. Or is it just my kids? Turns out we live in the desert and trees are hard to come by. Our solution? Build a tree house in the house. Why not!? Our magic tree house is well used and well loved. This is one of those projects that simmered and in my mind trying to think of the perfect way to build the thing. The stuff our parents built and played in was a hodge podge of left over wood and their own creations, crooked construction and messy paint. So, I set the perfect aside and dove in. The only things our tree house really needs to be is safe and fun. Most families try to find indoor activities for the winter, but in the desert it is so blazing hot we need indoor retreats in the summer. This tree house is the solution a gagillion times over! Thank you Ana!

Estimated Cost
$150
Estimated Time Investment
Week Long Project (20 Hours or More)
Finish Used
Paint and Plyurathane
Recommended Skill Level
Intermediate

Comments

A variation on the theme - double pedestal breakfast table.

Submitted by jmranes on Wed, 08/19/2015 - 15:00

We needed a smaller breakfast area table and I found this mid century Drexel oval table top resting in my garage.  Variations include - used 1x4 select pine instead of 2x4's for a tighter more finished fit.  Used 5x7 pre-made shelf brackets for supports.  Nice elegant trim pieces and saved much time rather than shaping 2x8's.


Very happy with with the results.  Thanks Ana for the plans. 

Built from Plan(s)
Estimated Cost
95$
Estimated Time Investment
Afternoon Project (3-6 Hours)
Finish Used
Satin black spray paint
Recommended Skill Level
Intermediate

Sliding Door Console to replace split level railing

My wife wanted to get rid of a railing above our steps and wanted some additional storage. I had this plan saved but though about doing something smaller. Once I realized that wasn't going to work, I decided to go with this plan. It worked great. 

Estimated Time Investment
Weekend Project (10-20 Hours)
Finish Used
Natural Danish Oil for the top and white paint for everything else
Recommended Skill Level
Intermediate

Sling Chairs

Super Cute, Super Easy & Super Affordable! Cant wait to build the adult size chairs!

Estimated Cost
$30 for both!
Estimated Time Investment
An Hour or Two (0-2 Hours)
Finish Used
Outdoor sealer
Recommended Skill Level
Starter Project

Simple Not-so-white Outdoor Loveseat

Simple not-so-white sofa. This is the nicest piece I've done yet, but also very time consuming. These plans ways take me waaaaay longer to complete than they suggest. But I am meticulous and stain everything ahead of time before assembling. This plan was great, but beware that the 1x4x8 and 1x6x8 for the back rest are not listed in the materials list! Also, I modified the process for attaching the back rest by adding some 1x2 pieces flush to the bottom back side of the 2x4 base support for the bottom of the back rest to sit on. I just wasn't comfortable screwing in the back when it wasn't flush. That being said, I would have attached the 1x2 pieces earlier before attaching the 2x4 base support. It's hard to get to in the end because of the back piece (2x6). I then just used the nailer to attached back rest to the upper 2x4. Now onto two matching chairs. Then we will be ready for a fire pit!

Estimated Cost
$55 lumber and $125 for cushions and pillows
Estimated Time Investment
Week Long Project (20 Hours or More)
Finish Used
Behr premium weatherproof wood stain in Padre Brown, two coats.
Recommended Skill Level
Intermediate

Comments

Queen Farmhouse Bed

Submitted by marchand on Sun, 08/23/2015 - 14:50

This bed took me just about 2 weeks as I only worked on it roughly 2 hours a day. I had to convert the plans to work with platforms because we needed a platform bed. I used whatever wood was around the garage to make the platforms so they are a mix of different woods and sizes. I originally was going to have the platforms detach but I wanted the bed to come apart in as few pieces as possible, so I made the platforms part of the main box. So there are only 3 main pieces. Although I do have 2 pieces of wood for support under the bed, beneath the center beam. I also used bolts instead of screws so I could take it apart more easily. I did end up putting the arch in using my handheld jigsaw.

We love the bed and think it turned out great! Love this website!!

Built from Plan(s)
Estimated Cost
$250.00 including paint
Estimated Time Investment
Week Long Project (20 Hours or More)
Finish Used
Home Depot white semi-gloss. 2 coats
Recommended Skill Level
Beginner

Open Face Cabinet Desk

This is a project where we built the cabinets for our friends, and they added their own top to the desk.

These cabinets are each 18″ wide x 24″ deep x 26″ high, with the overall desk size being 72″ wide x 27″ deep x 27.5″ high.

These are constructed out of 3/4″ and 1/2″ plywood, with poplar face frames and shelf fronts.  The finish on the cabinets is a distressed white latex paint, finished with a few coats of clear Valspar Sealing Wax to give the cabinets a nice, soft feel.

You can see more pictures on our post on our site, or even get the plans if you want to build your own.


Estimated Cost
$150
Estimated Time Investment
Weekend Project (10-20 Hours)
Finish Used
White latex paint, clear sealing wax, and stain.
Recommended Skill Level
Intermediate

Super Easy Bench (modified)

Submitted by spiceylg on Mon, 08/05/2013 - 16:44

We built this bench for the same women's shelter for whom we built the storage table and benches at their request. They wanted a place for the children to come in and remove their shoes. Since it was for children, we modified the height to be the same as the other small benches, 14". Leftover gray primer was used and they requested the same color scheme as the previous build. Therefore the leftover paint from the other project was used plus three coats of semi-gloss Polycrylic. I think the paint brand is Olympic. It was a joint effort between a friend, my husband and I. It was built in an evening, but I put a week long project because of the coats of primer, paint, and top coat with all of the drying time.

Estimated Time Investment
Week Long Project (20 Hours or More)
Recommended Skill Level
Beginner

Comments

yurra-bazain

Fri, 08/30/2013 - 09:06

This is great! I love that you are still building things for the shelter! Your bench looks well-built and I am sure it will last them a lifetime.

Outdoor table

Submitted by yubbie2 on Wed, 08/26/2015 - 18:22

I've been thinking about this one for a while, and finally built up the courage to do it.  Ana had lots of good plans and I learned so much from her other table plans, but the brag post: http://ana-white.com/2012/03/simple-square-cedar-outdoor-dining-table is the one that ultimately pushed me over the edge to start.  I spent a ton of time researching wood types, Minwax types, Kreg Jig settings, etc.  Finally pulled the trigger and got started.  It took me several weeks start to finish, but it was usually only a few hours at a time at night after everyone had gone to bed.  The most labor-intensive part was triple-coating all of the redwood.  Coat, dry, flip, coat, dry, sand, repeat.  Took a loooong time but the finish is absolutely gorgeous.  The photos don't really show how deep red the wood really is.  Actually assembling the table didn't take that long.  Big thanks to Finns-Dad (user) for the inspiration and good photos - it was relatively easy to build my own plans in Illustrator from those.  Now to make some matching benches...

Built from Plan(s)
Estimated Cost
$400. $350 for redwood lumber, another $30 in minwax, brushes, etc, and another $20 in screws and brackets
Estimated Time Investment
Week Long Project (20 Hours or More)
Finish Used
3 coats of Minwax Clearcoat. Sanded with 220 grit between each coat. Took a long time but well worth it!
Recommended Skill Level
Intermediate

Comments

PamC03

Fri, 06/17/2016 - 10:46

Great job! The finished table looks awesome. I'm about to tackle the same project with a similar top design. Did you add an extra support in the centre of the top for the horizontal piece of wood? Hope that makes sense...

Storage Bed

Submitted by vkaylee on Sun, 04/15/2018 - 12:17

Built this for my teen daughter's room. I changed the legs to 2x6 in order to fit in a tighter space as she has a small room and we needed to spare as much of the space moving around the foot of her bed as possible. It saved a few inches total in length by not using 4x4 legs. I also changed the style of the headboard and footboard to a slat design. She loves it and even says she hopes to hold onto it for her kids to have someday. Makes my heart smile! This is just part of why I love to build. It's quality, sturdy furniture that will last for years to come. 

Estimated Cost
$180
Estimated Time Investment
Weekend Project (10-20 Hours)
Finish Used
White wash with poly coat
Recommended Skill Level
Advanced

Comments

rbgreene04

Wed, 04/18/2018 - 22:35

Nice job! I built the same bed and made some modifications myself. I like the whitewash finish. Hopefully that piece stays in the family for many years to come.

Zoo Theme Bookshelf

Submitted by Anonymous (not verified) on Sun, 04/24/2022 - 12:08

I love your work and use many of your project ideas! 

A friend of ours is having  twins next month so I made a bookshelf for a bunch of Children’s books my wife got for them to read at night.

by Michael

Farmhouse bed, King

Submitted by JennyG on Fri, 07/01/2011 - 13:05

We raised the headboard about 6 inches from the plan and modified the size to king. (sidenote: did you know that California King is actually narrower and longer than a standard king? I always assumed it was the widest bed on the market.)To cover the "seam" of the 2x4s on the posts, we added crown molding. Slats are tongue and groove instead of 2x4s.

Estimated Cost
$250
Estimated Time Investment
Day Project (6-9 Hours)
Finish Used
black paint
Recommended Skill Level
Intermediate

Comments

robert (not verified)

Thu, 11/15/2012 - 22:25

did you put a groove with a router on the edges of your panels on the head and foot board? If so which one.

Fancy X Farm Table and Benches

Submitted by Newfey on Wed, 08/07/2013 - 14:05

I made this table and benches for my daughter

Estimated Cost
$100.00
Estimated Time Investment
Weekend Project (10-20 Hours)
Finish Used
I finished the table and benches with a solution of extra fine Steel wool disolved in Apple Cider Vinegar and dark brown RIT Liquid Dye. Then gave it a number of coats of Polyurethane.
Recommended Skill Level
Intermediate

Clara's Table

Submitted by mtallent on Sat, 05/12/2018 - 07:13

Our daughter said she wanted a desk like Daddy. When I found these plans I was so excited! My husband doesn't know it yet but it was his practice for a large farmhouse table that I want for our dining room. The Clara's table plans were easy to follow, I can not remember the exact prices for our materials since we built this back in the fall (over 6 months ago). We will eventually make the chairs. I was pleased with the way it turned out with the stained top and the legs were painted a ballet pink. I believe the stain is Dark Walnut, it was something we had leftover from another project and the paint for the legs was leftover from painting her room. It has held up well the past 6 months, it has a few dings from markers and other toys but I love the character it adds to the table. We plan on making the chairs soon.

Built from Plan(s)
Estimated Cost
$30-$40
Estimated Time Investment
Afternoon Project (3-6 Hours)
Finish Used
Dark Walnut stain and clear coat polyurethane (2 coats stain, 2 clear coats) Ballet pink paint used for the legs. We did not have an old rag to apply the stain, we used a plastic grocery bag and it worked great!
Recommended Skill Level
Beginner

Comments

Banquette Seating with storage

Submitted by Anonymous (not verified) on Mon, 04/25/2022 - 13:58

You didn’t have plans, so I had to “wing it” without you; however, I couldn’t have done it without all the practice I’ve had from all your plans on this website these past several years!

Comments

Modified modular bookcase

Submitted by tiffcampo on Mon, 07/04/2011 - 18:19

I started this build after coming across the plans on this site. My son has a small bedroom and had received a tv for his birthday. It has a small screen and so it needed to be pretty close. So, I adjusted the measurements to be compatible the width of the end of his bed. The only other change to the plans was the addition of the 1x2 trim on the center shelves. I didn't use the greatest quality plywood and it just looked a little unfinished without it.
He wanted black and I wanted white. I primed, then painted flat white. I then sanded out some places and on the 1x10 and trim to stain for an antique look. However, when I rubbed on the ebony stain, I really liked how it looked over the white paint. So, I rubbed the whole thing. Then sealed it. The result is sort of an antiqued gunmetal gray that we both love. Thanks again for the plans!! Next?!

Estimated Cost
$45
Estimated Time Investment
Weekend Project (10-20 Hours)
Finish Used
Olympic Interior Primer, Olympic Interior Flat in Snow Ballet, Minwax Ebony, Spray sealant in semigloss
Recommended Skill Level
Beginner

Comments

songbirdfeeder

Sun, 09/04/2011 - 18:28

You did a terrific job building this! My son is in an apartment while going to college and asked for a bookcase for Christmas. Problem is, he lives 8 hours away and I need to make something that will fit in his car!Haha! This looks like a lot of storage so I'm going to give it a try.

Behind Closed Doors (Media Center)

Submitted by cbeach1717 on Thu, 07/07/2011 - 20:38

We used Ana's plans for simple bookcases and a larger but equally simple armoire to build a HUGE media center that could somehow manage to take some of the focus off of the television. We added doors everywhere that we could and lots of glass display shelving. The hubby is thrilled because his beloved flat-screen and infinite related electronic gadgets are within easy reach. And I smile every time I walk into our family room and don't have to see everything that is hiding behind closed doors!

Estimated Cost
$150
Estimated Time Investment
Week Long Project (20 Hours or More)
Finish Used
Simple Prime, Painting, Crown Moulding, Pewter Knobs, Glass Shelving, Lights.
Recommended Skill Level
Intermediate

Comments

Cobe

Fri, 07/08/2011 - 22:57

Cbeach1717,

This is exactly what I want!

Can you provide the dimensions for the armoire and the shelves, please? Can you tell me also the paint color and how many coats?

cbeach1717

Mon, 07/11/2011 - 08:52

Ana's "Nursery Armoire" is the best starting point, and here are our dimensions:

Armoire basic box structure:
2- 1x16"@ 8': (Sides)
2- 1x16"@ 42" (Top and bottom)
2- 1x16"@ 40.5" (Two shelves for television and electronics)
1- HUGE 1/4" plywood as the back and for support

*bun feet and crown moulding also add some height

We used a "Country White paint from--GASP- Wal-Mart! And it is the best off-white color I have ever used! We used one coat of primer and two coats of paint.

I hope this helps, but feel free to ask for any further clarifications! Best of luck :o)

Guest (not verified)

Thu, 07/14/2011 - 20:54

I am in love with this! How tall are your ceilings? My only concern is that this might be too big for my teeny condo with 8 foot ceilings!

In reply to by Guest (not verified)

cbeach1717

Sun, 07/17/2011 - 15:48

Thanks! Our ceilings are ten feet high--why not just shorten all height measurements by 2 feet? Good luck!

Sarah Kirchner (not verified)

Sun, 01/15/2012 - 18:17

I am dying to get this built for our house! I see the cost estimate is listed at $150, is that for everything needed for all 3 units? I know it depends on what store is used and the location, just trying to get a better idea of what I need to save up. I was trying to find something similar on Craigslist that I could just refinish, but being able to make a piece that is exactly what I want for around the same price (or less) would be incredible!

I'd love to know where you got the glass shelves from if you don't mind sharing.

cbeach1717

Mon, 01/16/2012 - 13:06

Hi Sarah,

I hope you'll give this plan a try! The $150 estimate definitely includes the wood and supplies for all three pieces and most likely includes the bun feet and knobs as well (I can't be absolutely certain since we built this nearly a year ago). The glass shelves were bought from a local glass cutter who also cut the glass panels for our kitchen cabinets. It really shouldn't be too expensive though!

Oh and the absolute best advice I could give you is to invest in or borrow a Kreg Jig. We did not have one ourselves until well after this project, but it would have been an immense help! I wish you all the best of luck--let us all know how YOUR masterpiece turns out :o)

Guest (not verified)

Tue, 02/28/2012 - 21:39

I absolutely love this, my husband had been designing a unit very similar to this but this just made the job twice as easy not having to do all the hard thinking ourselves haha! Thanks so much for sharing, it looks fabulous!

In reply to by Guest (not verified)

cbeach1717

Mon, 03/05/2012 - 06:23

Thanks so much! I wish you lots of luck with your project, which you'll barely need because it is really simple to make and provides for a stunning result :o)

Classic Storage Wall

Since moving into our house almost 3 years ago, I have wanted a large piece to house the tv. The husband did not want glass, I wanted shelving on both ends and it had to hold a 60 inch tv (not pictured). To avoid paying thousands of dollars to a furniture store, I decided to build my own.

I used 1x2's, 1x3's, 4x8-3/4" plywood (sanded on one side) edge banding (super easy to use), nail gun and wood glue. I spent roughly a week building and staining, interrupted by 2 kids. The staining being the most tedious part. Cost was around $450 for all the pieces. I did attach the bridge piece by drilling holes through the bridge to the side hutches. I then installed nuts and bolts through the hole to attach it all together. Makes it easy to take apart when moved and I am not constantly drilling screws into the unit.

My husband is deployed so this was built solely by myself. My experience level is novice, this is only my 3rd piece of furniture, but I am hooked. The plans are easy to follow and use.

Estimated Time Investment
Week Long Project (20 Hours or More)
Finish Used
Minwax Wood Finish Dark Walnut
Recommended Skill Level
Intermediate

Comments

moonhopping

Mon, 08/12/2013 - 20:29

I have build a lot of small projects but nothing big I wanted to make this when I saw it. You inspired me to get started. You realy did a great job