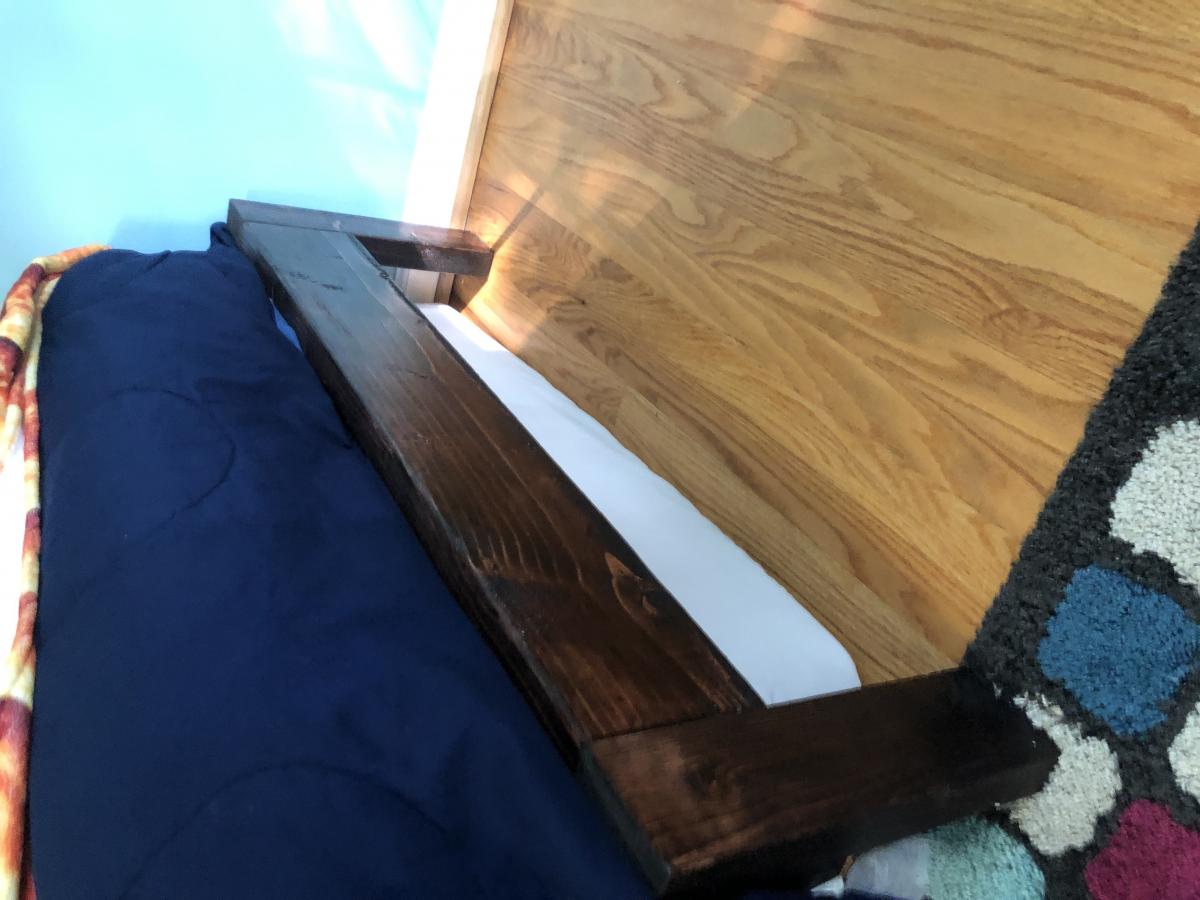
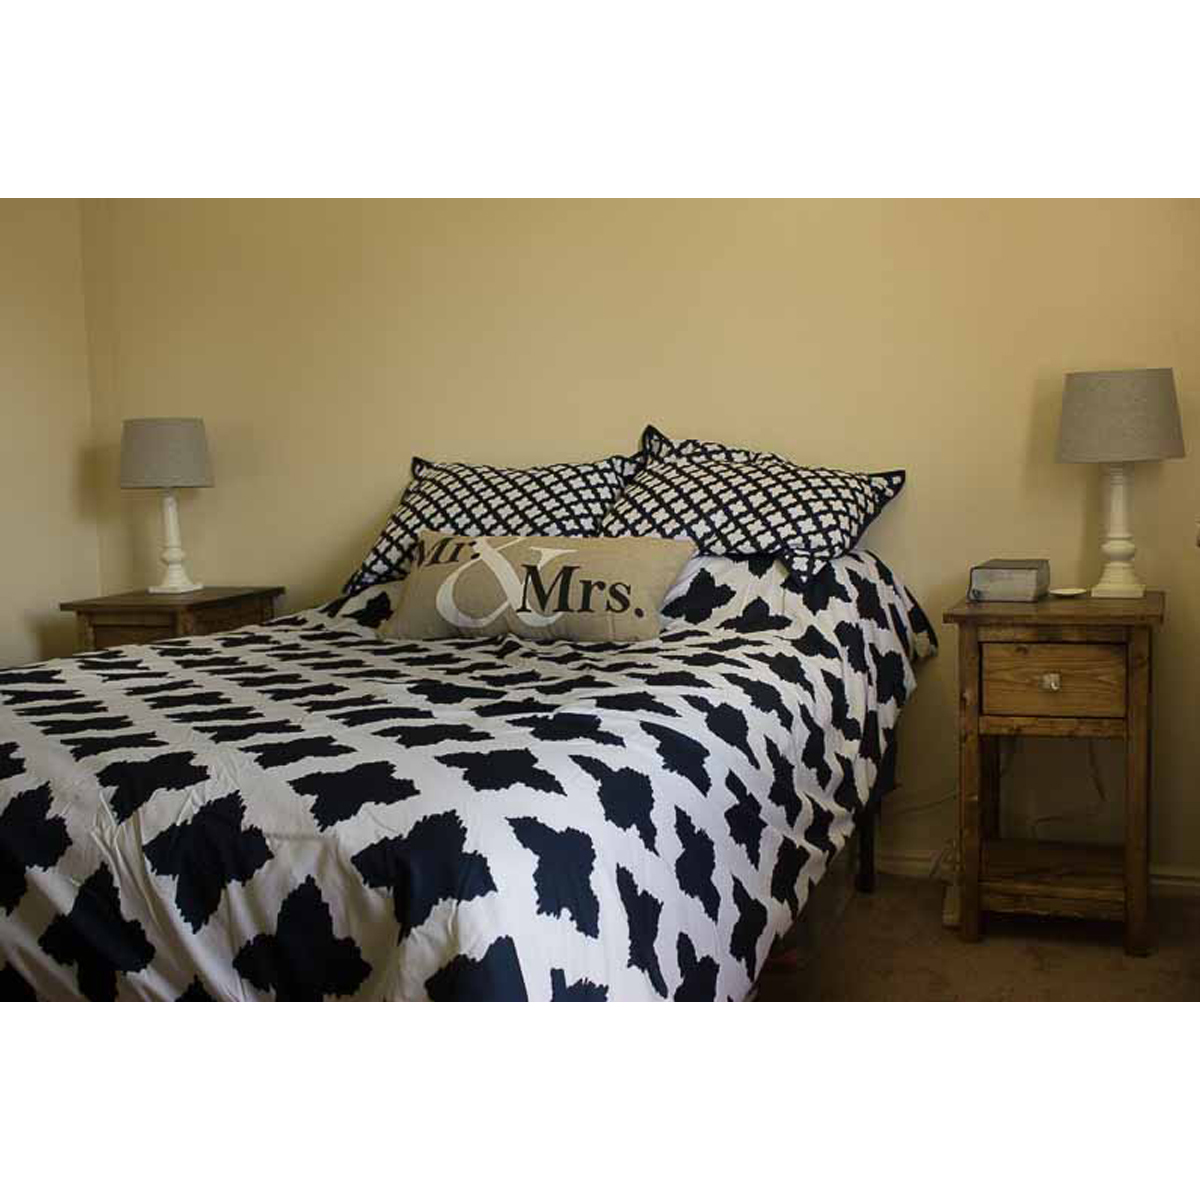
Simple Farmhouse Bed Single
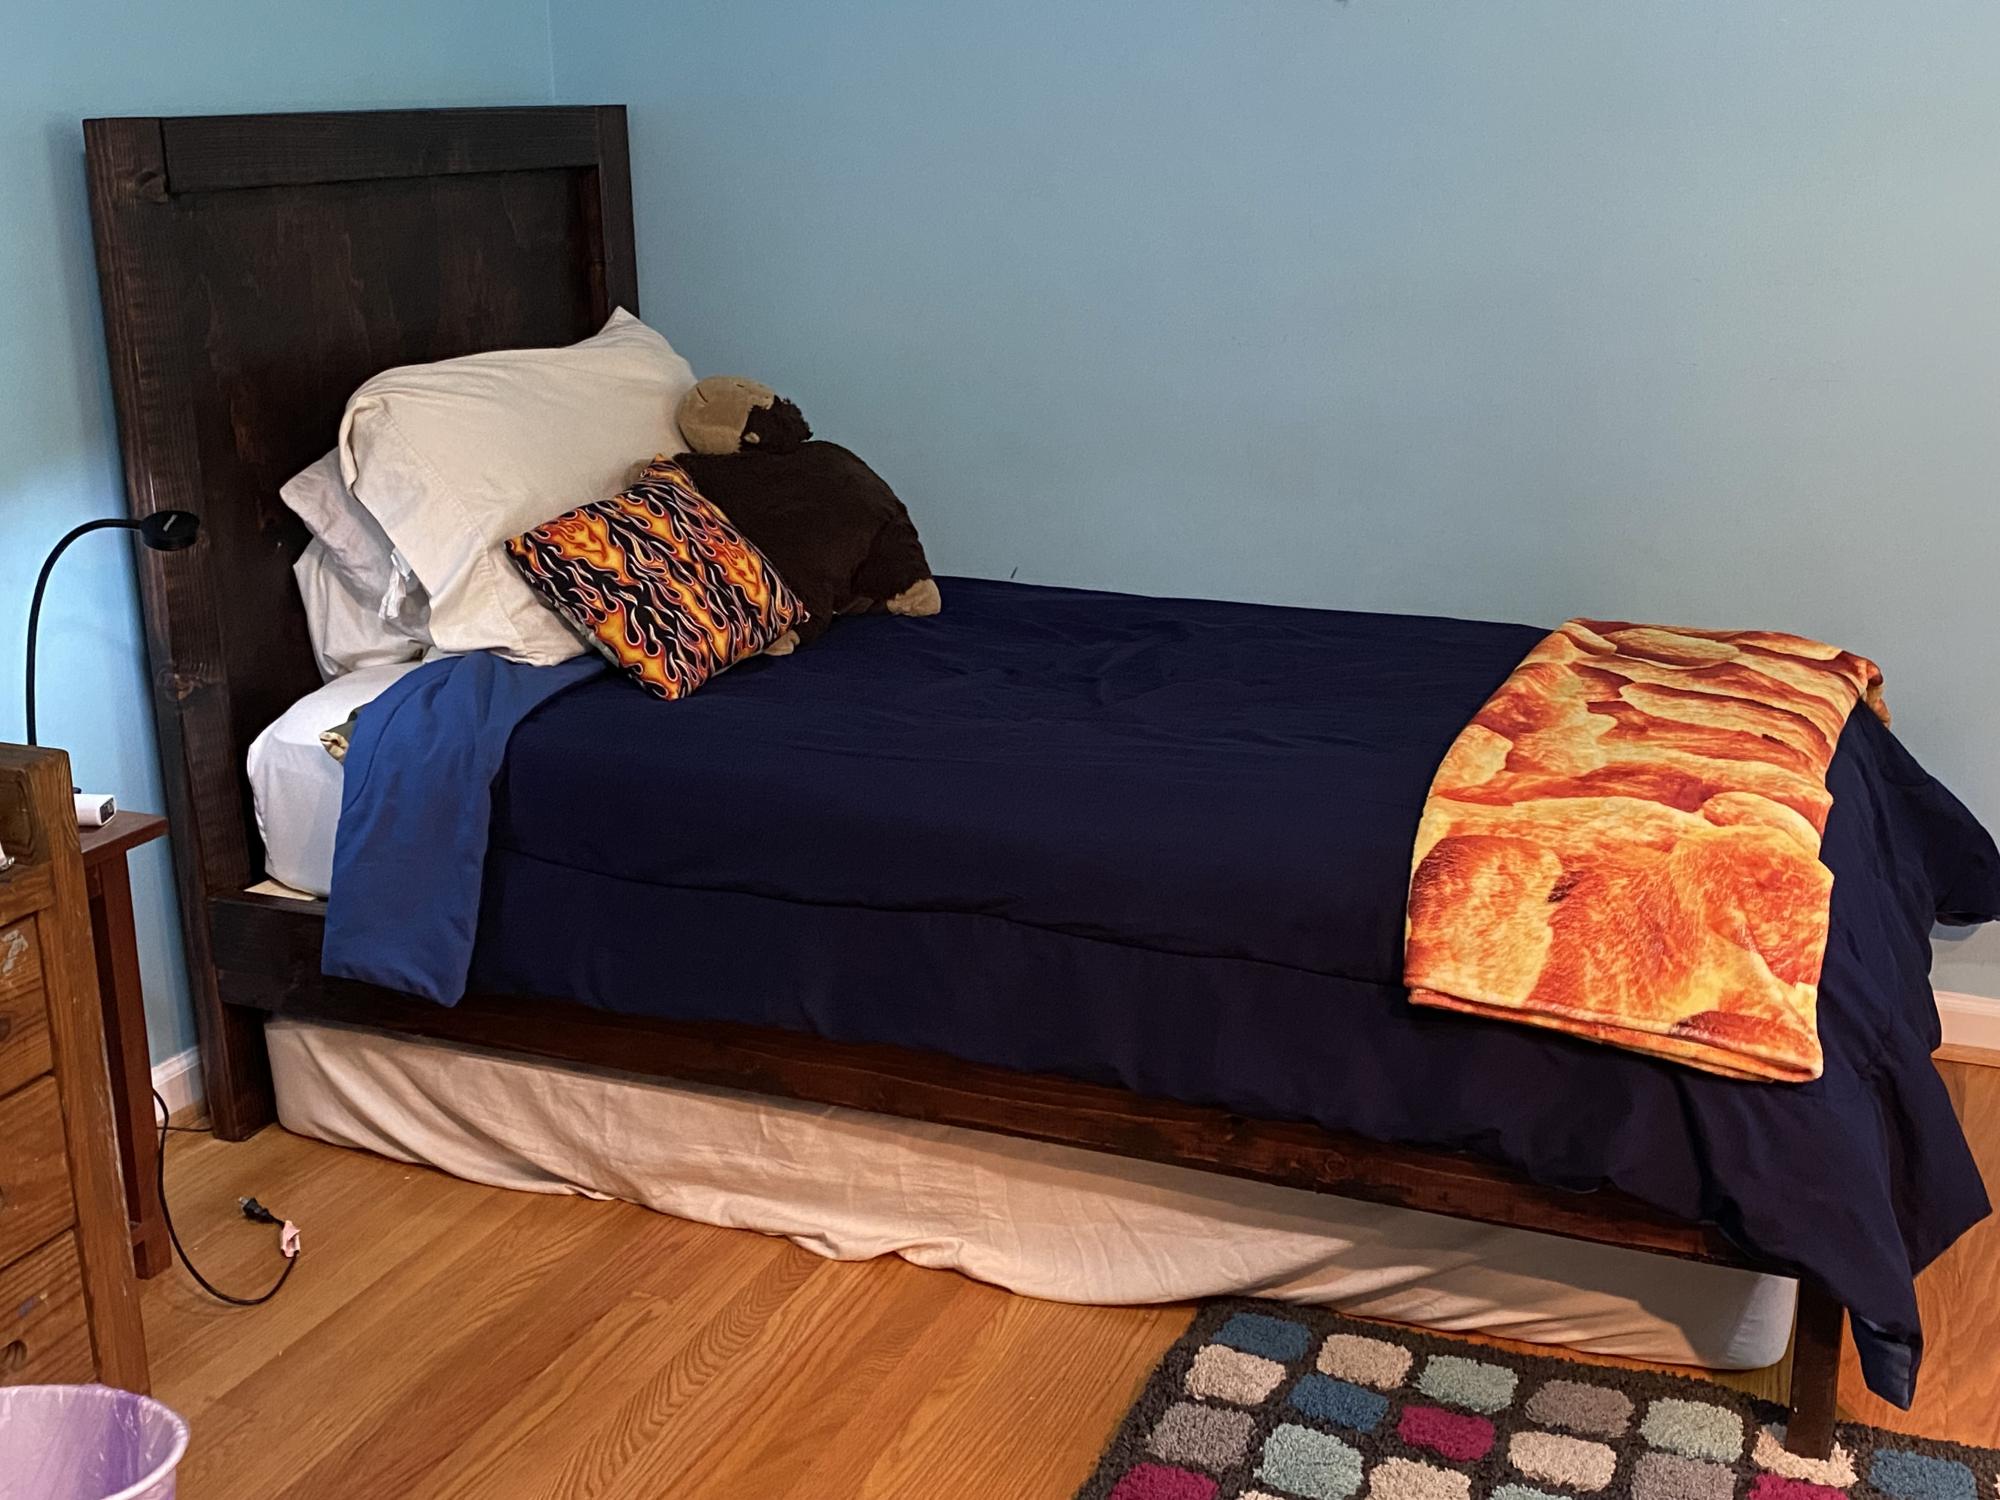
This was my first project and I’m beyond proud. Thank you for the instructions!!!
Built from Plan(s)
This was my first project and I’m beyond proud. Thank you for the instructions!!!
This was my first wood working project ever. I followed Ana's plan exactly except for the trim and partitions. I learned a lot from this project such as the correct pre-drilling hole size and the need for countersinks (I had quite a few split boards). I used Pine for the boards and MDF for the shelves but if I had to do it again I think I would go for plywood. All in all it was a rewarding project. The hardest part was the wood putty.
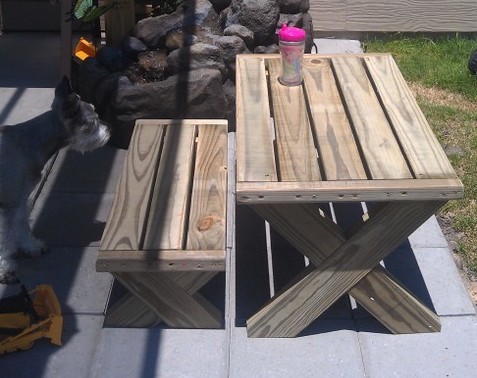
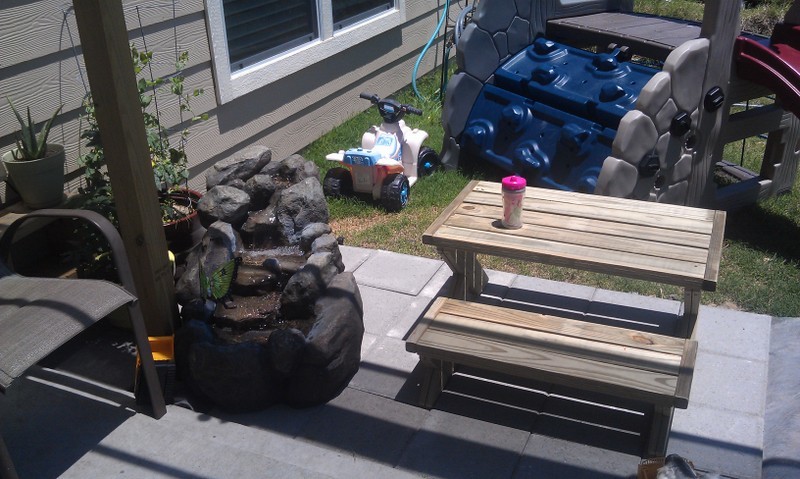
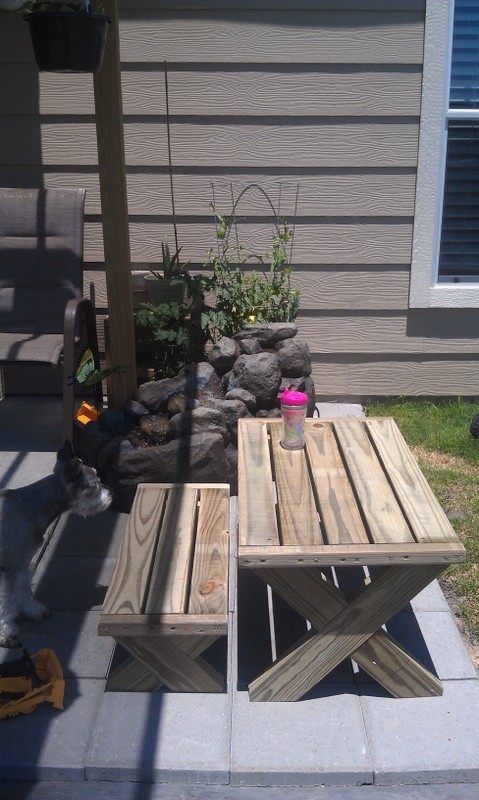
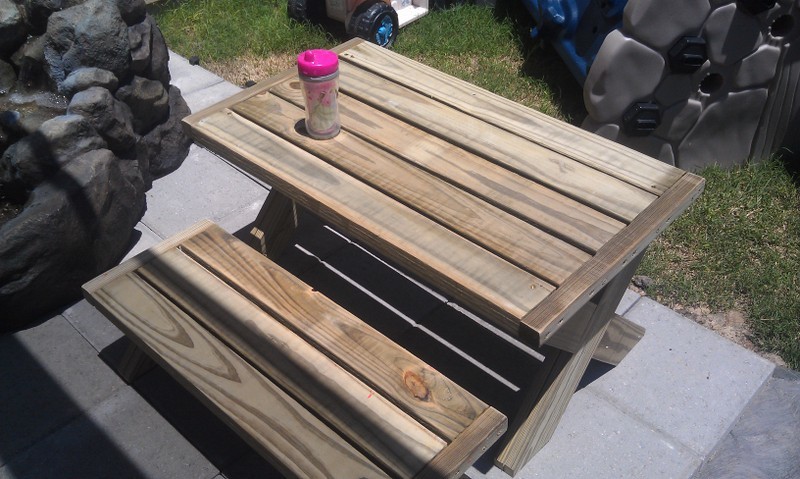
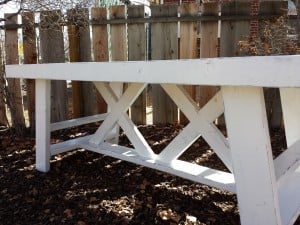
This was one of my first projects. I had some challenges with the cuts... I rushed through (since I had my 1 & 3 year old assisting) and didn't make exact cuts... as a result, there was a lot of trimming to do on the legs. Also, the pressure treated wood that we purchased was very weak and even with drilling pilot holes, I experienced quite a few splits when putting together the legs of the benches. (This is why I only have one bench, actually... I still need to buy more wood...) Otherwise, I love the table!!! I think I attached the legs of the table differently than instructed, though I can't recall what I did.. and we ended up cutting a 2x2 to tie in the legs (from mid-X to mid-X) for extra support. (My 3 year old son was leaping from the table and we wanted to make sure it could meet his demands.) We LOVE it overall!
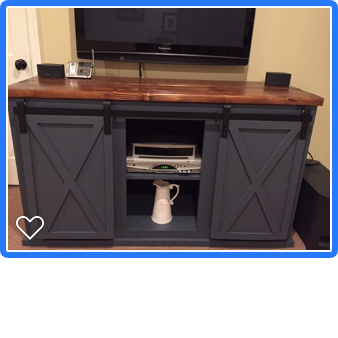
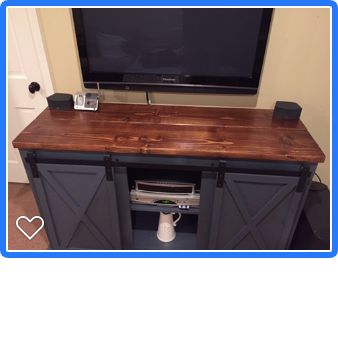
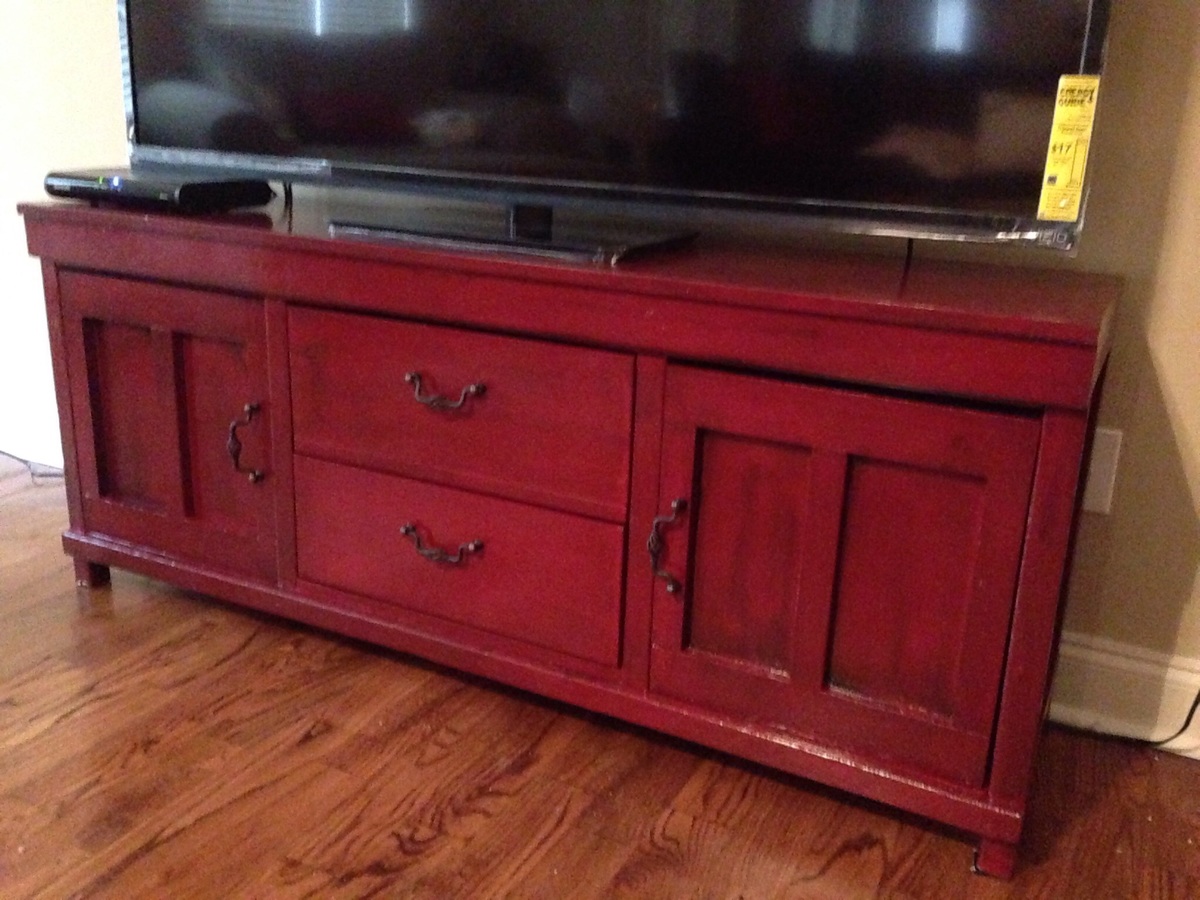
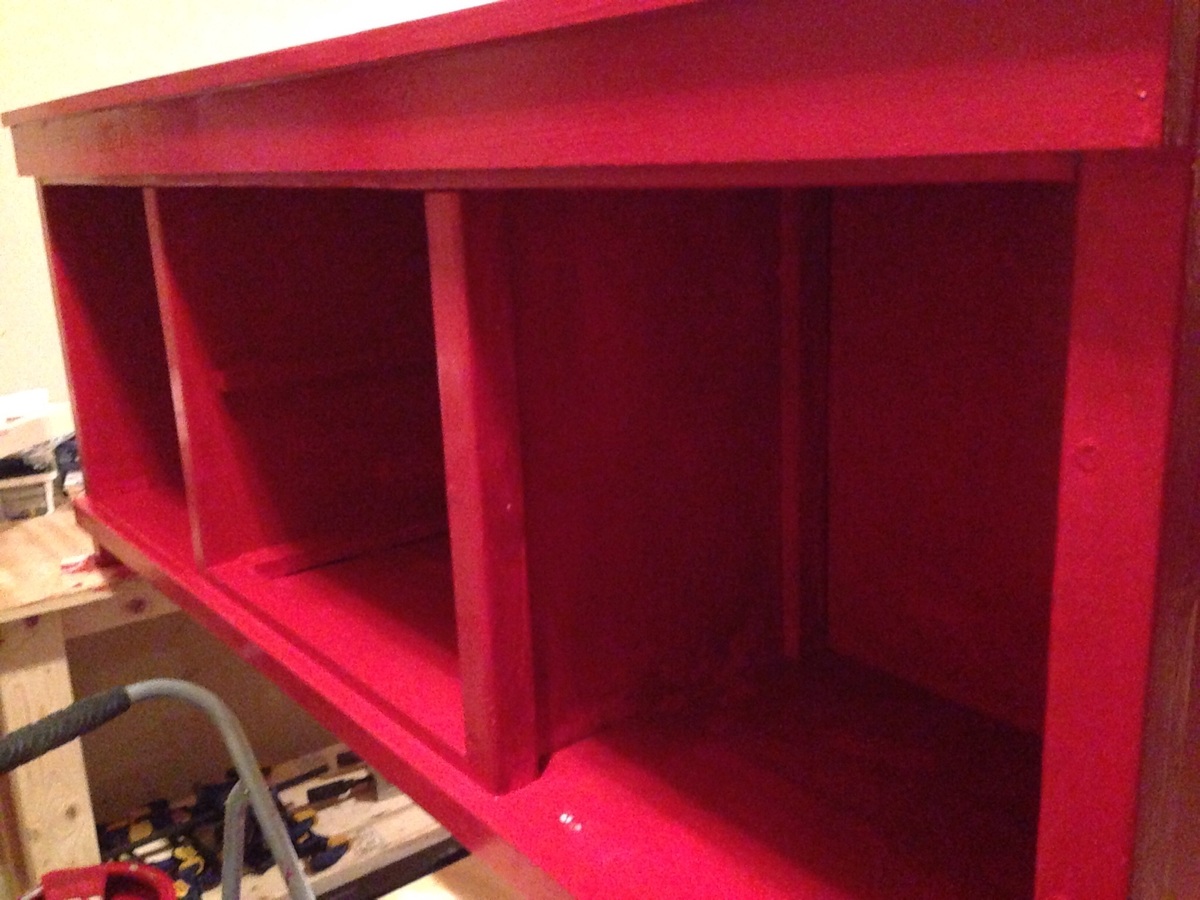
Built this to replace a shorter, store-bought media table that was just a dust collector. I really enjoyed building this, especially making the hardware by hand. Thanks to one of the other builders for the plans to build the iron door hangers.
When I wanted to unpack I found this amazing design by Ana White. I transformed my living room into my workshop. And voila my first build was accomplished
Thanks for all your amazing designs
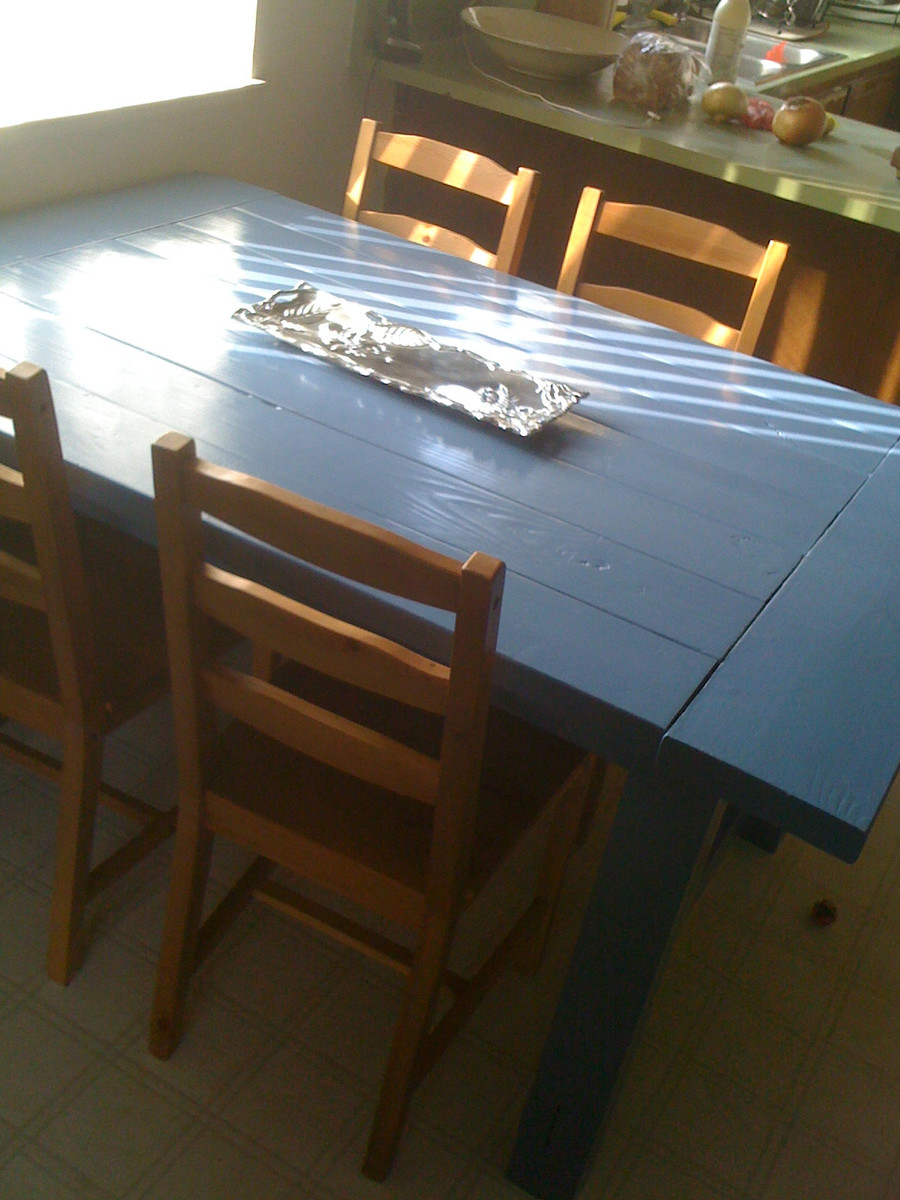
I wanted a kitchen table that was bigger than the one we had from Ikea, but the Farmhouse Table was too long. So we modified the length, left off the stretcher, and painted it a bright blue! The major lesson learned in this project was to be sure to store boards carefully. We bought the lumber, cut the boards, and then didn't work on the project for a couple of months. Even though the wood was in our garage, some of the boards warped a bit, leaving us with bends and curves to deal with once we started to build. Luckily, things came together, but there are many more imperfections in this table than would have been there if we'd built it sooner. But we still love it!
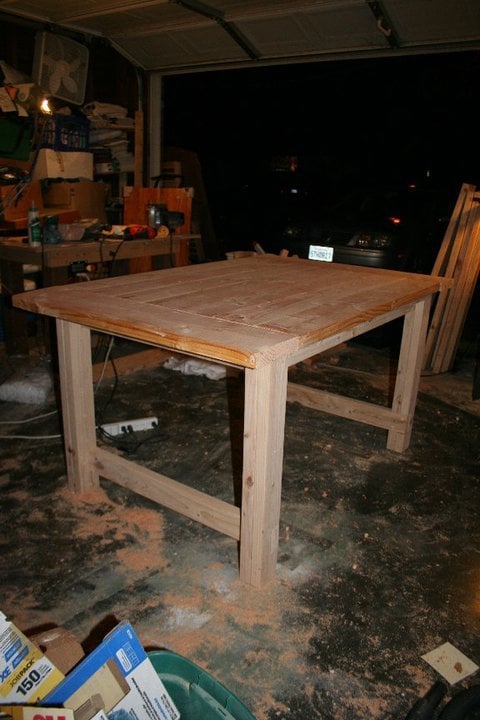
This table was actually our very first project! It took us longer because of that, but really, this table isn't very complicated at all! Cutting the arches were probably the most difficult part of the whole thing (hence why we left them off of the matching bench).
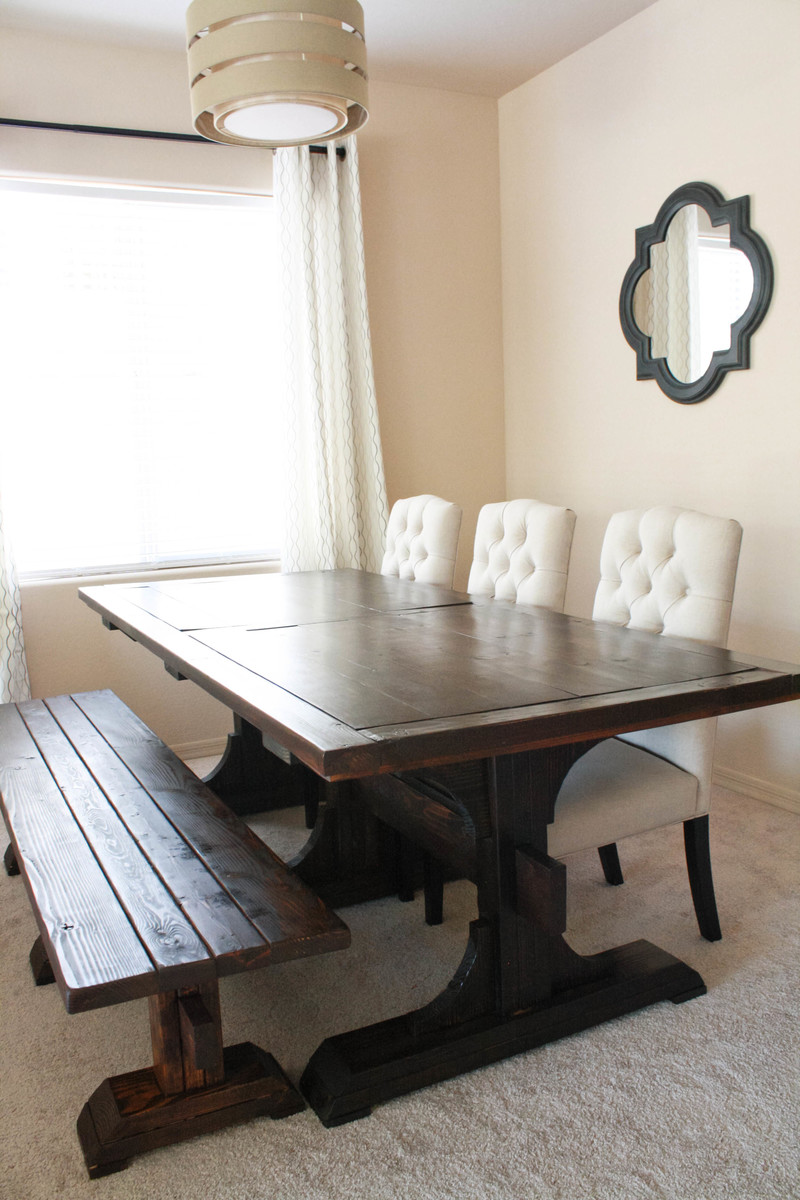
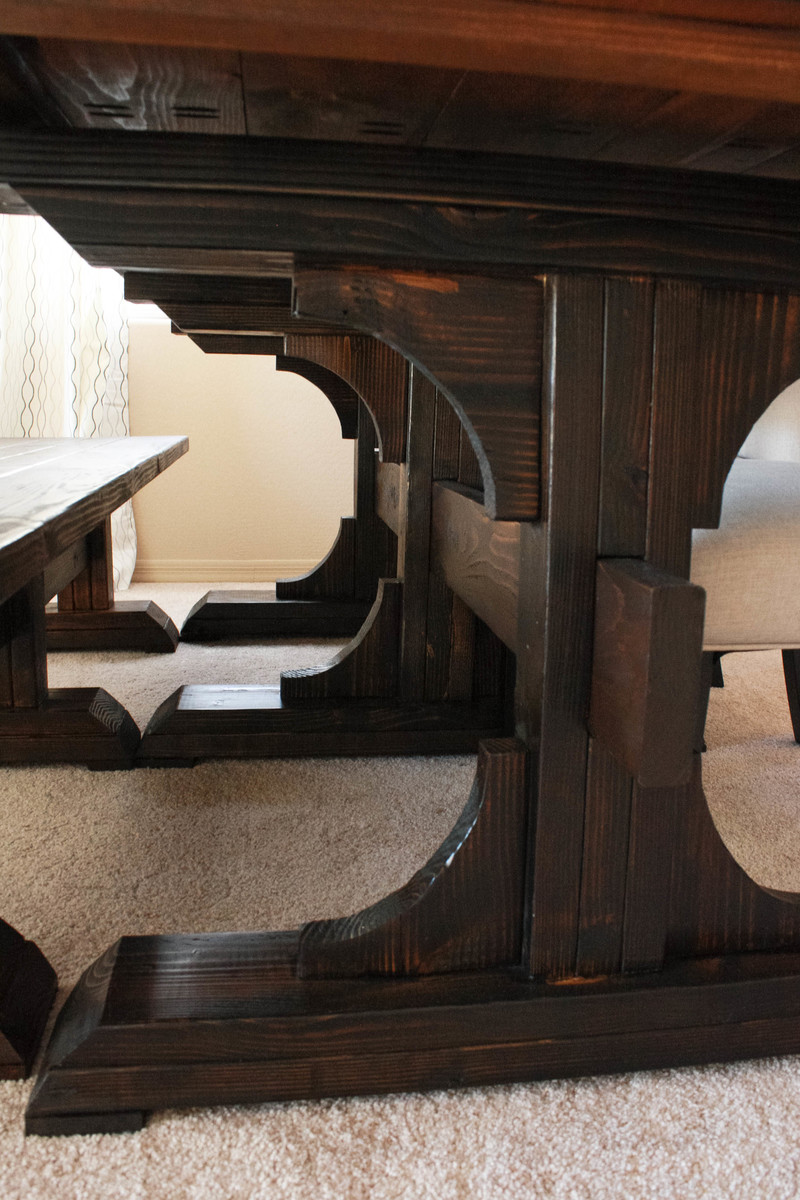
We modified this table down to 7.5 feet, but still kept the three arches because we loved the look of it. This table can still easily seat 8 people.
We modified the bench by not framing the top and leaving the arches off, but kept the same look of the legs so it would still match and keep the time/difficulty low.

Built by Chuck Hughes
"I've made 10 of these chairs so far."
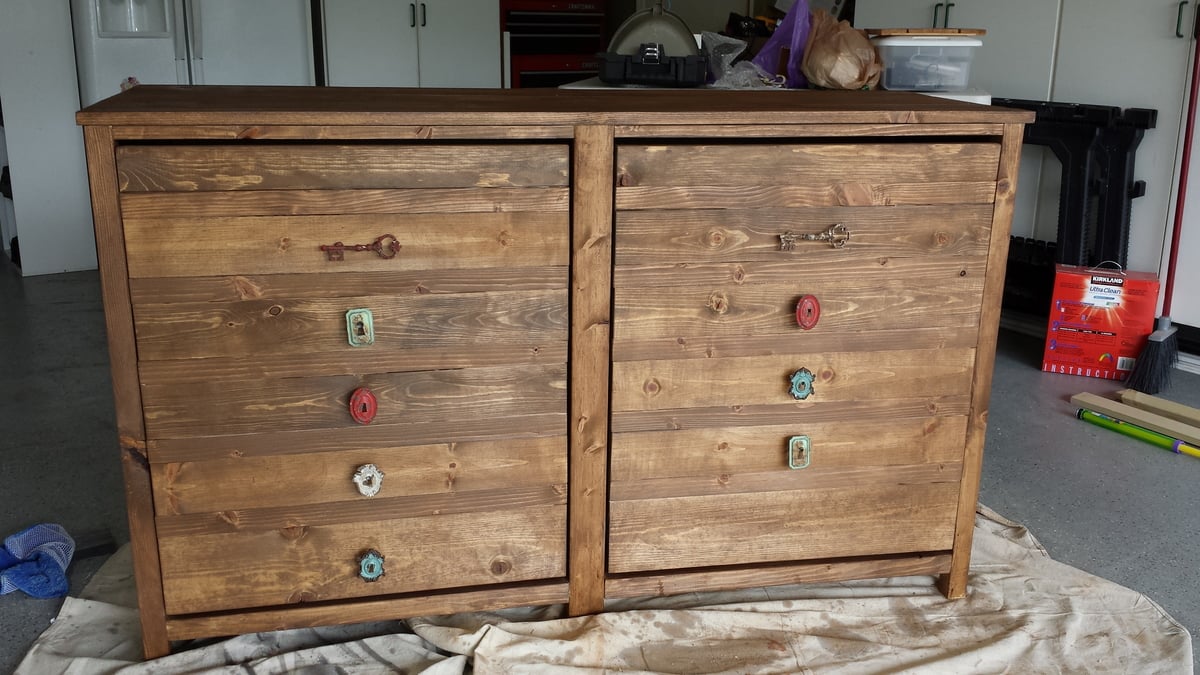
There were a few misprints in the supply/cut list but if you read through the comments section it helps. I ended up making a list of the supplies and adding a column next to it with the cuts, that helped. Oh, and the store I bought the knobs from didn't have enough but the last one is coming! Pretty happy with the end result. Thanks Ana!
Beautiful and functional. Nobody believes I built this :)

Wed, 05/13/2015 - 14:19
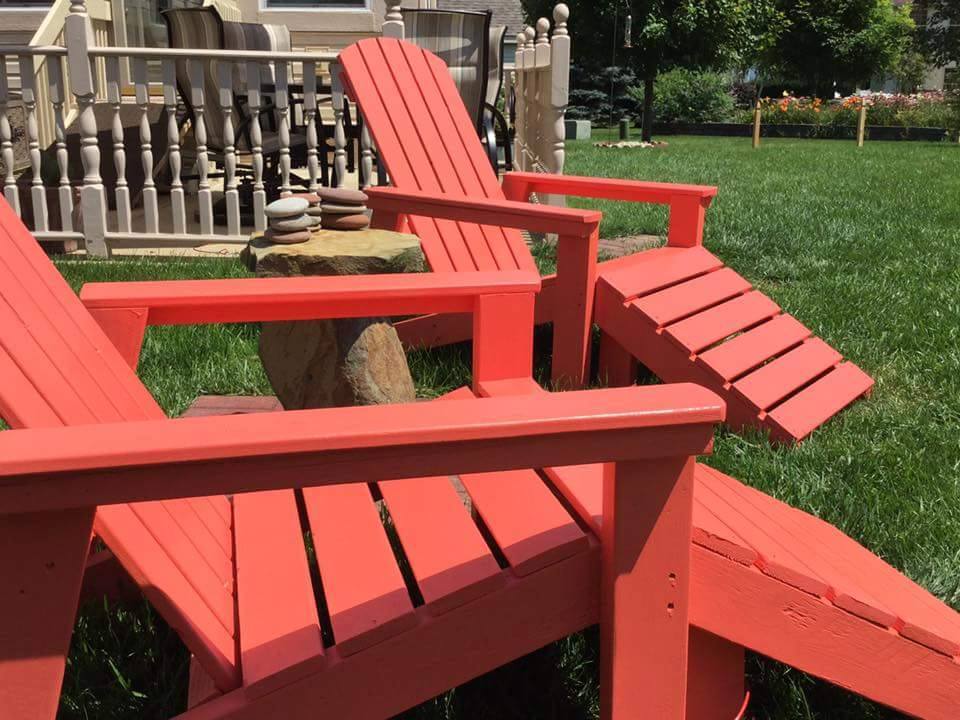
What a gorgeous build! Absolutely love the color too! I was just trying to picture a red like that today, and now I know it looks wonderful!
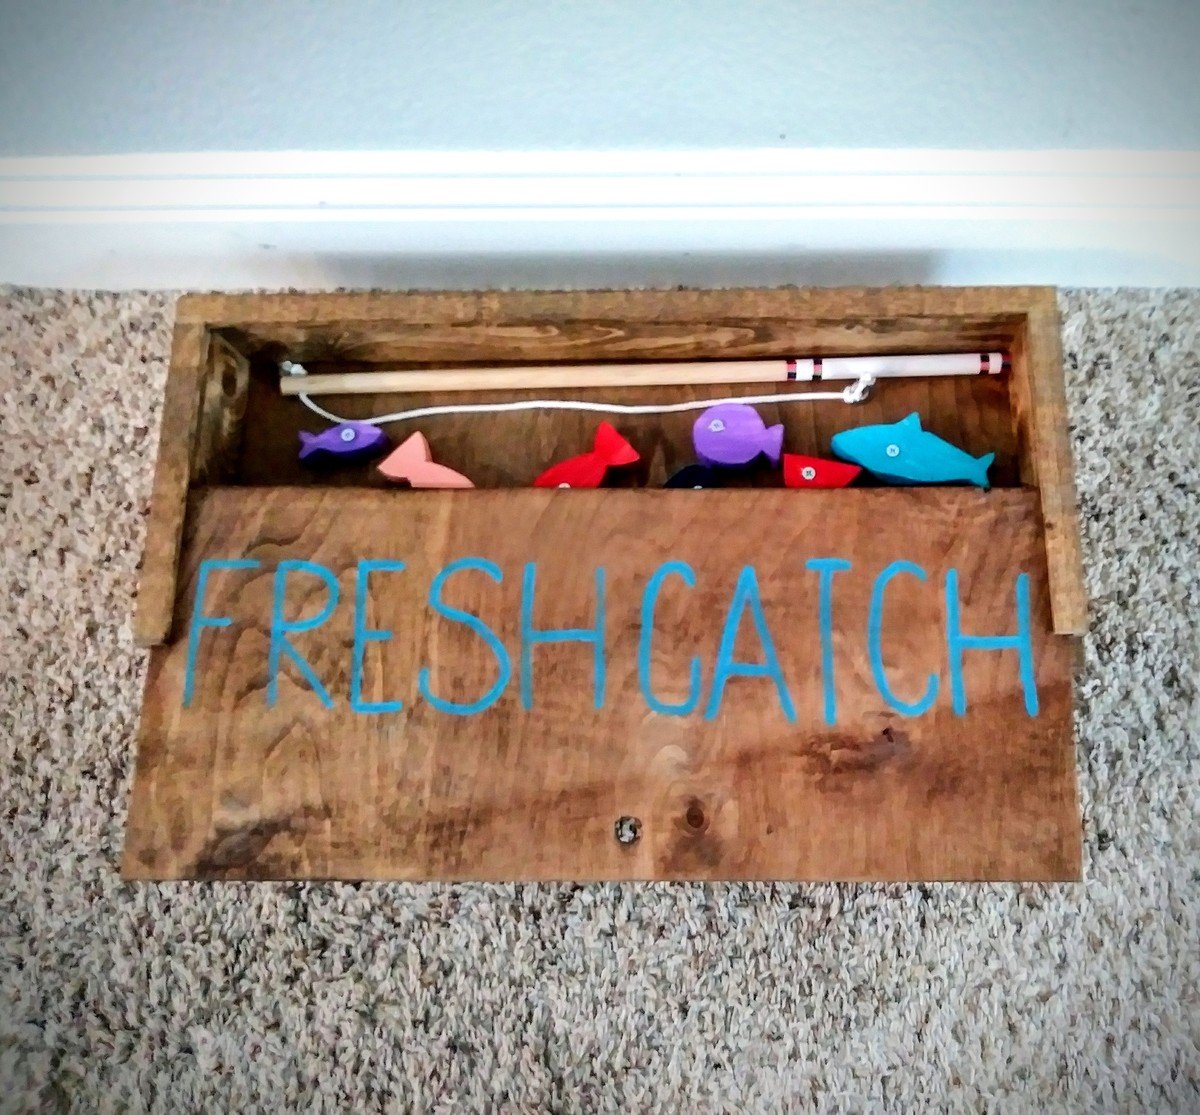
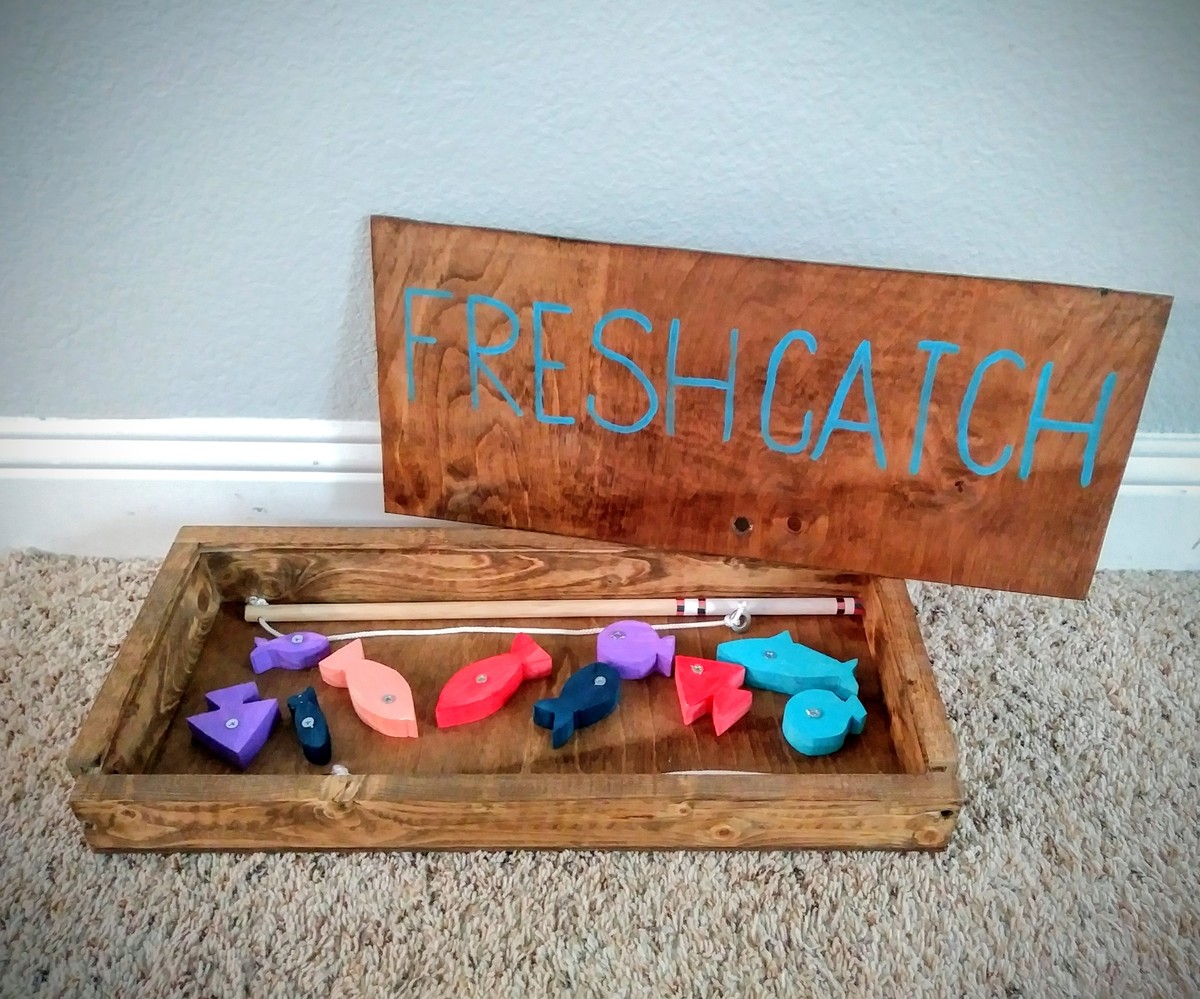
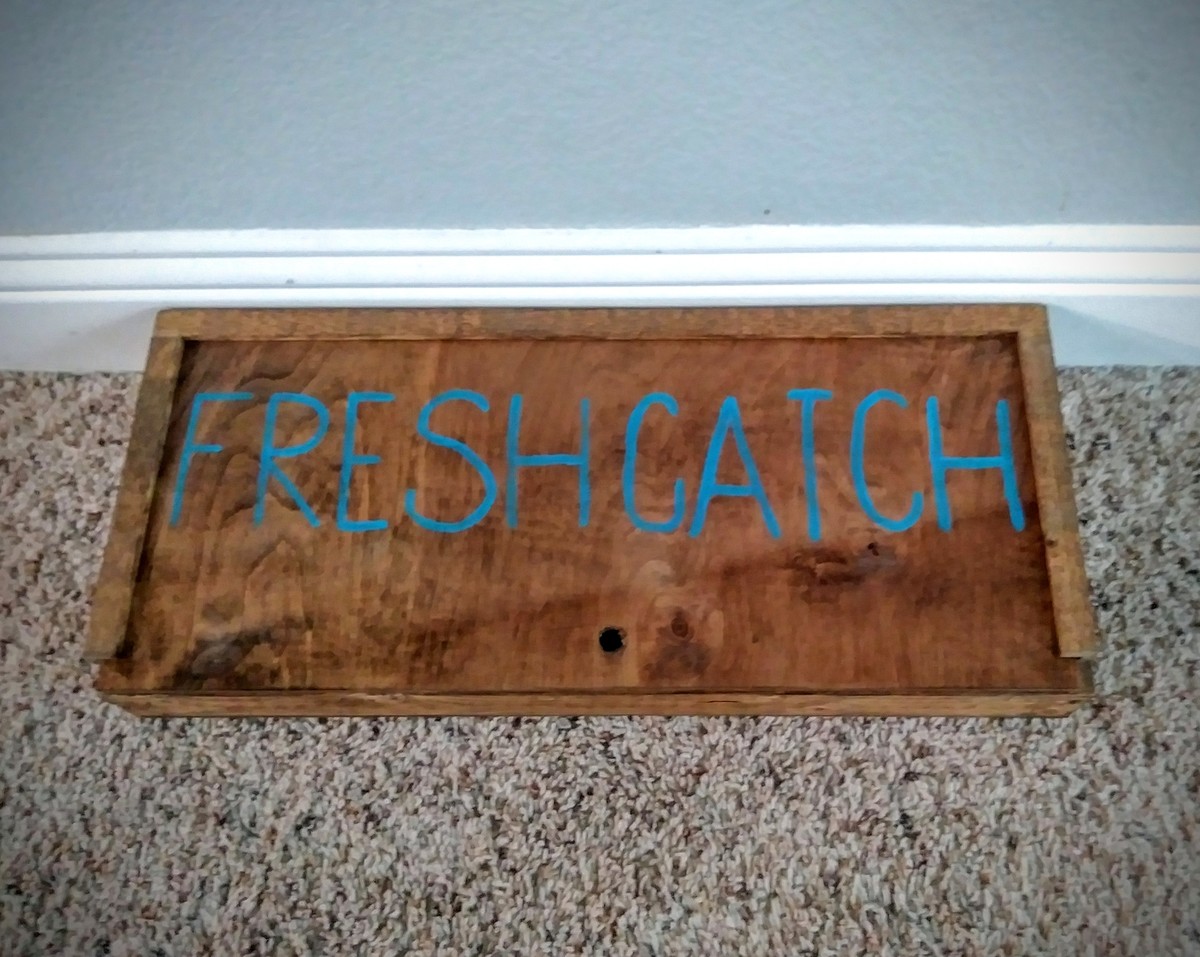
This was a very easy project from scrap wood I had leftover from previous projects. I modified the box a little. I cut slits in the box so the top slides on nicely. I also stained the box and sealed because I love the look of stained wood. I used early American wood stain.
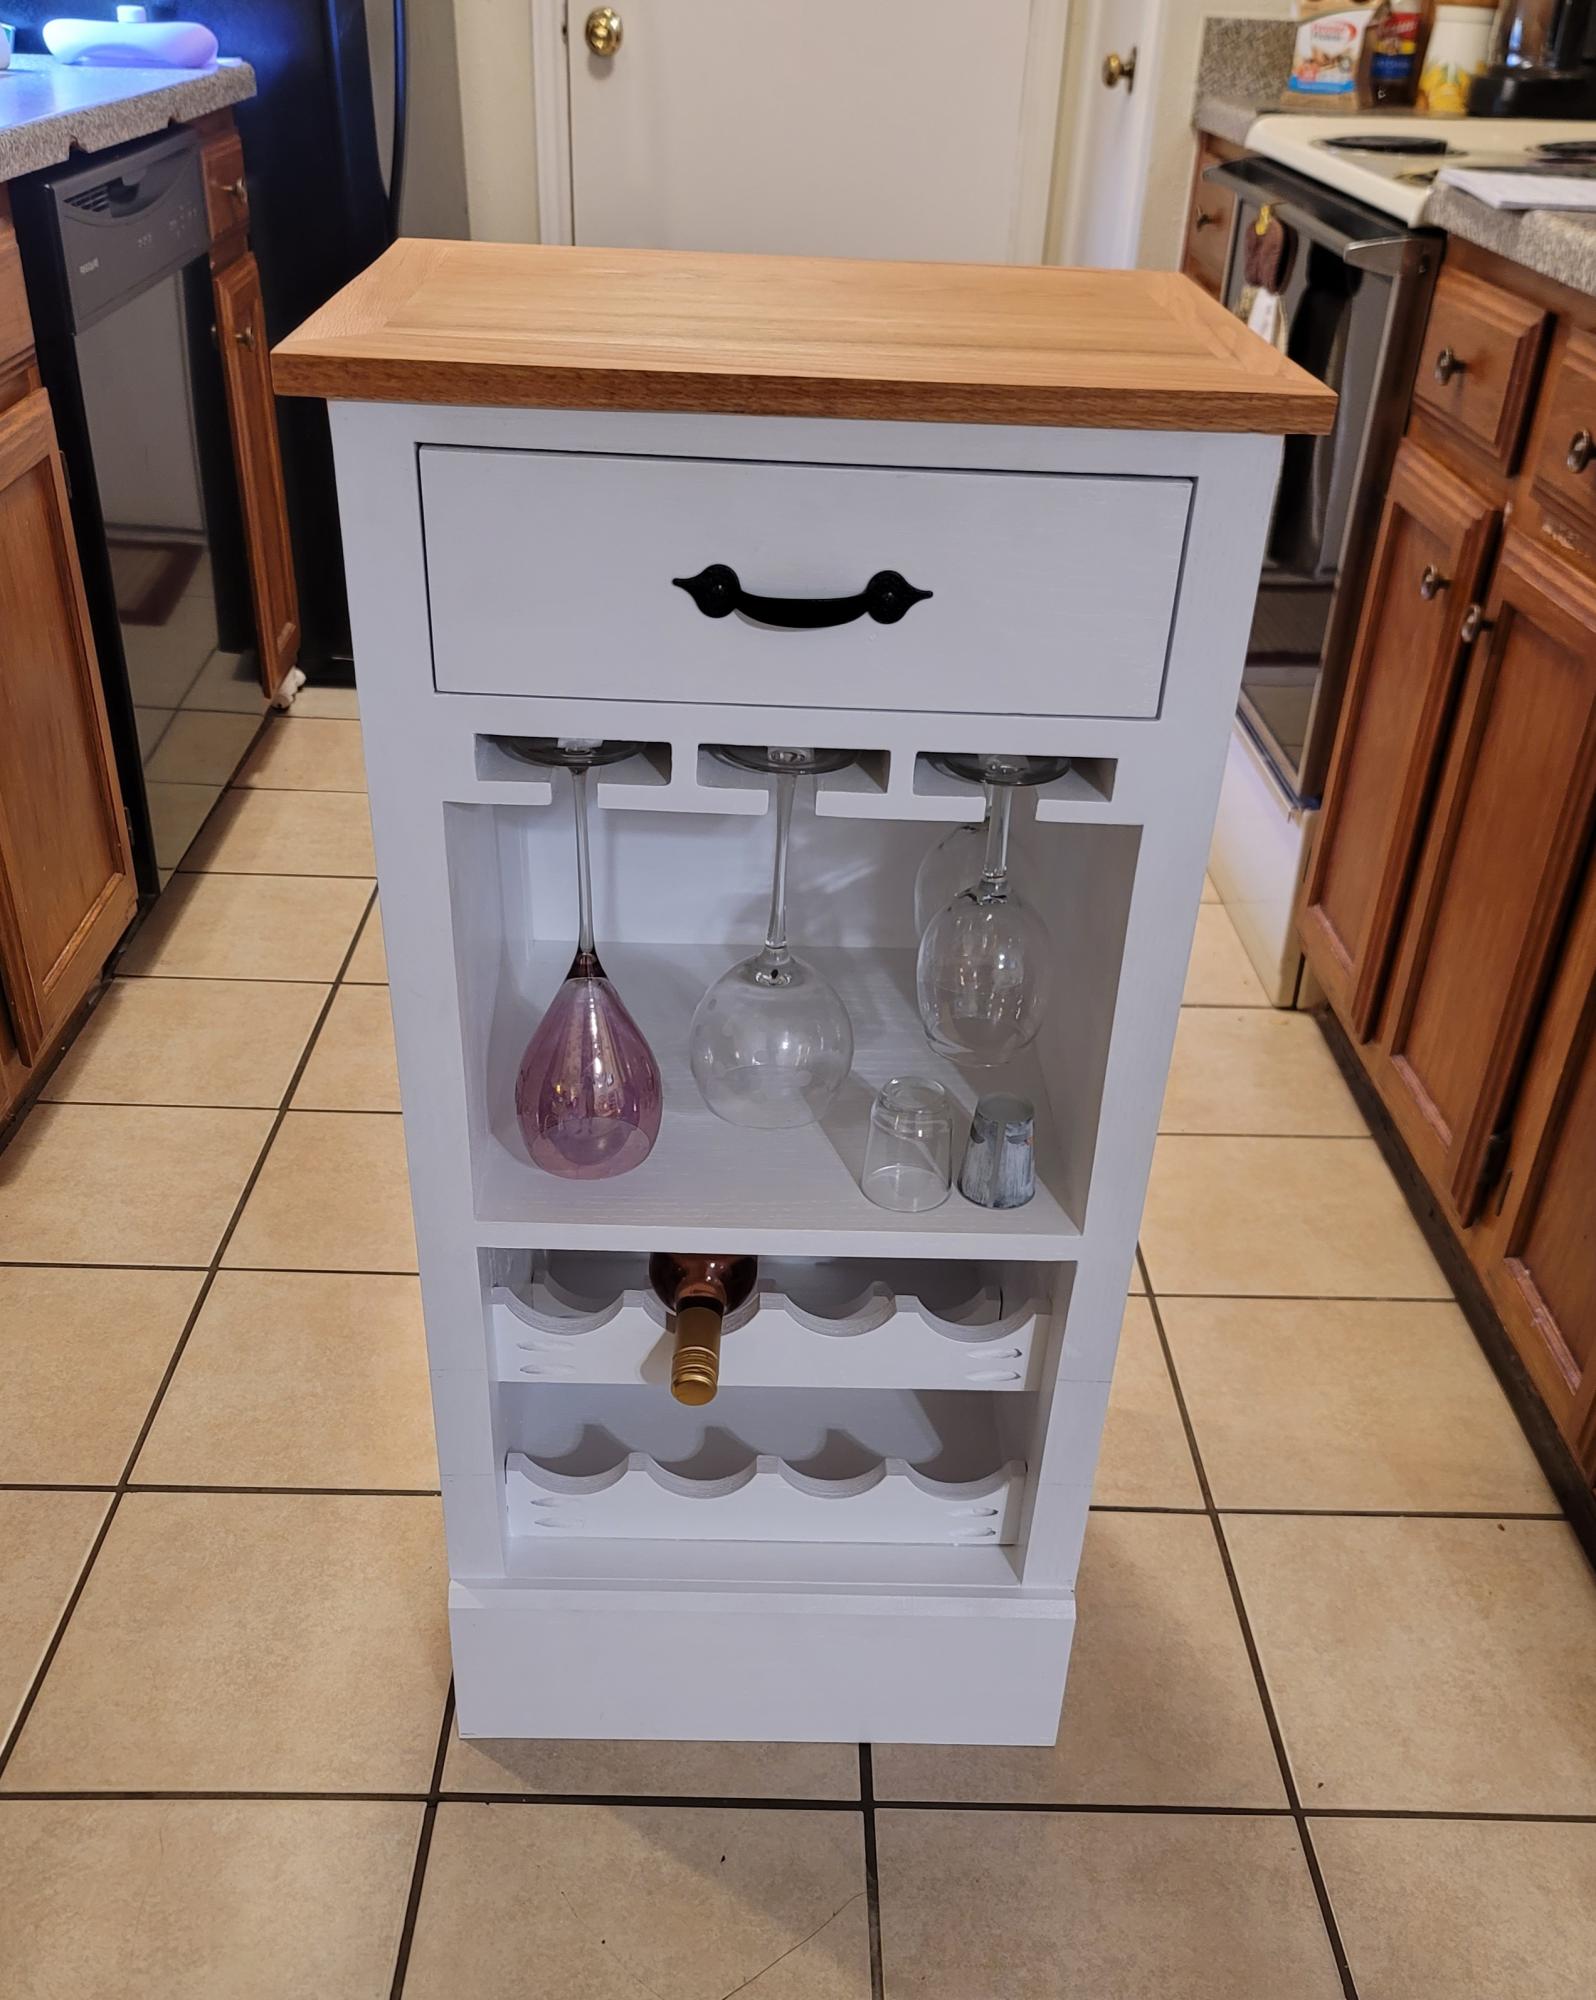
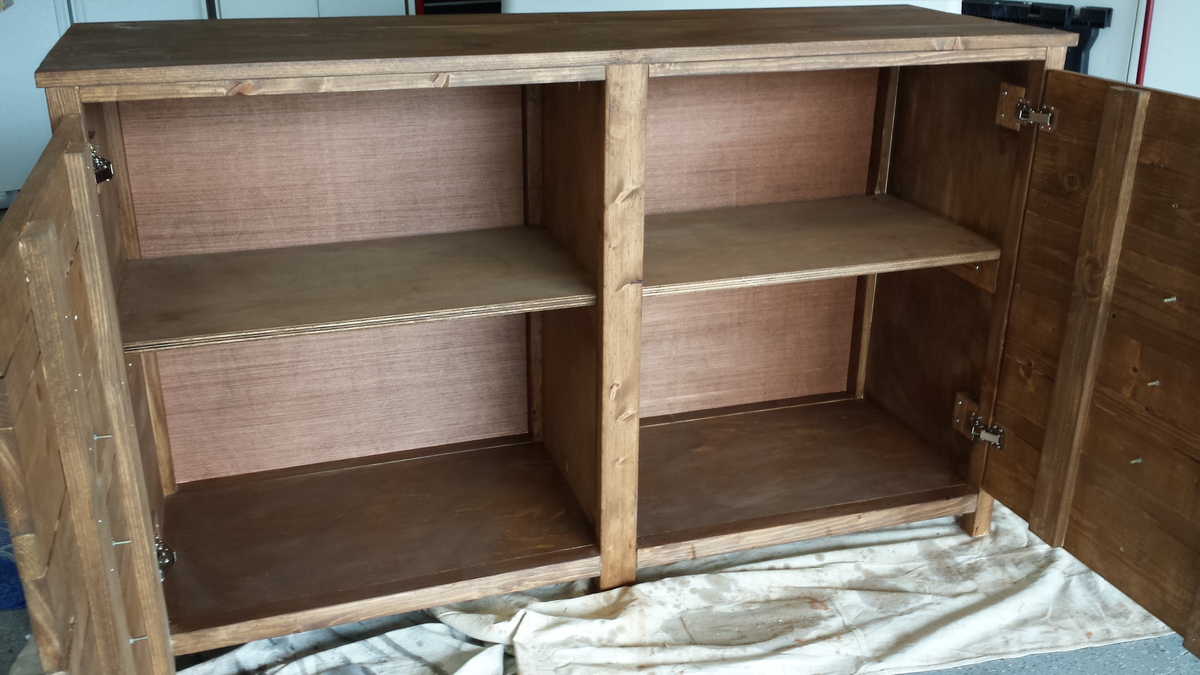
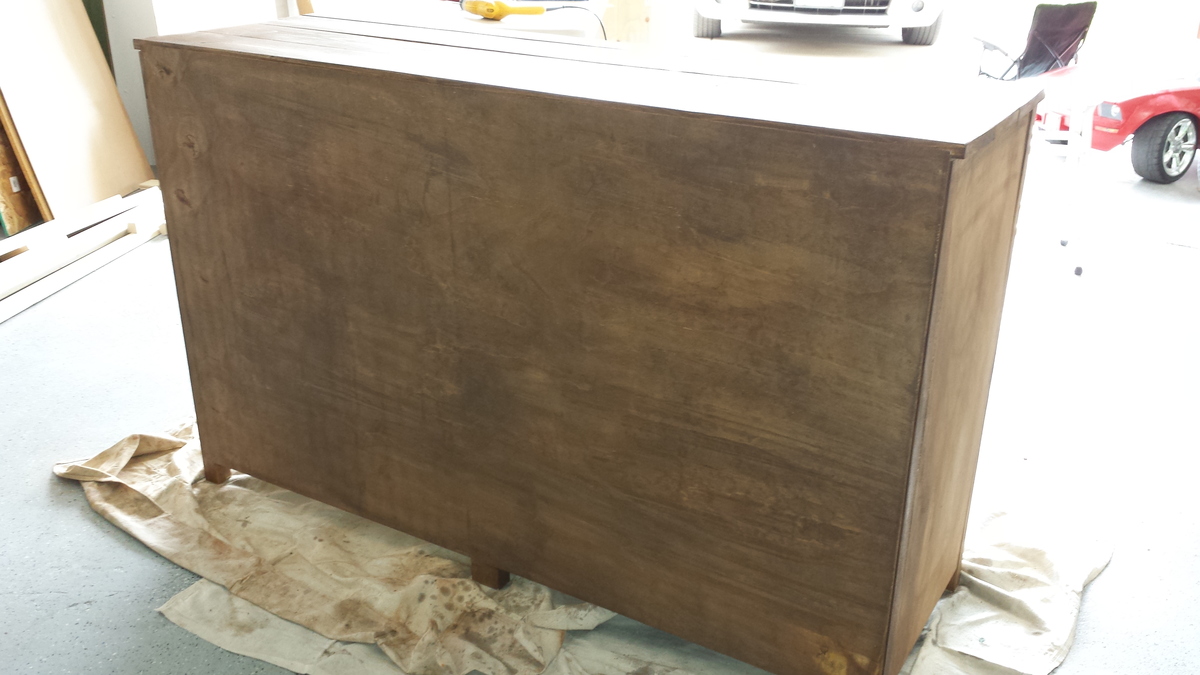
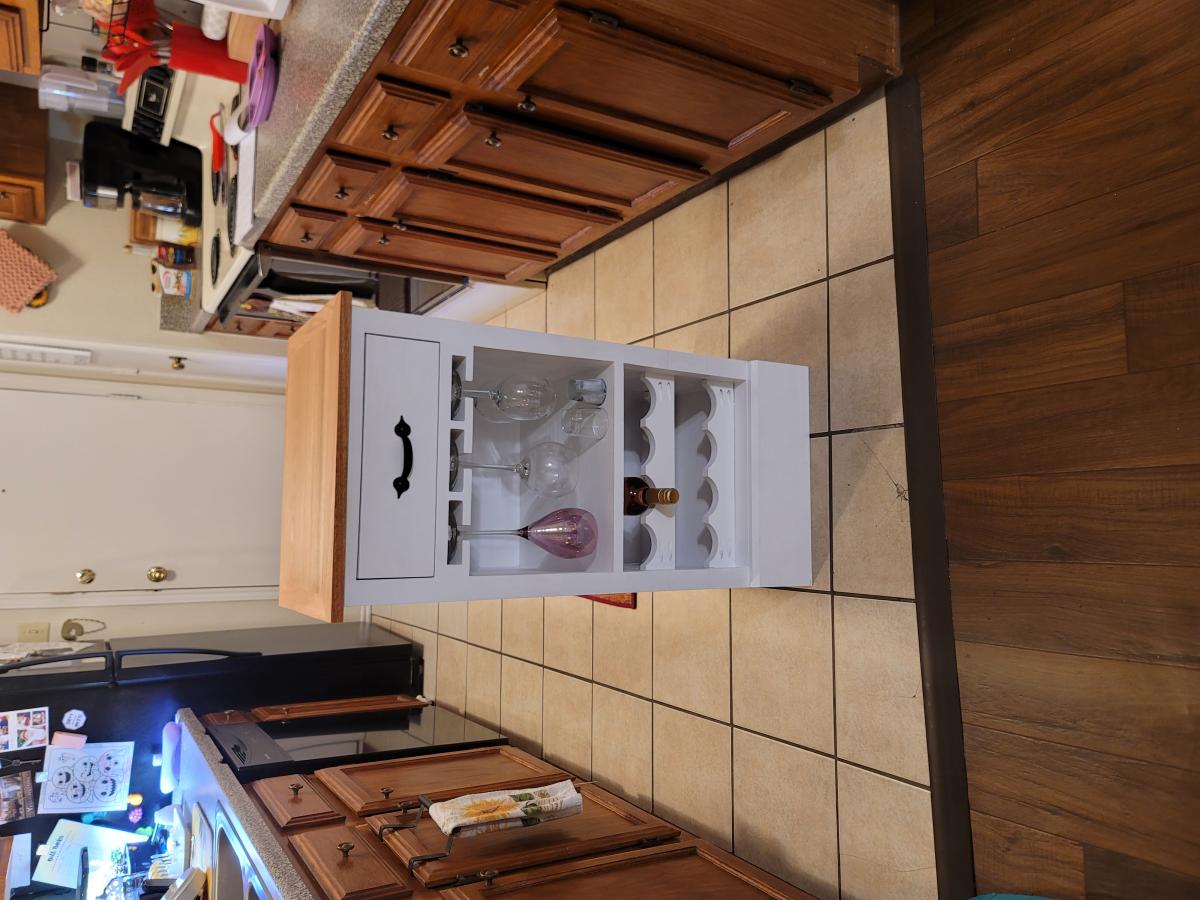
This was a really fun project. Thank you to Ana White for the awesome plans to make this wine cabinet possible. It's much loved, and is a beautiful new additions to a new home. I enjoyed making it, the plans were very easy to follow.
Sun, 11/07/2021 - 09:14
Super cute, love your finish and hardware choices!
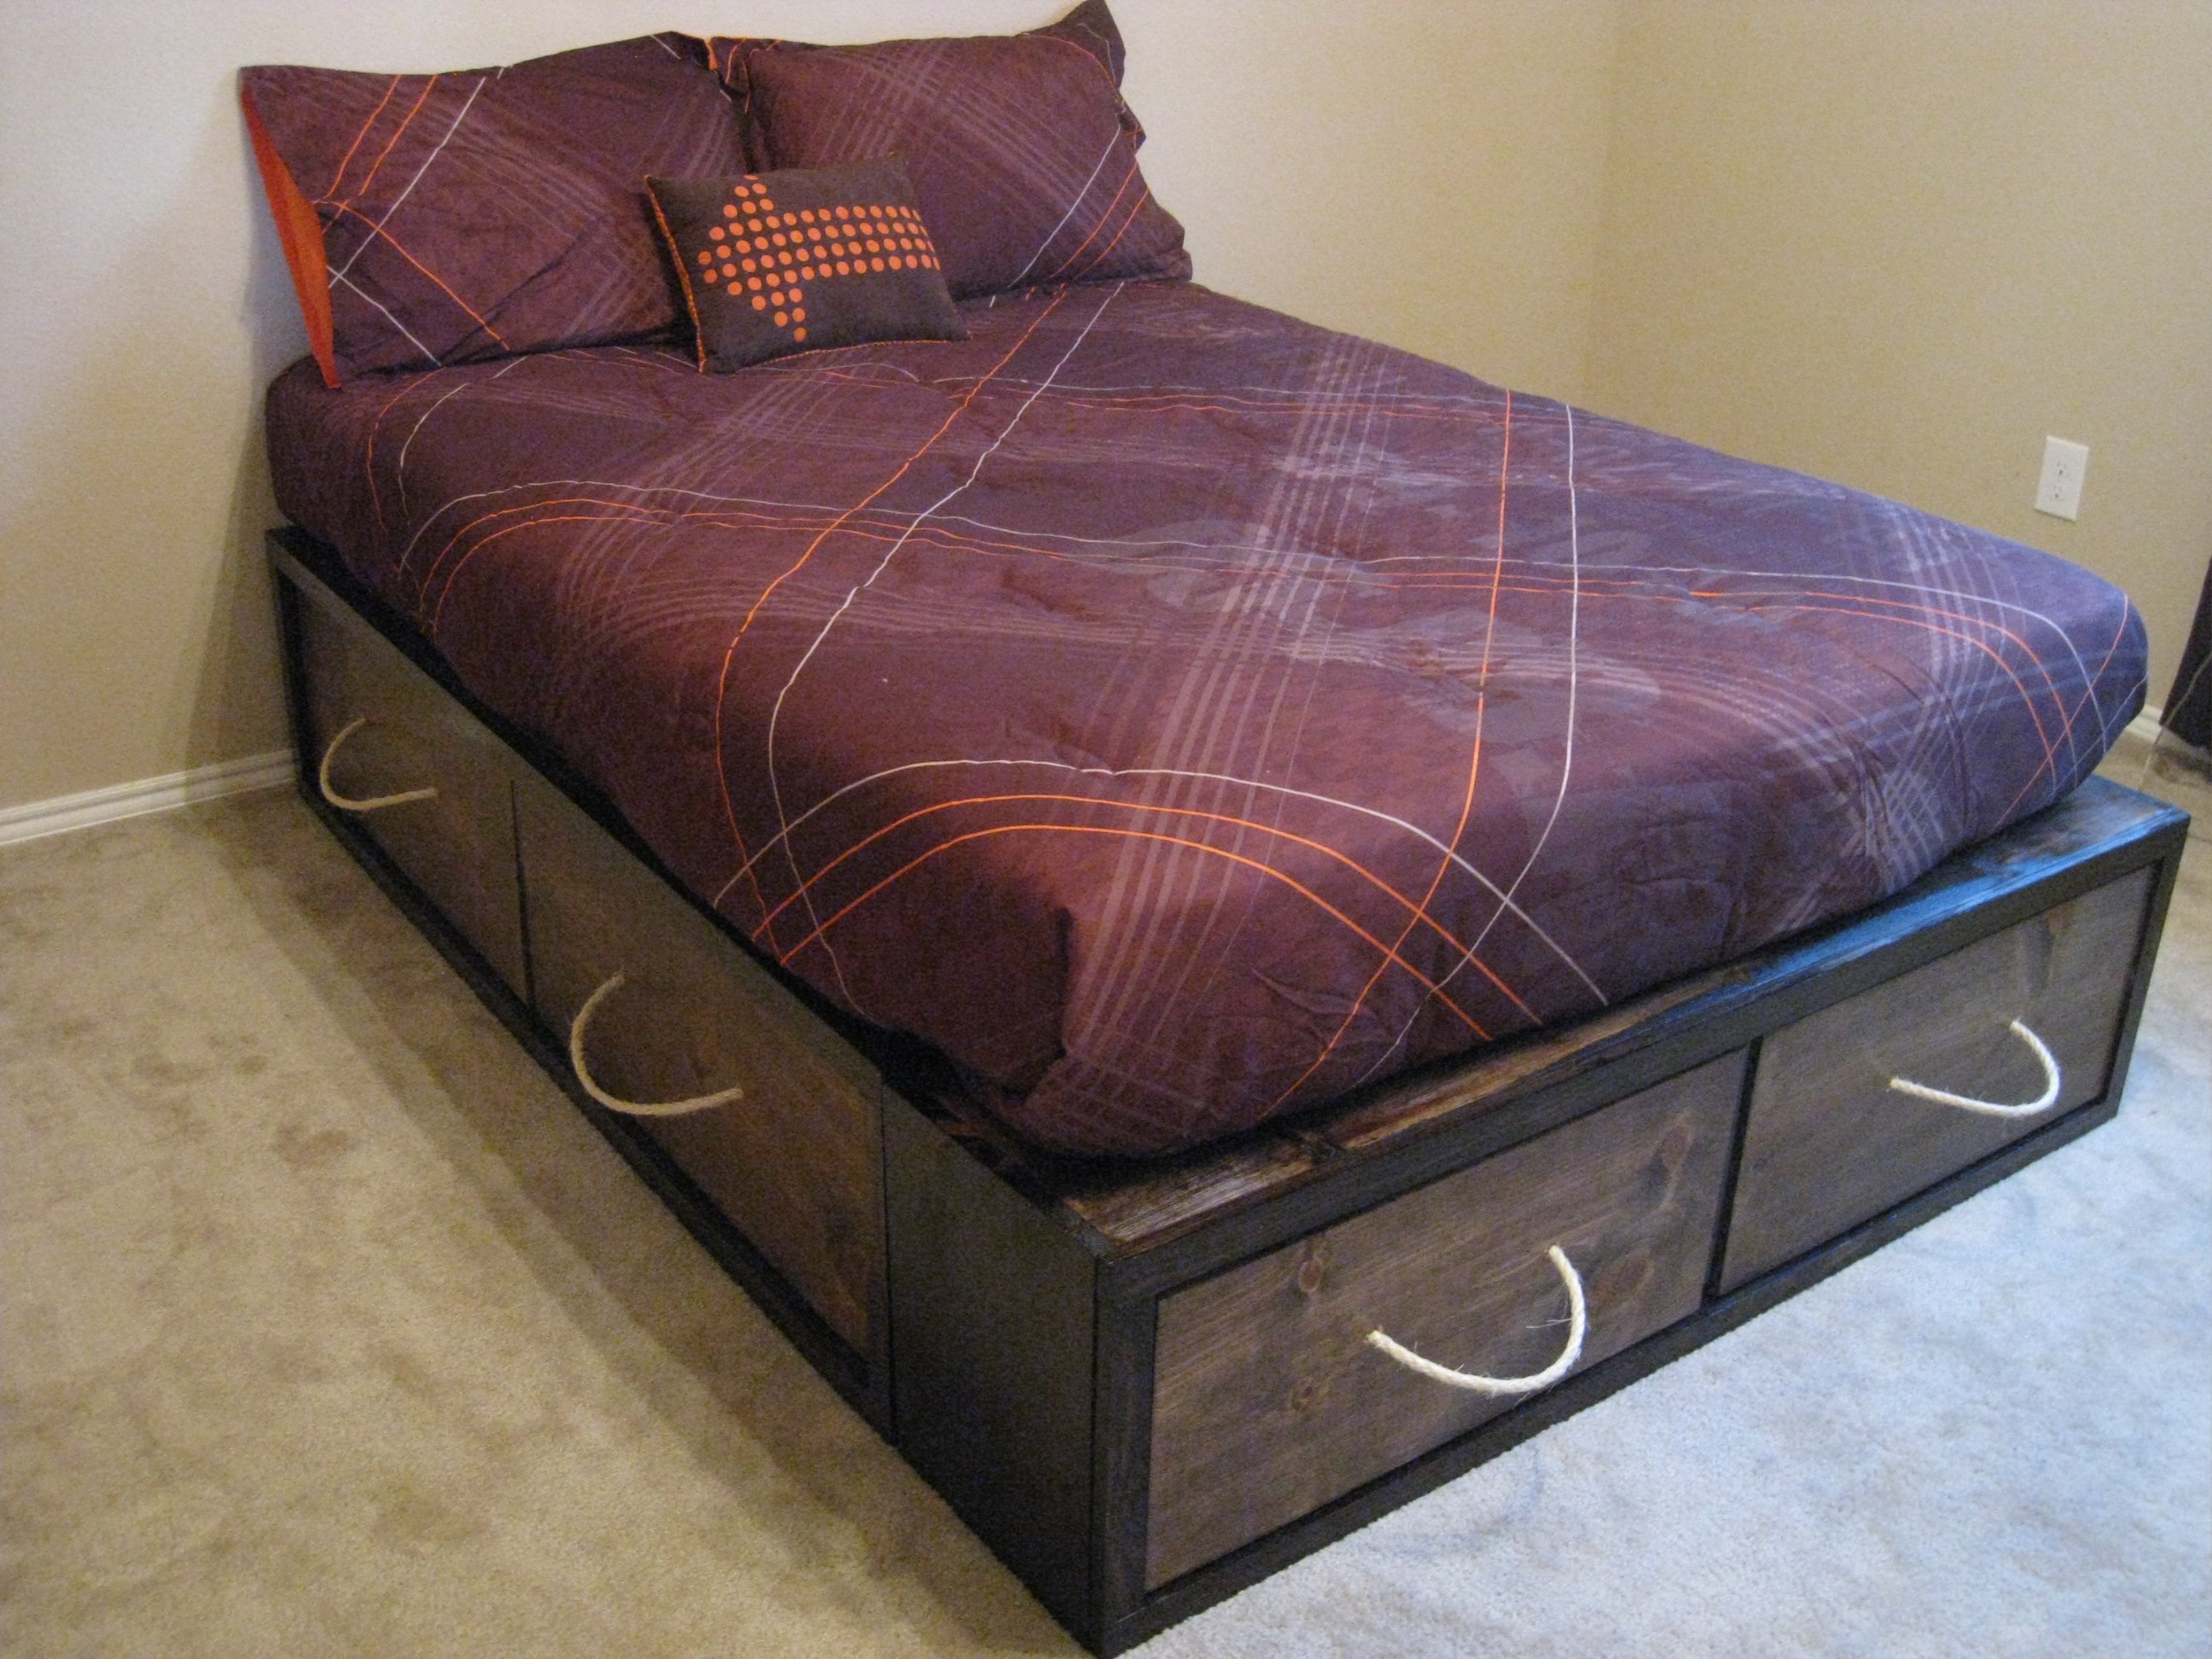
I built the Full Storage Bed using Ana's plans! It was very easy and I love the storage space! You can see it and my modifications at our blog http://www.shanty-2-chic.com/2011/03/crates-for-storage-bed.html
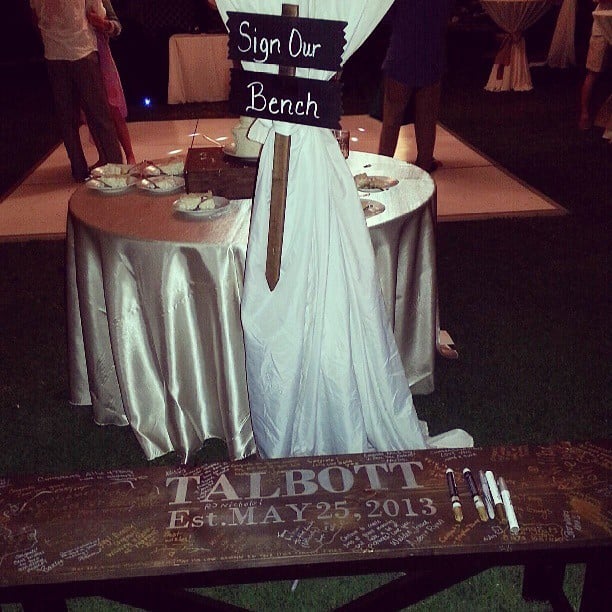
I stole this idea from another brag and had to have it at my wedding. The Bench was fairly cheap to make and took about 4 hours total. I hand made the stencils using cardstock, shipping tape, Xacto knife, and alot of tedious cutout work! I used a sharpie silver paint marker to fill in the stencil. Turned out great and now its at the foot of our bed and we get to look at all of our guest comments everyday!
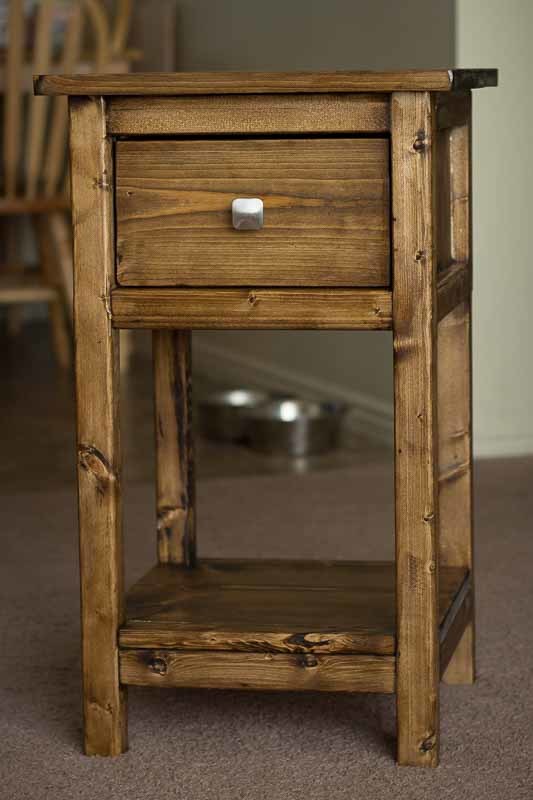
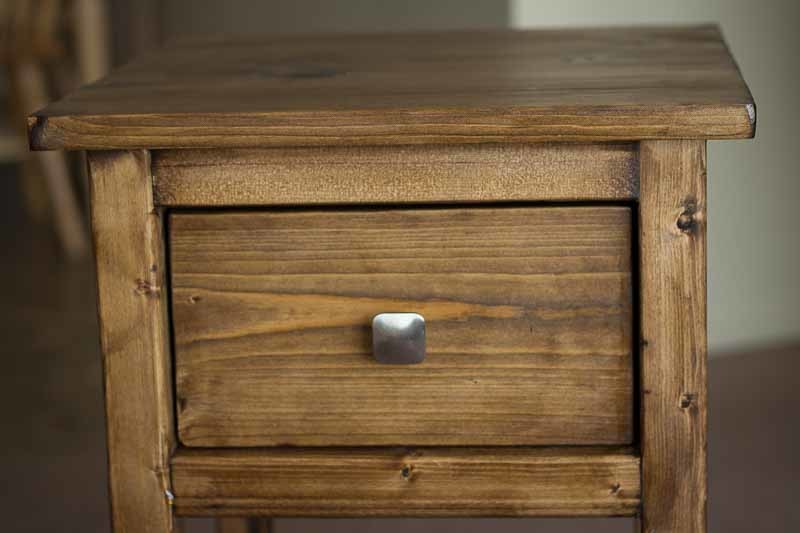
This was the first furniture DIY project for my wife and I. We loved the look of the original farmhouse bedside table plans but they were bigger than what we needed at the moment and didn't want to try to cram them into our room. The mini plans were exactly what we needed. For a first time build, I am pleased with the results and we ended up spending about $75 plus the cost of stain for the two tables. Similar, all-wood night stands run around $200 per table so it doesn't get much better than that. We opted for the Minwax Dark Walnut stain.
Sun, 05/17/2015 - 19:43
I built my mini farmhouse beside table last year as my second build. Did you use a brush or rag while staining? Every time I use dark walnut I get a much darker color, and yours came out perfect for a project I'm going to start soon.
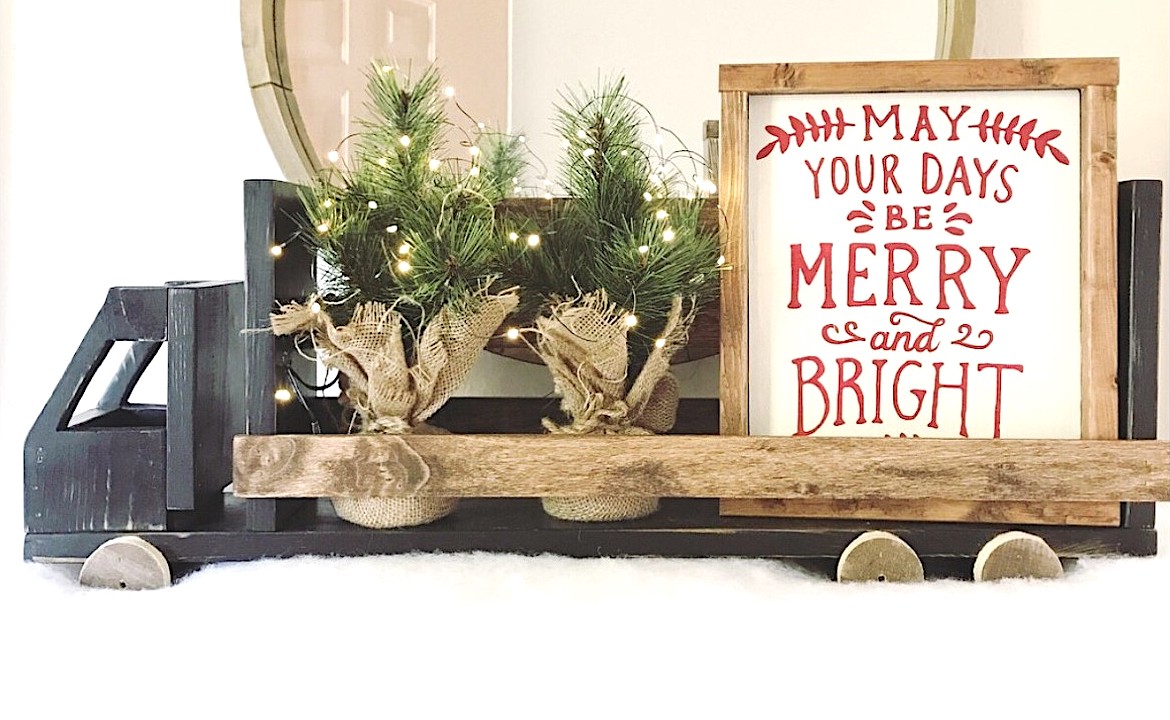
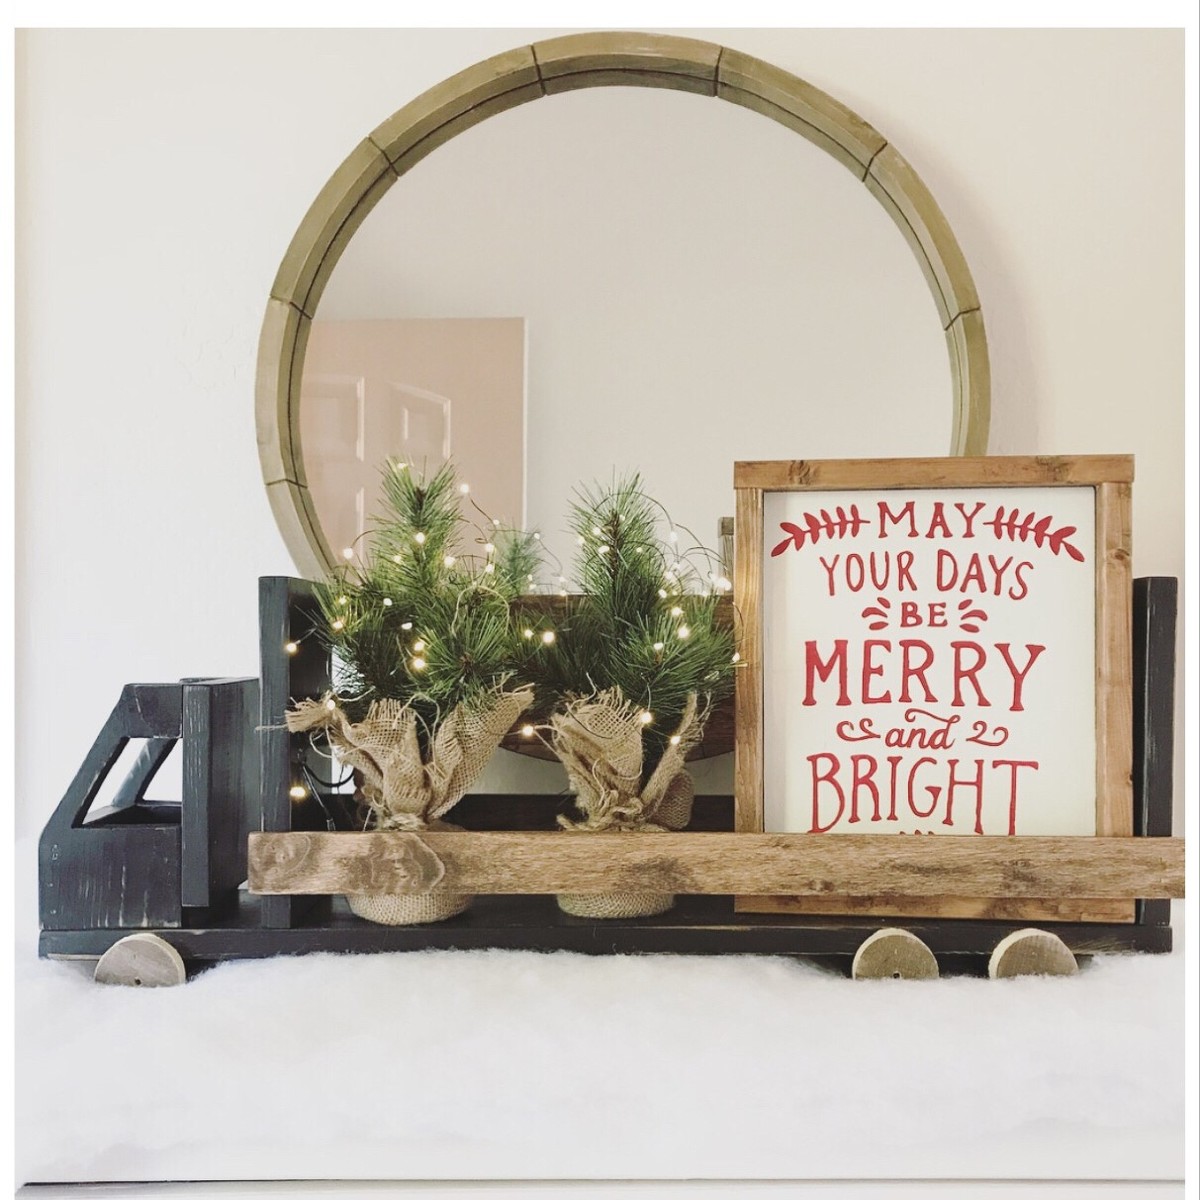
I built this truck to give to my son for a Christmas gift. It came together really fast. It took about 2 hours including sanding, painting, staining, waxing, and assembly. I really love the finished product! I have a lot of pictures of the process on my blog.
These cost about 10 bucks a piece as she said. This was my first project. Not too bad.... obviously not perfect. But I learned a lot while doing this...
These took me a weekend to do... probably 6-8 hours.
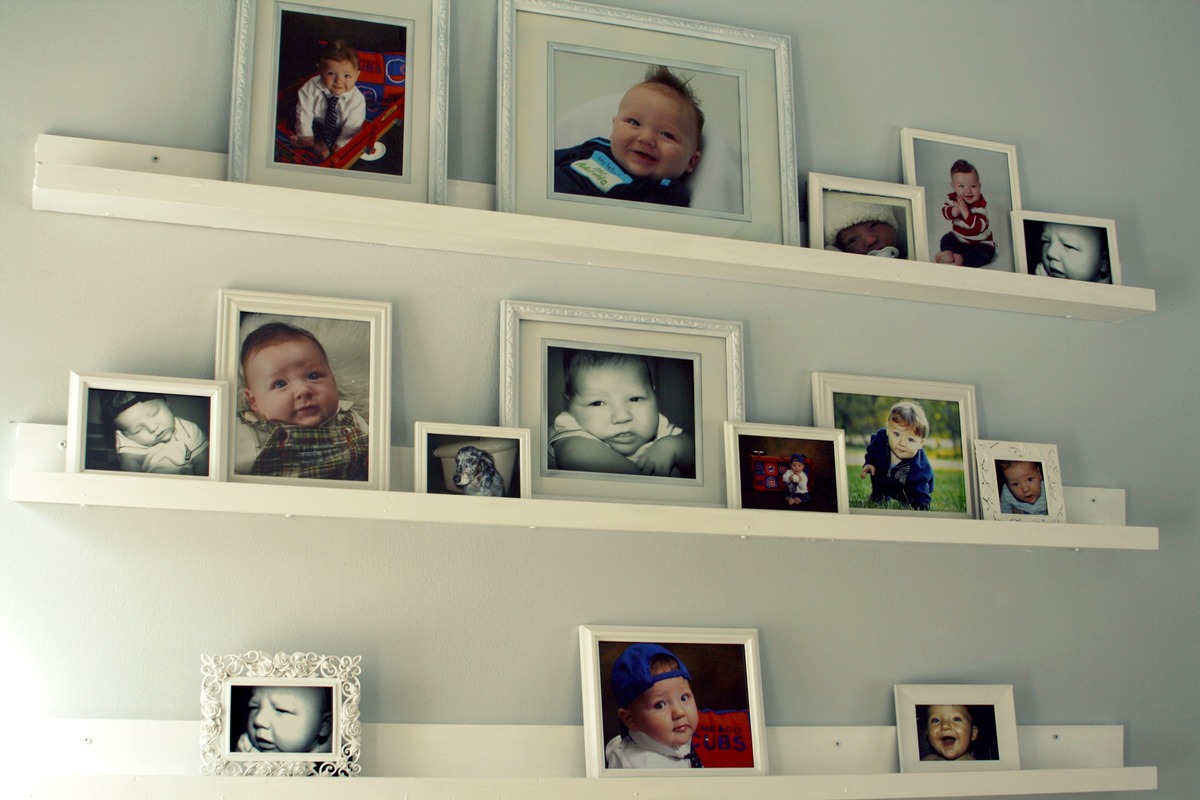
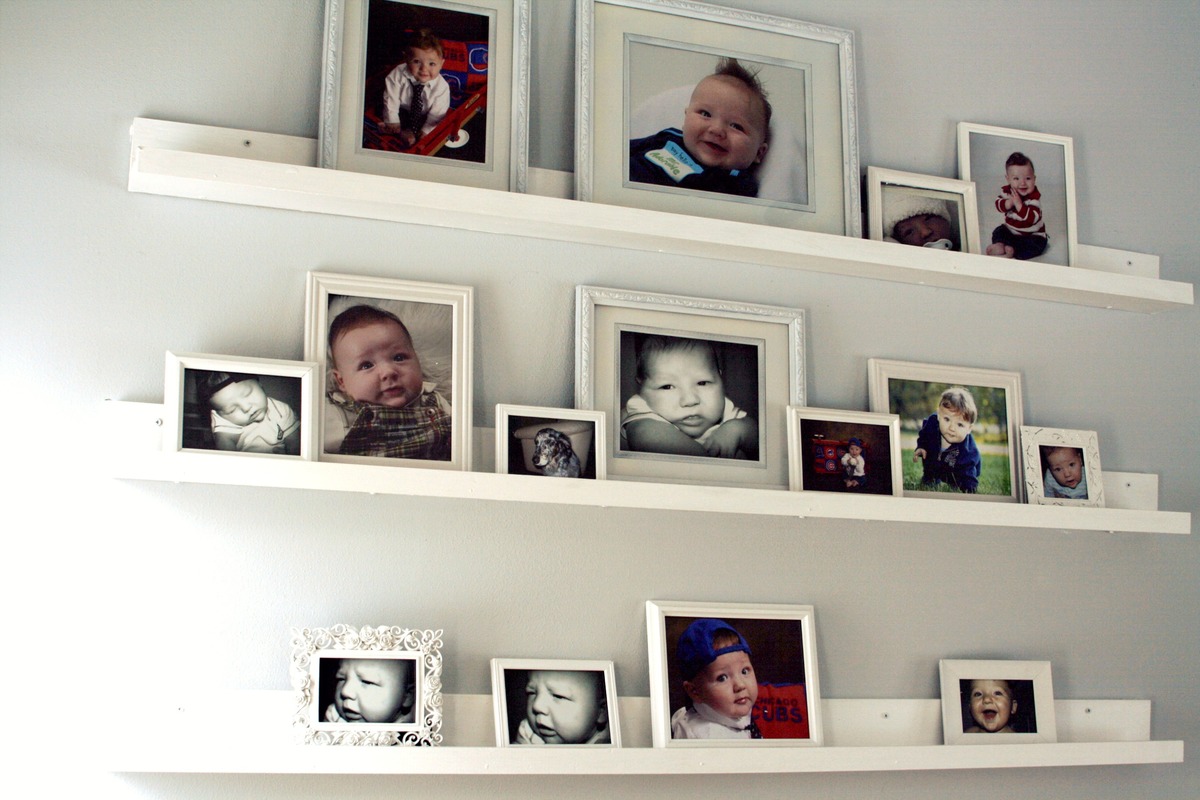
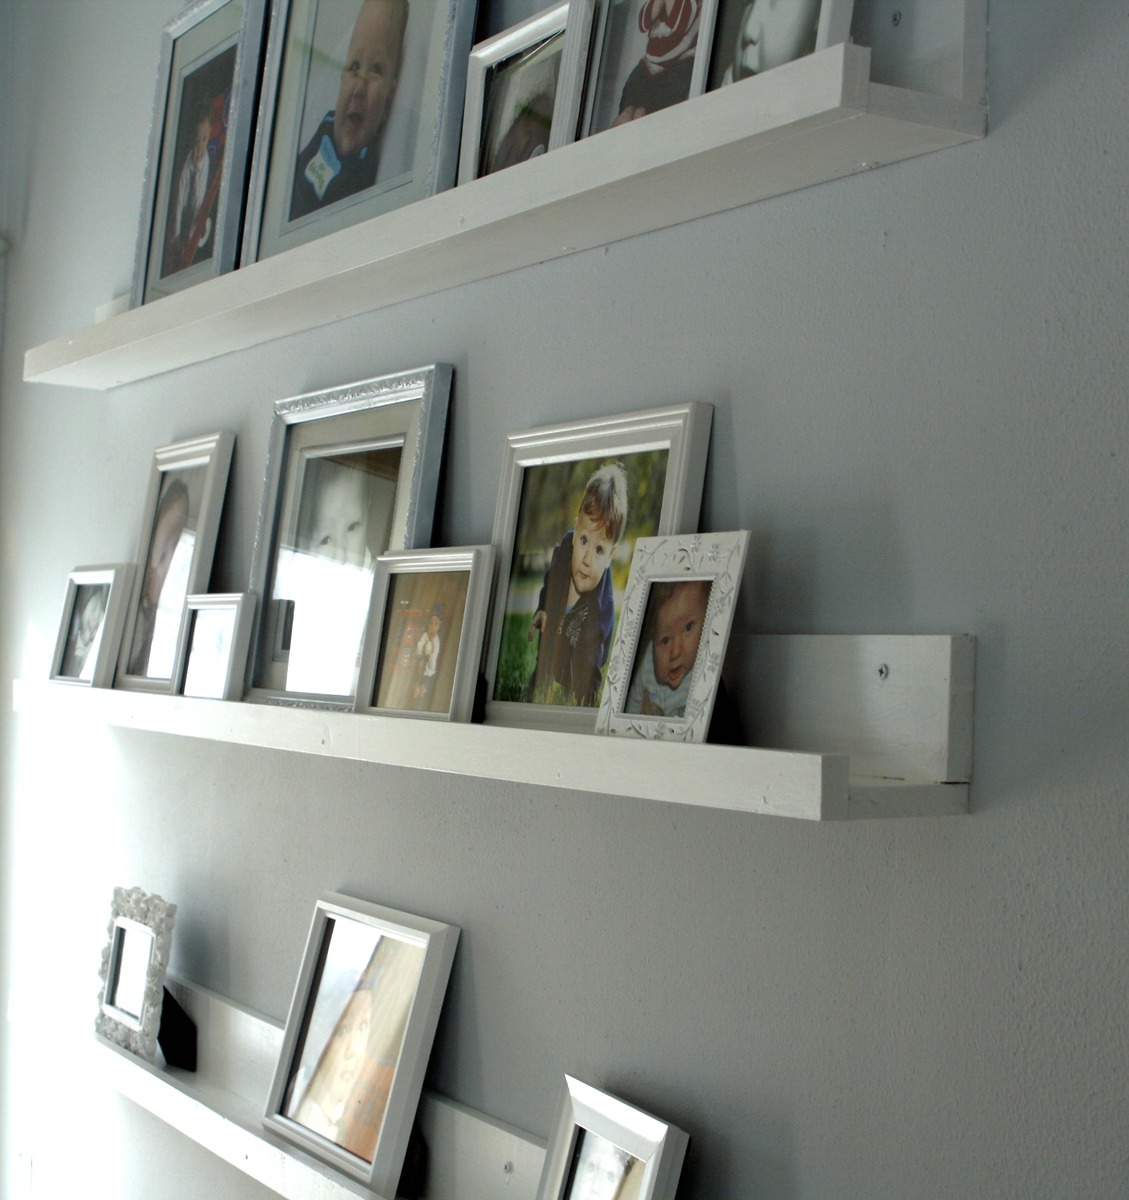
When I took this I was still working on filling the ledges with photos... dont mind the craziness! :)

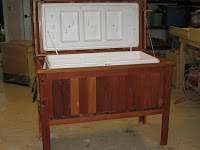
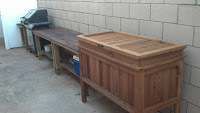
I do a lot of family gatherings and my daughter gave me a huge white cooler to accommodate all our different beverages. It's great to have, but its basic appearance didn't add much to the "party" atmosphere!
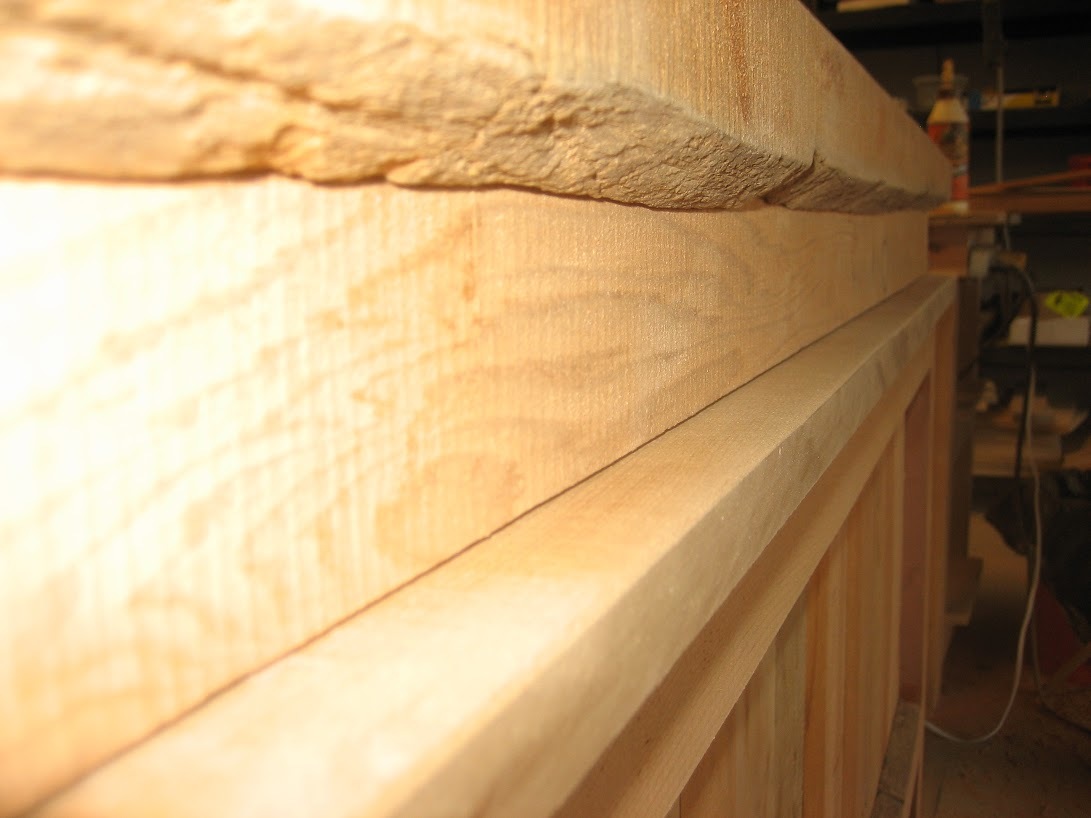
My son-in-law has a small mill and after a recent visit he had sent me home with a trunk load of beautiful cedar. At that time I had no idea what I'd do with it. But, after seeing so many rustic coolers I decided that would be a perfect project to build with my cedar.
I built this before the cute blue ice chest was posted by Birds and Soap, but that would be a great plan to follow!
My cooler had handles that were molded into the body of the chest, so the shape was a bit awkward to work with-especially considering that I'm really short on math skills! But, with a bit of trial and lots of error I made it work. I worked on it over several days, but if I'd buckled down and worked continuously I might have finished it in one day.
I love how it turned out, and after the 1st family gathering I had orders for 4 more (smaller) cooler chests!


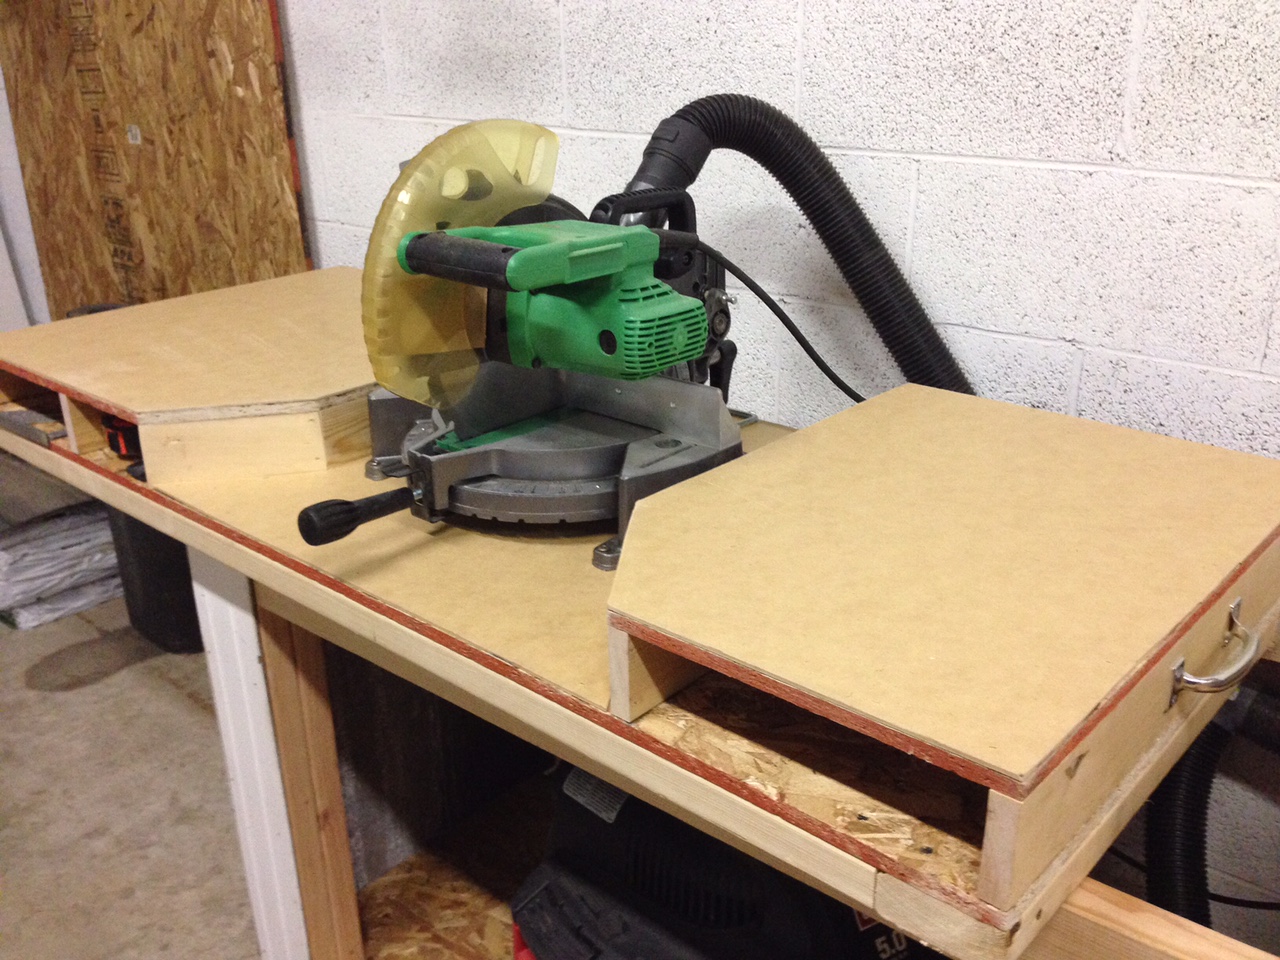
I was looking for a plan to build a miter saw cart but also wanted to include my table saw.
I was leery about making a permanent station for the miter saw in case in needed to move the saw for an inside trim job so I made the miter portion of workstation portable.
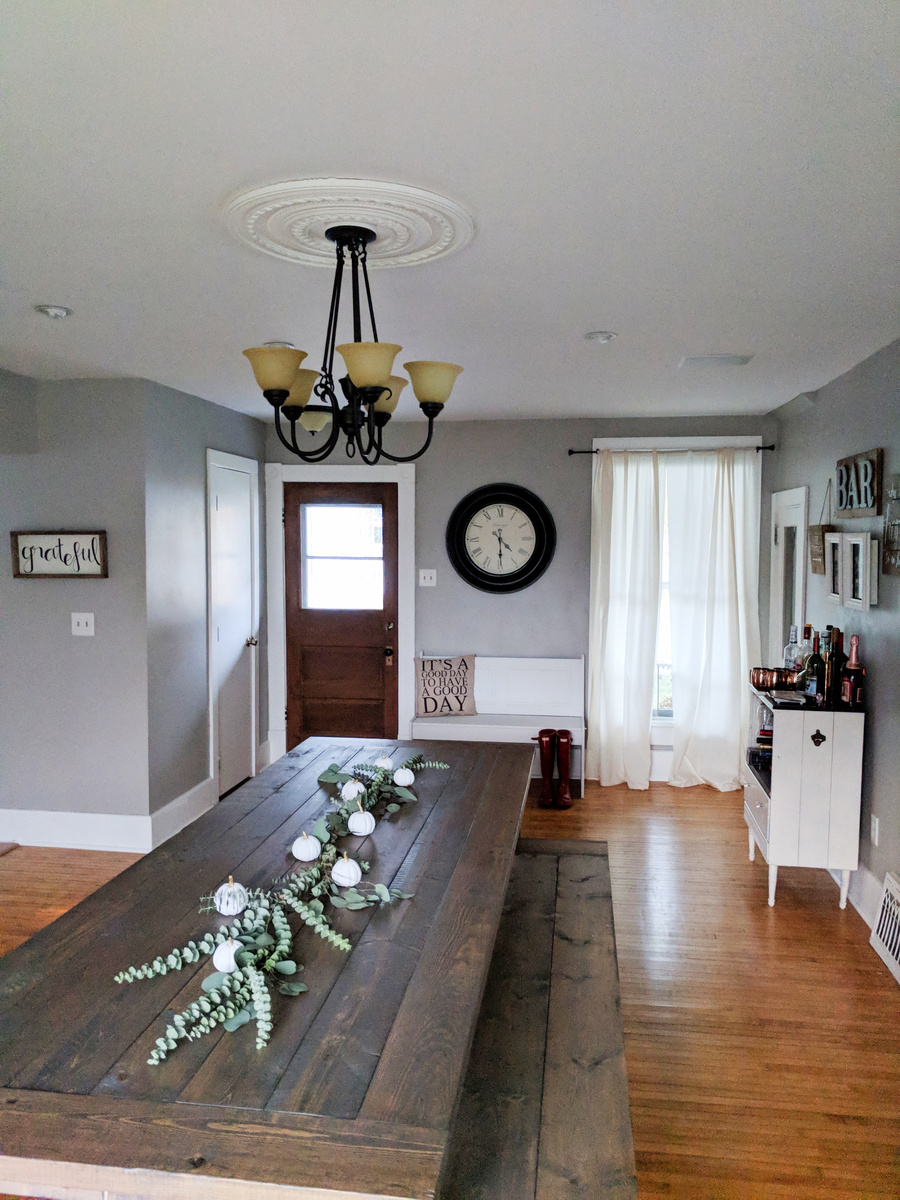
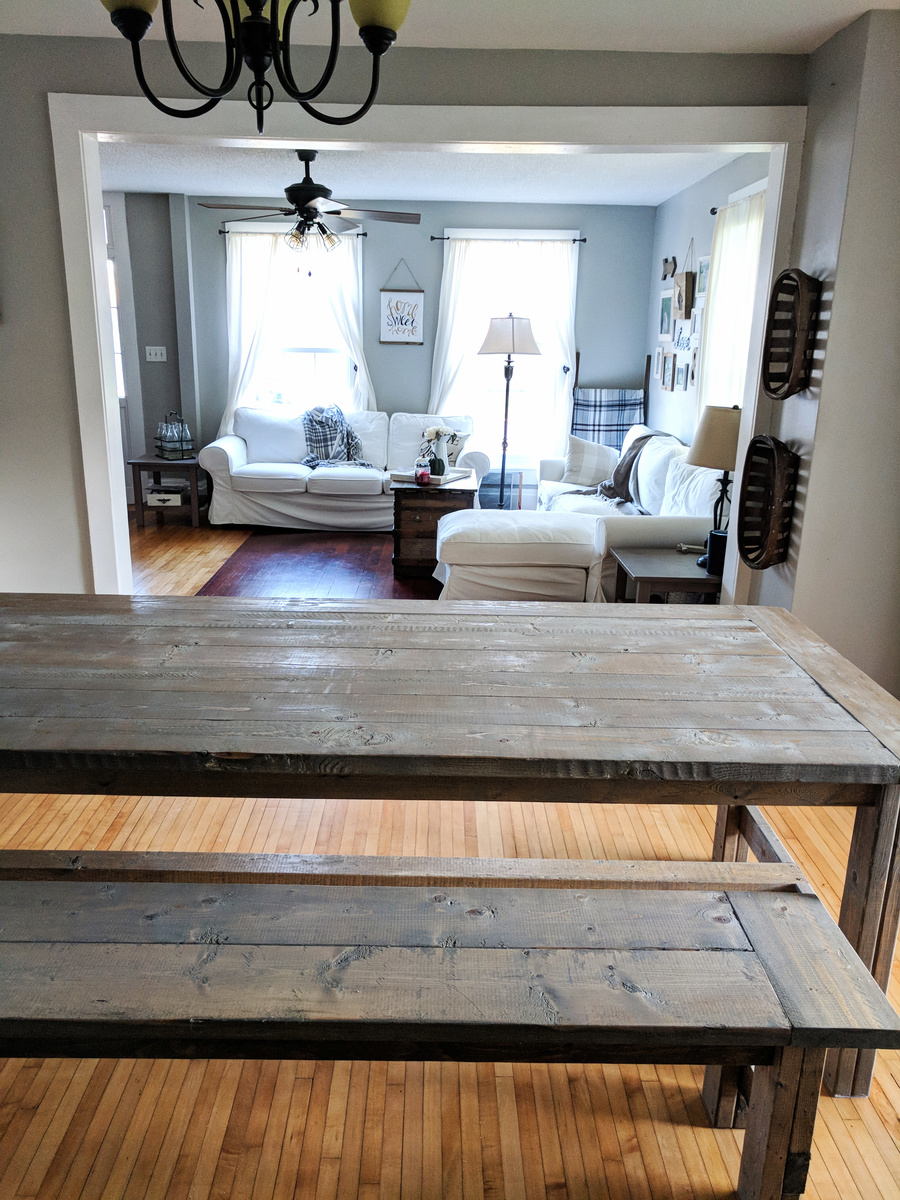
This was my first attempt at building a big project! I invested in a table saw a couple months ago since I sell handmade signs, but all I had tried to make were the signs and some very simple projects. I had been wanting a big farmhouse table for the longest time, but was so intimidated by such a big project!
I finally got up the nerve and tackled it over the course of a weekend, and made the whole table by myself! I decided to buy a pocket hole Kreg Jig, which made the project go pretty smoothly. Ana's plan was easy to follow and I followed it to a T, other than using 2x6s instead of 2x8s for the tabletop, 2-2x4s instead of 4x4s for the legs, and extending the length a bit (my table is about 8.5 feet long!) It took me longer than it should have, I'm sure, but even as a beginner I finished the table from start to finish in a weekend.
The finish is my favorite stain color, a half-and-half mix of Mixwax Weathered Oak and Espresso, topped with a coat of Varathane Triple Coat Matte Poly.
I built a matching bench the next day because I couldn't resist! I did accidentally put the end pocket holes on the wrong side of the end aprons, so they're facing outward (oops!) but I still love how the table turned out! I posted more photos of the process and finished product on my blog if you'd like to see more!
Comments
Ana White Admin
Fri, 10/15/2021 - 12:53
Great first project!
Way to go! Thank you for sharing~