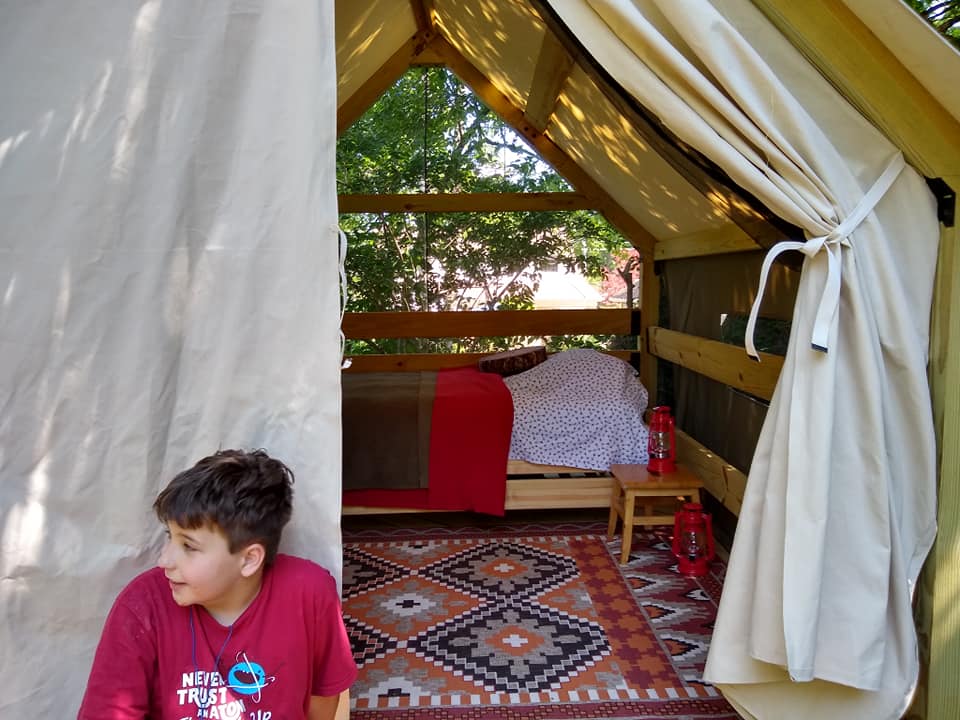
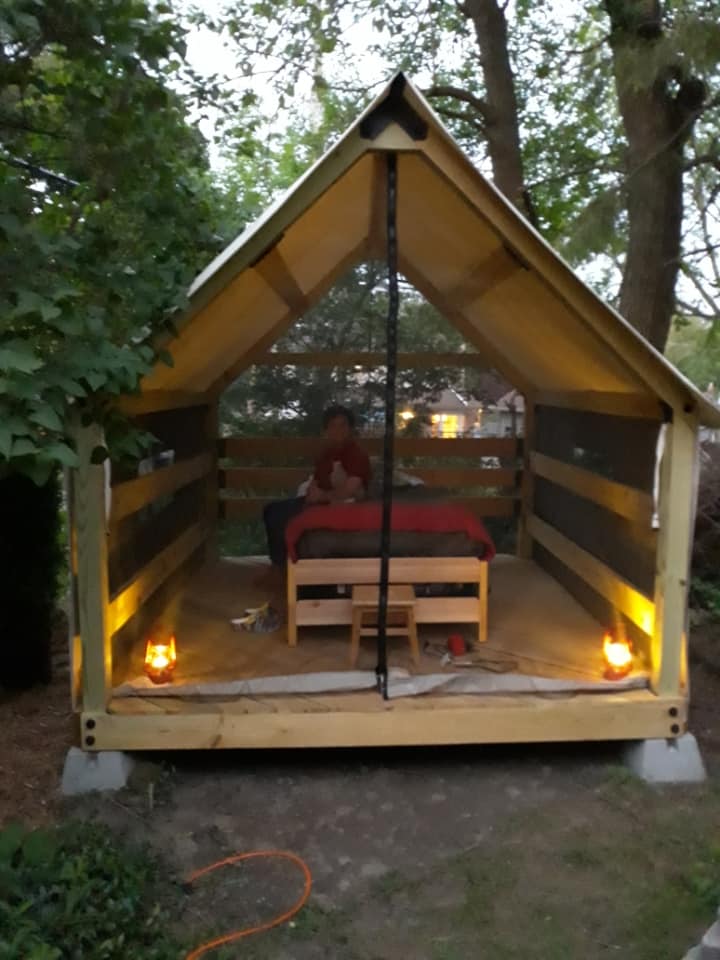
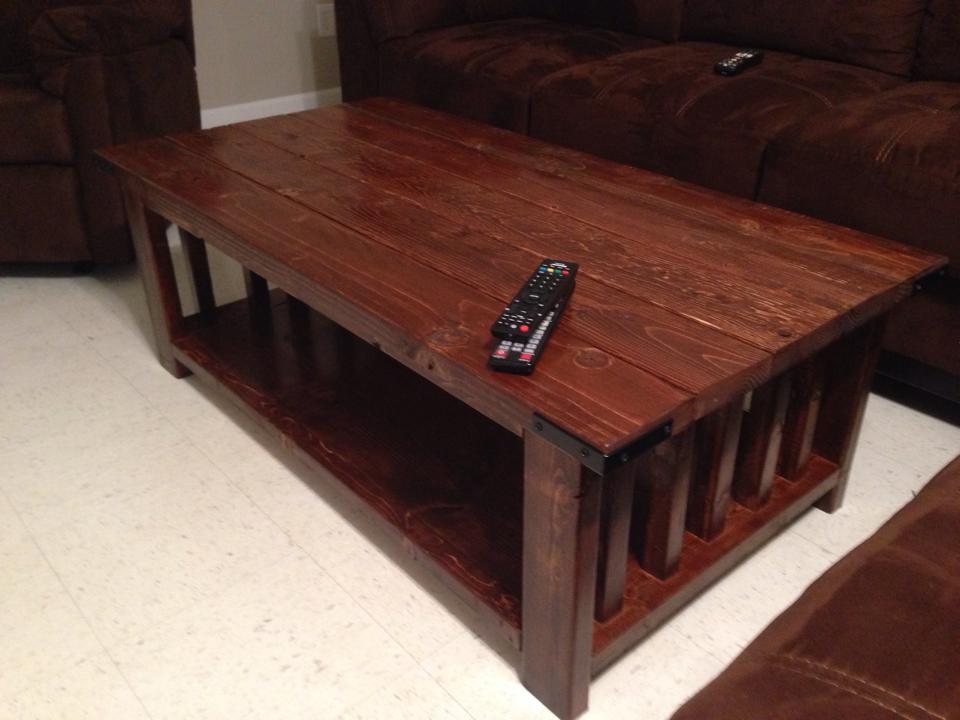
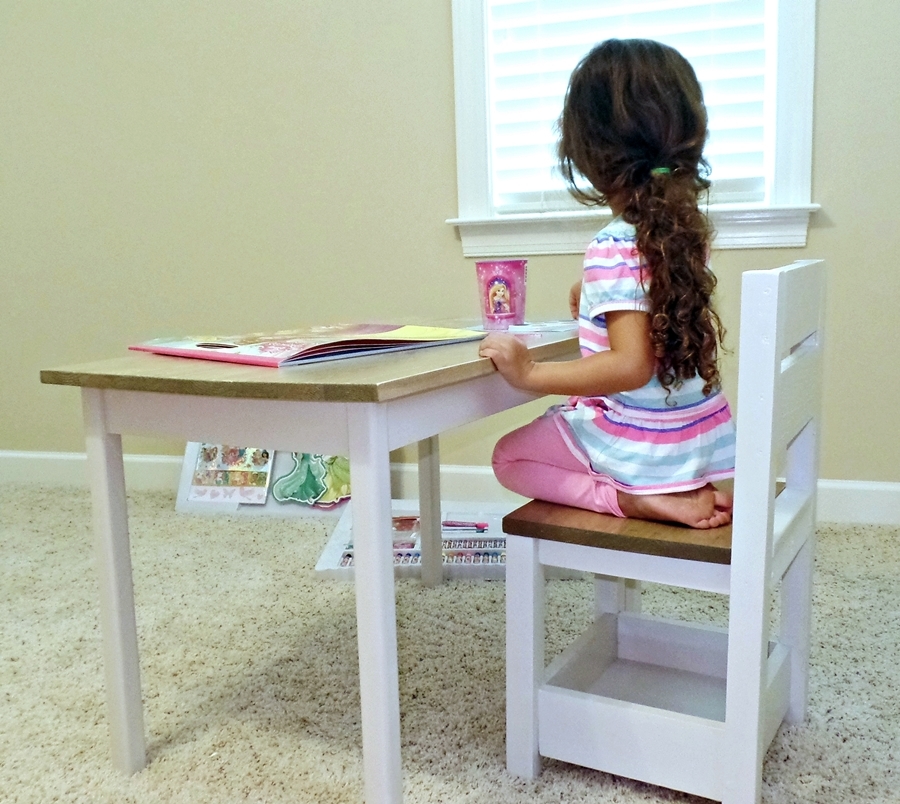
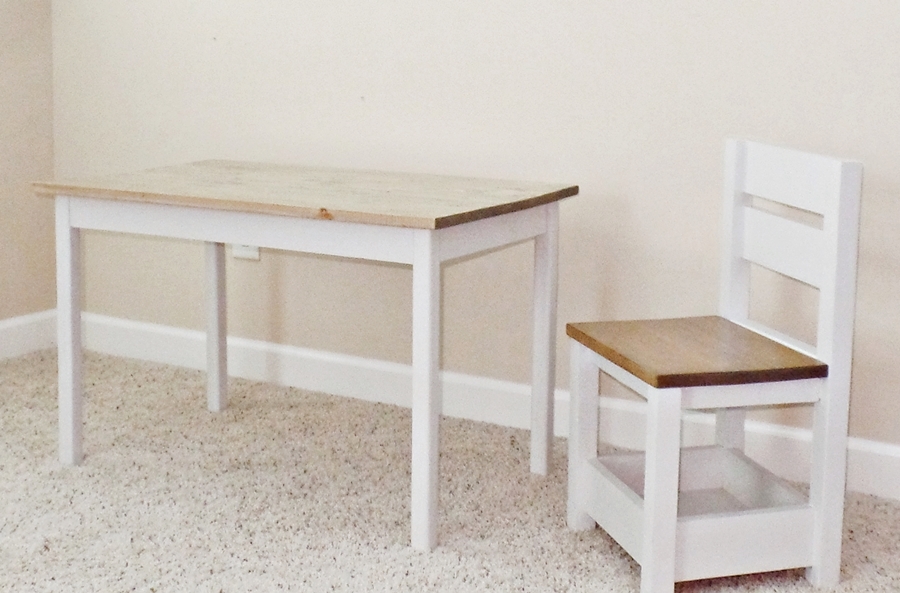
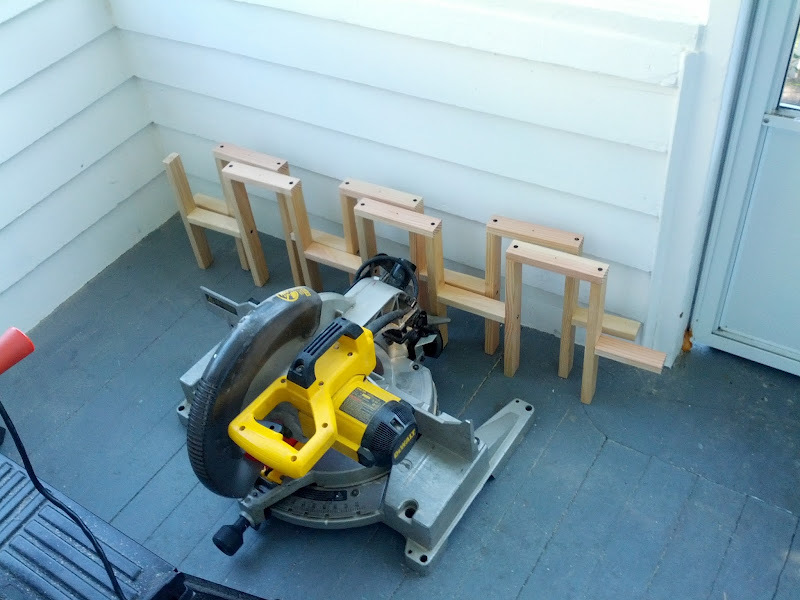
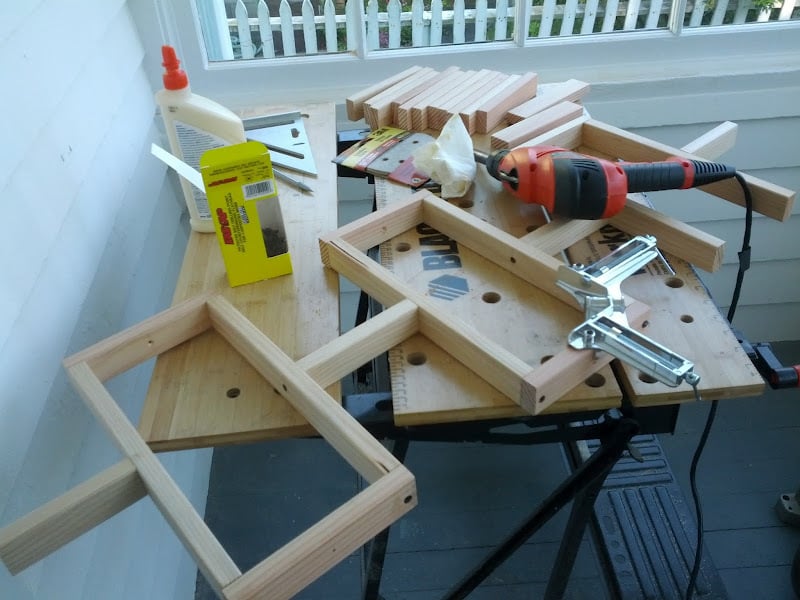
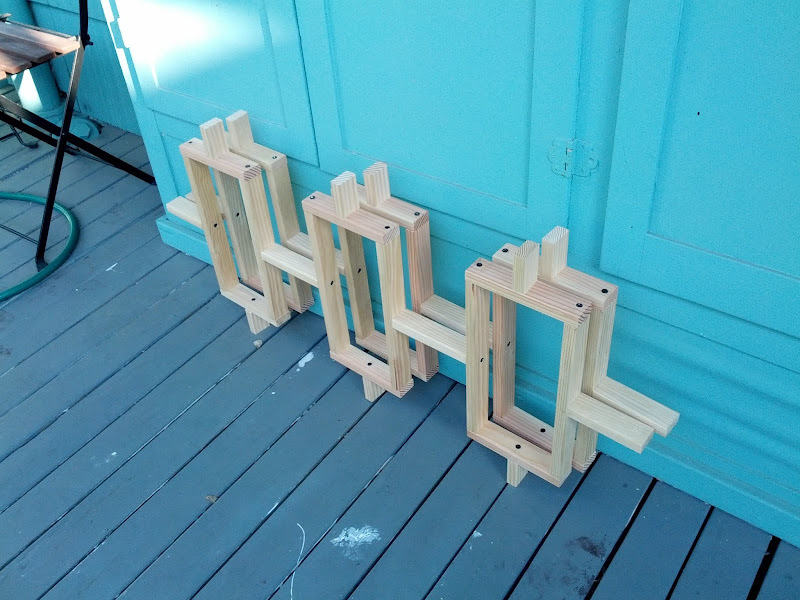
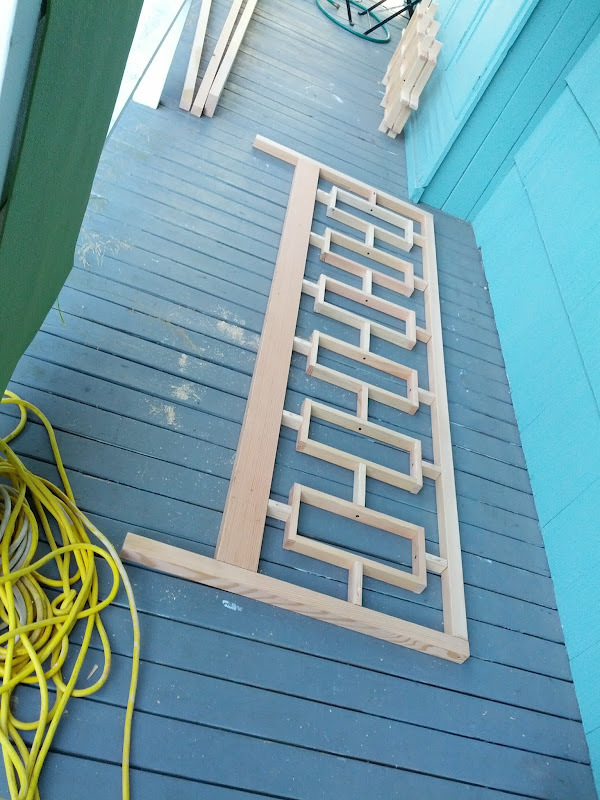
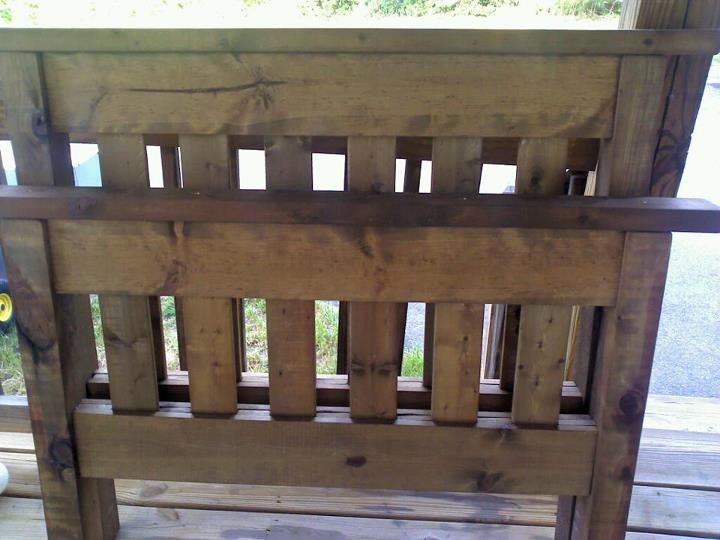
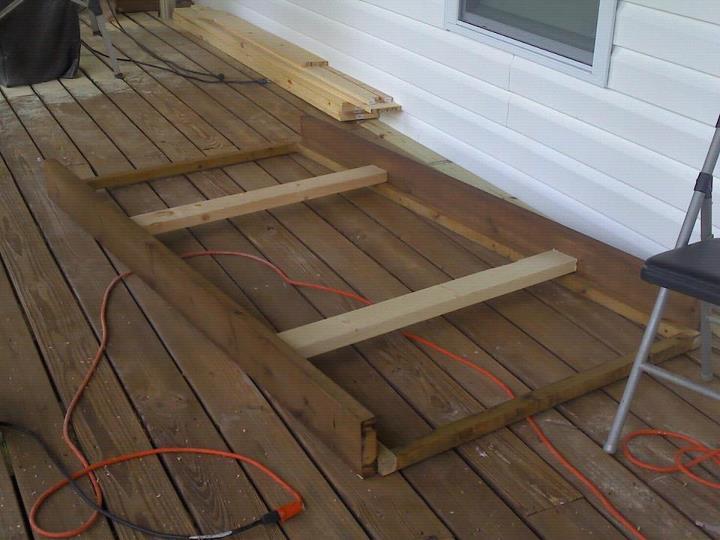
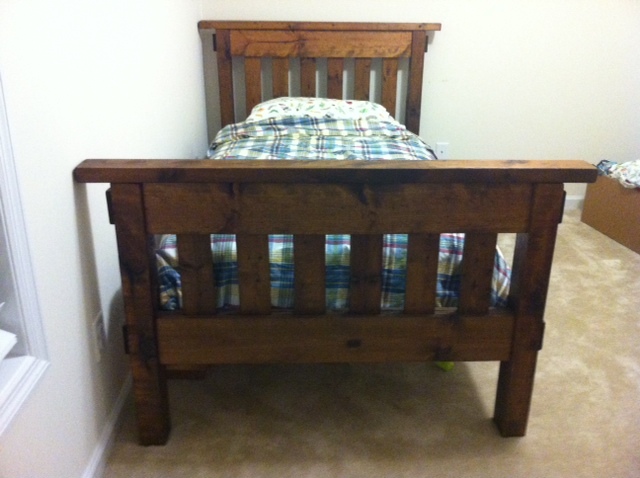
Simple Twin Bed
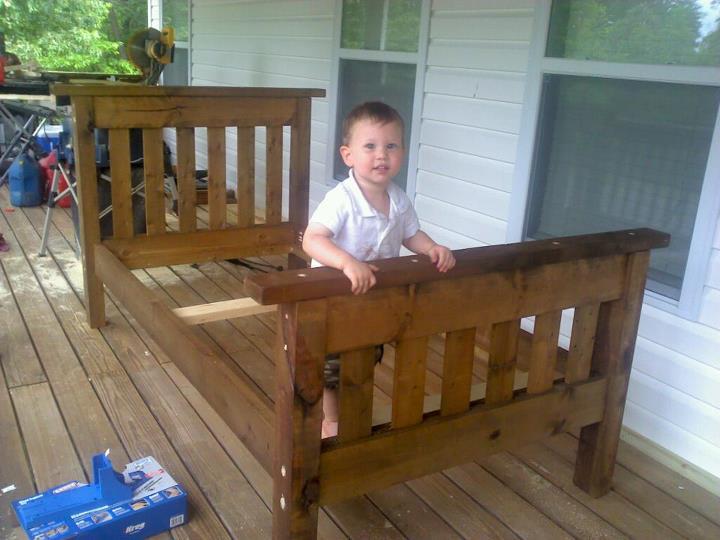
This was my first Ana White project! There was a learning curve so it took longer than it probably should have but over all the build went pretty fast. The finishing was the part that seemed to drag forever! I used a tea followed by vinegar/steal wool treatment to make it look rustic. Finished with a wipe on poly that looks great but smelled atrocious for weeks! Looks great and smells fine now. The bed is super heavy and sturdy, which shocked everyone. Not only did I build something, I built something really well and its all thanks to these awesome plans that made it too easy!
Built from Plan(s)
Estimated Cost
60.00
Estimated Time Investment
Weekend Project (10-20 Hours)
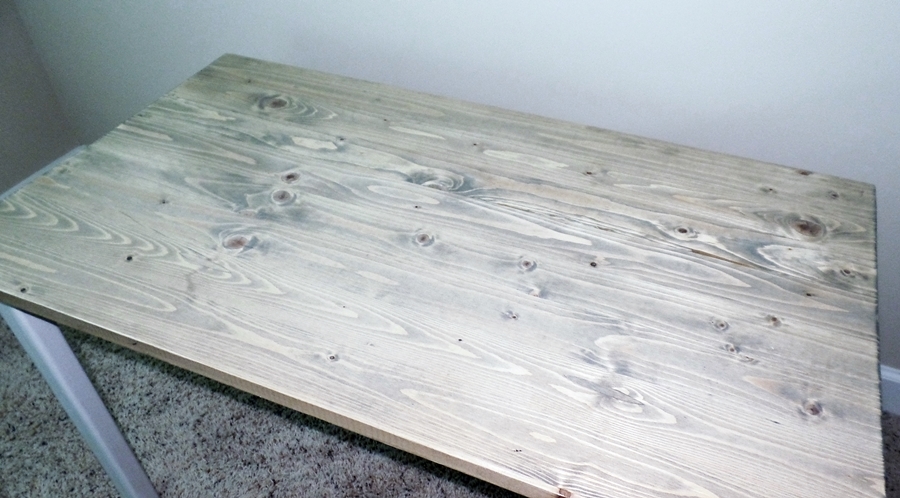
Finish Used
Antique treatment of tea bath followed by vinegar/ steal wool bath. Finished with wipe on poly.
Recommended Skill Level
Beginner