Community Brag Posts

6' Square Sandbox

I've been wanting to buy or make a sandbox for my son for a couple of years now. Since seeing this on Ana White I knew I had to make it. My son is 4 yo and I didn't think the 4' square sandbox would be big enough for him, so I made it bigger. Ours is 6' square.

Materials:
4@1x8x6'
12@1x6x6'
2x4 - used leftovers from another project
8 hinges
4 handles
decking screws

Cut lengths:
2@1x8 cut to 71.5 (long sides of the box)
2@1x8 cut to 70.5 (short sides of the box)
did not cut the 1x6 boards (top planks) - actually designed the other boards to fit their length to prevent cutting (saving time) (note that original plan uses 1x4 planks - I used 1x6s so I could use the same number of planks but cover a larger area)
4@2x4 cut to 11.5 (arm rests)
4@2x4 cut to 18.5 (back supports)

followed instructions for assembly otherwise. At my husbands suggestion we put the handles on the sides and can easily open from either side - prevents having to lean over to the middle to open (back saver)

I finished the project in 4 hours including clean up and a couple of small breaks. This is my first Ana White project. It was a lot of fun to build and I hope my son will enjoy it for years to come!

Built from Plan(s)
Estimated Cost
$190
Estimated Time Investment
Day Project (6-9 Hours)
Finish Used
Sand and stain with sealer included
Recommended Skill Level
Beginner

Comments

Mrs. Chellebelle

Sat, 09/01/2012 - 20:59

Wow, this is just what I need! I've been wanting to make a sandbox for under the playhouse but the other plan was too small. This would be great for the little guys. Thanks!

Workbench

Submitted by jaimej on Sun, 04/28/2013 - 18:38

This is our 2nd project - we liked building the bookshelf so much, we decided we're gonna keep going and need a good workbench. Got these plans from the Family Handyman Website (http://www.familyhandyman.com/DIY-Projects/Woodworking/Workbenches/how-…). They claim the cost to be $50, but it was closer to $80 for us - still a GREAT project and easy to put together with the nail gun.

Built from Plan(s)
Estimated Time Investment
Afternoon Project (3-6 Hours)
Finish Used
none
Recommended Skill Level
Beginner

Comments

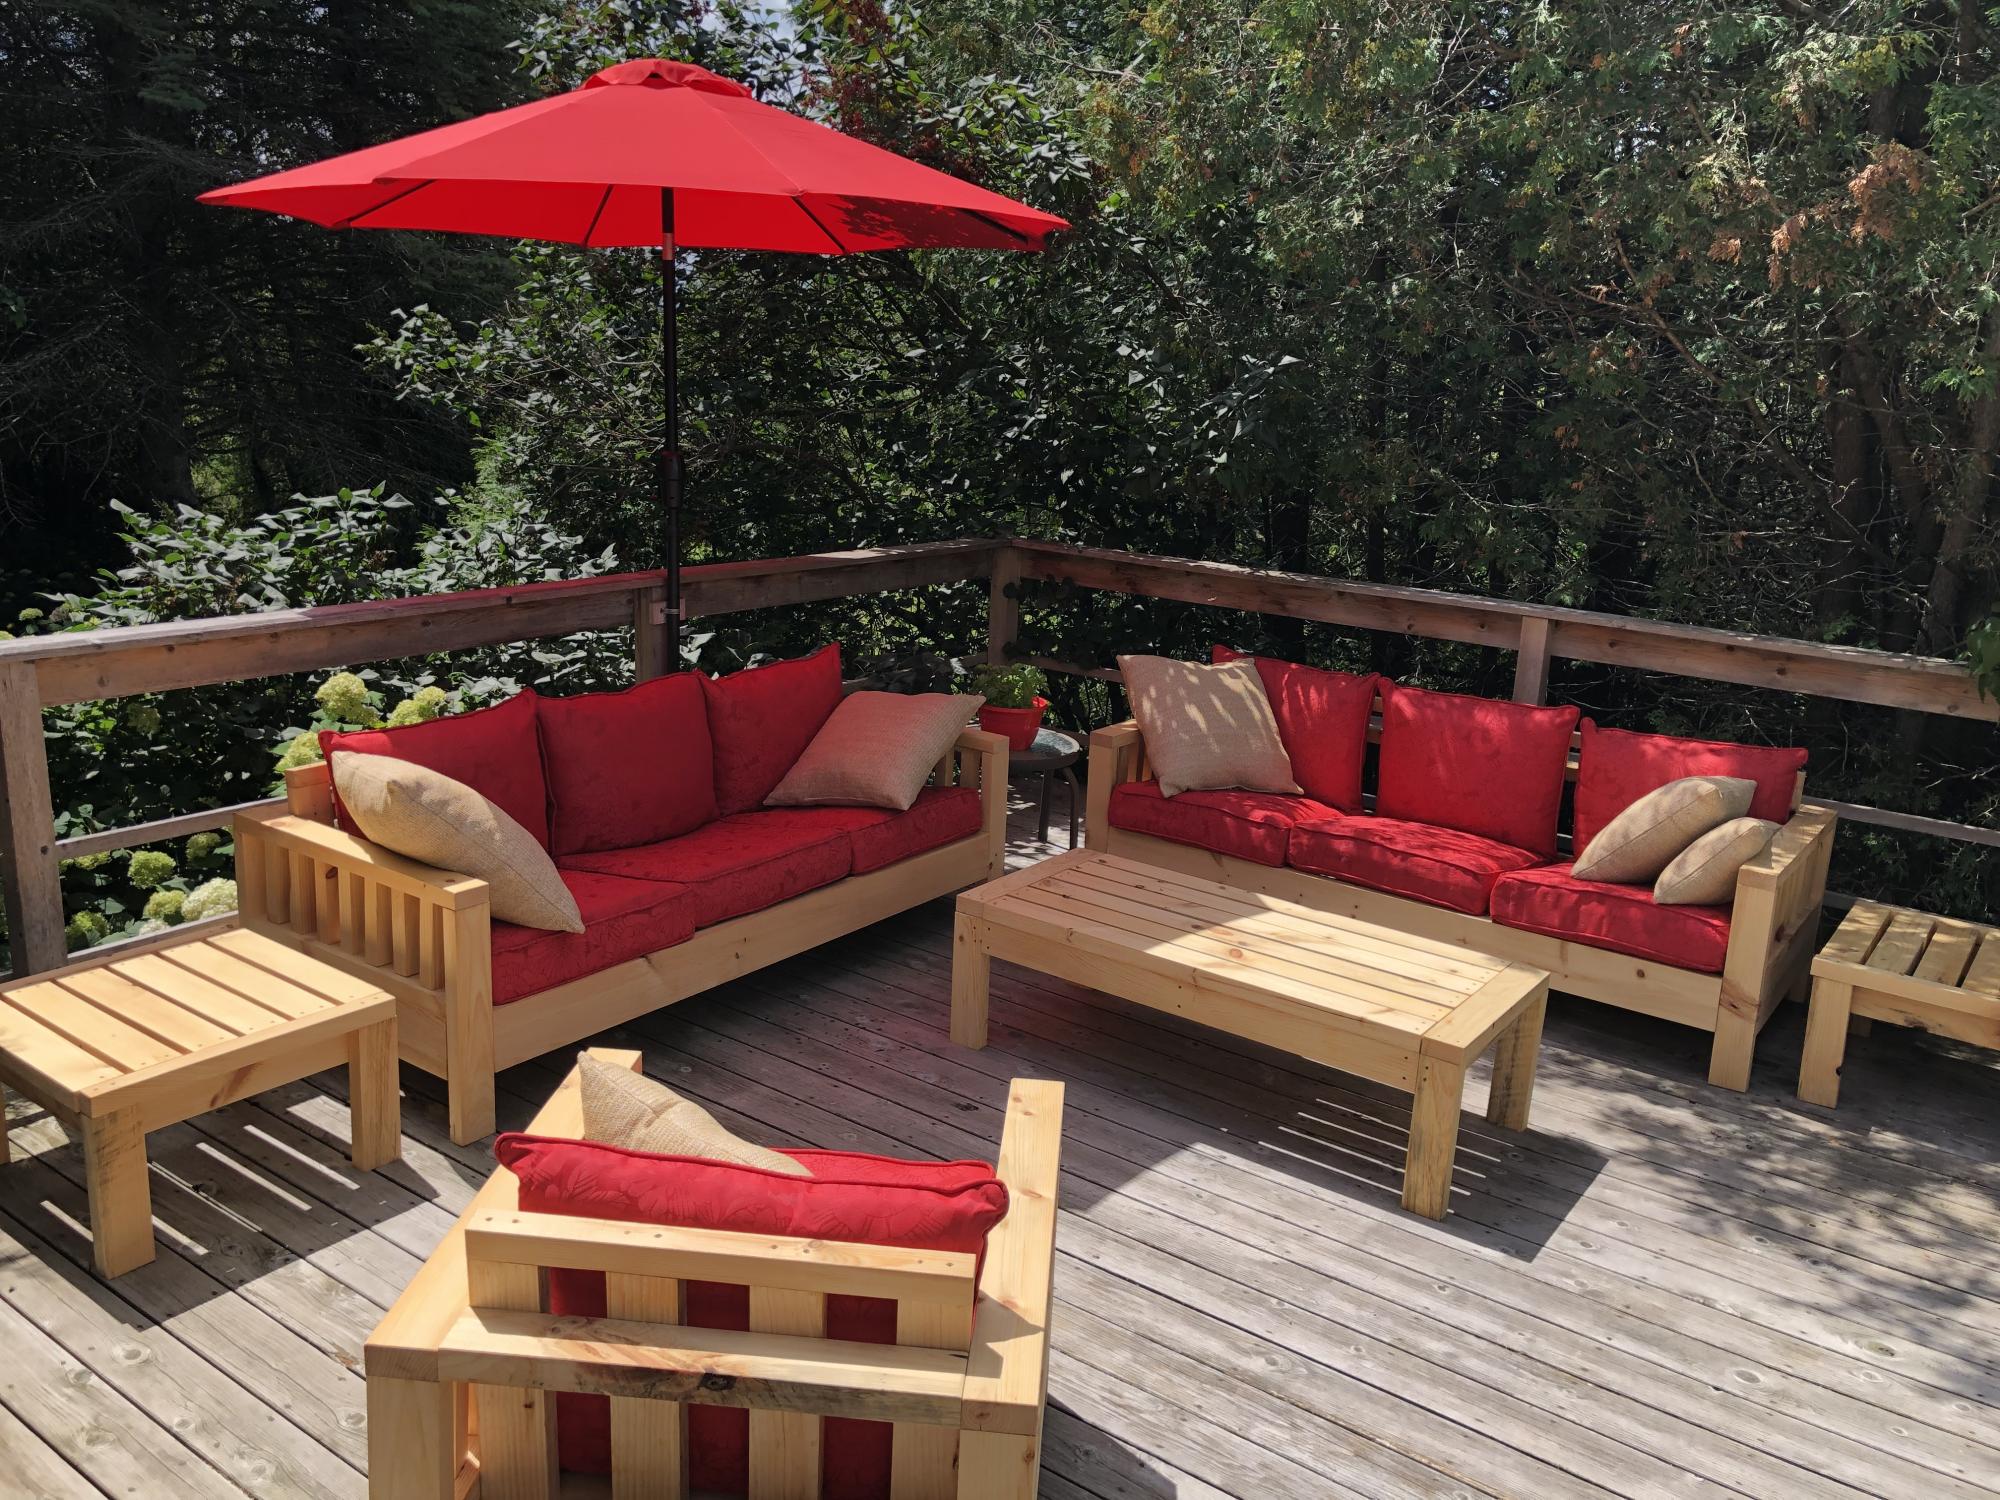
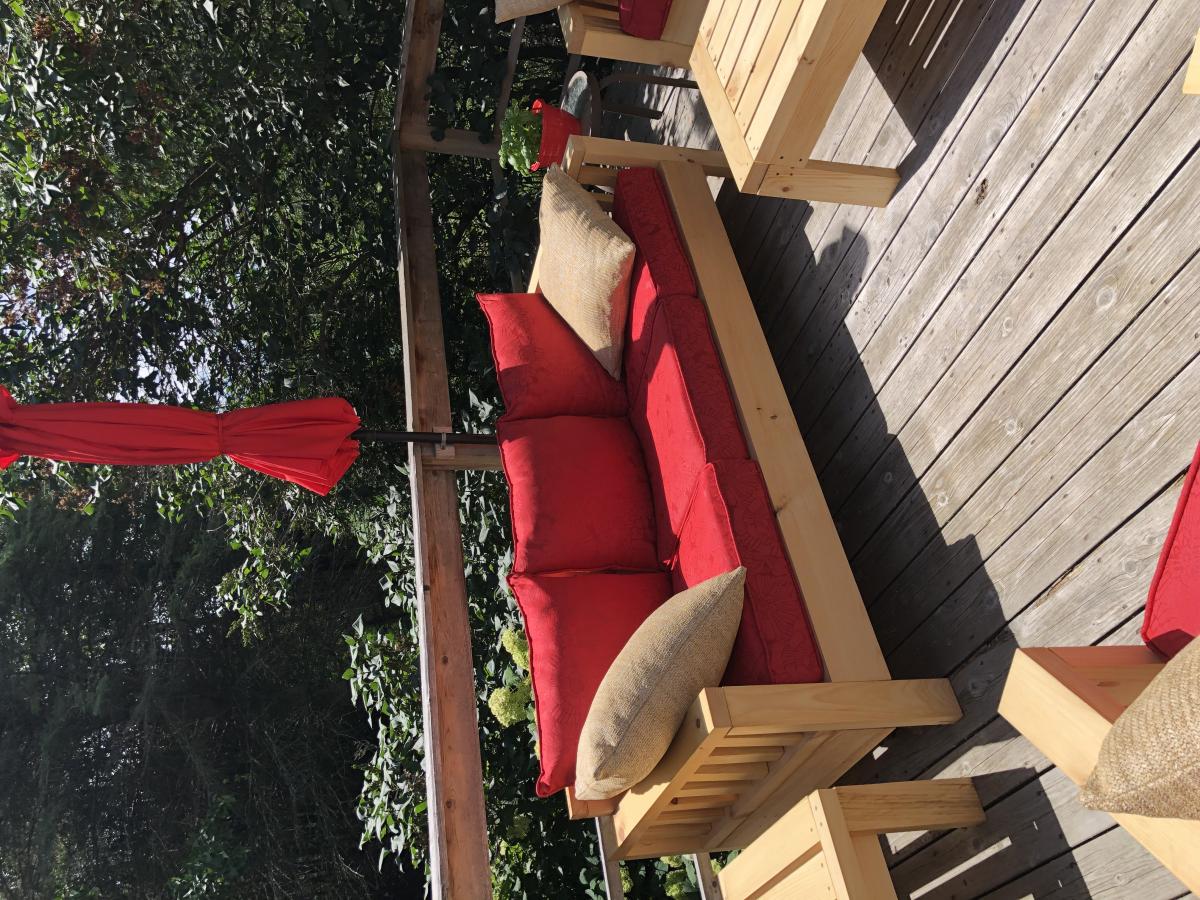
2x4 sectional outdoor sofa

Submitted by Anonymous (not verified) on Tue, 05/12/2020 - 08:10

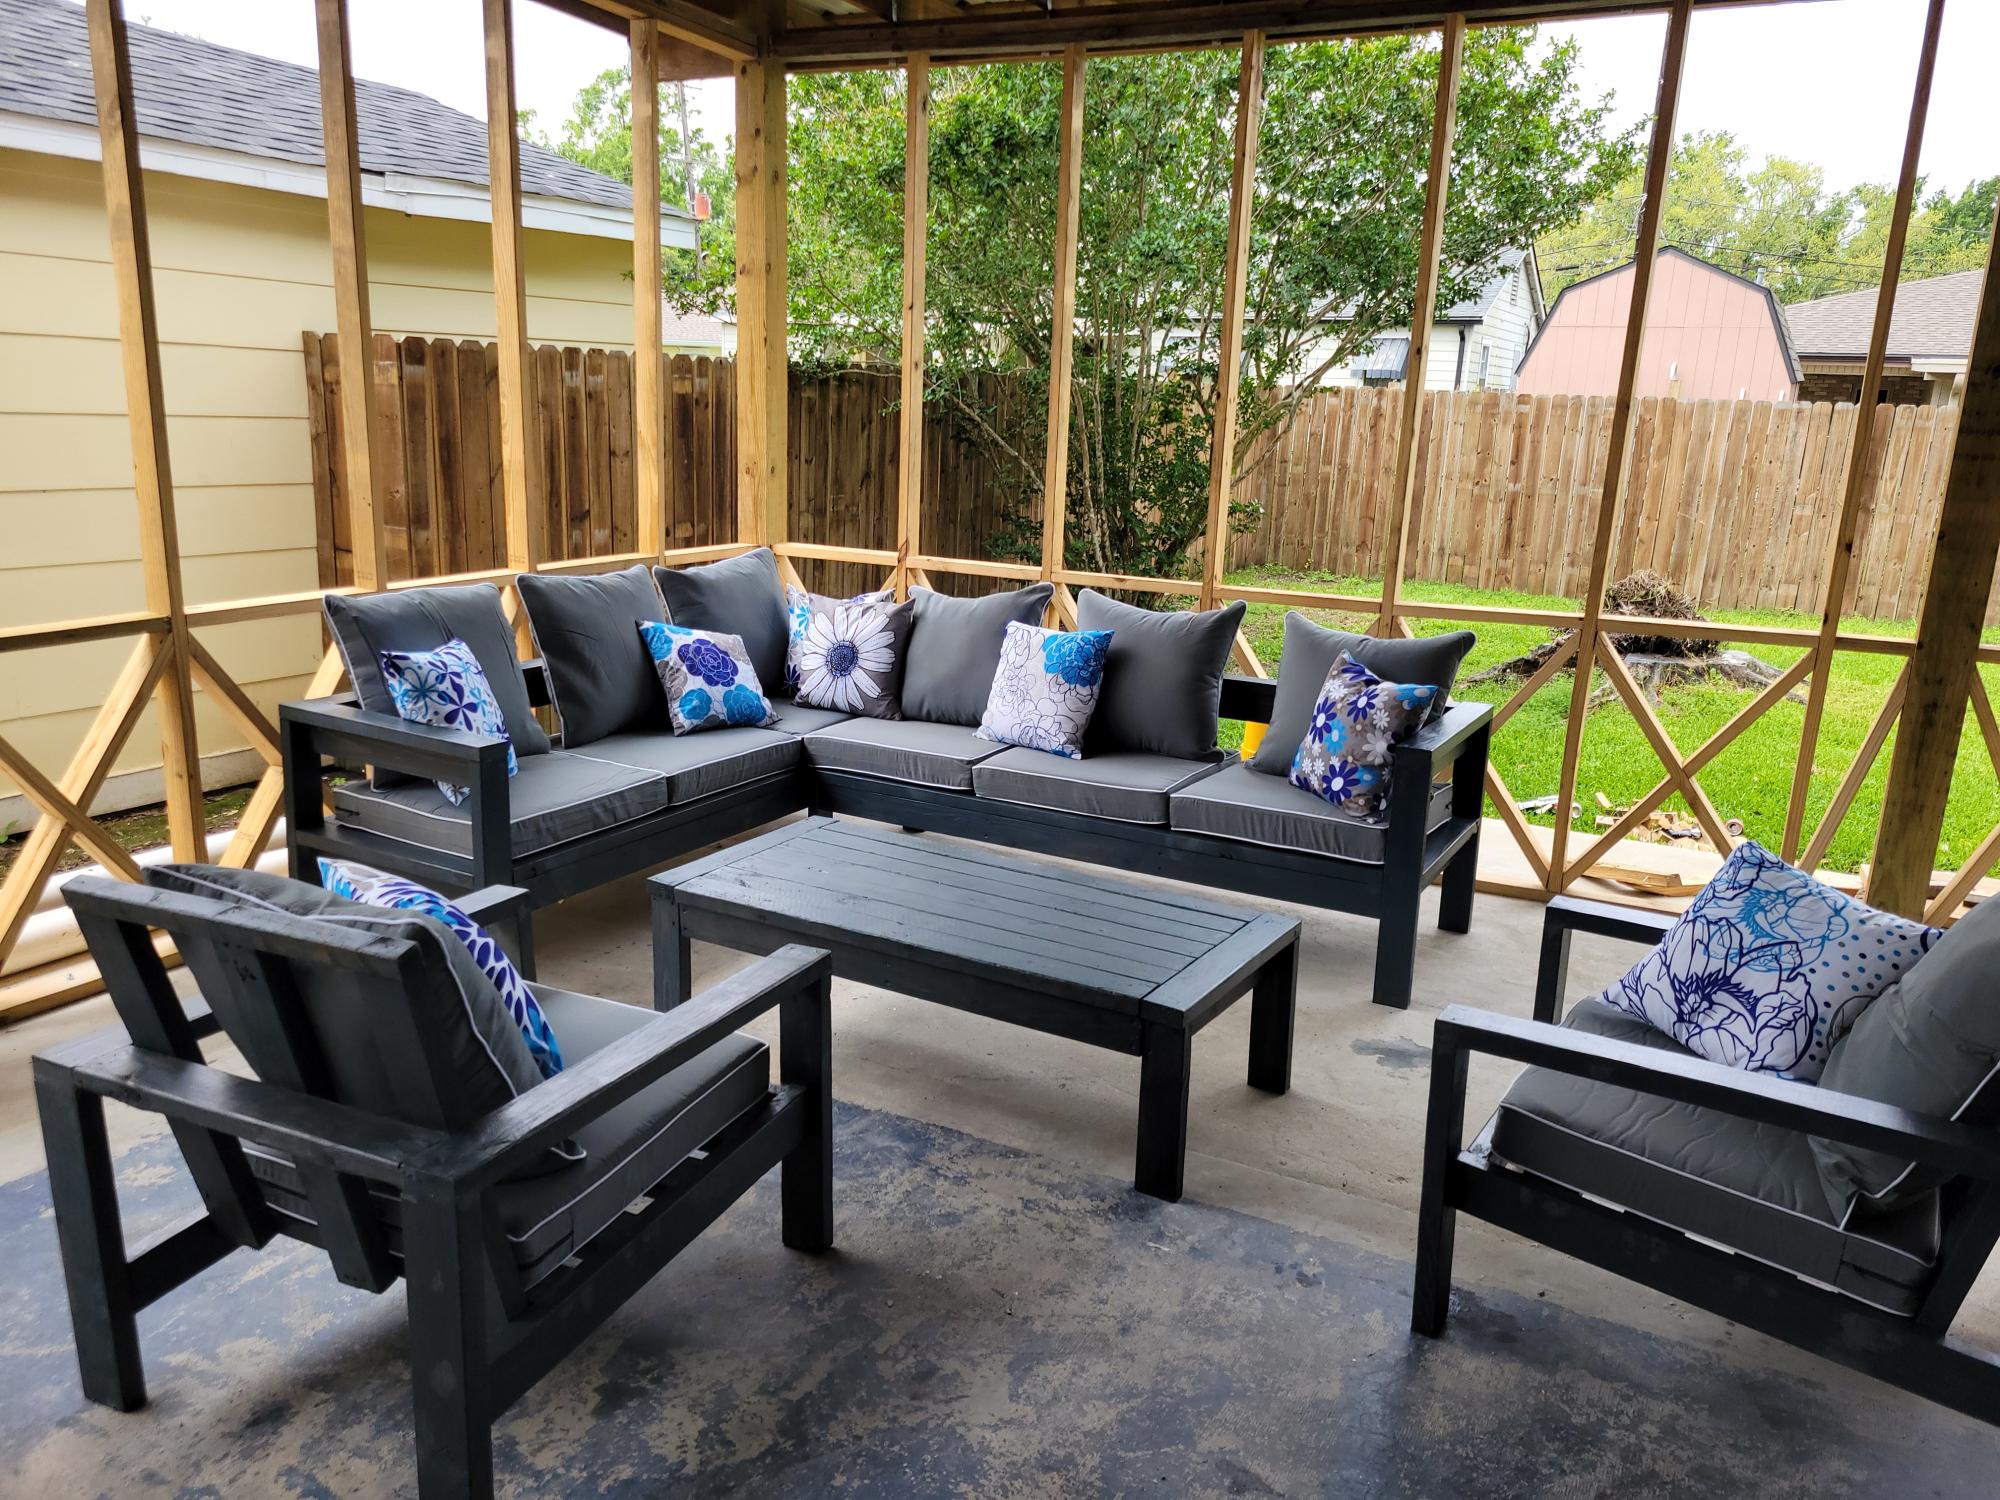
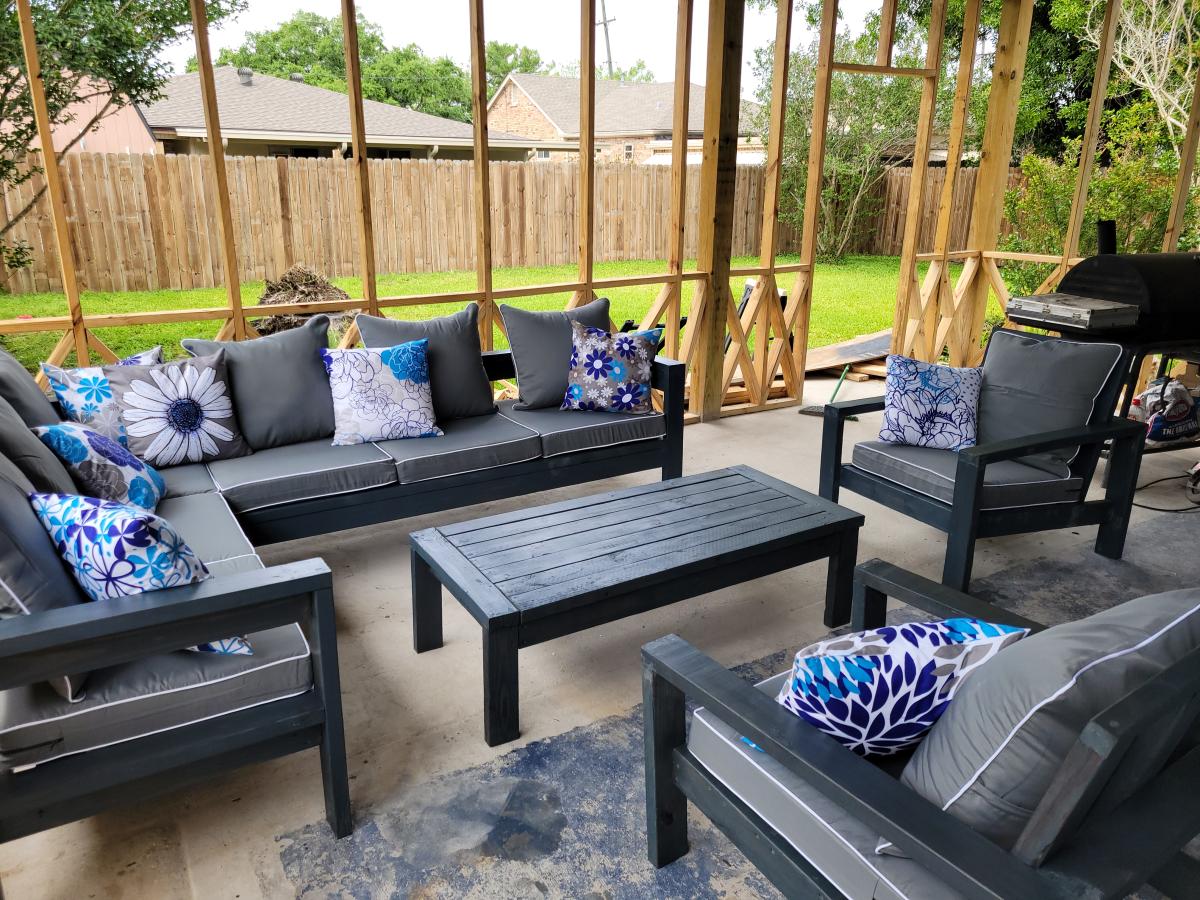
My first Ana White project. My friend Shelley and I are RN's, and she got me hooked on woodworking. I started with cushions from Lowes ( in the sizes that you recommended)to see if I loved the sectional for a few years. I loved it so much I decided to have custom Sunbrella fabric ones made. Even though the custom ones were more expensive, it has been worth it. They go perfect with my California Mission style home. Now I want to add the armless one and make it a U-shape. I did add a piece at the bottom back of each sofa to hold the cushions in. The seat cushions would slide out the back when sitting on the sofa. I made the coffee table to match. Our family loves it!

Estimated Cost
building materials for sofa $250. Custom Sunbrella Fabric cushiosn $2000
Estimated Time Investment
Weekend Project (10-20 Hours)
Finish Used
Stained with Carrington Minwax and sealed with spray Shellac
Recommended Skill Level
Beginner

Comments

Outdoor Sectional

I scaled back the length of the sofa by a few inches and I made the sectional only one seat to fit my space on the deck. This was my first woodworking project that I did by myself. I got the cushions for more than 1/2 off at Ikea so the whole project cost about $150 ($80 for the cushions). It took me about a week to complete but the total time was less than 10 hours to build and stain. I'm pretty happy with how it turned out.

Estimated Cost
$150
Estimated Time Investment
Weekend Project (10-20 Hours)
Finish Used
Pittsburgh Paints Stain & Sealant in One for Decks, Fences, & Siding in Walnut. I brushed on the exterior stain just like a paint. I did the top part of the sofa first, then flipped it over and stained the bottom. Read instructions on the label.
Recommended Skill Level
Beginner

Comments

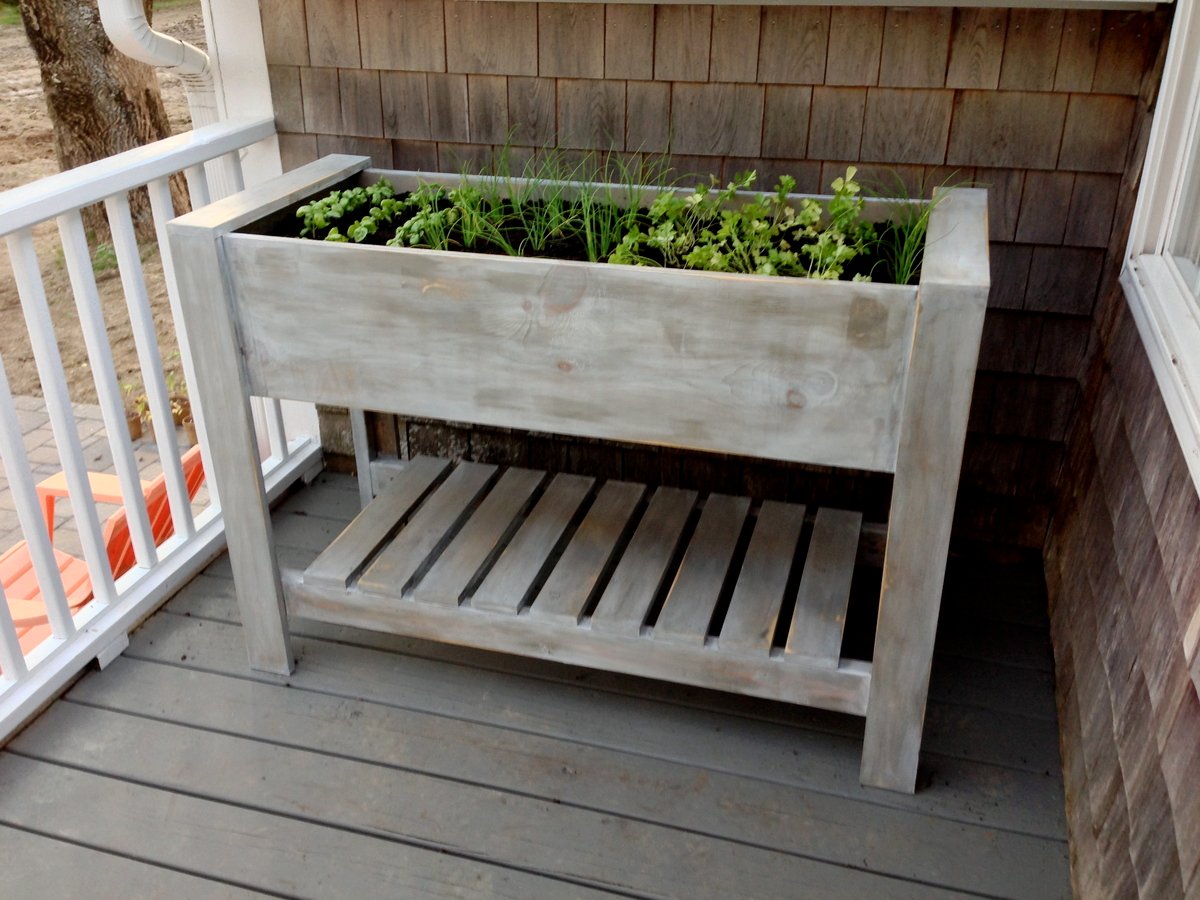
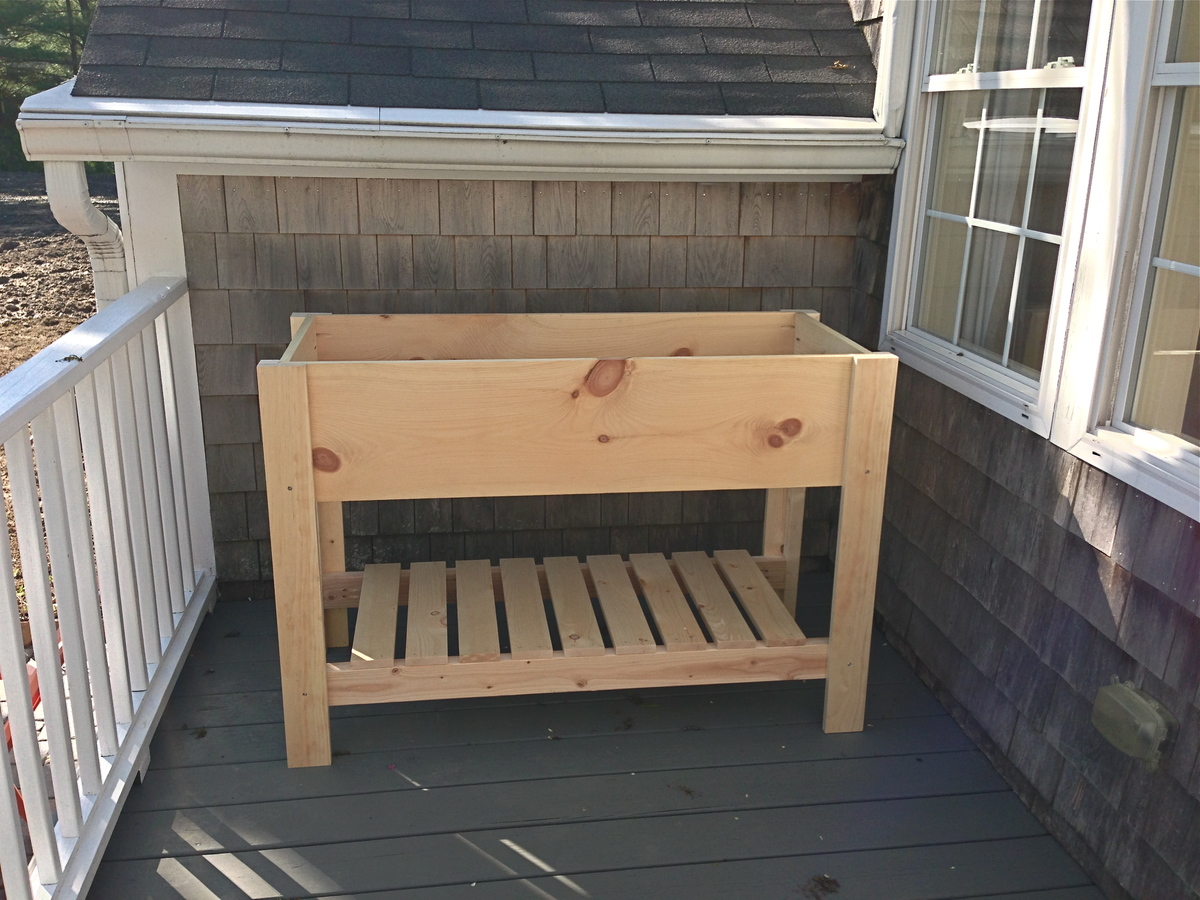
Makings of an Herb Garden

I followed Ana's Raised Planter Box plan exactly. We did purchase a Kreg Jig Jr. recently, which came in handy on this project for sure. It is a very sturdy piece and it only took a couple of hours to assemble.

Estimated Cost
$120
Estimated Time Investment
Afternoon Project (3-6 Hours)
Finish Used
Sherwin Williams Deckscapes in Flagstone with Minwax Whitewash pickling over the stain. Poly over the whitewash
Recommended Skill Level
Beginner

Comments

Full length sliding mirror cabinet

Submitted by mltdblack on Tue, 10/16/2018 - 19:25

I built this for my daughter after building a ladder shelf for my kids bathroom. It took more time to install and adjust the drawer slides and paint the project.  

Estimated Cost
$65.00 - I used a slightly larger mirror.
Estimated Time Investment
Day Project (6-9 Hours)
Finish Used
Exterior - Valspar Black Flat Latex
Interior - Valspar Filtered Shade Flat Latex
Top Coat - Minwax Gloss Spray Polyurethane
Recommended Skill Level
Beginner

Comments

akagracegallag…

Sat, 09/07/2019 - 03:32

Hi mltdblack

Really nice finish on the cabinet.  

It looks like there’s molding on top of your mirror.  

Did you buy a mirror with a frame or buy molding and put it on over the mirror?  

What molding did you use an how did you secure it?  

What size mirror did you use?  Thanks

mltdblack

Fri, 01/07/2022 - 14:14

I am so sorry. This is the first I am seeing your question. The mirror came with a frame and I carefully nailed thru the frame to attach with my 18 gauge nailer. I bought the mirror at Lowe’s and I believe it was 15.5” x 50”. Also, I used full extension soft close drawer slides.

2x4 Sectional , table, and chairs

Submitted by Anonymous (not verified) on Fri, 04/14/2023 - 04:57

Your easy to follow 2x4 proje ts turned out amazing. My outdoor set is complete. The chairs, also, came from your plans. I built all of it by myself in one weekend. Thank you

Comments

Shoe dresser

Submitted by RoseOfShaz on Thu, 07/04/2013 - 15:26

I didn't build this shoe dresser because I particularly needed one, but it looked so lovely that I couldn't resist.

- I modified the plans by building 3 bins instead of 2 so it could hold more shoes.
- I decided against the dowel stick and opted for hinges instead, which were surprisingly not too difficult to assemble. I found that I didn't even need the magnets after installing the hinges as the doors stay closed.
- I used 7" chains on both sides of each bin instead of a belt to make it extra sturdy.
- I added two back legs.

Et voila! This is the end result. I'm very pleased.

PS. Those flopping bins are a pain when you're trying to build!! An extra pair of hands is definitely recommended.

Built from Plan(s)
Estimated Cost
$150 (with extra bin)
Estimated Time Investment
Weekend Project (10-20 Hours)
Finish Used
Walnut (can't remember the exact name of the stain, but it's the one Shanty 2 Chic always uses!)
Recommended Skill Level
Intermediate

Comments

SoCaliforniaMel

Fri, 07/05/2013 - 22:49

Pretty :) Good Job. Now if I only had the space for one thats 10 rows high :P I like the stain color too. Shanty 2 Chic always uses Rust-o-leum. I think its called dark walnut. Dont quote me though. I love the stain and spray paint combo colors they use.
~Melody

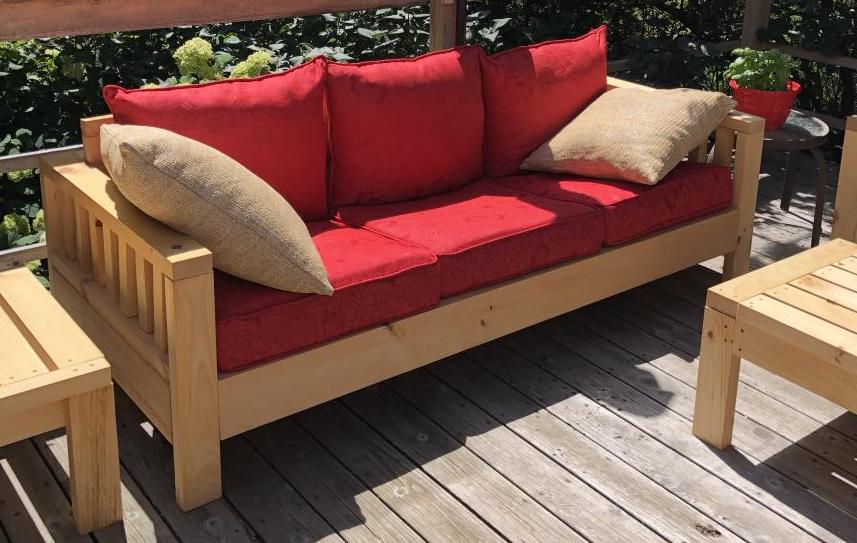
Outdoor Modern Sofa

Submitted by kazy on Sat, 07/31/2021 - 11:11

This was my first woodworking project. Ana made it look doable and I didn’t like any of the outdoor furniture offerings I could afford so I thought “why not”? I couldn’t find wood at any of the big box stores due to a severe wood shortage. Good timing on my part. As a result of the shortage the cost of the wood was higher (around $550 Canadian) but I did save around $200 by ordering from a local producer. And the wood I got was spectacular! I don’t think I’ll ever go big box again as there is no comparison. I ordered freshly milled pine which was air dried, from local Scierie Carson (Carson sawmill). I further air dried the planks in our barn, oiled them with boiled linseed oil and cut. I modified the plan slightly to add some posts in the arms and to lower the seat backs as the cushions I found were not as tall as Ana’s. I managed to find them on sale at Christmas time at a local Reno Depot (Quebec’s version of Rona, Lowe’s or Home Depot). The cushions cost $500 Canadian for 10 sets and believe me that was a deal. Over all it was not hard to do and I’m thrilled with the results. I have a gorgeous patio set that will adorn our farm deck for many years to come.

Estimated Cost
$1,000
Estimated Time Investment
Week Long Project (20 Hours or More)
Finish Used
Boiled linseed oil - easy to apply with rags. Repels water beautifully. Natural so not incredibly harmful to the environment. Brings out yellow tones in wood. Brings out fresh wood smell.
Recommended Skill Level
Beginner

Comments

Ana White Admin

Sun, 08/01/2021 - 11:20

Impressive to say the least, well done! Love your can do attitude and I know you are enjoying the fruits of your labor with this amazing set up!

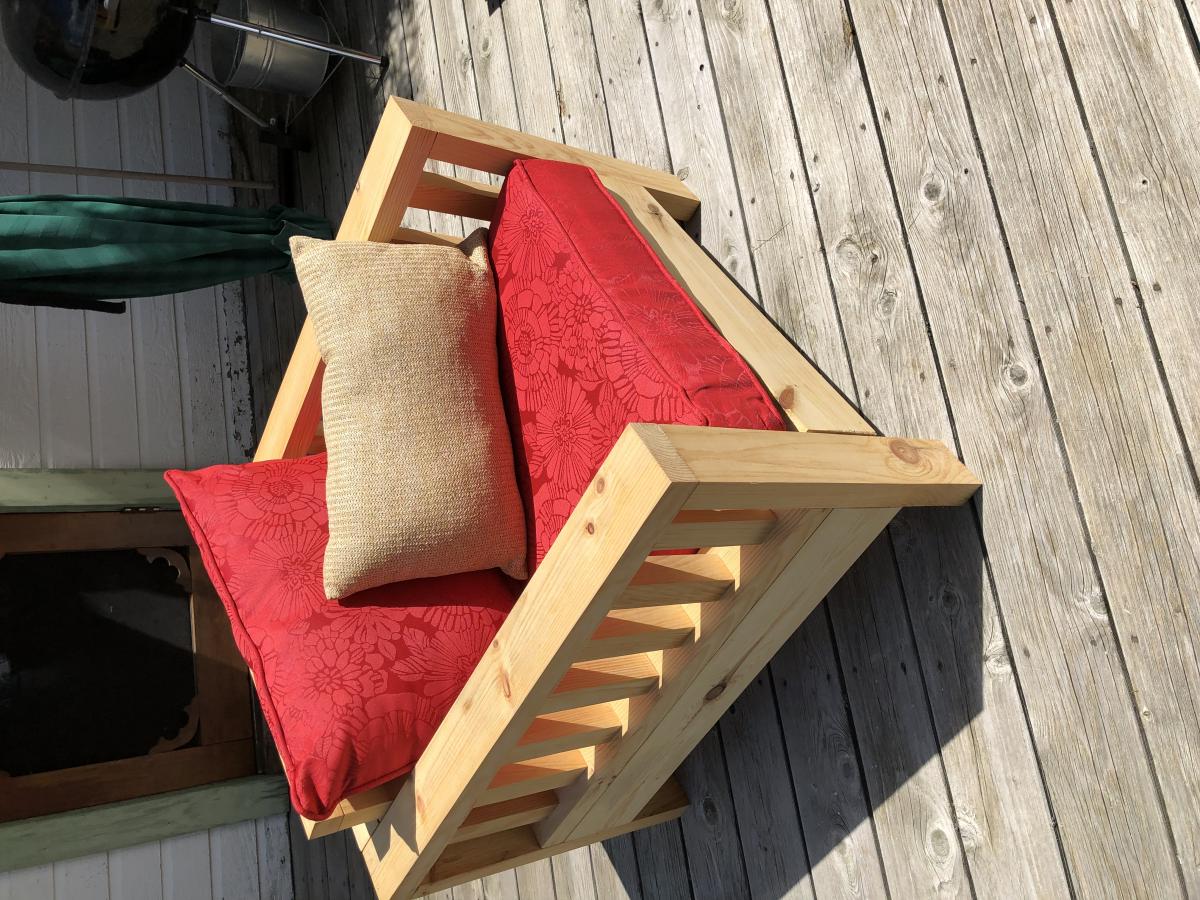
modern outdoor lounge chair

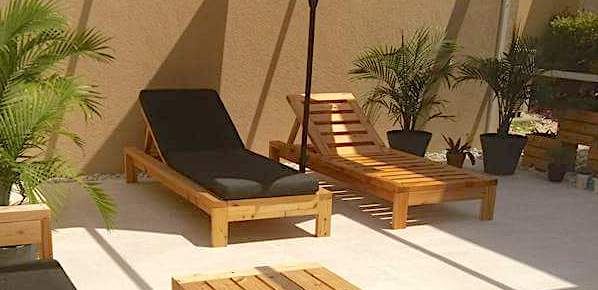
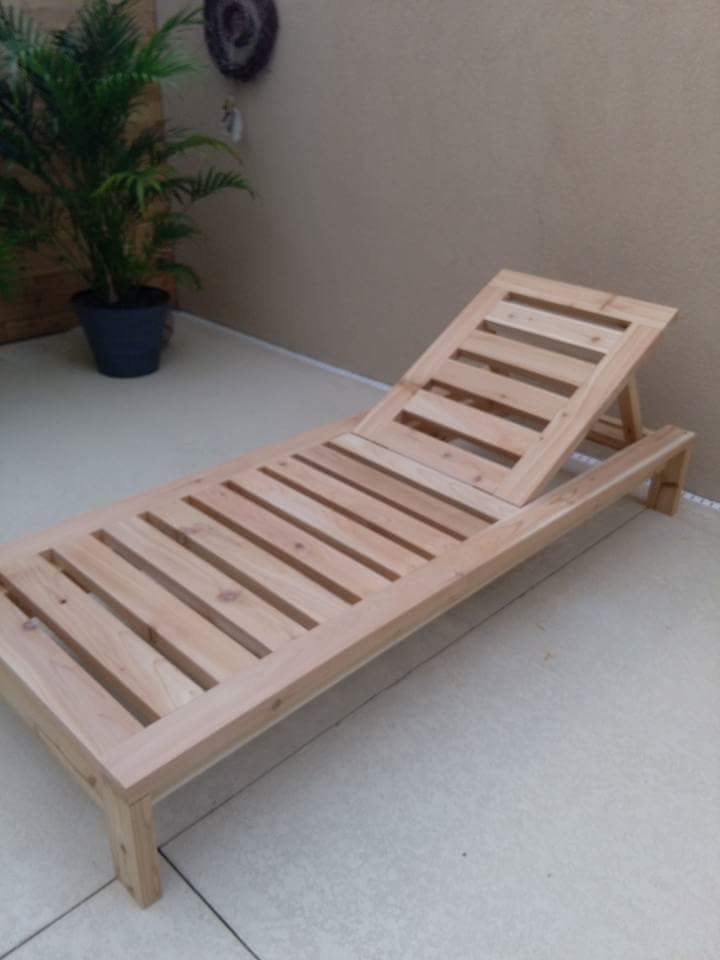
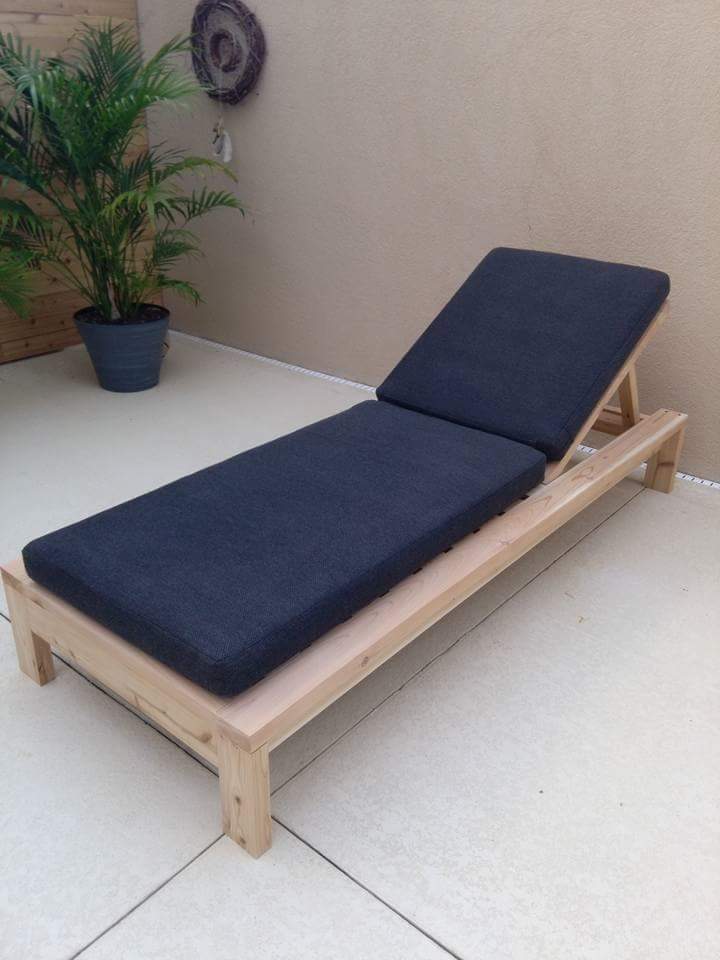
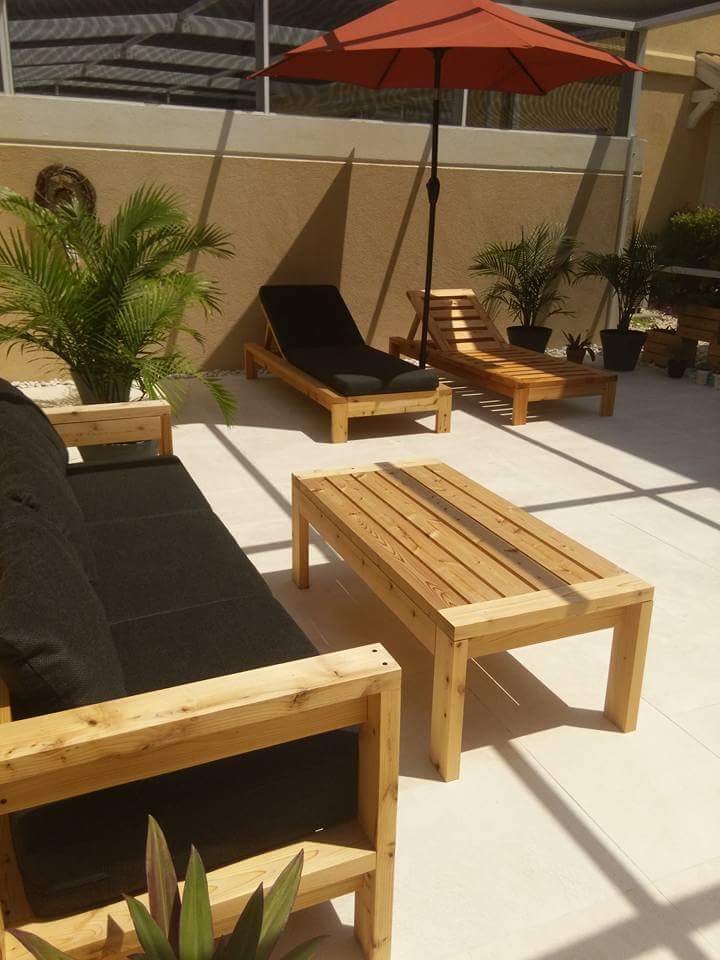
Just finished this beauty, entirely made with 2x4, plans were modify to match our outdoor sofa and coffee table. I think our best looking project so far ;) Thank you for inspiring me to build !!!

Estimated Time Investment
Week Long Project (20 Hours or More)
Recommended Skill Level
Beginner

Comments

Seasonal And Holiday

Easy Kitchen Island

Submitted by Anonymous (not verified) on Thu, 06/29/2023 - 09:21

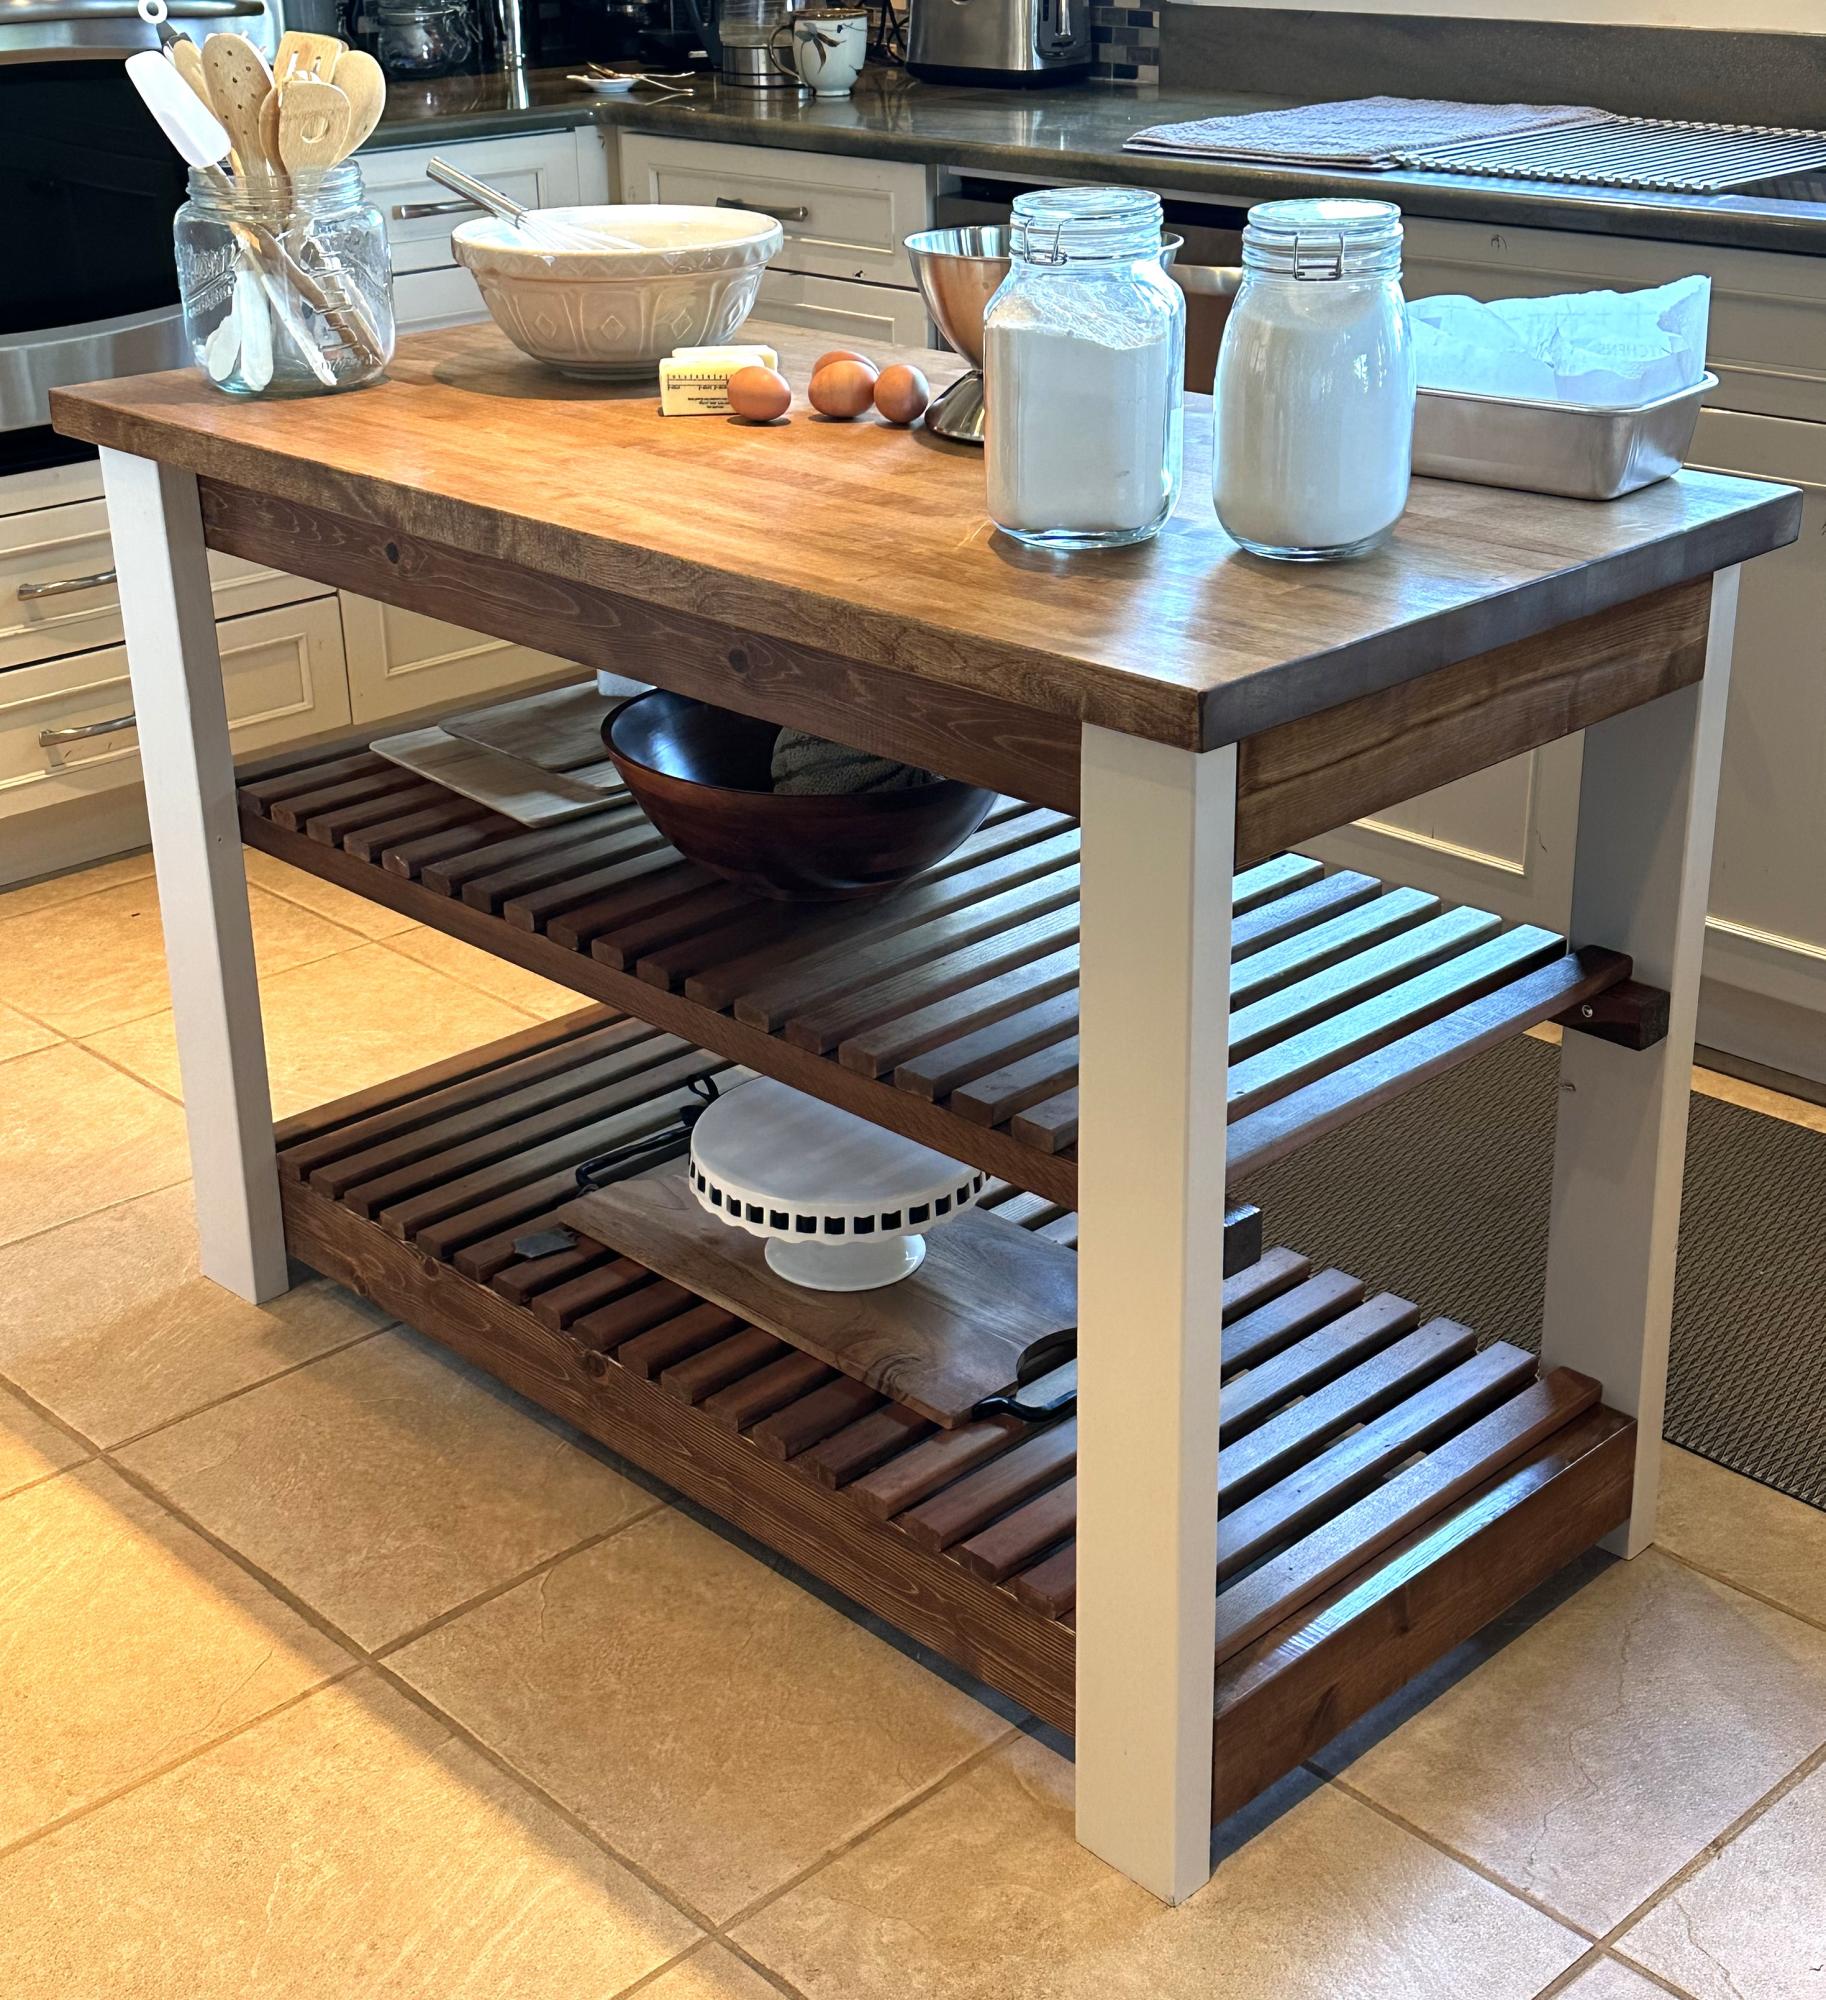
Easy Kitchen Island. This was my first big woodworking project so I bought the top and recycled some old wood. I learnt a lot, it took me about 20hrs to complete including painting and staining. I found the plans easy to follow and I’m super happy with the results.

Anji B

Built from Plan(s)

Pool Noodle Holder from DIY Planter Box

Submitted by Anonymous (not verified) on Sat, 06/04/2022 - 06:58

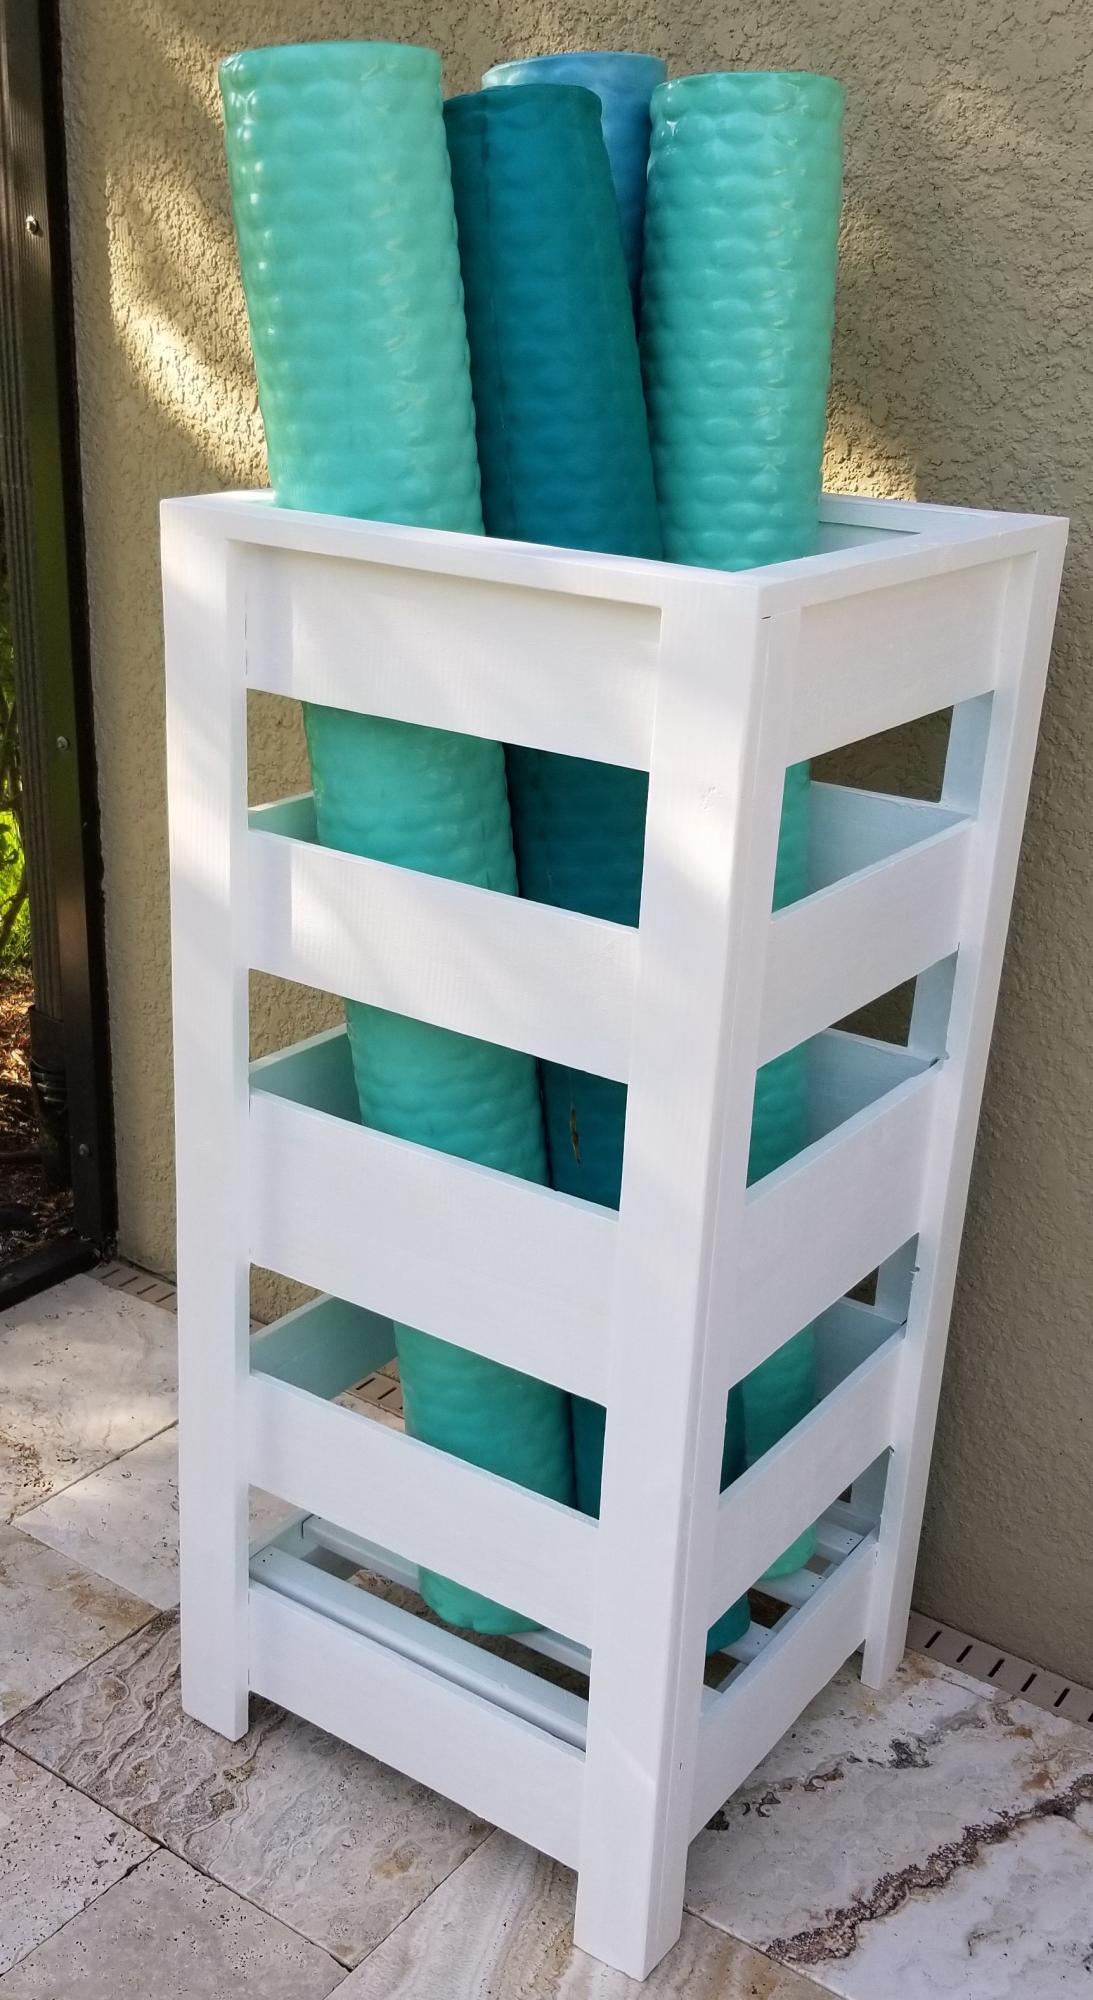
I modified the plans for the planter box to make a holder for Pool Noodles. I made it 40" tall and used 4-4" fence pickets and 1-5.5" fence pickets. I used a 4" spacer and the openings worked out perfect. I stained inside and out since it would show with 2 coats of the solid stain. It is perfect! Thank you so much for the inspiration and plans!

Comments

Rustic Queen Sized Wall Bed

Submitted by ldo2626 on Wed, 06/25/2014 - 09:09

Expecting our second child, my wife and I decided to do away with our guest bedroom and combine it with our office. The only problem was our queen bed took up way too much space and it didn't get enough use to justify the sacrifice. We looked at the wall bed options available for purchase and decided they were way too blah and very expensive. I then found the "A MURPHY BED YOU CAN BUILD, AND AFFORD TO BUILD" post on Ana's website (thanks for the inspiration)! 

 Using cheap pine boards, plywood, door hinges, vinyl upholstery and stain I constructed the wall bed you see here. It really wasn't that difficult but facing it took the most time. To give the boards a more rustic look I used a utility knife to shave off the edges/corners and stained them with the Minwax American Walnut water based stain and the Minwax White Wash Pickling. When this started we thought we were going to have to settle for something unattractive and less than desirable. Seeing it in our office now, we love our new bed and actually think it makes the room look much better!  I didn't keep track of costs, but it couldn't have been more than $150.


Estimated Cost
I didn't keep track of costs, but it couldn't have been more than $150.
Estimated Time Investment
Weekend Project (10-20 Hours)
Finish Used
Minwax American Walnut water based stain and Minwax White Wash Pickling
Recommended Skill Level
Beginner

Comments

jwm816

Tue, 07/08/2014 - 08:08

Looks great! May I ask what the final outside dimensions were? Curious to see if this would work for me.

Thanks!

ldo2626

Wed, 08/06/2014 - 09:23

I would have to measure it when I get home... at work currently. Looking back, I think the best approach is to take the measurements from the plan, find the difference between standard mattress and queen mattress dimensions (check wikipedia for standard sizes), then add that difference back to the plan. I cut it real close on mine and could use a little more space. It would be nice to make it a bit deeper and with some head room to store comforters and pillows.

lopixy

Sun, 11/30/2014 - 18:10

I love this!  Could you give more details about how you did the facing?  Are the pine boards just nailed onto the plywood? 

chefrgk

Sun, 12/28/2014 - 12:59

I am dying to get started on this wall bed project. I keep getting this message when trying to open the Plans.

The page you are looking for is temporarily unavailable.
Please try again later.
can someone help me find them.

chefrgk

Sun, 12/28/2014 - 12:59

I am dying to get started on this wall bed project. I keep getting this message when trying to open the Plans.

The page you are looking for is temporarily unavailable.
Please try again later.
can someone help me find them.

nicolanala

Tue, 08/09/2016 - 15:24

Hi. I would love to try this. Looking to build in the next month before parents in law come over. Is there any working links to the plans??

josheli

Thu, 01/25/2018 - 13:06

click on the bed picture above and it will take you to the plans


Kitty Outhouse

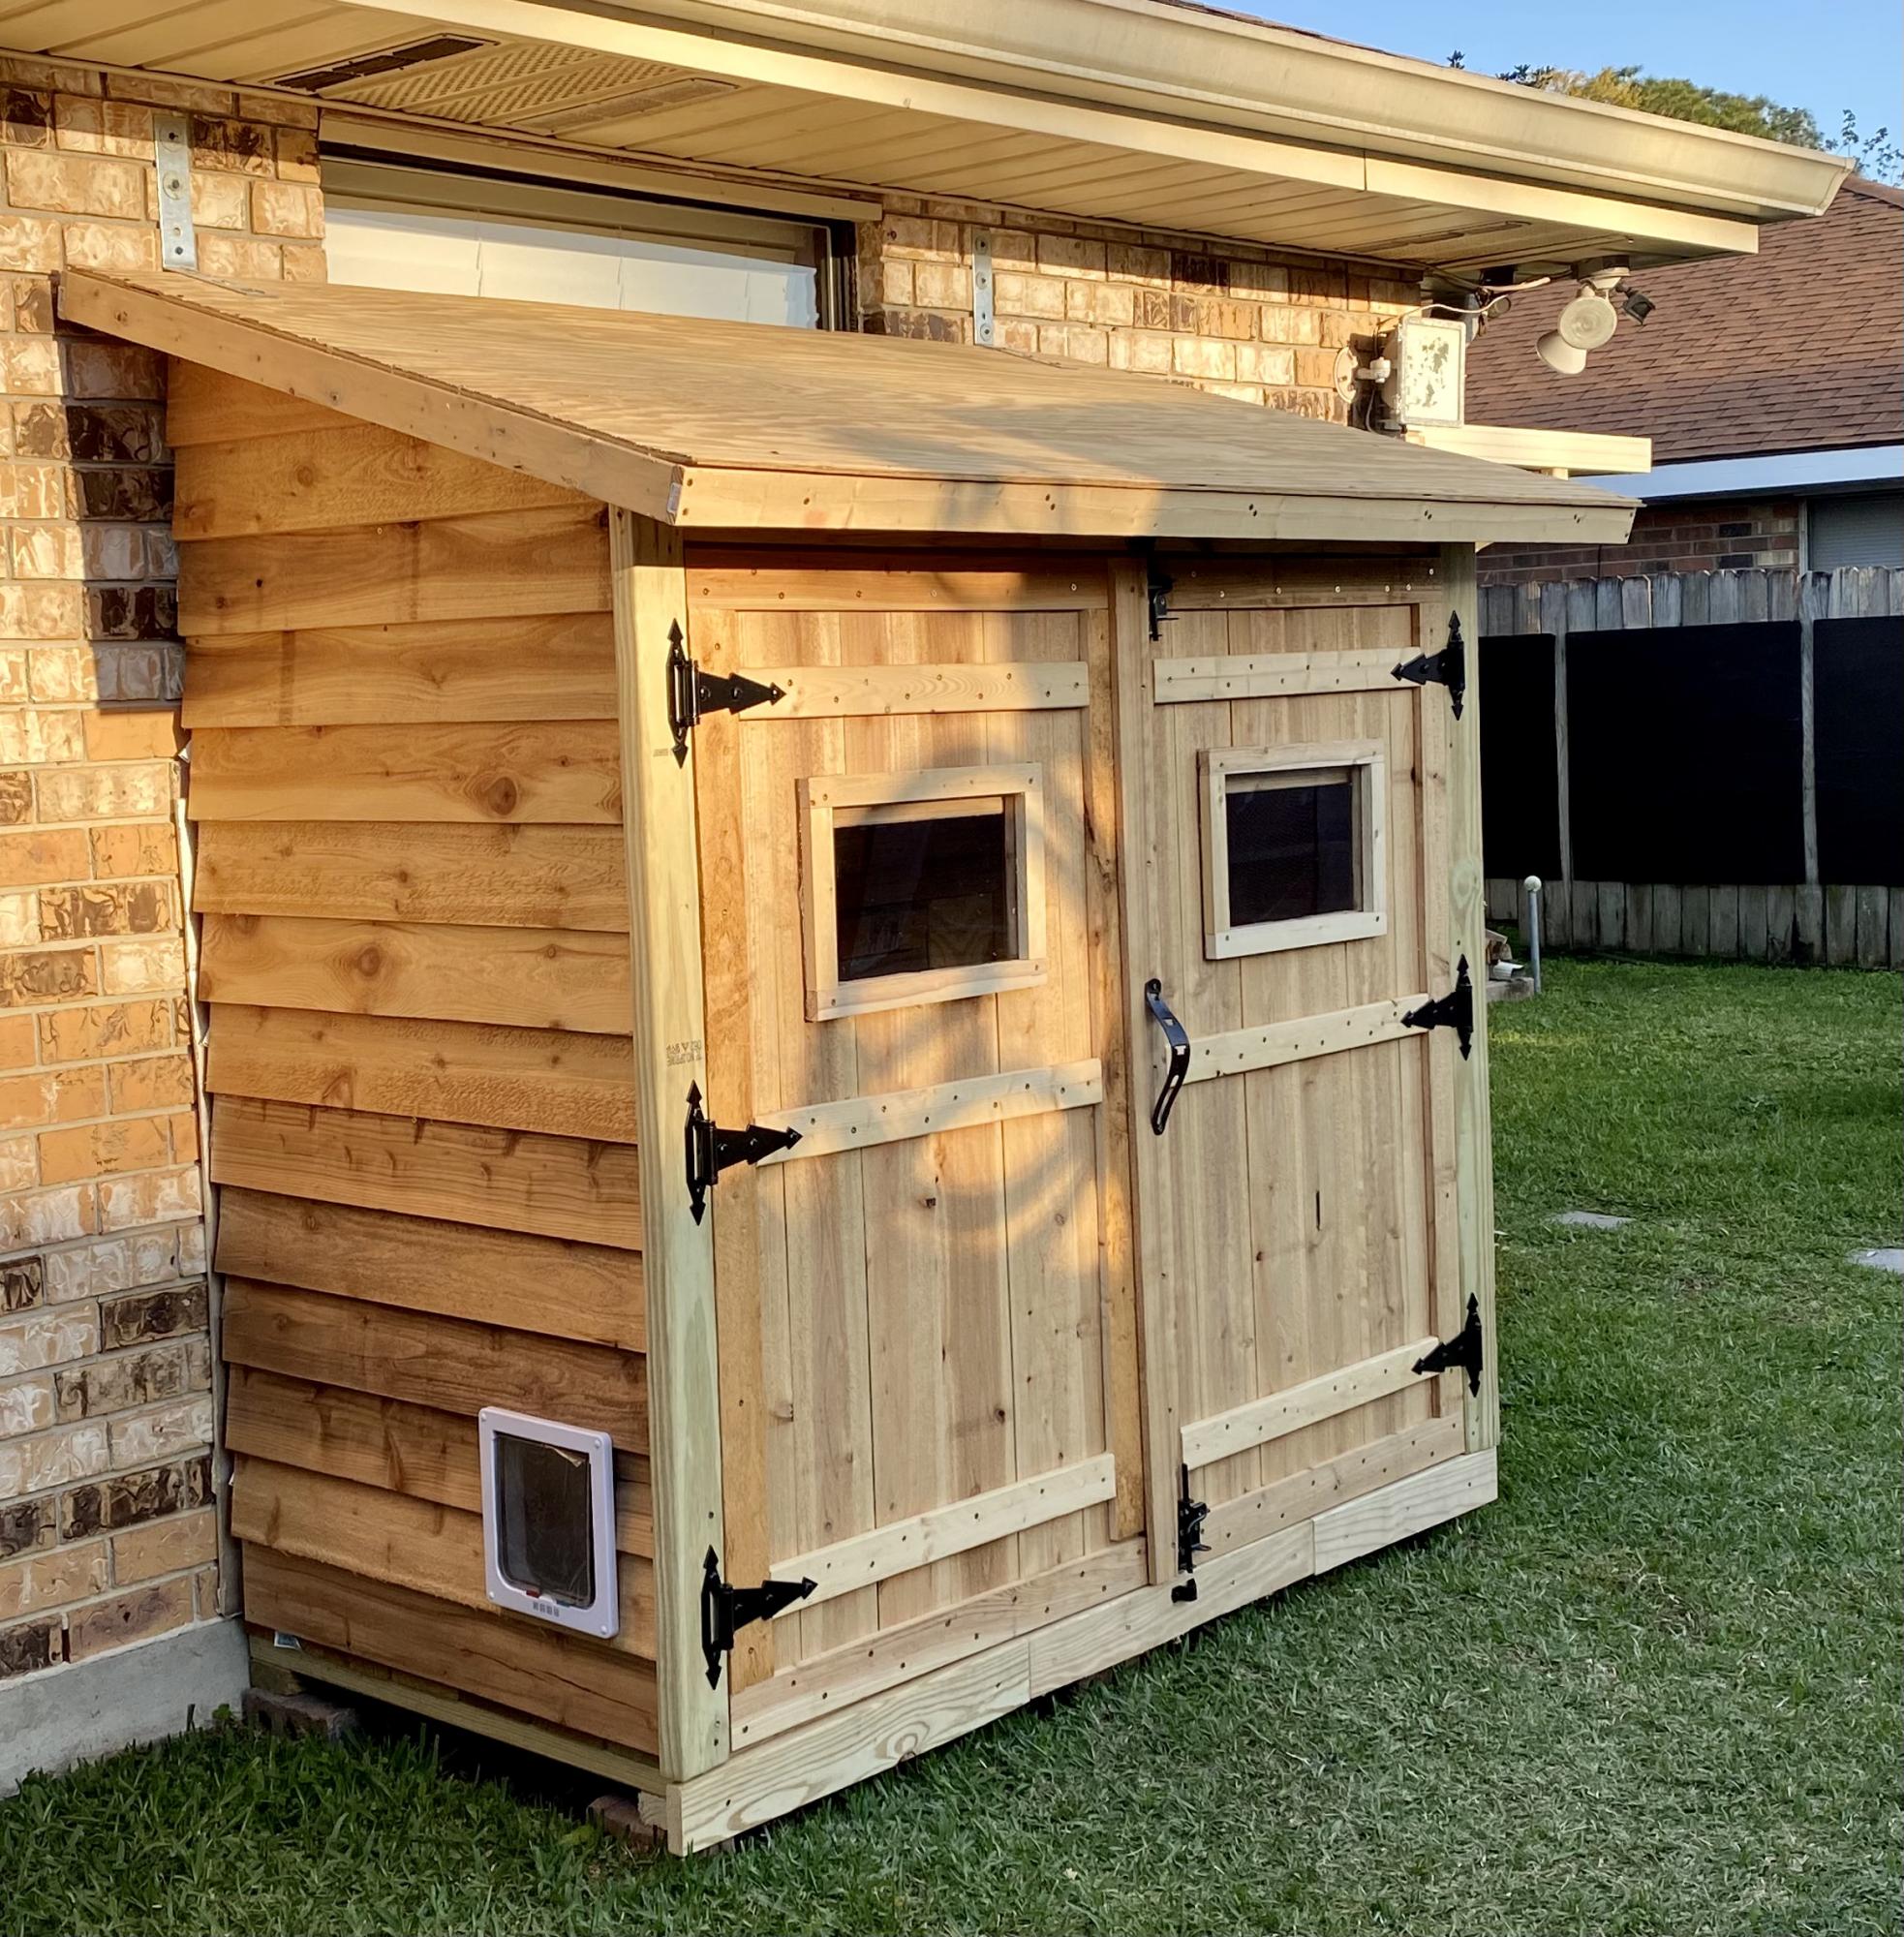
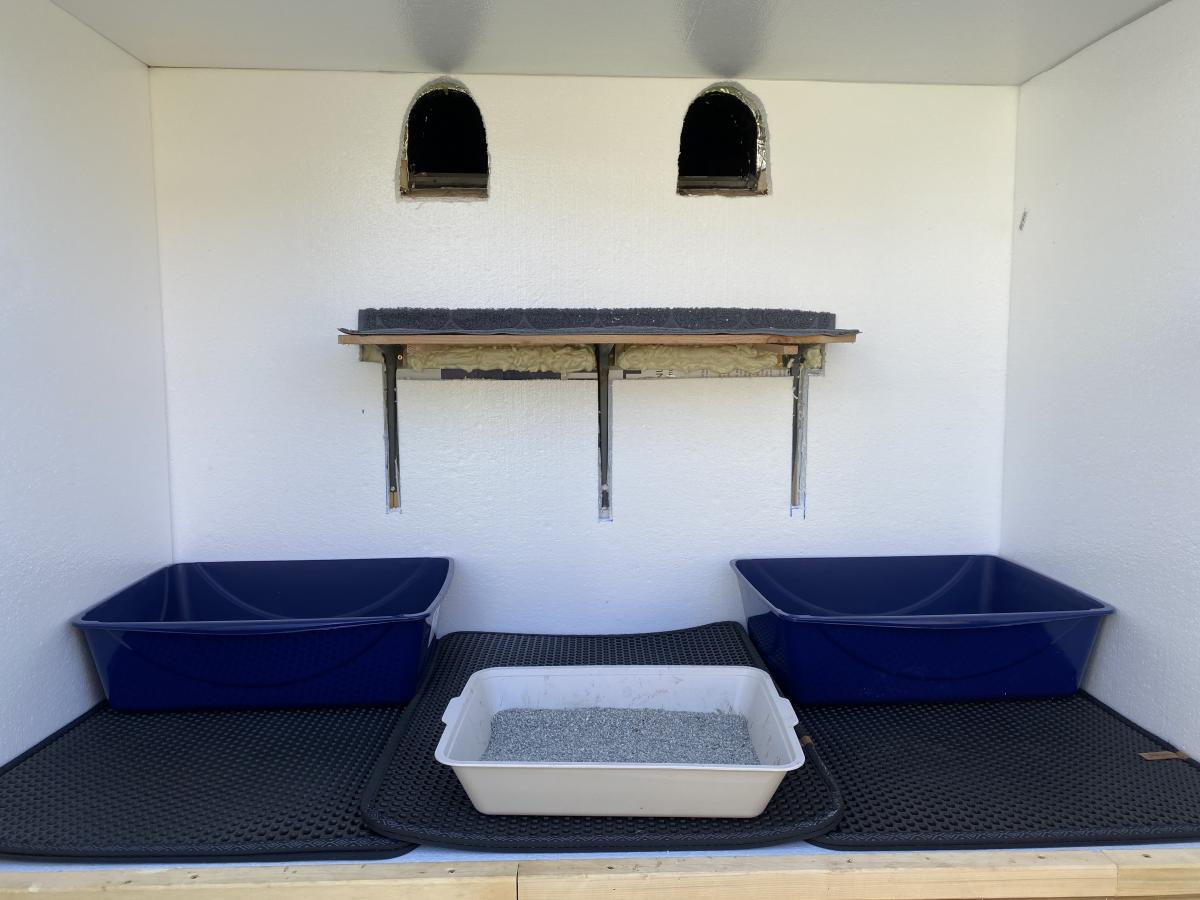
My first Ana White project. Built Ana’s awesome small cedar shed as an outhouse for our many cats. The have access to it from inside the house. Great way to keep litter boxes and the mess out of the house. It is stand alone, and attached to the house, in front of a bedroom window. There are two ‘entrances’ as well as two, one-way, escape hatches, if a cat in the outhouse is interrupted by another cat (I.e. a male cat comes in and the female feels trapped) they can exit to the outside (one way so no critters can come inside!). Ana has easy to build plans, great site! I plan on making the square table just posted today for my newly refurbished deck. Keep in mind, my estimated costs and time reflect a LOT of additional features on the inside. The shed itself, very easy, simple, inexpensive. Very little waste with Ana’s projects as well.

Built from Plan(s)
Estimated Cost
$500
Estimated Time Investment
Week Long Project (20 Hours or More)
Finish Used
No finish, at least not yet.
Recommended Skill Level
Intermediate

Comments

Tool Caddy

Submitted by docbromo on Thu, 01/20/2022 - 15:21

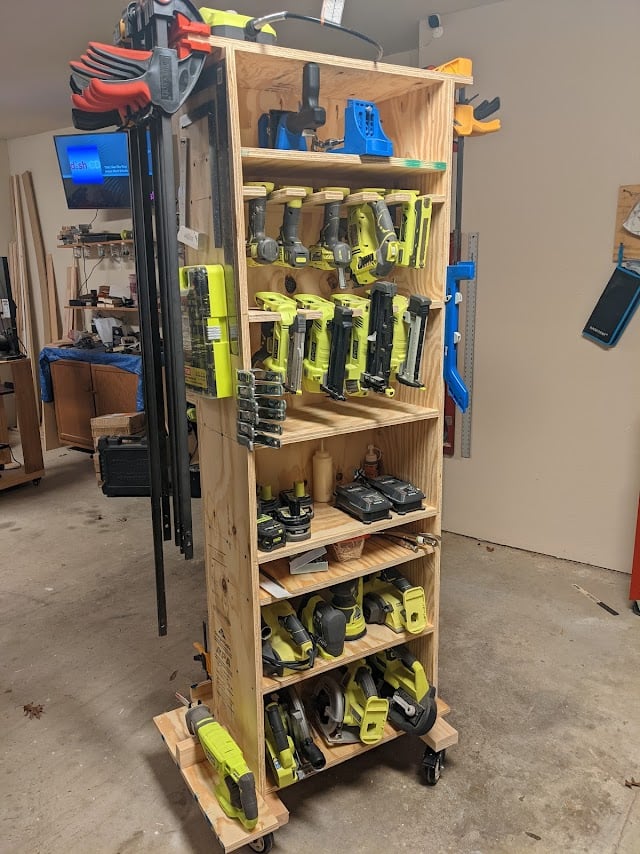
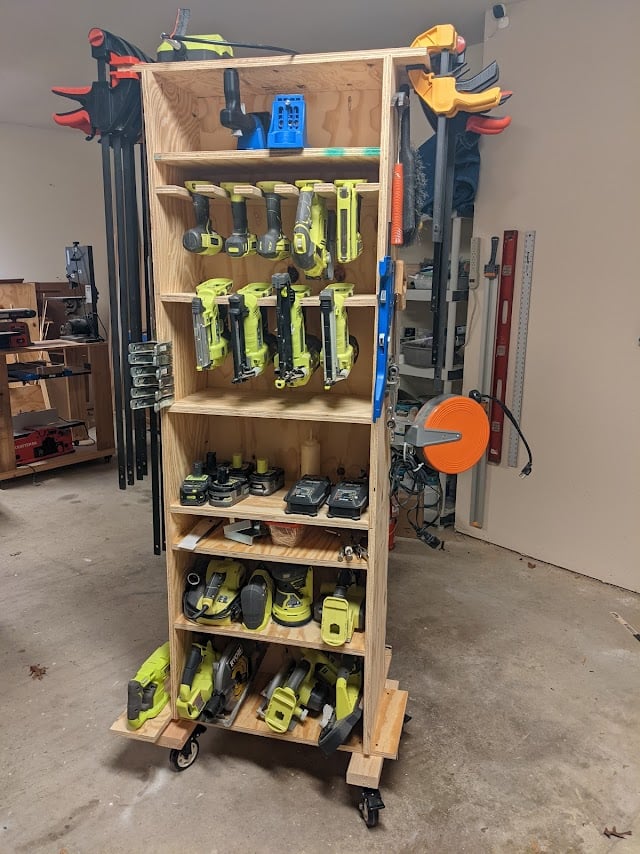
I repurpose furniture as a hobby and I got tired of having my tools hanging on a wall on the other side of the garage so I bult this rolling tool caddy. It is made out of 3/4" plywood, a couple of 2x4's and some heavy-duty casters. I built one about 3 years ago and realized that there were some things I wanted to do differently so I sold it and bult this one. My wife gave me a subscription to SketchUp and I had fun drawing it up and tweaking it. I left an over hang of 3" on both sides so I could store my clamps. I also attached an electrical cord reel on the right side and reversed the ends so the male end can plug into the wall and I can roll the unit across the room allowing me to be able to charge my batteries. The back side has a 44 drawer storage organizer and also a few shelves for additional tools like a router and a multi-tool. I'm not nearly the craftsman many of you are and I'm sure you could do a much better job. I didn't build it to look pretty but to be functional and it works for me.

Comments

Jayp413

Fri, 01/21/2022 - 09:16

I really like this idea. I have my tools hung up neat all around the garage, but I keep walking back and forth for tools and batteries. It would be great to roll this over to a project and have everything you need right there. Nice work. I will modify one for my needs.

BigMacQue

Fri, 01/21/2022 - 10:06

there are some very thoughtful features on this, notably the wings at the top and the bottom for clamps and extra tools and the different shelf heights. Well done! I'm going to build one just like it and a power strip for battery storage.

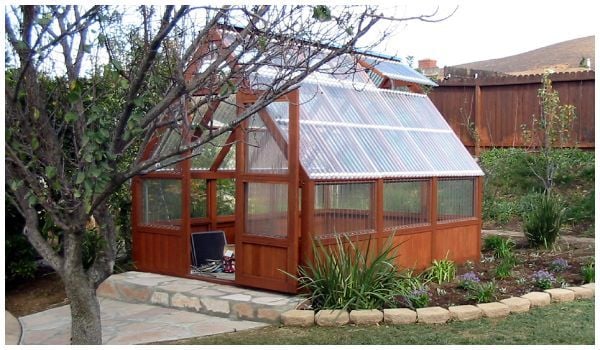
I used the corrugated polycarbonate to cover the greenhouse I made from a chalet style Sun Country Greenhouse Plans. Thanks for the idea.

Submitted by Anonymous (not verified) on Sat, 03/09/2019 - 06:34

I saw the barn shaped greenhouse plan but preferred a regular roof pitch. I did however incorporate the corrugated polycarbionate as a covering. I find it odd that you guys installed the polycarbonate horizonitally instead of vertically.

Anyway thanks for the info on polycarbonate.

Built from Plan(s)
Estimated Cost
Using cedar framing... 9 x 16' @ $3000 +/-
Estimated Time Investment
Week Long Project (20 Hours or More)
Finish Used
Behr
Recommended Skill Level
Intermediate

Comments

hauxy

Tue, 09/01/2020 - 17:47

Love this! I really prefer the roofline on your greenhouse. Did you modify Ana's design, or did you get plans from another site? Would love to replicate your design if possible-very elegant.

Seasonal And Holiday

Cedar Garden Shed

We needed a way to get all of the lawn & garden stuff out of our garage and organized. I found Ana's plans for the Small Cedar Shed & adjusted them to fit our space. We used 2x4s as our studs & added front walls on the sides. Our shed measures 9.5'x30". We had a concrete slab poured for our foundation. We are experienced DIYer's but had never taken on a project of this scale from scratch. This project was much easier than I was anticipating, and we were able to complete it in one weekend! Similar shed kits were way more expensive and not the size that we were looking for. Thank you so much for the inspiration!

Built from Plan(s)

Comments

Seasonal And Holiday

Shoe Dresser

Submitted by Anonymous (not verified) on Sat, 04/01/2017 - 08:26

We used the shoe dresser instructions with some modifications to make it longer

Built from Plan(s)
Finish Used
Stain, polyerthane, chalk paint and wax
Recommended Skill Level
Advanced

IKEA Hack 6" Tray Cabinet

Submitted by Matty3481 on Thu, 01/07/2016 - 16:30

I'm happy to share with everyone my IKEA hack 6" tray cabinet.

I found a 24" cabinet box in IKEA's As-Is section and took it home for half price ($23)!  I would have preferred plywood, but my table saw is a little small and cutting large sheets of plywood is a little scary.  When I deconstructed the cabinet, it sustained some damage (as its particleboard), so if you try this at home, be careful!  I ended up changing the depth to 22" in order to cut off the damaged piece, but that shouldnt be noticeable with average trays and cutting boards.  

I used Ana's 6" tray cabinet plan and modified the dimensions a little for my planned space.  It still needs the back, face frame and door (which will be a replacement drawer front from the cabinet manufacturer).  I plan on building the face frame at the time the cabinets are installed, since this will go in between the 36" corner easy-reach and the 36" sink base.  Once its done, I'll post updated pics!

Estimated Cost
$30 (cabinet and an aluminum straight edge tool to help me cut straight lines with my Dremel).
Estimated Time Investment
Afternoon Project (3-6 Hours)
Finish Used
Face frame will be painted to match factory cabinets
Recommended Skill Level
Intermediate

Farmhouse Storage Bed With Hidden Drawer

Submitted by Beekeeper on Wed, 12/10/2014 - 17:35

Ana, thanks for these plans! They inspired me to make my first bed build. I also want to thank all of you that added brag posts! They gave me ideas for some of the modifications that I made. I did this build by mixing your Queen Farmhouse and Queen Farmhouse Storage bed plans. I also added a number of modifications to suit my own preferences. The drawer boxes I changed by building a faceplate (I didn't want the plywood ends exposed), and by increasing in depth to maximize some additional storage. Since I increased the drawer sizes, I went with the euro roller bearing slides. I increased the foot-board height to be slightly higher than the mattress. I also designed the footboard to have a removable inner section with hidden latches on the inside. I did this because I wanted to make use of the "dead space" between the drawer boxes. I then used this space to house a hidden drawer, that is approx six feet deep (I couldn't help myself-I love hidden drawers wink). Because I added the hidden drawer, I changed the opptional center support to 4X4 blockes that were pocket screwed under the center of the boxes. I ended up using birch plywood and fir for this build. For my first bed build I'm fairly happy with how it came out. Thanks again!

Estimated Cost
I didn't keep exact track of the cost of this bed, but I think it was about $800.
Estimated Time Investment
Week Long Project (20 Hours or More)
Finish Used
I haven't got there yet, but I am planning on putting a mahogany stain and then a polyurethane. All
Recommended Skill Level
Intermediate

Comments

spiceylg

Thu, 12/11/2014 - 07:41

This is your first build and you did all of those awesome modifications?! Really impressive and it looks perfect! Congrats and welcome to the community!

In reply to by spiceylg

Beekeeper

Sun, 12/14/2014 - 06:03

Thanks for the compliments! It was a fun learning experience. Making all the modifications definitely slowed down the build, but also made it more rewarding!

beckbg

Fri, 12/12/2014 - 13:18

I just started my bed (mostly out of Baltic Birch) and am wondering where you were able to find such nice 4x4s. Your bed is gorgeous! No luck here. I bought redwood, but really wanted fir for the sharper edges. It's my first project, too. I also bought same drawer slides, but the soft close. Didn't want the slam. I figure building it will be the easy part compared to procuring nice 4x4s! Hope you can help!

In reply to by beckbg

Beekeeper

Sun, 12/14/2014 - 06:01

Thanks! The 4x4s I found at a place called Better Living Building Supply. They had a pretty nice assortment of fir, including the 4x4s, so that is why I chose it for the build. Finding the 4x4s slowed down my start on the build. Our local Lowes only had them in treated pine.

athingvall

Sat, 09/05/2015 - 20:47

Thank you for the pictures, the bed turned out Awesome.  I was wondering about the latching system for the foot of the bed.  Do you think a piano hinge on the lower would work too?  Also on the center drawer did you use rollers or is it just friction?  Can't wait to start the build.

Thanks

Codding58

Mon, 02/15/2016 - 14:11

This is excellent!!!   I really like this, so much in fact that the wife is going to have to get used to it too. lol   But really, GREAT work!    Any chance you could post a pic and or comment about how you attached that removeable end?    i think this is the best part!    Cheers!

Kmaynard19

Tue, 12/10/2019 - 08:42

Beekeeper,  Awesome build!!!  Have you posted your altered plans anywhere?  I'm very interested in your build, I was wondering about some aspects of it and how you approached it.  Plans would clear it up instead of bothering you with all my questions.

NinjaPinky

Sat, 06/20/2020 - 09:06

I, like many others, have been wondering if you'd share your plans for this modification. It just looks so great!

tammis50401

Mon, 11/16/2020 - 15:42

Bed turned out awesome. I was wondering if you have the plans for the bed with a list of supplies it took to make this bed. I so want this bed it's just what we are needing

Great job

Back