Community Brag Posts

L-shape Modern plywood desk

I constructed this desk all from birch plywood. It features a pull out keyboard tray, modern drawer finger pulls, and full extension drawer slides. The plywood was finished with a hand-rubbed danish oil for a natural wood appearance.

Estimated Cost
$150.00
Estimated Time Investment
Afternoon Project (3-6 Hours)
Finish Used
danish oil
Recommended Skill Level
Starter Project

Corner Cabinet Storage Shelf

Submitted by sssmile14 on Sun, 07/24/2011 - 19:32

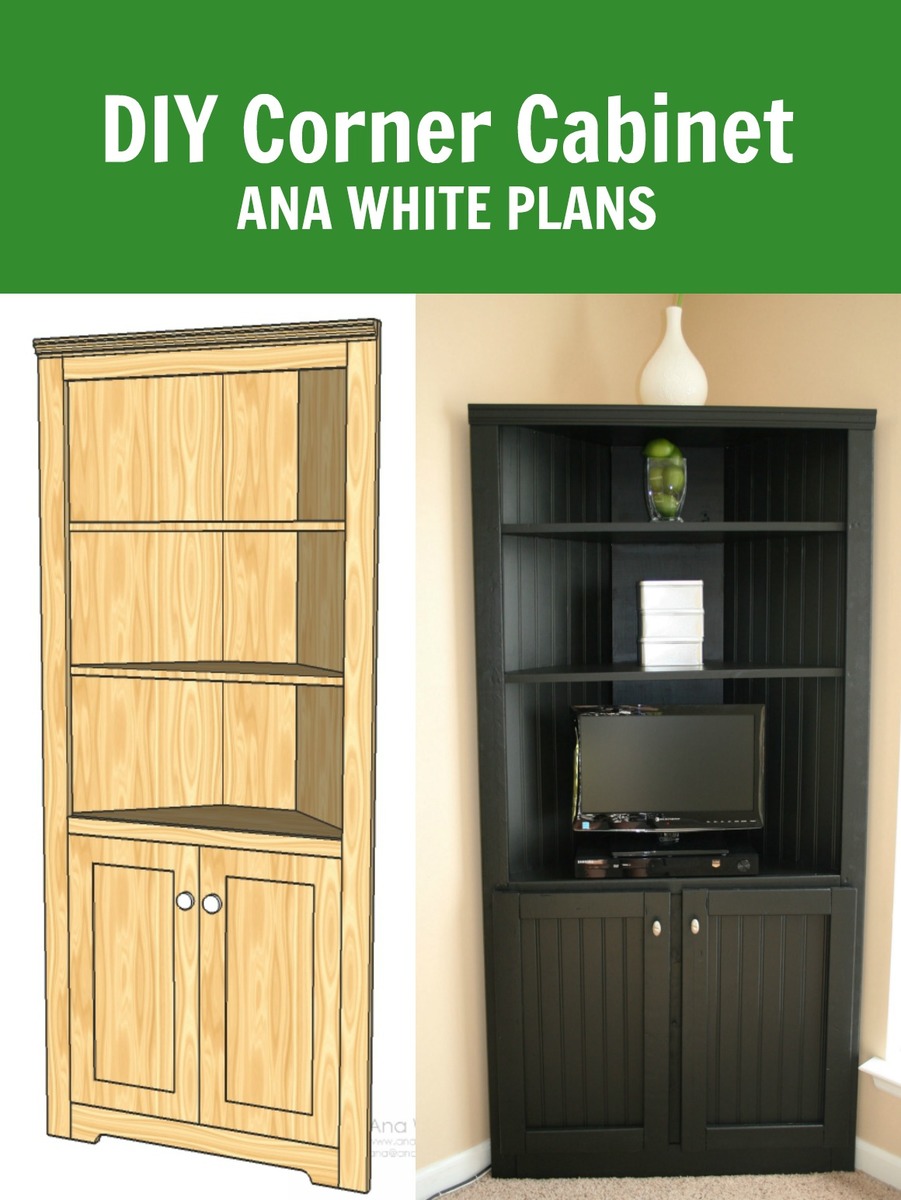
We built this corner cabinet shelf in three days (only because it is over 100 degrees here, so we had to wait until 9:00 at night to work on it) for our office space. We love, love, love it and can't believe how nice my corner cabinet turned out. Only our second building project ever. :)


Built from Plan(s)
Estimated Cost
80.00
Estimated Time Investment
Afternoon Project (3-6 Hours)
Finish Used
Kilz Satin Paint- Black
Recommended Skill Level
Starter Project

Comments

kellerkb

Mon, 06/03/2013 - 21:20

Hello, I would appreciate help finding the plans for this project! Thanks!

cerberus456

Tue, 08/02/2016 - 14:54

I do cedar. Thank you very much for the drawings. This site is to become one of my favorites.

Greetings from Xalapa Veracruz Mexico


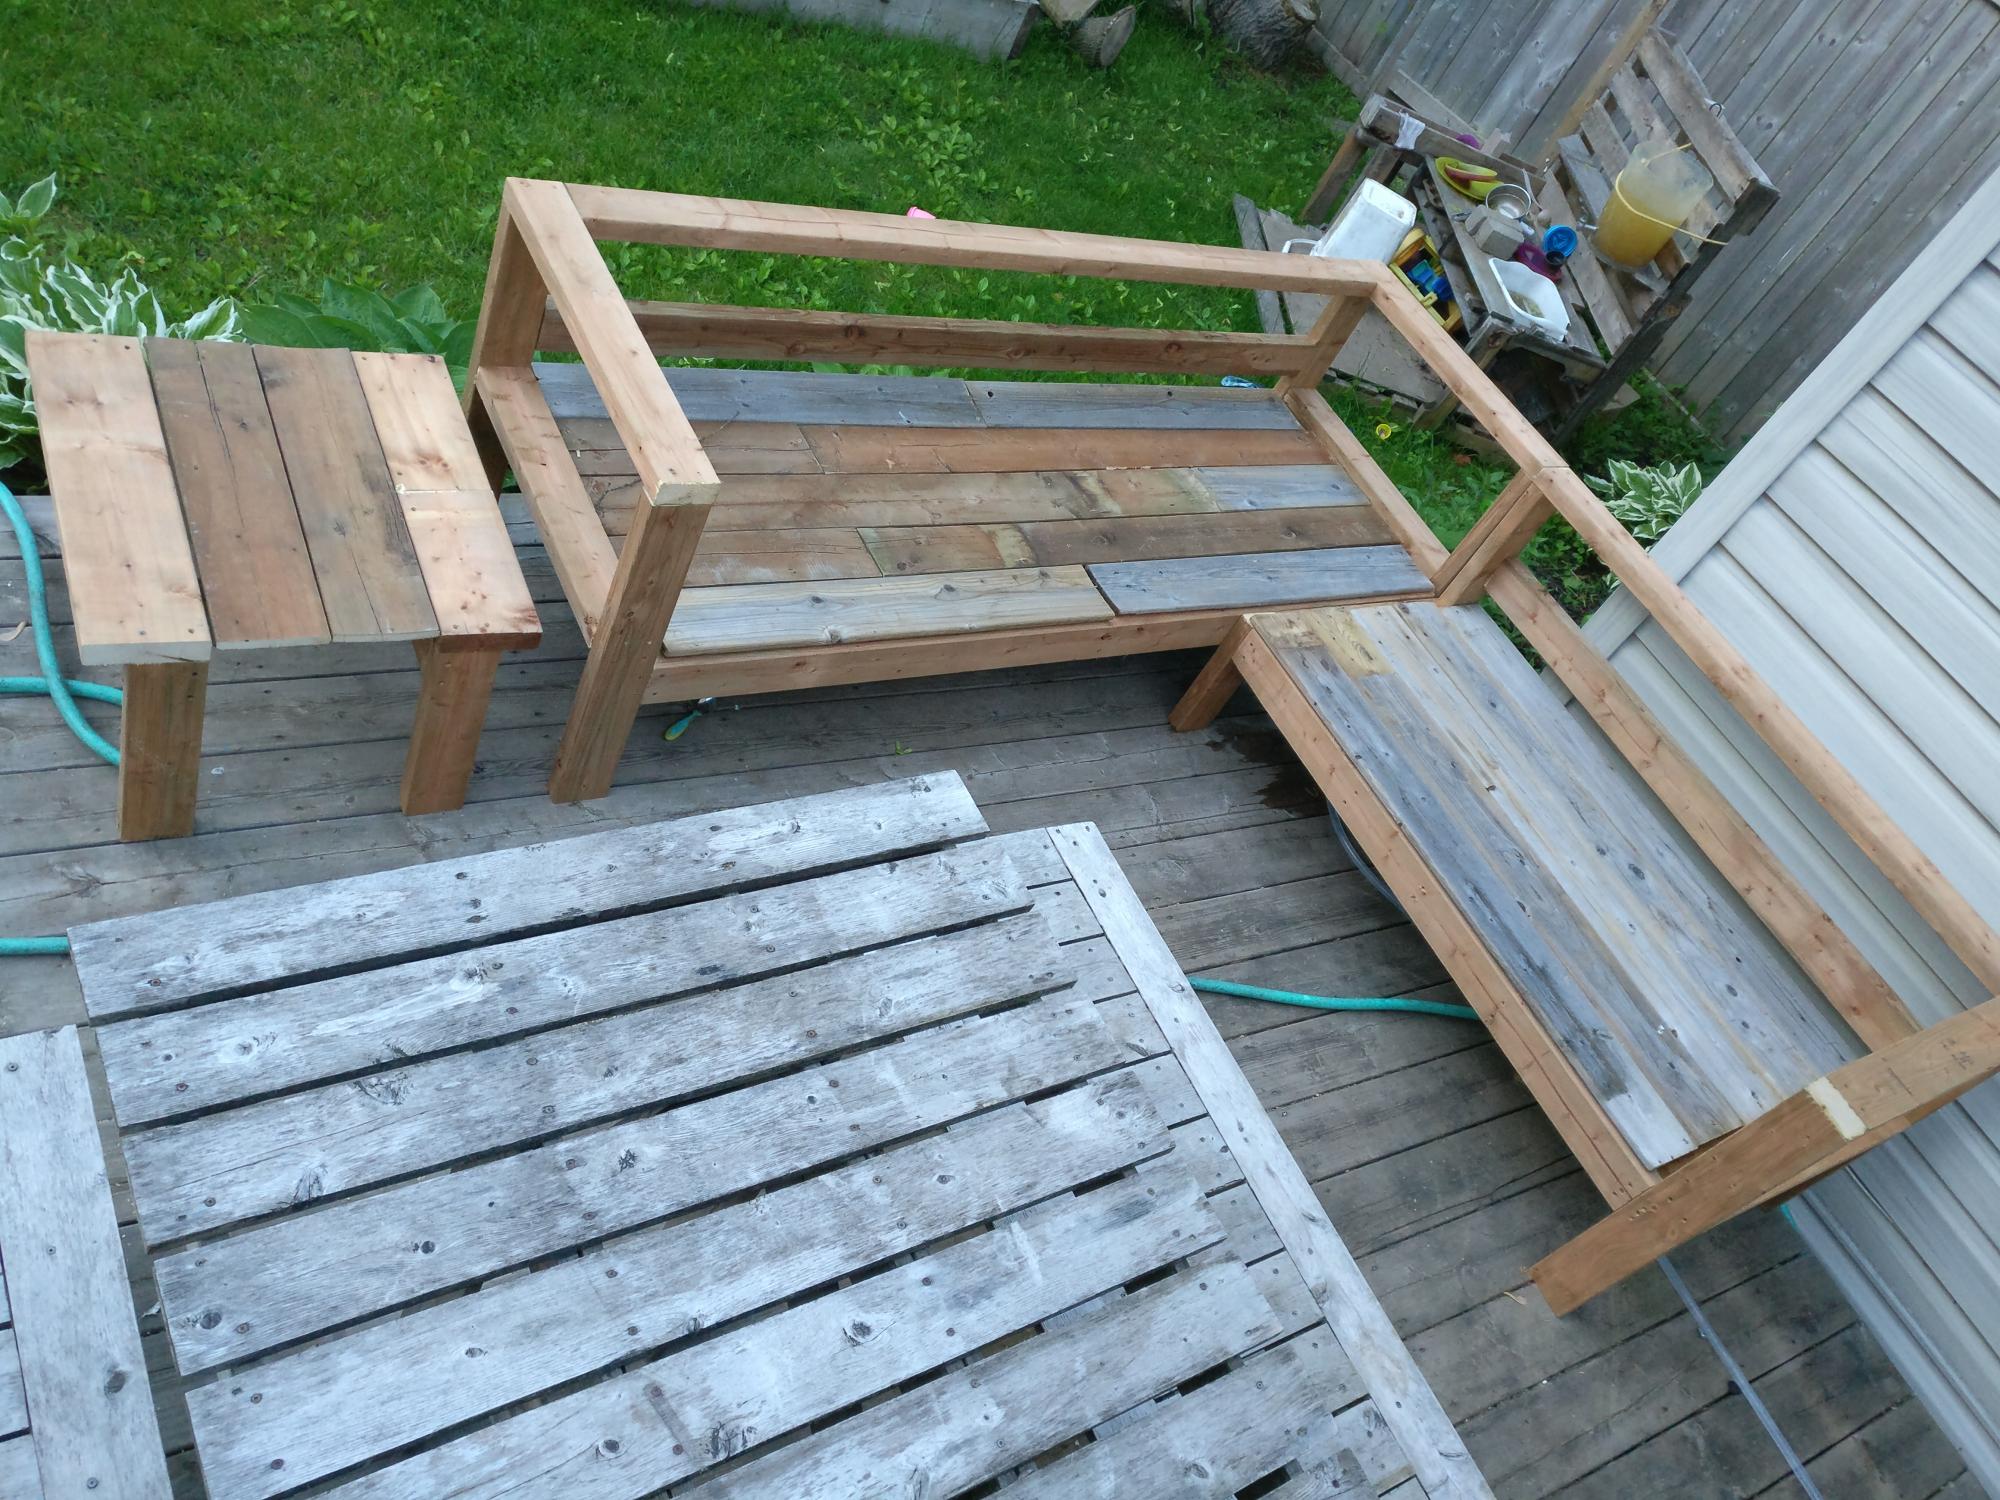
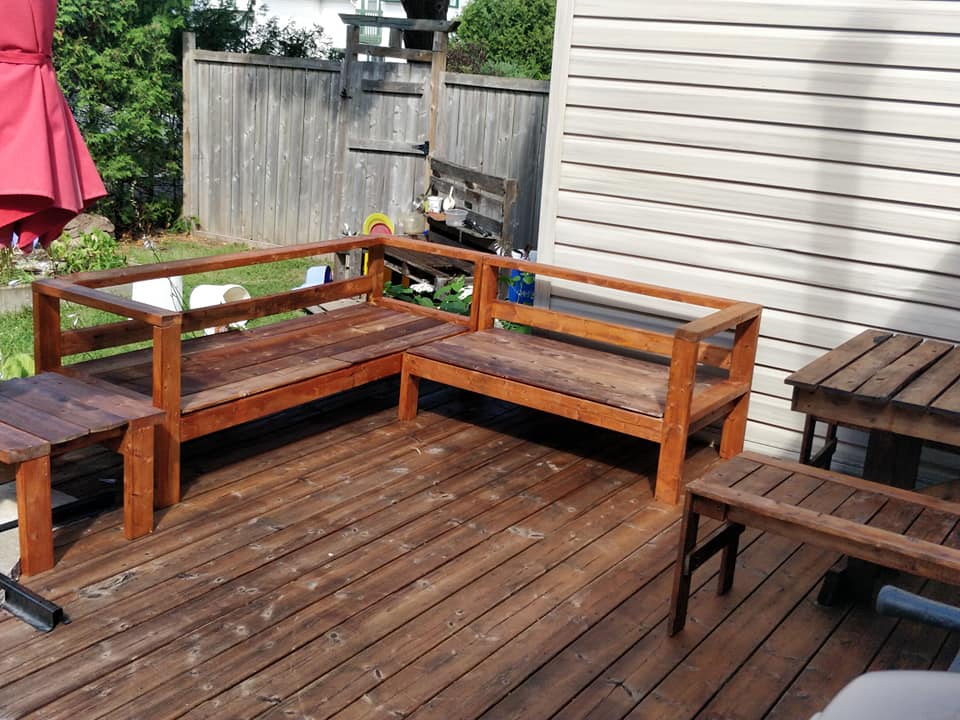
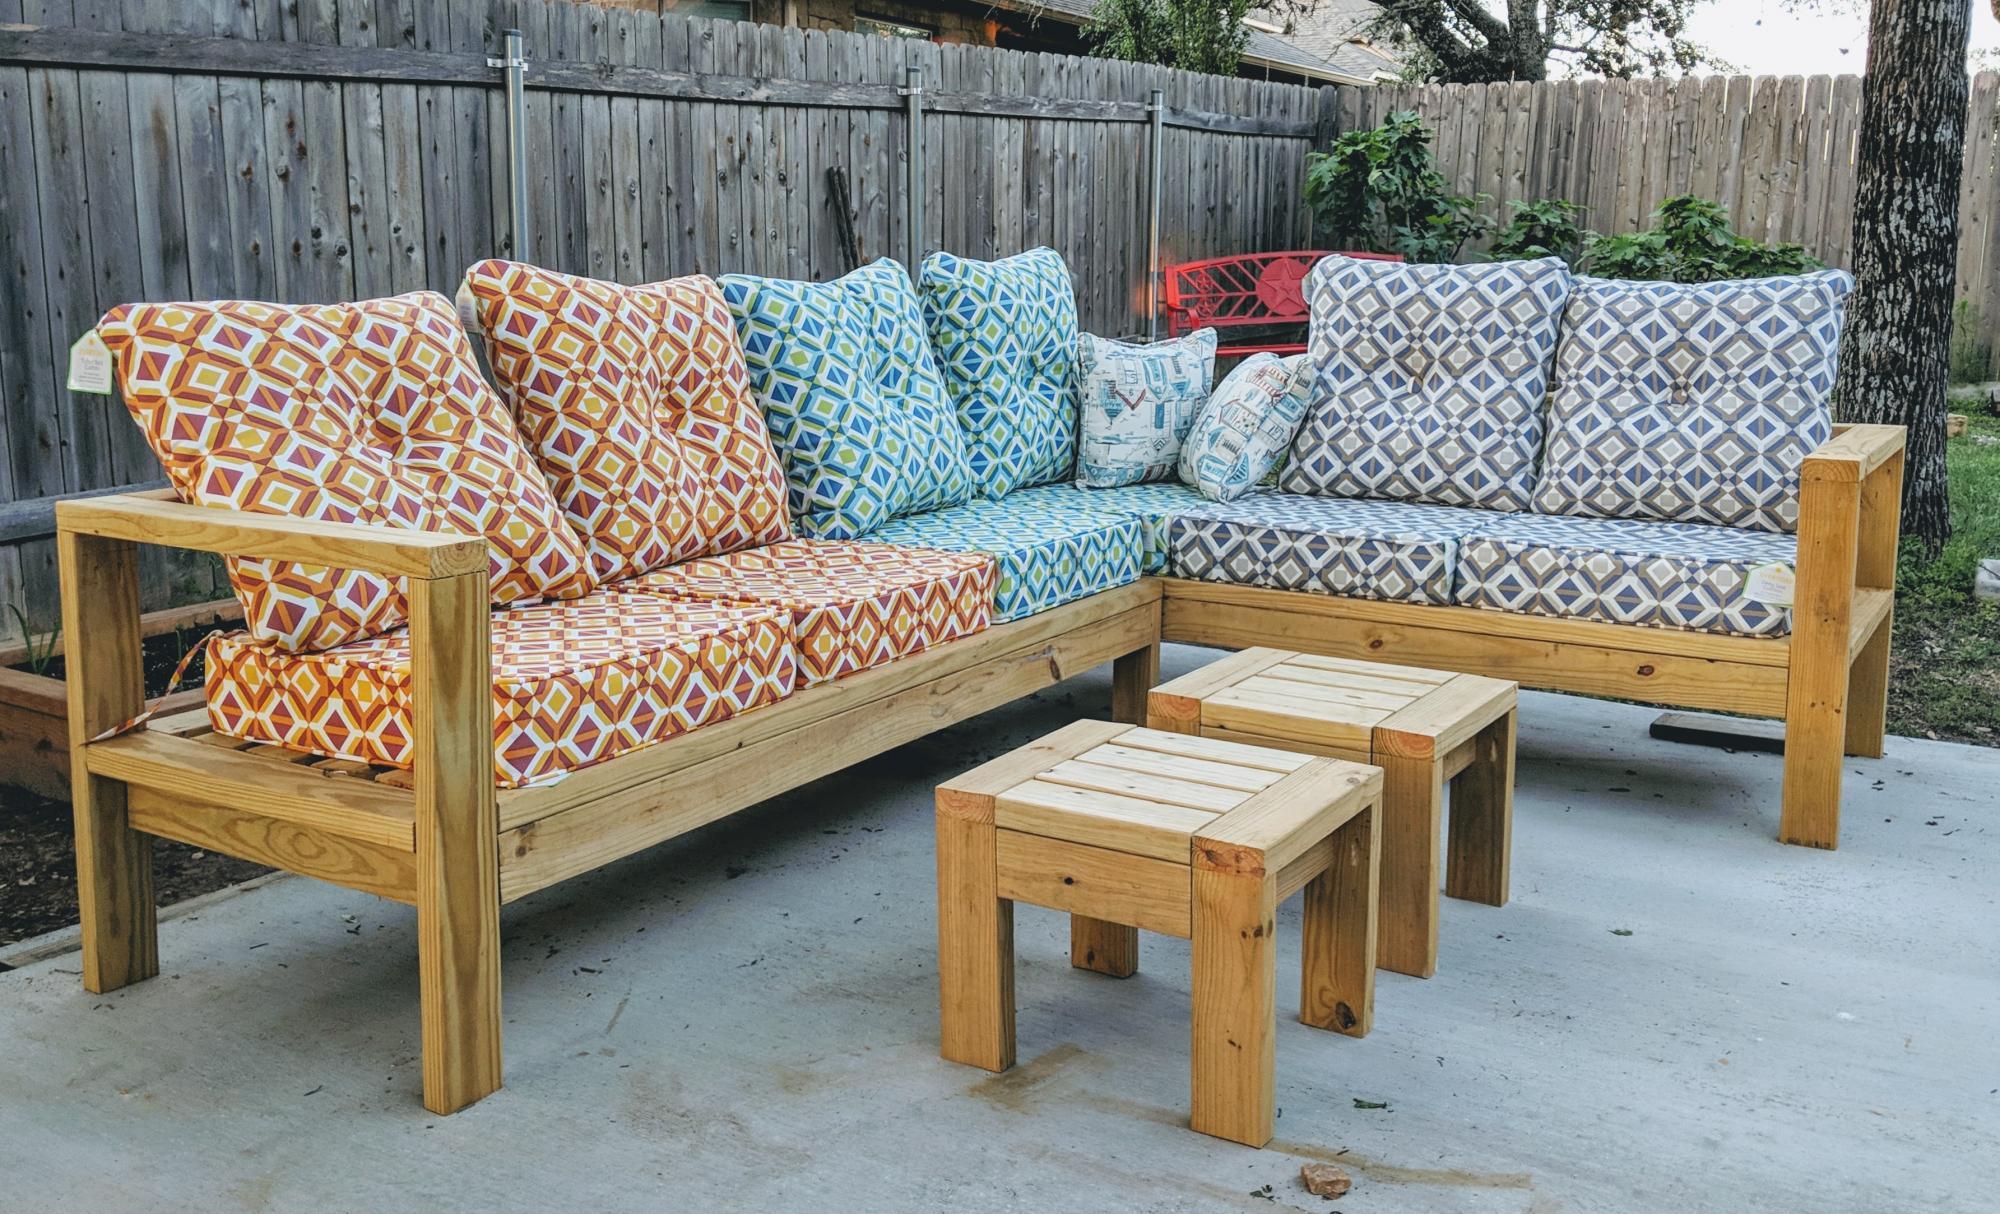
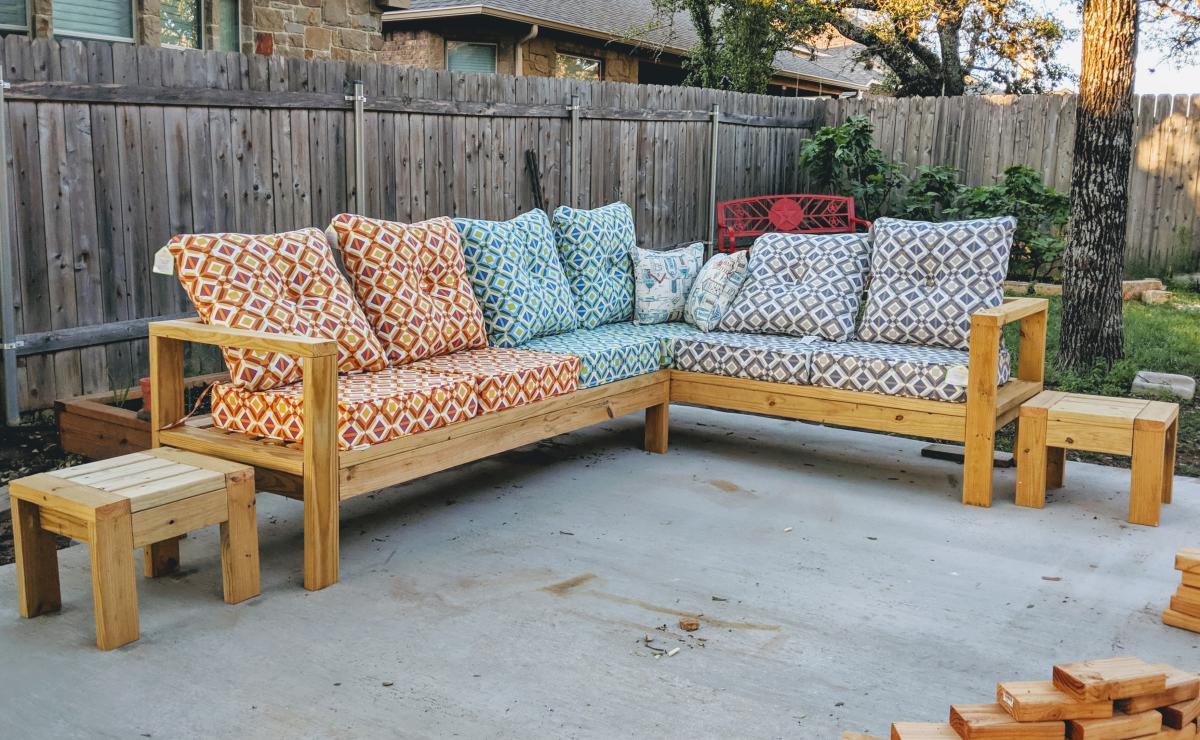
Outdoor hangout using 2x4 and fence boards

Submitted by sylvialh on Sun, 06/16/2019 - 18:13

Bought enough lumber for one sofa but ended up using old fence boards for the  decking so had enough lumber to make the sectional and a shortened coffee table. 

Great way to save some cash even if u have to buy the fence posts. 

Added a reinforcing piece to the one armed sofa between the legs using a kreg jig to stabilize the legs a bit more. 

Waiting on my foam from Amazon to finish off this project!

Used inspiration from the beer/wine cooler patio table and made the middle of the table removable to add a buck underneath later. 

Note the 5 year old patio set, also an ana white project from back in the day!

Super quick build!

I did find that the measurements for customizing it for your cushion size seemed about 1.5 inches too big for all the depth pieces so I sized down but I haven't received my foam yet so maybe I'm wrong but Smth to think about. I didn't want my cushions to slide around so I took that into consideration when building. 
Estimated Cost
60$ CAD for the high density foam for each sofa (3x24x72) plus throw cushions for the back.

11 2x4x10 - cost varies depending on cedar or PT
Fence boards were reused

Outdoor Fabric to cover the foam
Estimated Time Investment
Afternoon Project (3-6 Hours)
Finish Used
None yet
Recommended Skill Level
Beginner

Laundry Dresser

Submitted by rosiejane on Fri, 11/02/2012 - 23:32

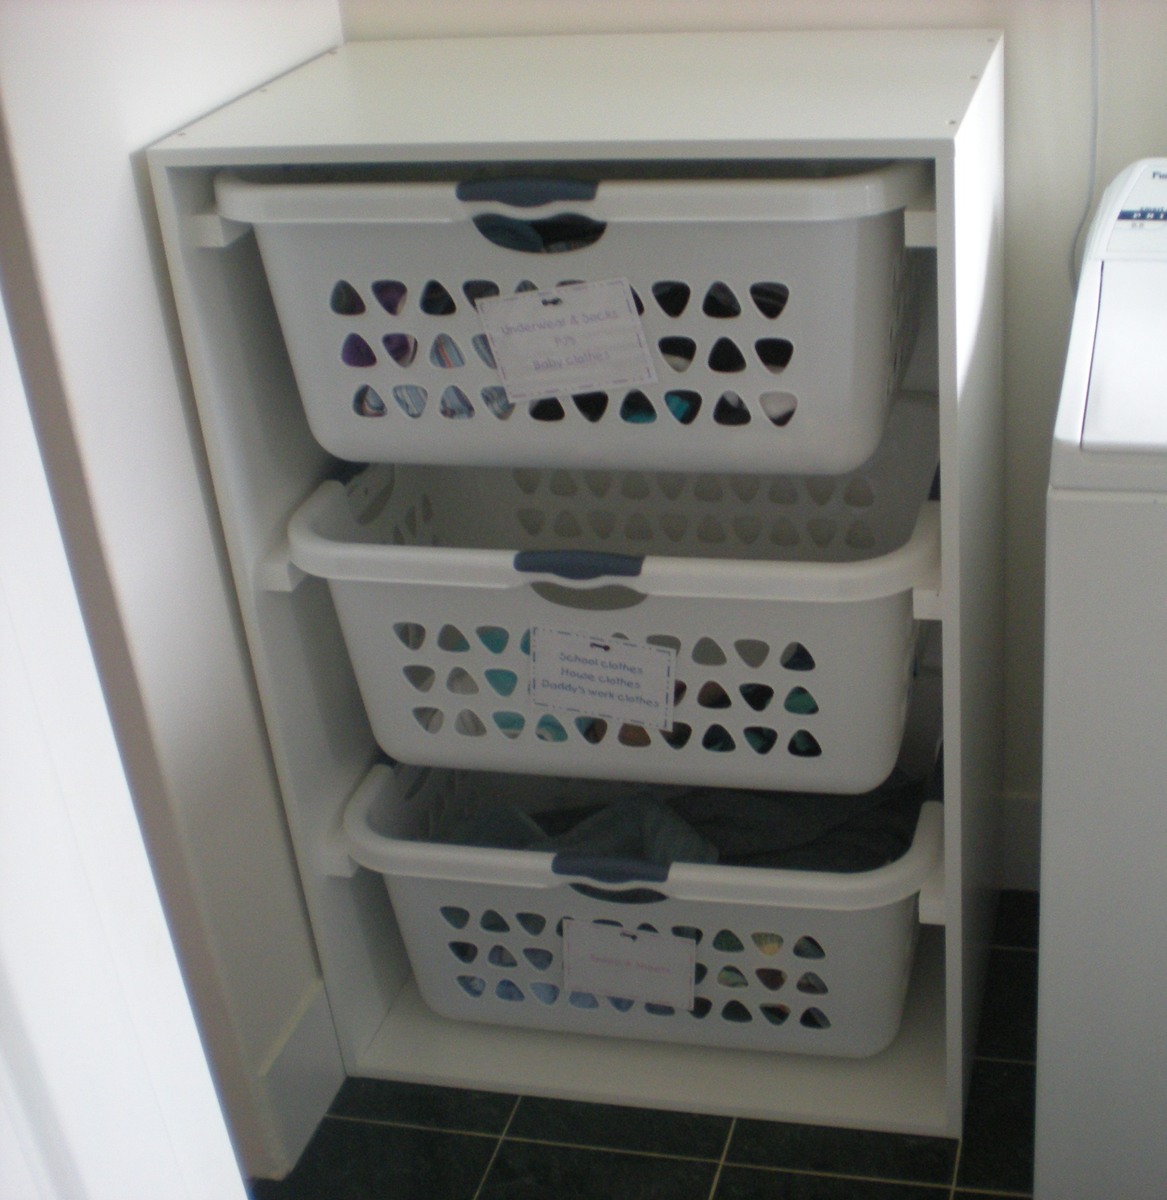
Really happy with the final product and the hubby is glad I have finally finished a project. This project was an answer to the piles of washing crowding our small laundry. I found 3 sturdy family sized (huge) rectangular laundry baskets for $10ea at Kmart and then used Sketchup to adjust the plans to allow for the bigger baskets (Sketchup is so much fun to use). I ended up having to buy an extra piece of wood for the top because I forgot to allow for the thickness of the sides when measuring the top and base. (I know, I know, measure twice cut once...) I used the piece I had cut for the top as the base and then got a new piece for the top. When I finally got all the pieces cut to size it all went together pretty quickly. I used melamine for the box because it was cheap and I wouldn't have to paint it. It did chip a little bit along the edges when I cut it but it's not too bad. I used 30 x 30mm pine for the basket supports and had to countersink the screws 1cm so I could use 30mm screws. I used iron-on melamine edging to finish the exposed edges of chipboard and used paint on the back and supports. Actual construction didn't take long but the painting took about a day by the time I'd done one basecoat and two top-coats.

Built from Plan(s)
Estimated Cost
$40 (AUD) incl. screws. Already had the paint.
Estimated Time Investment
Day Project (6-9 Hours)
Finish Used
Dulux Prepcoat & Dulux Aquanamel White on back and basket supports. The rest was white melamine.
Recommended Skill Level
Beginner

Comments

rosiejane

Mon, 11/05/2012 - 01:06

Thanks for the feedback. I cut the melamine myself. I clamped a straight edge on top of the melamine (allowing for the distance from the edge of the saw to the blade) and then used my jigsaw to cut. My local bunnings didn't seem too interested in cutting specific sizes. They were happy to just cut lengths down so I can fit them in my car but said their saw could be inaccurate up to 10mm from one end of the cut to the other. (Personally I think the guy just couldn't be bothered) Since I wanted my project to be square I figured it was much easier to just do it myself.
With sketchup I just play around and learn as I go. I got the hang of it pretty quickly although I'm still figuring out some of the more complicated stuff like using the protractor tool to do angles etc.

Npledger

Thu, 01/01/2015 - 22:05

I love this. These baskets are very sturdy. Is there anyway you can post the measurements. I have never made anything but this looks perfect. I have never used sketch up. Please let me know if you are able to post the measurements. Thanks!

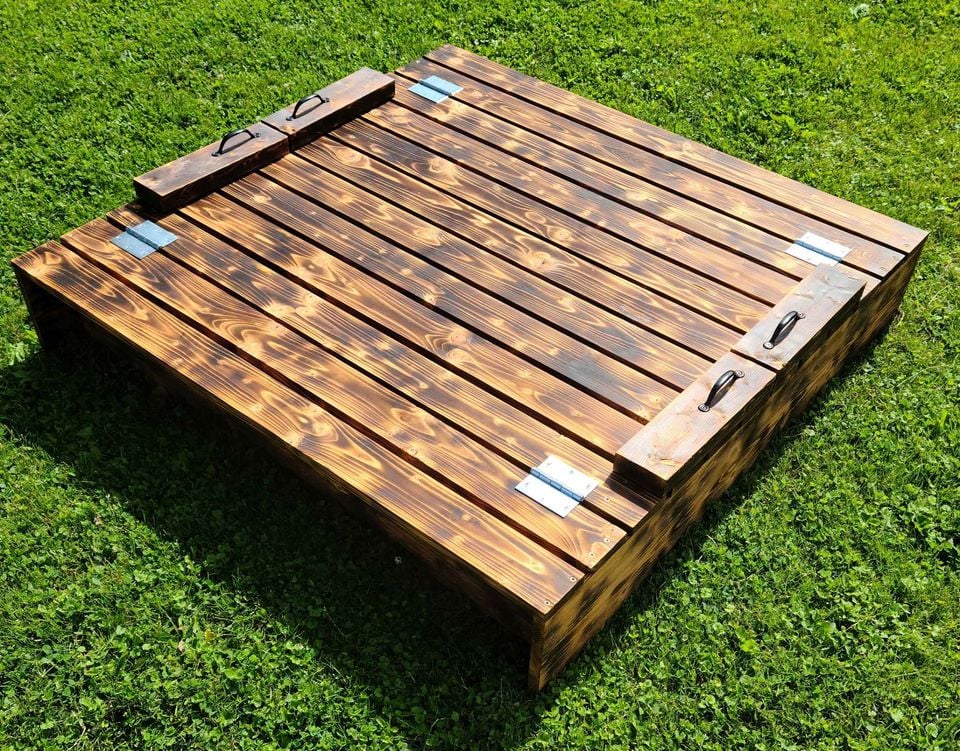
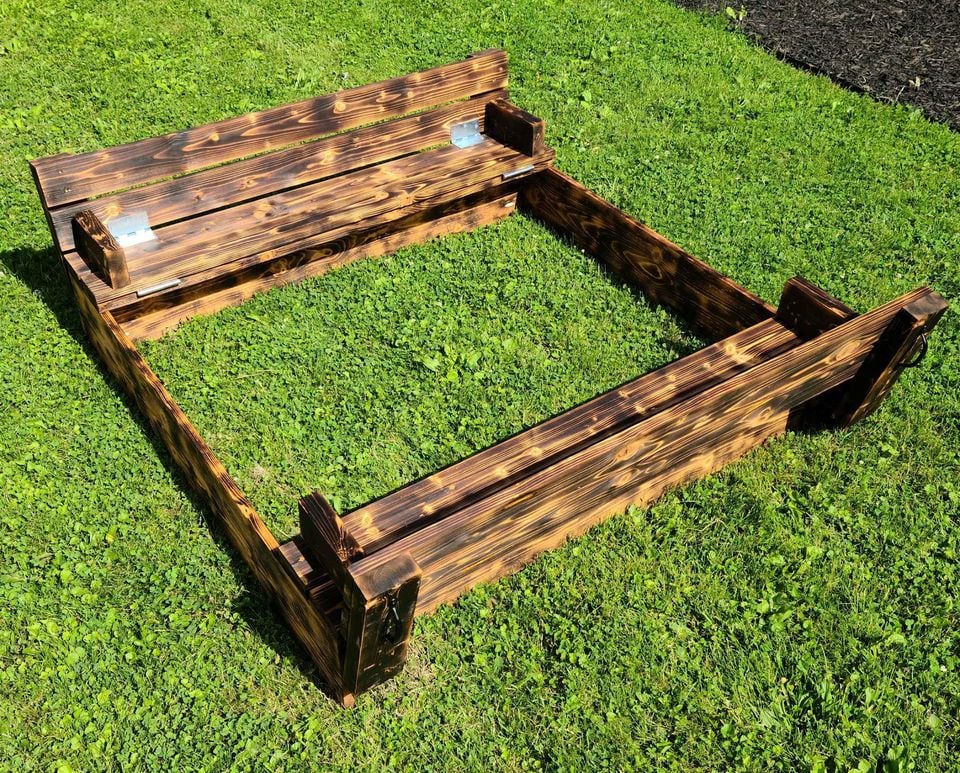
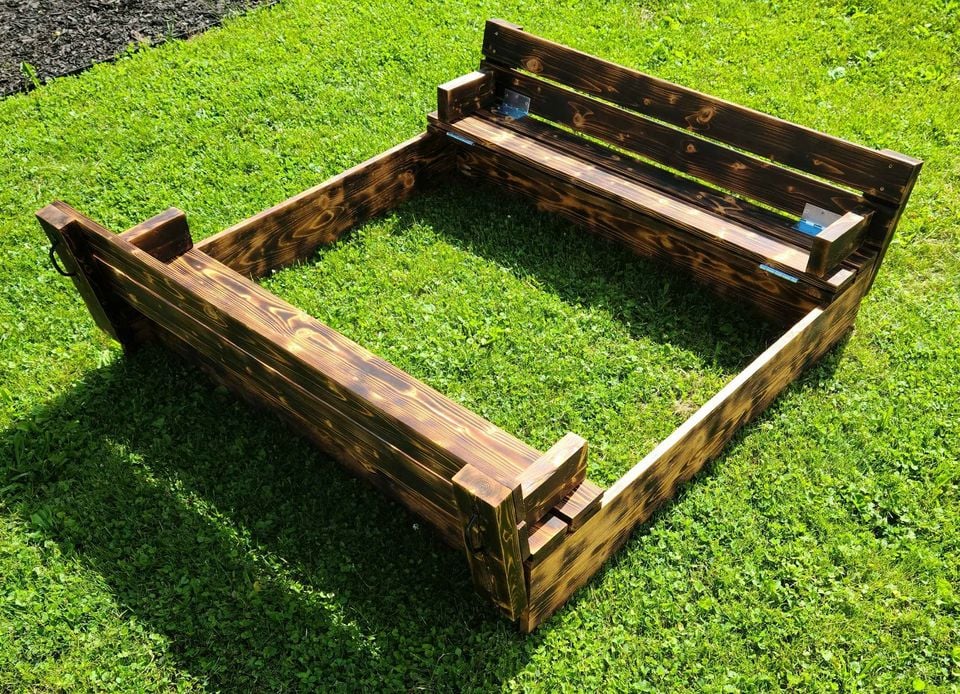
Sandbox with Benches

Burnt and stained with a semi transparent mahogany water sealer

Built from Plan(s)
Estimated Cost
$120
Estimated Time Investment
Afternoon Project (3-6 Hours)
Recommended Skill Level
Beginner

Comments

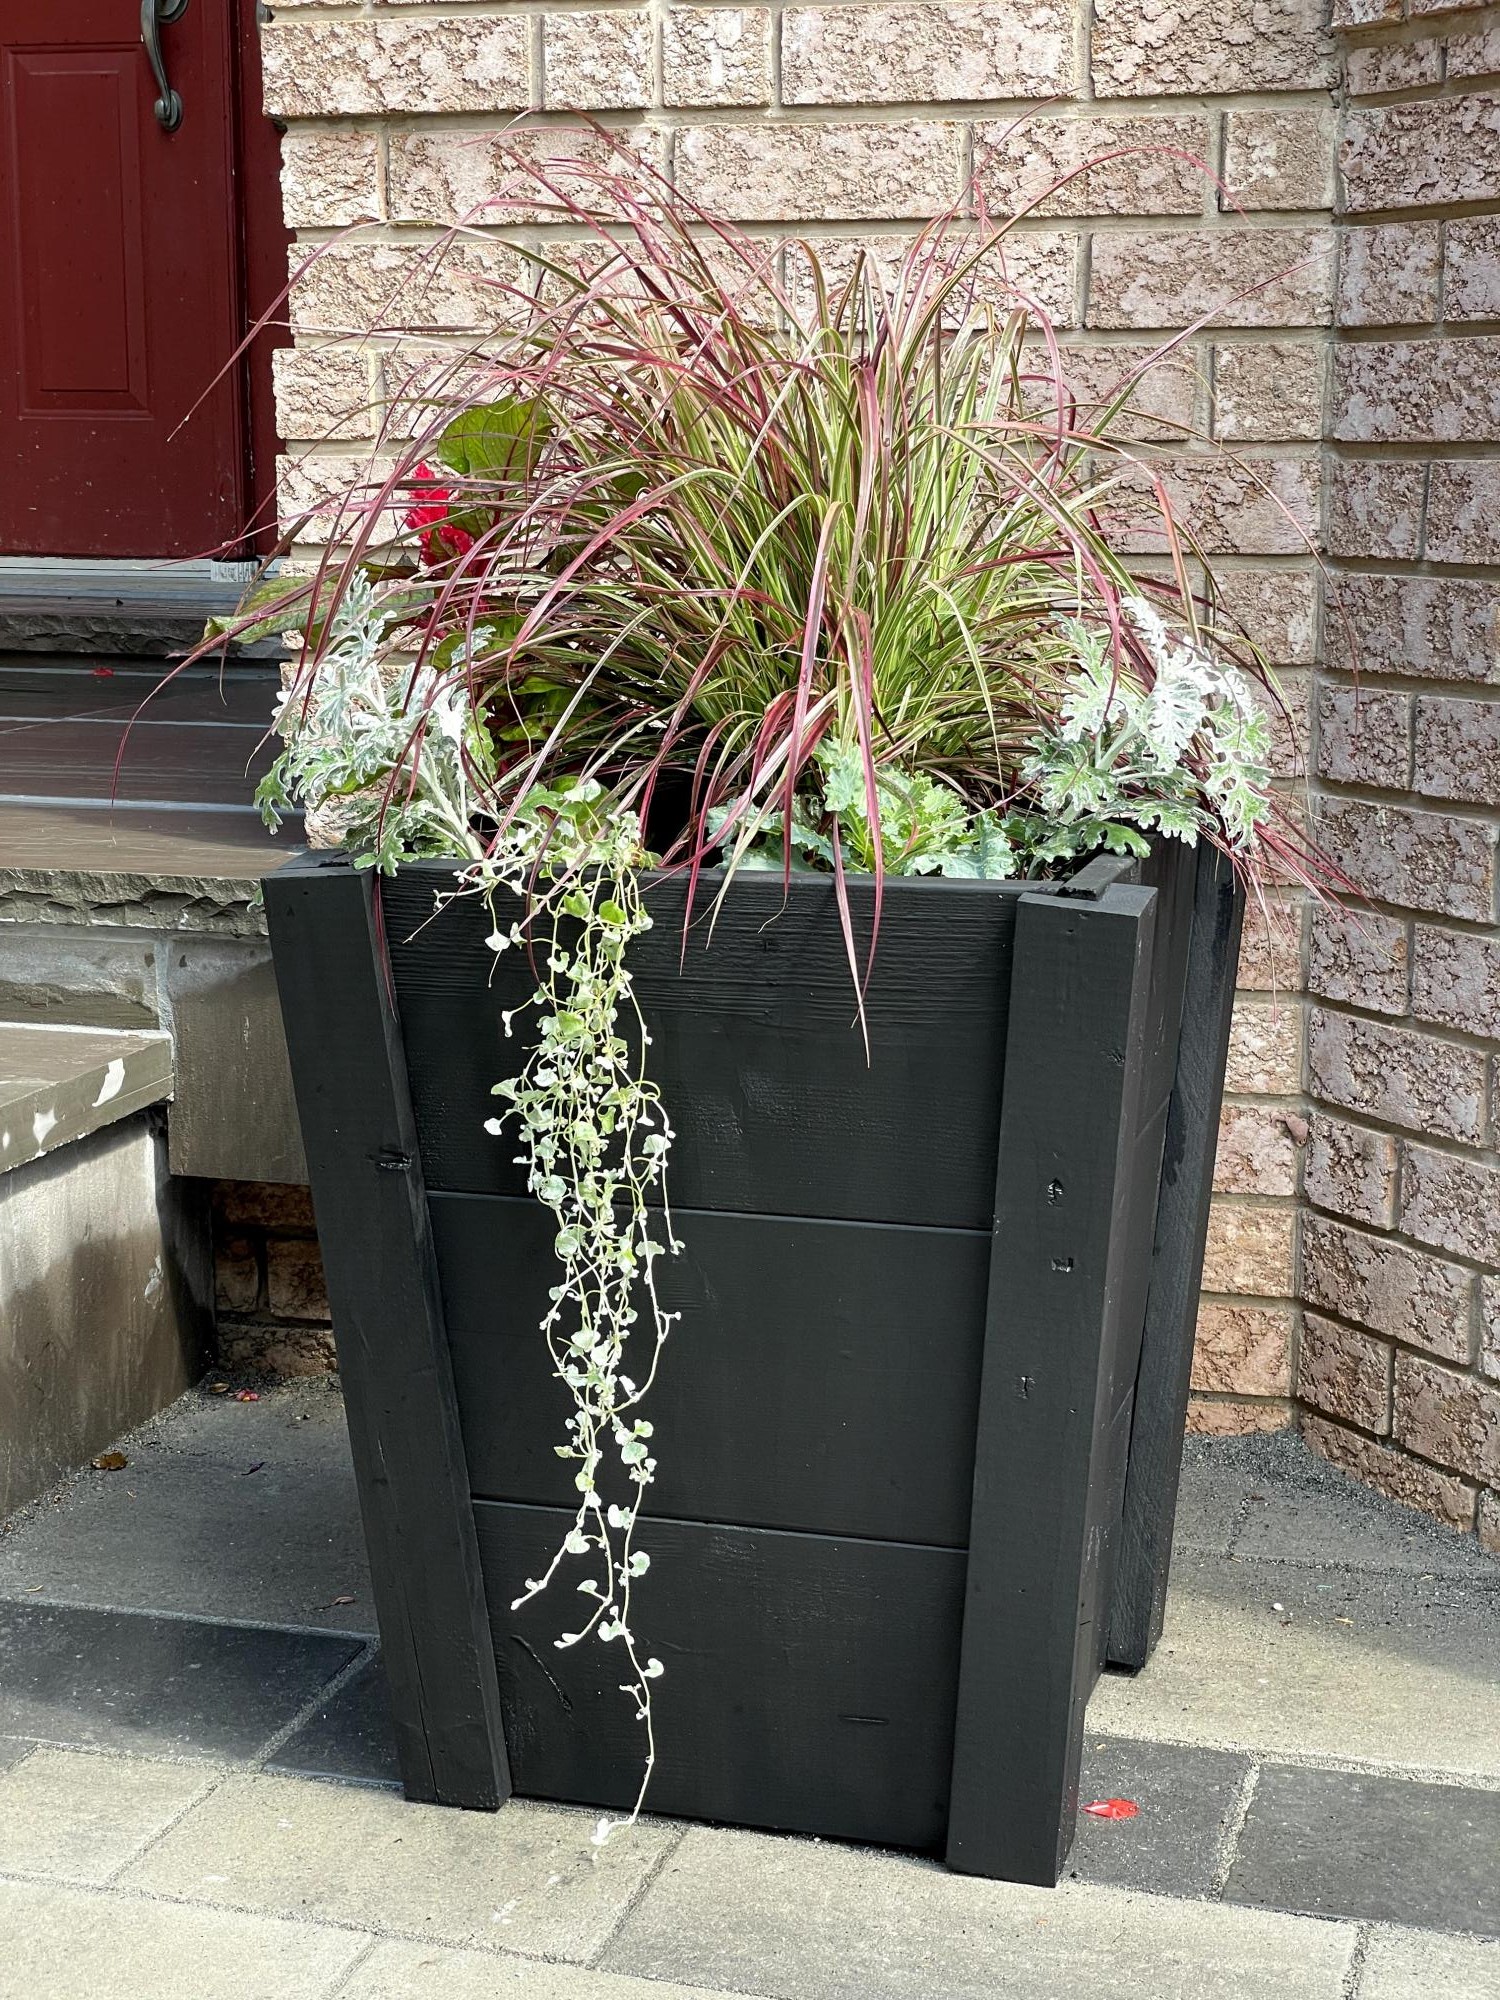
black Tall wood planter

Submitted by Anonymous (not verified) on Tue, 08/31/2021 - 08:28

plan was easy to follow! super cost effective because I just used scrap wood found in local stores and nails. It took me longer than expected since scrap woods are not as long so need to do time in sections at a time, but all worth it.

Built from Plan(s)

Comments

Photo Gallery Ledges

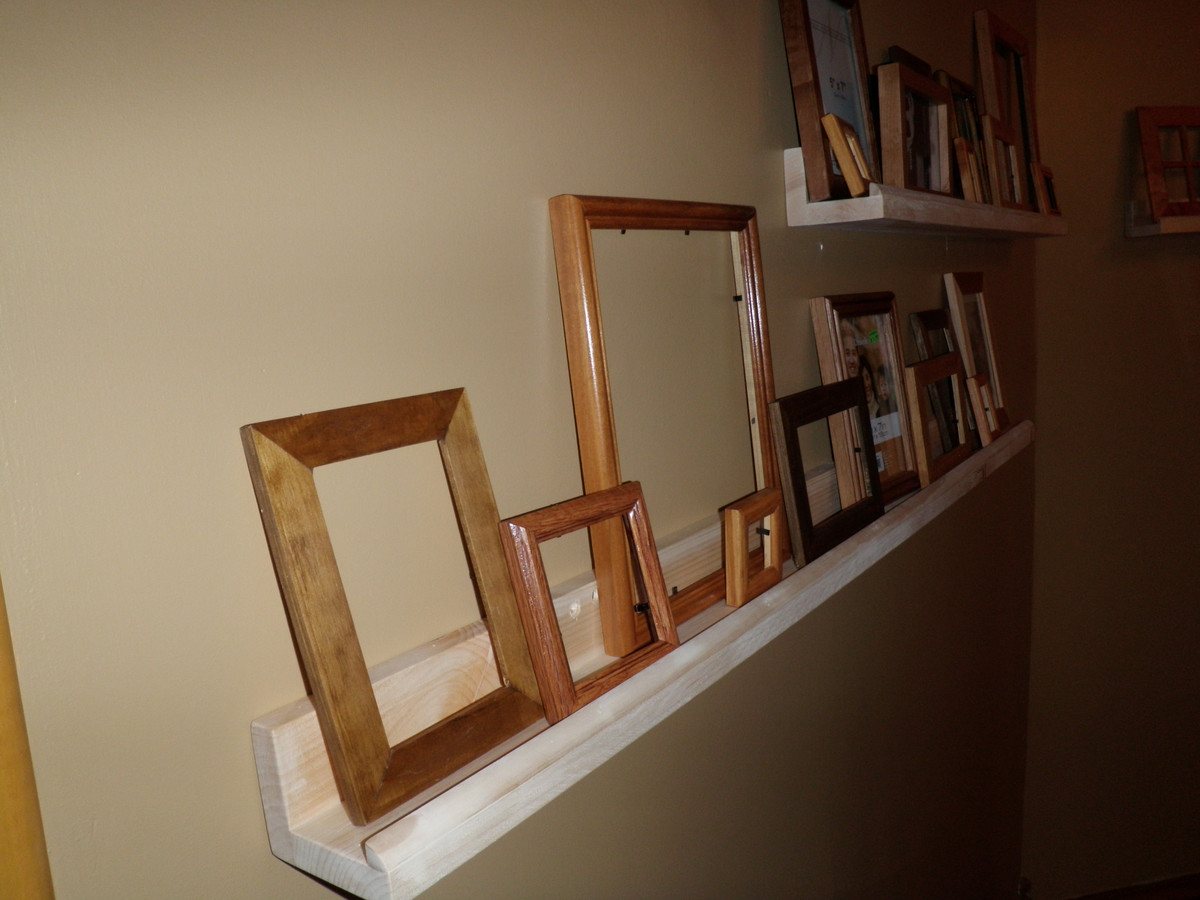
I was always a fan of the gallery wall, but not having a big empty space in any of my main rooms I didn't think I could have one.  However, once I finally got my stairway and upper hallway painted, I realized the wall needed something and the gallery ledges would be perfect!  Save the old plaster walls from being bashed with picture hanging nails too!
I build them out've 1x3's and a small 1/4 round for the front edge instead of a 1x2.
I made 2 3' long and 2 4' long and staggered them on the walls, as the walls are at a slight angle to each other.
I decided to paint them the same colour as the walls so they would blend in and the picture frames would stand out.  All the frames are varying wood stain colours that go with the trim in the house.

I love having a place to put all the pictures I never find time to put up!

Built from Plan(s)
Estimated Cost
$24 for all 4
Estimated Time Investment
An Hour or Two (0-2 Hours)
Finish Used
Paint. Home Hardware 'Burnt Sugar'
Recommended Skill Level
Starter Project

Outdoor buffet table

Submitted by Anonymous (not verified) on Mon, 06/05/2023 - 15:03

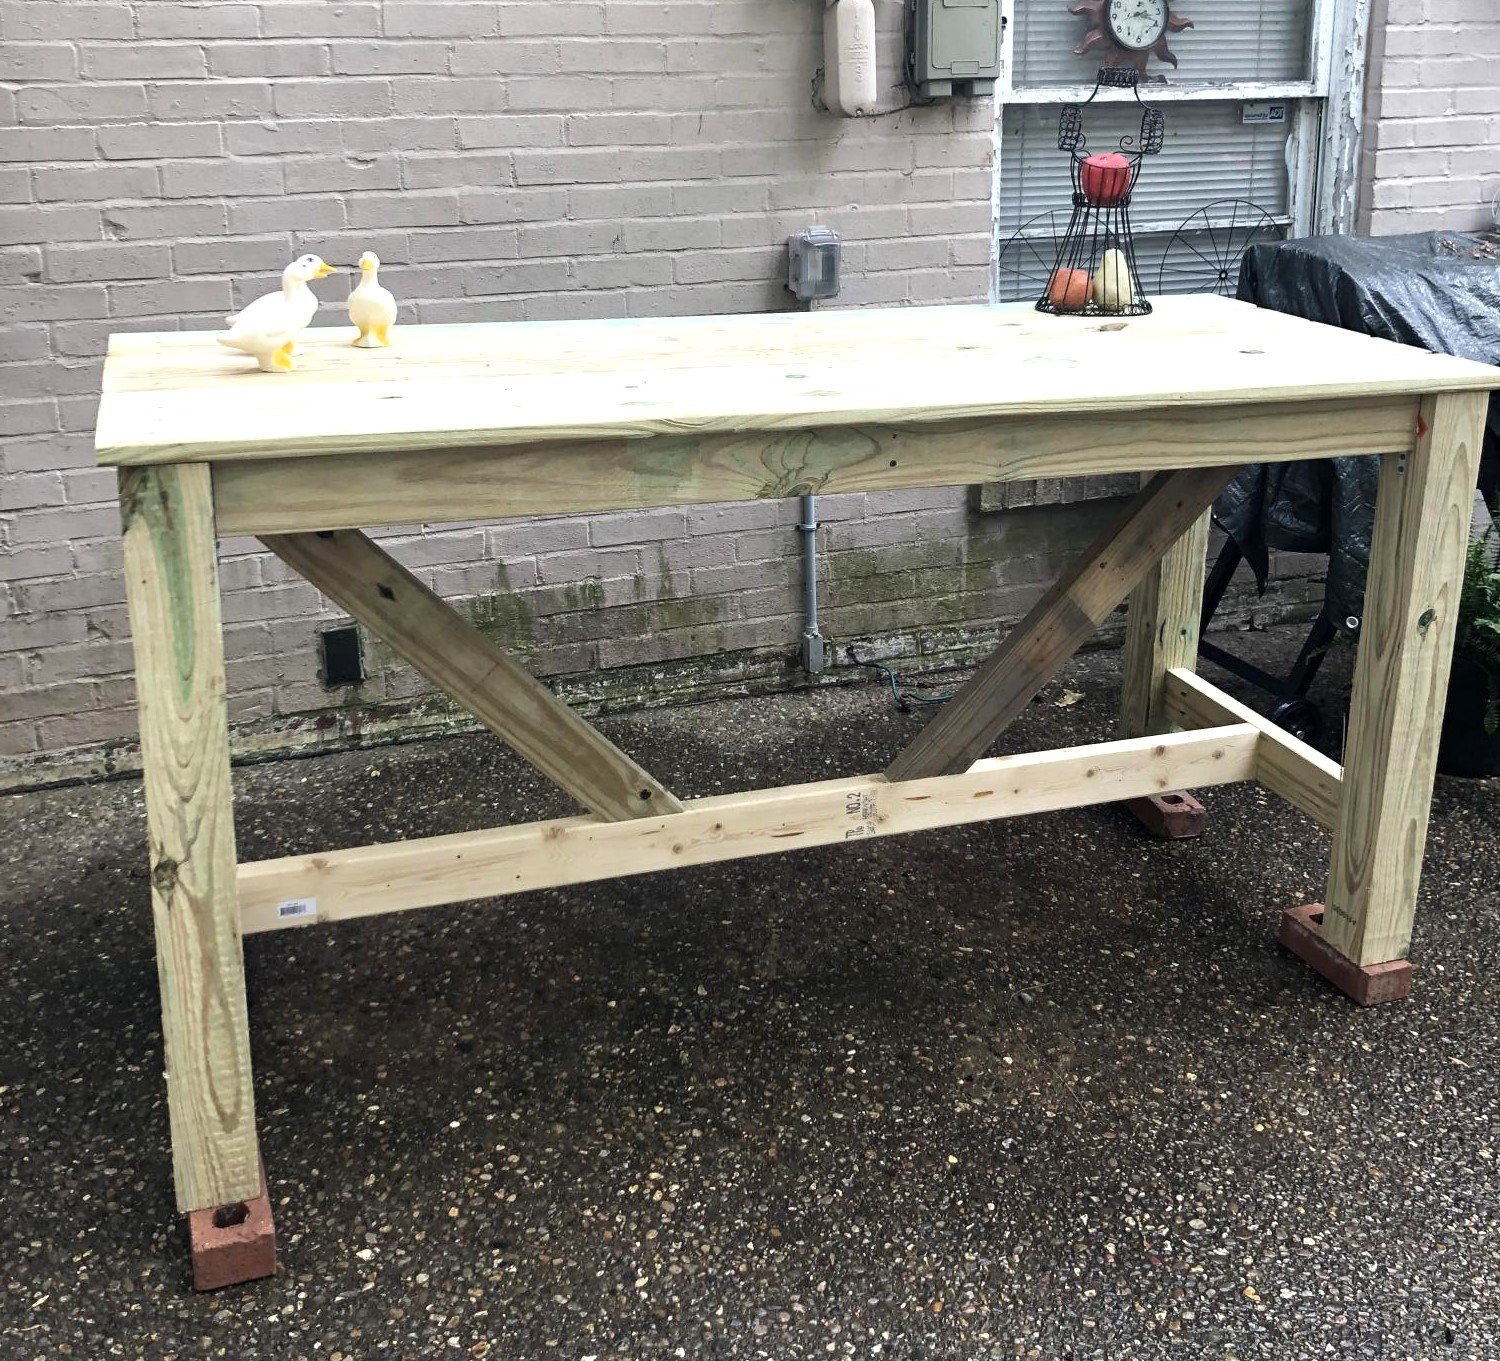
My first project using Ana White plans. Used pressure treated lumber and Kreg pocket hole jig. Cost: $126.

Built from Plan(s)

Comments

Arts and Crafts Table for My Daughter

Submitted by jpiller on Sat, 02/11/2012 - 07:32

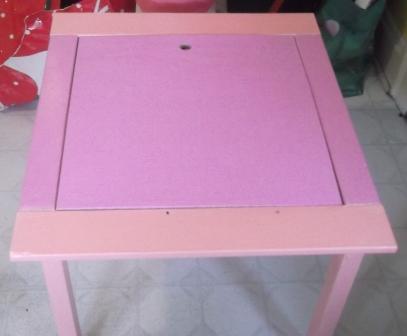
This project was my first from Ana White's plans and my first wood working project on my own. I spent quite a bit of time w/ my dad as a young boy helping him w/ woodworking projects and have been looking forward to doing one on my own.

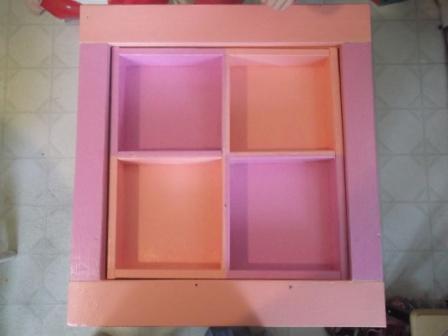
My daughter is a crazy artist of four years old and she makes more art in a month than we know what to do with. Along with that comes piles of crayons, markers, paper, and so on all over her room, so this table was for her to try and keep organized.

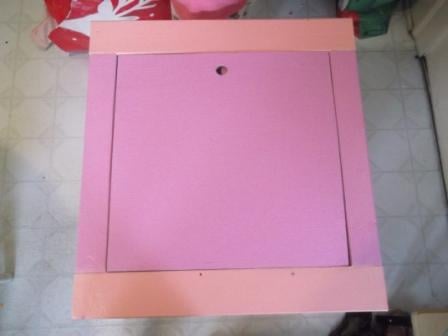
The only real modification from Ana's original plans was that I used plywood for the cover instead of a clear piece of plastic b/c I figured the wood would hold up better under a four year old's abuse.

Built from Plan(s)
Estimated Cost
40
Estimated Time Investment
Day Project (6-9 Hours)
Finish Used
Regular wall paint - same used to paint my daughter's room.
Recommended Skill Level
Starter Project

Comments

jpiller

Sat, 08/02/2014 - 09:46

Yes, i actually had to put two pieces glued together in order to get the correct height to fill it in. It's a little heavy, but my daughter really loves the table and it doesn't seem to be too much of a problem.

Mantle

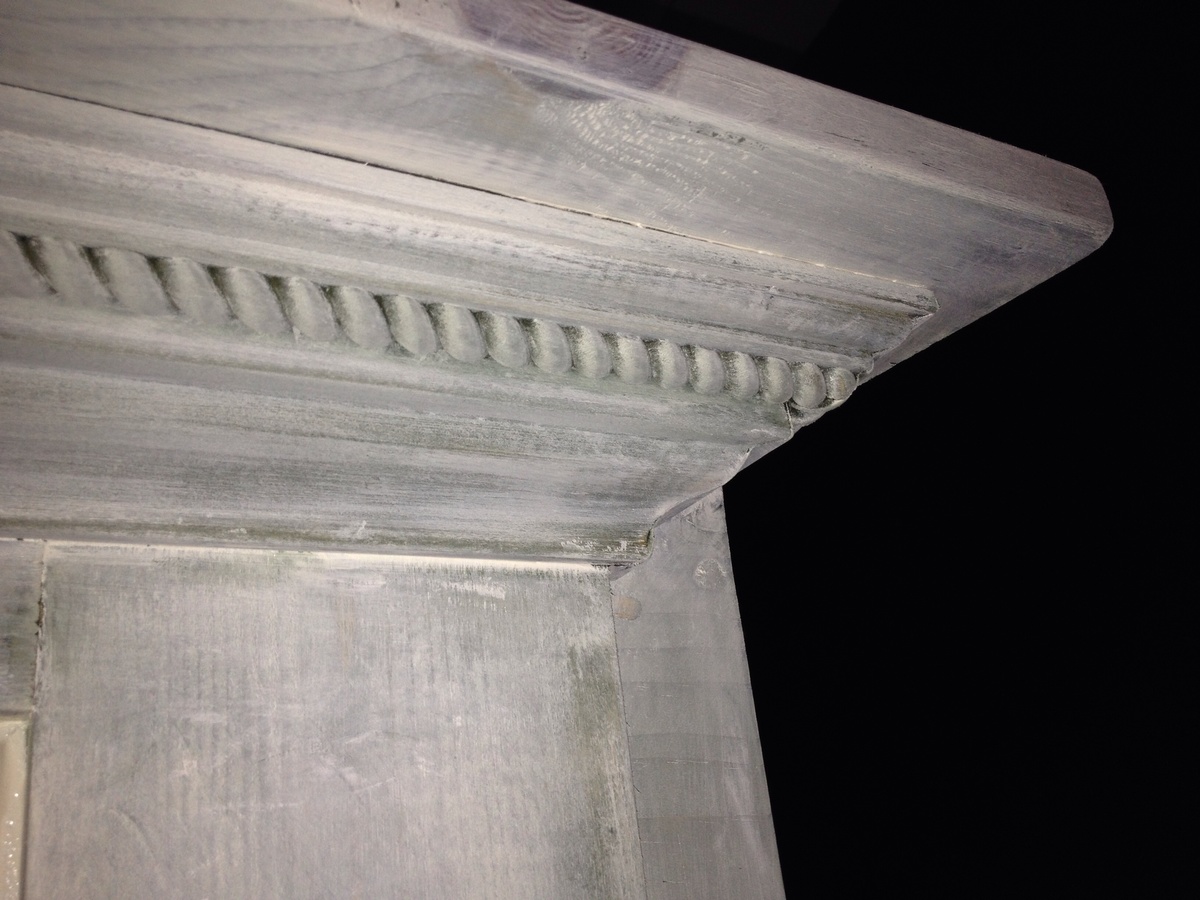
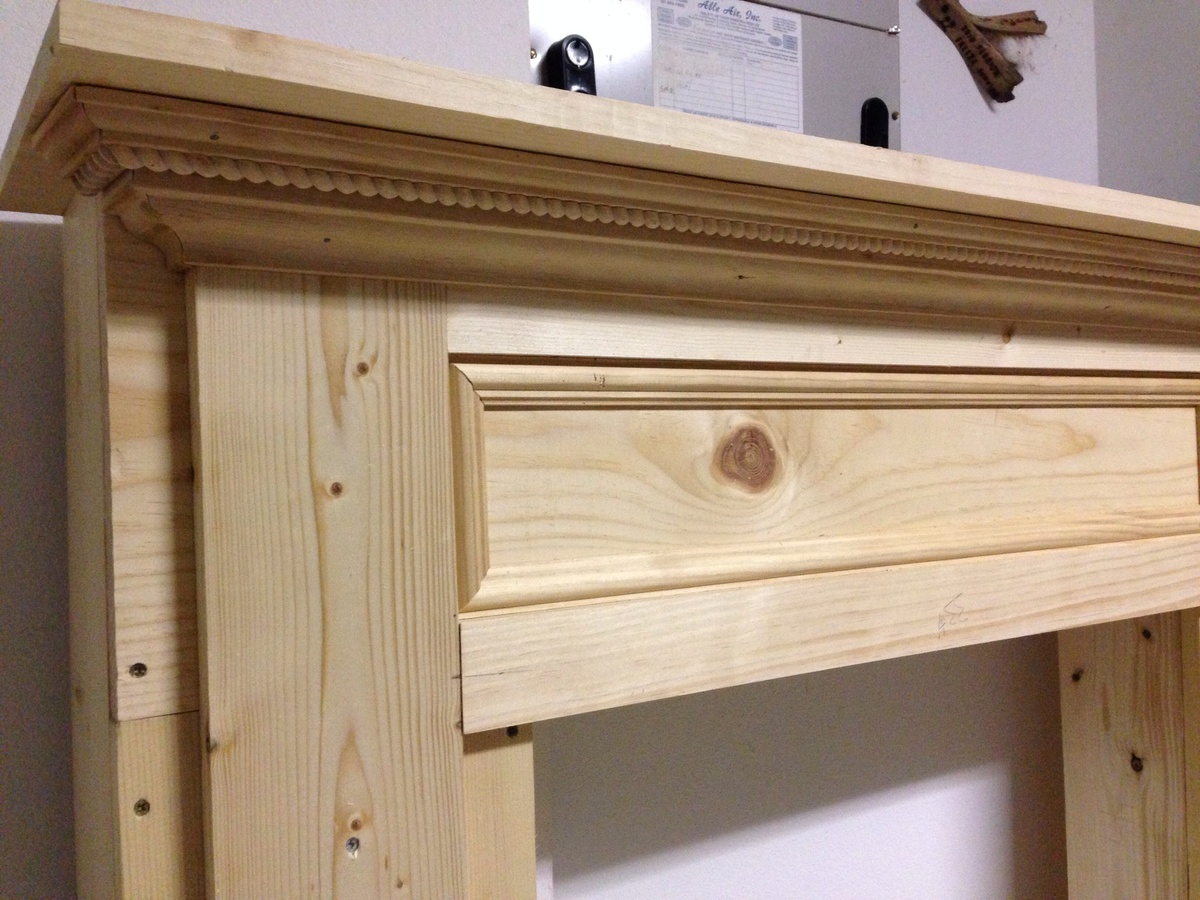
We wanted to have a mantel for hanging the Christmas stockings this year and this fit perfectly! We modified the plans a bit by substituting 1x6's for the sides and a 1x12 on the top in order to gain a little more shelf space and to accommodate the LED fire logs. We added a piece of plywood painted black to mask the color of the wall and to give the "flames" a surface to reflect off of. We are debating giving a more realistic appearance by covering with mortar and brick tiles rubbed with charcoal. Thanks for the plan and for making these holidays special as the kids now believe Santa has a chimney to come down!

Estimated Cost
$80
Estimated Time Investment
Day Project (6-9 Hours)
Finish Used
Minwax botanical green stain with cottage white paint wash
Recommended Skill Level
Beginner

4x4 Truss Beam Table

Submitted by WolffA on Fri, 10/11/2019 - 08:15

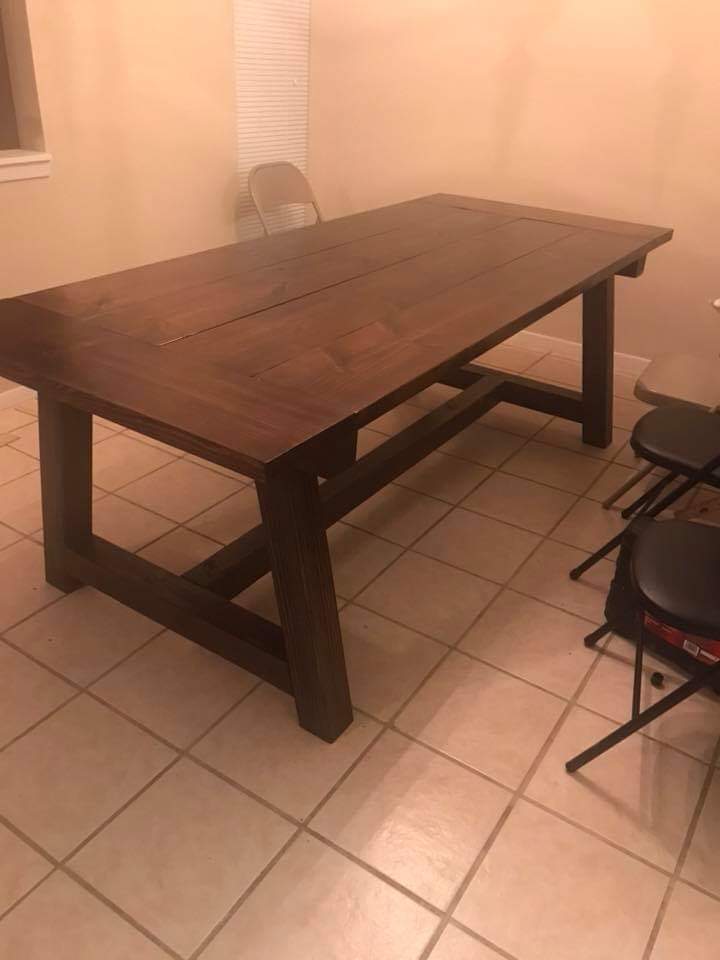
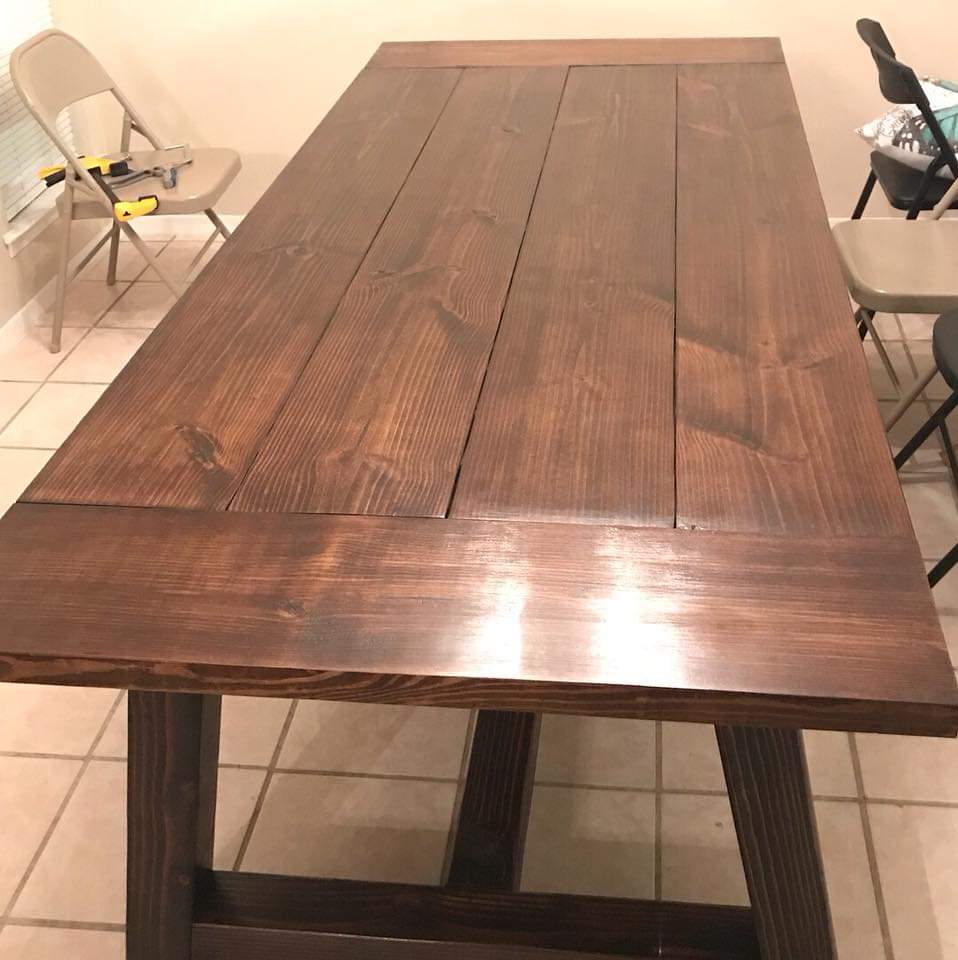
Used Kreg Jig HD screws and pocket holes with glue. Stained in Dark Walnut. 

Built from Plan(s)
Estimated Cost
250
Estimated Time Investment
Weekend Project (10-20 Hours)
Finish Used
Dark Walnut Stain
Recommended Skill Level
Intermediate

Our first project

Submitted by Delilah on Tue, 02/14/2012 - 18:53

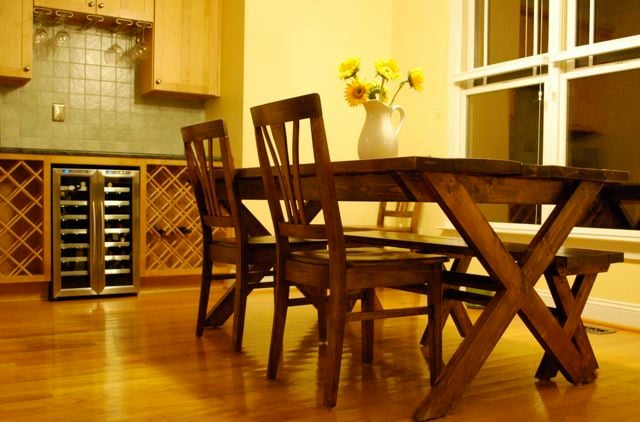
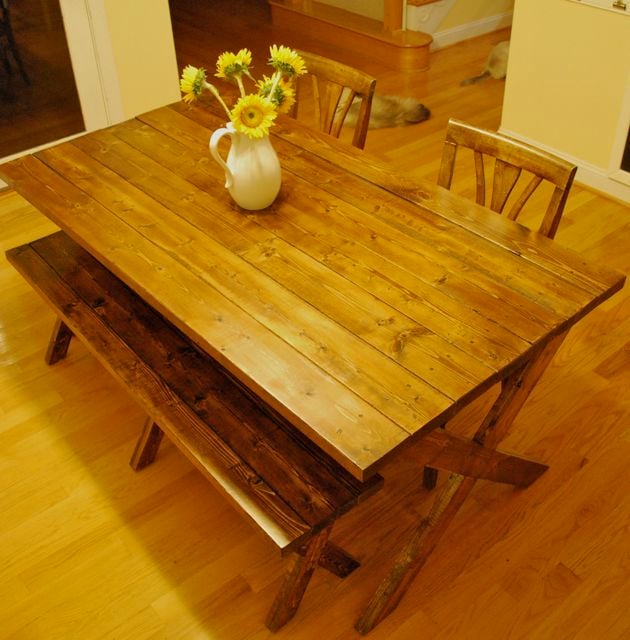
I was looking for plans to build a table like this and found Ana's site.

Estimated Cost
100
Estimated Time Investment
Weekend Project (10-20 Hours)
Finish Used
Minwax Early American and Satin Poly
Recommended Skill Level
Starter Project

Comments

Delilah

Fri, 02/17/2012 - 19:26

I would make the bench first if I could do it again--good practice. You can't fit a lot of people around it but it is good for a small space.

anandereson (not verified)

Mon, 04/30/2012 - 04:55

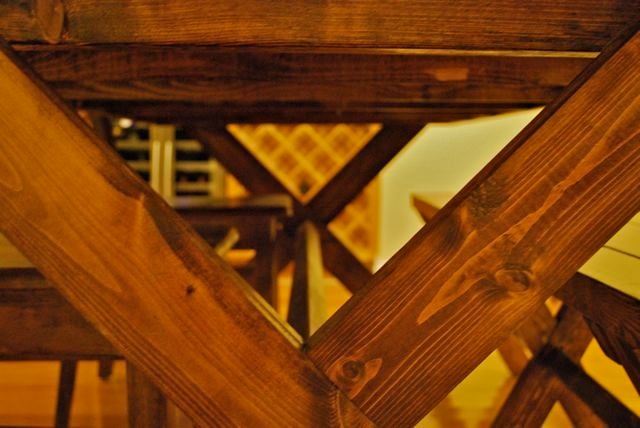
How did you fasten the tabletop to the base? Did you screw it from under and attach along every cross beam? Or screw from the top and fill the holes with putty? All the way across or just on the ends...this step in the directions is very vague...

Shanty Open Shelf Console

Submitted by carongirls on Tue, 12/24/2013 - 07:55

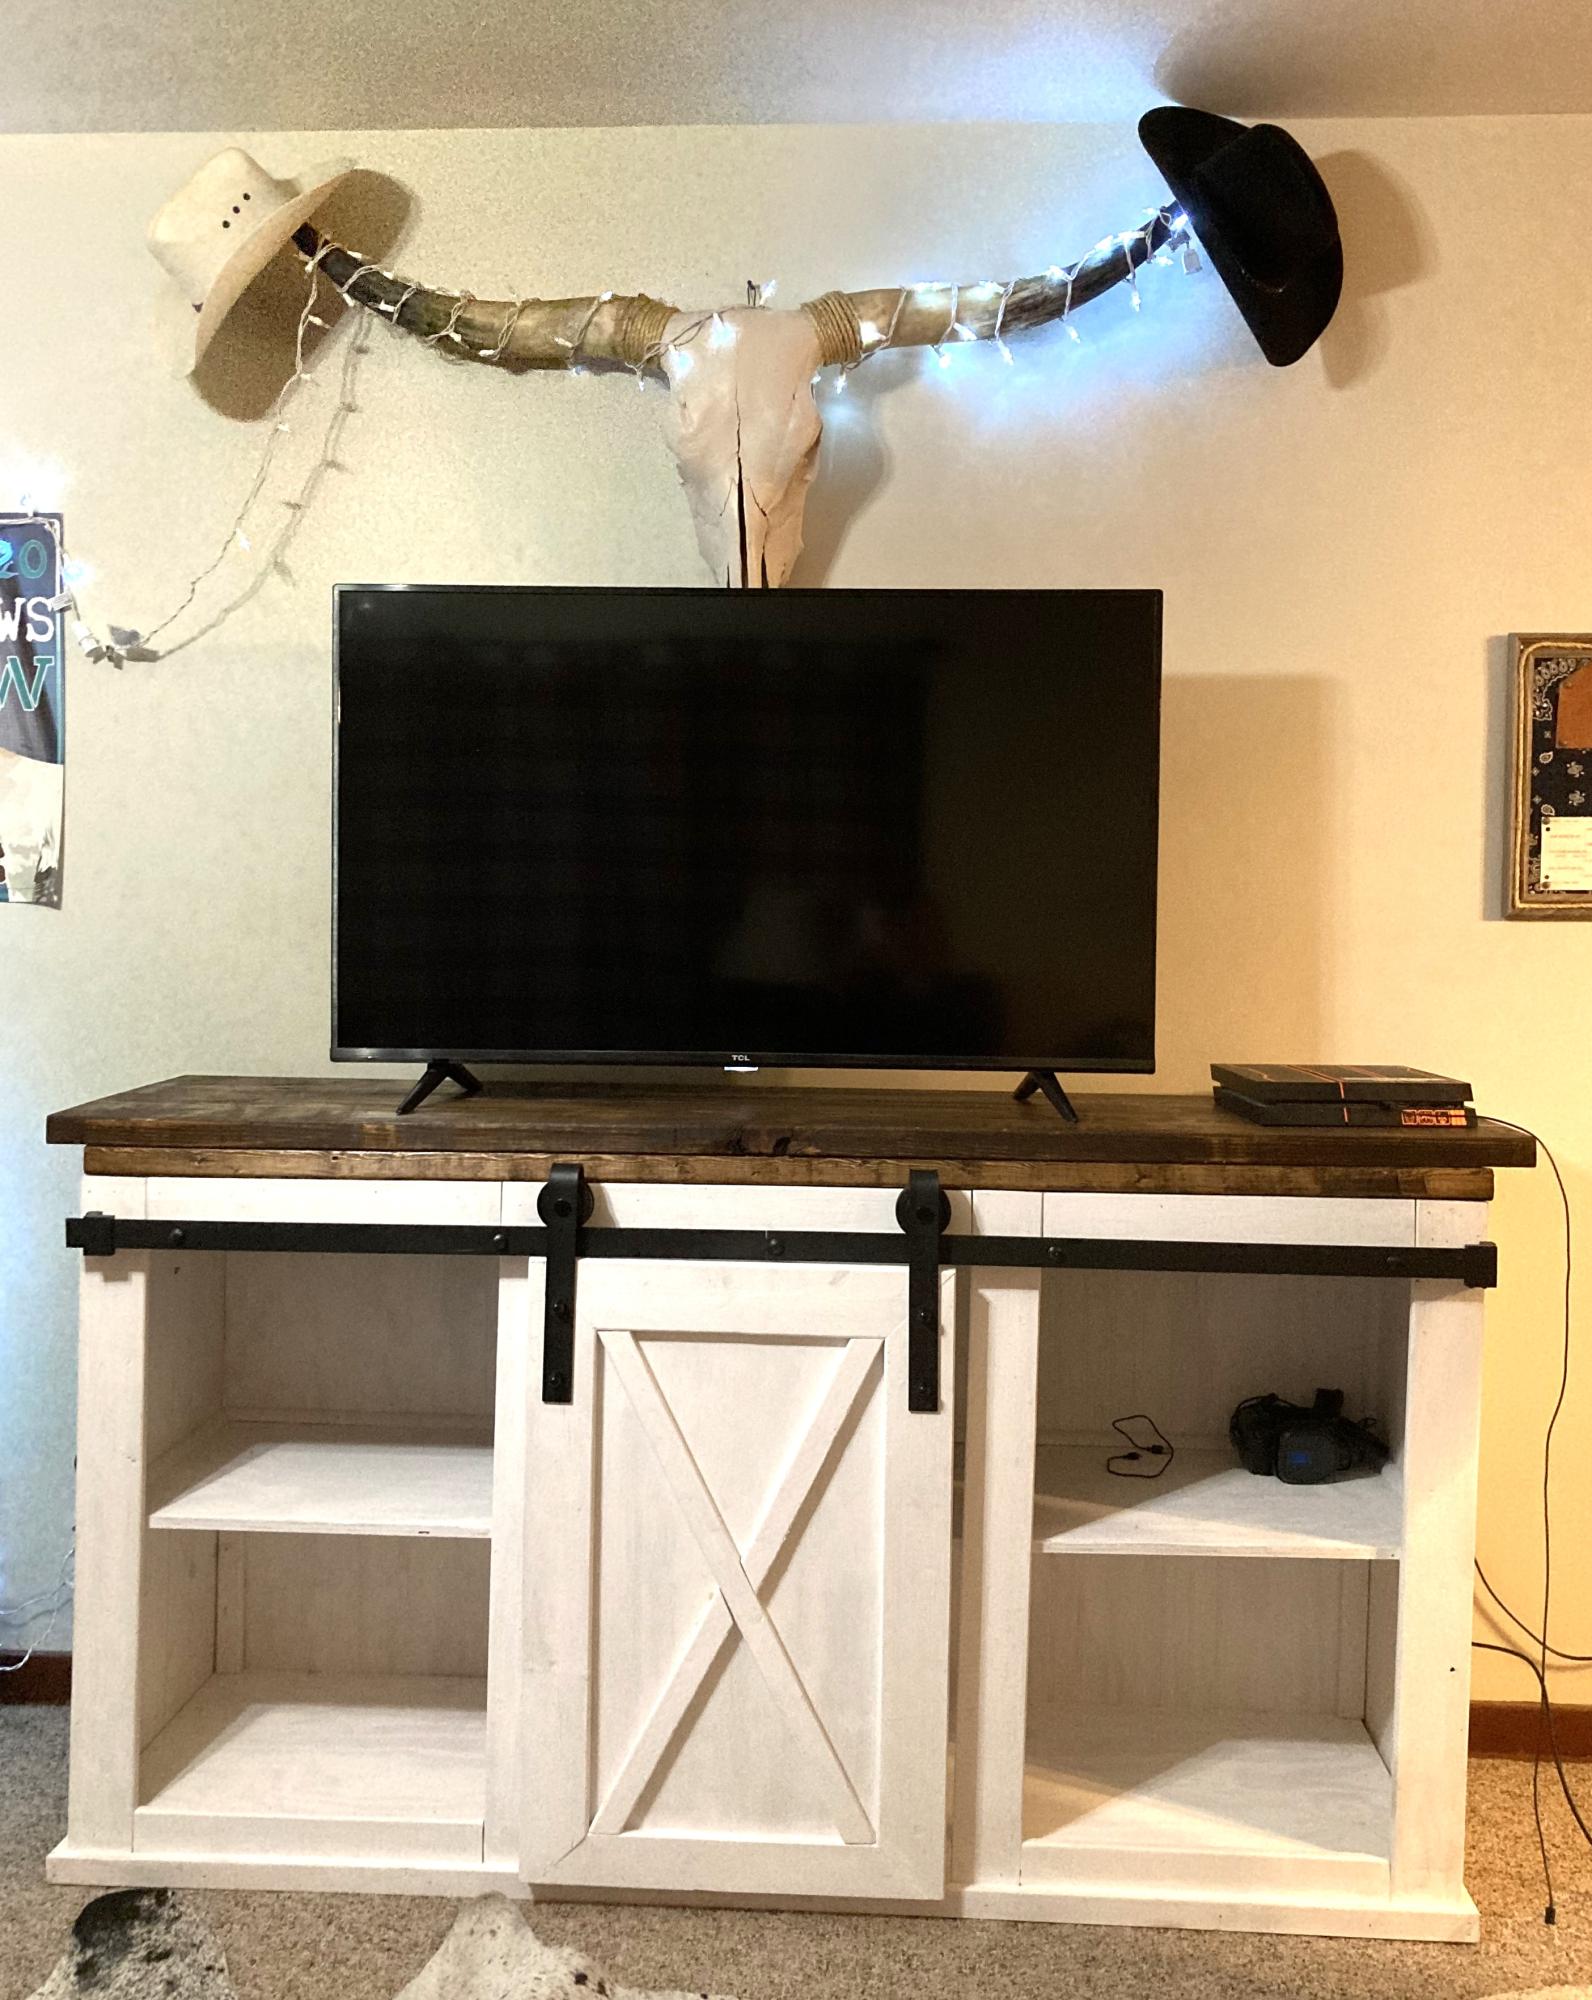
I had been eyeing this for awhile but, doors scare me. This is my daughters Christmas gift. It was a fairly easy quick build.
I am pleased with it.

Built from Plan(s)
Estimated Time Investment
Day Project (6-9 Hours)
Finish Used
Rustoleum Dark Walnut
Recommended Skill Level
Beginner

Comments

Val Manchuk

Tue, 12/24/2013 - 22:24

Doors scare me too, but seeing what a great job you've done encourages me to give it a try. Looks beautiful. I like how the hardware ties in with your choice of stain. Nice work!

Val @ artsybuildinglady.blogspot.ca

carongirls

Wed, 12/25/2013 - 10:21

The measurements for each door is a bit different because I wasn't careful with the trim. I used shims on all sides of the door to keep it straight and spaced to attach the hinges. Big plus is they open and close :-)

Bench

Submitted by Anonymous (not verified) on Sat, 03/05/2016 - 10:35

This is a first time project that my husband and 11 yr old on made. 

Estimated Time Investment
Weekend Project (10-20 Hours)
Finish Used
Entryway or bedroom.
Recommended Skill Level
Starter Project

bird Feeder

Submitted by Anonymous (not verified) on Mon, 10/14/2019 - 02:52

Bird feeder aksed by my mother. I used rest of IPE wood used for a deck. The thickness is a little big! 22mm but its strong and 30years waranty :) I changed a little bit the dimensions to convert in mm.

Estimated Cost
0
Estimated Time Investment
An Hour or Two (0-2 Hours)
Finish Used
not necessary this wood very smooth
Recommended Skill Level
Starter Project

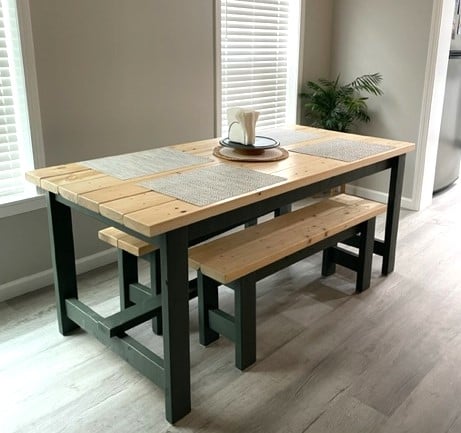
DIY Famhouse Table

Submitted by Anonymous (not verified) on Wed, 07/05/2023 - 08:24

I used the farmhouse table plans, with a few modifications. I made two benches to go along with it. This was my first big wood project and I'm pretty proud of it. My daughter bought her first home and needed a table custom sized to her space so this was perfect. I love all of Ana's plans, so easy to follow.

Farmhouse bed king modified

Submitted by susanr on Tue, 02/21/2012 - 06:40

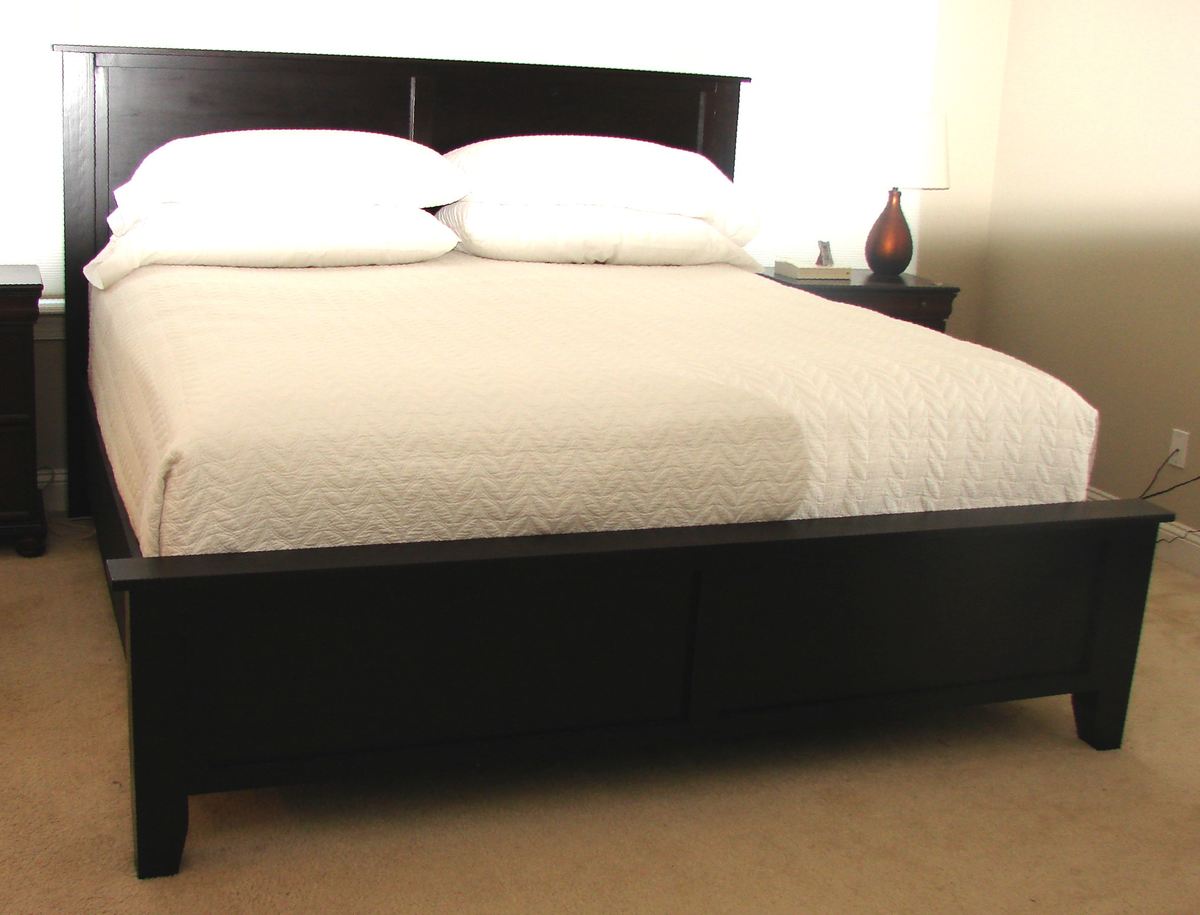
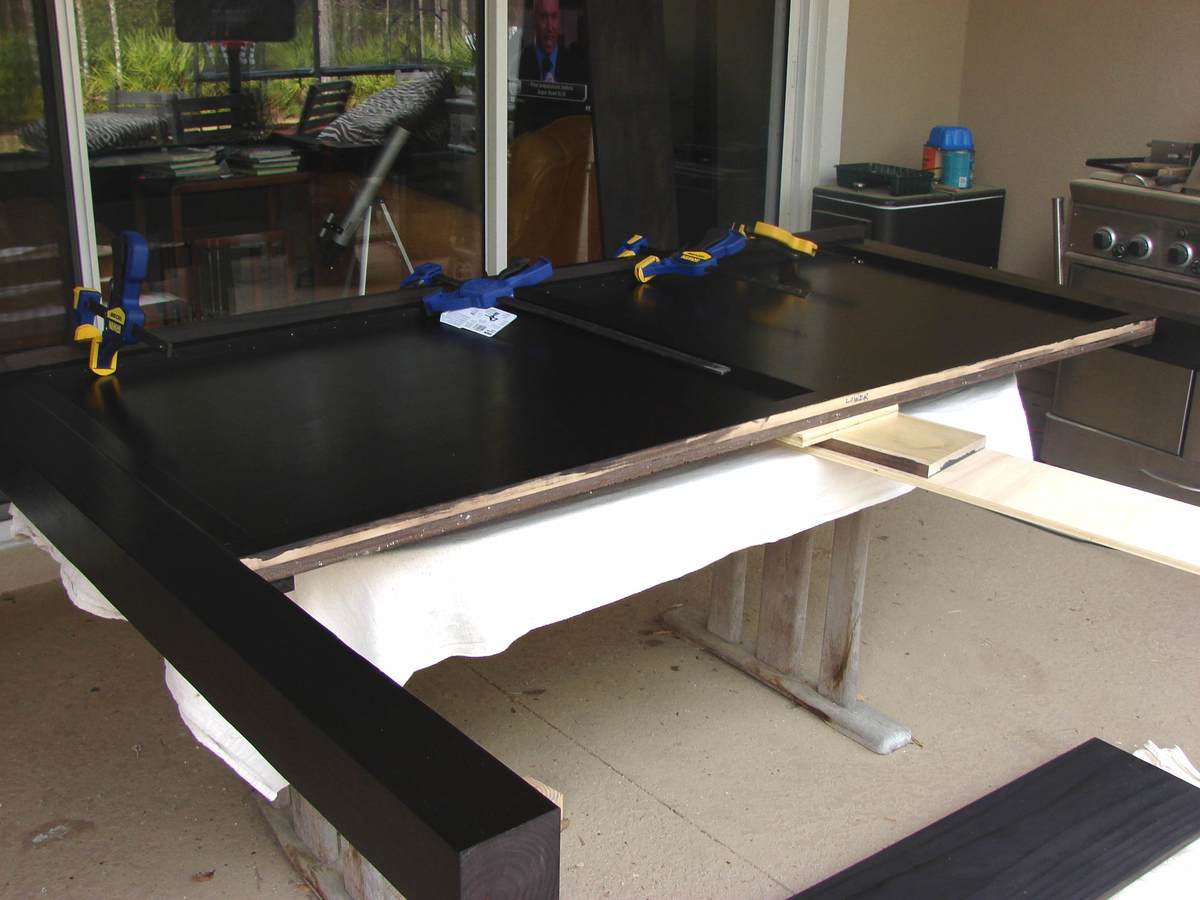
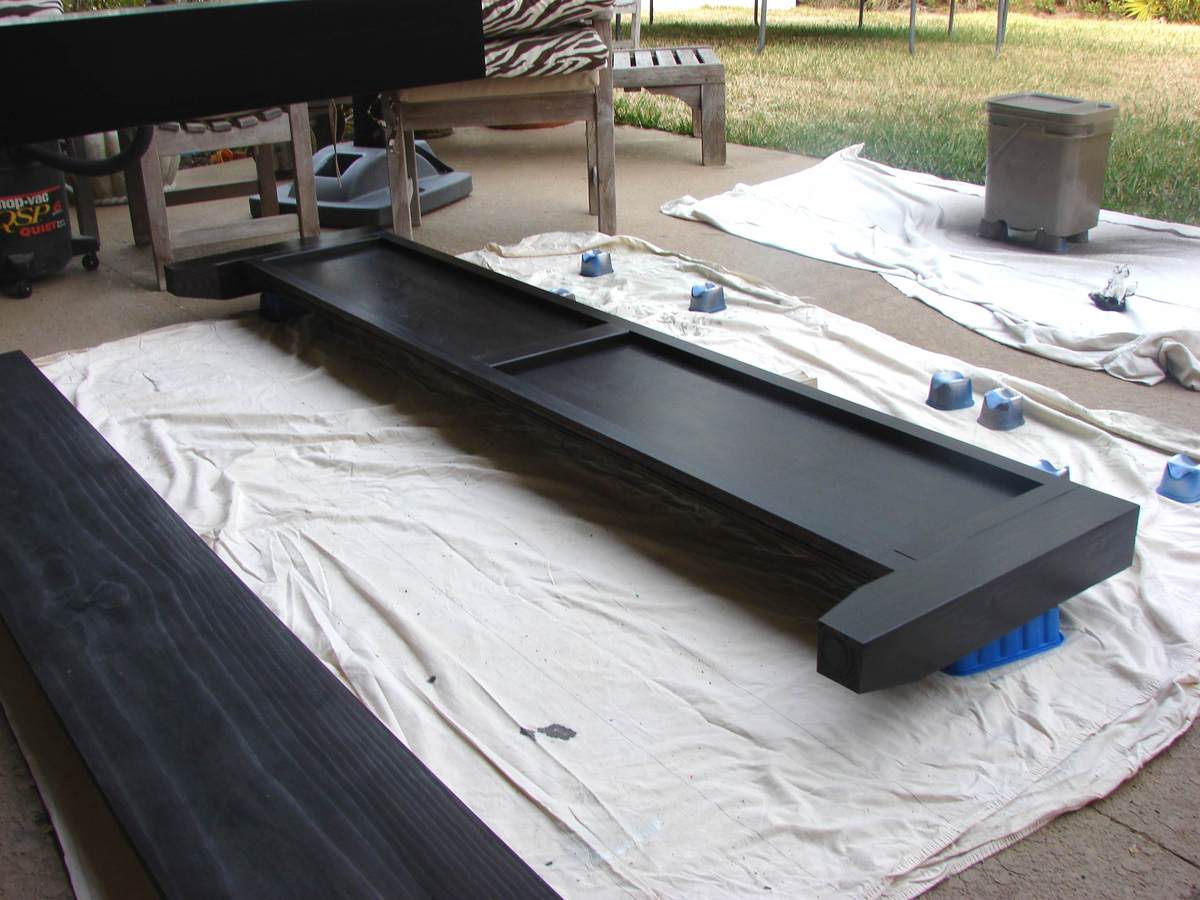
This is a modification of the Farmhouse bed with a panel headboard and footboard rather than individual boards. It currently fits around the mattress/boxspring/metal frame. When we buy a new mattress, we will then add the joists, etc.

The headboard and footboard are both 72" wide. We had the guys at blue do a rip cut at 72" which ensures that both pieces are exactly the same measurement (for square.) Then, they turned the plywood a quarter turn and cut at 15" for the footboard. This left a 33" high headboard. It is 3 inches larger than the original plan, but it doesn't require a second cut and you don't see it anyway. The trim is just a 1x3 with a 1" overhang. (I might make it just a 3/4" if doing it again.)

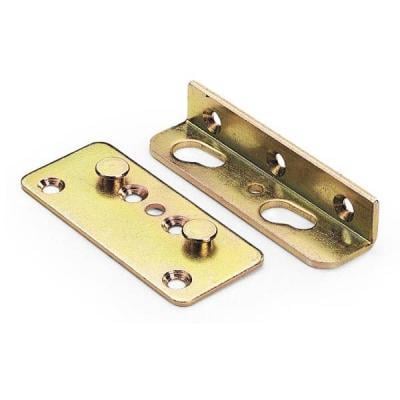
The side boards are 1x12 cut at 80 1/4", but you may want to add a little if your comforter is really thick or if your mattress is much longer than ours at 79 1/2". We used non-mortised (no cutting into the wood) bed rail hardware from Woodcraft, so we could easily take it apart. These were placed 1 1/8" in from the inside edge of the 4x4 post. They were placed on the very edge of the side rail so it would butt up against the post. The 1 1/8" gives us plenty of room to shove the bedding down inside the side rail.

We glued and nailed 1x2s from the back for the trim on each piece.

Estimated Cost
about $190, but you could save $17 by not spilling an entire can of dye/stain on yourself when you foolishly open your completely full pressurized sprayer
Estimated Time Investment
Weekend Project (10-20 Hours)
Finish Used
General Finishes dye stain in Dark Brown; polycrylic - 3 coats; prefinished all the wood before assembling.
Recommended Skill Level
Beginner

Comments

Kate (not verified)

Wed, 02/22/2012 - 05:18

Looks beautiful! We are currently making this bed with the exact samce change to use panels instead of boards and then one board down the middle, except we made our footboard and headboard higher.
susanr

Wed, 02/22/2012 - 07:32

I would love to have the footboard higher, but my husband is 6'4" with large feet, and he asked that I make sure that he could sleep on his stomach with his feet dangling down without touching the footboard! We actually measured it. Make sure you post yours when it is done.

C.Lang

Wed, 02/22/2012 - 20:40

This is a beautiful bed. It is actually pretty much the exact bed i want to build for me and my wife.

sandrabees

Sun, 04/29/2012 - 16:47

I am wanting a king... love the farmhouse plan and I think that hardware is the way ij want to go. Is that where you can slip the side rails in and out of the headboard and foot board?

Back