Community Brag Posts

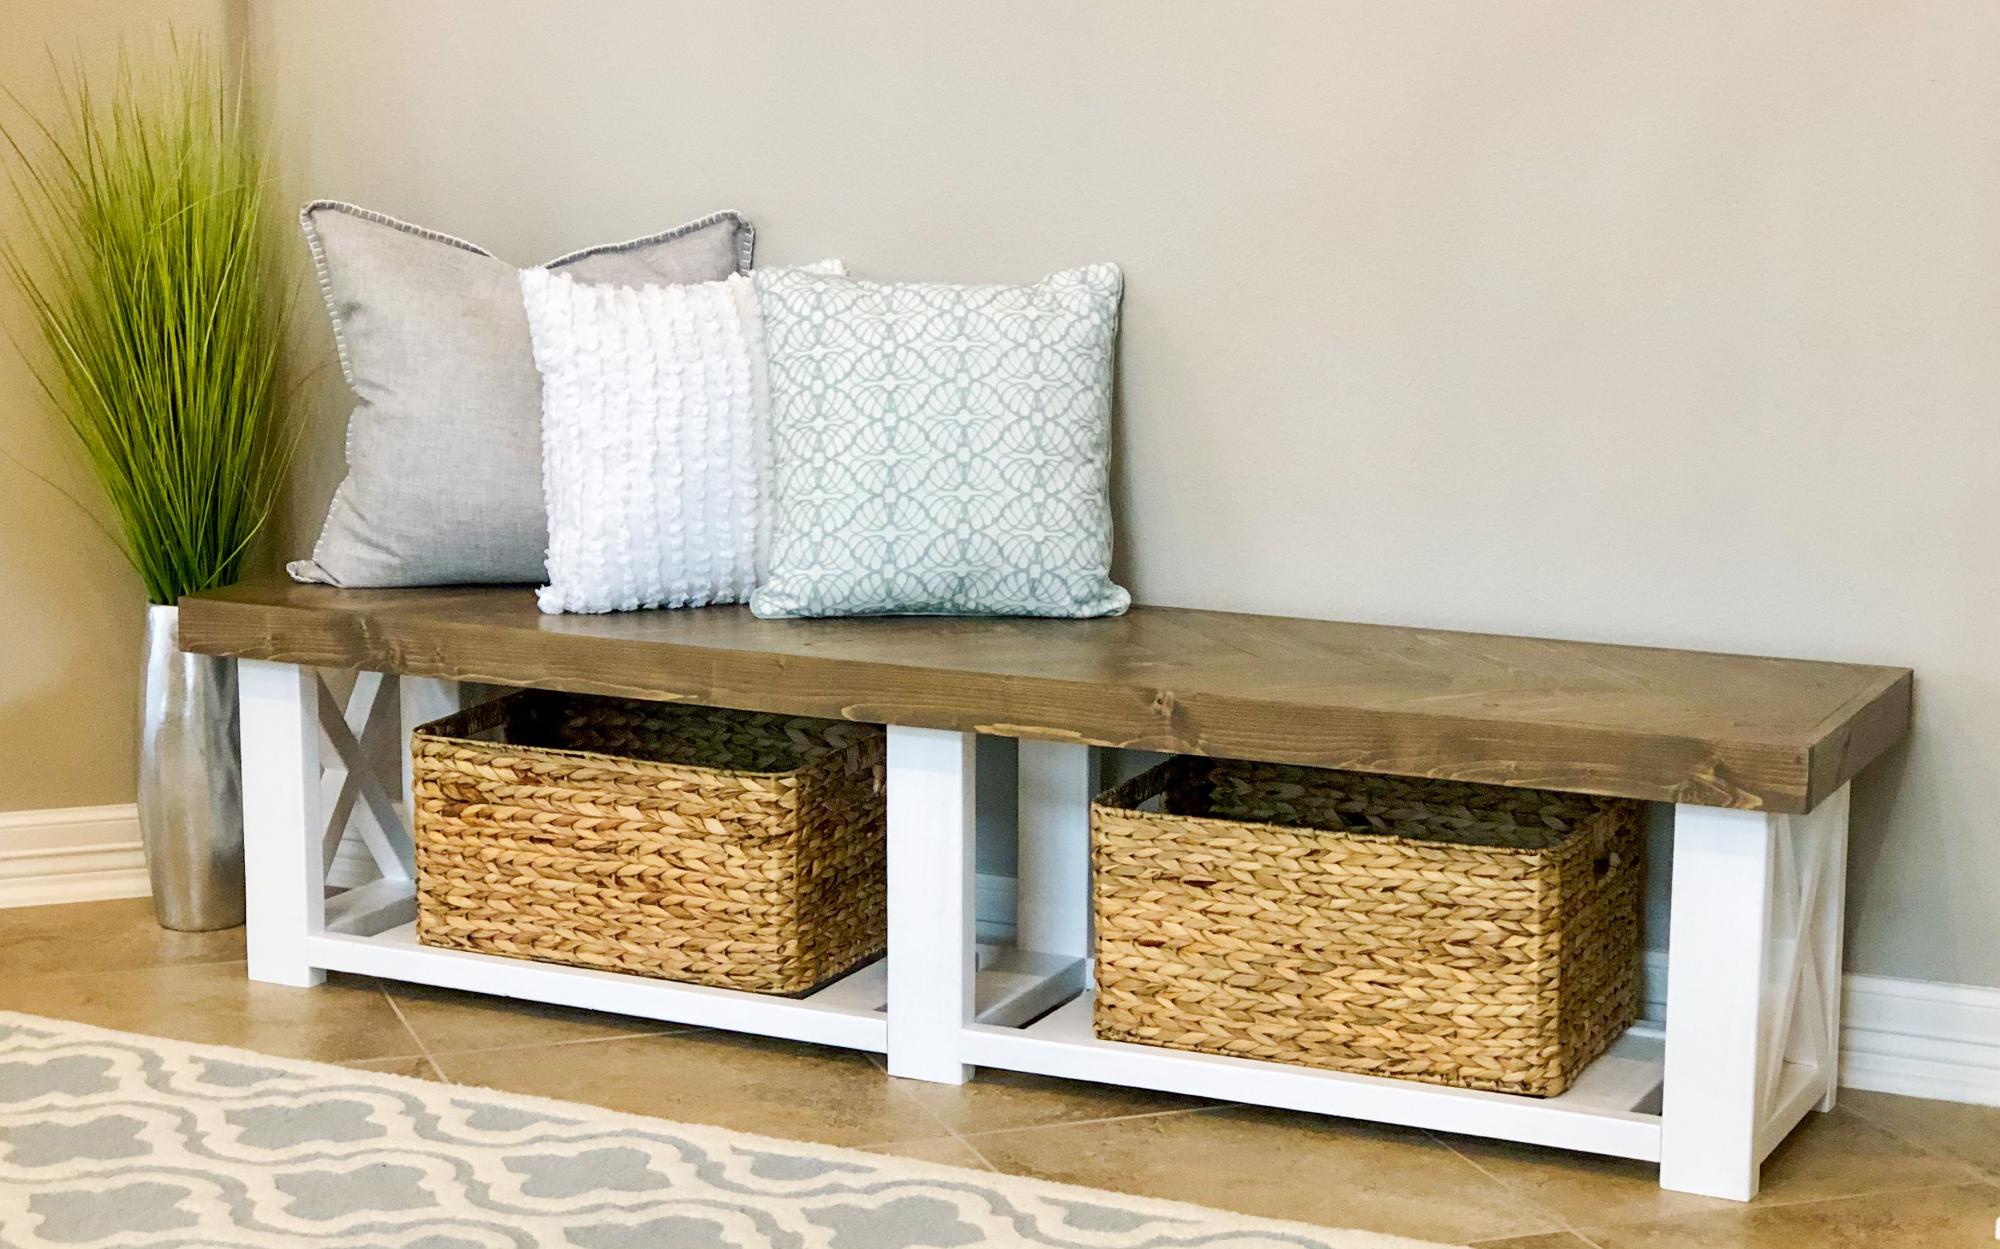
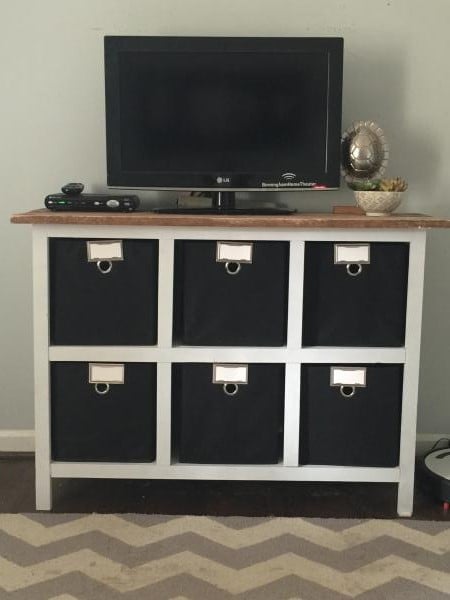
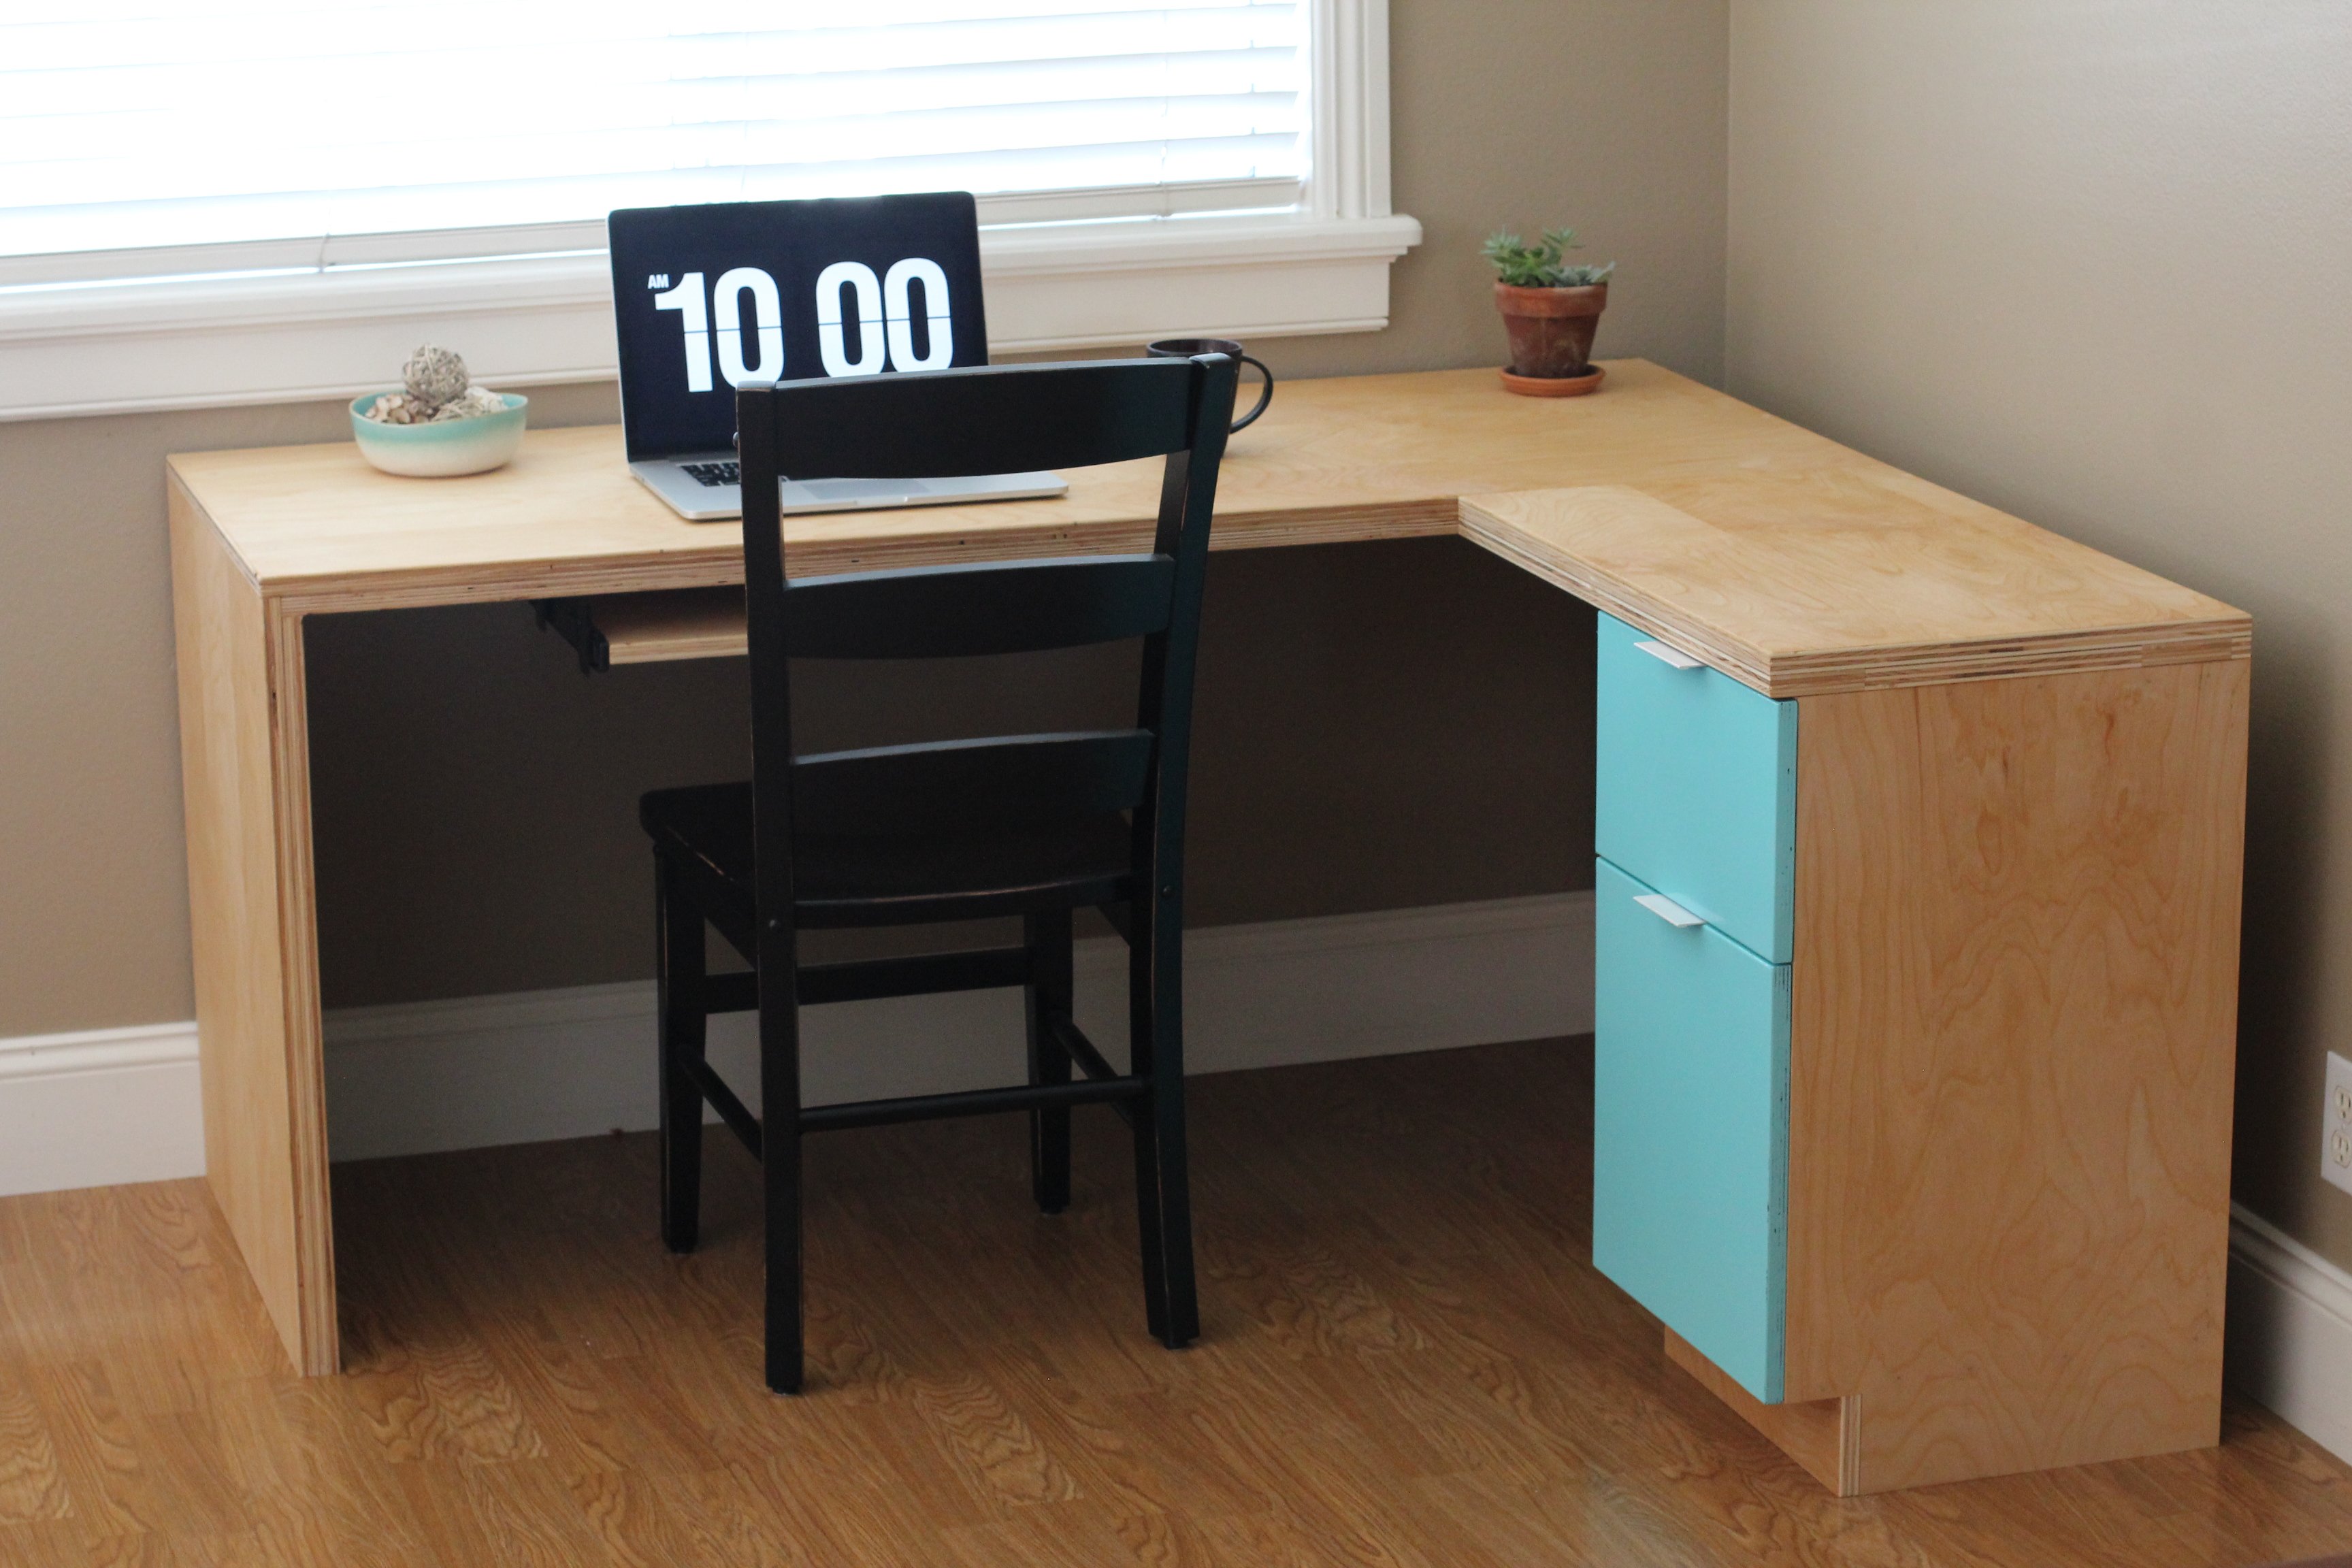
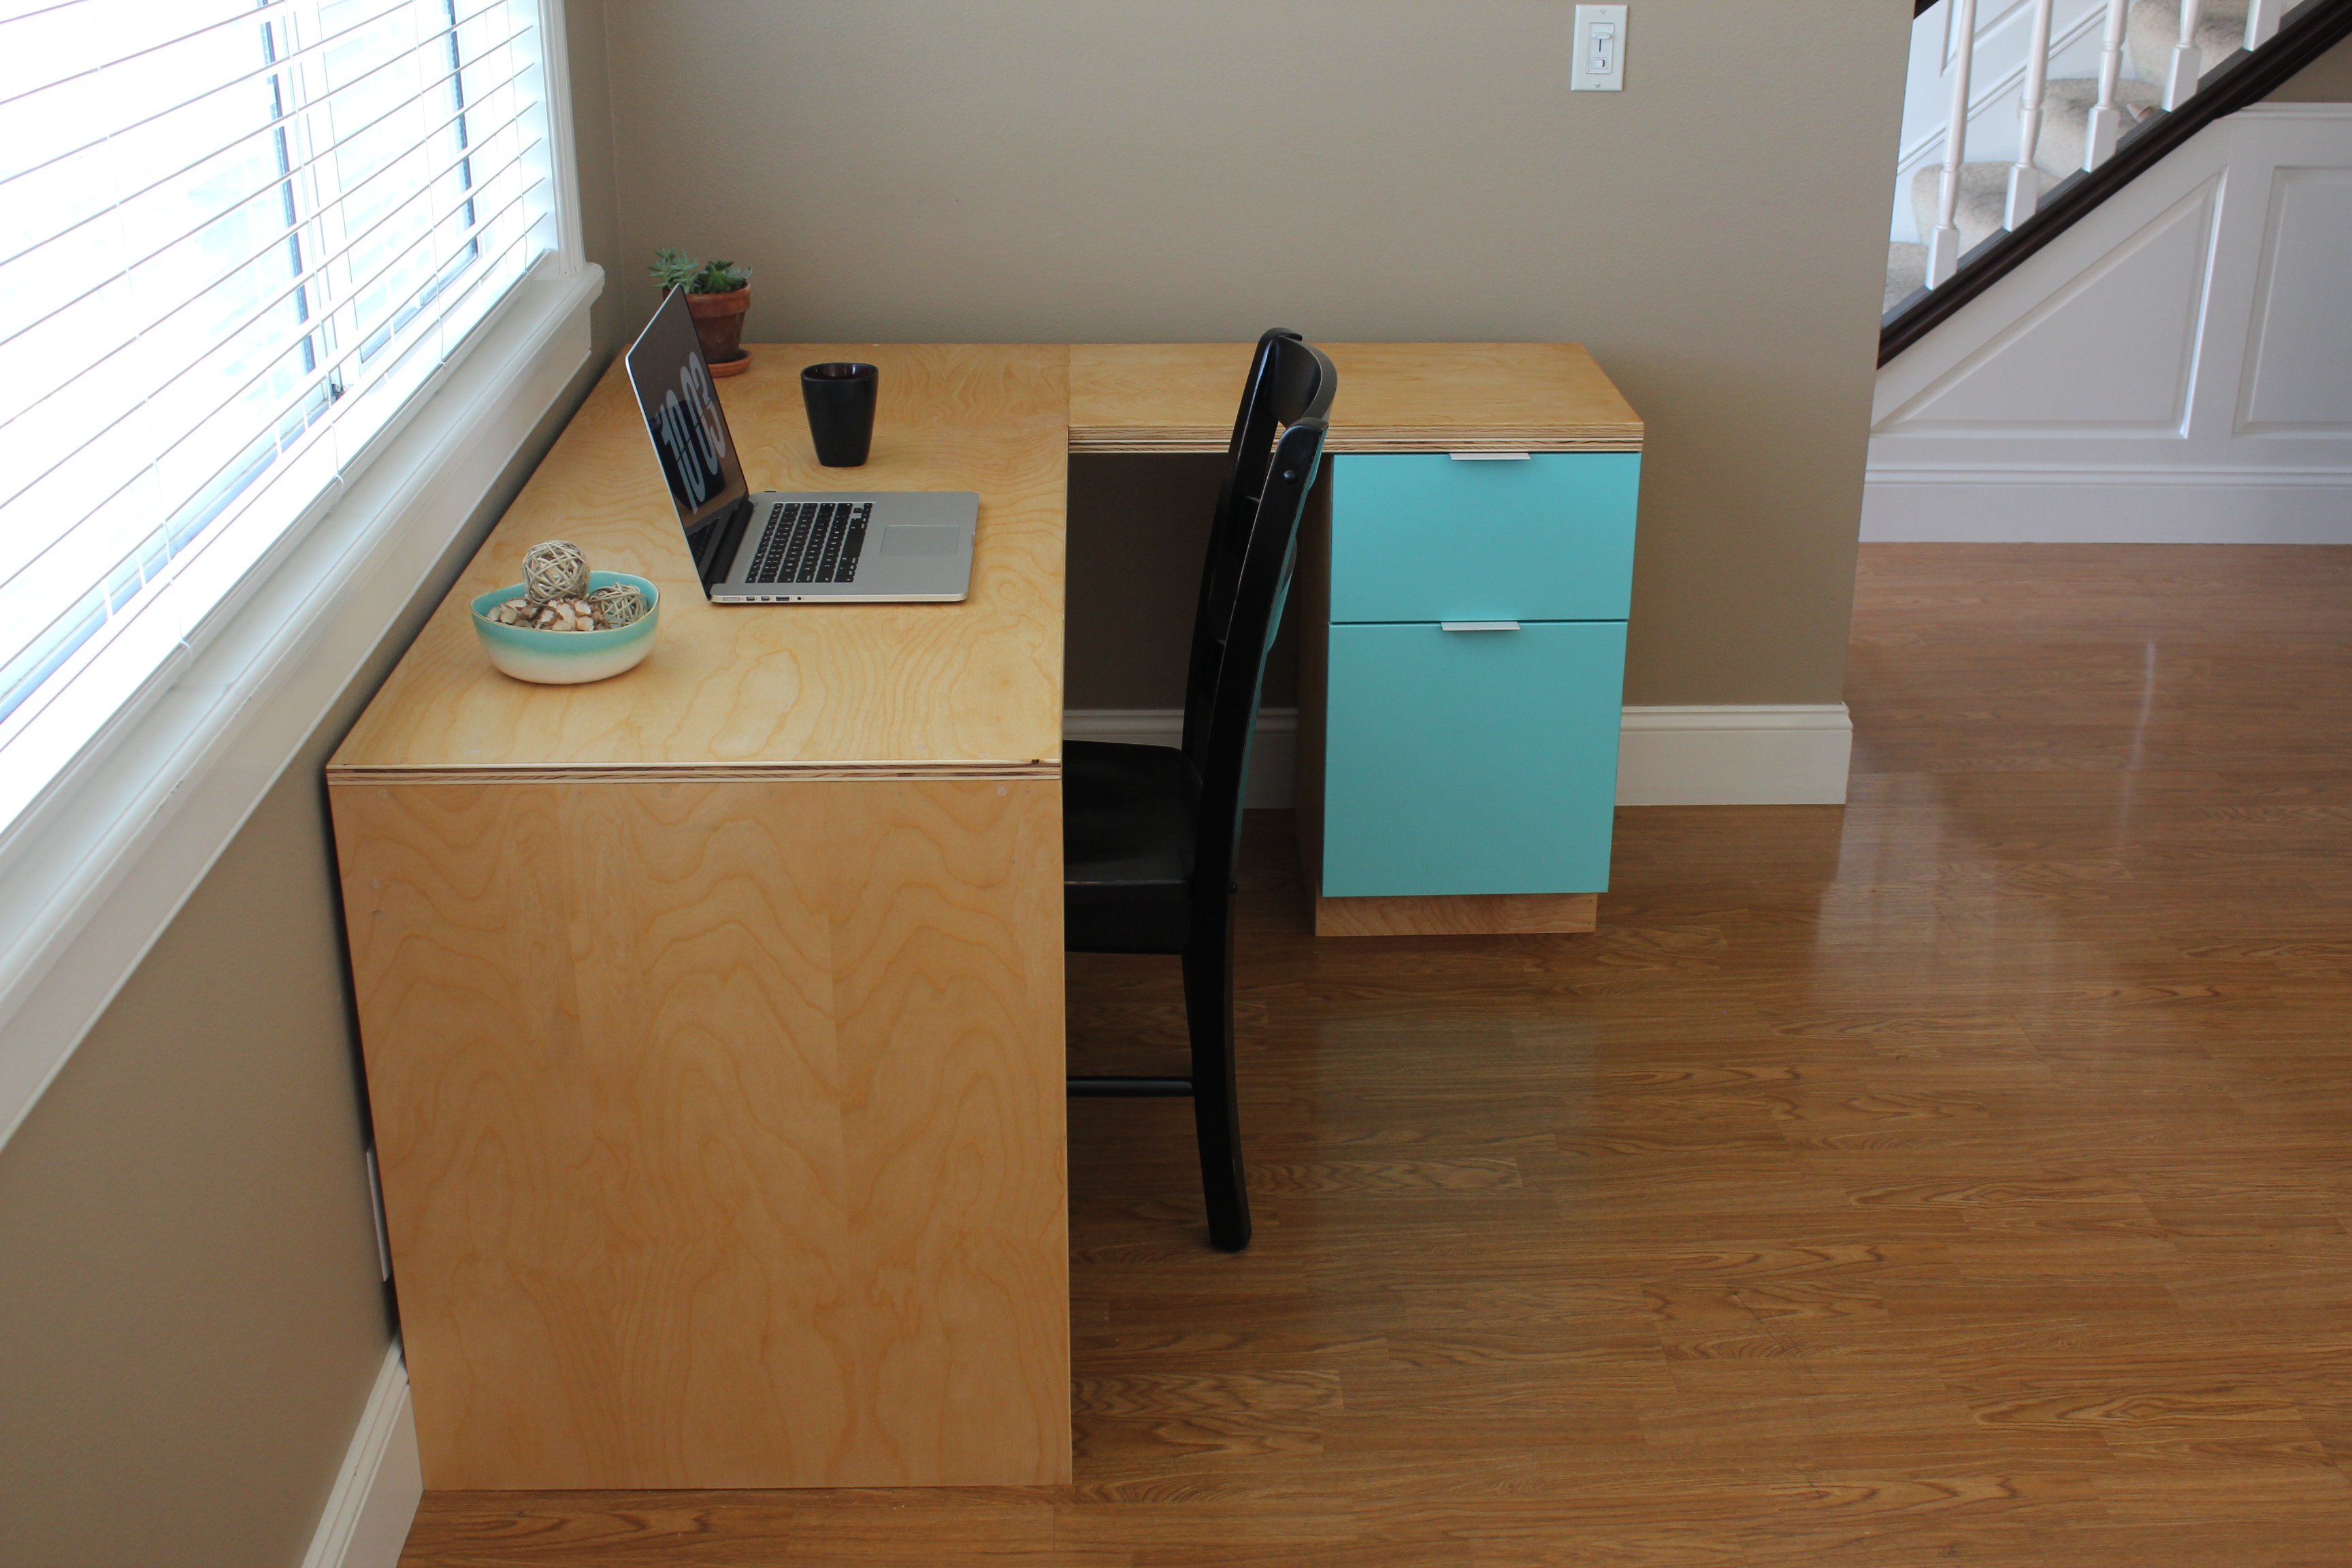
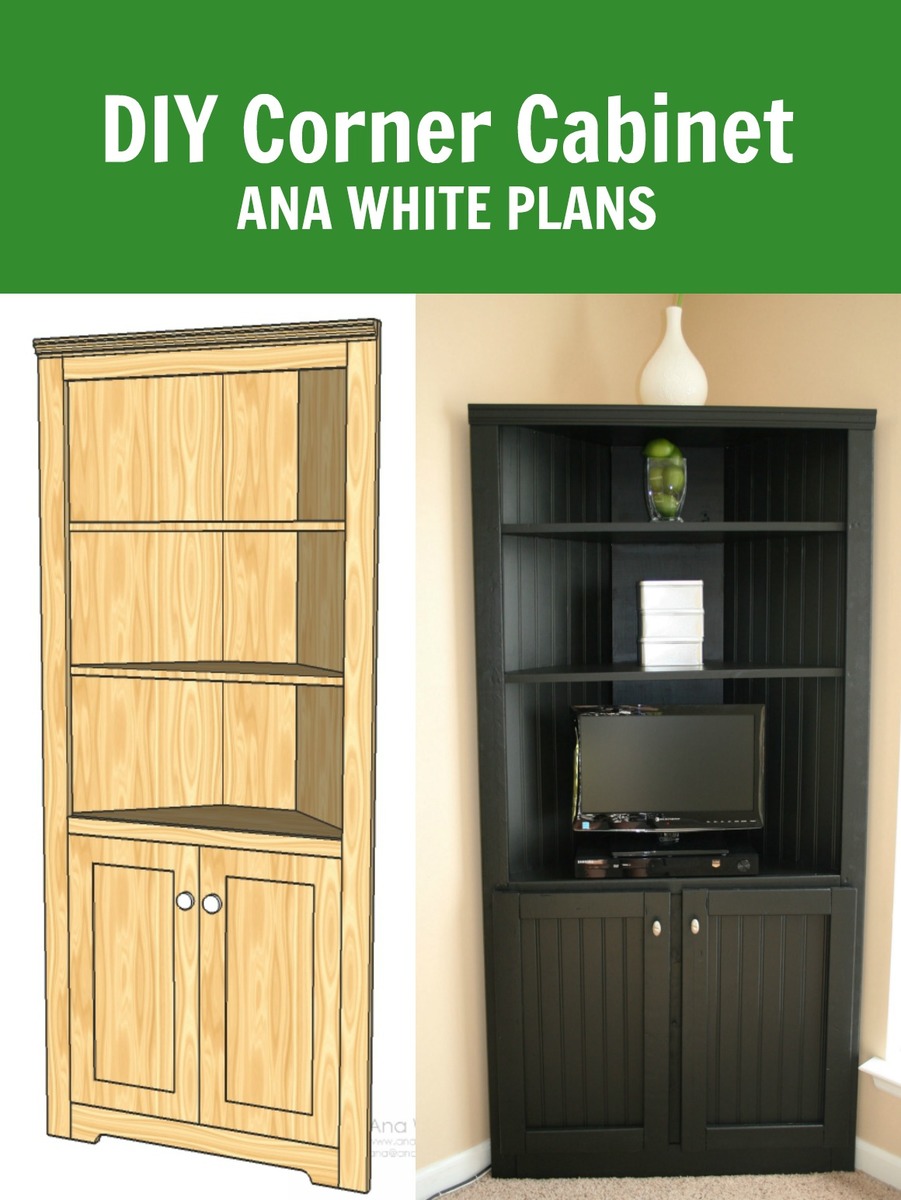
My new sewing table!!

Submitted by sattaway on Sun, 02/19/2012 - 20:46

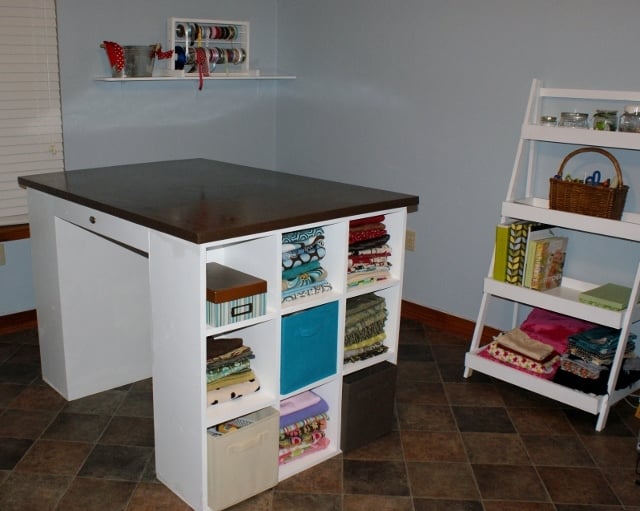
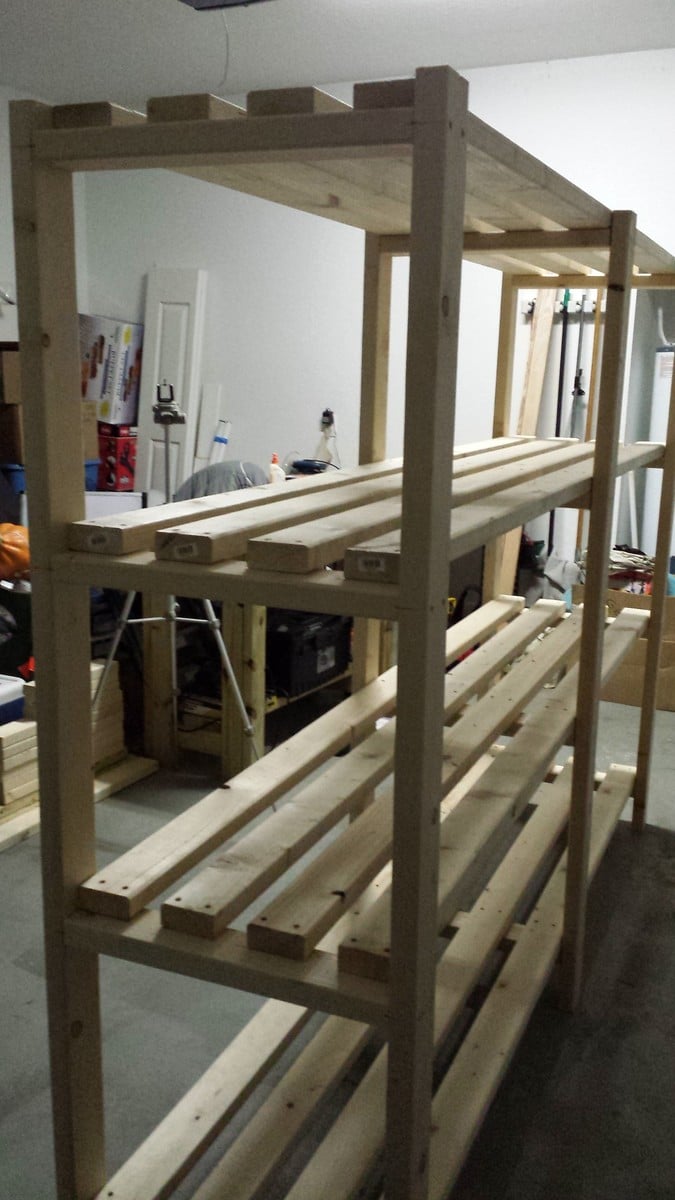
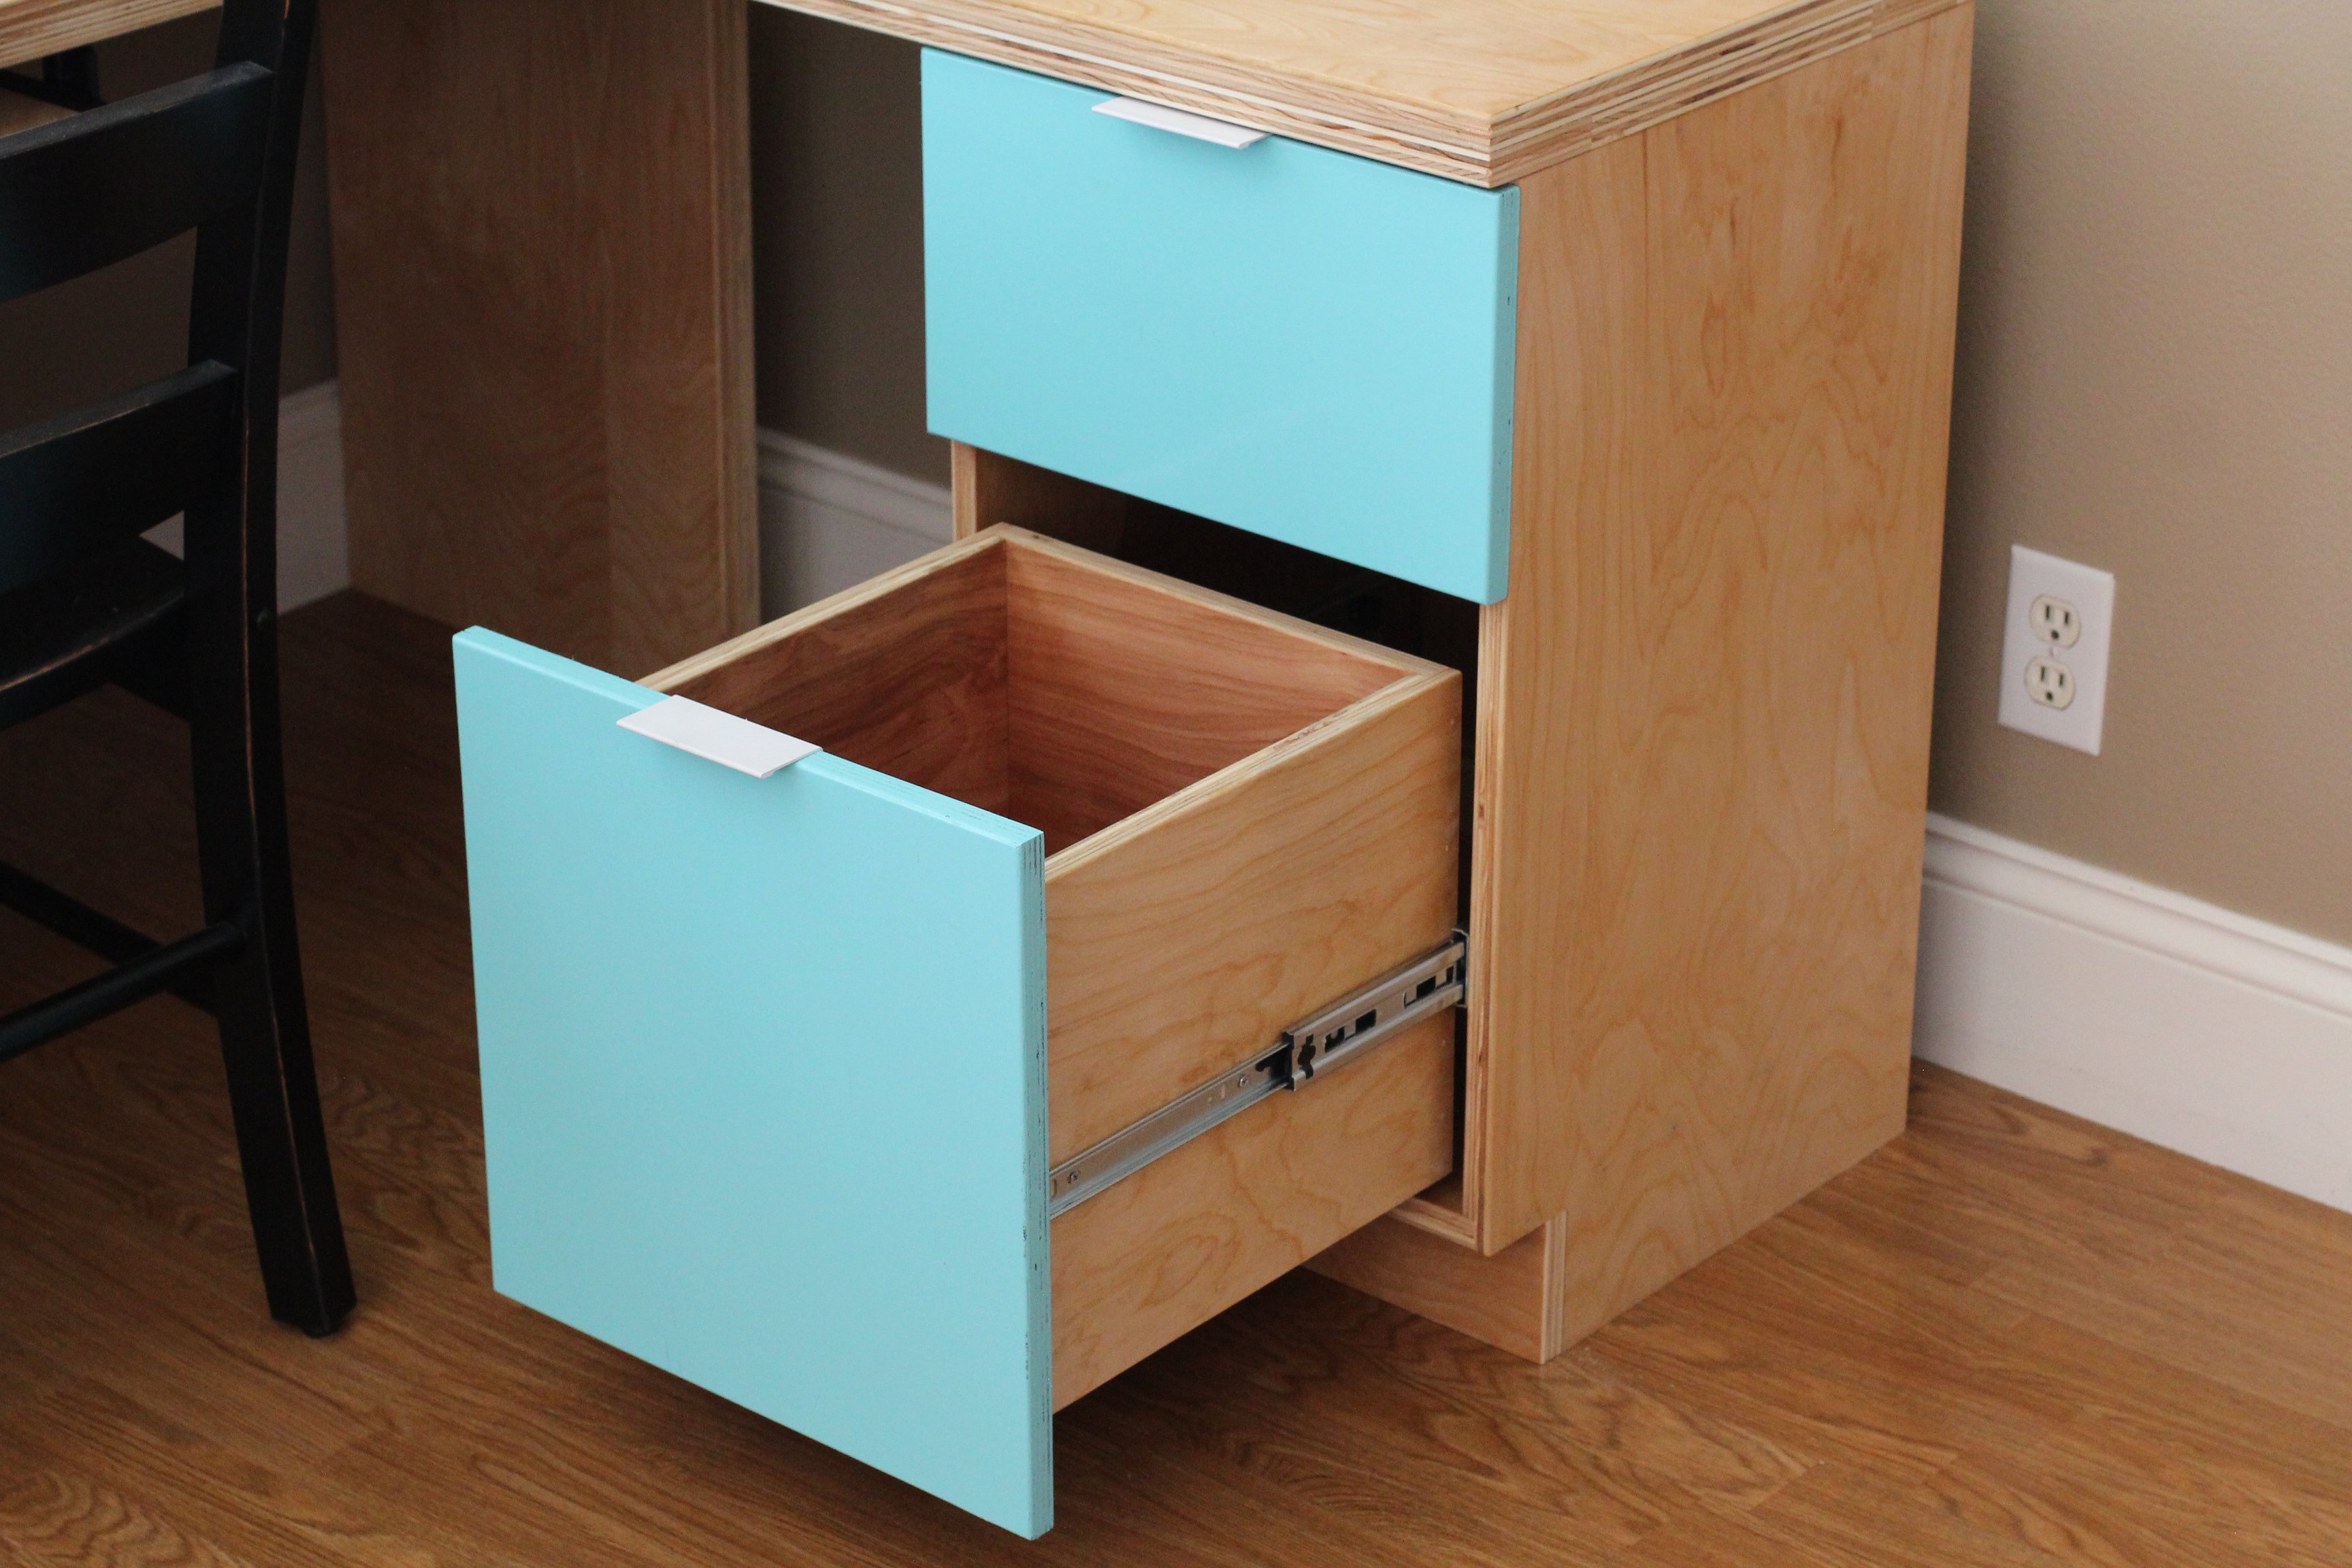
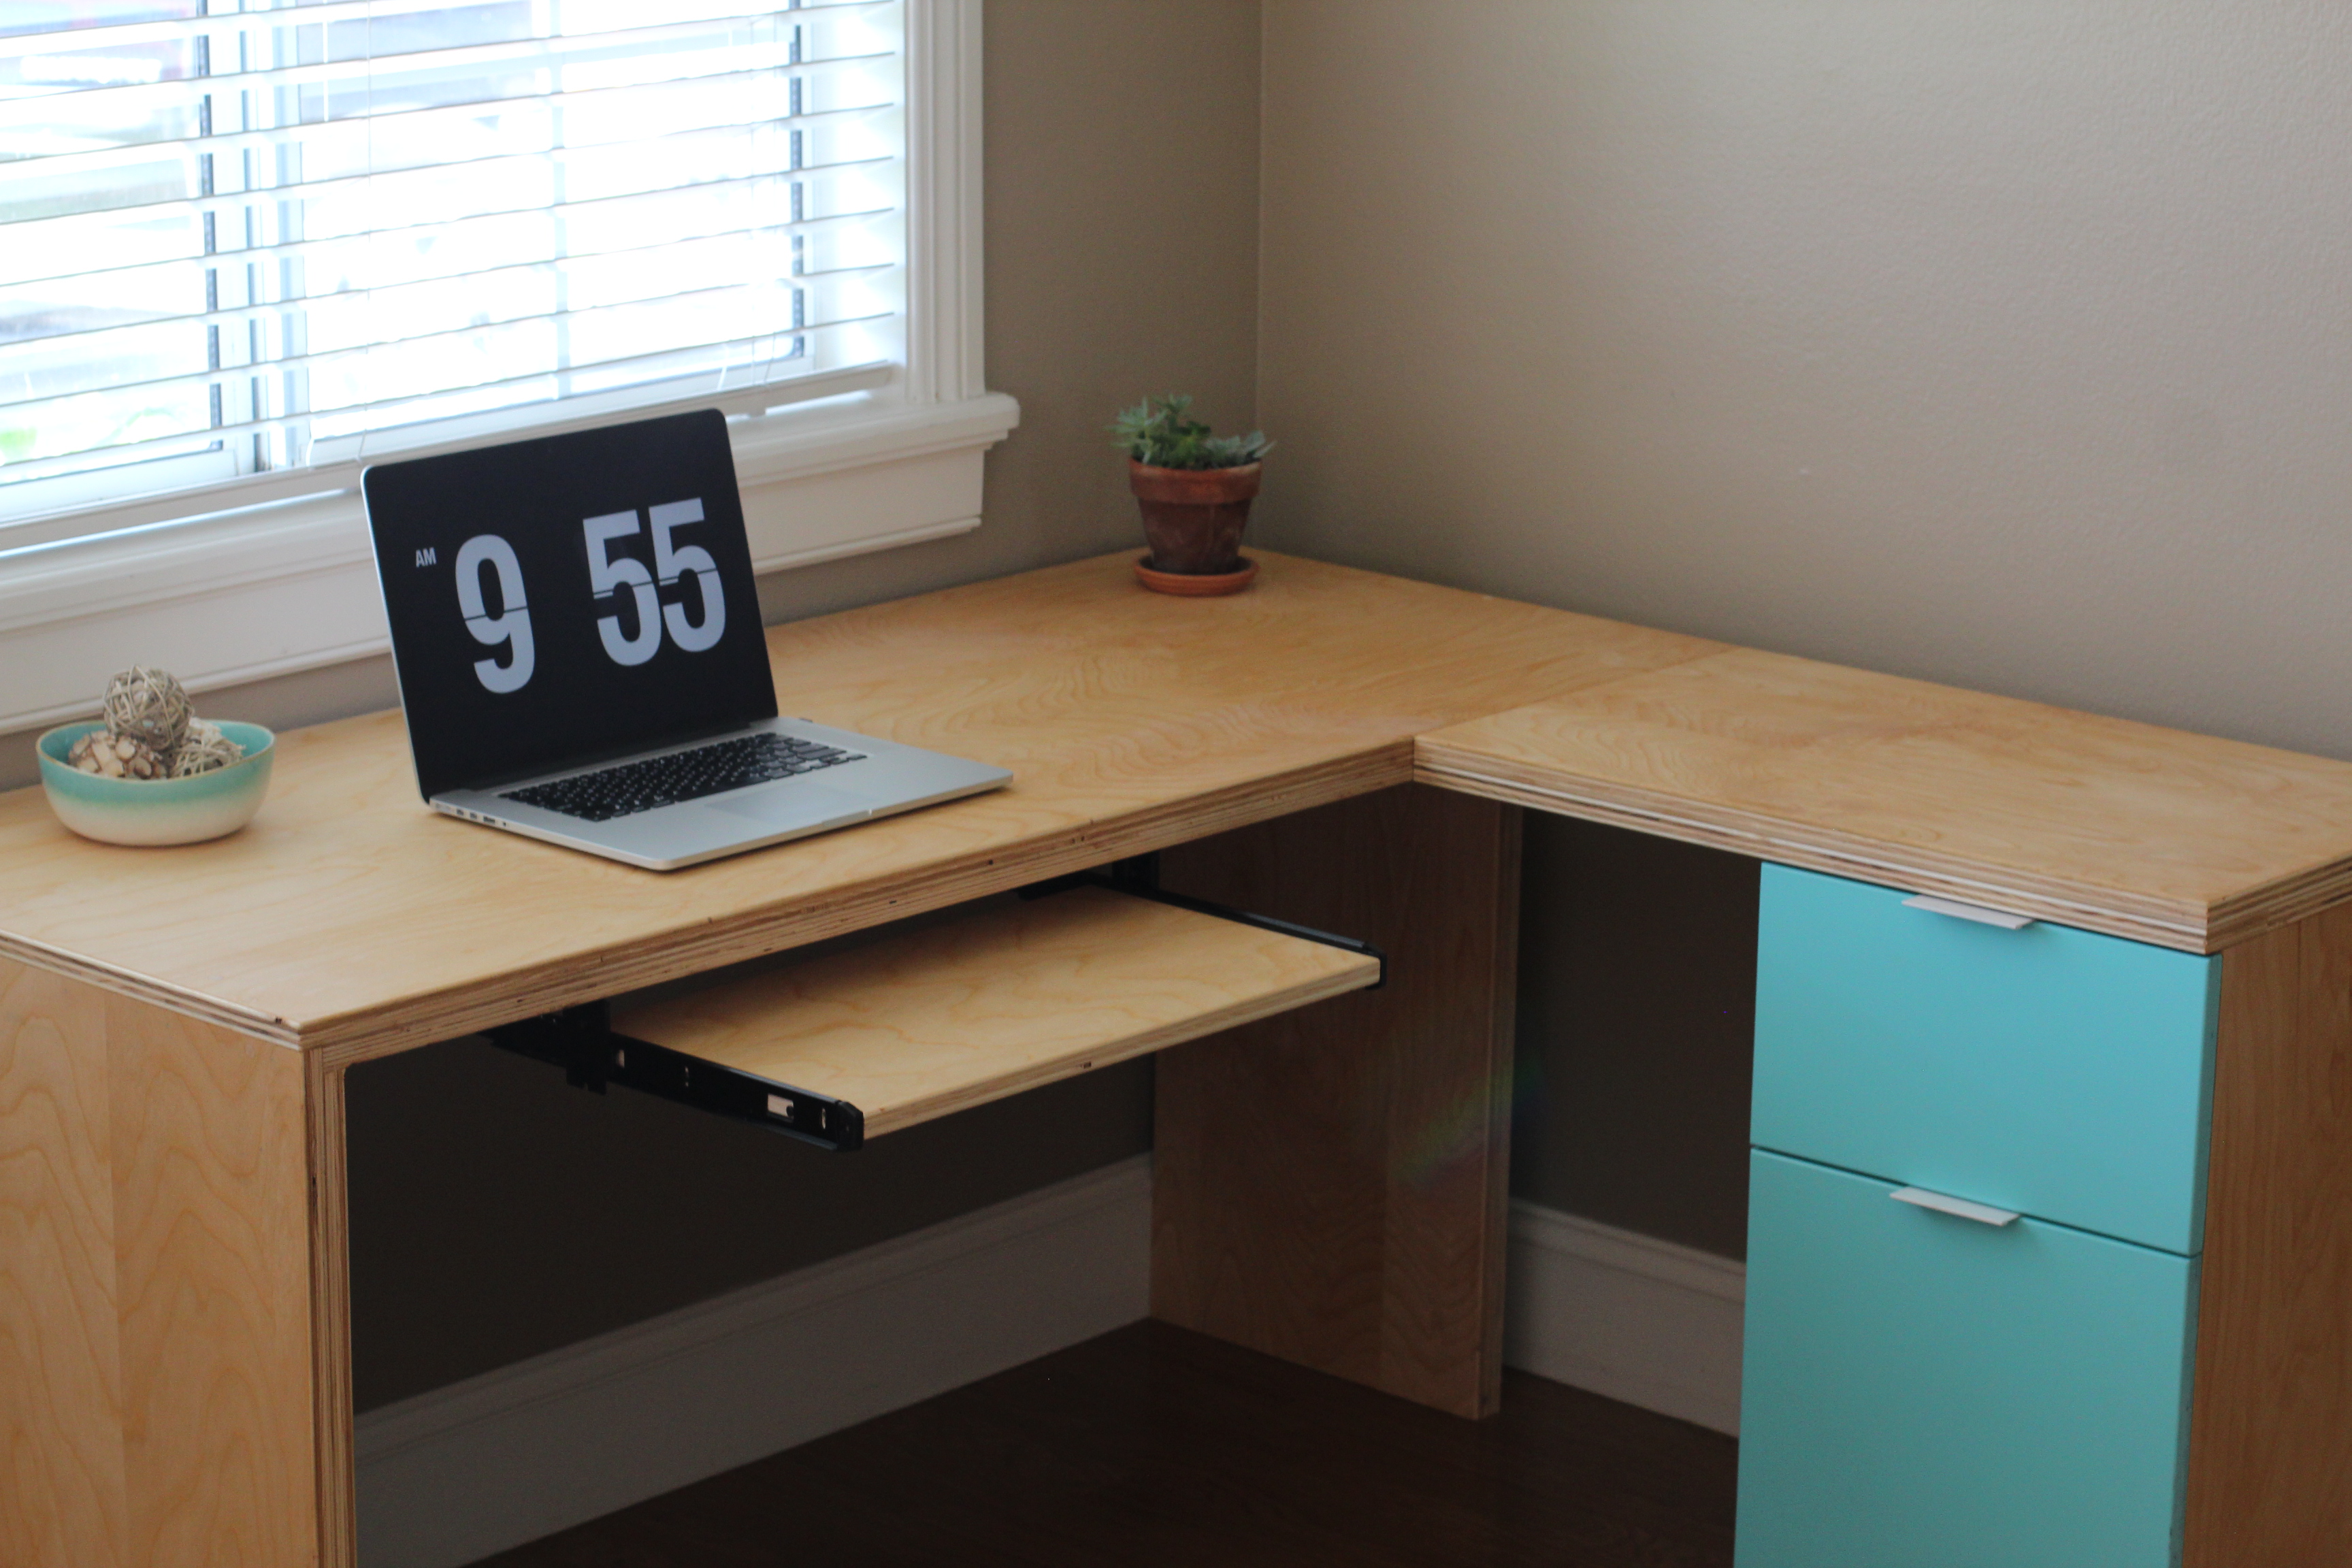
I consider this my first build...notice the ribbon rack and painter's ladder shelf also in the photo. Those were just confidence boosters to help me tackle the craft table I've been asking my hubby to build me for years. I just got tired of waiting, and decided to give it a try. With a 2 and 6 year old in the house, this took me a few weeks to complete...building during nap time and forgoing sleep on some evenings just to get it done. :) The drawers were by far the trickiest part of the whole thing. My first attempt was with 16" euro side mount slides, and I couldn't get the drawers in because they are inset under the tabletop. I ended up going with just a regular side mount drawer slide ($4.30 per drawer). The bookcases and the drawers are just your standard white cabinet paint, but the tabletop is finished in Martha Stewart's Potter's Clay textured paint (Hacienda) with a top coat of polyurethane. I also made the table top twice as thick by gluing 2 pieces of plywood together and screwing them together through the bottom piece. The height of the table is perfect for cutting fabric...no more backaches from bending over a table to cut fabric. I can't wait to move on to my next project! :)

Estimated Cost
$150
Estimated Time Investment
Weekend Project (10-20 Hours)
Recommended Skill Level
Beginner

Comments

Sandie

Mon, 02/20/2012 - 14:28

Great job! I love it when women finally figure out that they CAN build! Everything looks great!!!!

Tall Wood Planters

Submitted by Knuckles78 on Fri, 05/15/2020 - 05:27

Added some extra trim pieces to finish it out. turned out really nice!!

Built from Plan(s)

Comments

Seasonal And Holiday

DIY Greenhouse Project -Added elevated raised beds & temp/humidity control

Submitted by Anonymous (not verified) on Sun, 07/05/2020 - 09:09

We loved this greenhouse plan from AnaWhite and wanted to be able to grow in 3 seasons so we modified the design to include humidity & temperature control & 18" deep elevated cedar beds inside with 4x4 posts for support and trellis option. We added electricity in order to have a lighted workspace and the ability to put in a circulating fan to control mold and fungus. We added 2 work tables (2x2') on the inside of the door left and right side door in order to do seed trays & store supplies. This was a wonderful project for my husband and my plants inside are doing incredibly well compared to my outside garden beds here in zone 5. Products used:

Foundation
We had a landscape company come and scape/dig a platform and then fill/compact with crushed rock
My husband then used rebar driven into a 4x4 frame in order to secure the frame to the ground and create a base upon which to build the greenhouse

Active ventilation
AC Infinity Cloudline T8 Inline duct fan
Air king range hood wall cap 8" on the bottom outside of the greenhouse wall for air intake + flex 8" duct to the fan itself
Shelter logic autovent automatic shelter vent kits (1 on each side of the front wall) in order to allow air intake from the bottom back of the greenhouse under the elevated beds to flow to the front of the greenhouse and out
Circulating fan- Hurricane wall mount fan 16" - this fan has 3 speeds with tilt function and small mounting bracket

Soil - sourced 3 yards of 50/50 loam/compost from local landscaping supply
60% loam
30% organic compost
10% organic topsoil + perlite

Soil beds
-cedar frame 2 feet wide along sides, 3 feet wide on the back wall
-galvanized metal roofing with holes drilled into it for drainage
-landscape cloth lined

Built from Plan(s)
Estimated Cost
$2000
Estimated Time Investment
Week Long Project (20 Hours or More)
Finish Used
None
Recommended Skill Level
Intermediate

Comments

bushy99

Wed, 09/09/2020 - 13:09

Thanks for that update! I was wondering how to vent this project, as Green houses need the ventilation. Good to know dollar amount also. Great photos.

bushy99

Wed, 09/09/2020 - 13:09

Thanks for that update! I was wondering how to vent this project, as Green houses need the ventilation. Good to know dollar amount also. Great photos.

bushy99

Wed, 09/09/2020 - 13:09

Thanks for that update! I was wondering how to vent this project, as Green houses need the ventilation. Good to know dollar amount also. Great photos.

Wishing Well Planter

Submitted by RobKelly3 on Sat, 03/16/2013 - 16:57

This is a wishing well I made for my sister for her wedding. It will be used during the wedding for people to drop "wish you well" cards into and afterward she can use it as a planter in her yard.
I followed ideas from multiple plans here on Ana-White.com, but I didn't follow any specific plan. Mostly I followed tips and instructions for cutting angles, drilling pocket holes and some finishing tips. This is the first "big" project I've done and I"m quite proud of it.

With everything, it measures 44.5 inches high. The well measures 21 inches across and 15 inches high. The roof measures 22.75 inches by 23.75 inches.

I hope y'all like it. I worked hard on this! :)

Thank you, Ana and everyone who contributes to this site. It's been so much fun and I've got lots of ideas for more stuff. If I was any good at all at Google Sketchup I'd put up the plans but I'm not. If anyone could help me with that, that would great. :)

Have a great day!

Estimated Cost
about $100
Estimated Time Investment
Weekend Project (10-20 Hours)
Finish Used
Olympic Maximum Stain and Sealant in One, Semi-Transparent, in Oxford Brown. Use 2inch stain brush. Used 100, 150, and 220 grit sandpaper before staining.
Recommended Skill Level
Intermediate

Comments

bellows86

Mon, 07/21/2014 - 20:04

Anyway you can please tell me the angle for the boards ont the walls. I reallly like your well, and would like to build this for my wife but im not sure on what angles to use thank you

Laundry Pedestal

I took this plan from www.Ana-White.com Home Depot cut my wood and I was off and running. I added a few ball feet on the bottom to give it a little pizzaz. I felt so accomplished after my first project... especially after the install guys told me it wouldn’t fit and it DID and it was level. I’m getting ready to make a coffee table now. Thanks for the inspiration, confidence and help!!

Estimated Cost
$150
Estimated Time Investment
Afternoon Project (3-6 Hours)
Finish Used
Satin Furniture paint
Recommended Skill Level
Beginner

Fenced-In Walkthrough Garden

Submitted by jmholzma on Fri, 04/29/2022 - 17:08

Used the Garden Enclosure plan as a reference, but wanted a much bigger area to walk through and relax in. Dimensions are about 30'x20'. Took a few months with a break for winter because it was just me working in spare time on weekends, would have gone a lot faster with an extra set of hands. Towards the end realized that drainage in the walk path was going to be an issue so I put in a very basic french drain before I weed fabric and mulched.

Really happy with how it turned out. Cost was pretty high, probably about $1500 all told, between wood, garden soil, etc. But we'll be able to enjoy it for many years.

Built from Plan(s)

Comments

Six cube shelf

Submitted by Anonymous (not verified) on Sat, 02/20/2016 - 12:06

Really fun project. My dividers were a little off, but for kiddo storage- it's not too shabby. Bins were on sale at target. Because I trimmed the whole case out in 1x2s- 11x11 was the size I needed. The labels were extra, but totally worth the cost in my opinion. Loved this project and love the organization it brings!

Built from Plan(s)
Estimated Time Investment
Day Project (6-9 Hours)
Recommended Skill Level
Beginner

Two Story Rabbit Hutch

For my first woodworking project, I foolishly decided to build a rabbit hutch without plans for my daughters new Easter Bunny. So I literally scratched some ideas on my wood working bench and started going to work. I did some construction over a decade ago, but never attempted to build any furniture before, so I'm pretty happy with how this came out.

I spent a few days researching various rabbit cages and for our place we needed something that was ascetically pleasing and functional as it was going in our living room. I got some ideas from the web and decided the best thing for us would be to have an entry ramp, 2 sets of barn doors for each level (for easy cleaning) and an open roof. We went with linoleum floors since she's already litter trained. The floors could easily be modified to add 1/2" wire mesh if we decide to change things down the line. Also, we chose an espresso finish with silver hardware to accent the wire mesh

I pretty much crashed and burned on the staining as I've never done that before, but it ended up looking ok after all. I did a light sanding, but will probably invest in a planer and jointer to get my wood in better shape before assembling in the future. Also, I'll probably lightly dab some stain on ends of wood before final assembly as it made it difficulty trying to hide the white pine with the dark stain.

Other cages I saw ran around $200-$350.00 so i don't feel so bad about the cost. It's really the time that it took learning and making mistakes. I'm sure if I had plans I could of cut my time in 1/2.

Total Cost came out to around $150.00 but probably would of been cheaper if I had some plans to go by. I probably wasted a few 2x2s and accidentally mis-cut a scrap piece of 1/4"plywood which added another $16.00 to the bottom line.

Here's a breakdown of my total cost.

Hardware - $30.00
Includes 5 latches, 4 sets of hinges (8 total) and a 3' piano hinge

Stain - $8.00

Linoleum Tile @ ¢.69 sq ft - $16

Brushes, Stain Rags - $5.00

Screws - $6.00

Wire Mesh Roll $30.00
Needed 2 rolls at $15.00 each. I used 1" Wire Mesh measuring 2'x15'

Total Wood $50.00-$60
I used 2x3's for the legs - 2 @ 8' - $2.00 each ($4.00)
probably 15-20 2x2's - $1.52 each - can't remember how many I used to be honest ($30.00)
and a few 1x6's for the Doors - $2.00 each ($6.00)
Sheet of 1/4 plywood - $12.00

Estimated Cost
$150
Estimated Time Investment
Week Long Project (20 Hours or More)
Recommended Skill Level
Intermediate

Comments

ashinshaw

Thu, 05/03/2012 - 08:09

I also have been thinking with the idea of building a two story hutch for our rabbit. I love your ideas so now i have a new project to work on. Thanks for sharing!

Nicolene (not verified)

Mon, 10/08/2012 - 12:46

I LOVE your cage! We have 2 rabbits and 2 Guinea pigs which means we have 2 ugly cages in our living room. We are planning something similar, but a bit bigger (but lower if that makes sense). And we'll put a 3rd story on for our Guinea pigs. So we have everyone on the same patch of real estate so to speak. I was going to do 3 solid walls with wire "windows" too keep all the hay, poops and such contained. I am also going to put lockable wheels underneath, so I can move it to my office if I ever need to (parties and renovations).

Is there anything that you can now think of that you would like to change on yours? R my research purposes.. :) It looks awesome, I'm just picking your brain for "hindsight" tips.

Wishing well projects

Submitted by Jason48 on Thu, 04/03/2014 - 08:02

Started these wishing wells as only having fun and for family it seems now that it is going to be a little more than I thought now taking orders from family friends

Estimated Cost
120.00
Estimated Time Investment
Week Long Project (20 Hours or More)
Recommended Skill Level
Intermediate

Comments

In reply to by Jason48

crafty_love

Tue, 11/19/2019 - 07:33

I love the wishing wells, but I can;t find a plan.  My mom has wanted one of these forever! She now has stage 4 squamous cell carcinoma Stage 4 and I would love to build her one before it is too late.

First Project

Submitted by dragondad on Thu, 08/06/2020 - 11:34

Well, I started with one chair and finished with a full set. Not bad for a first timer. Definitely room to improve. Little tip if you're going to make this amazing set... raise the backs as they are too low with thicker cushions. I built a casing to go on top after the fact. Pretty happy with how it all turned out. Thanks Ana for the plans... now onto the next project!

Comments

Full size storage bed with trundle

Submitted by ellehcim88 on Fri, 08/14/2020 - 15:14

Full size storage bed with trundle. Three drawers and a trundle on one side and four drawers on the other. I started with the farmhouse design (headboard and footboard) and modified it to make it not so heavy and I designed the rest using SketchUp. See more photos in blog link.

Built from Plan(s)
Estimated Cost
$1000
Estimated Time Investment
Week Long Project (20 Hours or More)
Finish Used
White satin finish latex paint
Recommended Skill Level
Intermediate

Great Plan for Garage Shelf!

Submitted by edapina on Wed, 11/26/2014 - 07:35

This was an easy project to complete in an afternoon that does not require any advance woodworking skills

Estimated Cost
About a $120 bucks considering that I had to buy all the wood and a box of 2 1/2 In screws!
Estimated Time Investment
Afternoon Project (3-6 Hours)
Finish Used
No finish used.
Recommended Skill Level
Beginner

Comments

edapina

Wed, 12/10/2014 - 09:41

This is my second completed project with plans and ideas from your website. Thanks for your good work!

Modern Adirondack Chairs & Outdoor Side Table

Submitted by j_bowman on Sun, 04/11/2021 - 11:35

These modern Adirondack chairs were my first wood working project ever and they turned out awesome! I wanted to build a small table to complete the set and Ana’s new side table plans were exactly what I was looking for. I am truly amazed at how easy these projects were to make and how great they look on our front patio. Ana’s step-by-step plans make it so simple. My wife and I can’t wait to build some more of these projects for our backyard lanai and pool area.

Finish Used
General Finishes Red Mahogany stain
Spar Urethane

Comments

Seasonal And Holiday

Kentucky Fried Hilton Chicken Coop

Submitted by redtrek on Tue, 05/18/2021 - 23:12

I took the idea of the "small cedar shed" and decided to upsize it for a new chicken coop. Our old one was small enough that we had to let our six hens out to roam the yard. Chickens. Poop. Everywhere. I wanted one big enough to have them live in it. The nesting box is about 24 sf. The whole coop is 18' long, about 6-1/2' at the back with a 15° slope to the roof, and about 4' deep. I built the ladder up to their nesting box and made a mitre-cut panel under the nesting box for cleaning out, feeding, and watering. Total materials cost was about $1000, but a couple of local homebuilders helped by letting me scavenge the lumber for the nesting box from around houses that they were finished framing.

Built from Plan(s)
Estimated Cost
$1000-1200
Estimated Time Investment
Week Long Project (20 Hours or More)
Finish Used
Thompson's Clear Water Seal
Recommended Skill Level
Intermediate

Comments

L-shape Modern plywood desk

I constructed this desk all from birch plywood. It features a pull out keyboard tray, modern drawer finger pulls, and full extension drawer slides. The plywood was finished with a hand-rubbed danish oil for a natural wood appearance.

Estimated Cost
$150.00
Estimated Time Investment
Afternoon Project (3-6 Hours)
Finish Used
danish oil
Recommended Skill Level
Starter Project

Corner Cabinet Storage Shelf

Submitted by sssmile14 on Sun, 07/24/2011 - 19:32

We built this corner cabinet shelf in three days (only because it is over 100 degrees here, so we had to wait until 9:00 at night to work on it) for our office space. We love, love, love it and can't believe how nice my corner cabinet turned out. Only our second building project ever. :)


Built from Plan(s)
Estimated Cost
80.00
Estimated Time Investment
Afternoon Project (3-6 Hours)
Finish Used
Kilz Satin Paint- Black
Recommended Skill Level
Starter Project

Comments

kellerkb

Mon, 06/03/2013 - 21:20

Hello, I would appreciate help finding the plans for this project! Thanks!

cerberus456

Tue, 08/02/2016 - 14:54

I do cedar. Thank you very much for the drawings. This site is to become one of my favorites.

Greetings from Xalapa Veracruz Mexico


Back