Community Brag Posts

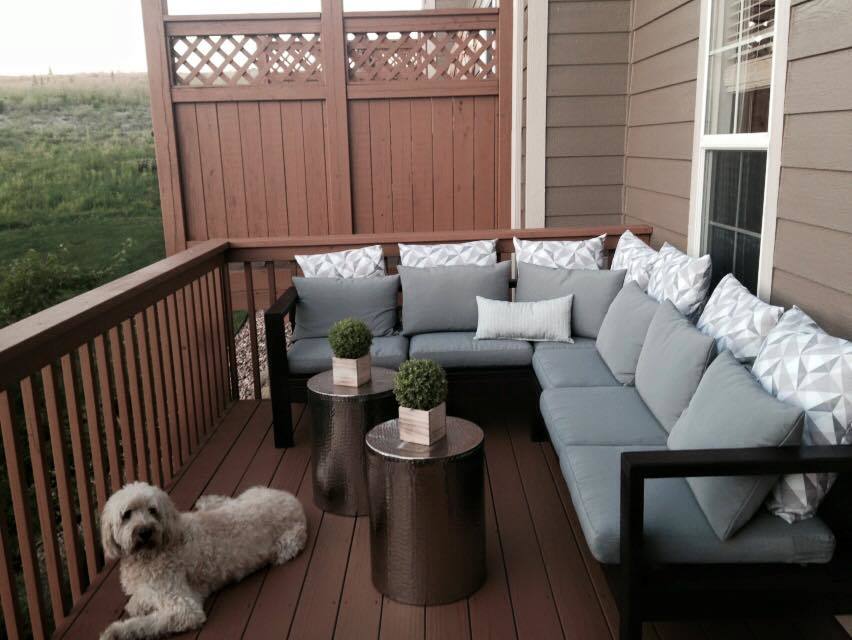
Outdoor Sectional

Submitted by Adakaye on Tue, 07/28/2015 - 12:28

This project took a day to build and about four days to stain with a day of drying in between each coat. Great plans! I love my new couches!

Estimated Cost
$110- Wood, Douglas Fir studs at Home Depot
$30- Deck Stain, Merlot, Home Depot
$250- Cushions, Hallo, Ikea
$100- Fabric and pillow forms for extra pillows
Estimated Time Investment
Day Project (6-9 Hours)
Finish Used
Deck Stain in Merlot Color
Recommended Skill Level
Beginner

Comments

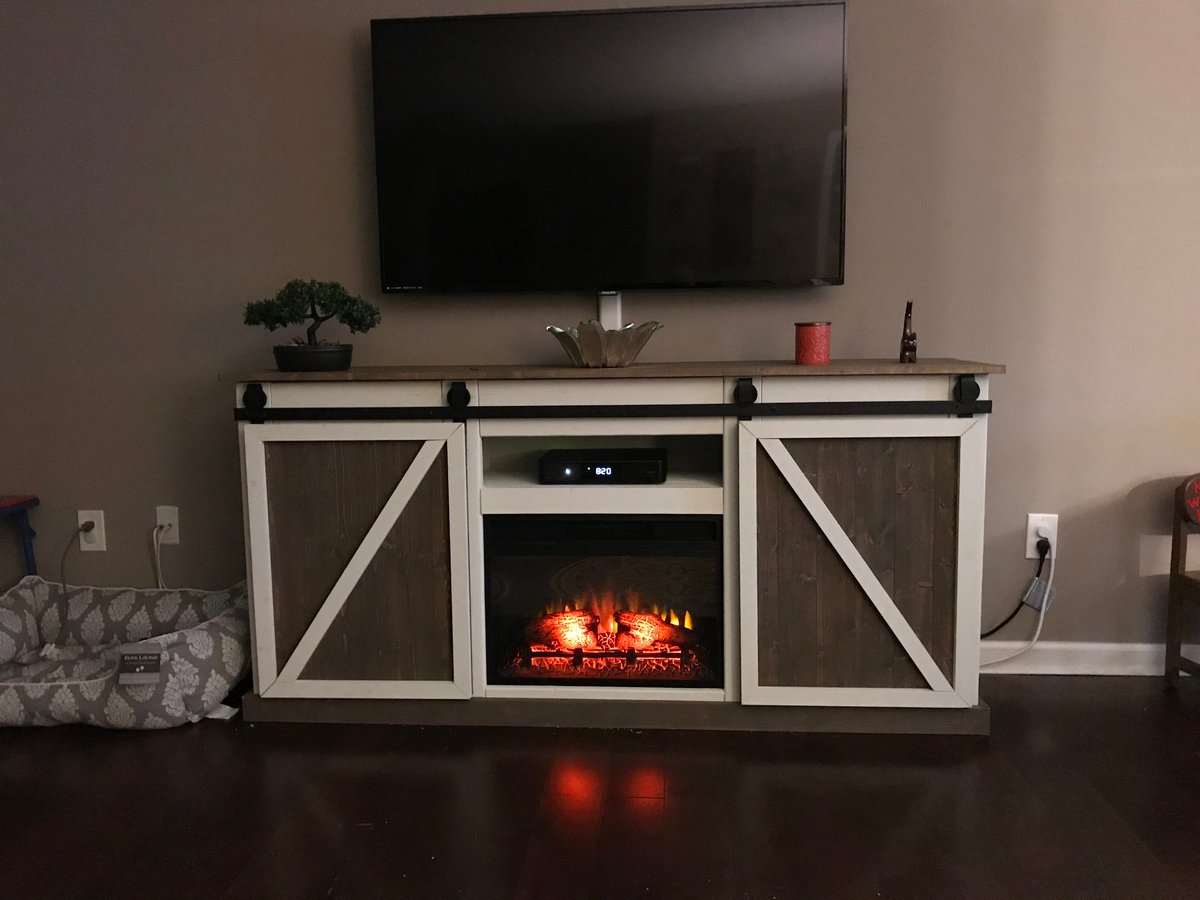
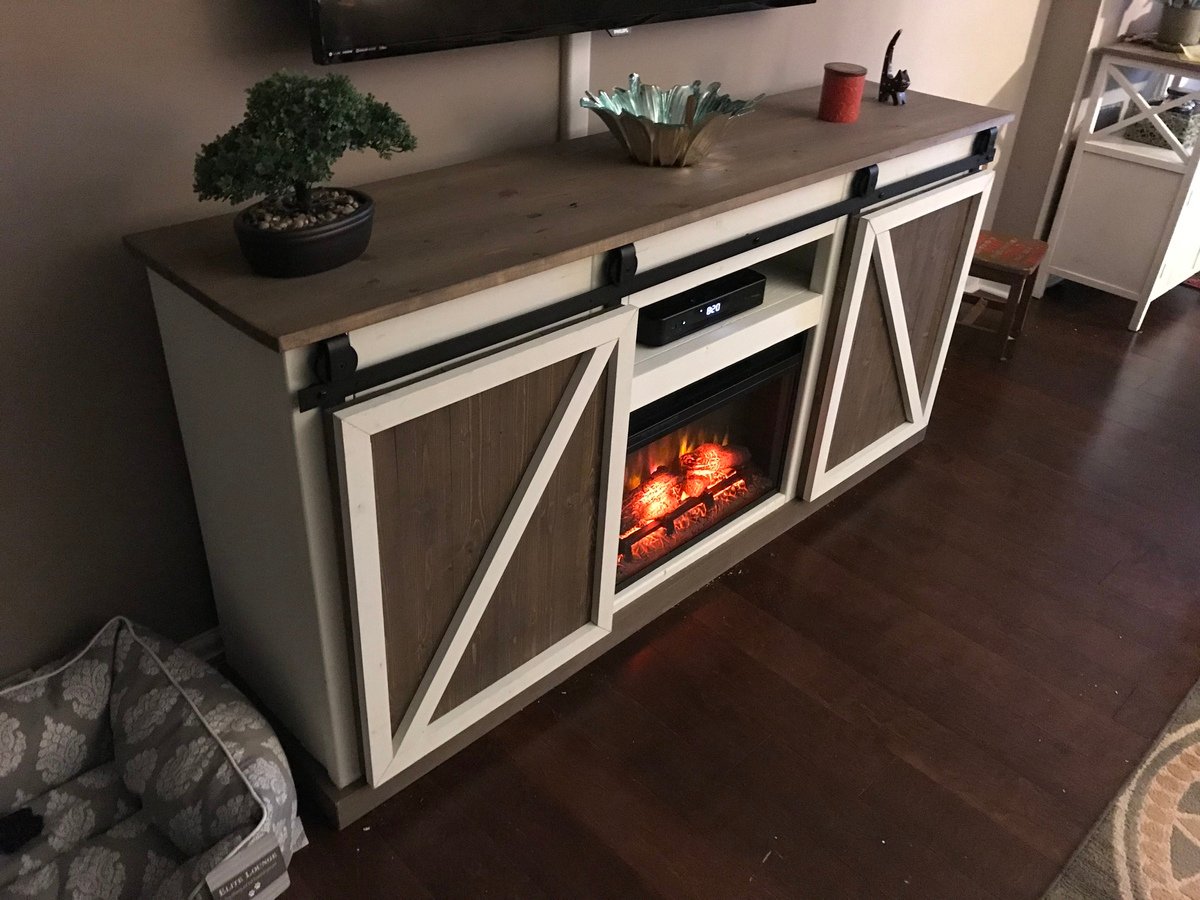
Grandy Entertainment Center

I changed the dimensions and design slightly but used the grandy plans as a starting point. Some changes had to be made due to wood choices. I had to flip the rollers behind the doors as they came out too thick, but I like the look of seeing the whole door. Overall, I’m very pleased with how this turned out.

72”x34”x16.5”

Built from Plan(s)
Estimated Cost
$350-$400
Estimated Time Investment
Weekend Project (10-20 Hours)
Finish Used
Valspar Flat White
Varathane Briarsmoke Stain
Recommended Skill Level
Intermediate

Comments

Kids picnic table

Submitted by Anonymous (not verified) on Sun, 04/10/2022 - 21:08

Surprisingly sturdy table and easy to do in a couple hours. I took the added steps to cut the corners at 45 degree angles and took a router to the outside edge of the table top and seats (rounded edges not shown in photo). The kids love it.

Comments

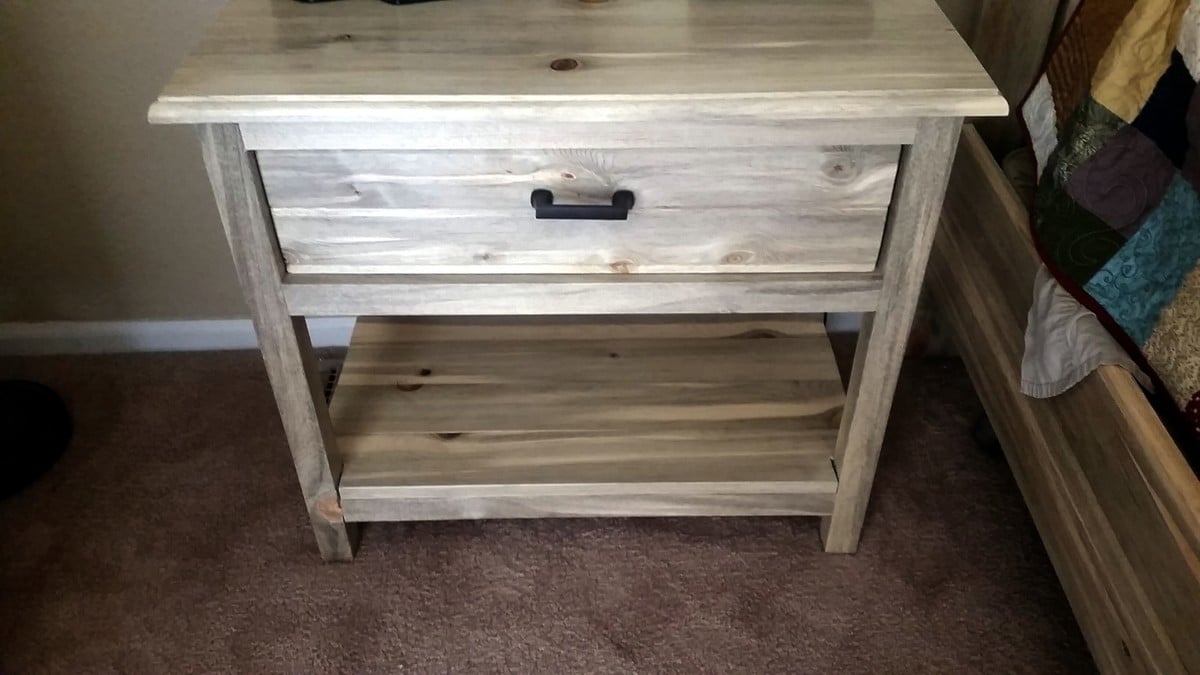
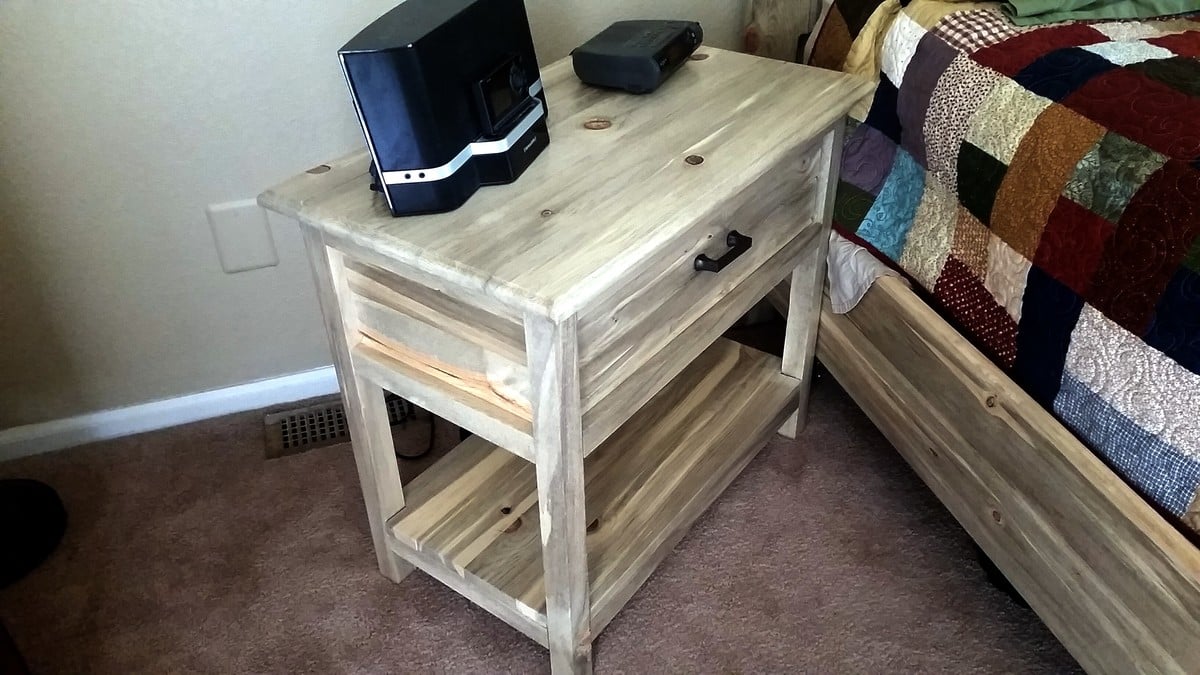
Beetle Kill Farmhouse Bedside Table

Submitted by lwarteman on Sat, 08/01/2015 - 12:25

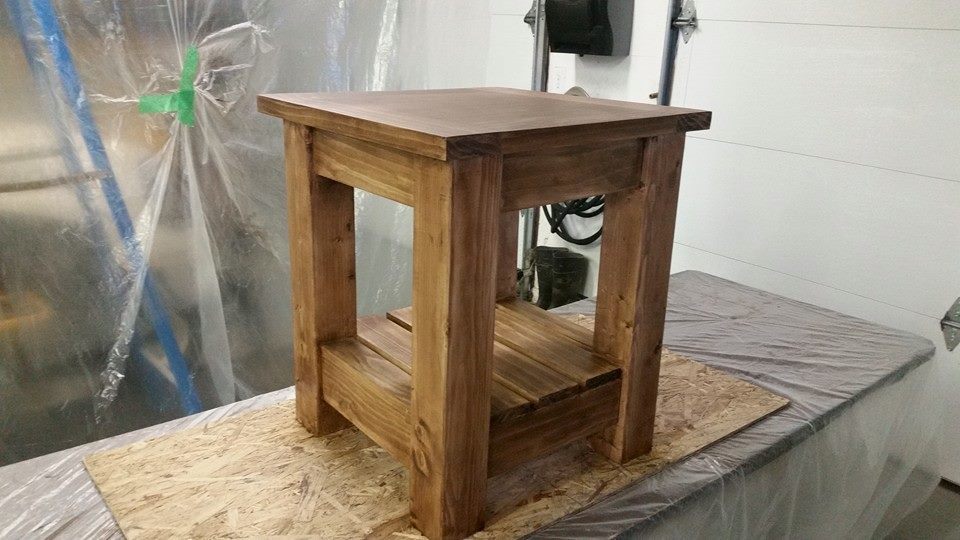
This is our take on the Farmhouse Bedside Table made from beautiful beetle kill wood.  :D

Built from Plan(s)
Estimated Cost
$60
Estimated Time Investment
Day Project (6-9 Hours)
Recommended Skill Level
Beginner

Comments

renae1223

Thu, 03/31/2016 - 07:51

I love the beetle kill pine, that is what I picked up last night from HomeDepot to make mine with. Great Job!

ADIRONDACK CHAIR

Submitted by Anonymous (not verified) on Thu, 04/21/2022 - 11:58

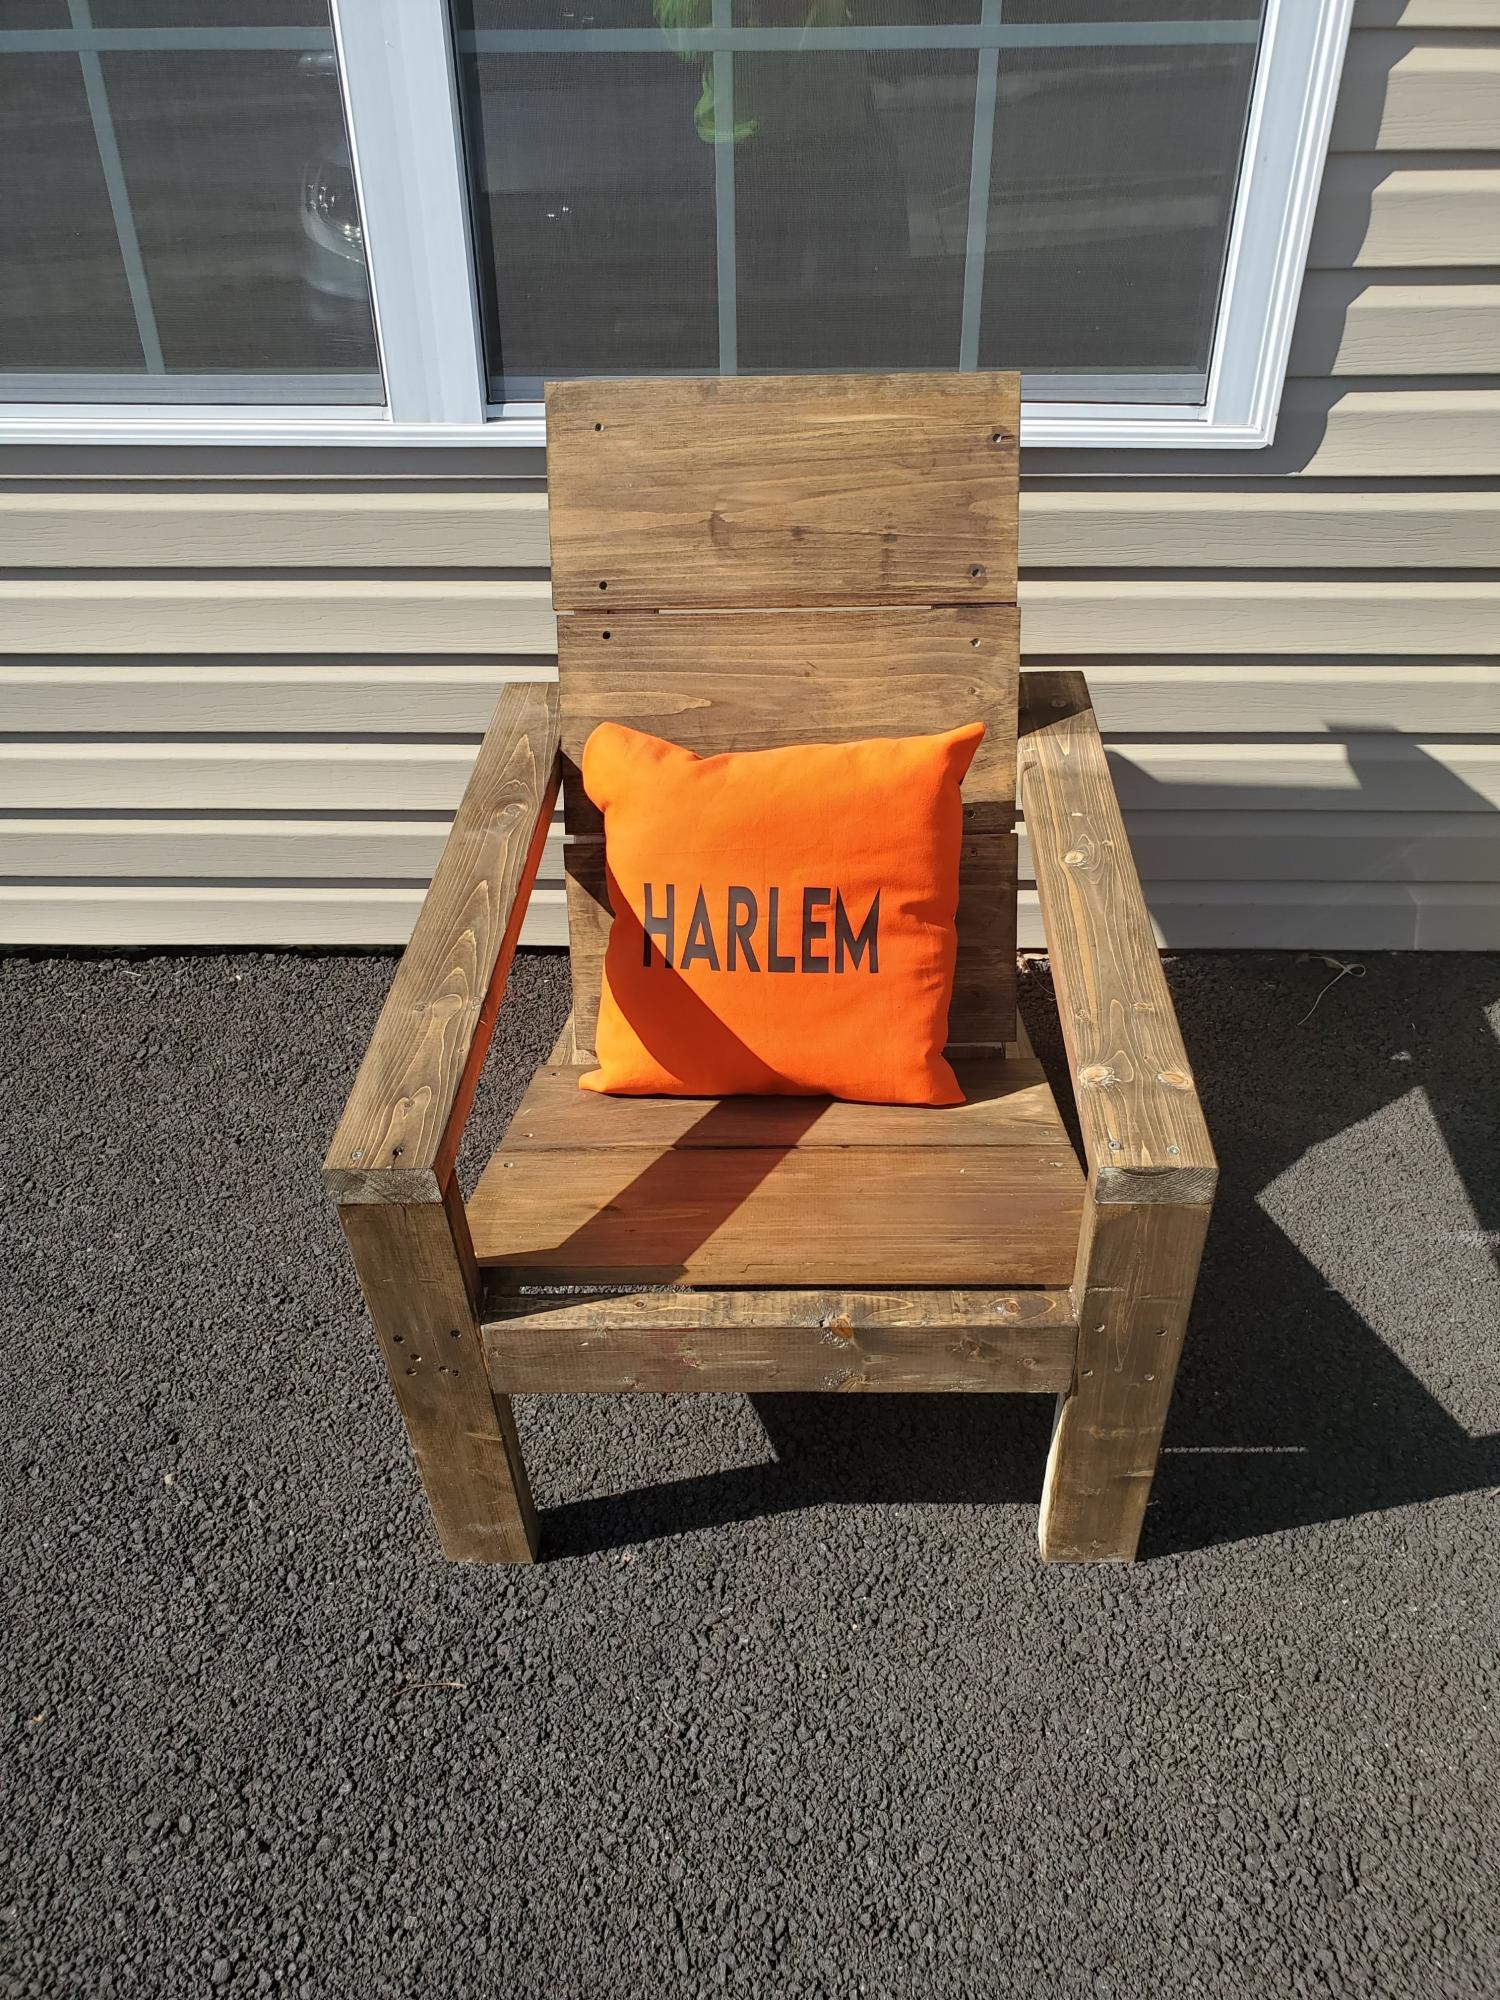
This was my first AW Buid and I loved it! I am a beginner and the video was so easy to follow. The only thing I needed (and still need) is how to do the off cut angles. I've made several since this one. Love the modern design too. Thank you Ana!

Mik da Builder
@harlemcrafted

Comments

Ana White

Thu, 04/21/2022 - 12:01

Thank you so much for sending in a photo! I'm so glad to hear the chair plans worked out well for you. This is one of our most favorite chairs too!

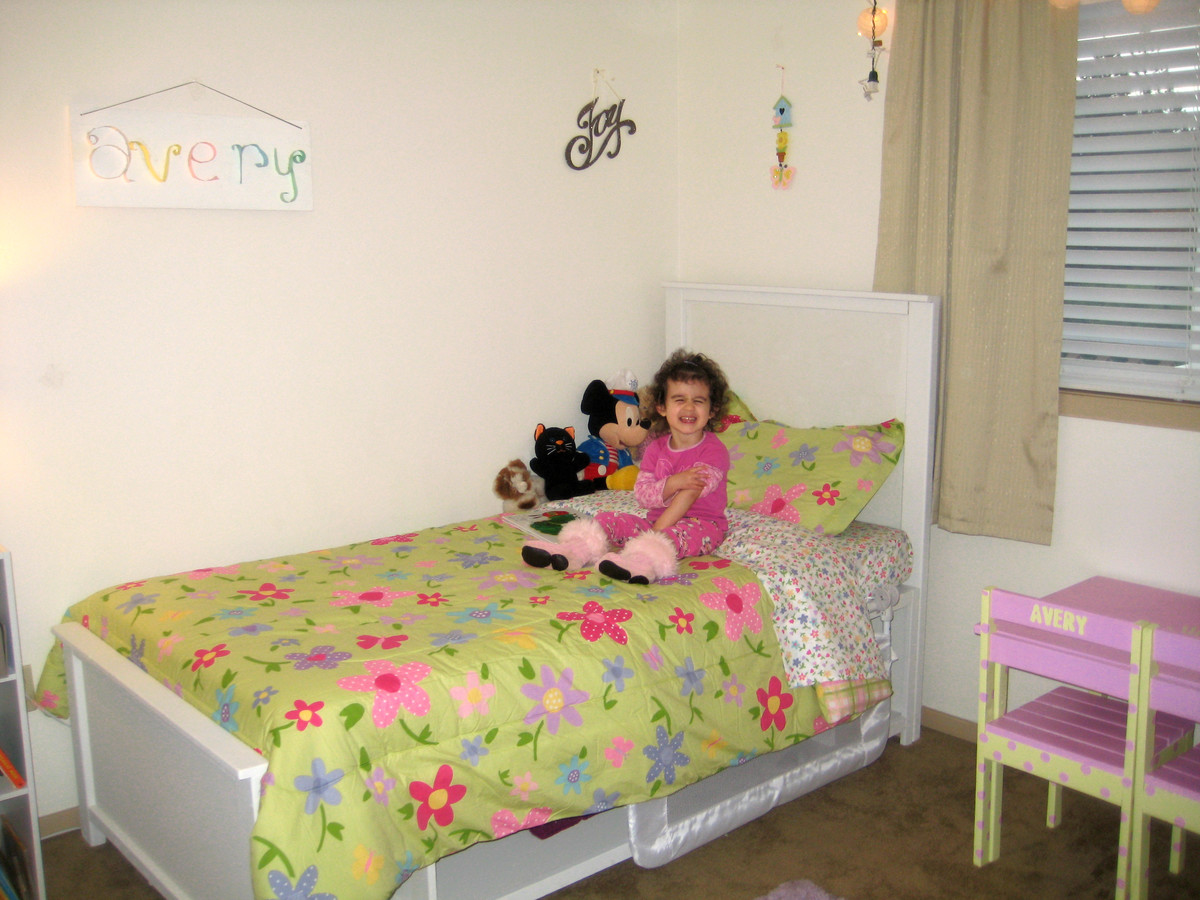
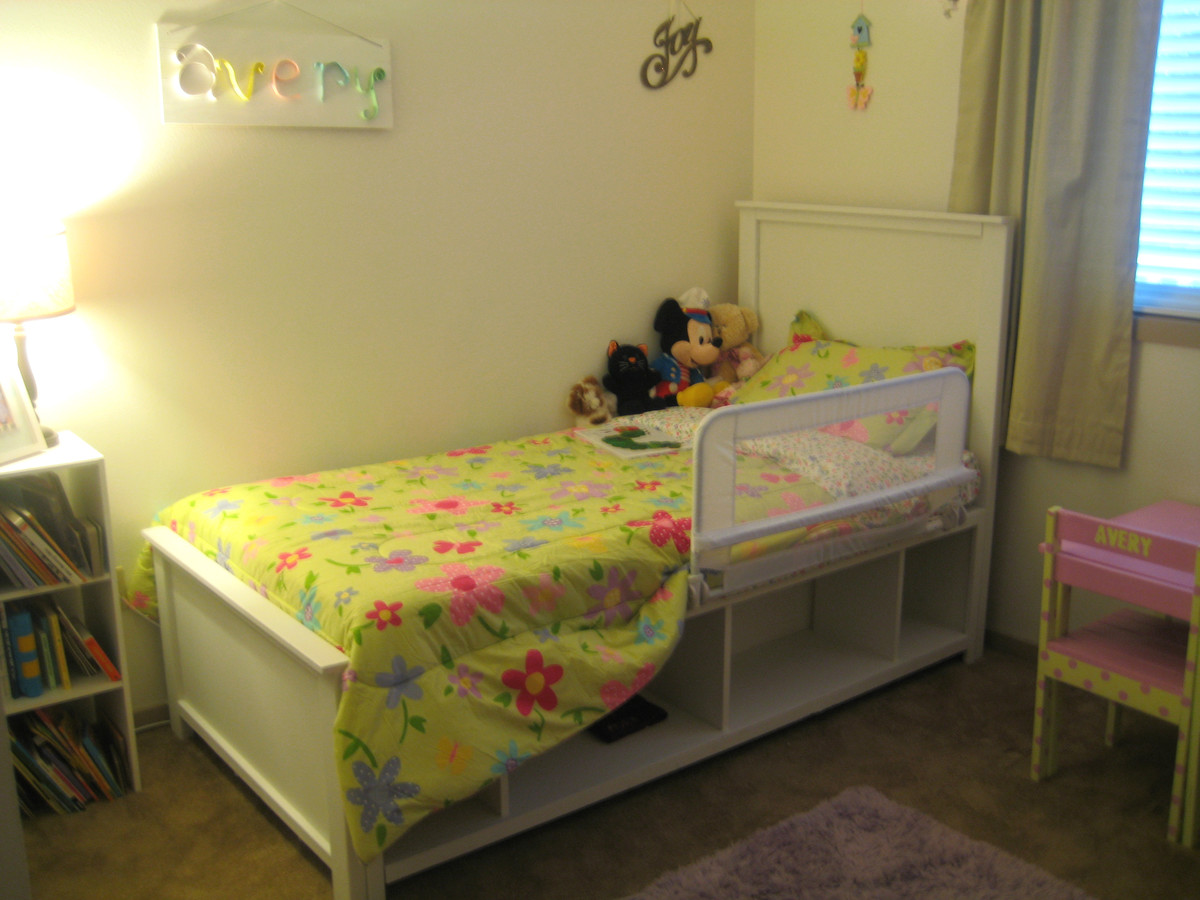
Hailey's Bed - Avery's Edition:)

Submitted by brguad on Thu, 06/09/2011 - 17:54

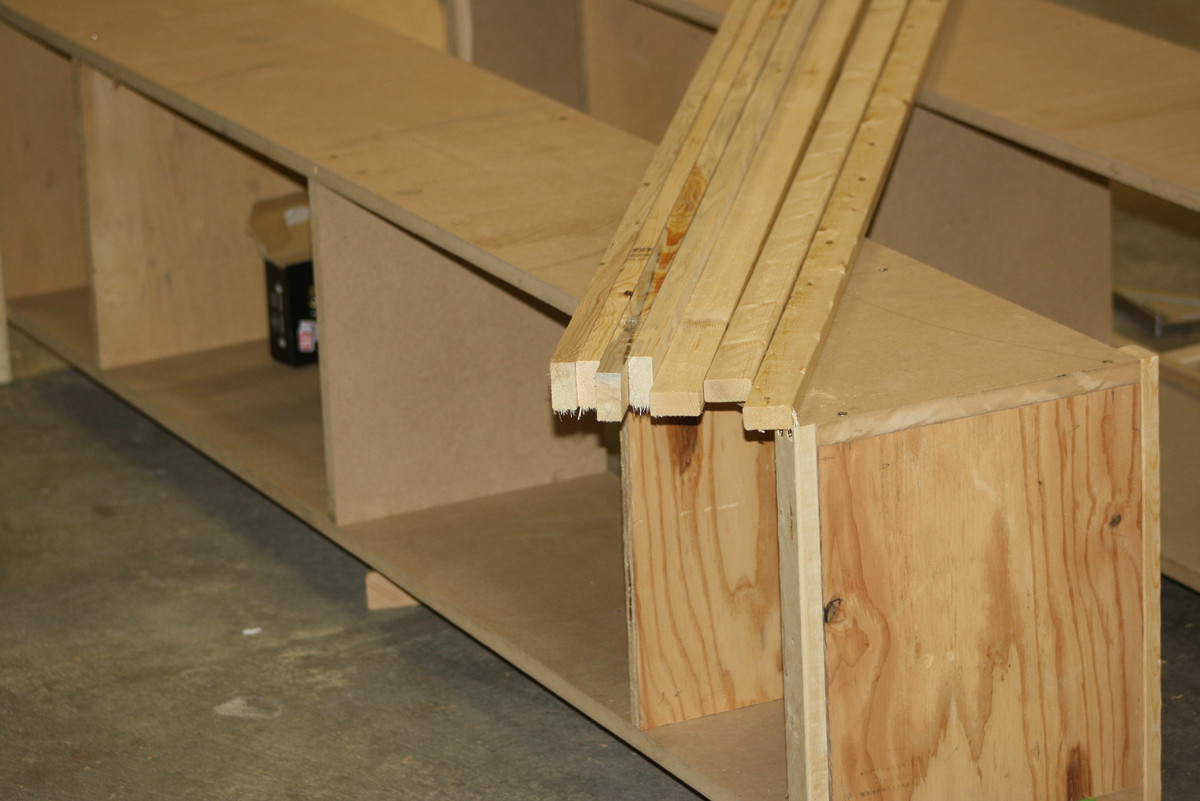
My wife and I had another baby girl and Avery was moving out of her crib into a big girl bed. Definitely didn't want to buy cheap so after seeing some amazing plans on Ana-White.com, I had to build it myself. I loved the storage this bed had to offer and the simple look of the large headboard and footboard. I got started, and because of my scheduling i had this built in two weekends but total of about 10-12 hours. Very glad I did it. My daughter loves it, wife was impressed and now one crib free for little baby Vida!

Estimated Cost
$100
Estimated Time Investment
Weekend Project (10-20 Hours)
Finish Used
120 grit Sand paper, Wood filler, primer, White paint
Recommended Skill Level
Beginner

Comments

Amber R. (not verified)

Sat, 06/11/2011 - 21:37

I've been begging my husband to help me make these beds for my daughters :( Your wife and daughter are lucky

brguad

Sat, 06/11/2011 - 22:13

Thanks again Ana! I think I'm the lucky one. My wife has been supportive of me doing little projects and my daughter loves the bed. So, I built the bed but haven't found an applique like on Hailey's bed that is appropriate for a 2 1/2 year old or one that I like. I thought about different things to spice up the headboard but don't want it to look tacky. Any ideas?

Amber R. (not verified)

Sat, 06/11/2011 - 22:18

Hmm not sure I could suggest anything specific but personally I think it should be something the child won't grow out of. I have a 2yo and a 3yo and they like a different character color etc almost every day. So make sure its something your daughter won't grow out of too quickly.

redhead_61

Wed, 06/15/2011 - 20:52

I am about to paint my daughters storage bed. I too designed and added a footboard and hope the headboard she has looks ok. Yours turned out great. Good job!

brguad

Wed, 06/15/2011 - 22:08

You're too nice. Thanks for the feedback. I read some posts prior to building and added 3 inches to the footboard to keep the mattress from sliding off as easily. Hope to see your bed on here soon. I'm looking forward to it.

slsmith (not verified)

Sat, 03/03/2012 - 14:34

We were thinking about putting a cork board on there so that our daughter could pin her work on there. It probably wouldn't happen until much later, but it's definitely an option. Maybe some vinyl letters?

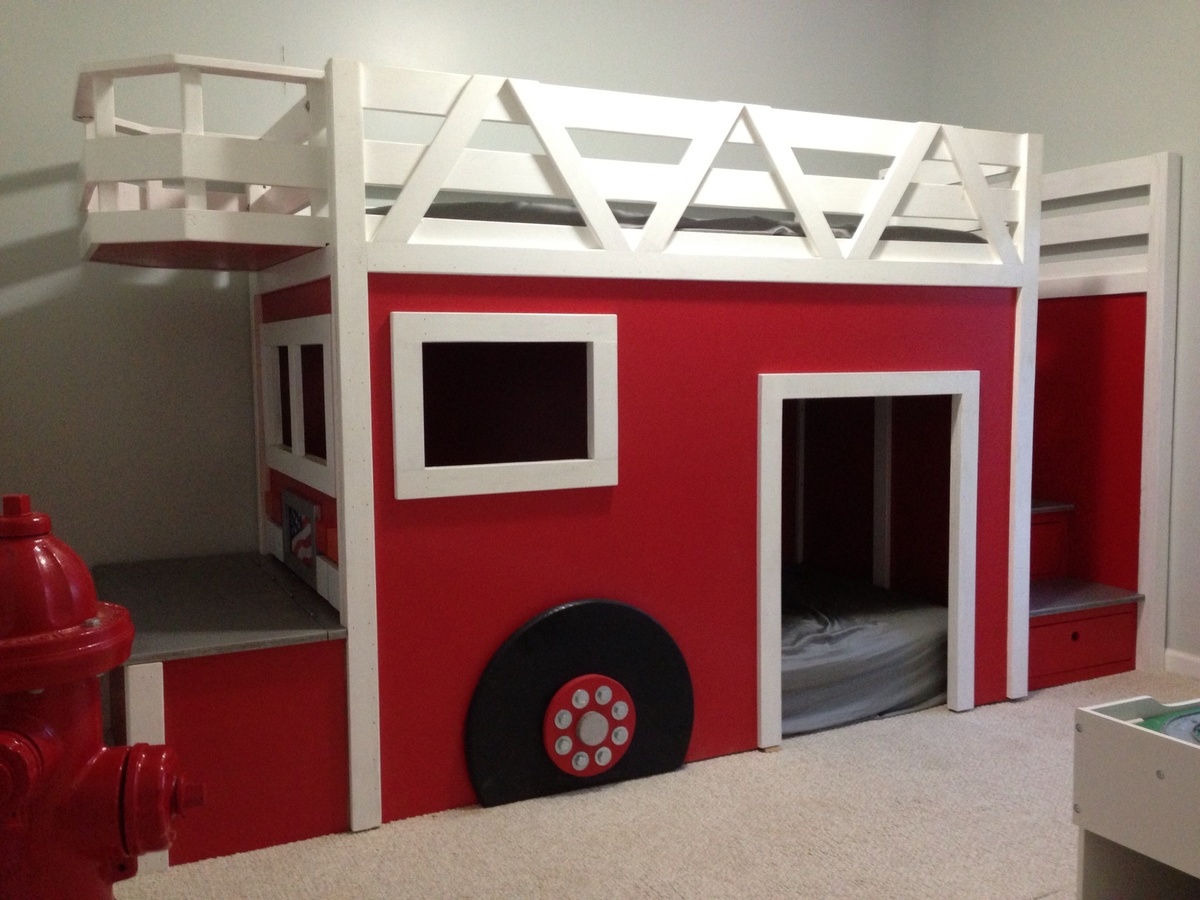
Company 5 Fire Truck Bed

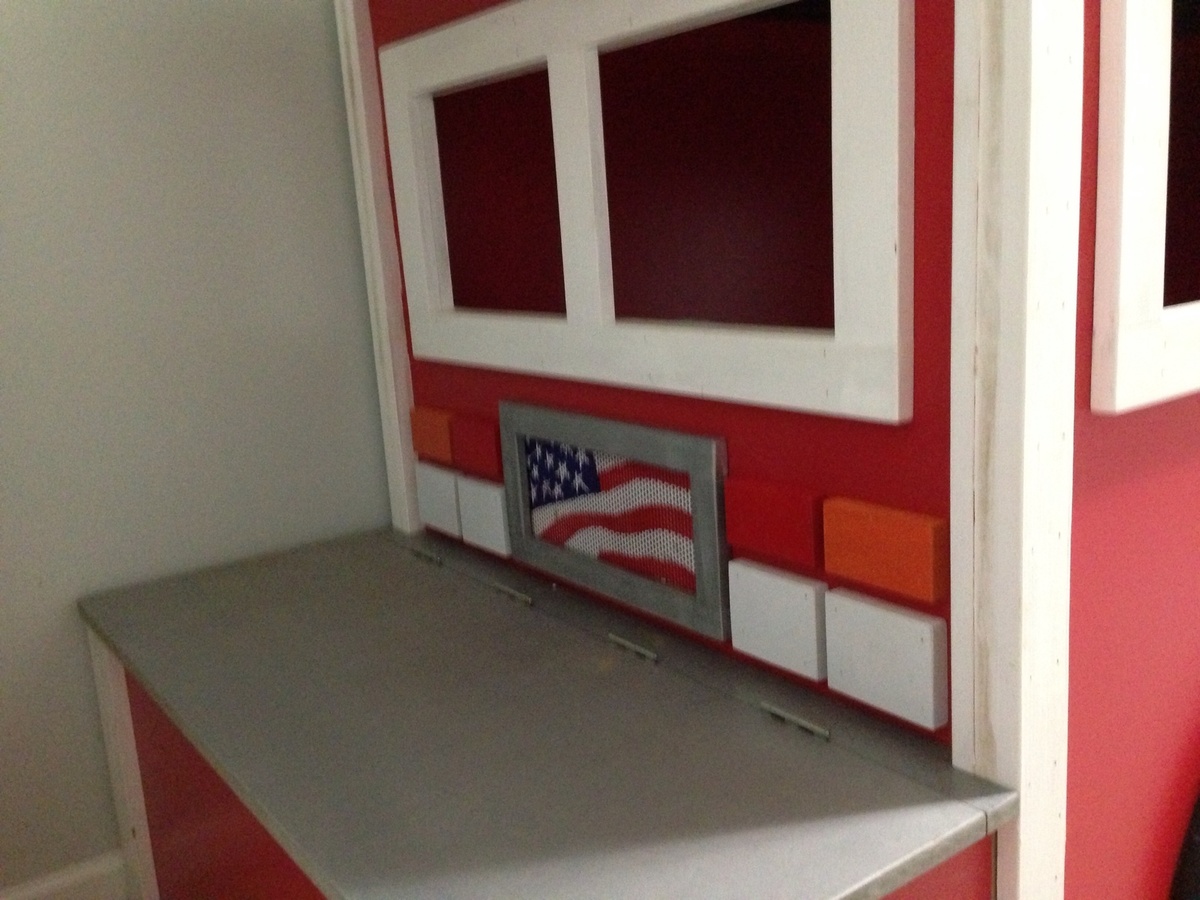
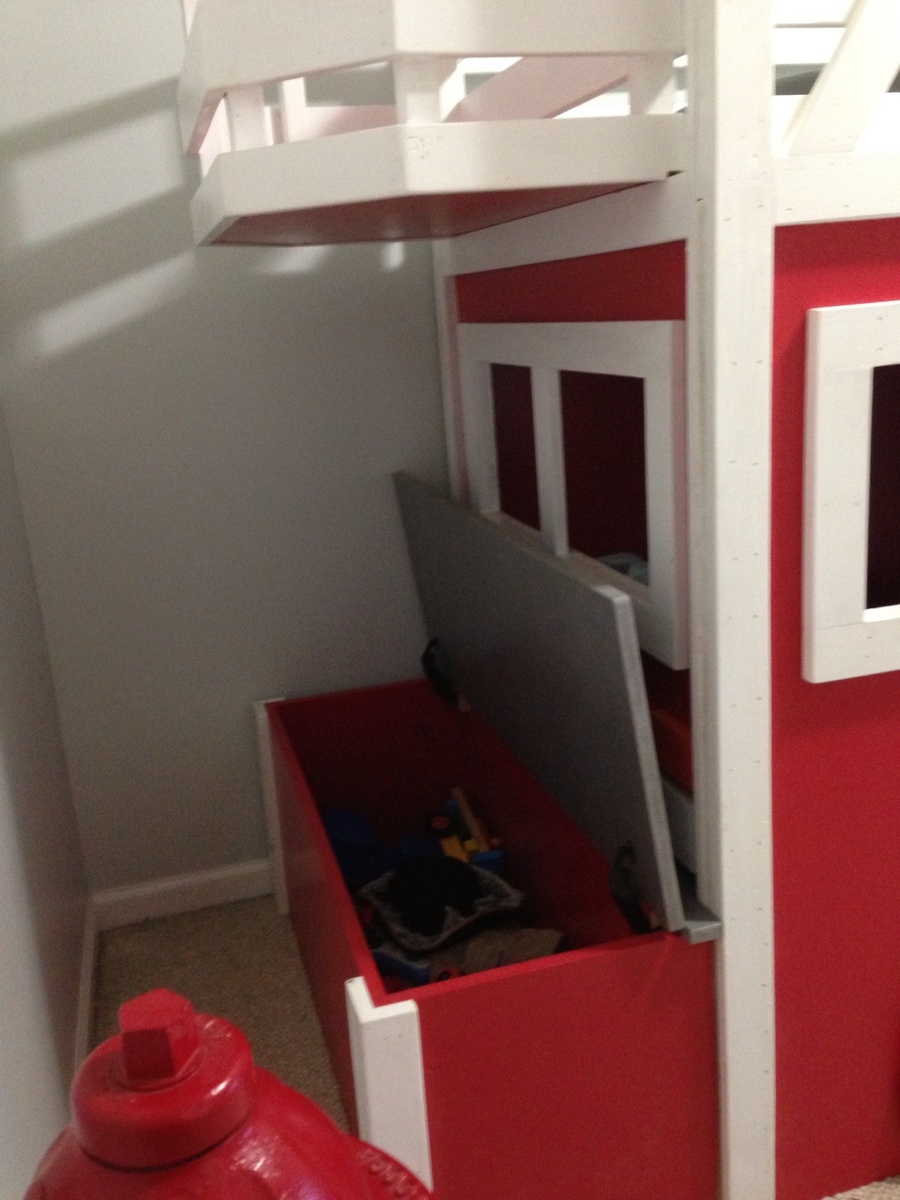
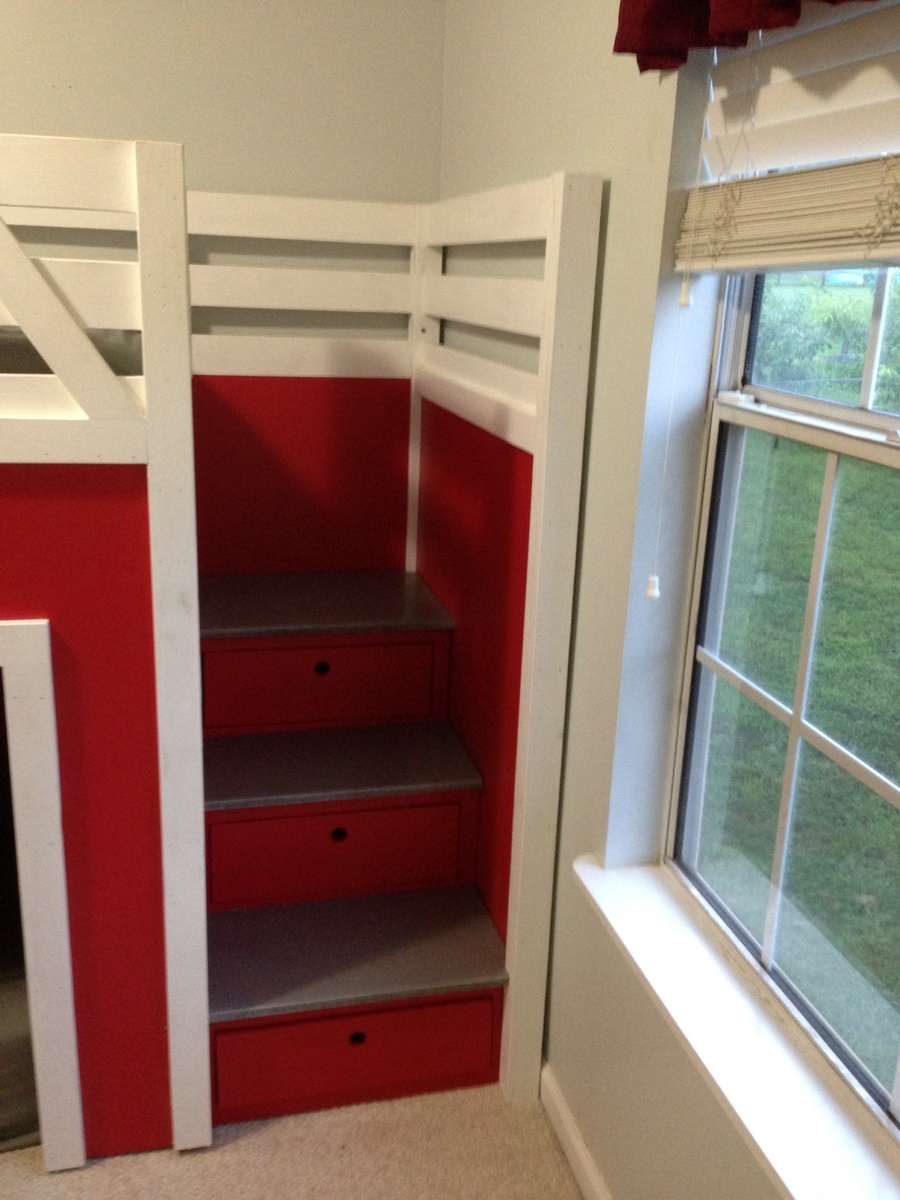
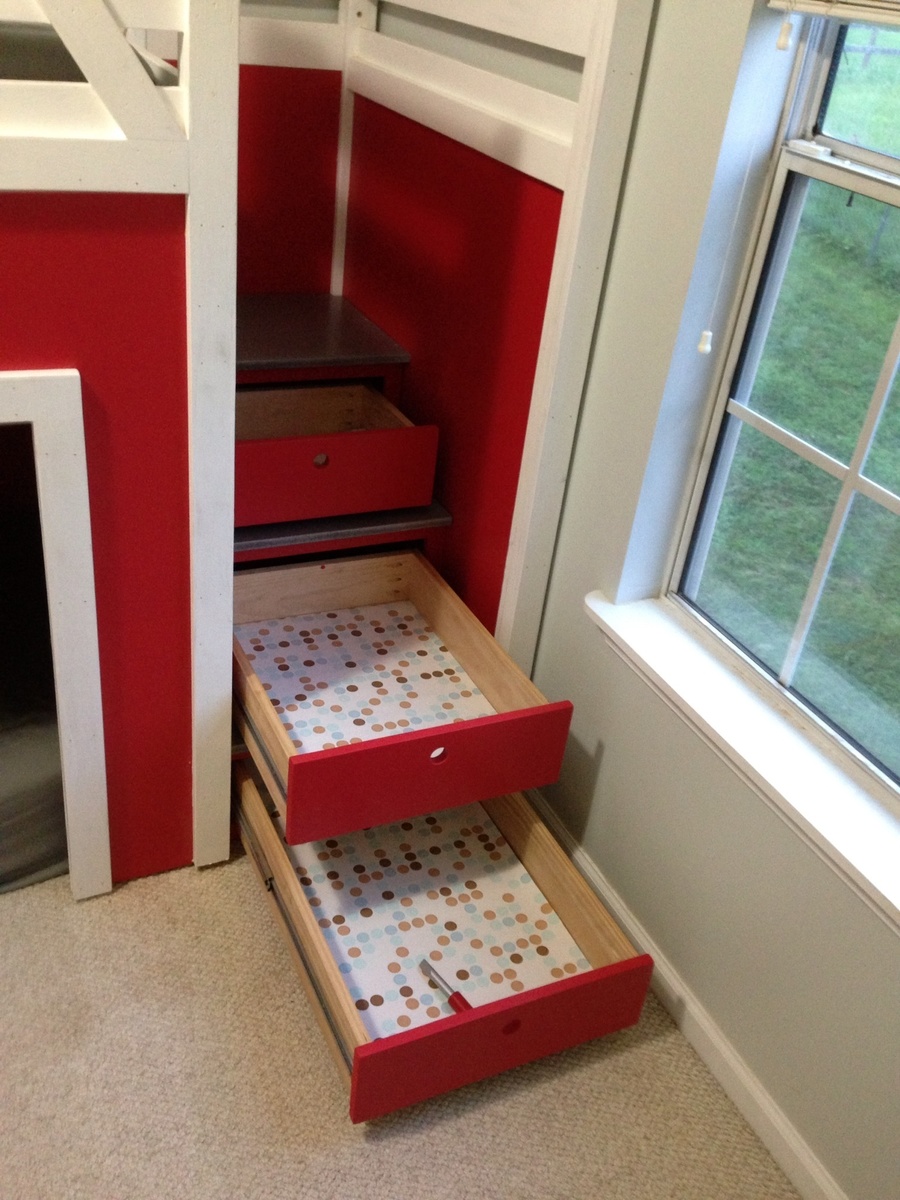
Submitted by Fire Jeep5 on Thu, 07/25/2013 - 18:48

Just added my own twist to awesome project!

Built from Plan(s)
Estimated Cost
Worth every penny!
Estimated Time Investment
Week Long Project (20 Hours or More)
Finish Used
Paint
Recommended Skill Level
Intermediate

Airplane Swings

Submitted by samueldodd on Thu, 08/06/2015 - 06:57

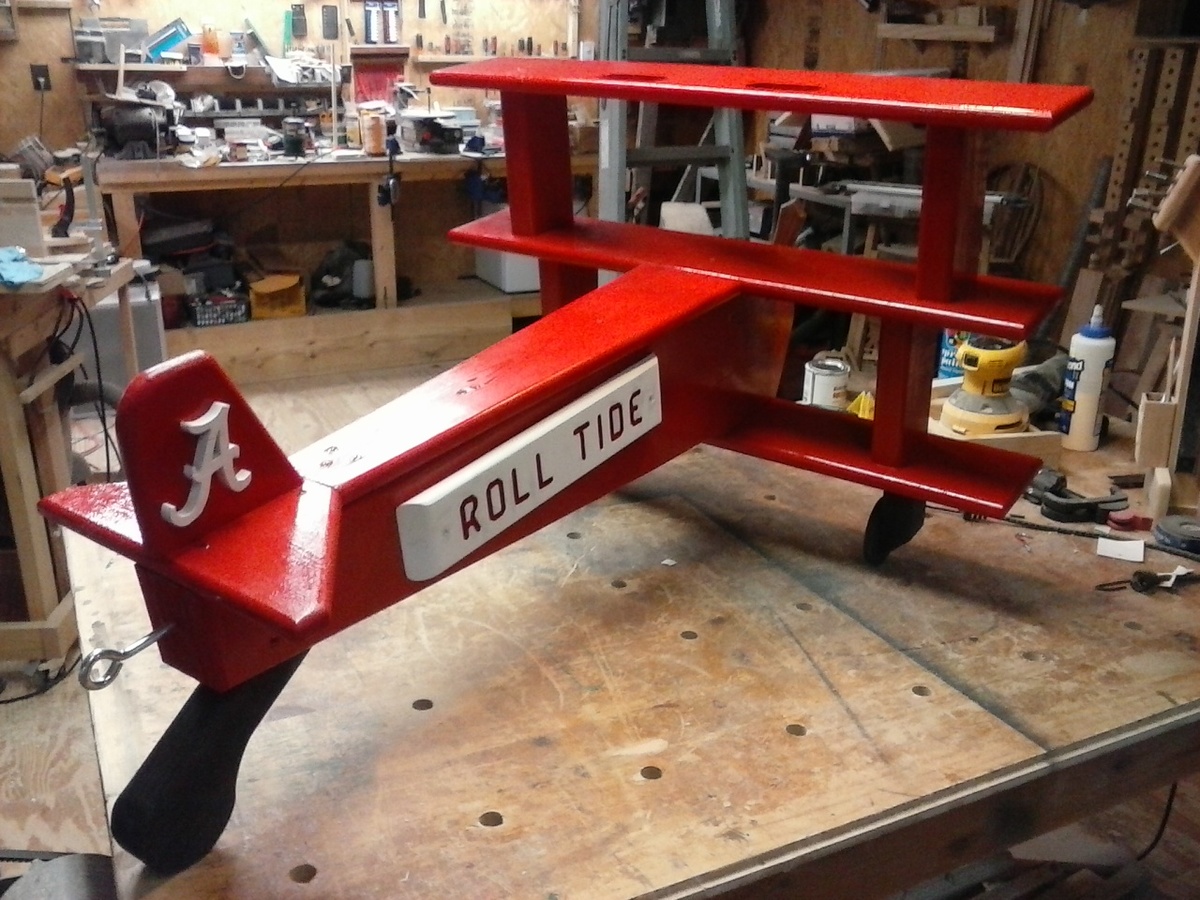
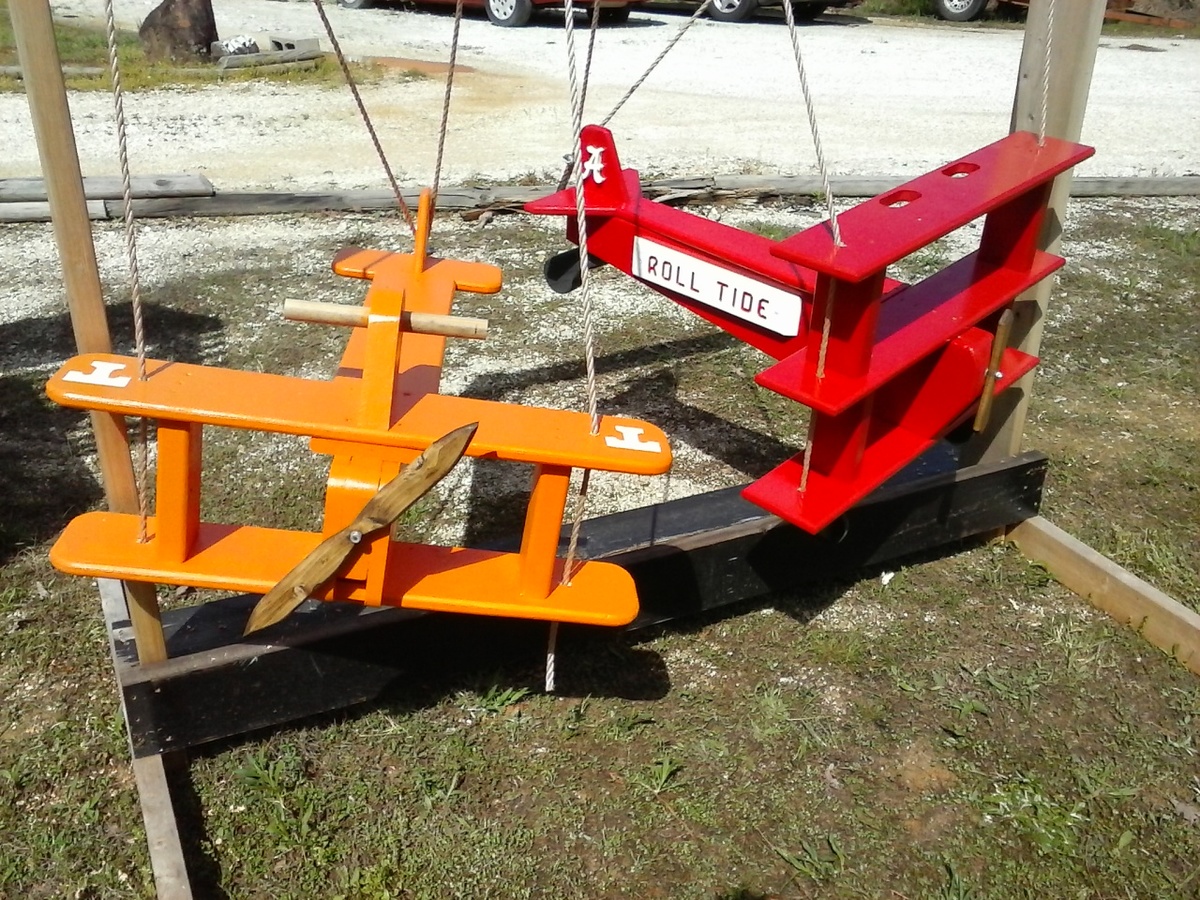
Built in an afternoon. I built them from a picture on Ana White website and modified a bit with both planes. Roll Tide was routed into a piece of wood and glued to the sides of the plane. The "A" was cut out on the band saw and finished on the scroll saw. The "T" on the orange plane was painted on The tri plane is the favorite. Roll Tide !

Built from Plan(s)
Estimated Cost
$20.00 plus paint
Estimated Time Investment
Afternoon Project (3-6 Hours)
Finish Used
Oil Based paint
Recommended Skill Level
Intermediate

Comments

Marlee's Table and Chairs

Submitted by Laura Fama on Sun, 06/12/2011 - 20:46

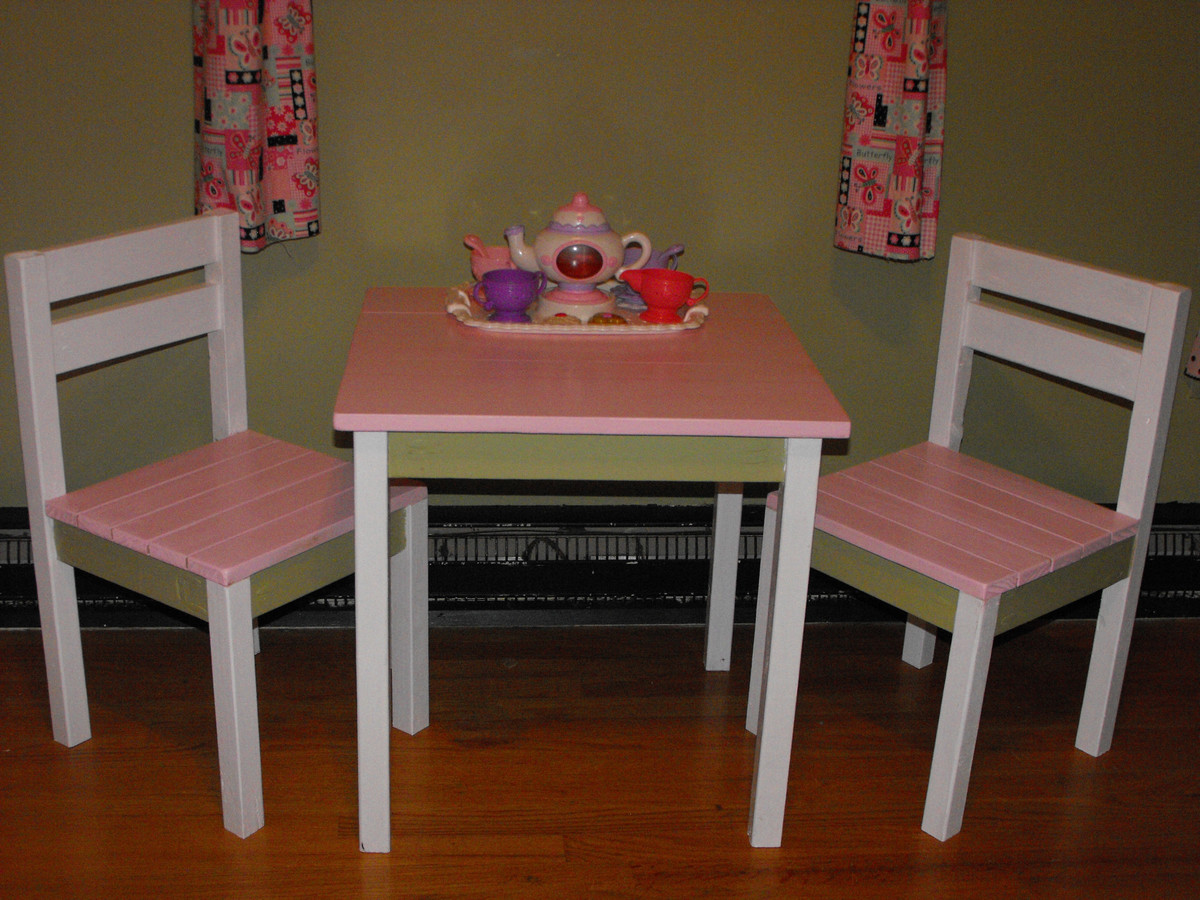
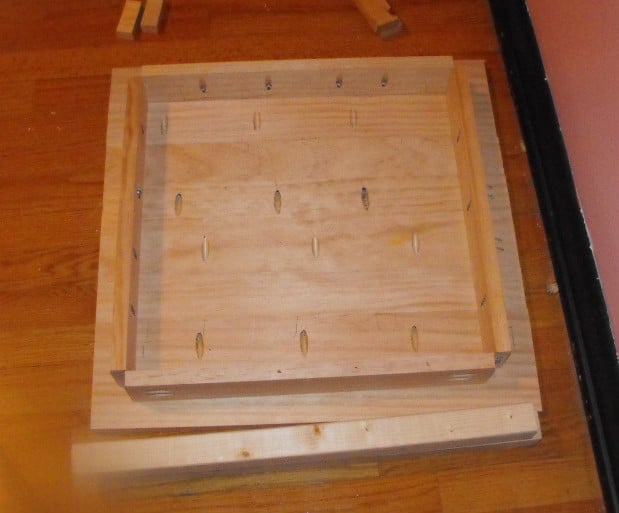
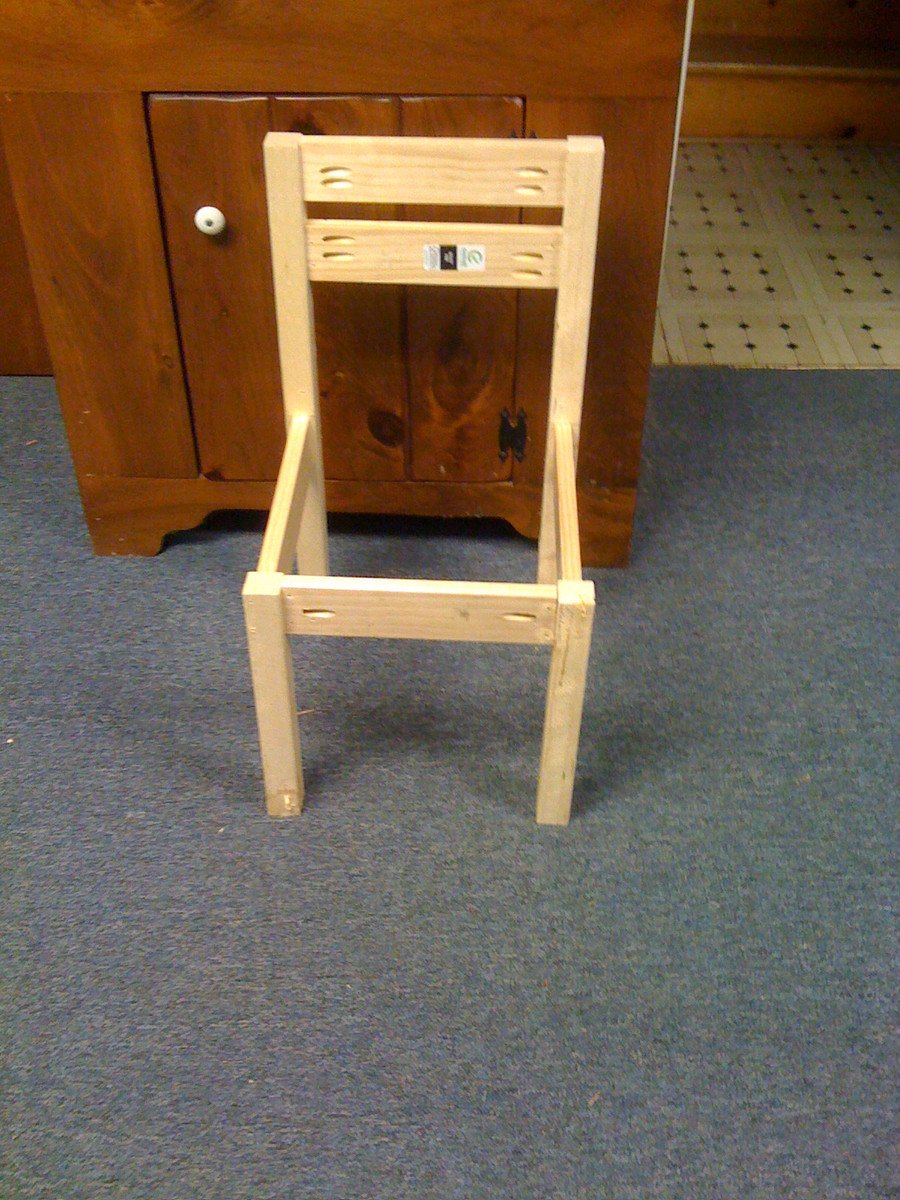
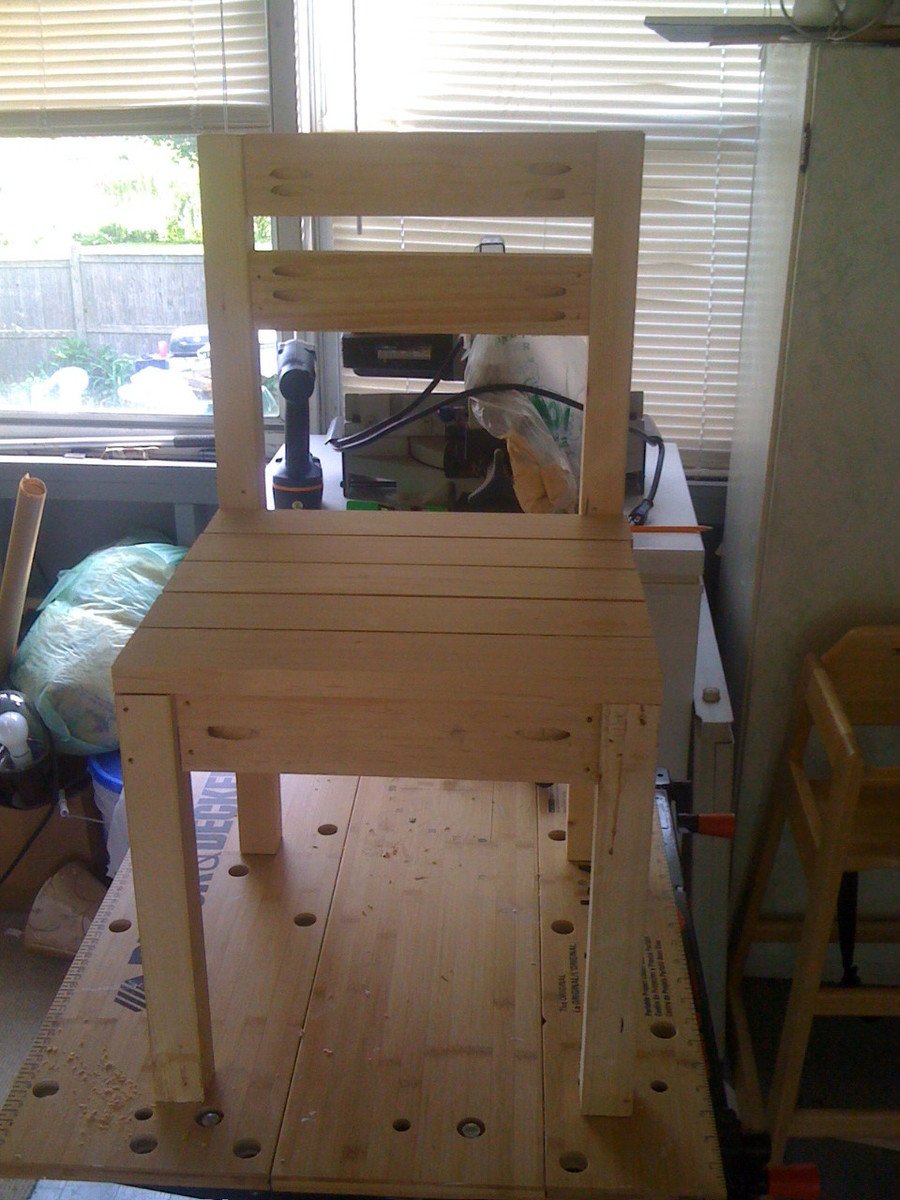
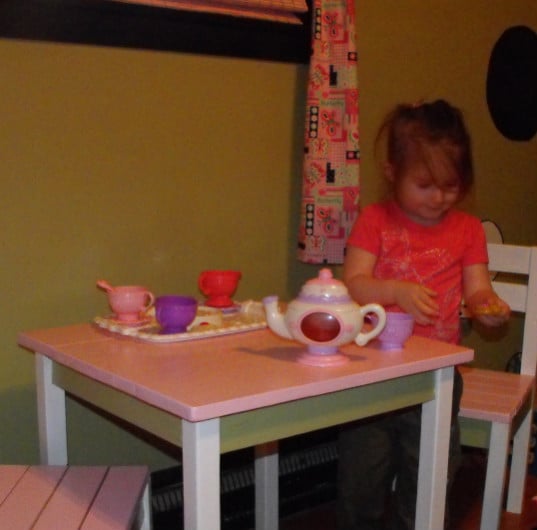
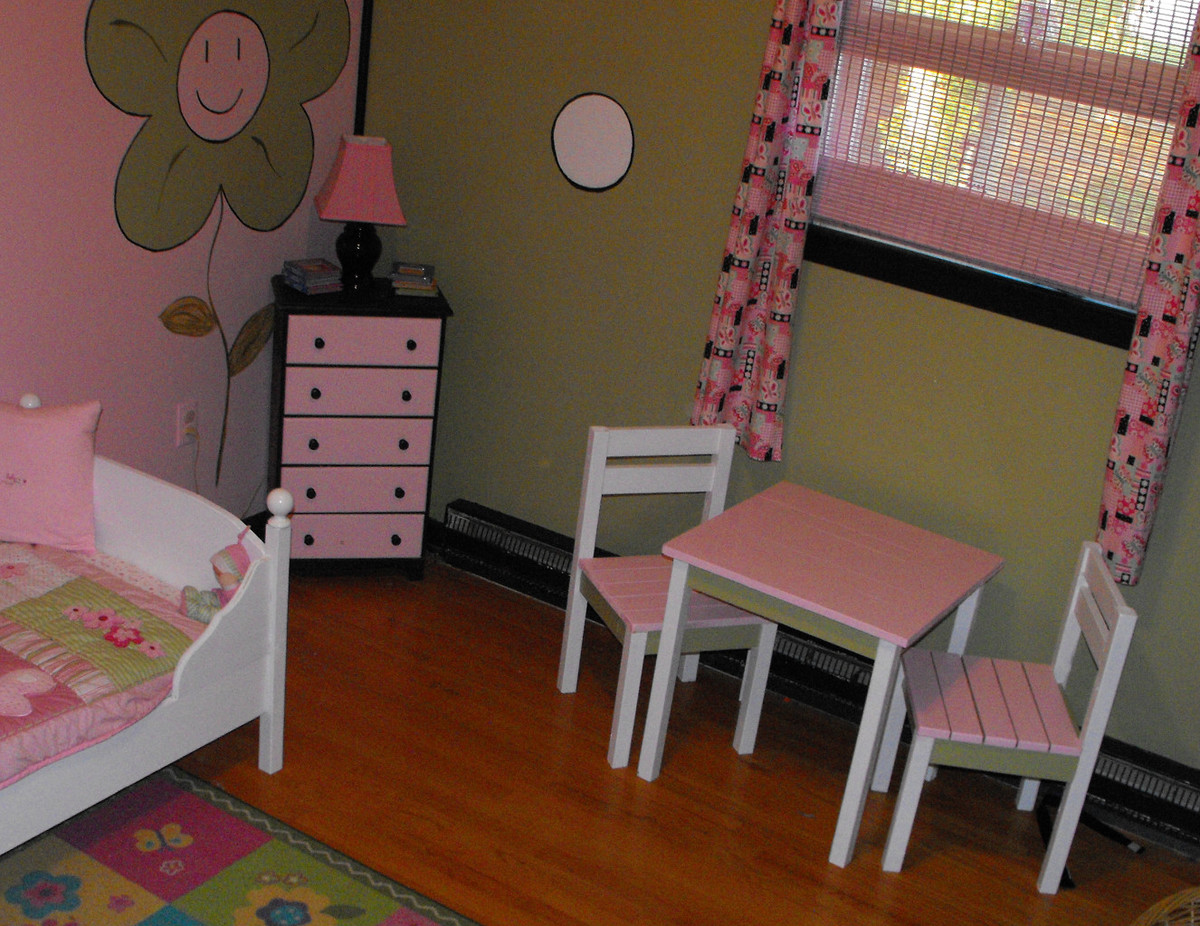
I modified the Clara table and a few of the chair plans to come up with Marlee's new set. I had scrap 2x2s, 1x6s and 1x3s from the Lydia Toddler Bed and so I modified the dimensions a bit and used 3 boards 1x6 and 2 1x3 to make up the table top. The chairs are a combination of the Four Dollar Stackable Chair and the Classic Chairs Made Simple. I kept splitting the wood on the legs for the Four Dollar chair, so I modified the plan to have the legs 2x2 like the table and bed. It was a lot of trial and error but I finally got it right... The only thing was I had already cut the seat slats to size so I used them as the seat supports and so I only had to purchase two 2x3x6, other wise every thing else was scrap.

She was so excited to see it... we already had 3 tea parties!! Thanks to you Ana for your inspiration. I so can't wait to start the doll high chair for Marlee's next surprise!!!

Built from Plan(s)
Estimated Cost
Only spent $12.
Finish Used
3 coats of paint and 3 coats of poly. Pink is Sherwin Williams Azalea Flower, Green is Sherwin Williams Rye Grass. The same colors on her walls.
Recommended Skill Level
Beginner

Comments

Fancy X Desk with Breadboard top

Submitted by petesveen on Sun, 07/28/2013 - 17:16

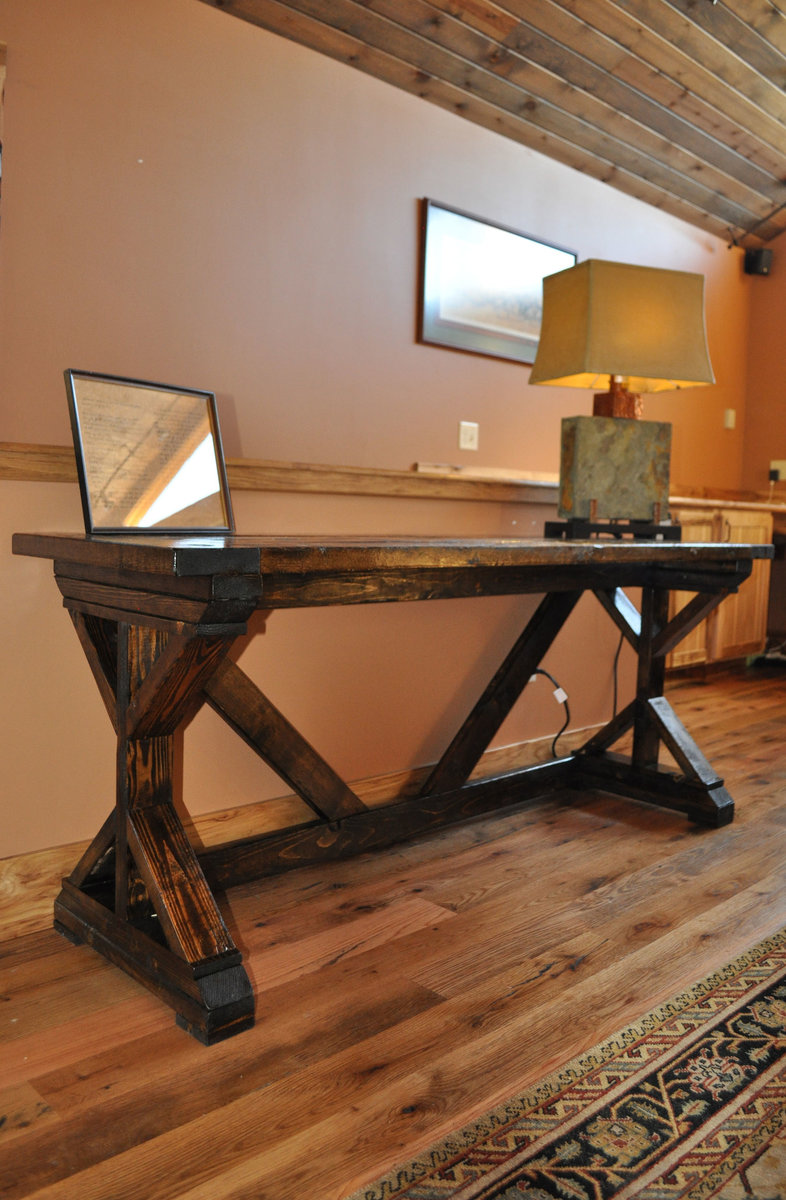
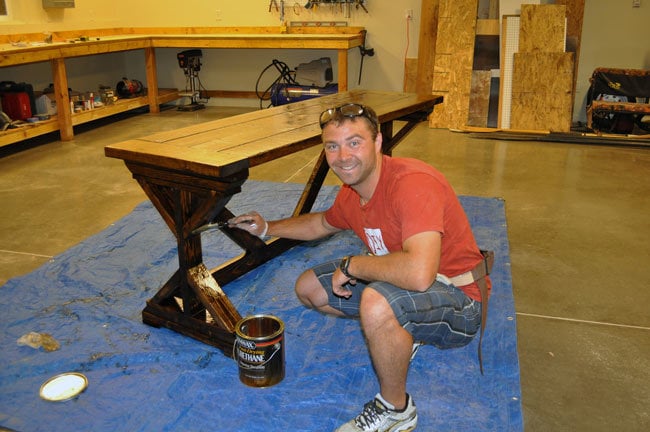
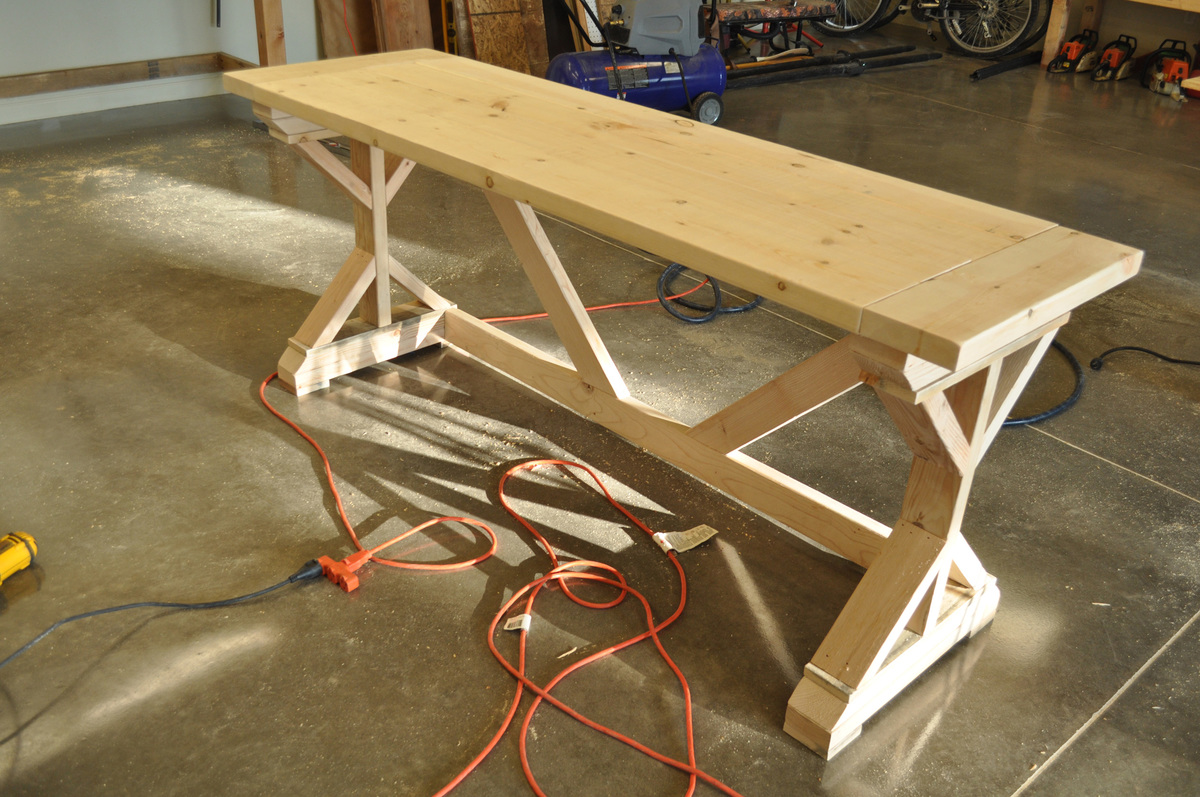
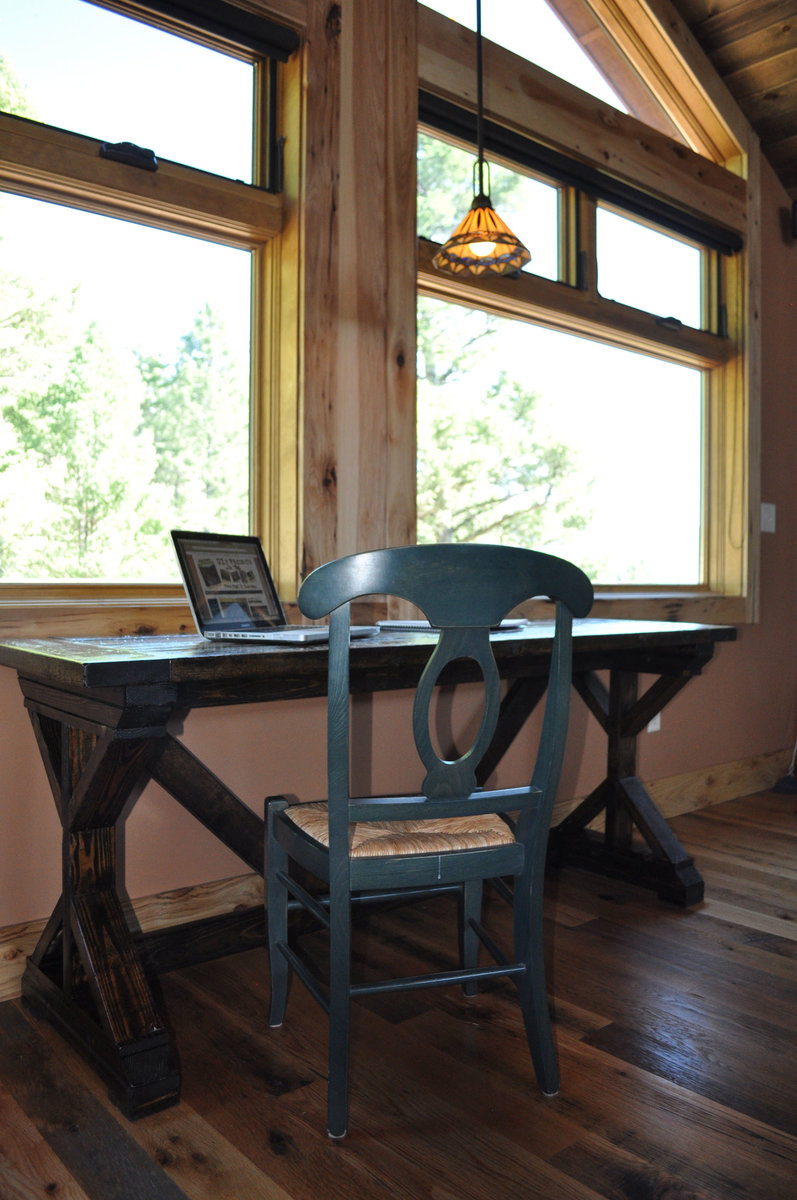
When I saw this project on Ana's site I had to make it. It turned out great and get's compliments from all my friends.

The only modifications I made were to the top. I used 2x6 boards and did breadboards on each end.

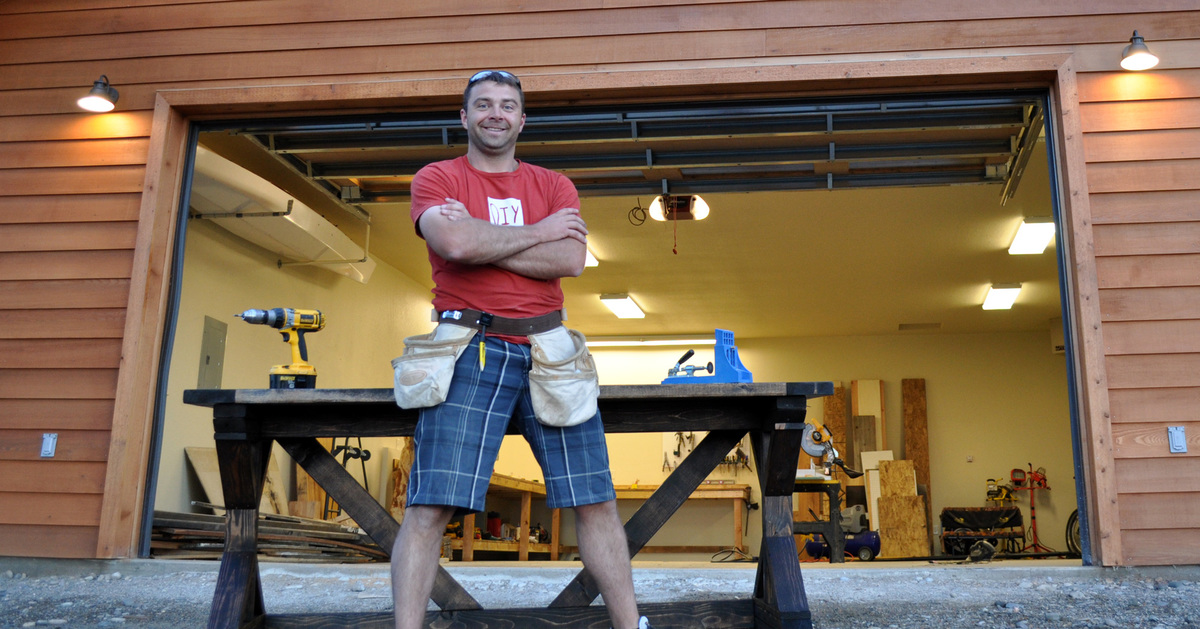
I documented my build with photos and did a 10 minute video tutorial showing the whole process of building Ana's table.

Built from Plan(s)
Estimated Cost
$55 For Lumber
Estimated Time Investment
Weekend Project (10-20 Hours)
Finish Used
Minwax Walnut Stain with 3 Coats of Polyurethane
Recommended Skill Level
Beginner

Comments

Michael K

Mon, 02/09/2015 - 02:57

I really like the stain you chose and the overall project! The breadboard ends adds a little something more...I may do the same when I get around to making this desk!

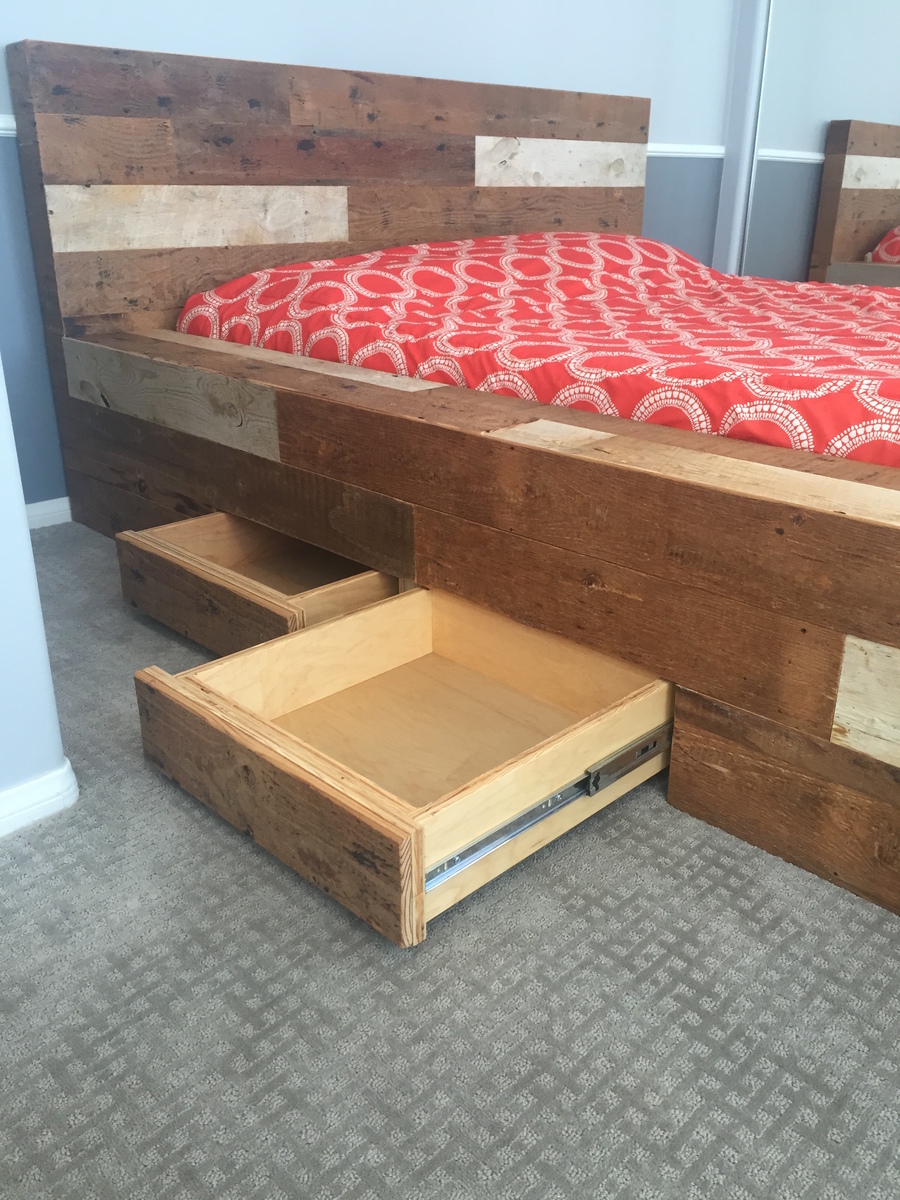
Reclaimed barn wood bed

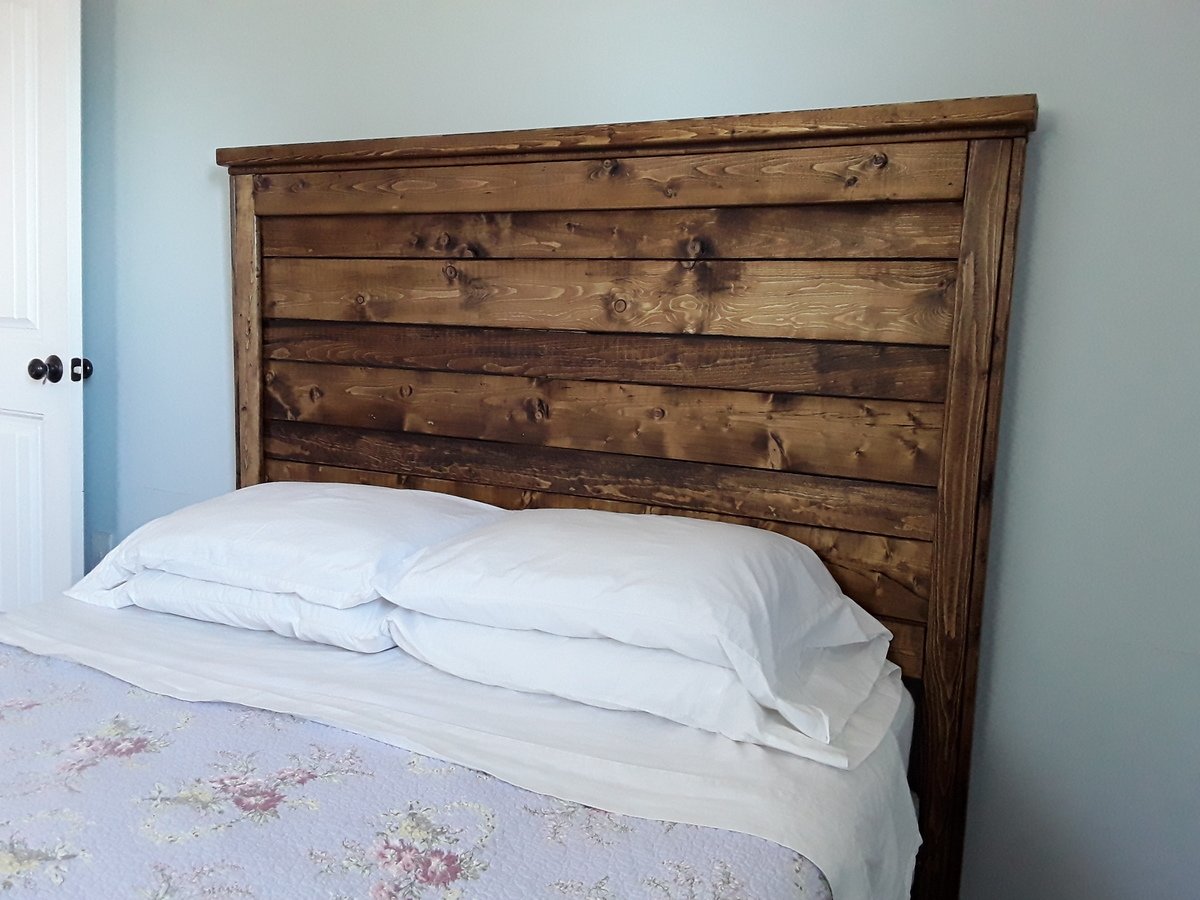
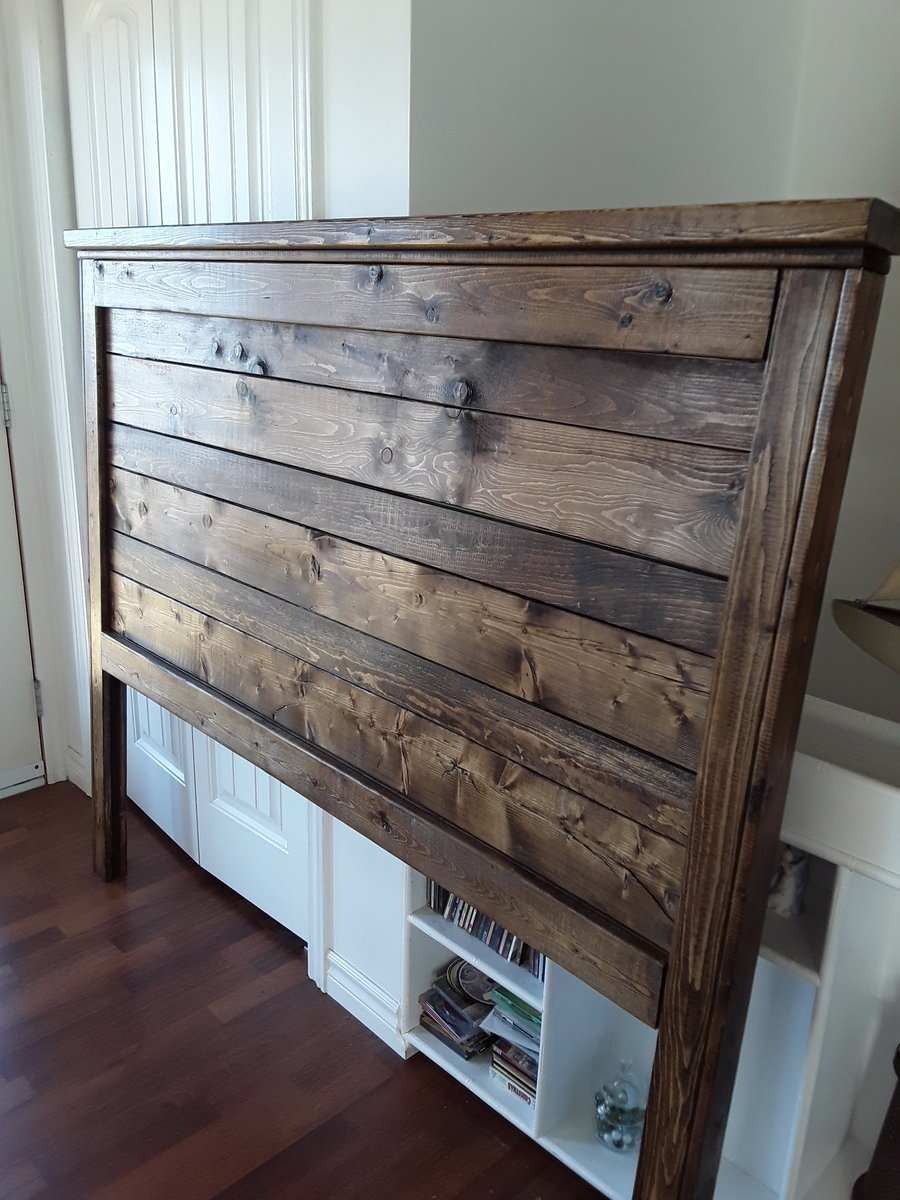
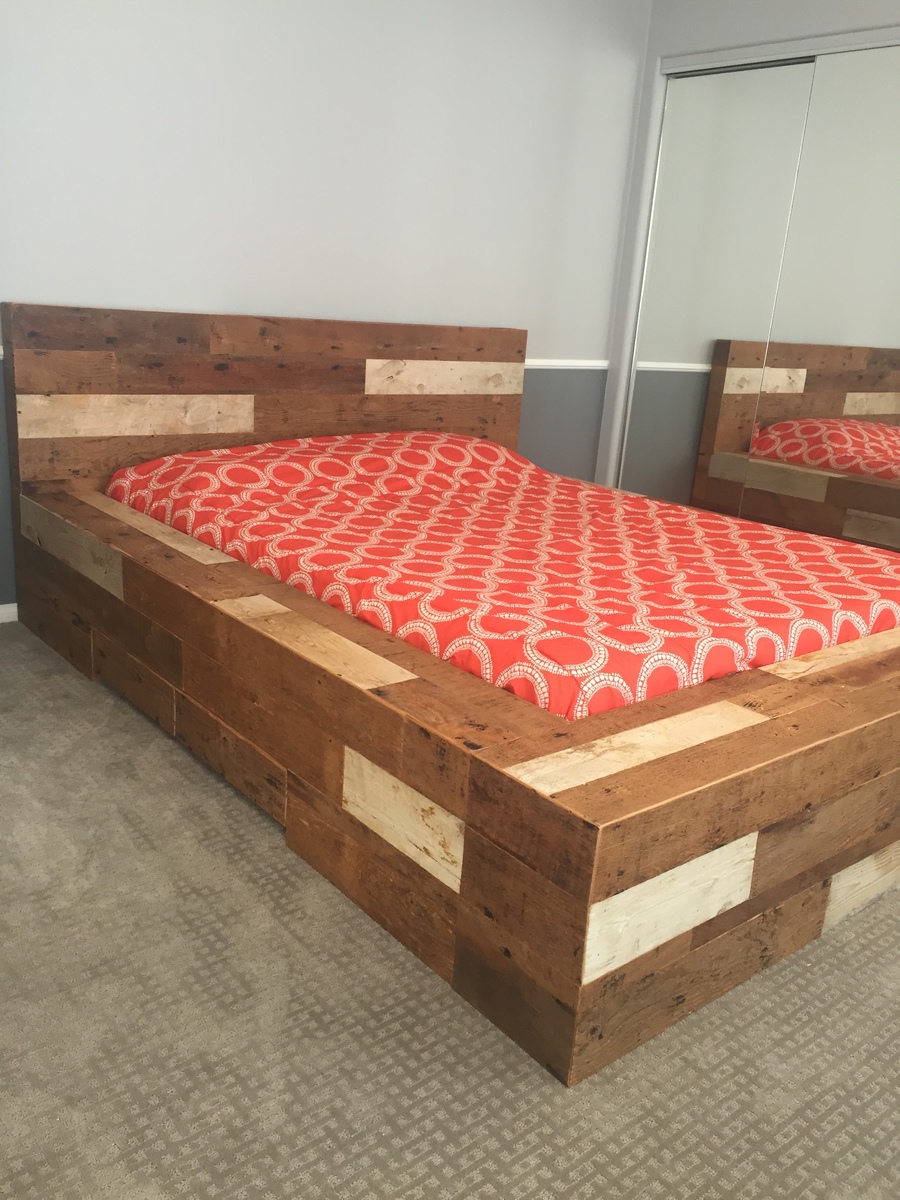
This bed is built out of reclaimed barn wood. I added two full extension drawers on either side.  

Estimated Cost
$500.00
Estimated Time Investment
Week Long Project (20 Hours or More)
Finish Used
Matte varnish
Recommended Skill Level
Intermediate

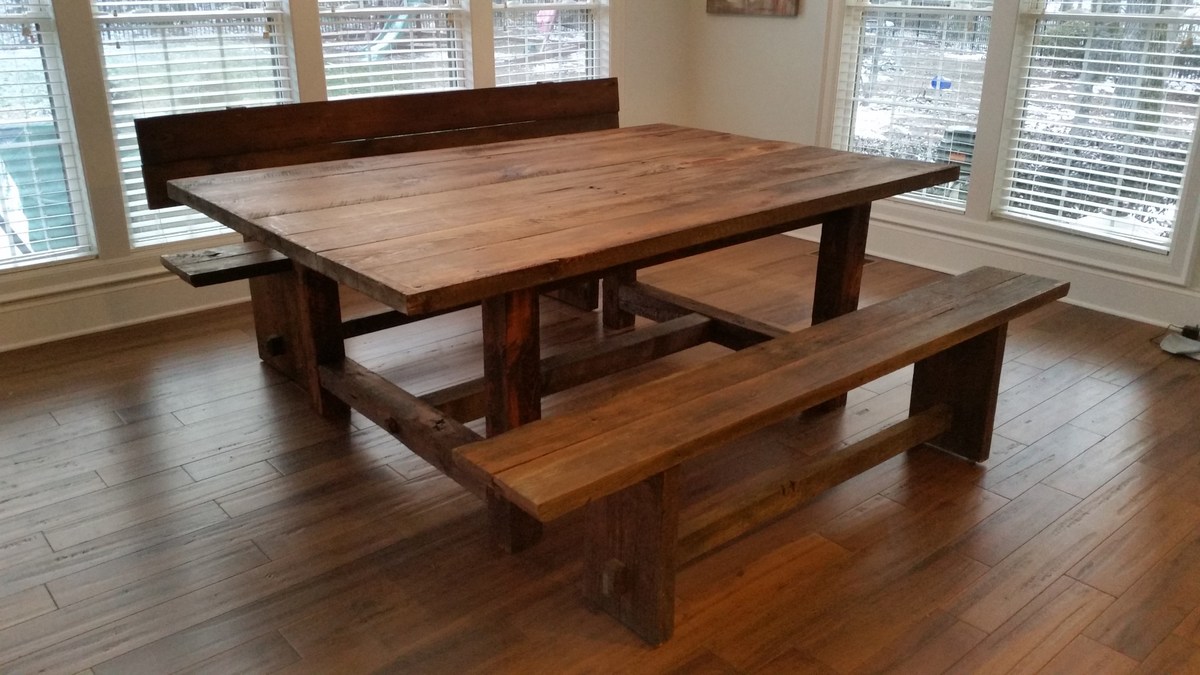
Oversized Reclaimed Barn Wood Dining Table Set

This oversized reclaimed barn wood dining table measures a whopping 96″ by 54″ – that’s quite a dining room table, with seating options to easily fit ten people.  You can comfortably sit three adults on each side of the table, while also accommodating two adults on each end.  In a pinch, you could actually fit four adults on each side of this table while having the two still sit at the ends; having four kids on the sides would not be a problem at all.

This table top was constructed from 2×6 and 2×8 beams, while the base was built out of 4×6 and 4×4 posts. I believe “behemoth” may be a proper word to describe it, as I even had to deliver the top in multiple pieces and assemble it on site.  The benches were also constructed mostly from 2×6 beams harvested from the same barn as the material used in the table itself.  We added a light coat of Provinicial stain to help bring out some uniformity in the color, and finished with a few coats of liquid wax to help protect the table.  We informed the client of the trade offs of using a wax instead of a polyurethane, but they really preferred the “softness” of the wax finish and understood that they will have to reapply every year.

More pictures are available on our blog: http://famousartisan.com/oversized-reclaimed-barnwood-dining-room-table/
Estimated Time Investment
Weekend Project (10-20 Hours)
Finish Used
Provincial stain and liquid wax
Recommended Skill Level
Intermediate

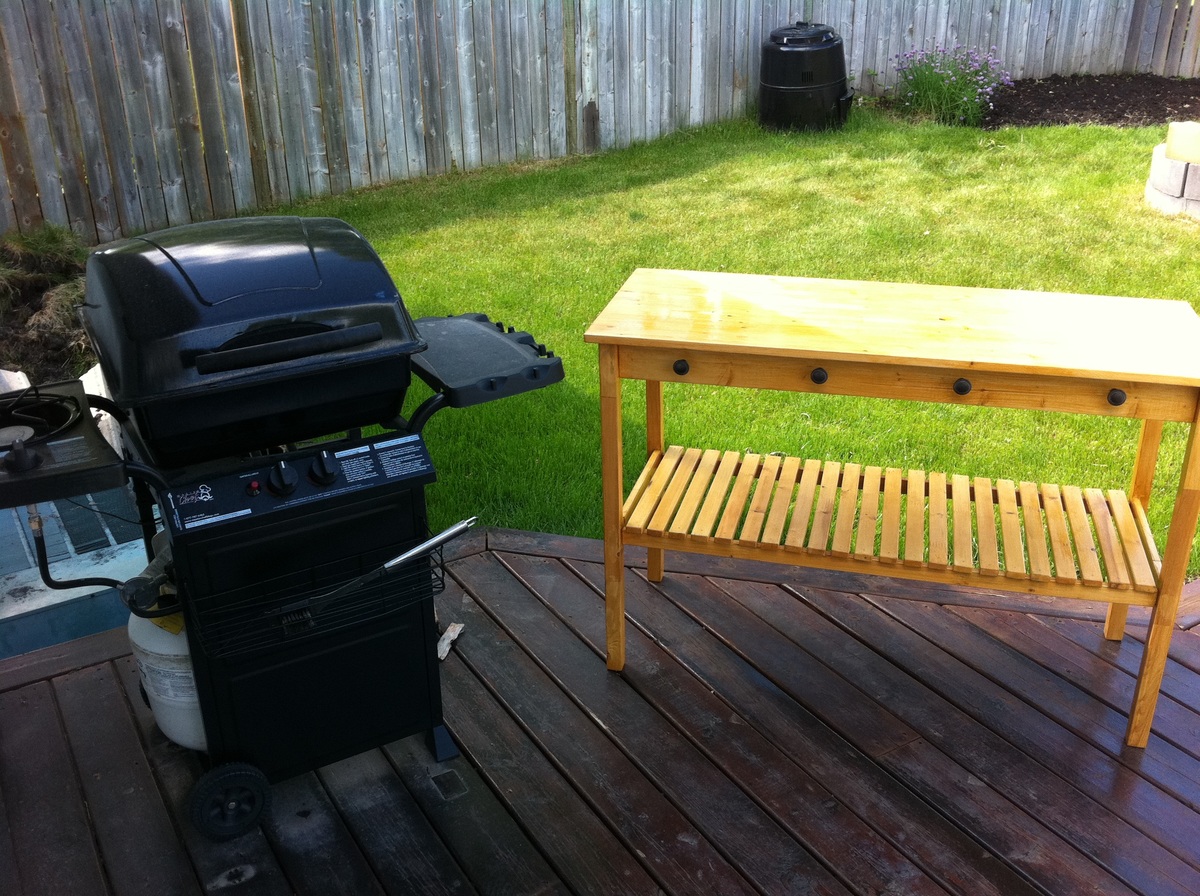
A "Kitchen Island" For our Deck

Submitted by LinzFritz on Wed, 06/15/2011 - 16:49

We needed a prep area for our BBQ, so I decided to use the plans for the Simple Kitchen Island. I made it a little bit narrower (20 inches rather than 24), and added drawer pulls to hang up our BBQ tools. It's coming in very handy!

Built from Plan(s)
Estimated Time Investment
Weekend Project (10-20 Hours)
Finish Used
Mildew resistant stain (natural colour), and 3 coats of polyurethane
Recommended Skill Level
Beginner

Comments

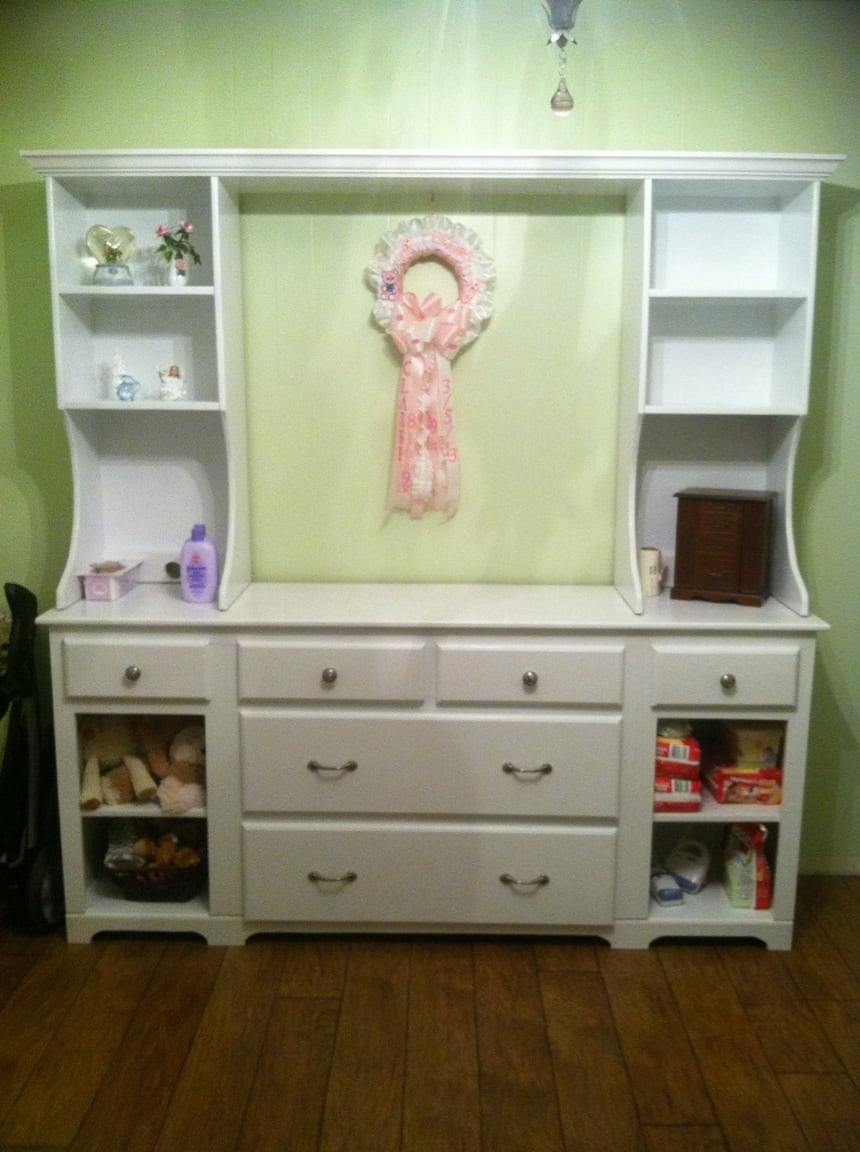
Modified changing table

Submitted by LErwin on Tue, 07/30/2013 - 19:41

I used Ana's changing table plans to build this for my new granddaughter. I modified it to be more like a dresser that she will be able to use for many years.

Built from Plan(s)
Recommended Skill Level
Advanced

Comments

Cedar Planter

Submitted by pde00311 on Fri, 08/14/2015 - 11:20

When one of our bushes died, we replaced it with this planter. It compliments our yard and the neighbor's fence nicely.

Built from Plan(s)
Estimated Cost
$20
Estimated Time Investment
Afternoon Project (3-6 Hours)
Finish Used
Behr Solid Color Waterproofing Wood Stain in White
Recommended Skill Level
Beginner
Seasonal And Holiday

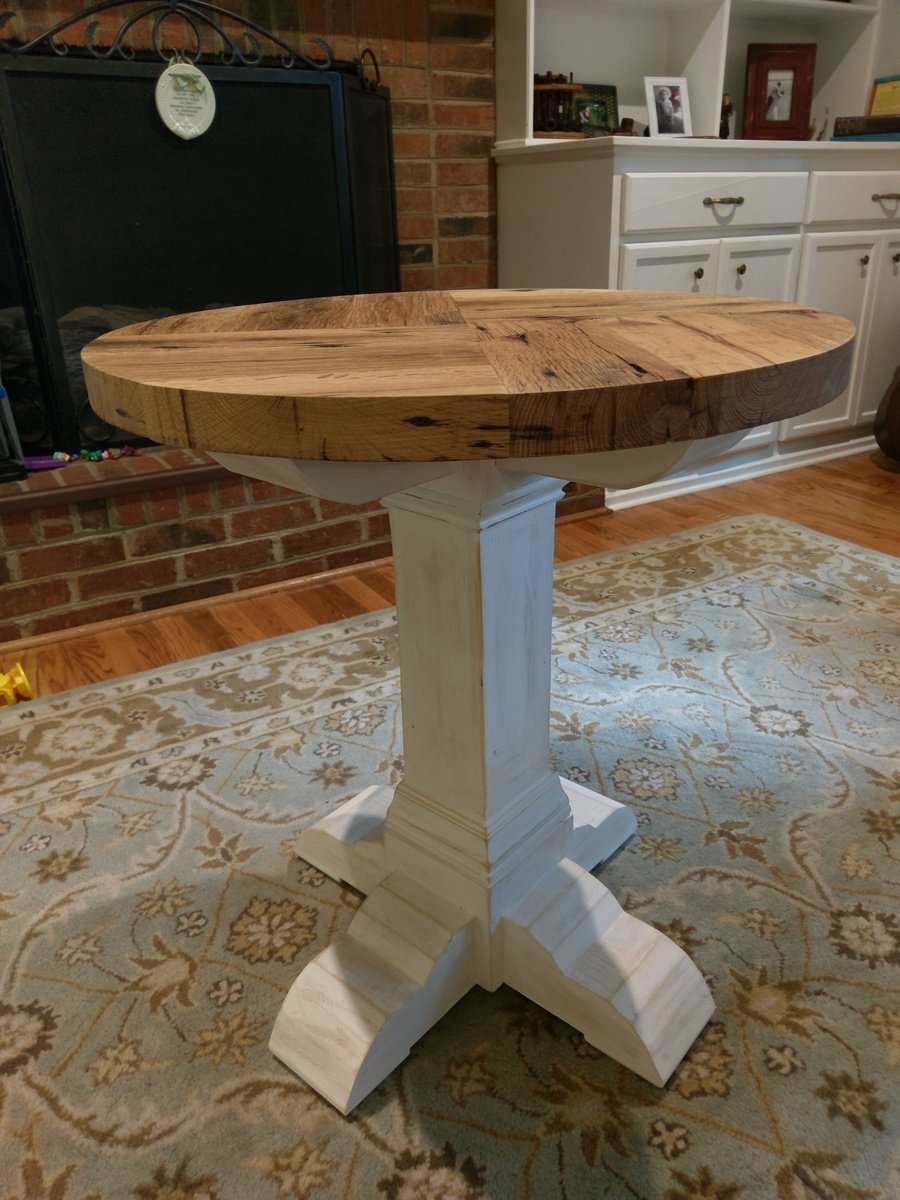
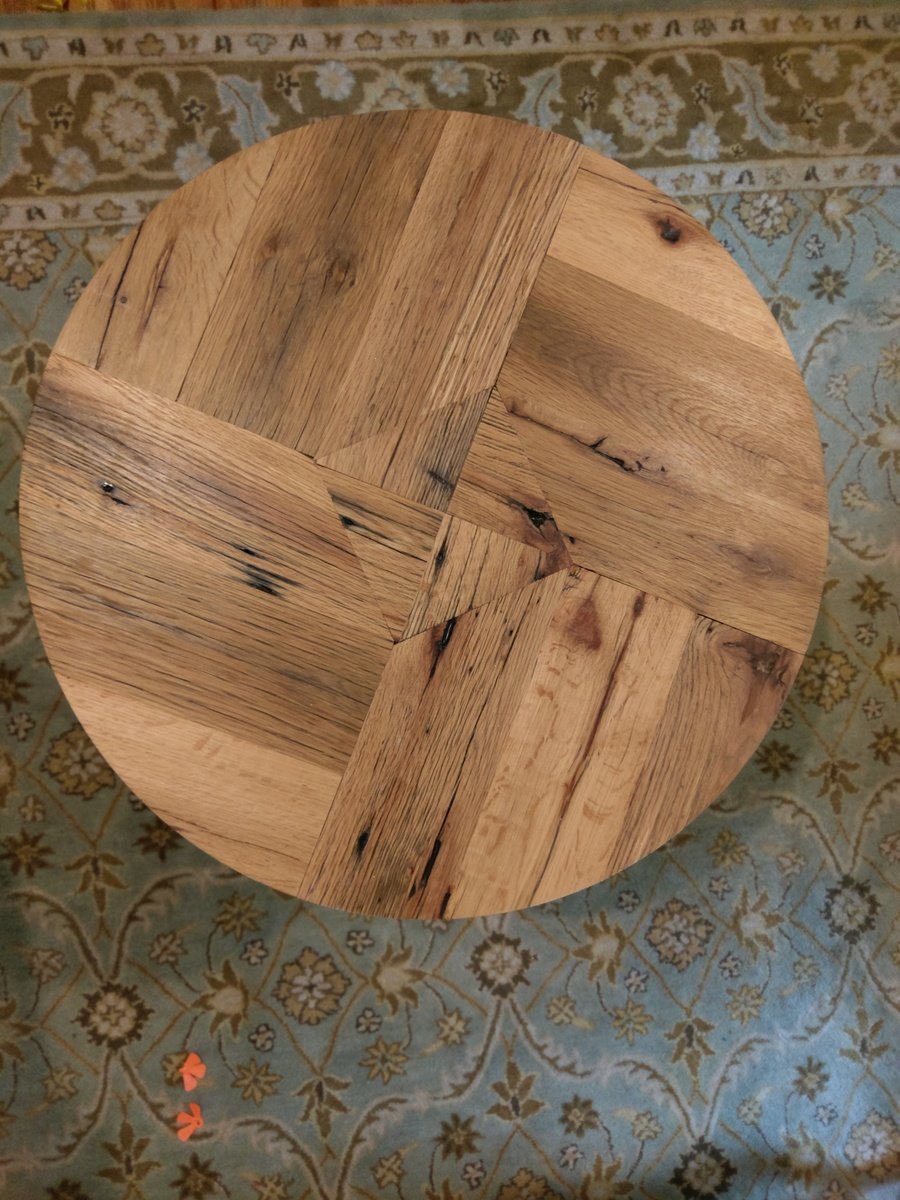
Reclaimed Red Oak Side Table

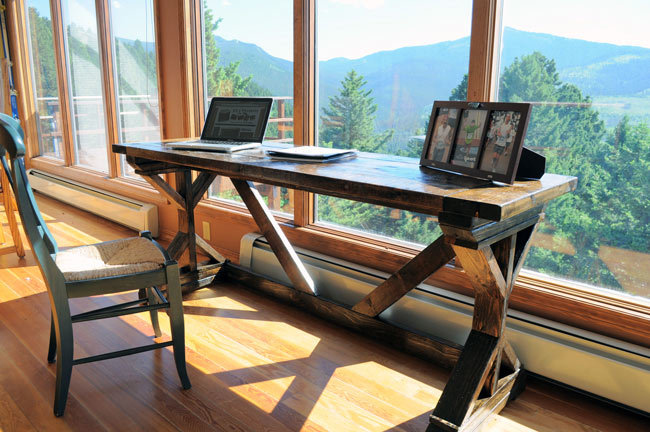
Here's a round top side table I built.  The top is made from reclaimed red oak barn wood, sourced from a barn right here in Charlotte, NC.  The base is made from standard 2x6s and trim.

More pictures and information is available on my site at http://famousartisan.com/reclaimed-red-oak-barn-wood-side-table/
Estimated Cost
$100
Estimated Time Investment
Weekend Project (10-20 Hours)
Finish Used
Chalk pain and wax
Recommended Skill Level
Intermediate

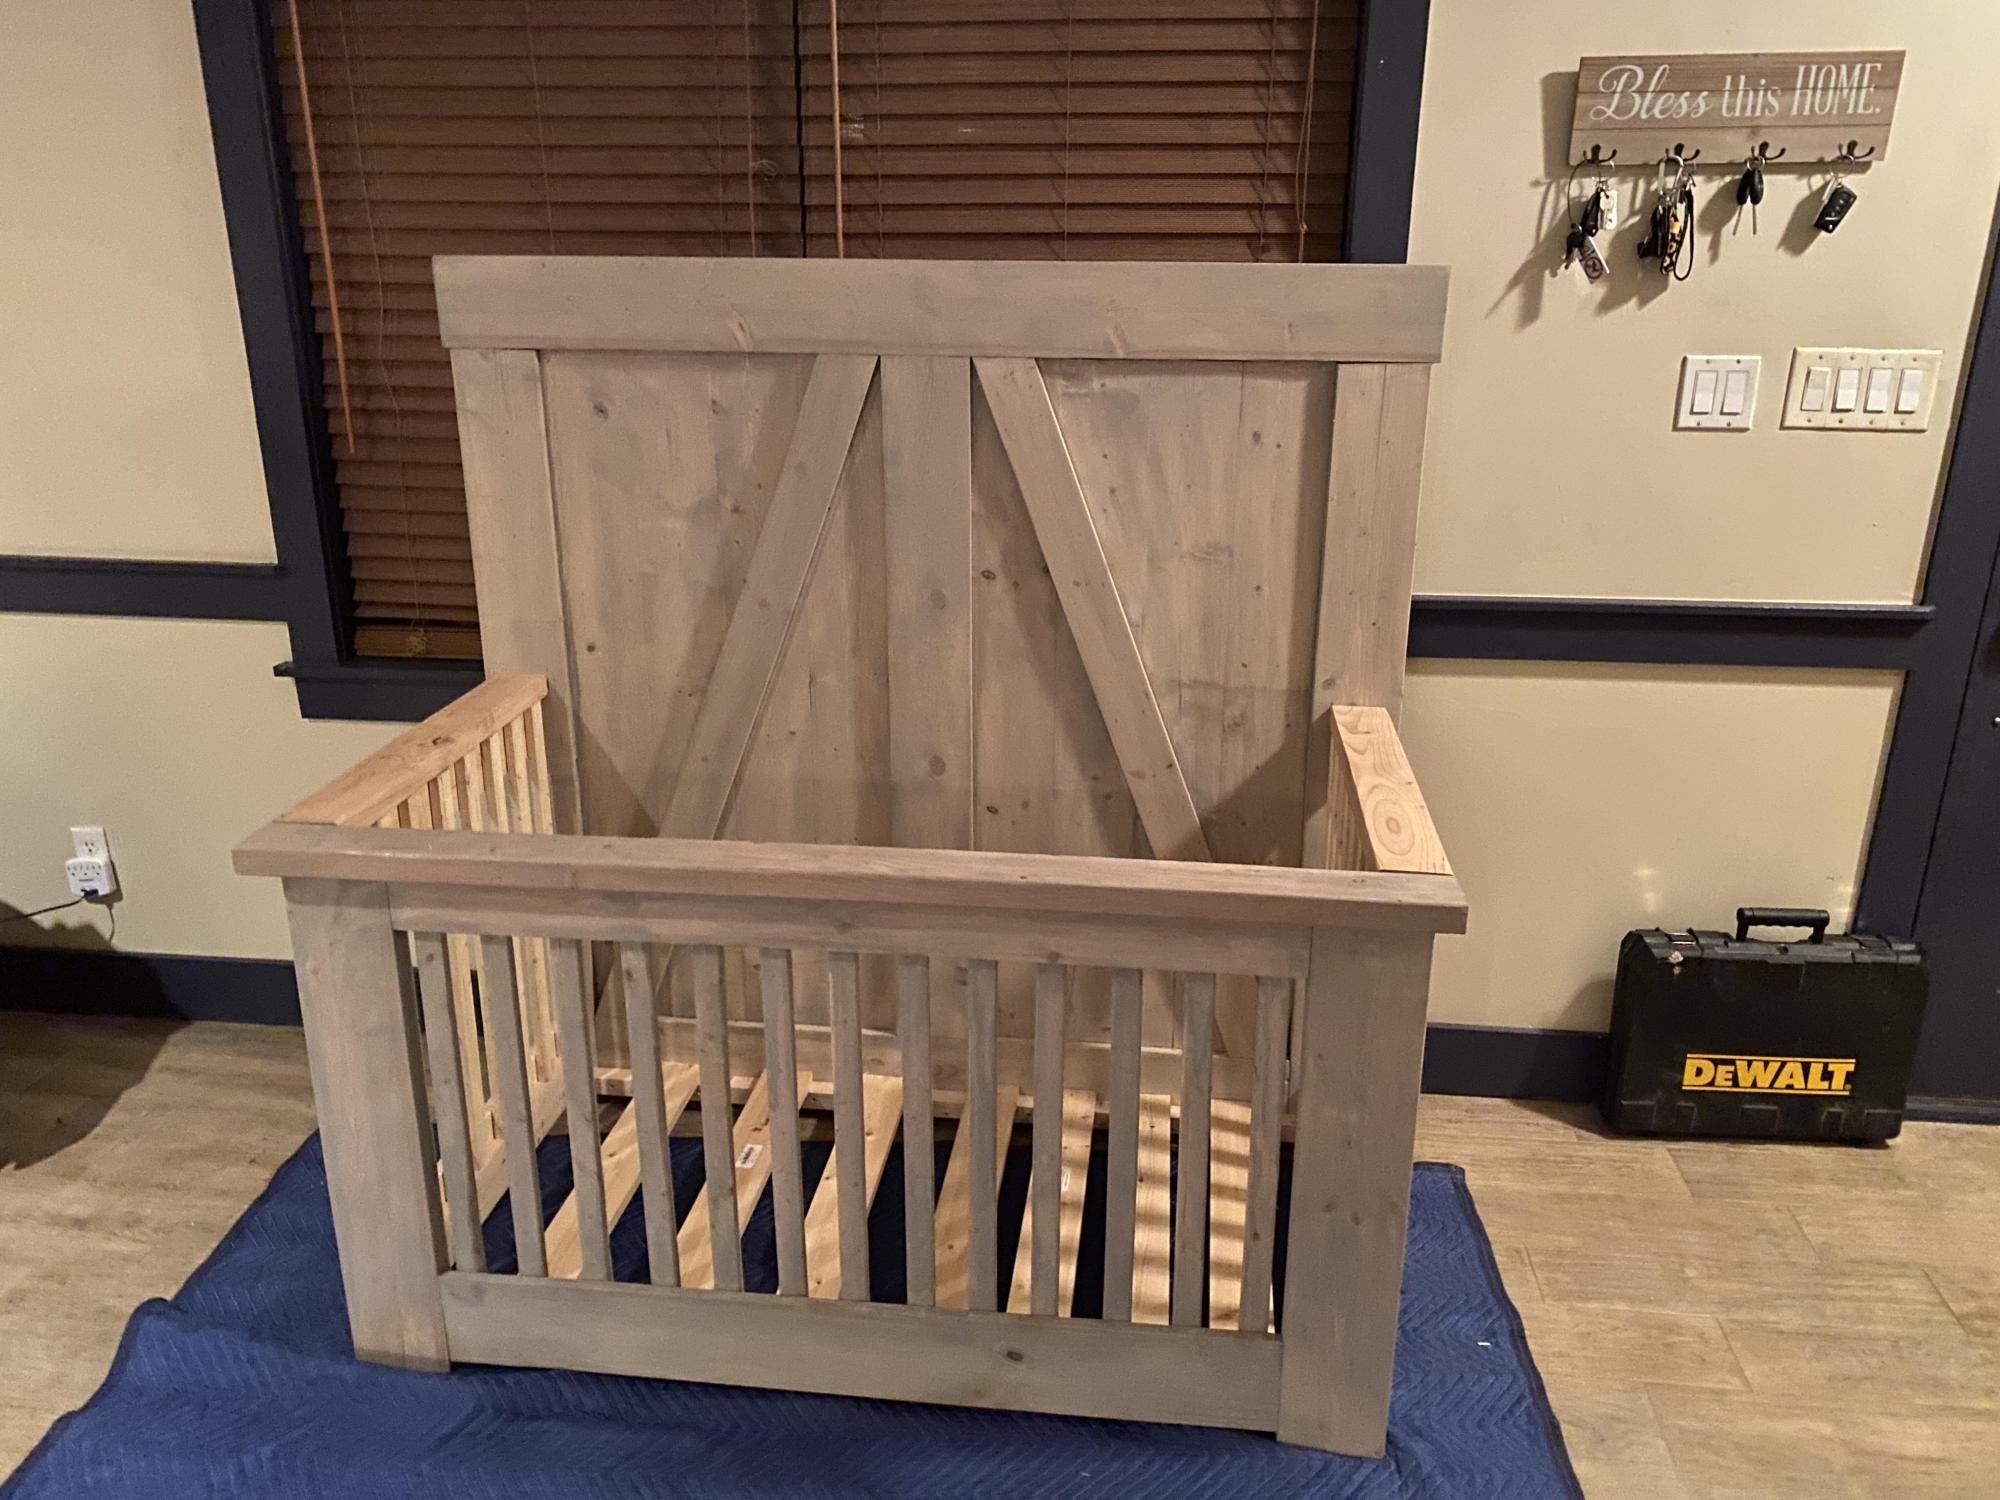
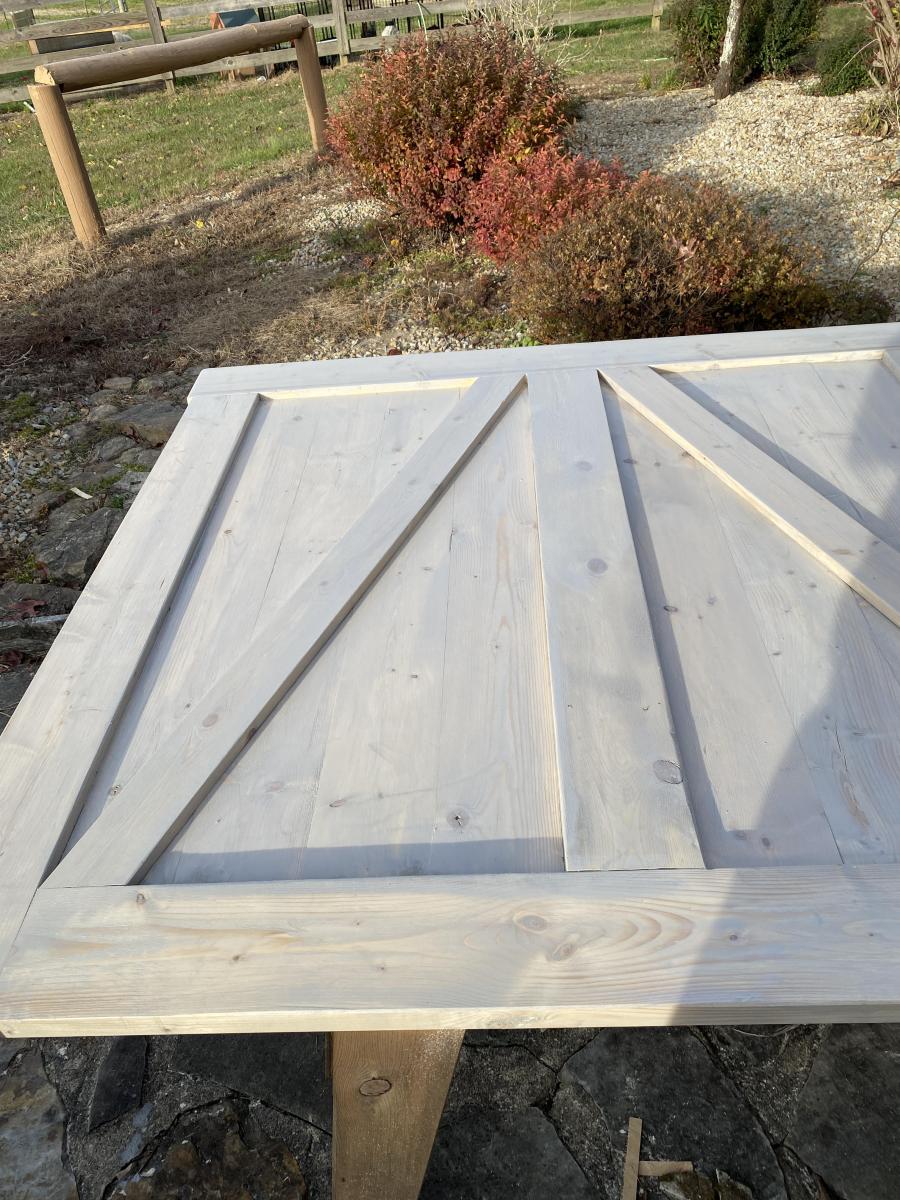
Farmhouse Crib

Submitted by Anonymous (not verified) on Fri, 04/22/2022 - 13:28

Here is a little something I made. It was over a year ago. I got the plans from another website. I love your designs!  You are quite the inspiration. I have always had problems with building. Keeping things square but I haven’t given up yet.