DIY Paint Dipped End Tables
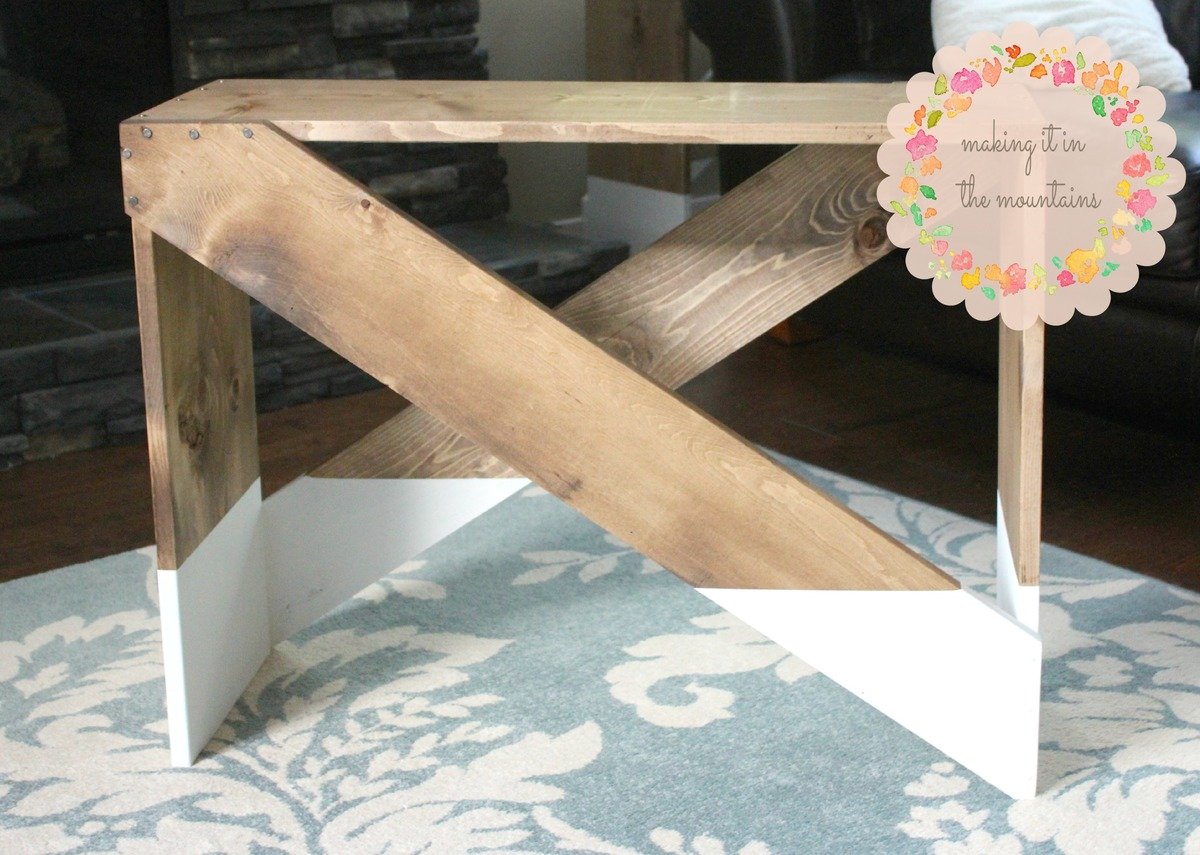
Some super quick and rustic DIY End Tables dipped in homemade Chalk Paint!
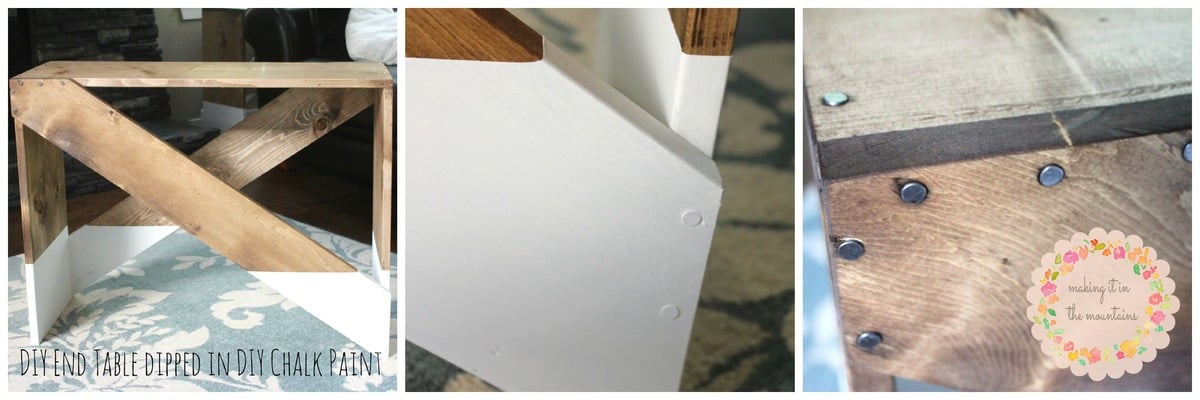
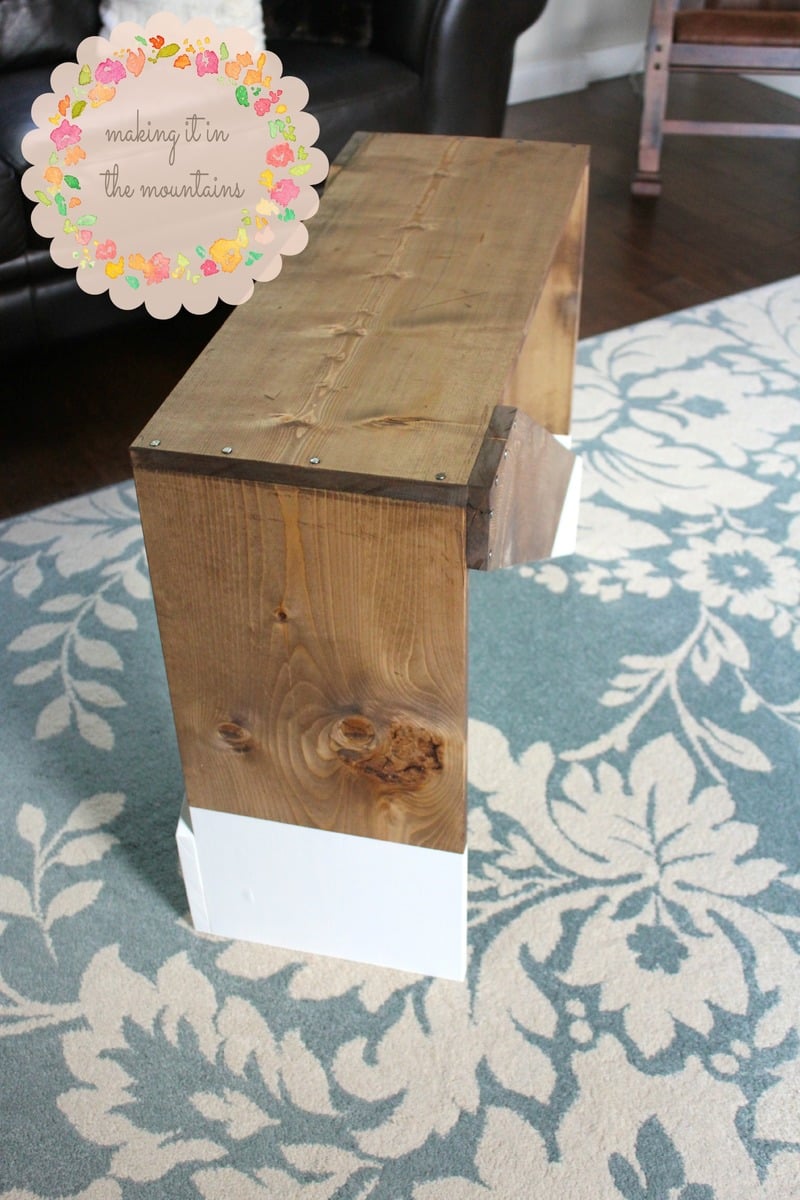
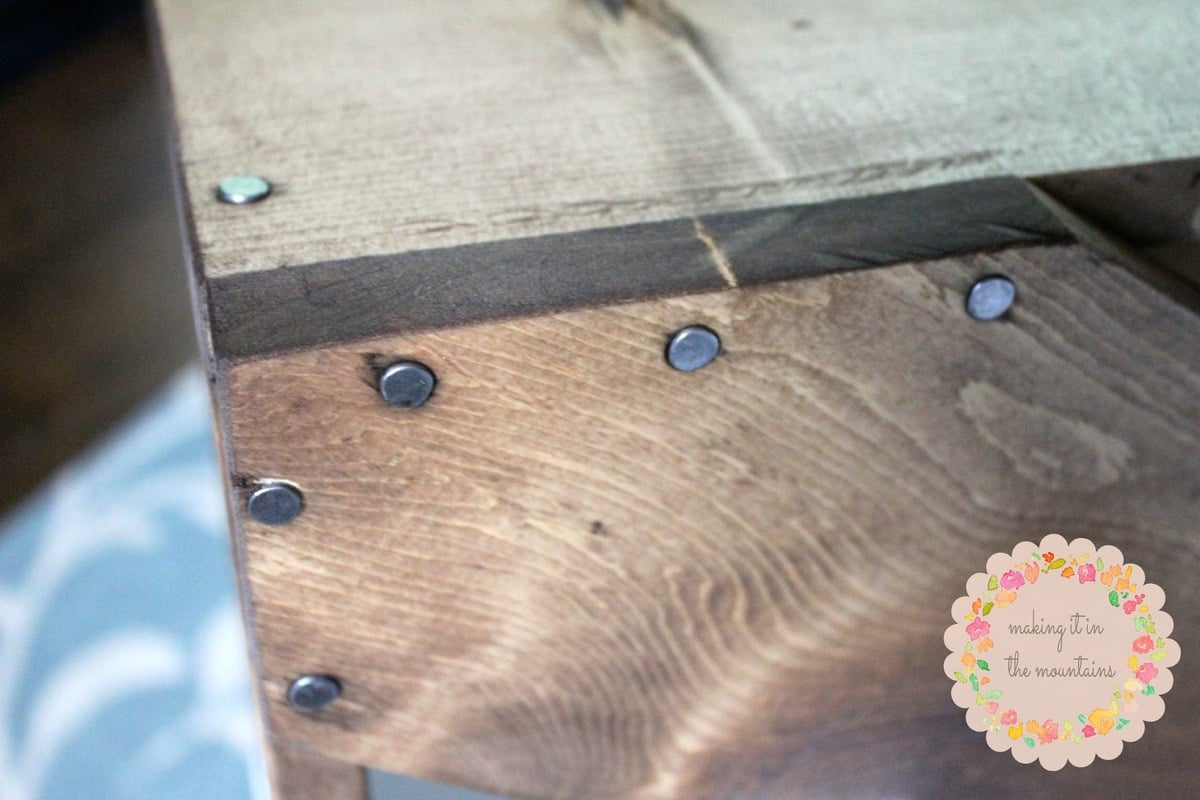

Some super quick and rustic DIY End Tables dipped in homemade Chalk Paint!


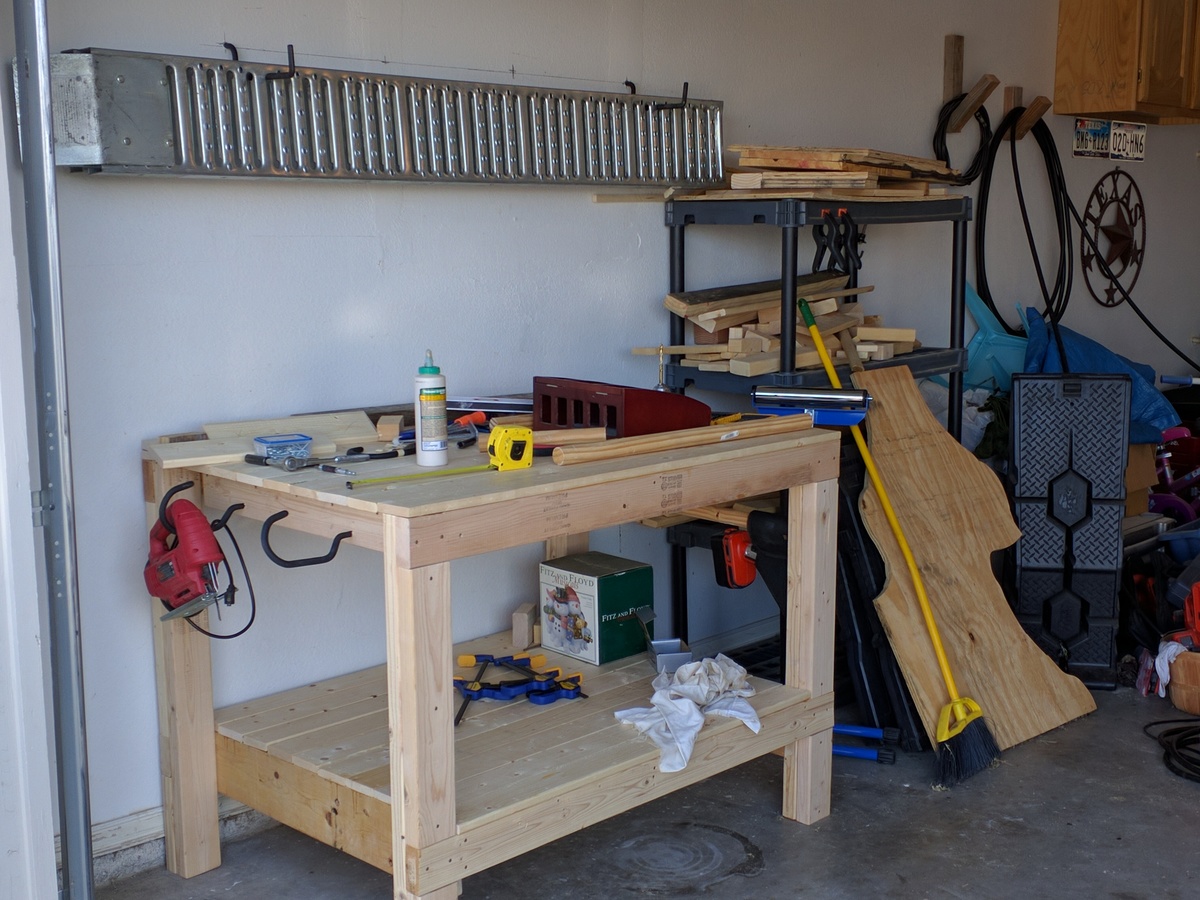
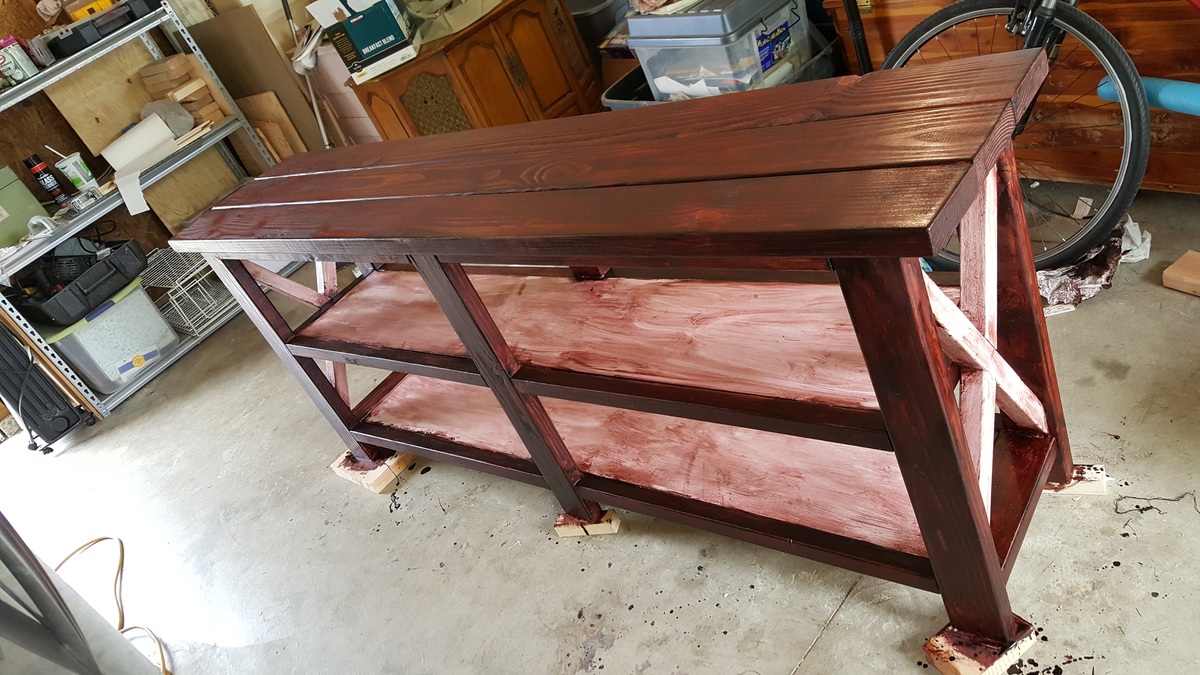
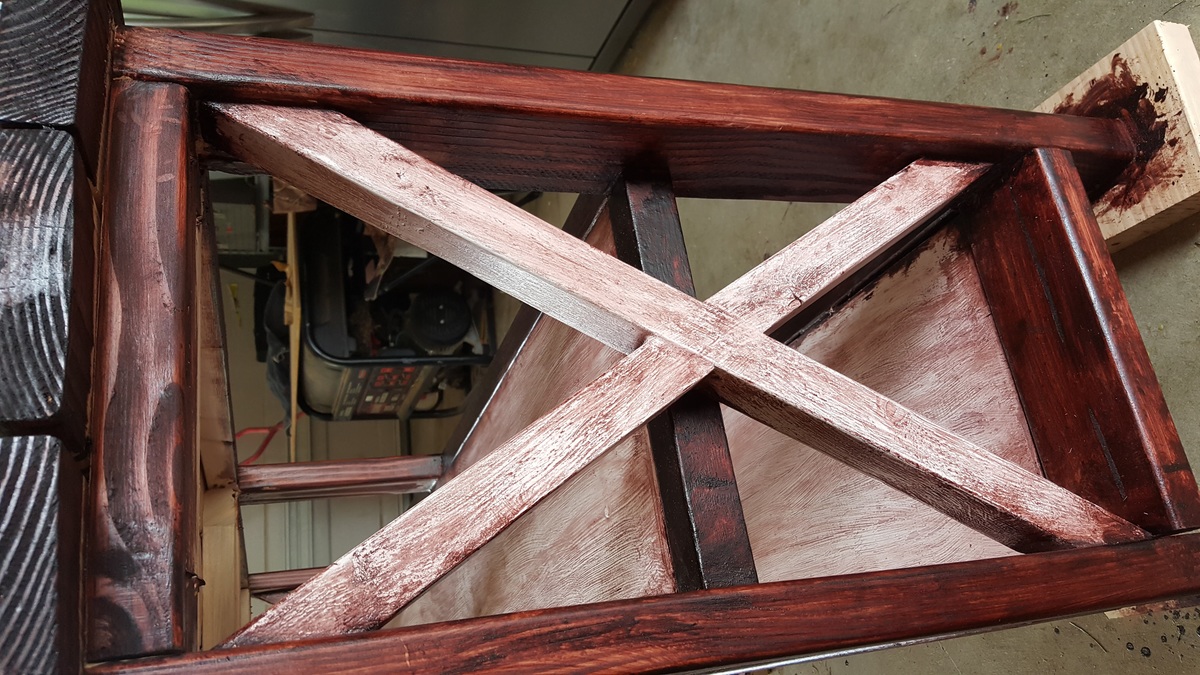
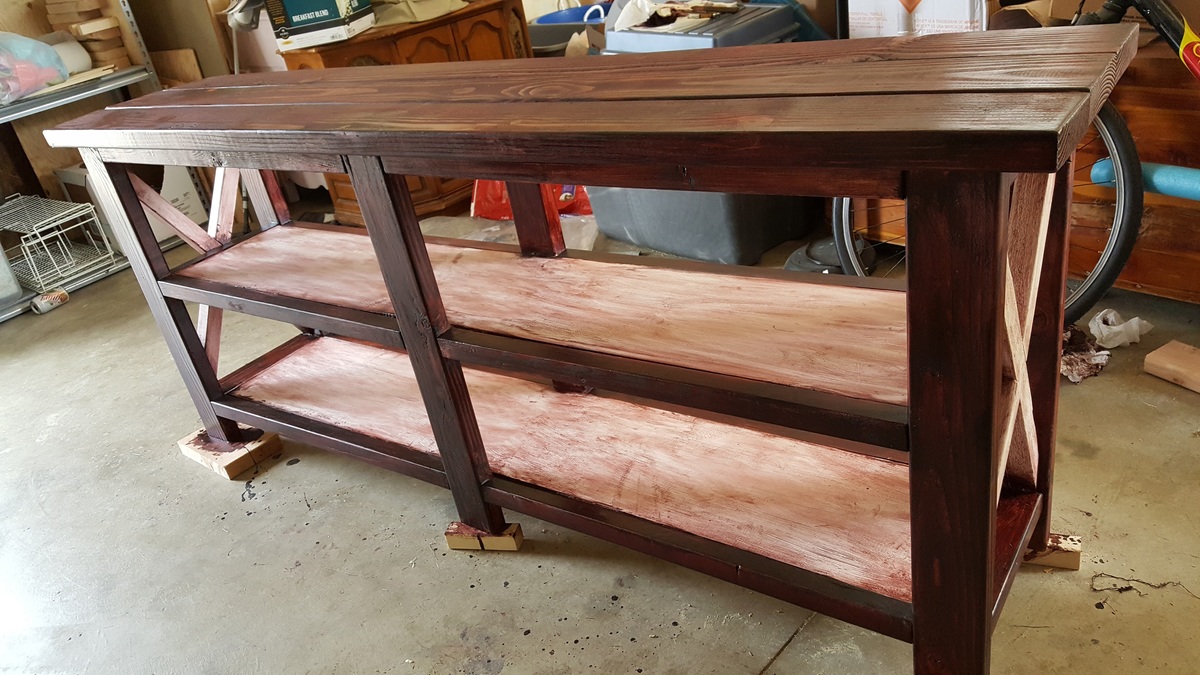
Altered the original plan only enough to accommodate the materials I had lying around without going to buy more lumber. The workbench I built is not as wide being only 48" instead of the 55" noted in the plans. For the top of the workbench and the lower shelf I used 1x4 furring boards again, because it is what I had for material at the time of building.
Once I made the basic frame, I squared it and then installed the supports for the table top and the lower shelf. Once the supports were in I cut the 1x4's to the appropriate length. As I laid each respective board, I also laid a good dose of wood glue down and then clamped them in place. I let those boards set with glue for about 5 minutes before going back and using a 2" brad nailer to finish them off. Once the nailing was done, I removed the clamps and moved to the next series of boards. Because I had several clamps I was able to lay about three boards at a time and let the glue set for another 10-15 minutes. Working slowly and methodically got the whole job done in a couple of days of a few hours a piece before completion.
Easy project and something that will last a long time when done correctly.
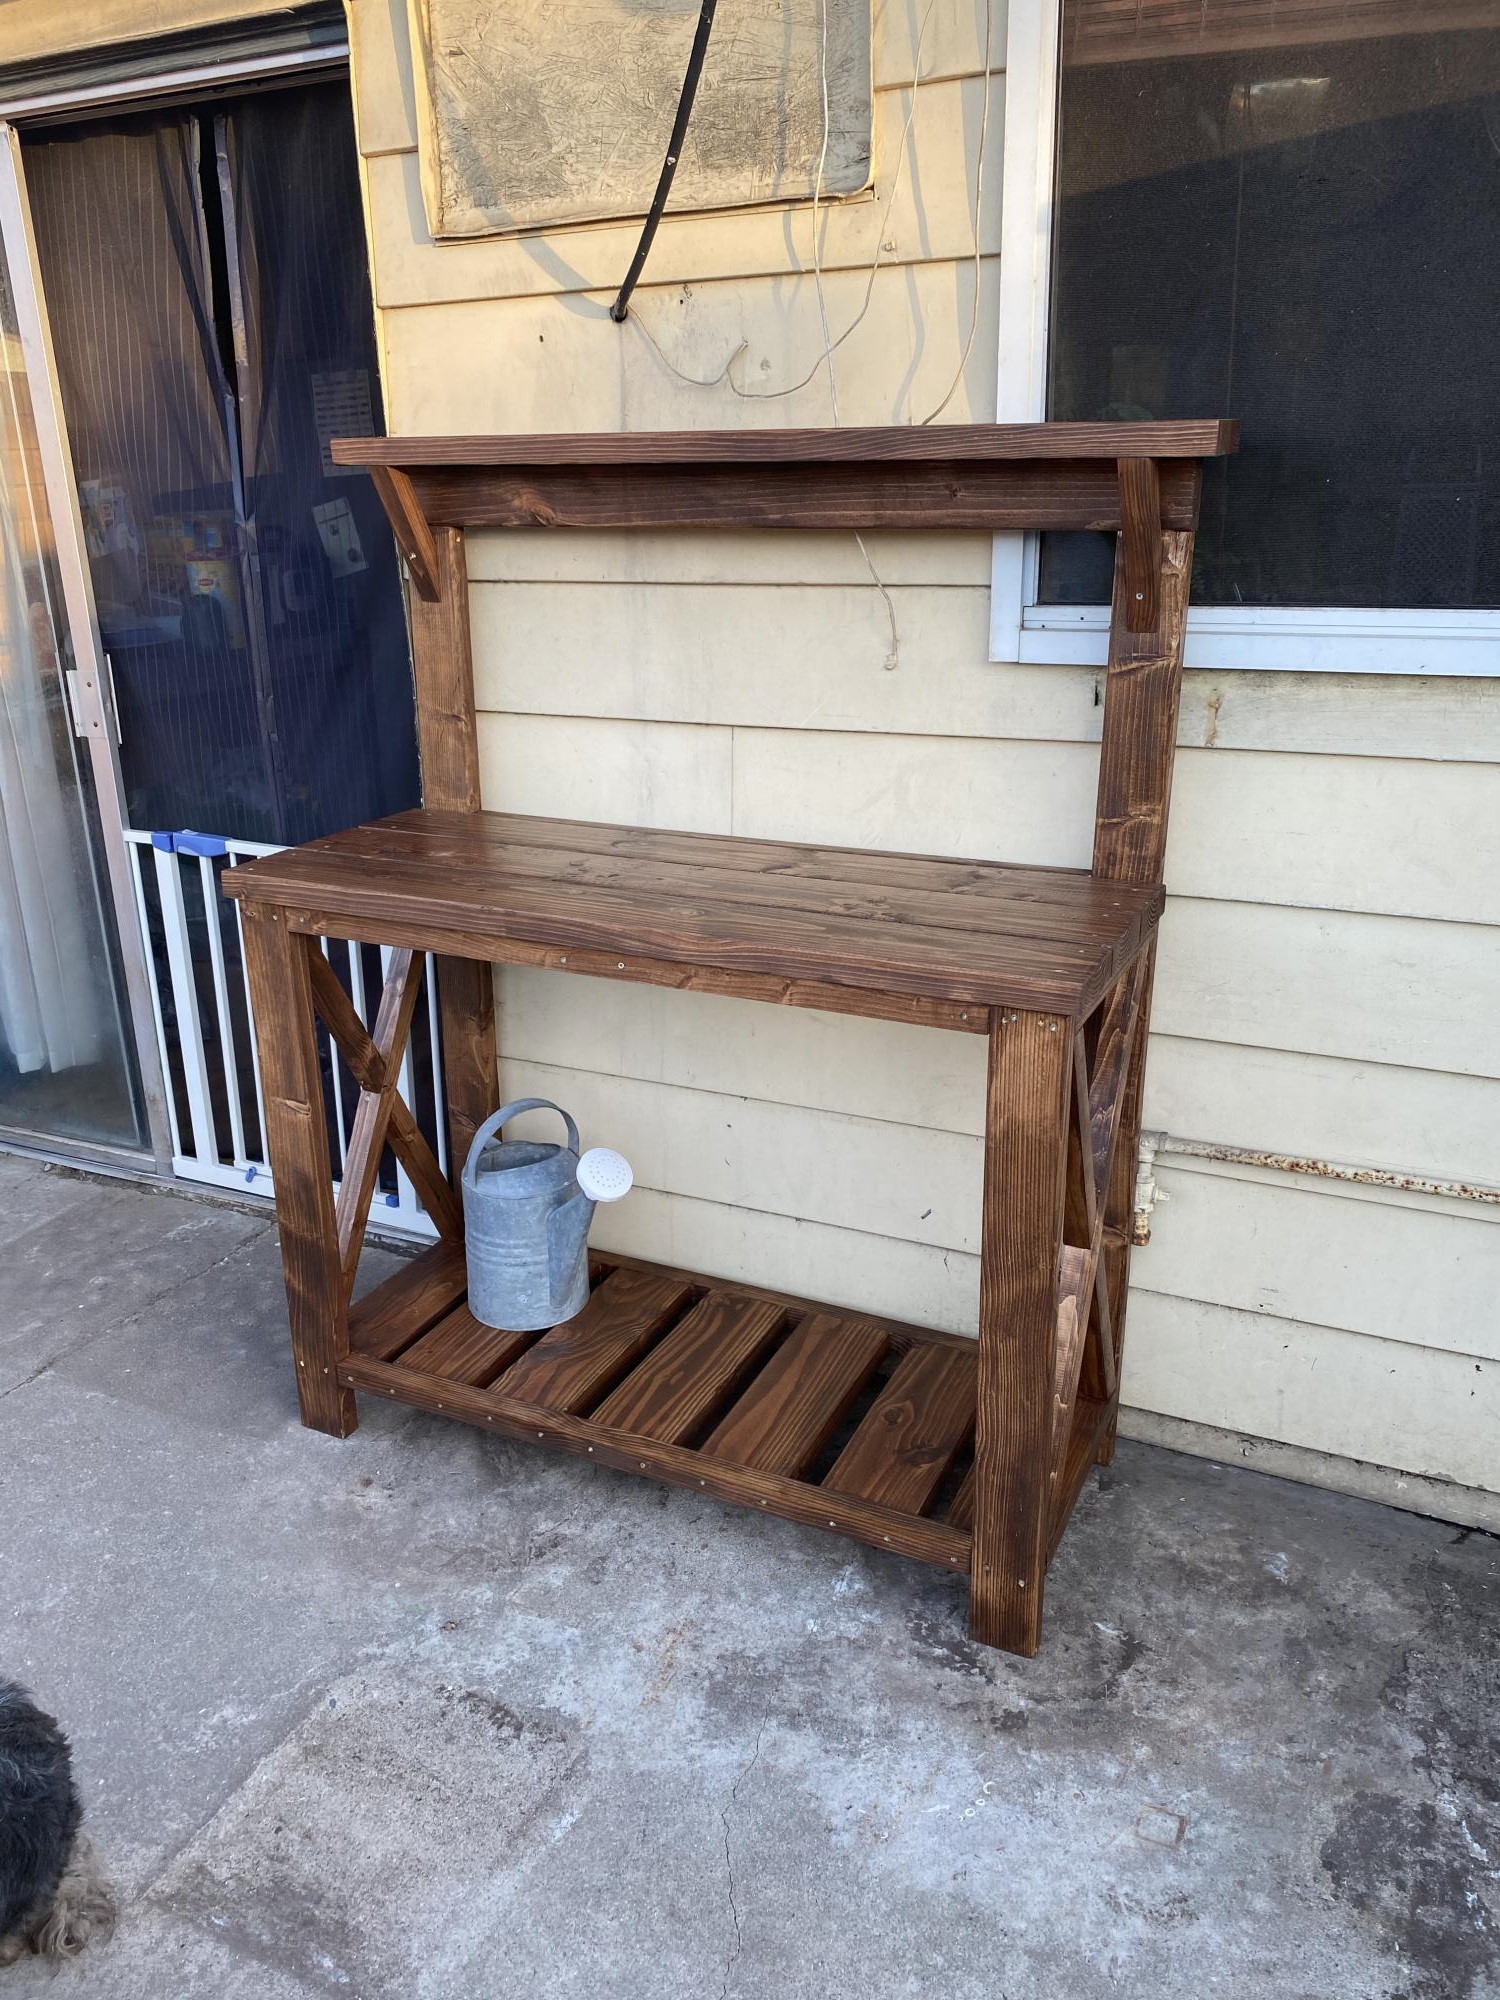
Saw this video and shared it with my fiancé. She loves plants and really wanted something like this. It took me a couple of hour to build. I stained it and sealed it over two days to be nice and weather resistant. She loved it. I added some suppor on the top because she wanted the shelve a bit higher on the top. I made a little change to it. This is my first Ana white project and i look forward to doing some more.
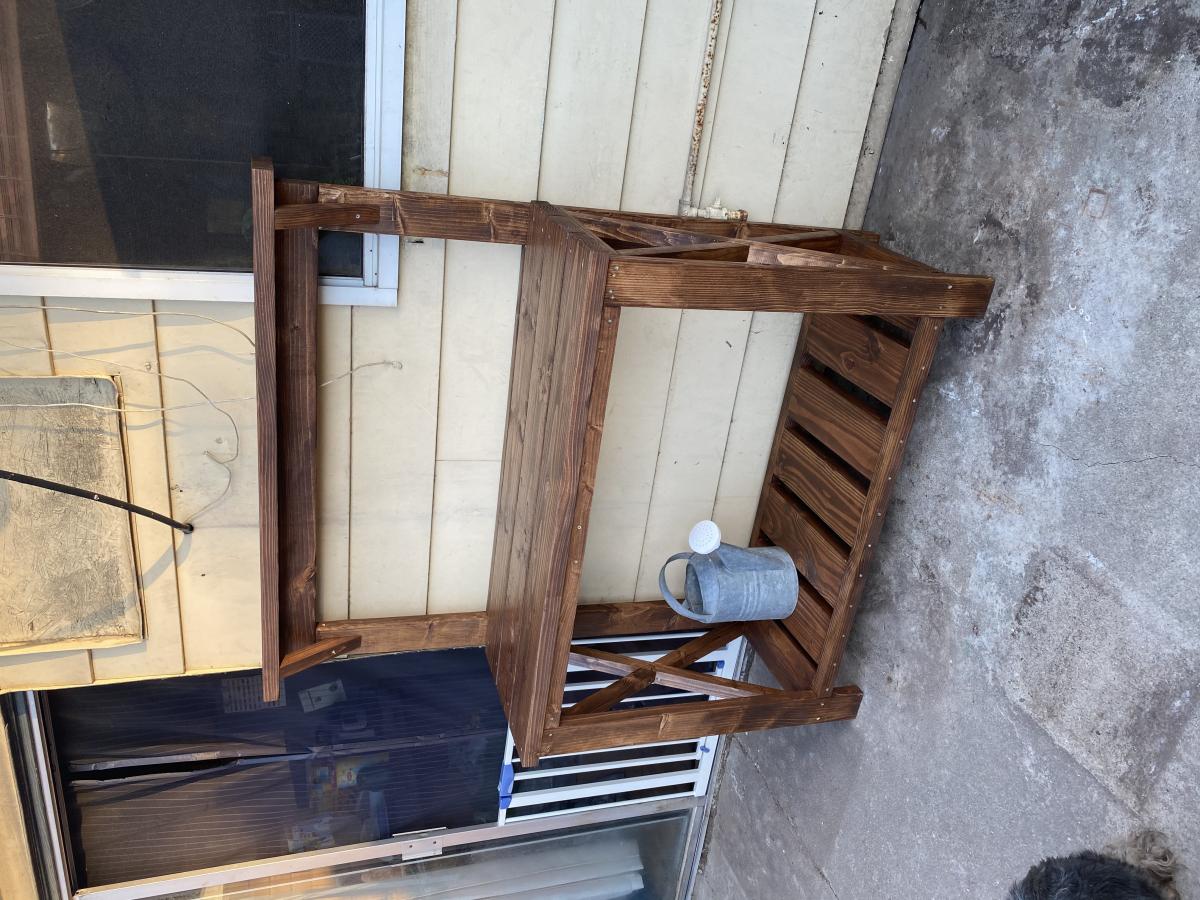
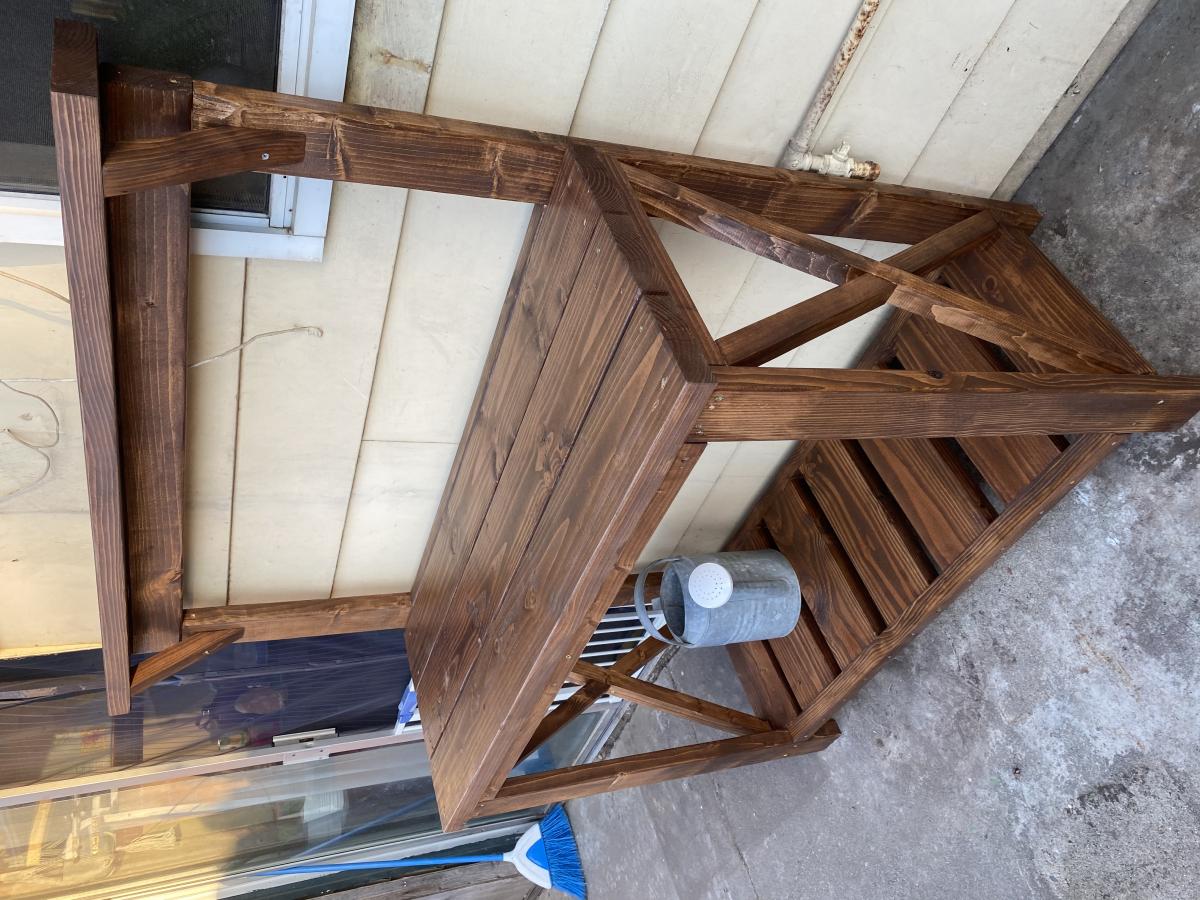
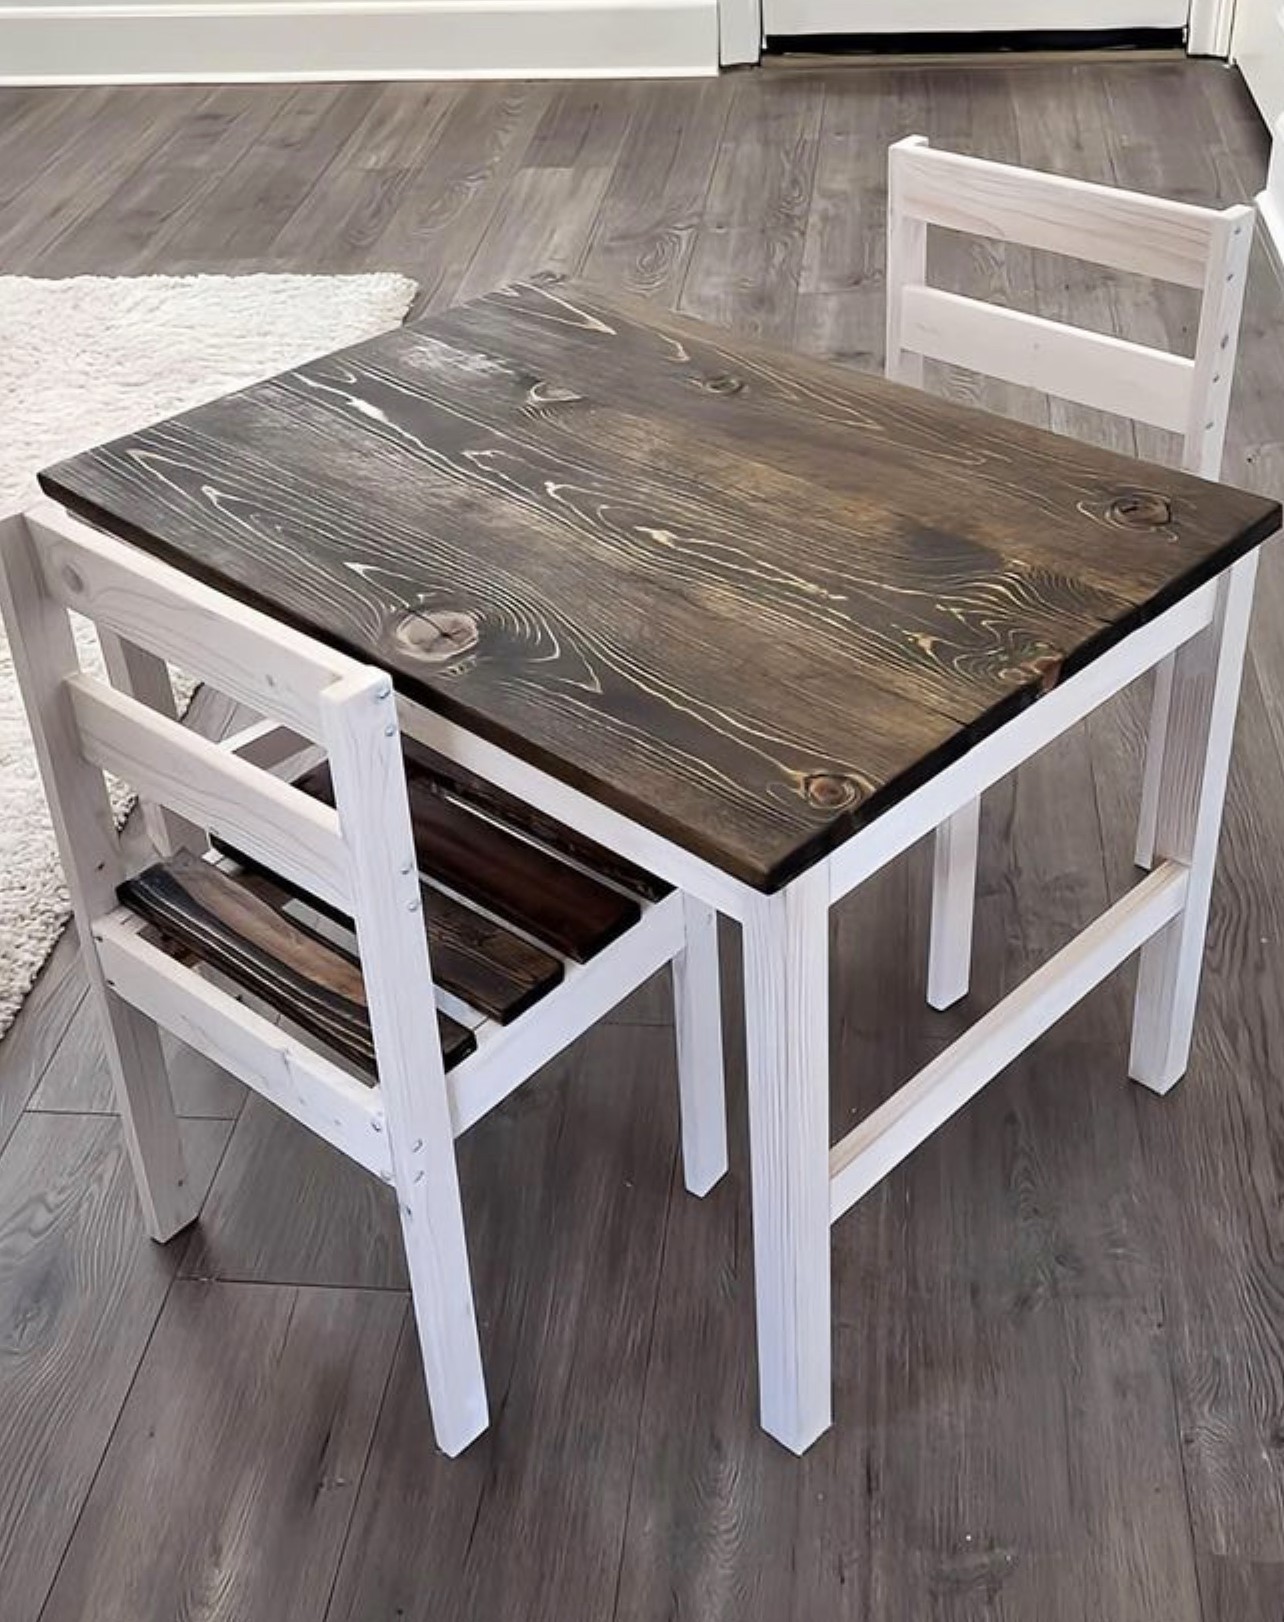
Super easy to build ,thanks for the instructions!!!!!!
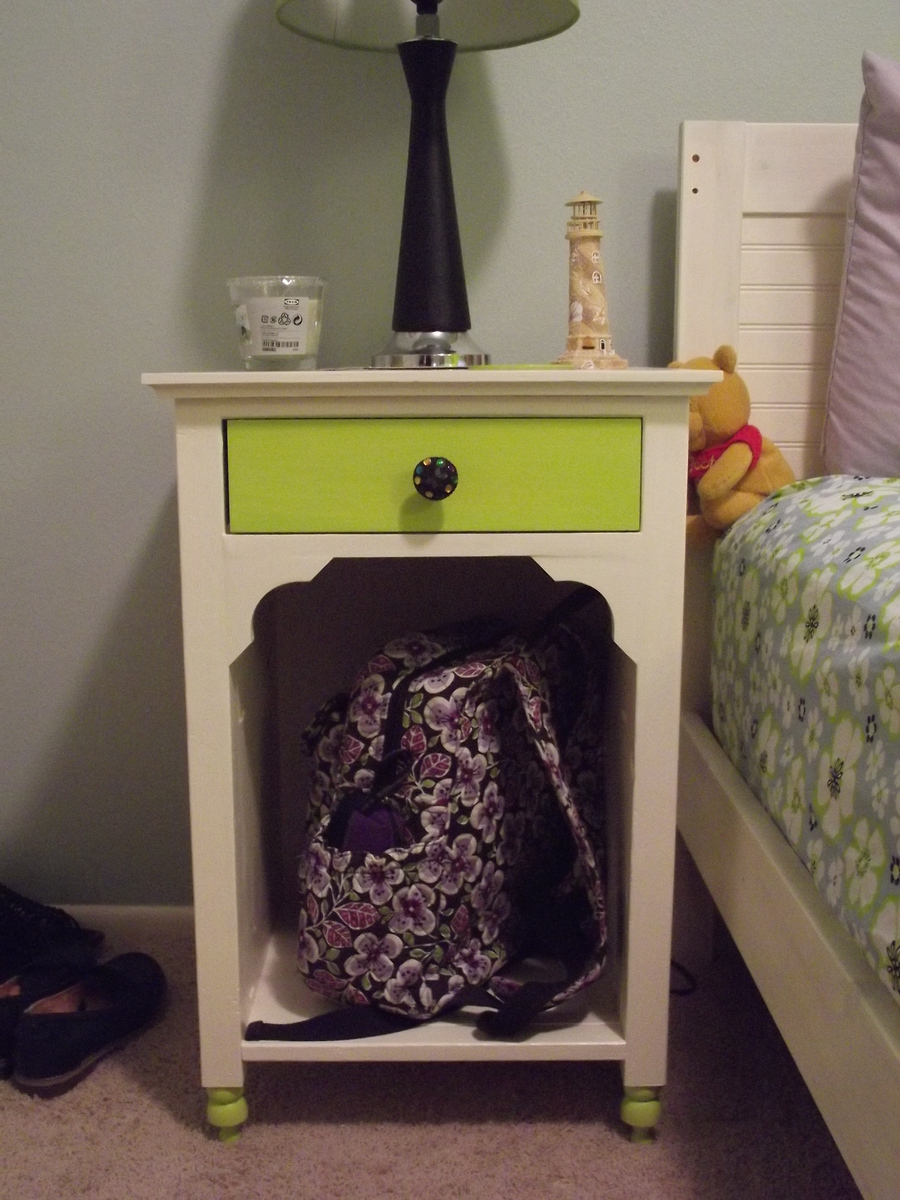
This summer my wife and I remodeled our oldest's bedroom. I found this nightstand on Ana's website, and my wife fell in love with it. I had to make it! I noticed there were no brag posts for the Julia, so I felt that I had to contribute as a thank you for finding these plans. Thanks Ana!
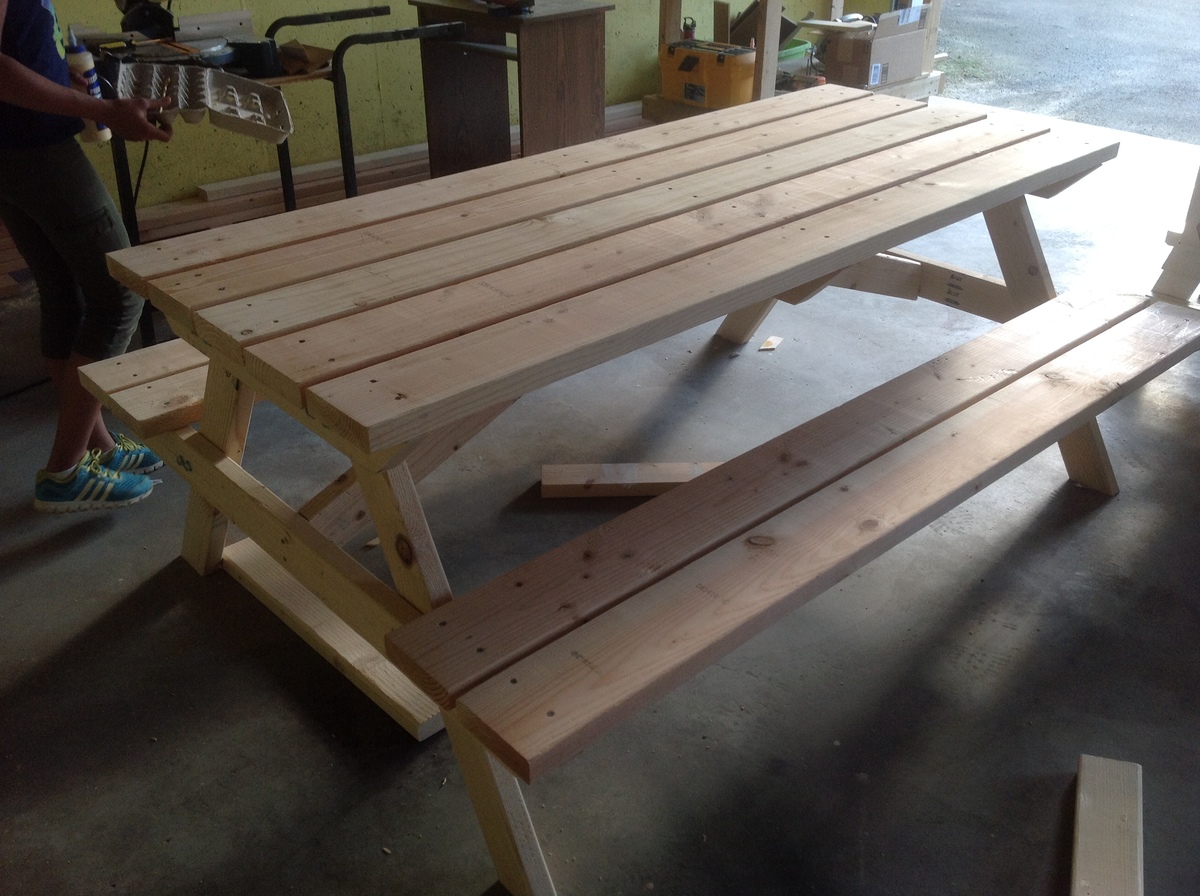
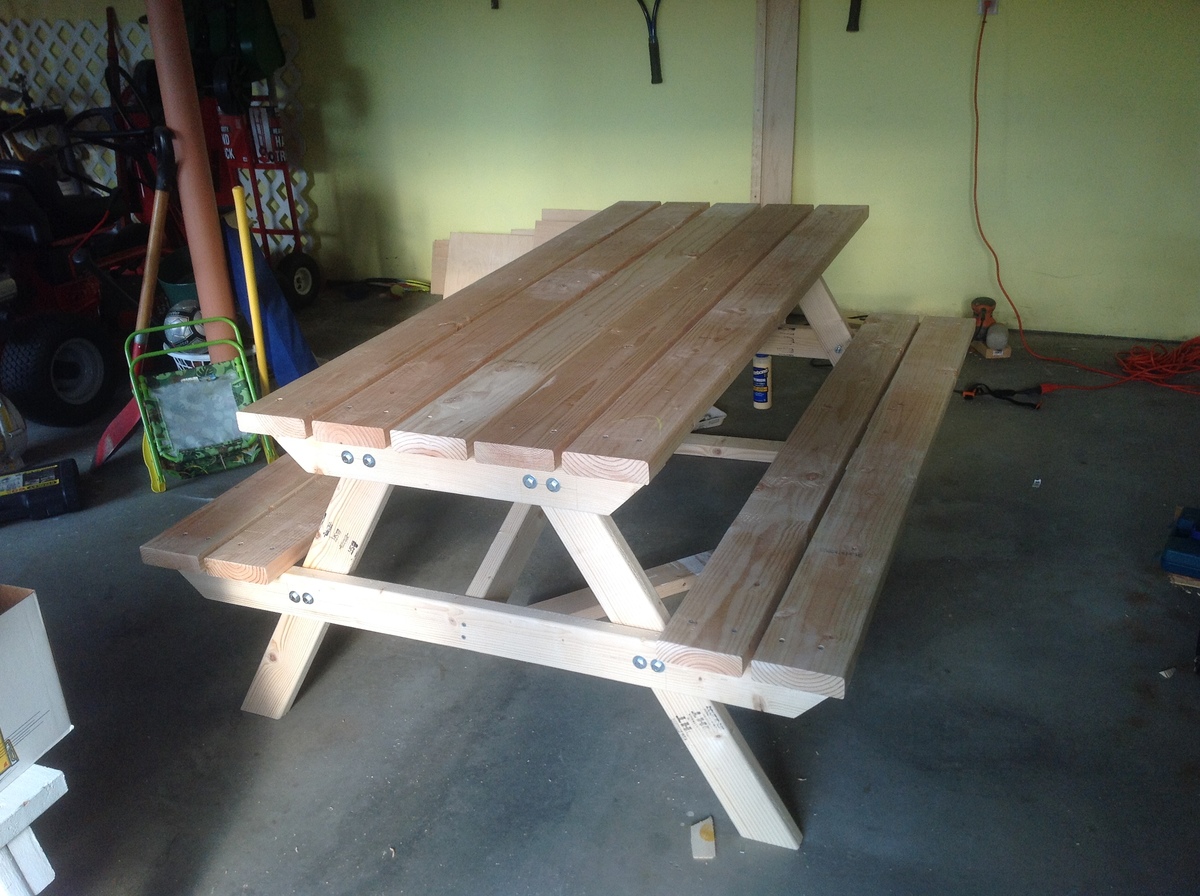
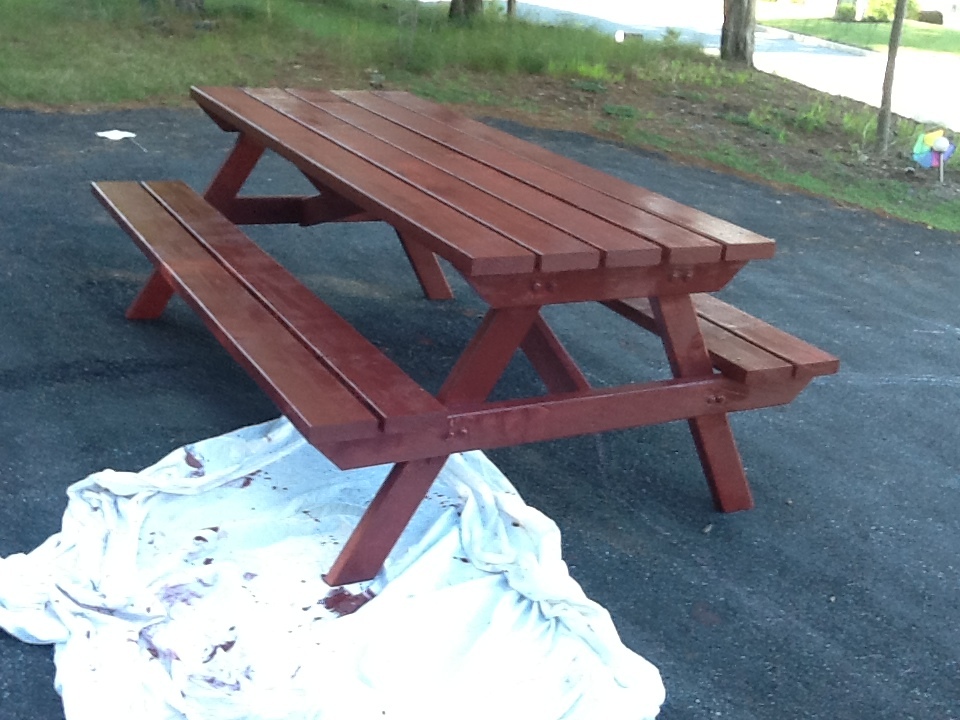
Wanted to kick start my summer projects with something that would not take too long. So I built this picnic bench for a friend over the last weekend. Thank you Ana for the plans.
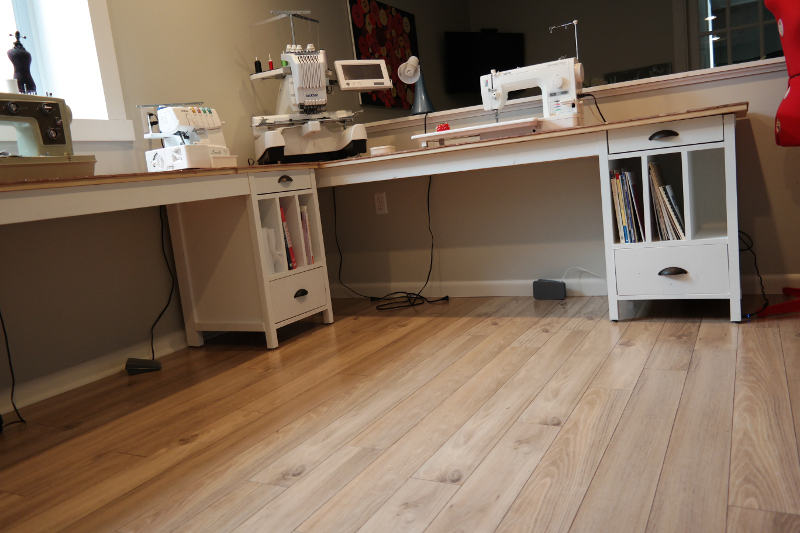
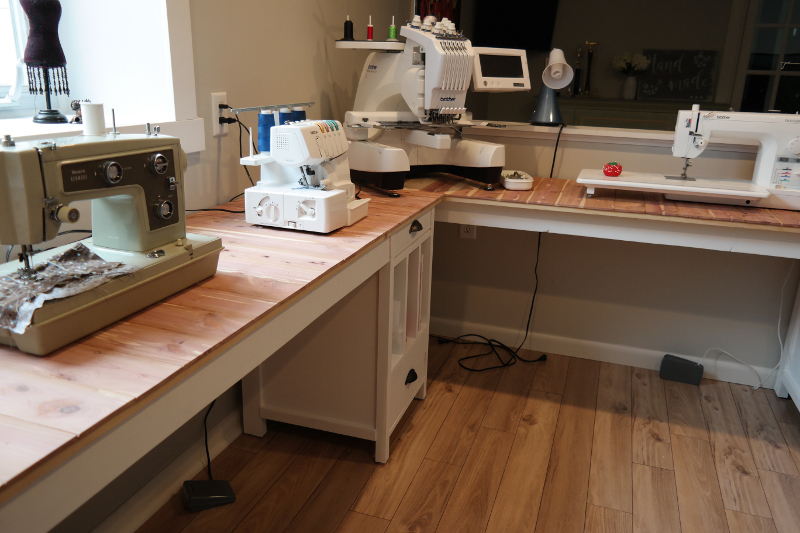
Sun, 07/05/2020 - 08:42
Lovely desks/space! And the sewing machines look like they're going to bring hours of fun! What kind of wood did you use for the tops? Did you route it to make it tongue and groove?
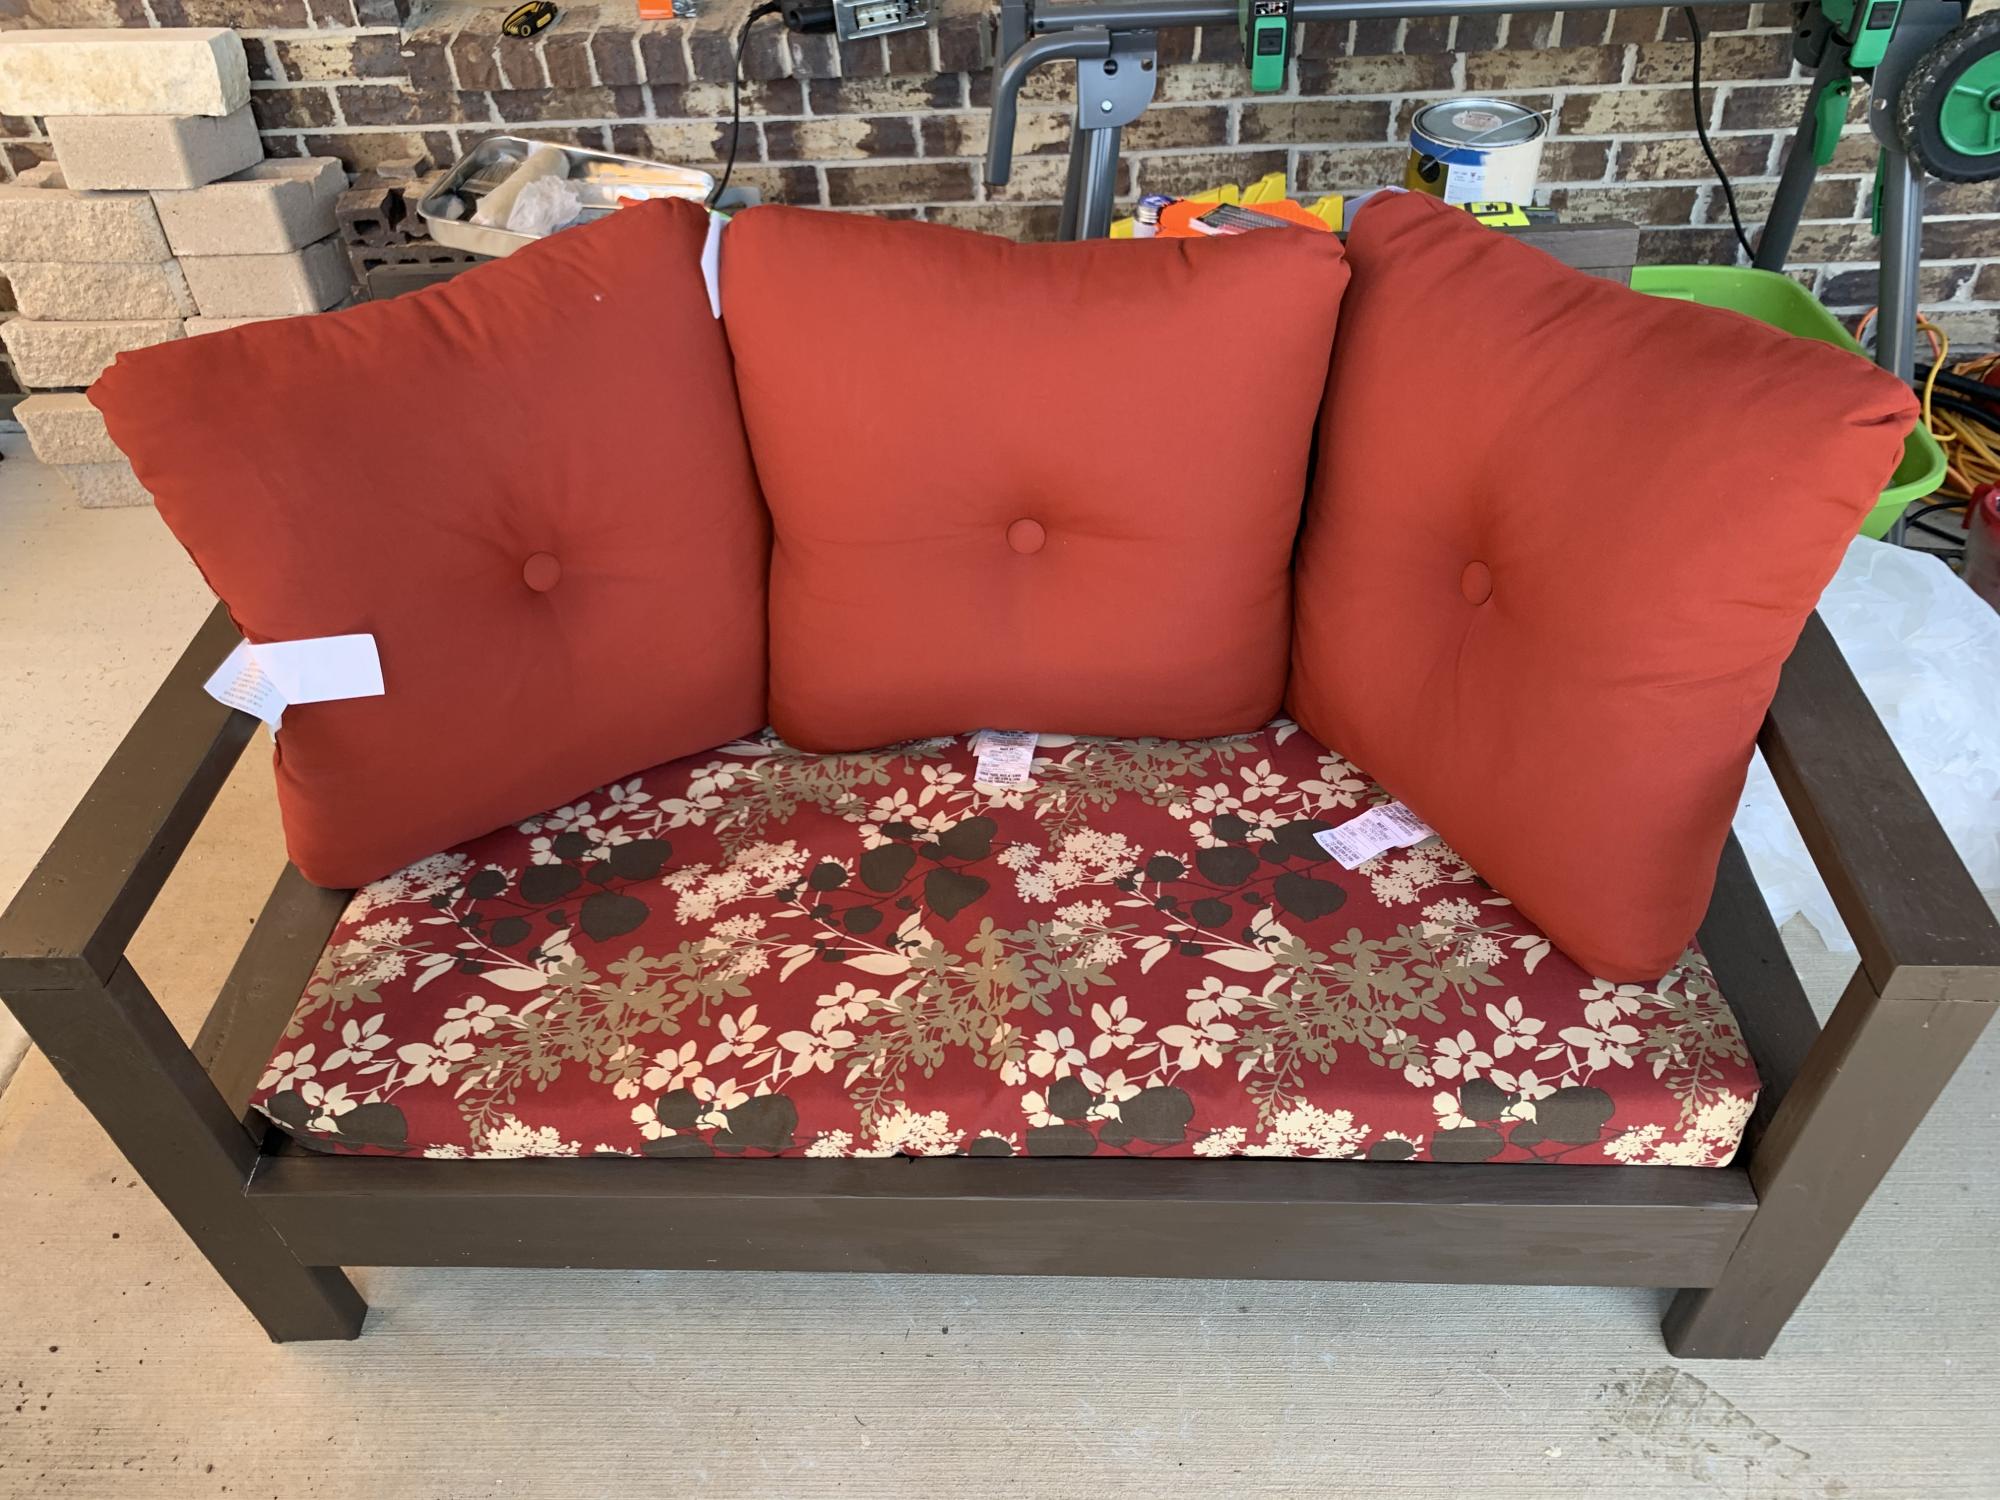
This is the second thing I’ve built made based off of an Ana White plan! We followed as best we could? It got a bit dodgy around step 5 but we made it!

Lemonade stand built from plans here
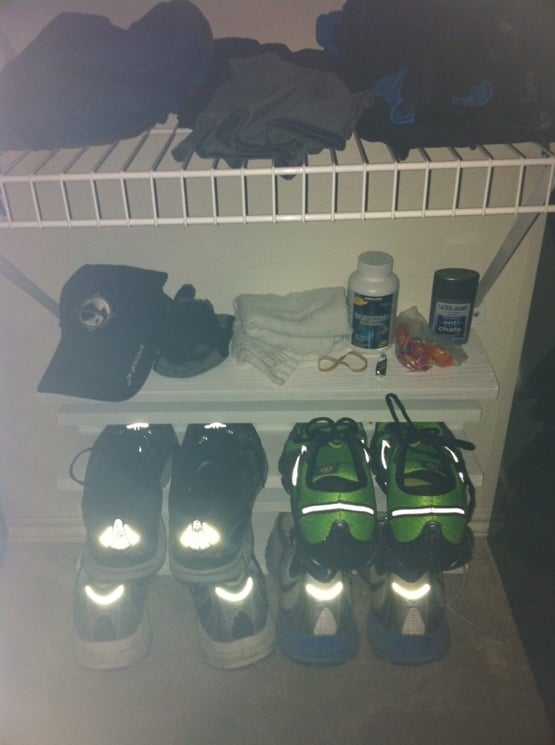
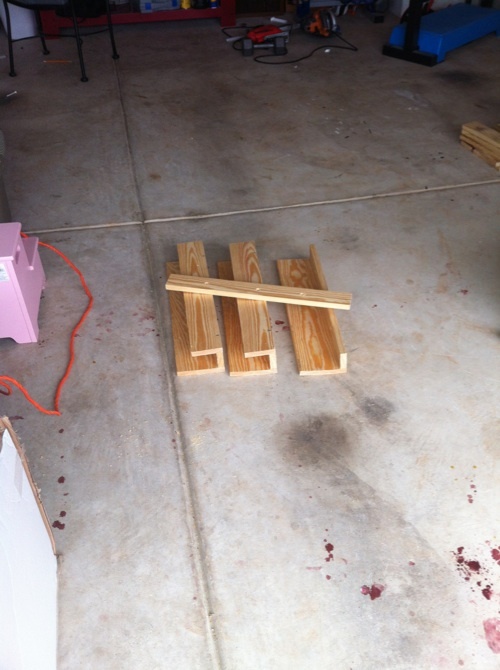
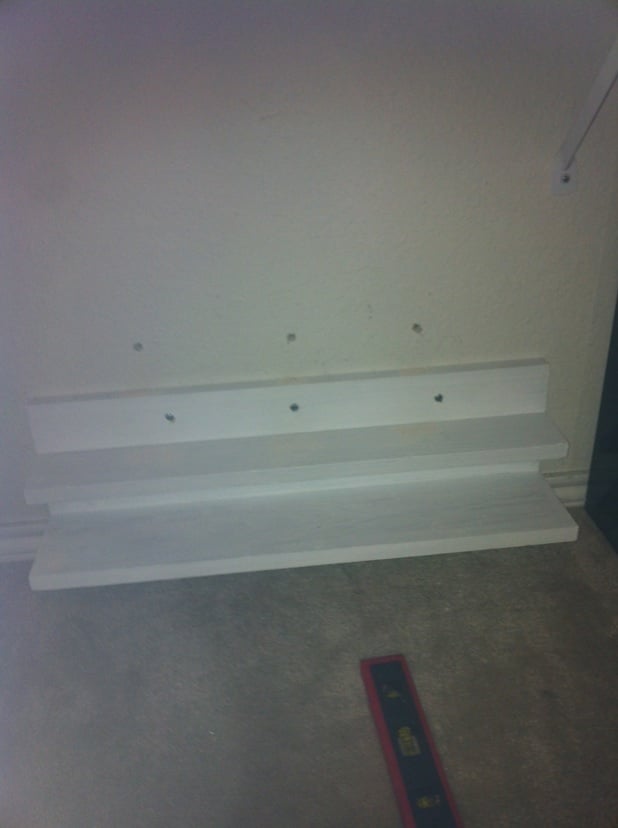
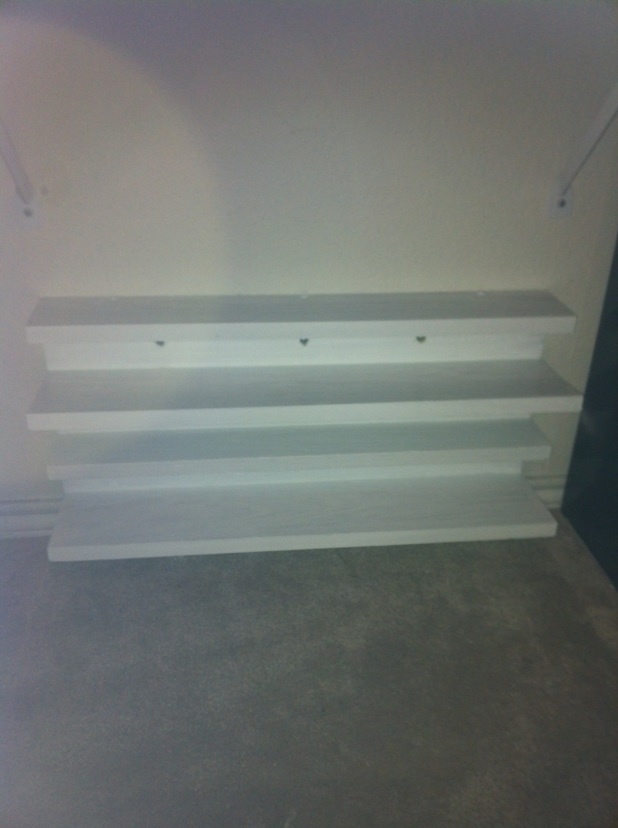
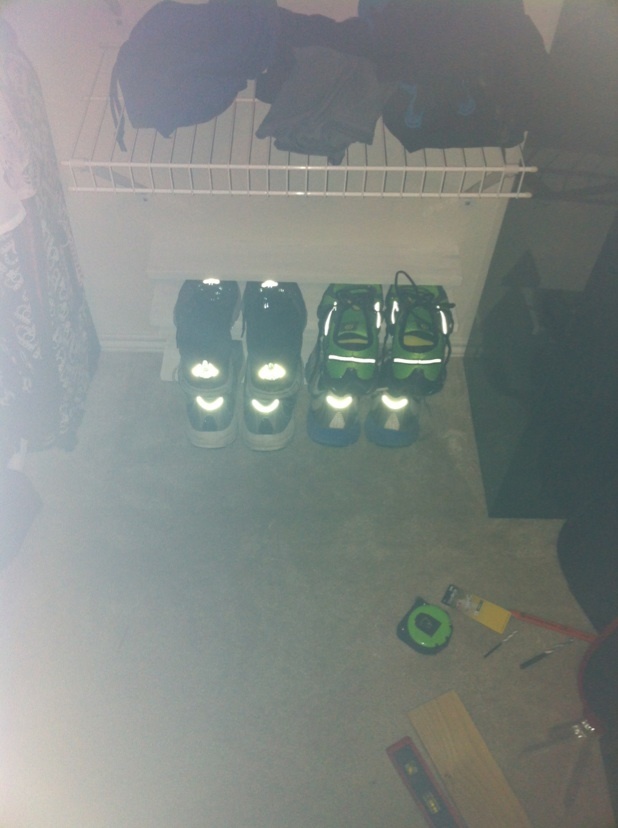
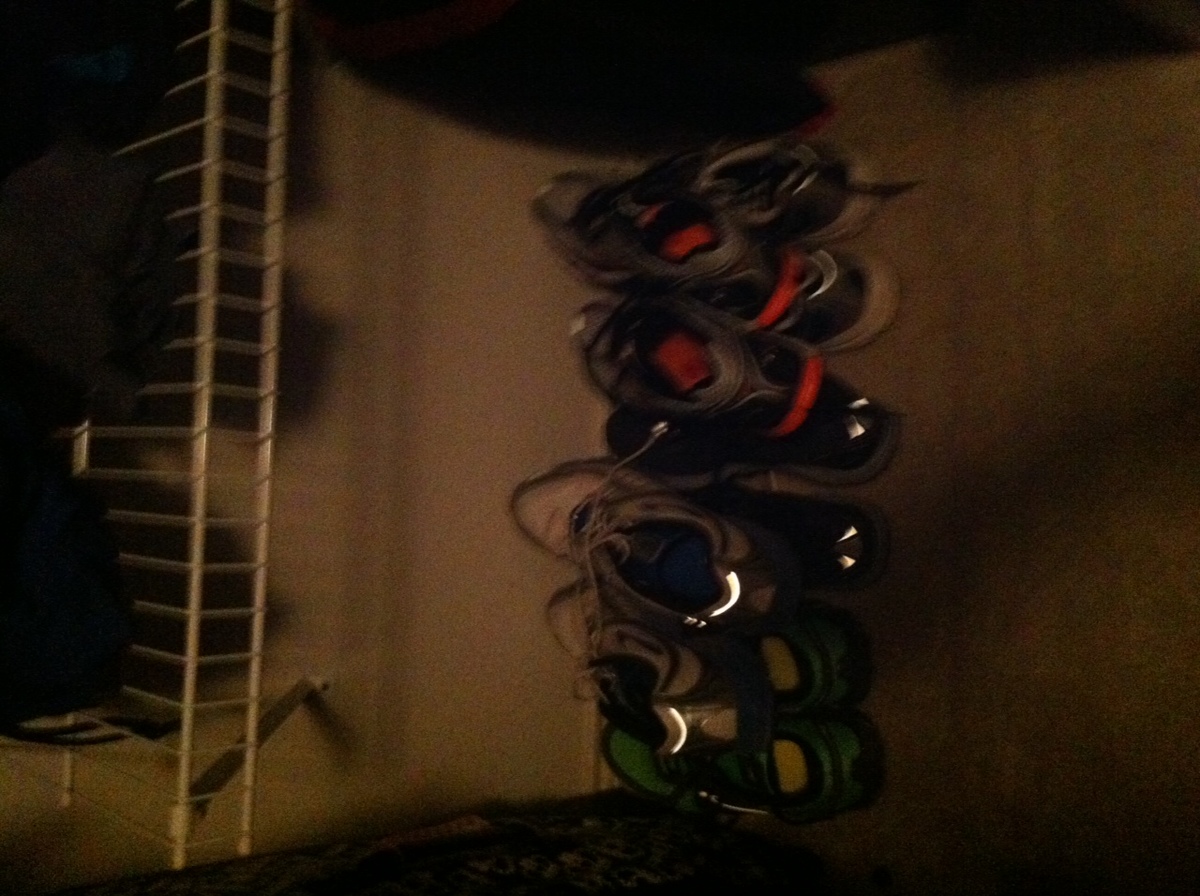
I needed a compact way to organize and store my running shoes. As you can see in the pictures above, the answer was relatively simple. My google search led me http://www.notmartha.org/tomake/shoerack/ . I simplified the idea using 1x2, 1x3, and 1x4 boards. You can see the simple shape these make holds the shoes by the toe. I used a 1x2 board for a spacer between the two levels. On a whim , I added another spacer board and topped it all off with another 1x4 which fit perfectly as a shelf.
Before I assembled the pieces, I predrilld holes across the 1x2 boards. When I installed them piece by piece, it was only a matter of leveling and installing drywall anchors.
I built a slightly smaller version of the full sized dollhouse. I used MDF for the house with the roof and pine for the and windows.
Tue, 08/13/2019 - 18:45
Love this! How did you come up with the dimensions?
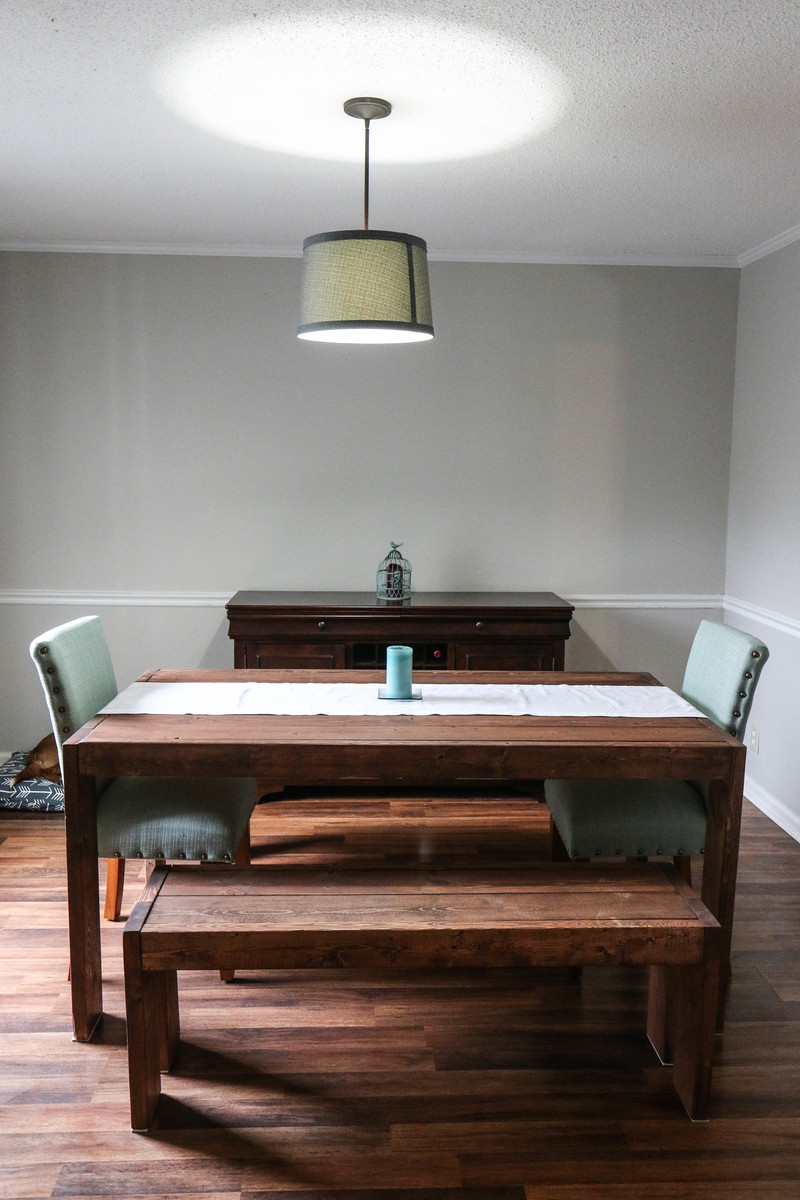
Used the Kreg Jig for the table top. I followed Ana White's Youtube Video "How to Build a Tabletop" for instructions on how to do it.
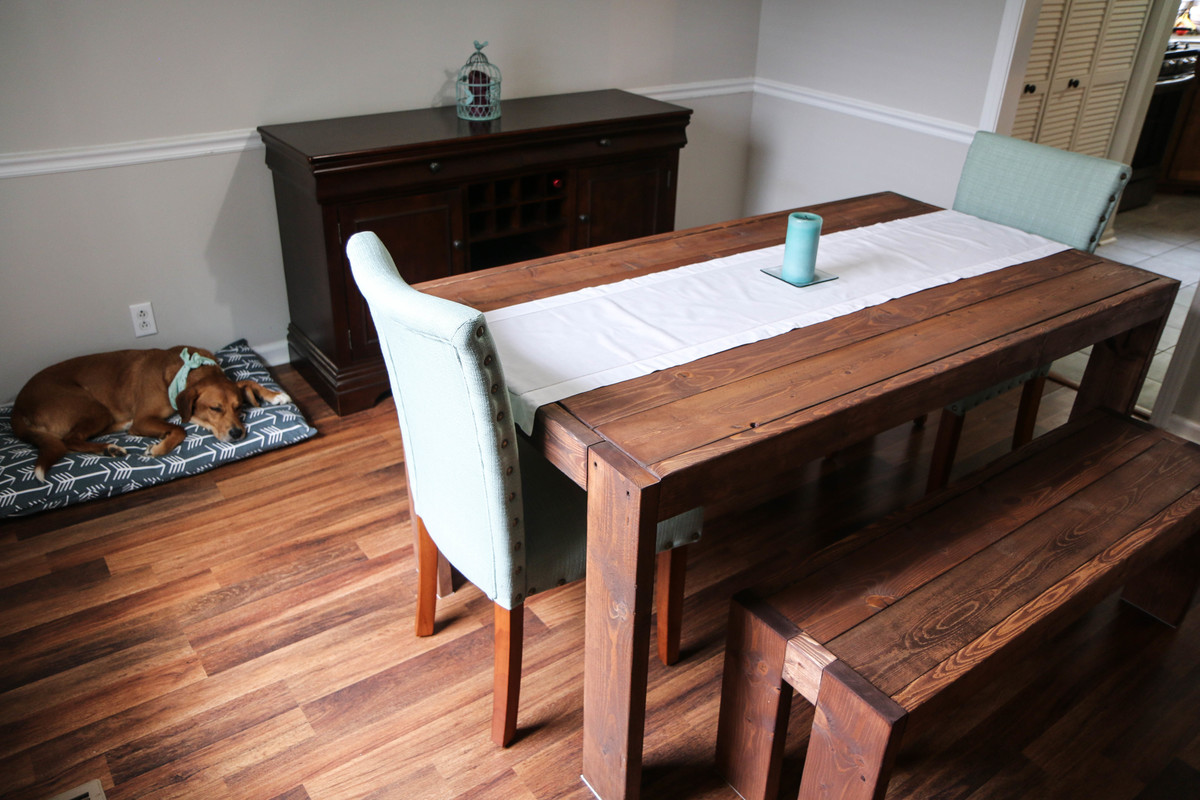
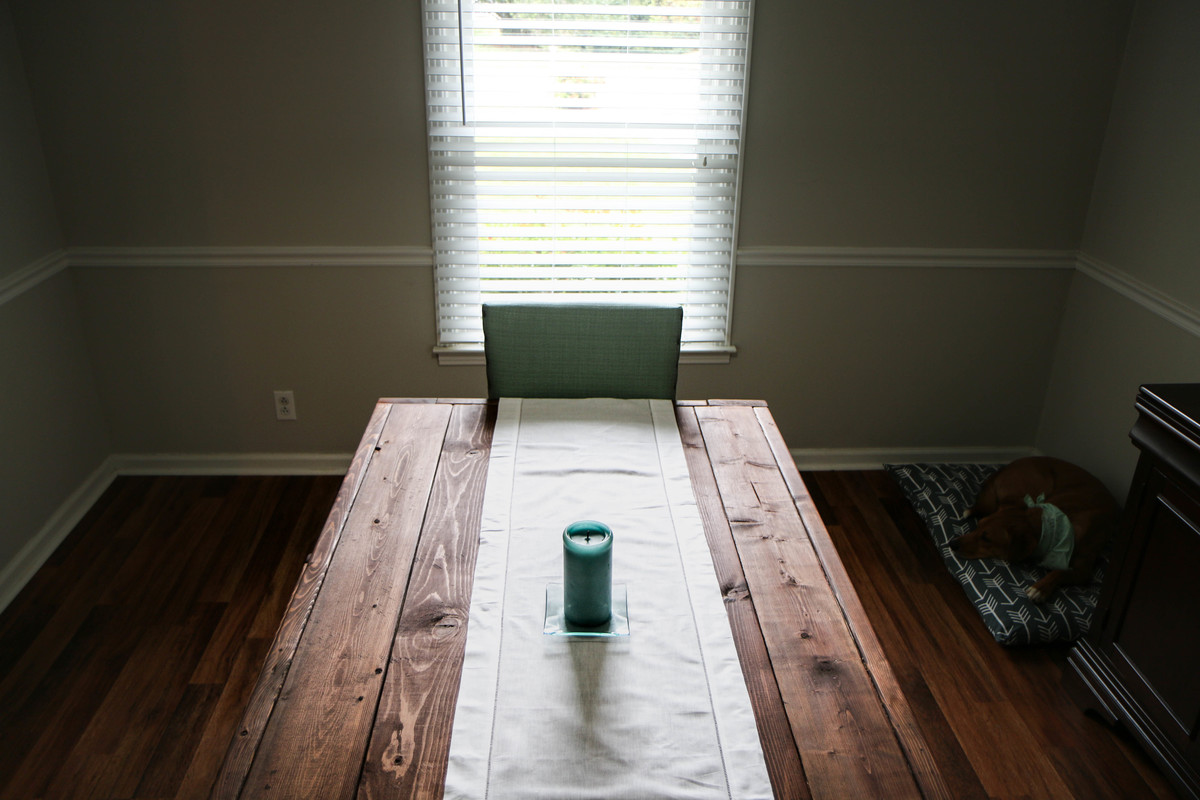
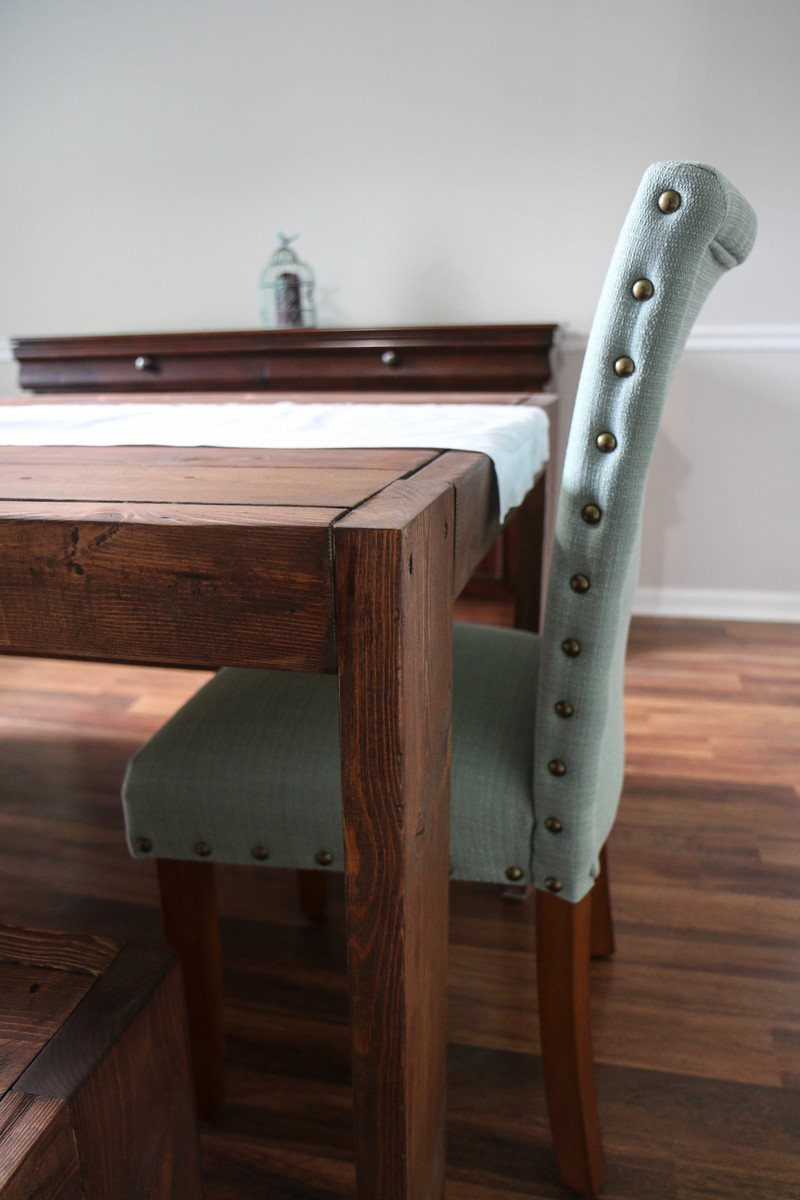
Weeklong project for all three. Started on a Saturday and had it in the dining room and eating a meal the next Saturday!
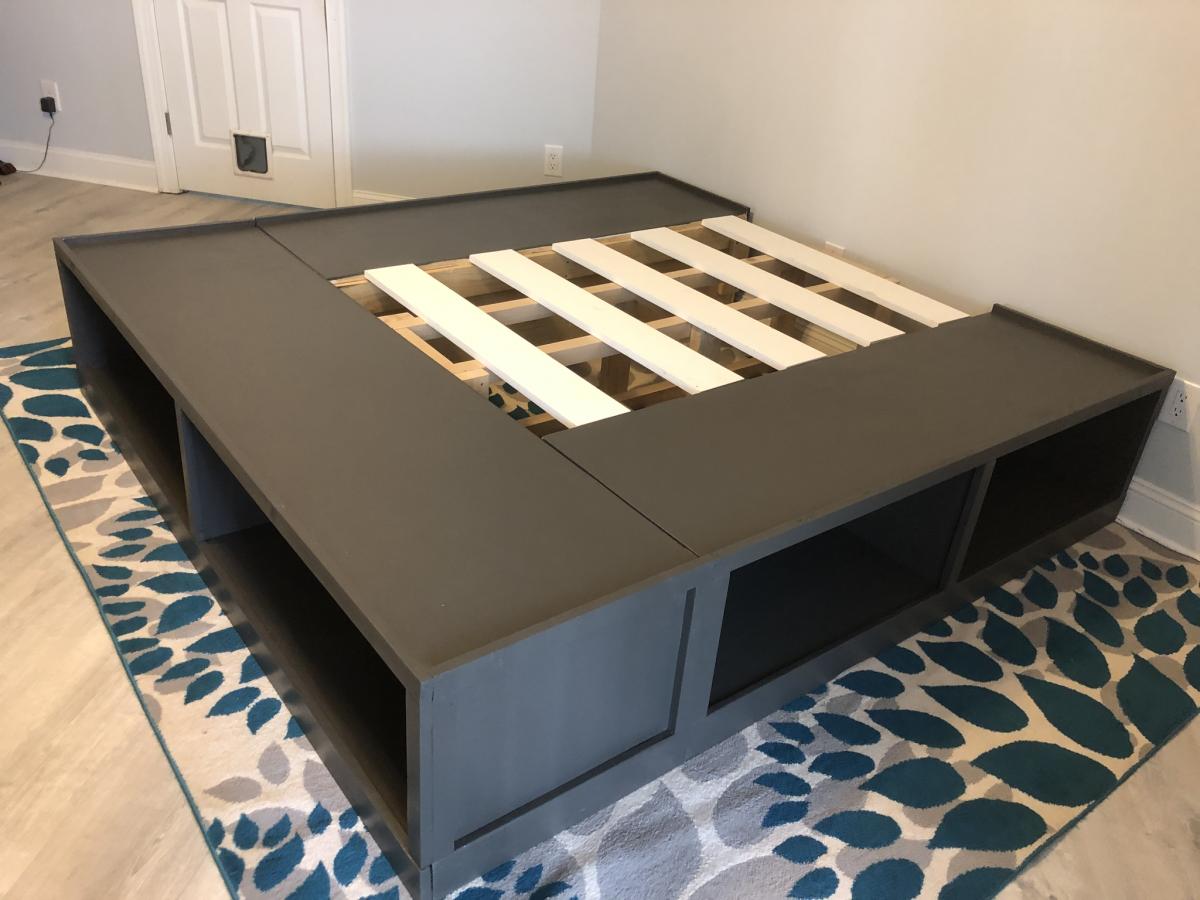
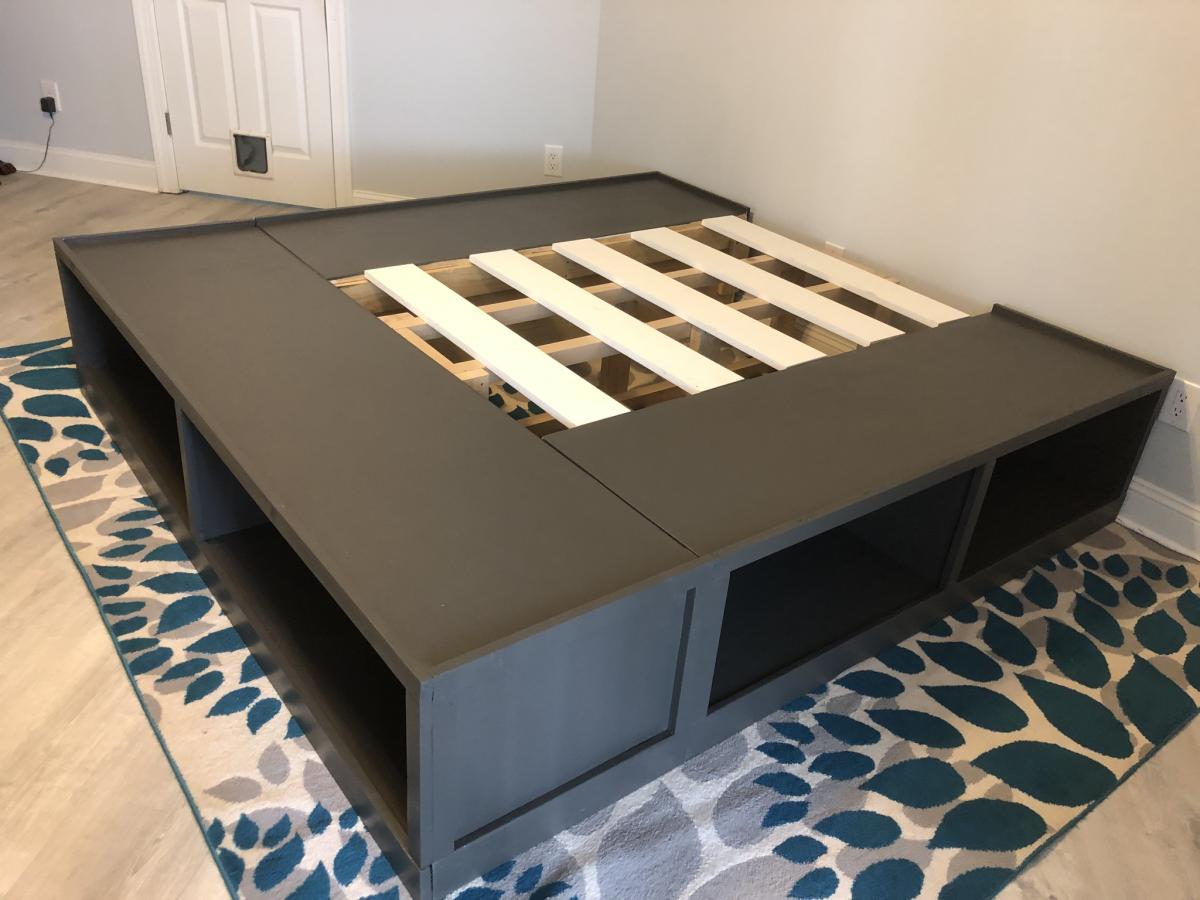
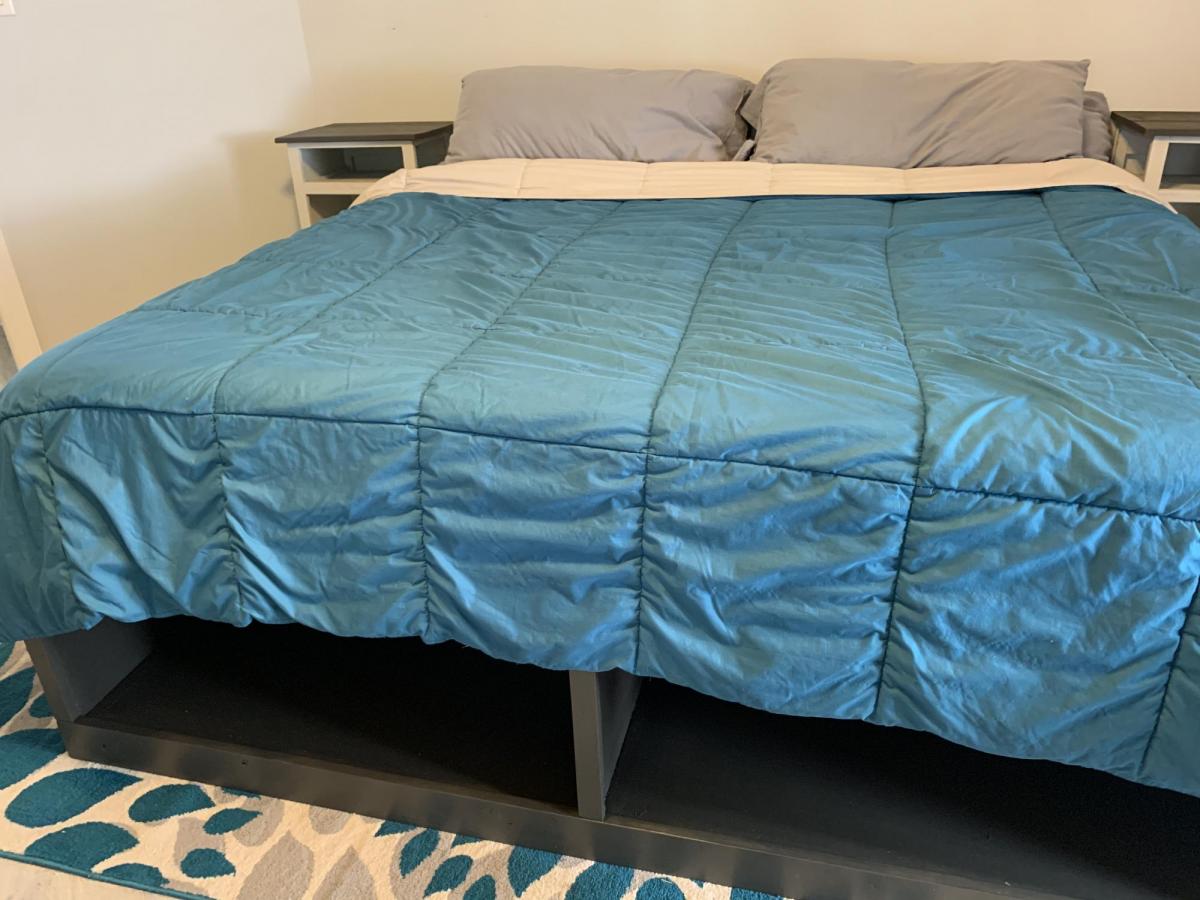
Built fairly close to original plans. Though we did modify slightly to create a slightly taller bed.
We placed a simple - but sturdy 2x4 frame between the sides. The span seemed a bit wide and we did not want any sagging.
We skipped the optional drawers, instead we will be building lightweight wooden storage crates to fit the storage spaces specifically.
Not a hard project. Though be sure to measure twice before you cut. 🤣

Hello everyone,
I collected unwanted wood and I put them in a good use. Transform them into planters . Many people throw excellent wood . Either, they aren’t aware or they purchased new furniture.
Thank you Mrs. Anna . She has inspired me with her excellent ideas. God bless you
Jean Abinajem


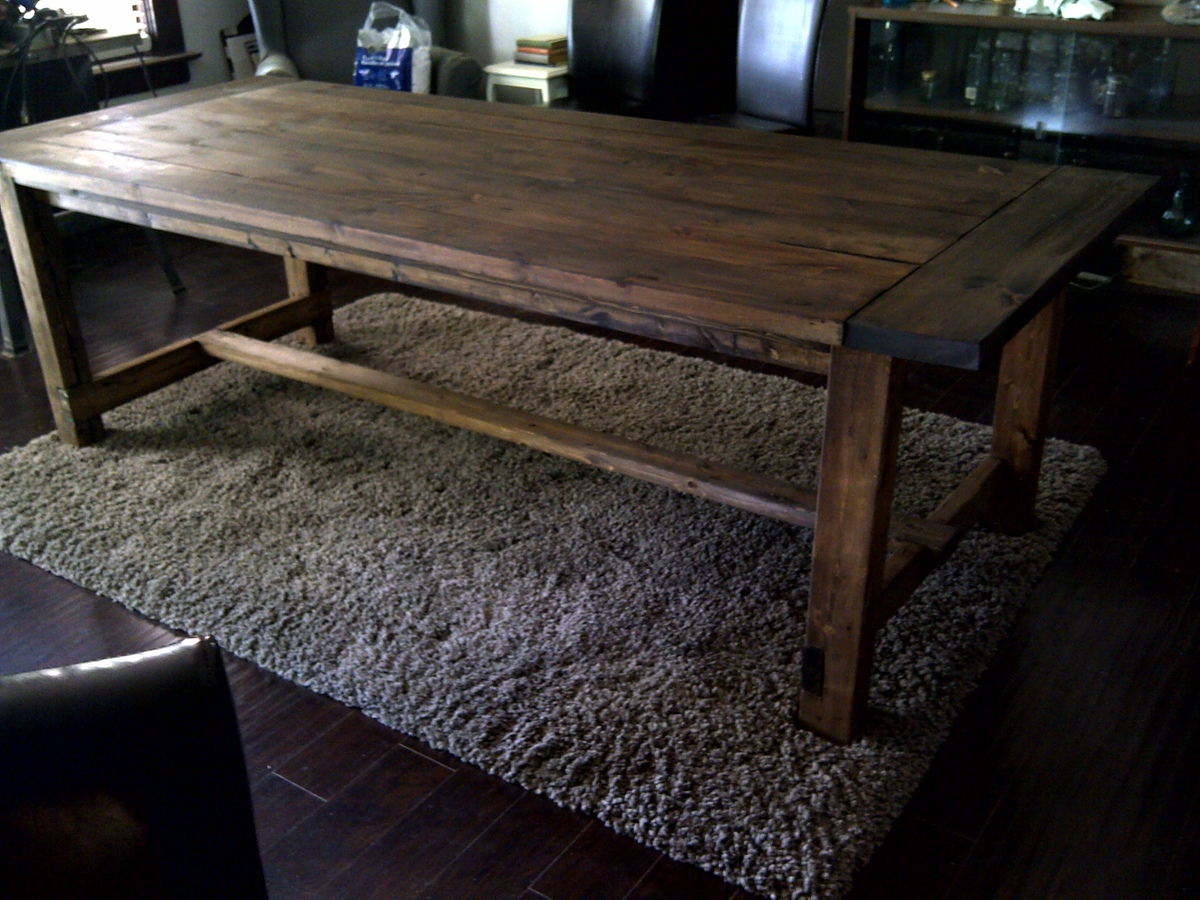
My first project!
Tue, 09/04/2012 - 18:25
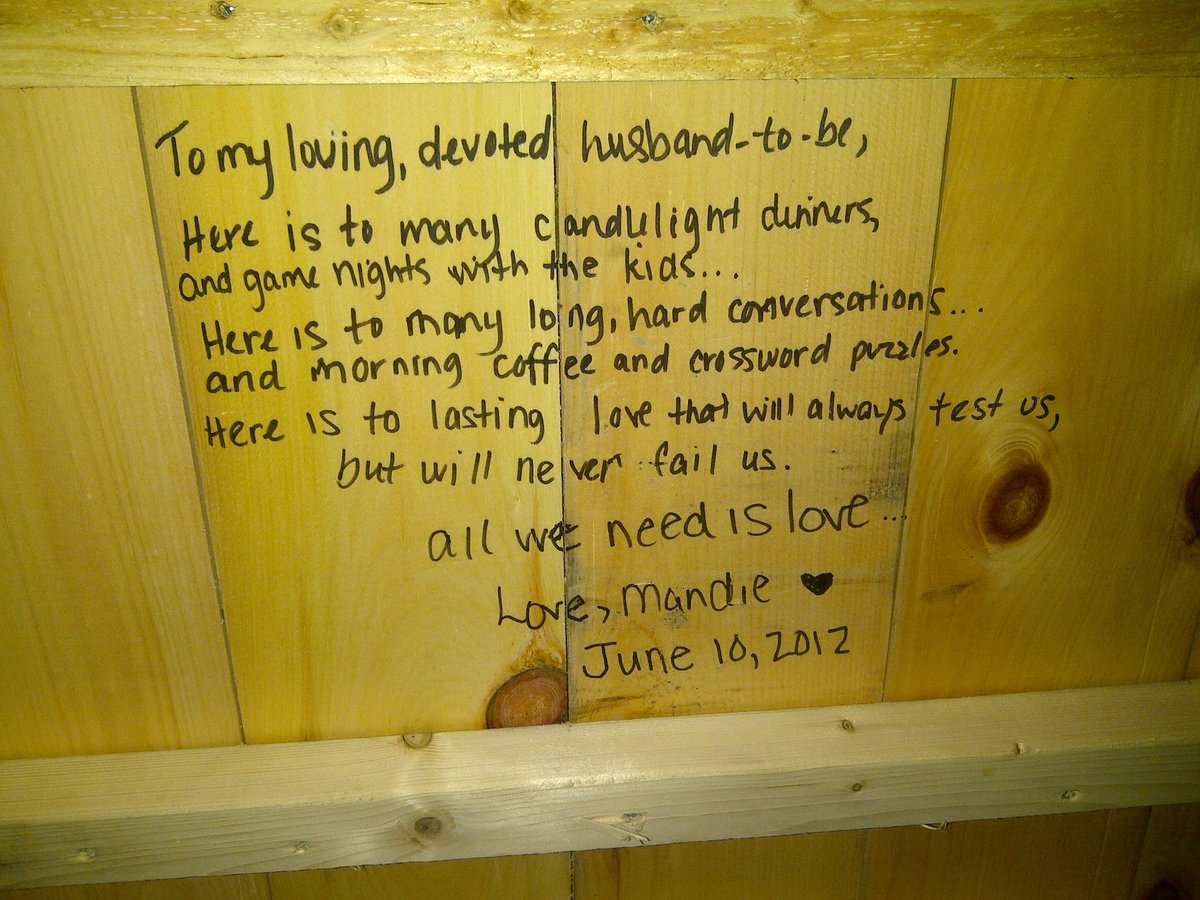
Congrats on a wonderful first project! Looks beautiful and very professional. And I love the inscription you did underneath. That is so sweet! :)
Tue, 09/04/2012 - 19:15
Welcome to the community. You did a beautiful job and I love the idea of the personalization underneath. Very sweet indeed.
I spent about 2 weeks off and on working on this project. I was happy with the outcome. It was a project for my daughter for her 23rd birthday. She loved it! Thank you for the plans!
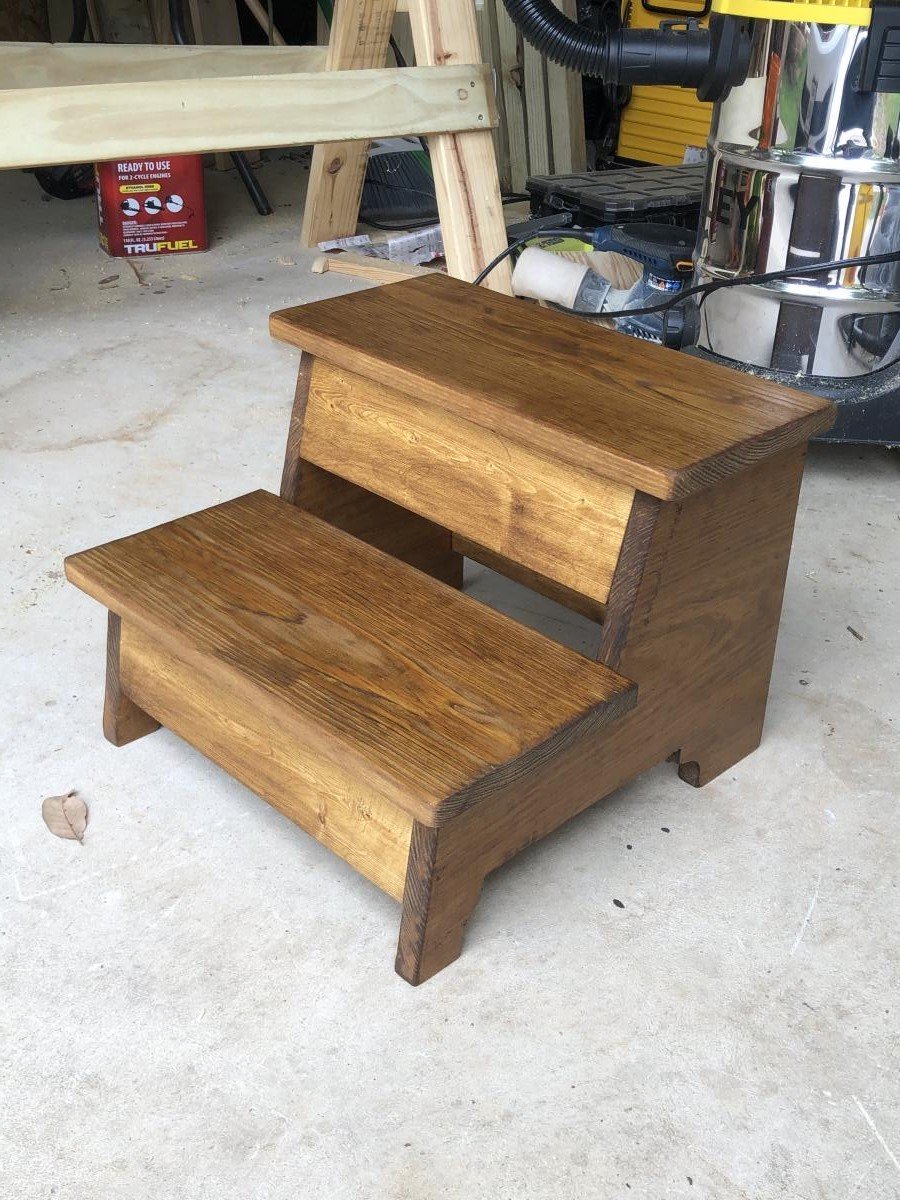
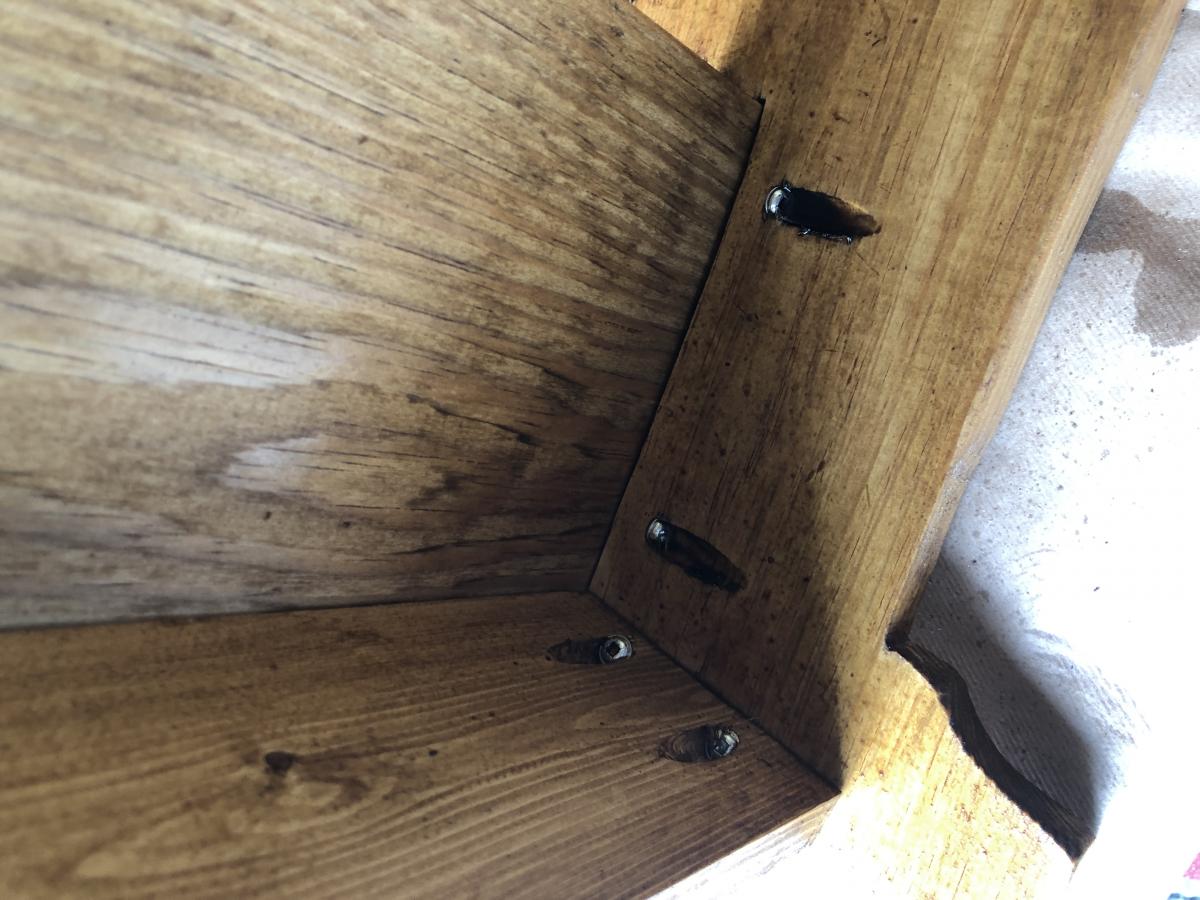
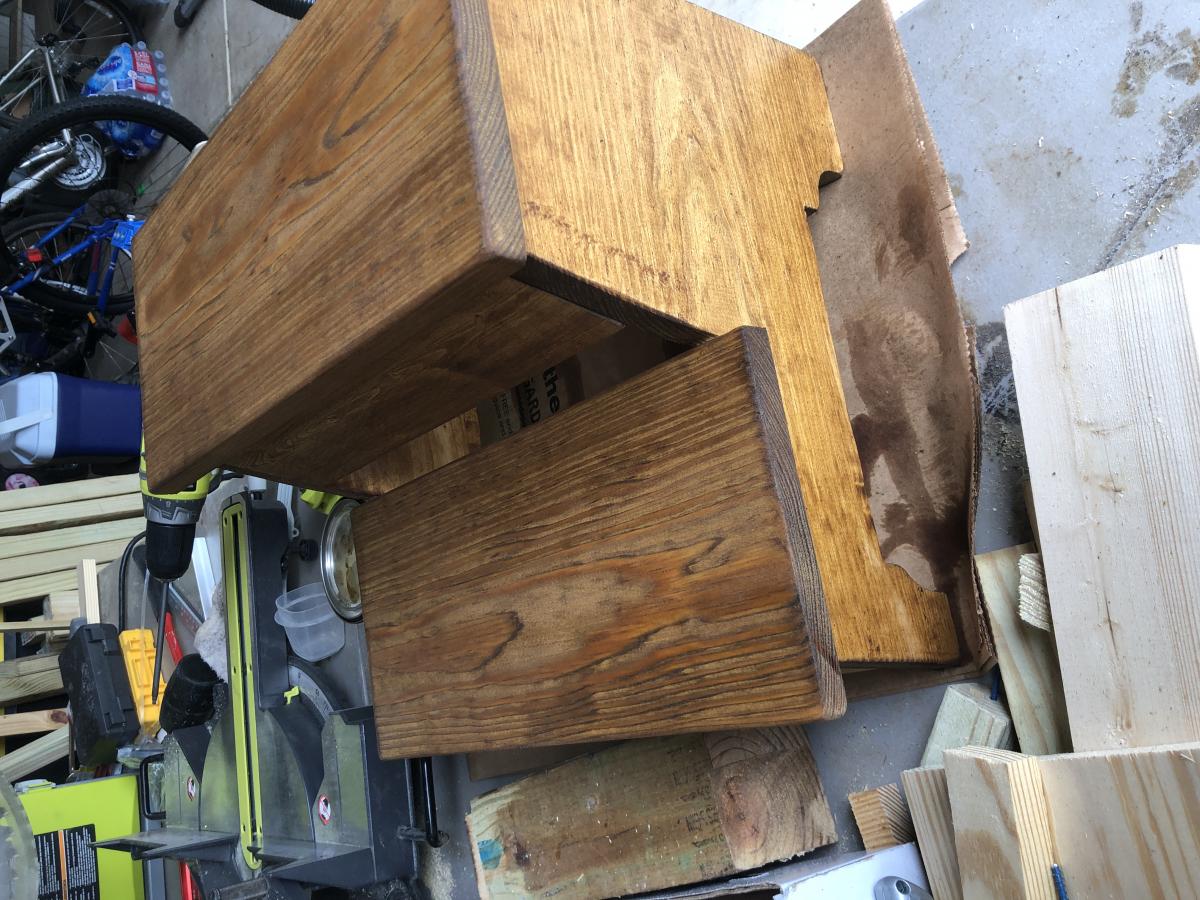
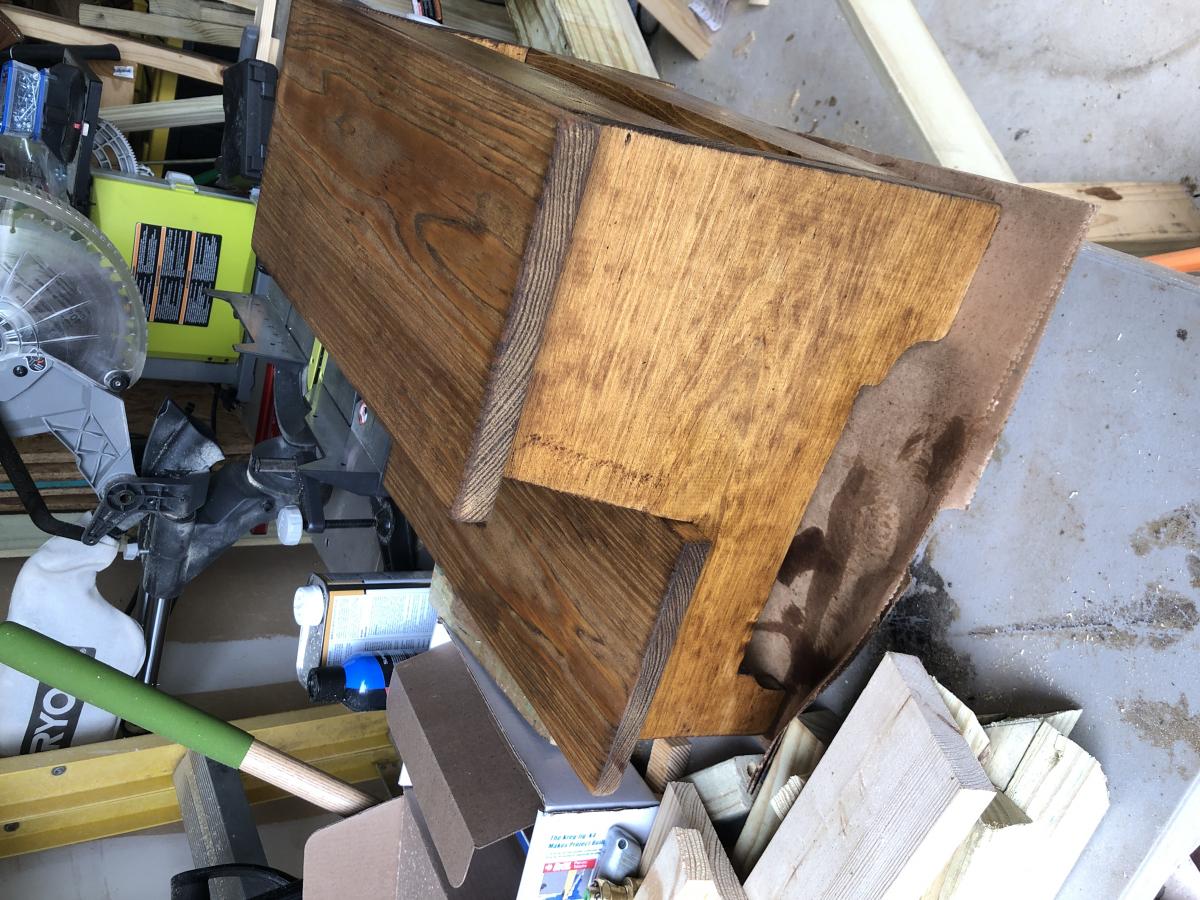
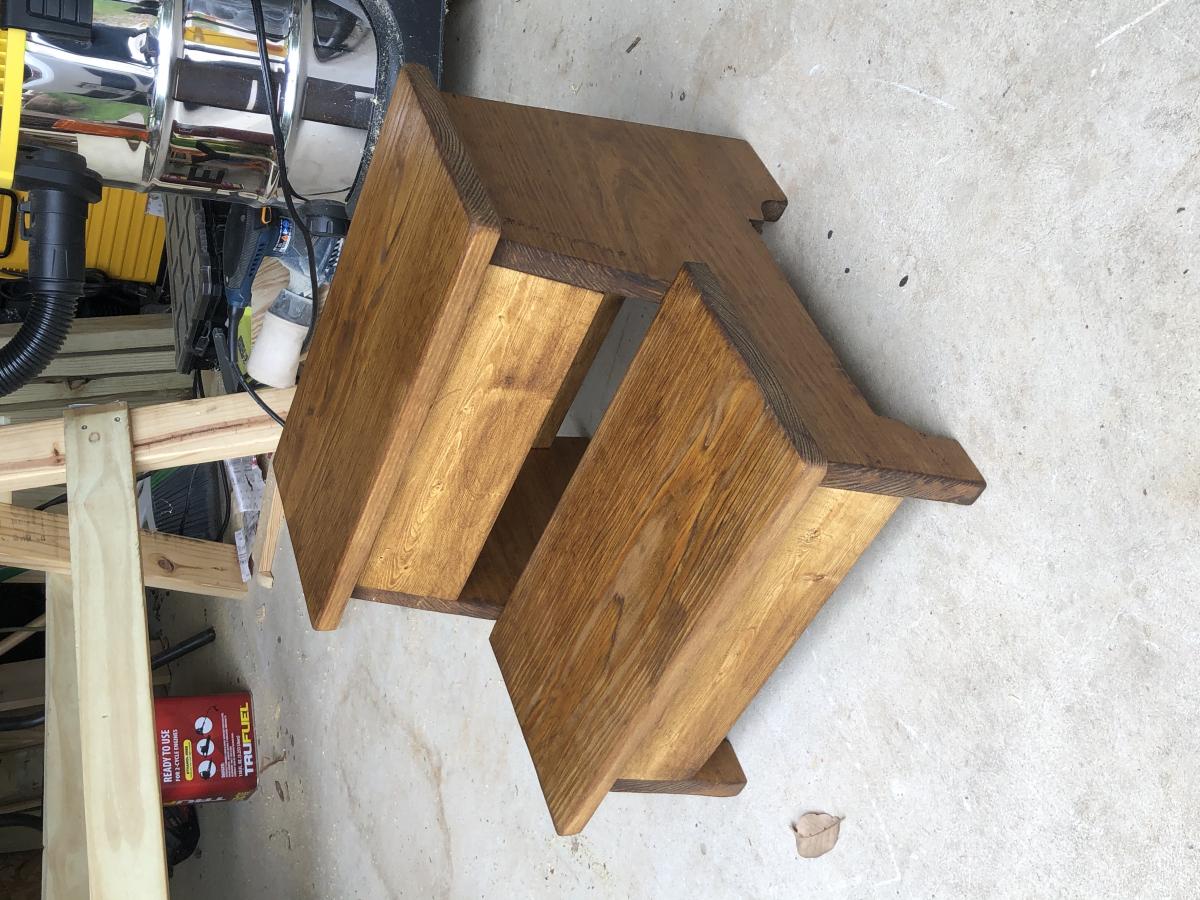
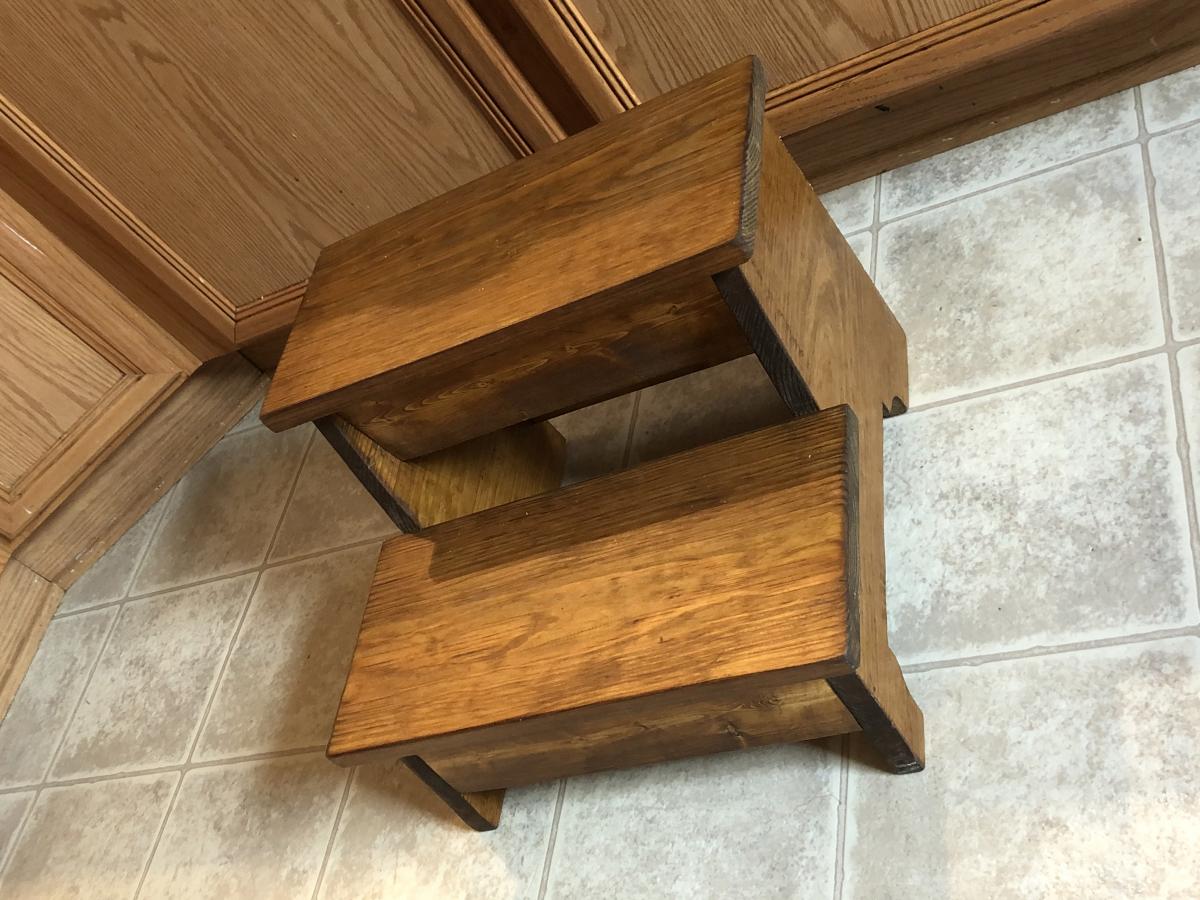
My take on the vintage step stool. Inset a 1x3 on the front top support (my pocket holes were splitting the 1x2’s) and it turned out nice.
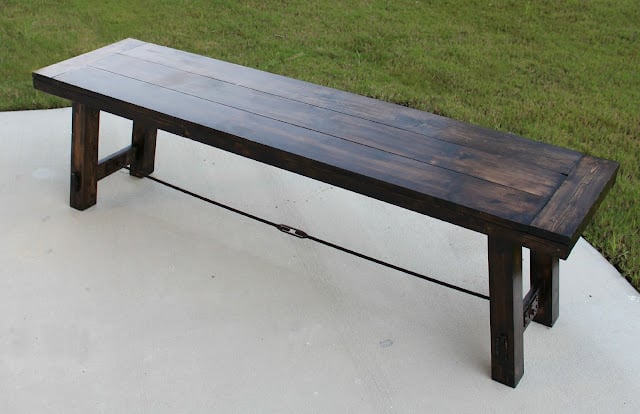
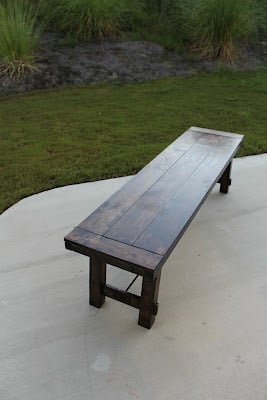
Our first Ana white project! My husband and I are both really excited with the results. We plan on making the table too. I followed the plan and added comments/details/changes we made on my blog http://thehuth.blogspot.com/2012/09/diy-pottery-barn-bench.html I added pictures to follow along the steps from the tutorial.
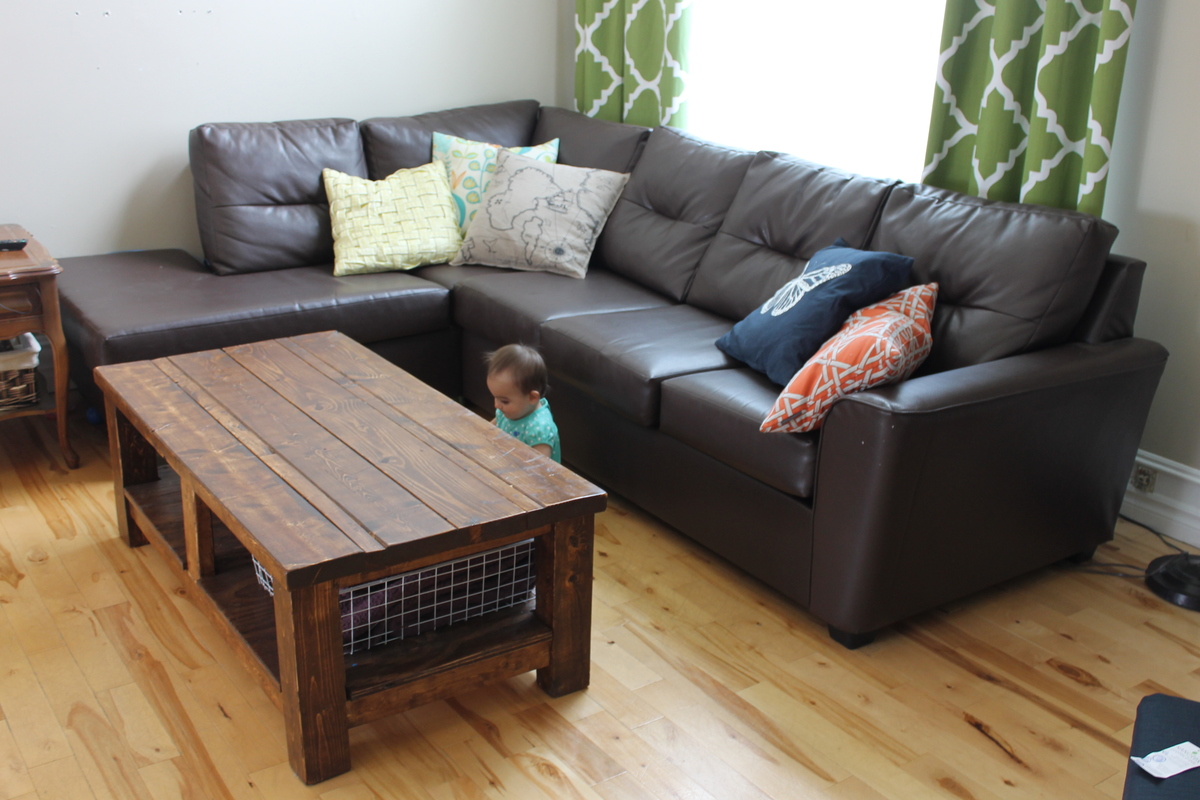
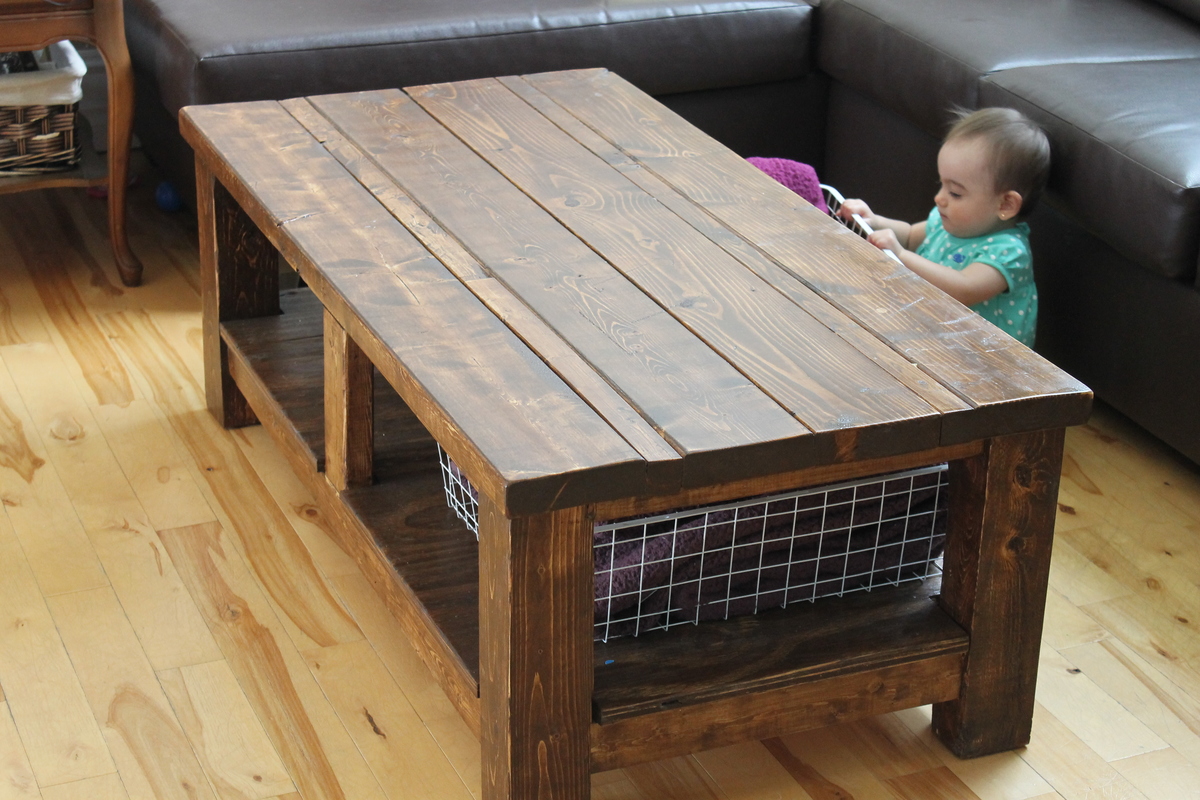
Coffe table for our living room. Really fit our style. I had problem cutting the plywood but i turned out great. I love the colour: Varathane early american.
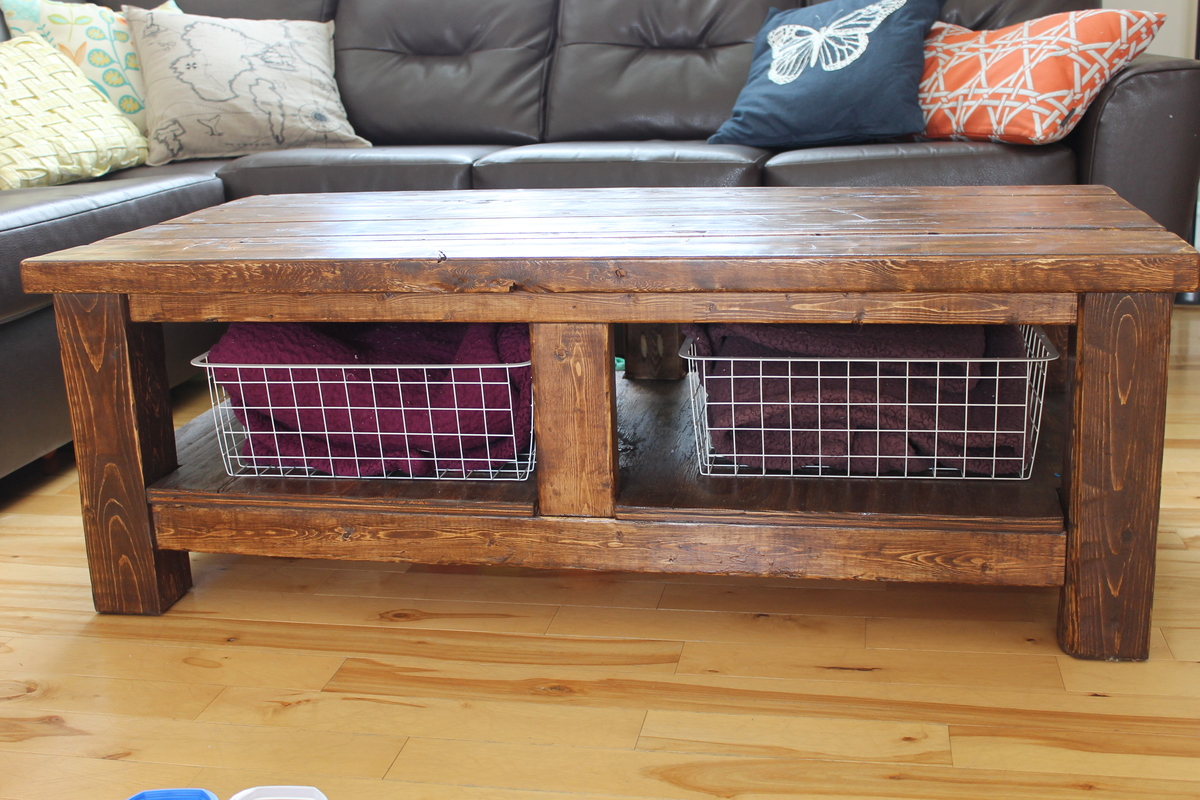
Thanks Ana for the great plans!