Community Brag Posts

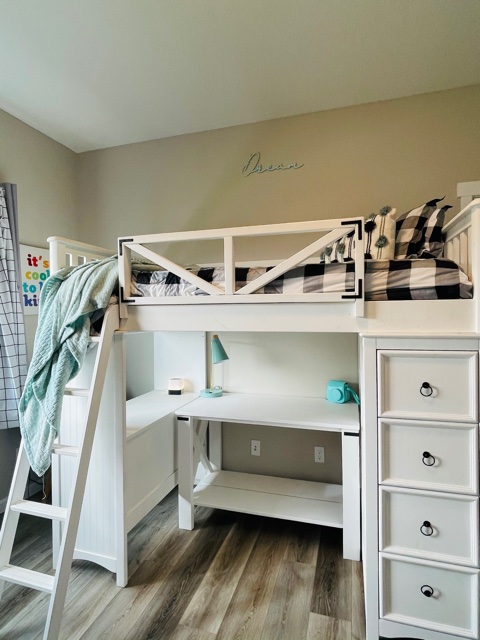
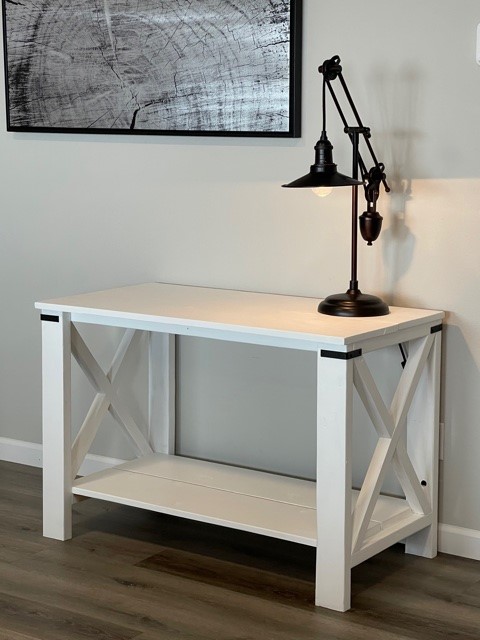
Farmhouse Desk with X Detail

Submitted by vendo on Thu, 10/21/2021 - 11:46

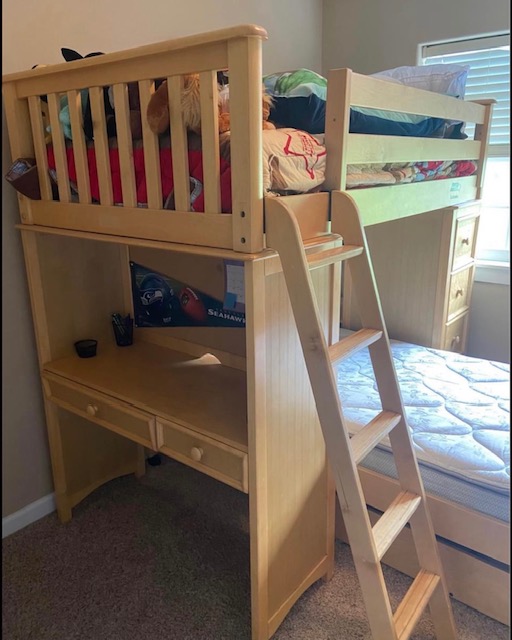
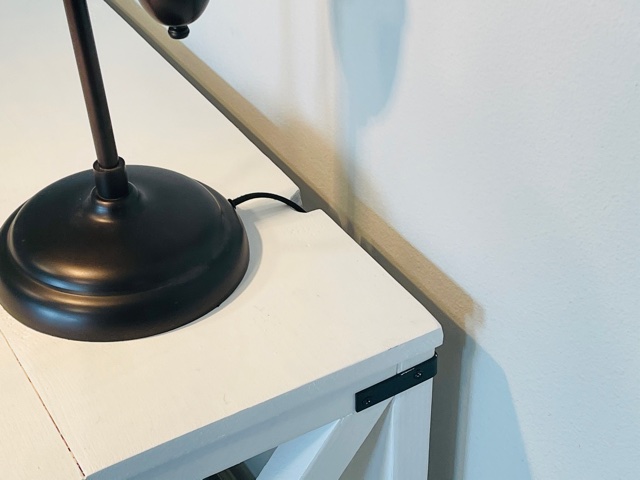
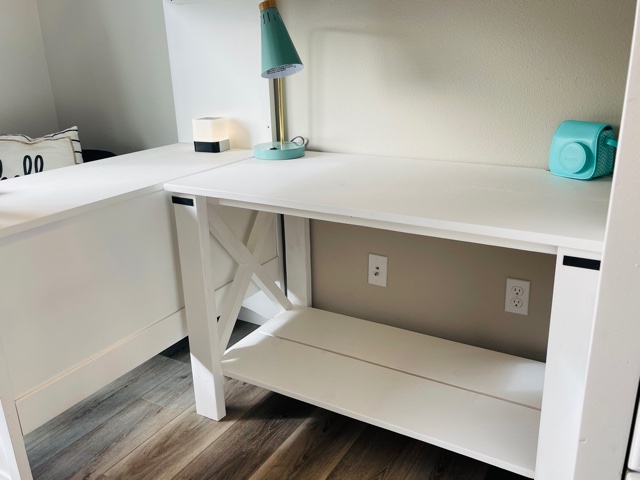
I found a loft bed on the marketplace and had fun revamping it! I wanted to add a desk underneath that matched the existing desk surface, so needed to slightly modify the plan to make it the same height and width of the opening. This was a simple build, built in about 2 hours and the finish took about the same. I modified the bottom to be a full shelf, love the way it came out!

Built from Plan(s)

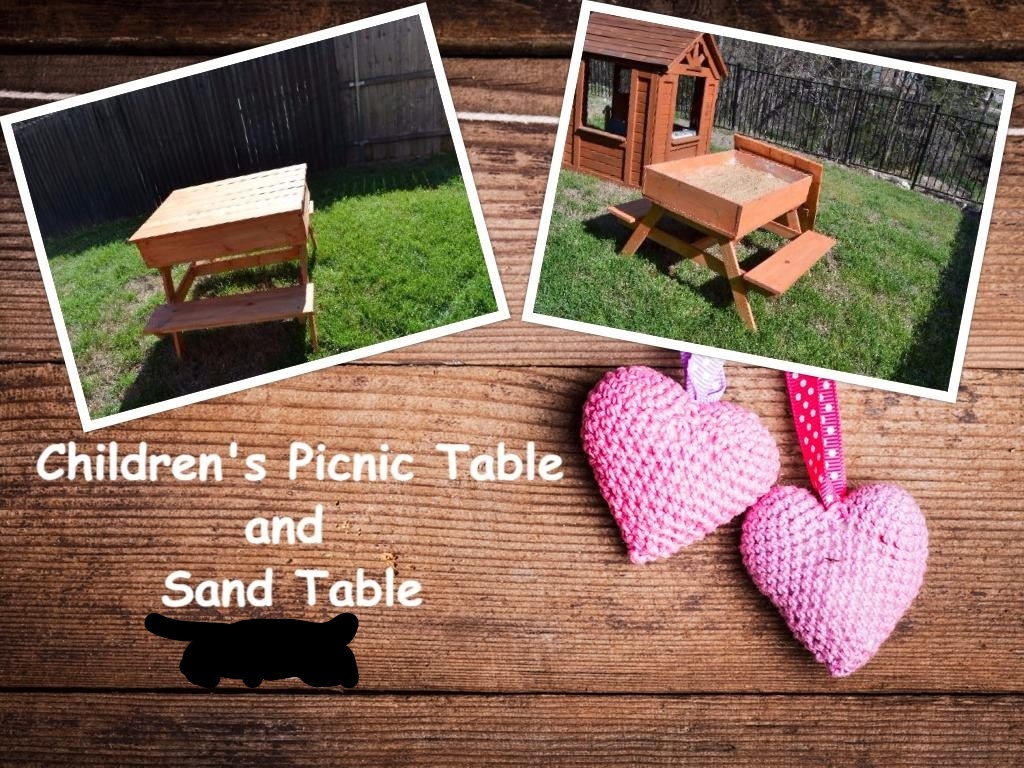
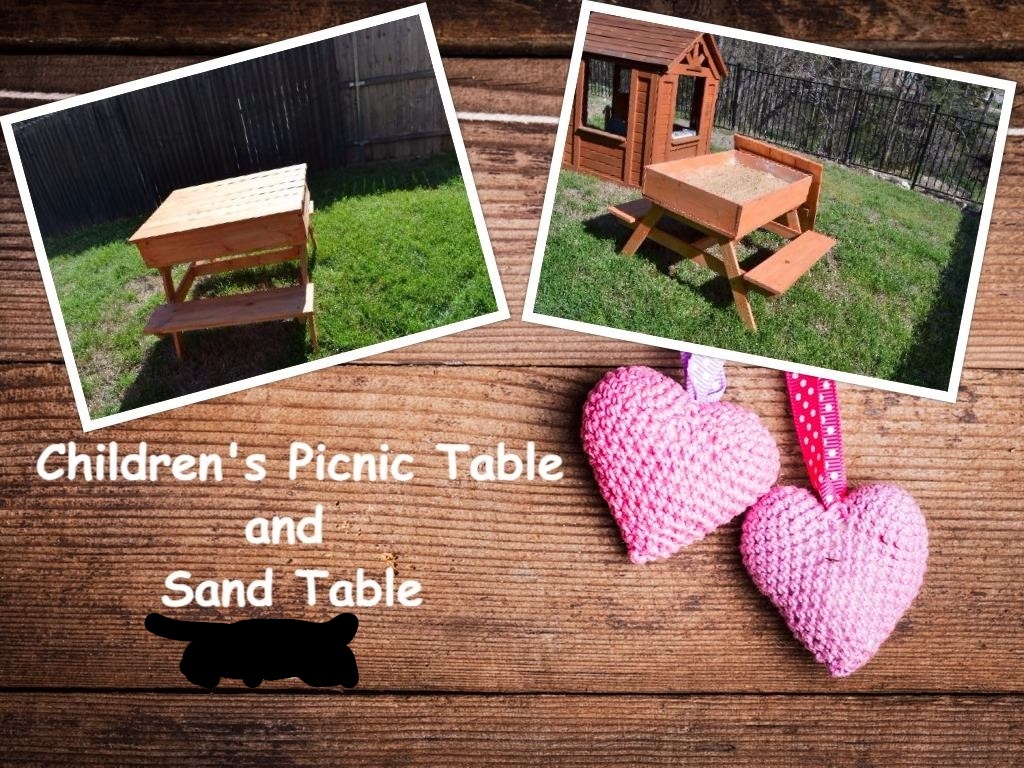
Toddler Picnic Table

I was dying to try this little picnic table out for my boys.  It was such a quick and easy build, though without clamps, I had to enlist my husband's help to hold things for me while I drilled!

I had envisioned the table in blue, but the 3 year old was very insistent on green.  So Gamma Sector Green it was...and I LOVE how it turned out.  Turns out my 3 year old is better at picking colors than I am!  :)
Built from Plan(s)
Estimated Cost
$25 but wood is more expensive in HI!
Estimated Time Investment
Day Project (6-9 Hours)
Finish Used
Behr - Disney's Gamma Sector Green. It took about 3 coats. I applied it with a foam brush, which gave me a nice smooth finish. We sealed it with a spray poly.
Recommended Skill Level
Starter Project

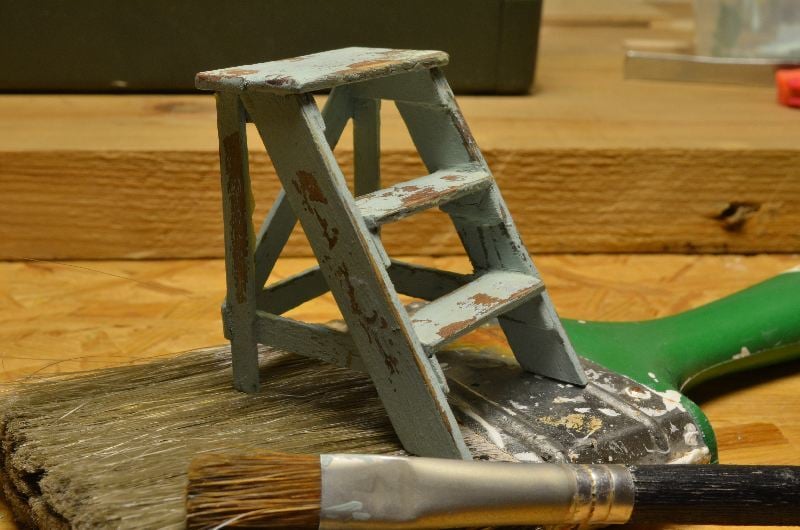
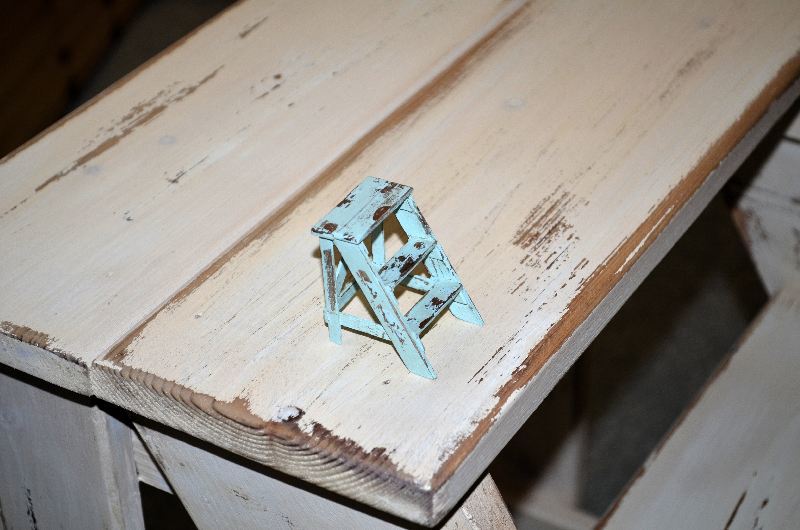
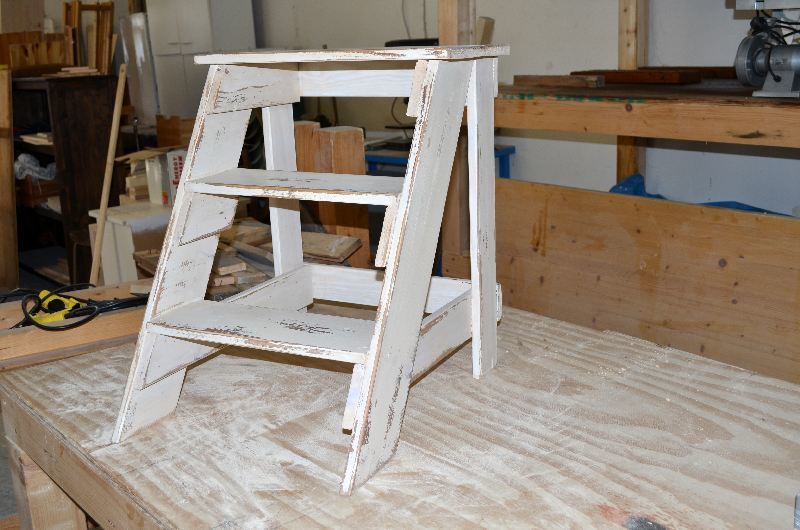
Vintage step stool end table, in 1:1 and 1:12

Submitted by uli on Sun, 06/09/2013 - 09:17

I built this step stool for friend, and a tiny version for my own dolls house. I had expected difficulties with the angled parts, but it went together very easily. I stained both of them with a vinegar/steel wool mix, painted with homemade chalkpaint. At last I sanded them for a distressed look and coated them with brown finishing wax.

Estimated Time Investment
Afternoon Project (3-6 Hours)
Finish Used
vinegar/steel wool mix, homemade chalkpaint, dark finishing wax
Recommended Skill Level
Beginner

Toddler Height Nightstand

I came up with a simple design to build a nightstand for my daughter's room to go with the platform bed that I had just built. The only problem was that my daughter is 3 and she isn't very tall. So I figured a 2ft tall nightstand will do!

Estimated Cost
$20
Estimated Time Investment
Afternoon Project (3-6 Hours)
Finish Used
Dark Walnut
Recommended Skill Level
Beginner

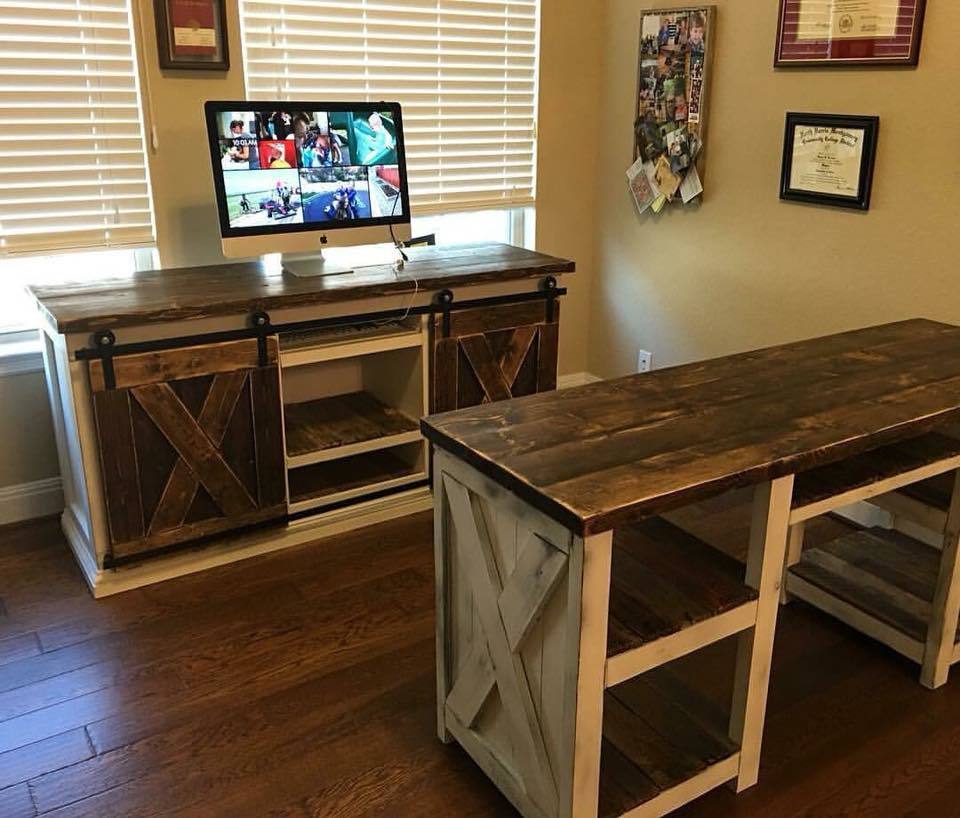
Sliding Barn Door Office Set

Submitted by Anonymous (not verified) on Mon, 10/23/2017 - 10:06

Built by What Once Was Old Furniture Design submitted by Kari Baker

We get lots of inspiration from you Ana! We started building the sliding barn door cabinets from your plans and since have built several of them. We have also altered them to fit our customers needs. They are very popular here in Texas. The sliding door cabinet in this picture was used as a credenza in a home office. We also added a sliding keyboard tray under the computer screen. The printer is on a sliding tray as well, so it can be pulled out when in use. Base of the cabinet and desk is new pine and we used a lot of pallet wood for doors and shelves. It would be a treat to be added to your brag board, you can see lots of our work, lots of which you should recognize at What Once Was Old Furniture Design . Thank you!!

Built from Plan(s)
Recommended Skill Level
Advanced

Tote Storage Bed

Submitted by Ana White on Wed, 11/03/2021 - 17:12

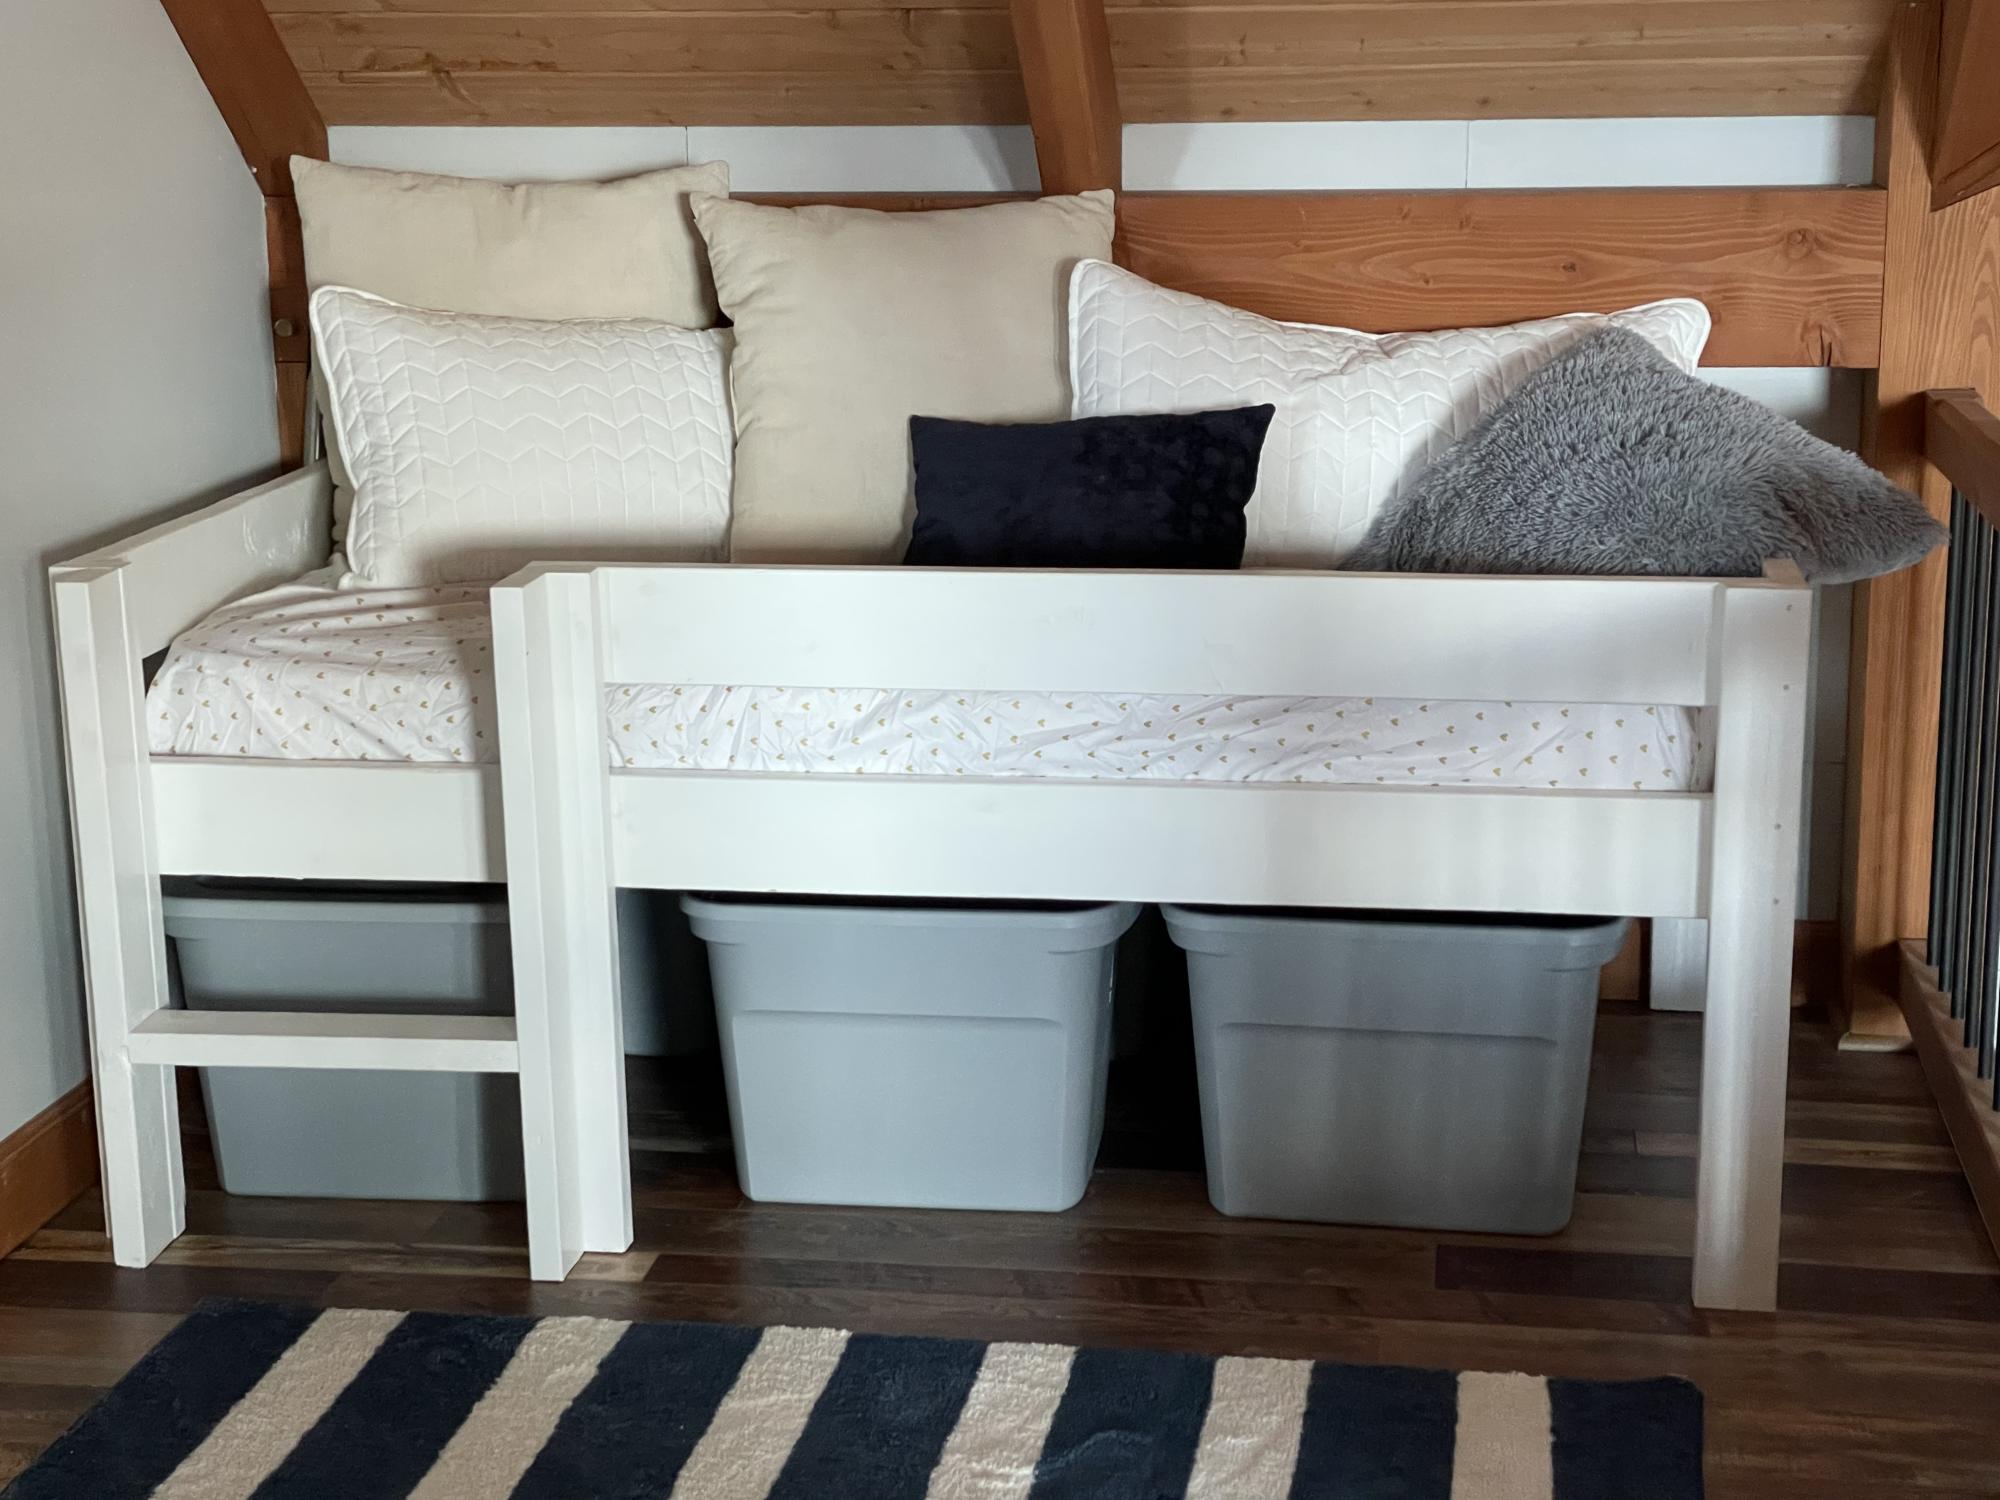
Shortened the essential loft bed up so legs are 32” long. This is the perfect height for putting totes underneath. I fit six totes easily. 
 

The back row of totes is out of season/size/etc stuff. The front totes don’t have lids on them and the kids use them for toy boxes.

The bed itself is at a nice height.  It’s easy to put kids in bed and make the bed.  The guardrail is great for keeping pillows blankets and kids on the bed.  Kids also love the ladder and bunk feel!

This is a great bed that I couldn’t recommend enough.  It could easily last from toddler to teen.   Very sturdy and comfortable.  
 

Farm House Bench

Submitted by toes on Wed, 03/30/2011 - 14:25

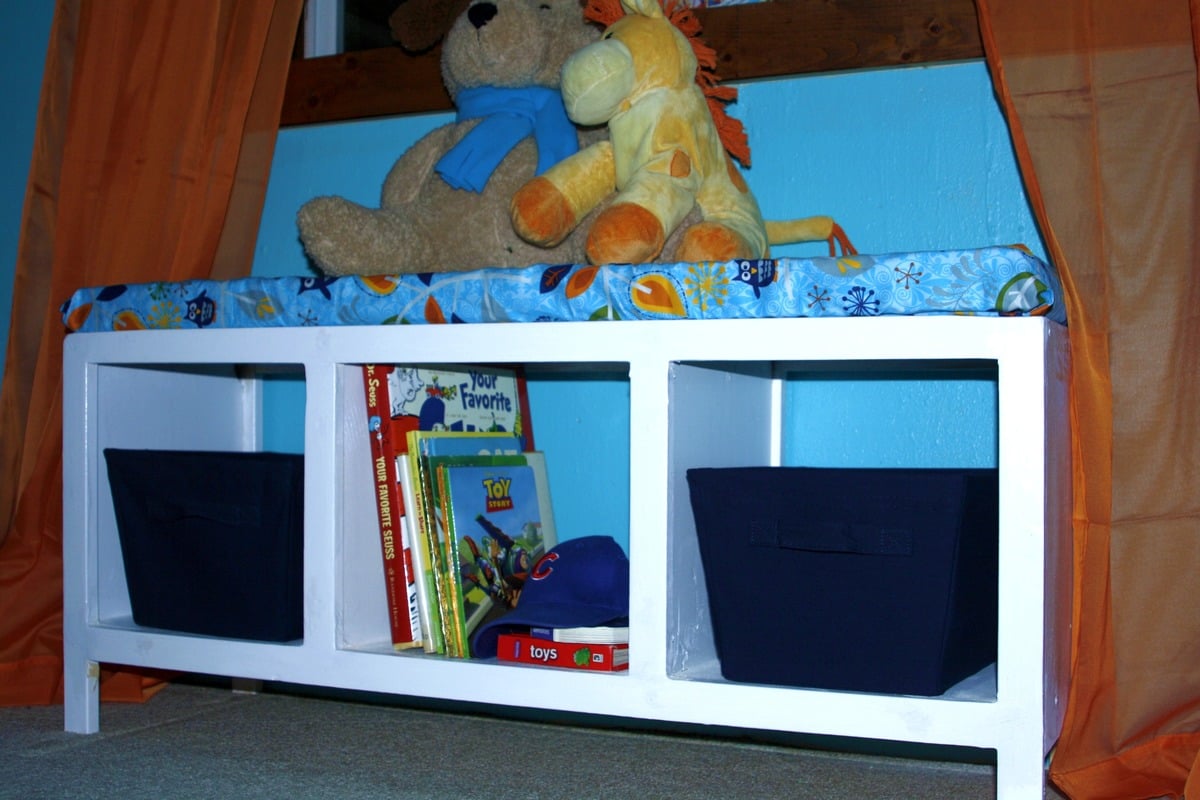
First bench to match the Farm House table I have built.  Istill need to finish my table now to match the bench.  

Estimated Cost
$35
Estimated Time Investment
Day Project (6-9 Hours)
Finish Used
I first started my staining this bench with ZAR Moorish Teak (looked like I had painted it brown) sanded it down a little added Minwax dark walnut LOVED it! Added 3 coats of Deft stain lacquer.
Recommended Skill Level
Intermediate

For a big crowd

Submitted by Diesel911 on Wed, 05/13/2015 - 11:32

My first project built on the garage floor. Before I had work benches :)
I used a borrowed mitre saw, borrowed jig saw and a $20 drill.

Finish Used
Stained with early American and red elm. Clear coat afterwards
Recommended Skill Level
Intermediate

Comments

TV Stand

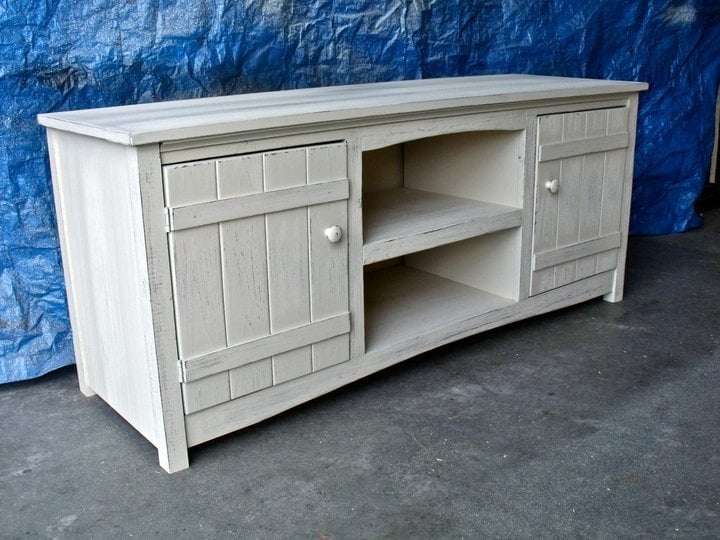
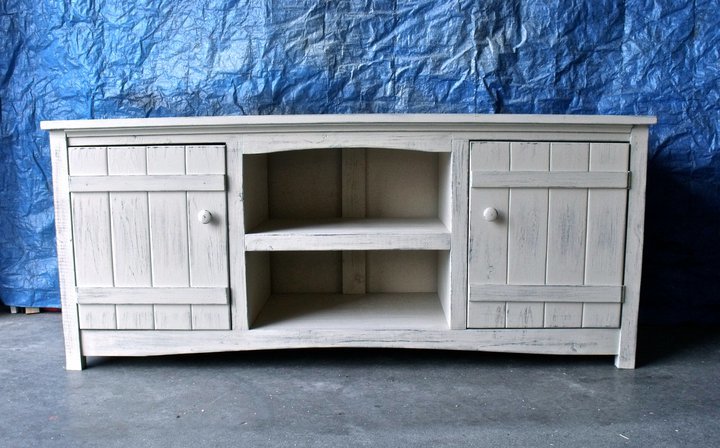
Easy to make tv stand from pine wood. This is what it looks like before painted. Plenty of space for dvd's.

Estimated Cost
$100
Estimated Time Investment
Day Project (6-9 Hours)
Recommended Skill Level
Intermediate

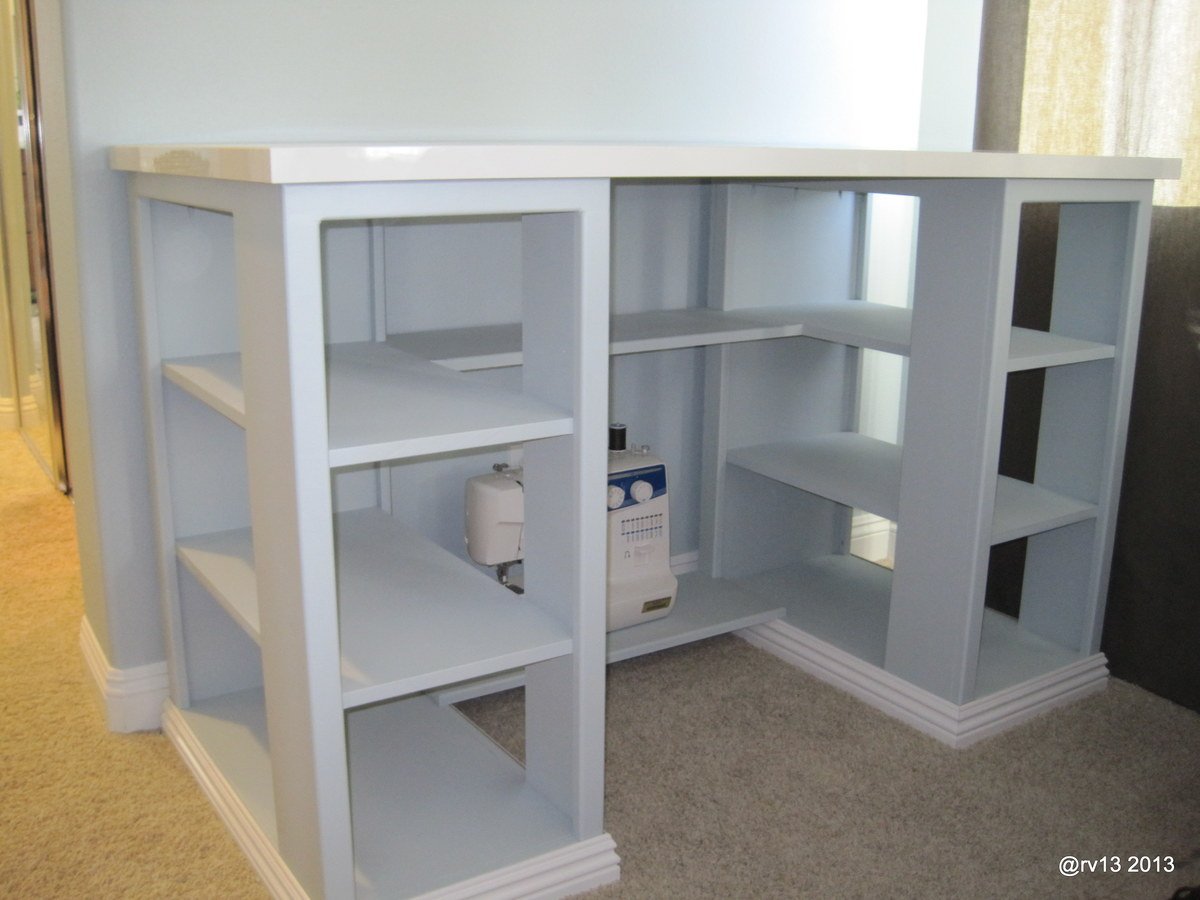
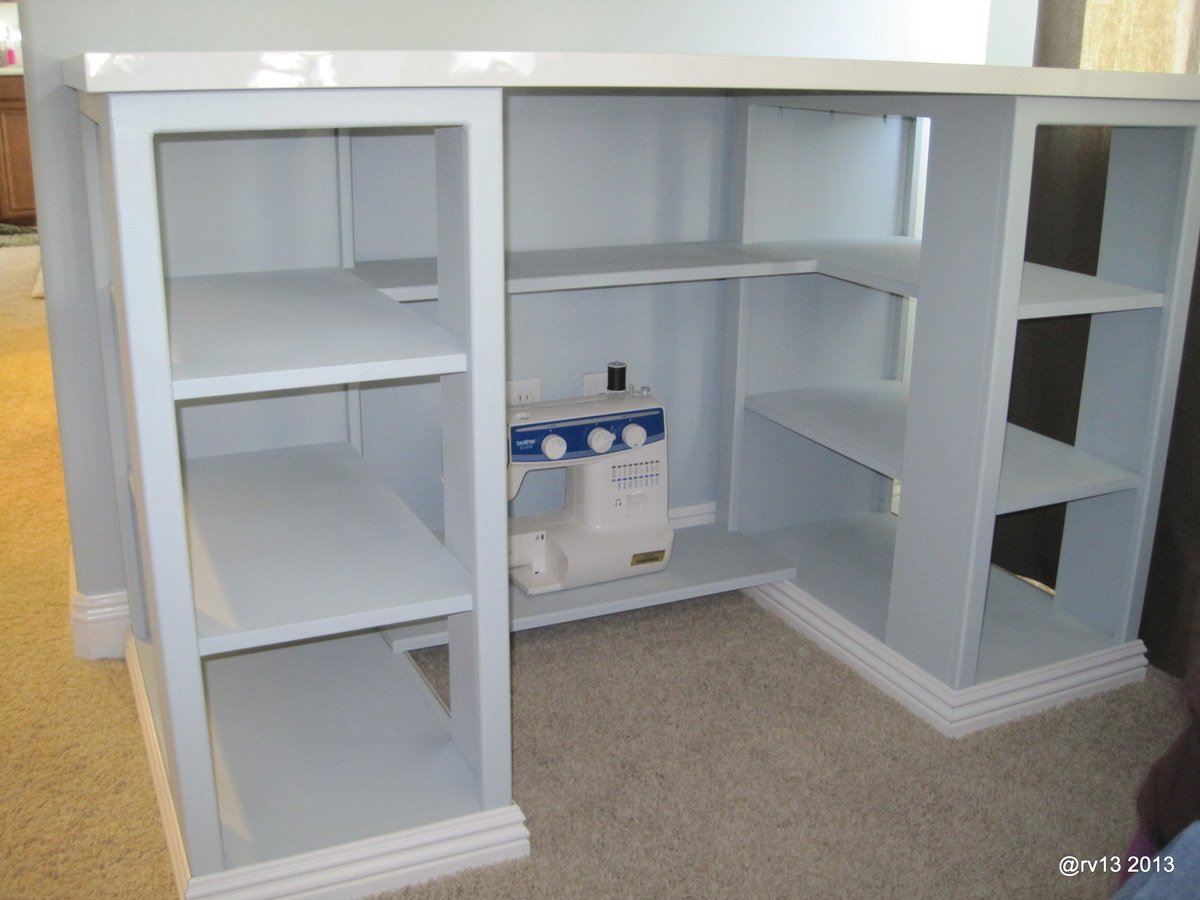
Modern Craft Table - Modified

Submitted by rv13 on Wed, 06/12/2013 - 10:35

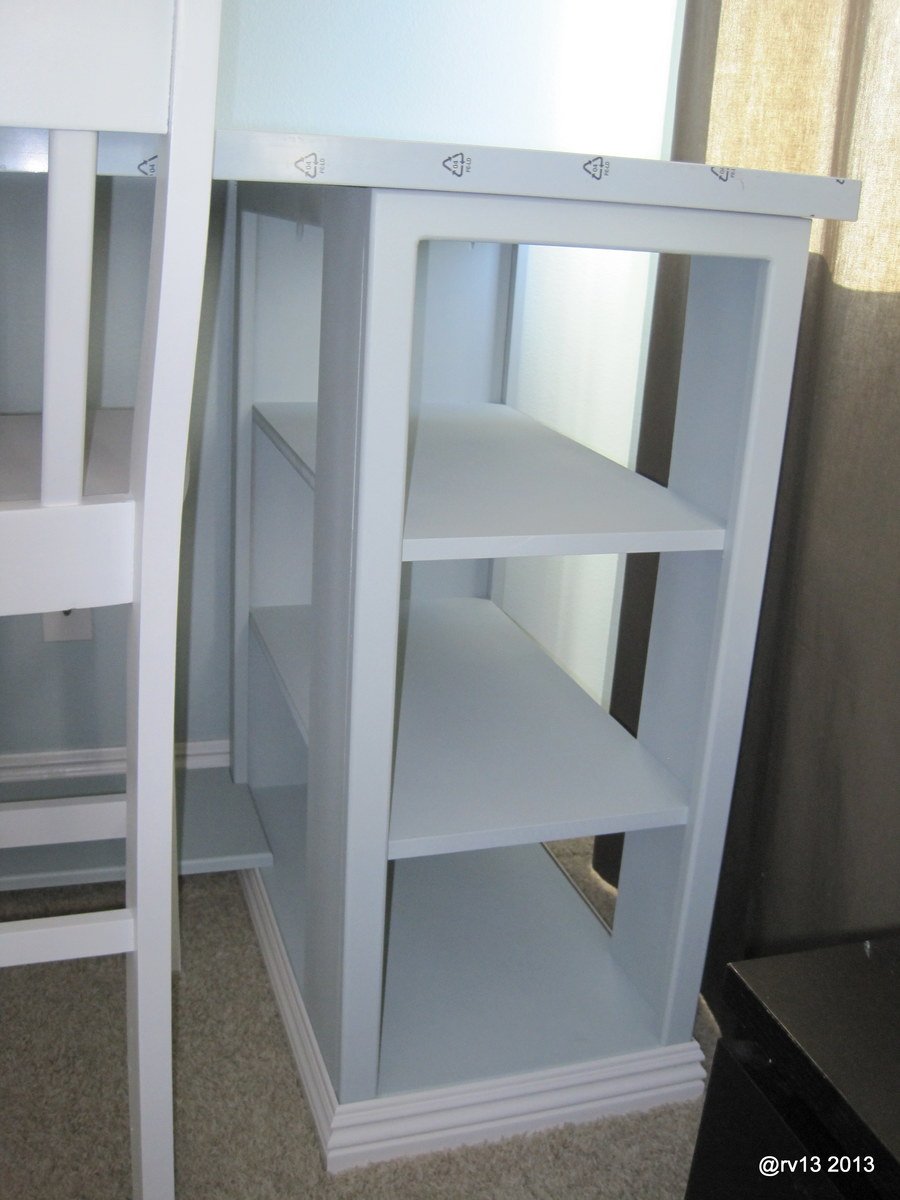
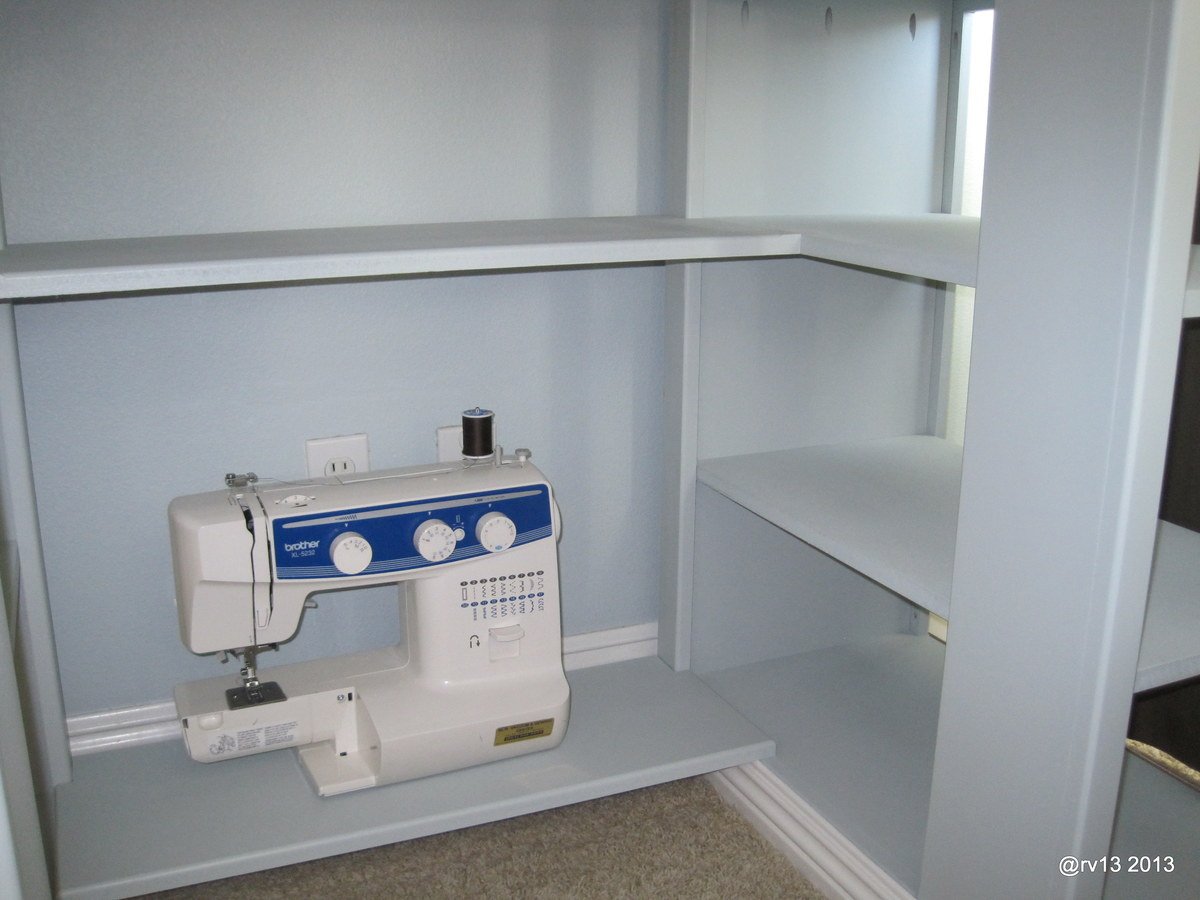
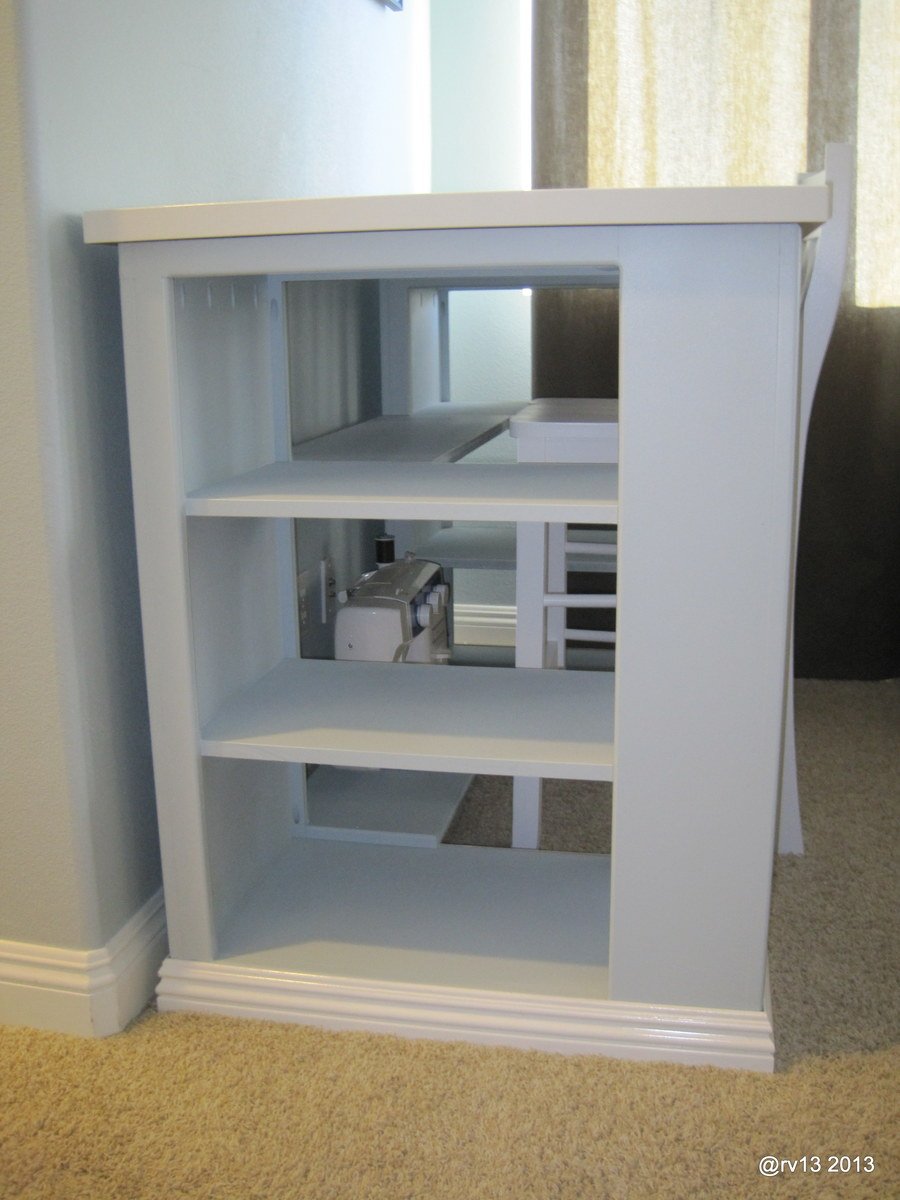
Here is our take on the Ana White "Modern Craft Table". My wife wanted to use this as a sewing table. I used my Kreg Pocket Jig for most all connections, minus the moulding. The unit was built out of 3/4 MDF. The table top is from IKEA.

Mine is built a little different in that the shelves are continuous, not compartments. I also added in shelving on the back for more storage.

I also ran the router along all the edges.

Built from Plan(s)
Estimated Time Investment
Weekend Project (10-20 Hours)
Finish Used
Spray Painted with the "HomeRight C800766 Finish Max Fine Finish Sprayer" from Amazon $64. Awesome sprayer. Used Indoor Latex Semi-Gloss Enamel.
Recommended Skill Level
Intermediate

Comments

Writing Desk For My Wife

Submitted by P76 on Sat, 05/16/2015 - 14:00

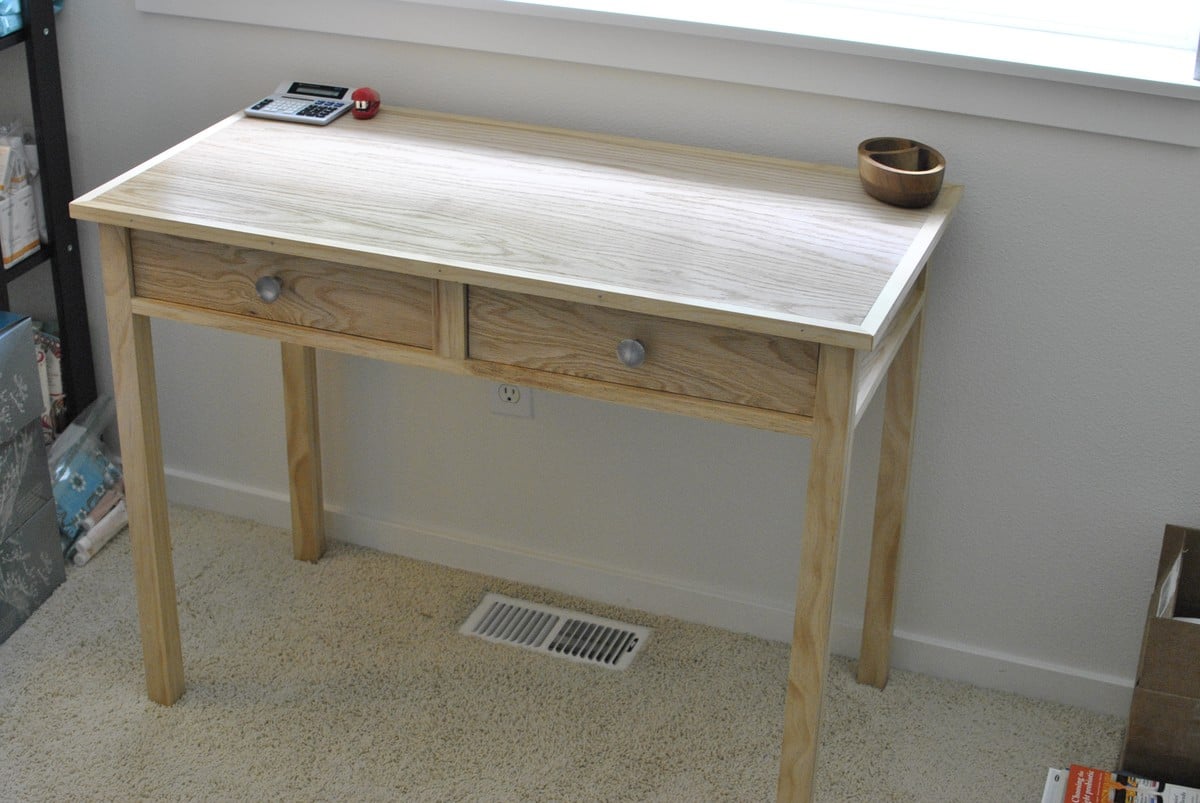
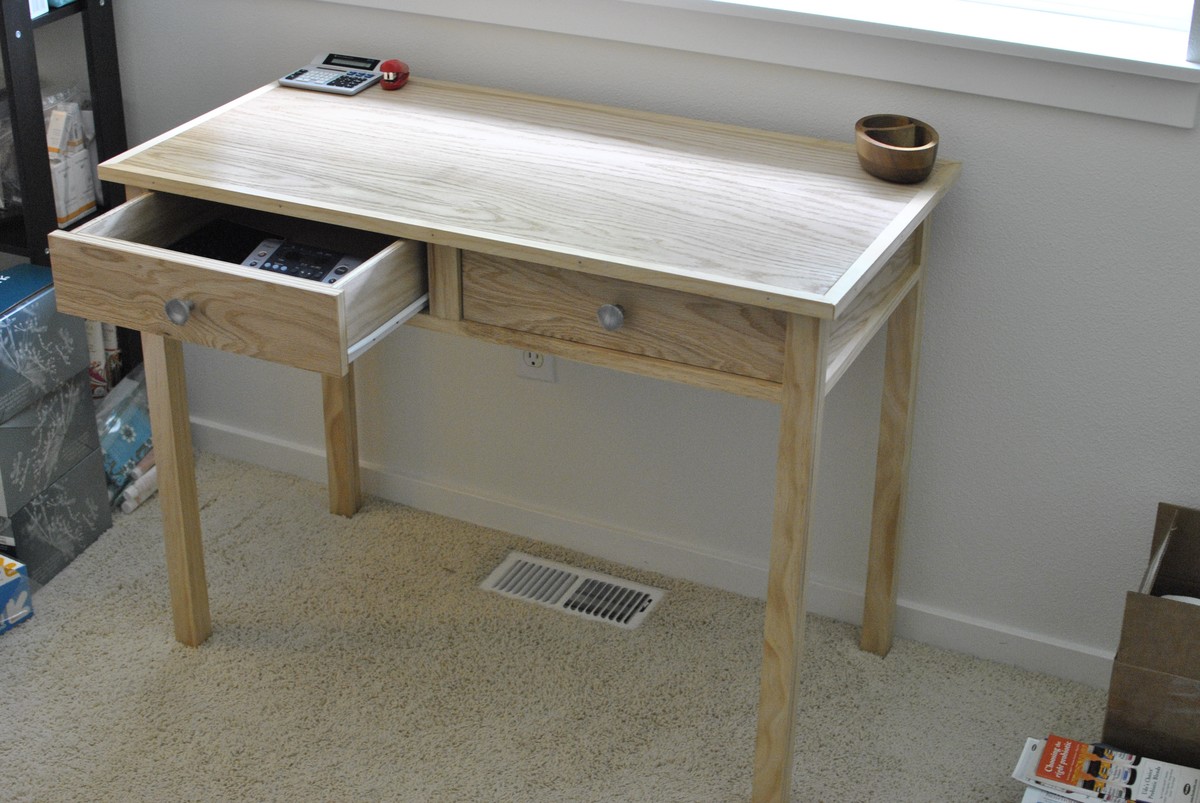
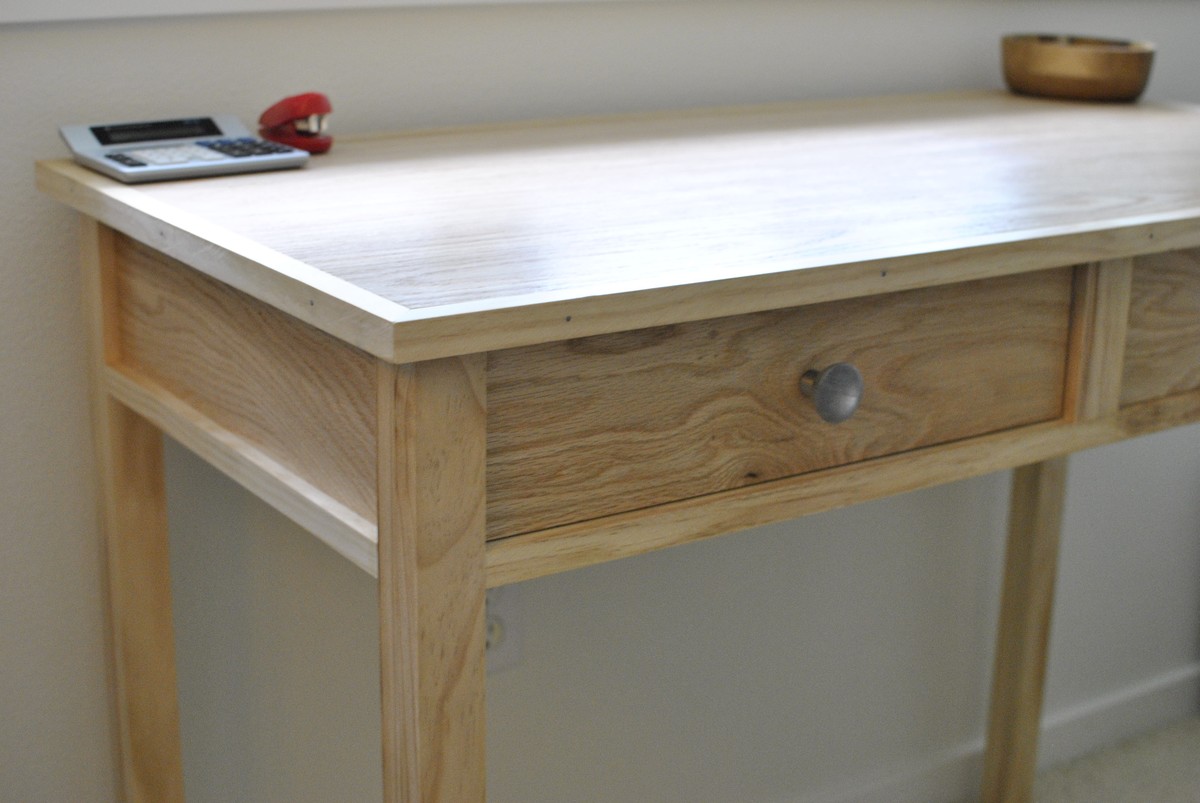
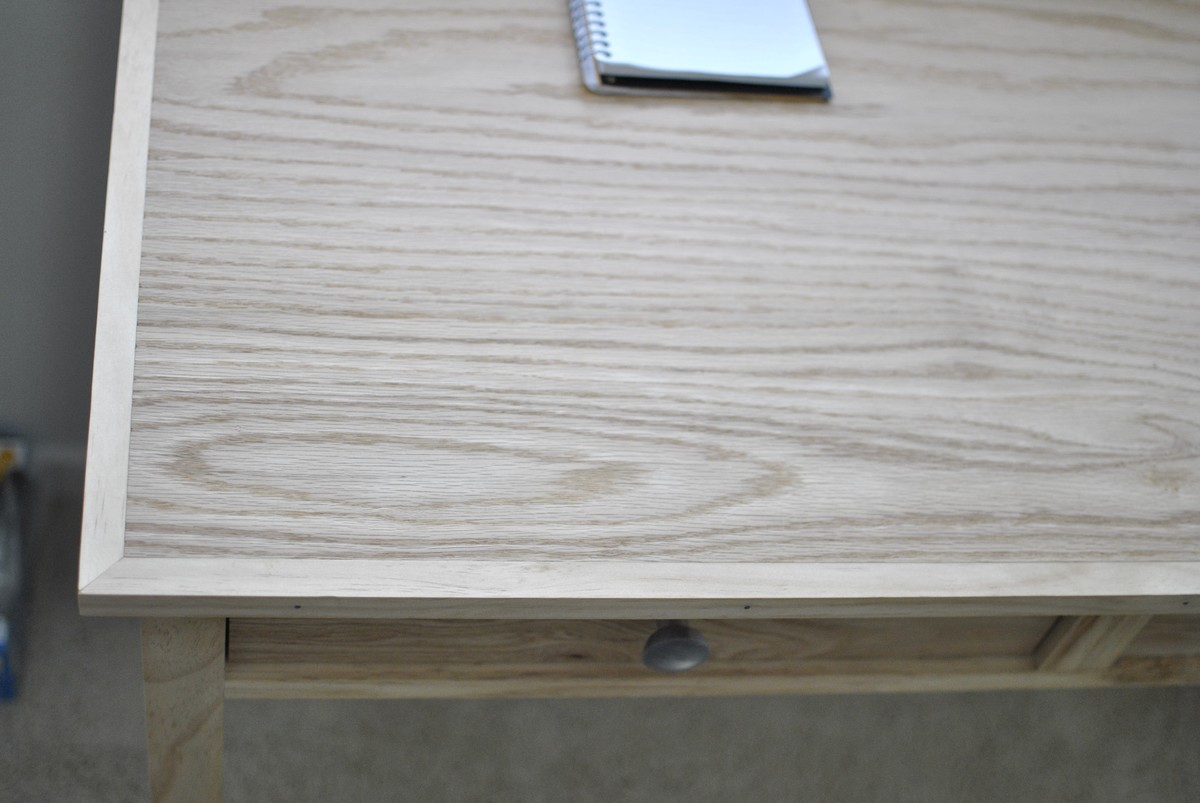
My wife needed a writing desk. I had previously built a coffee table with cheap lumber and wanted to see if I could build something with nicer wood. My concern was that all I had was a small portable table saw. This is the result. Oak plywood for the top and side panels, pine for the frame and edges. No stain; I really wanted to let the difference in colors from the two different woods to speak for itself. Just a good sanding and 5 layers of water based polyurethane.

Estimated Cost
$120
Estimated Time Investment
Weekend Project (10-20 Hours)
Finish Used
No stain, just poly for protection and shine.
Recommended Skill Level
Intermediate

Comments

Monika

Sun, 03/31/2024 - 12:33

For me having a comfortable writing desk is very important. A cozy desk setup helps me focus and boosts my productivity. Plus, with https://skillroads.com/resume-writing-service I can easily access professional assistance to fine-tune my resume and make it stand out. So, if you're serious about landing that dream job, investing in a good writing desk and using Skillroads' services is a winning combination!

Hall Tree Storage Bench

Submitted by ScottyG on Sat, 12/02/2017 - 14:46

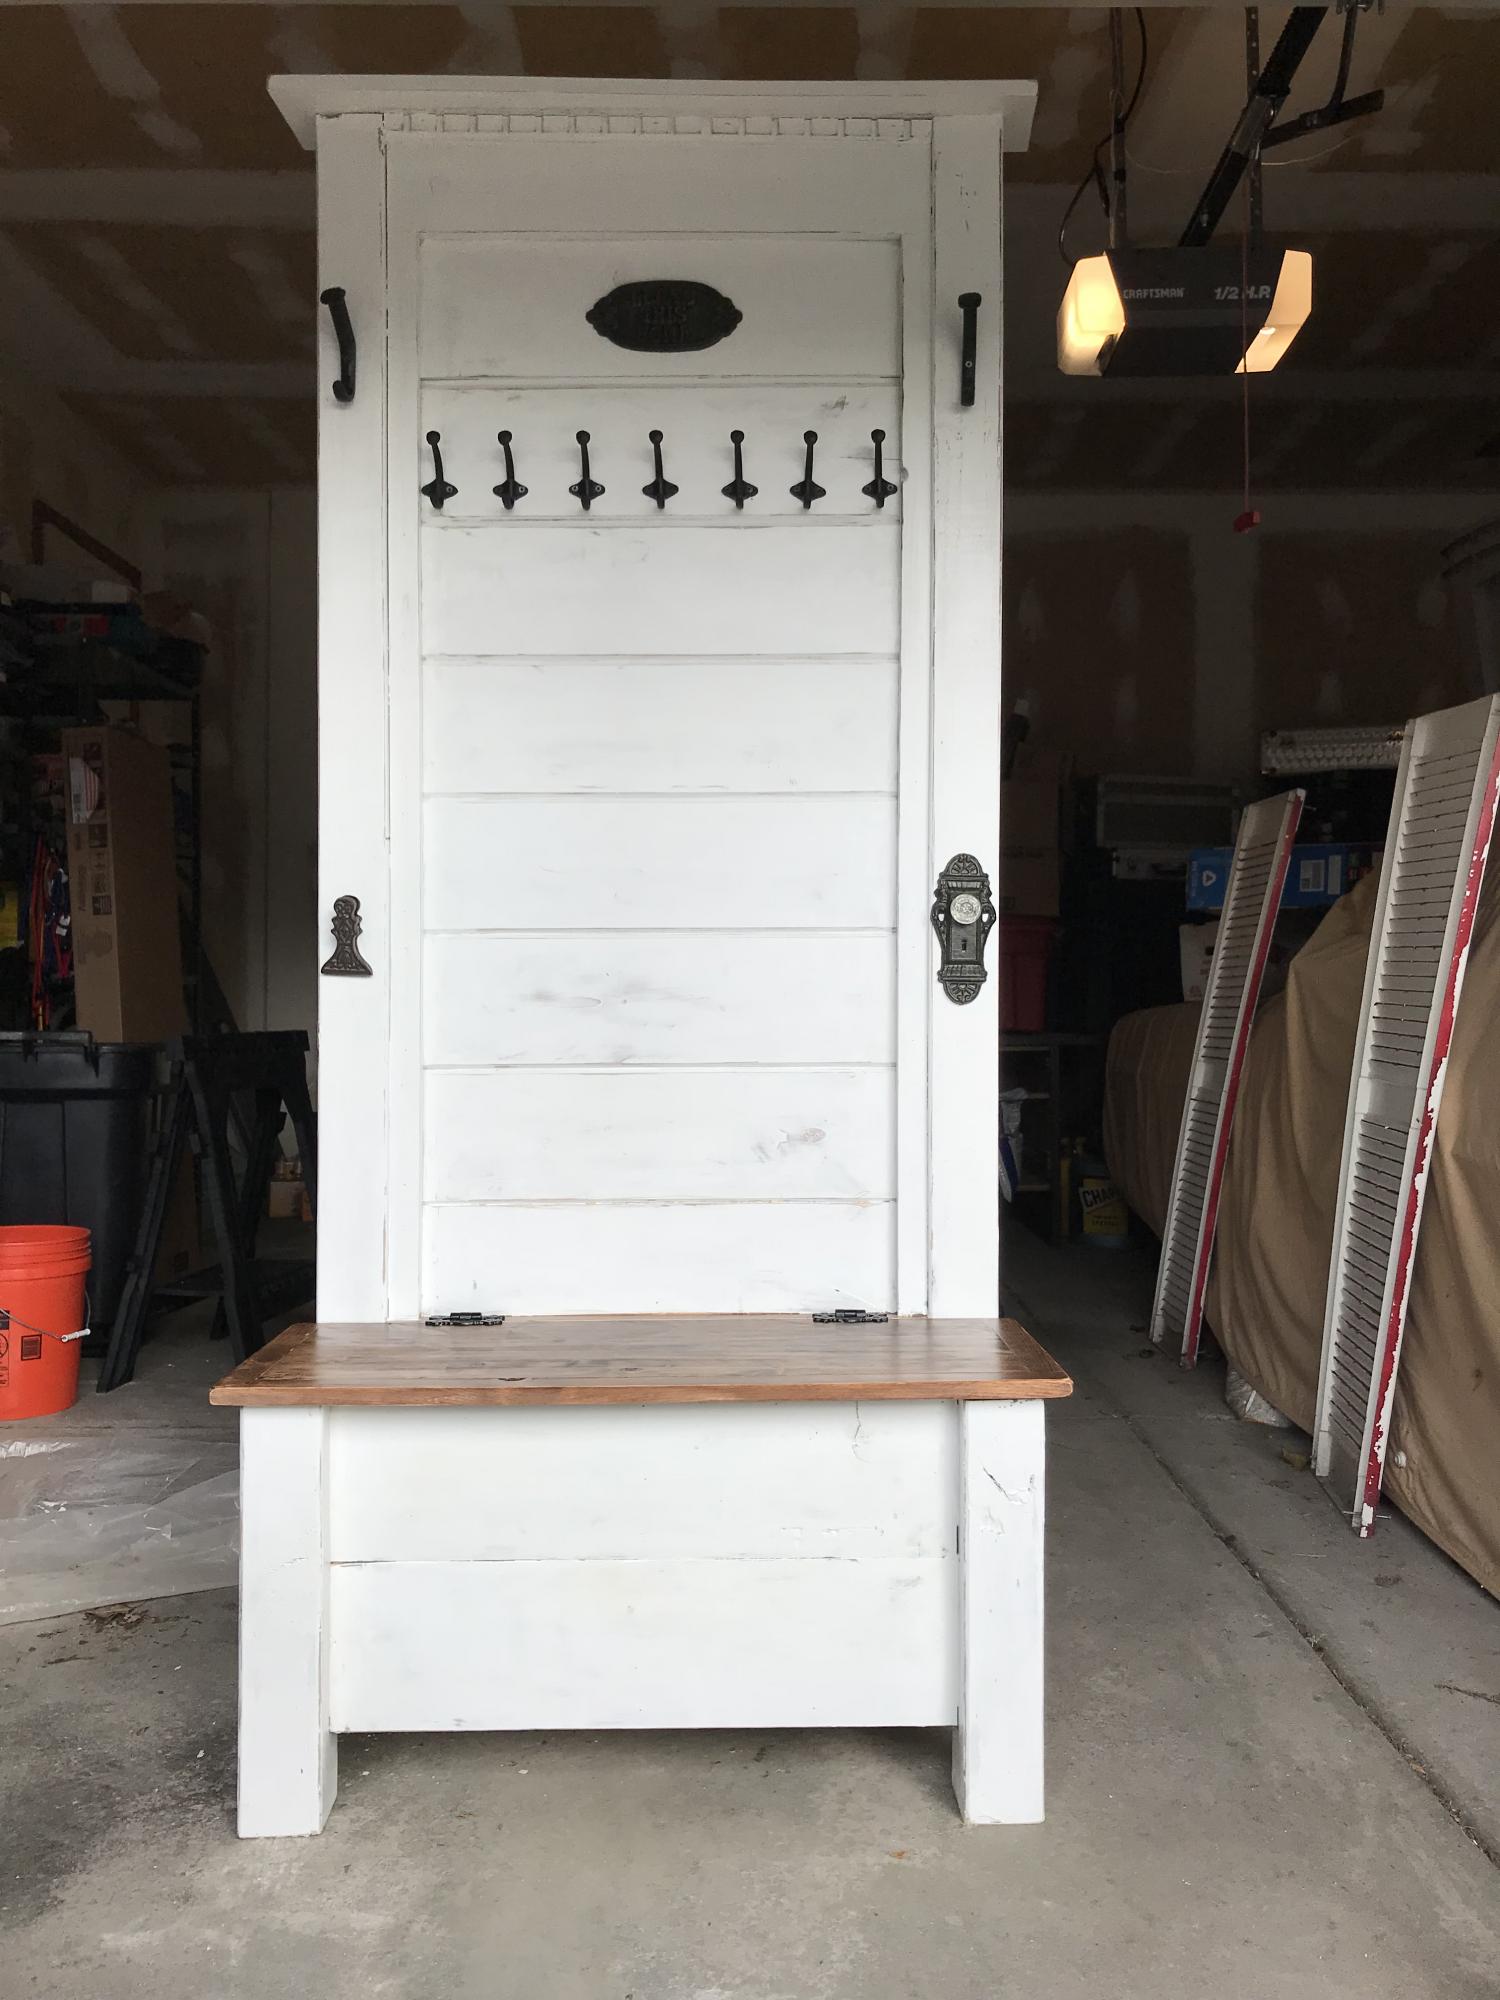
Hi Ana!  This project was pretty much inspired by ALL the great things you build on this site, as well as from watching a 'Fixer Upper' marathon (hence, the white color and shiplap).  Last Christmas, I promised my sister that I'd build her a hall tree since she's now up to 10 grandkids and needed more hooks for all those coats and hats.  Unfortunately, I also came down with a WICKED case of vertigo, so no power tools for yours truly. : (

Well...  The vertigo finally cleared up, so it was time to get out my trusty ol' Kreg Jig and fire up the tools.

This project started with 2 4x4s.  I cut 17 1/2" off each, then used the long pieces as the back and the sort pieces as the front legs.  Then I built a rectangle (shored up by some cross supports) out of 2x3s and used those to attach the back legs together with pocket holes.  I did the same thing with the 2 front legs, then attached the 2 sets of legs together with shorter pieces of 2x3s that framed up the side.

Next, I added a front to back support to the underside, and then attached the bottom of the seat on top of that.  I built the front, back, and side pieces of the bench section by cutting a couple of 8' x 8" x .5" planks to size, and attached 2 pieces to each side by gluing and nailing them to the frame.   Then, I rans some shiplap up the back (glued and nailed to the back frame) and topped it all off with a mantle.

For the seat, I used a 12" project board ($11 at Lowes for a 6 foot section) because I love all the knotty details and nail marks.  I framed it out with 1x1 and attached with pocket screws on the underside.  I finished that piece by staining it in Rustoleum Dark Walnut.

As for the rest, I just framed the shiplap section with leftover 1x1s, then sanded and stained the whole piece with the same Dark Walnut stain (so that something would show through after distressing).  Finally, I applied 2 coats of Rustoleum Linen White Chalk Paint (LOVE that stuff!), distressed it, and topped with one coat of Minwax 1 Coat Poly (ALSO love that stuff), and added some hardware and country do dads from Hobby Lobby (Rustic Hooks, 'Bless This Home' Sign, Decorative Doorknob, and "Mitten Clip" for wet mittens and gloves coming off little hands) .  What do you think?  ヅ
Estimated Cost
About $100
Estimated Time Investment
Weekend Project (10-20 Hours)
Finish Used
Rustoleum Dark Walnut Stain (Bench Seat), Rustoleum Linen White Chalk Paint (Rest of project), sealed with Minwax 1 coat poly.
Recommended Skill Level
Intermediate

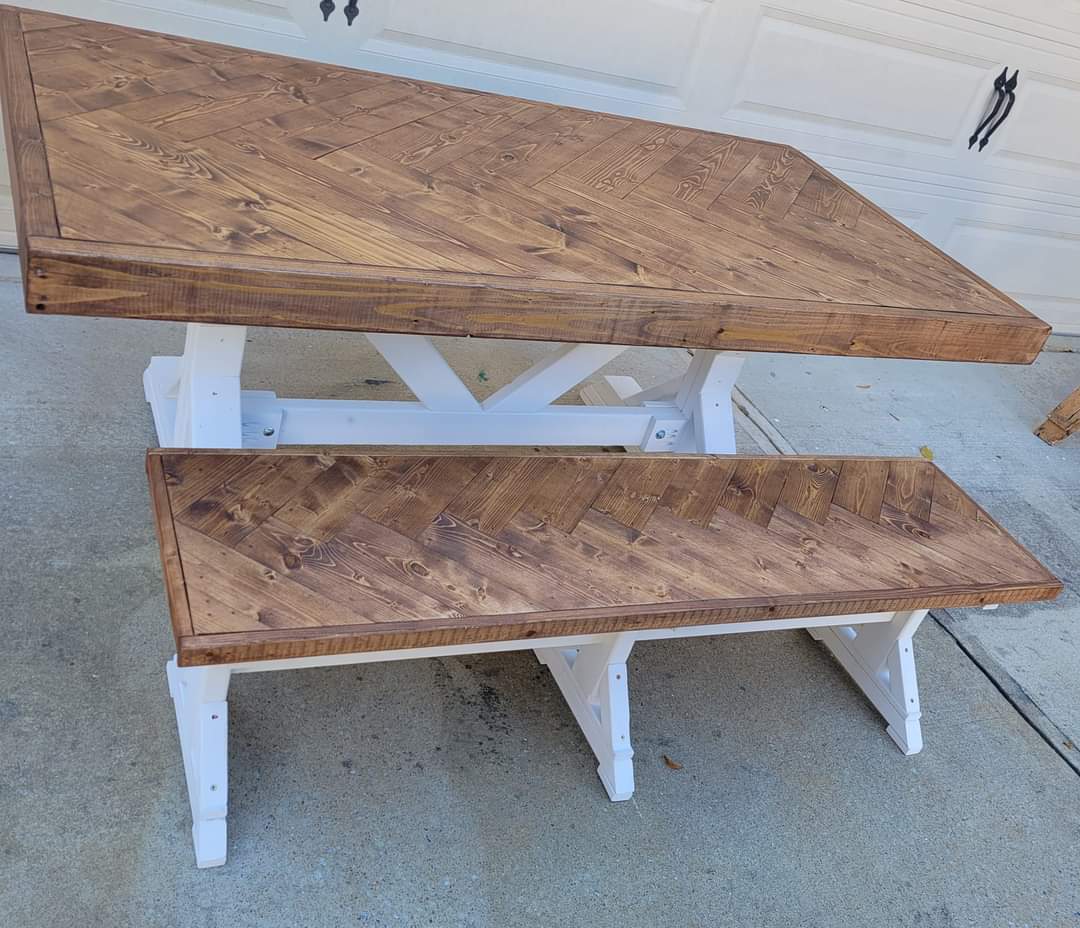
Fancy X table and bench

Submitted by Lukilla on Tue, 11/16/2021 - 16:44

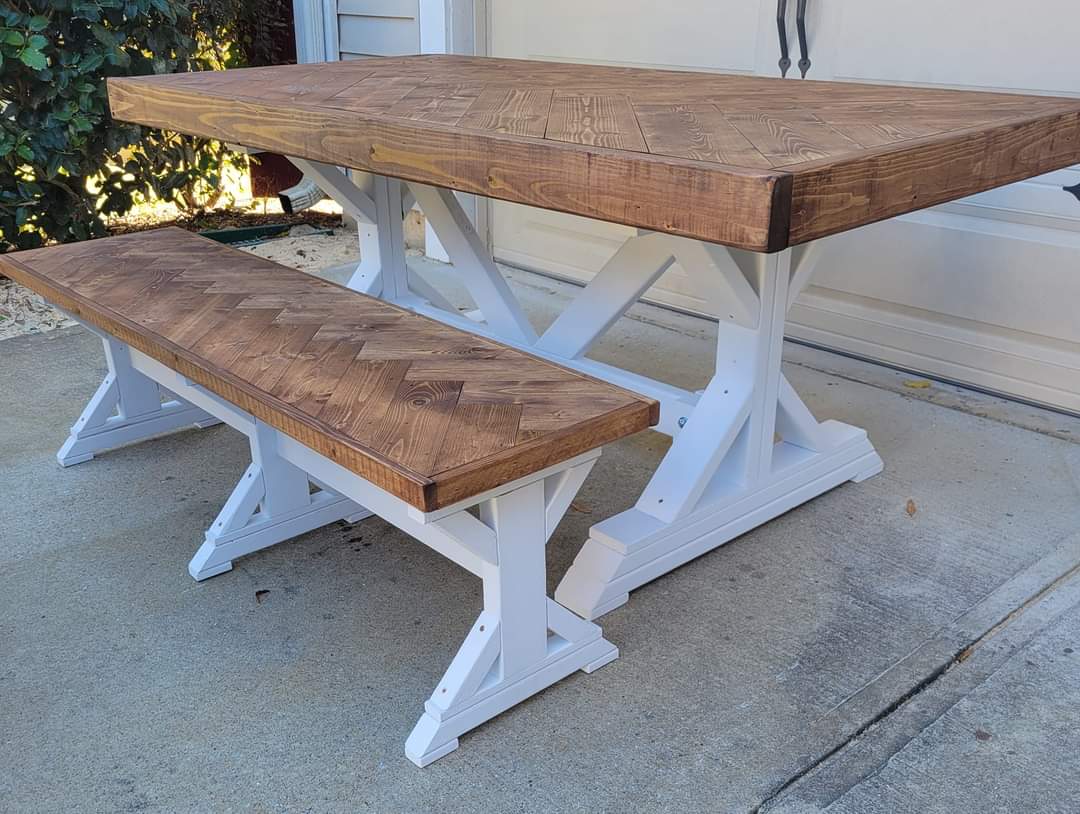
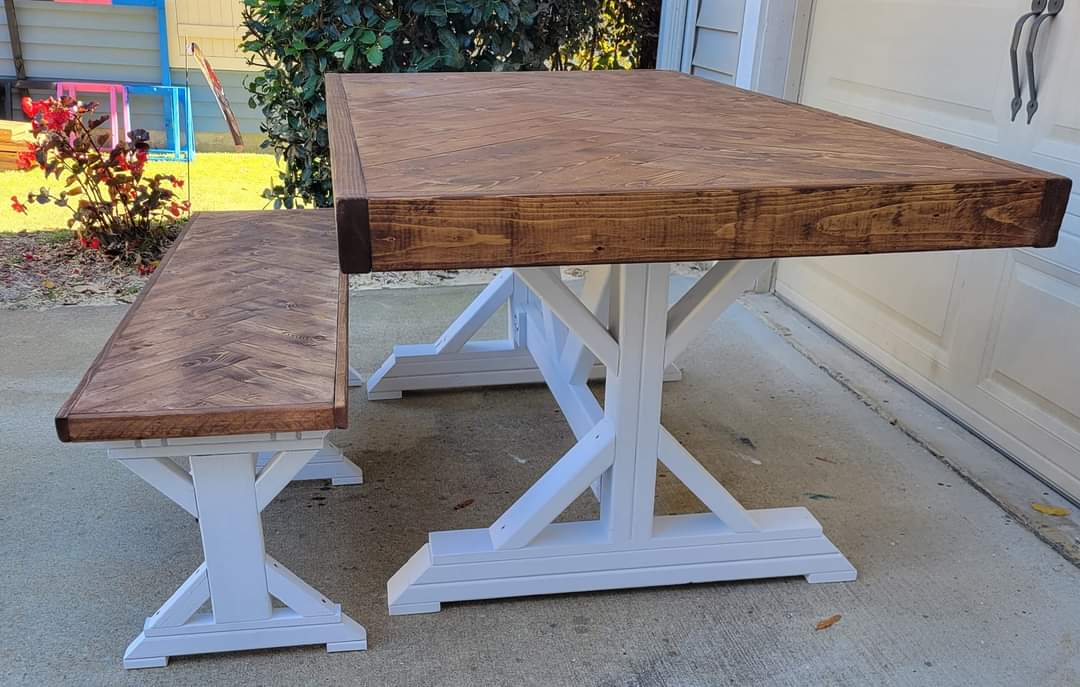
Put a fancy twist in this tabletop and bench top. We like the 45 degree angles that the top and legs both have to compliment each other. The top is stained with minwax special walnut.

Comments

My headboard!

Submitted by Squiddles on Fri, 06/14/2013 - 14:10

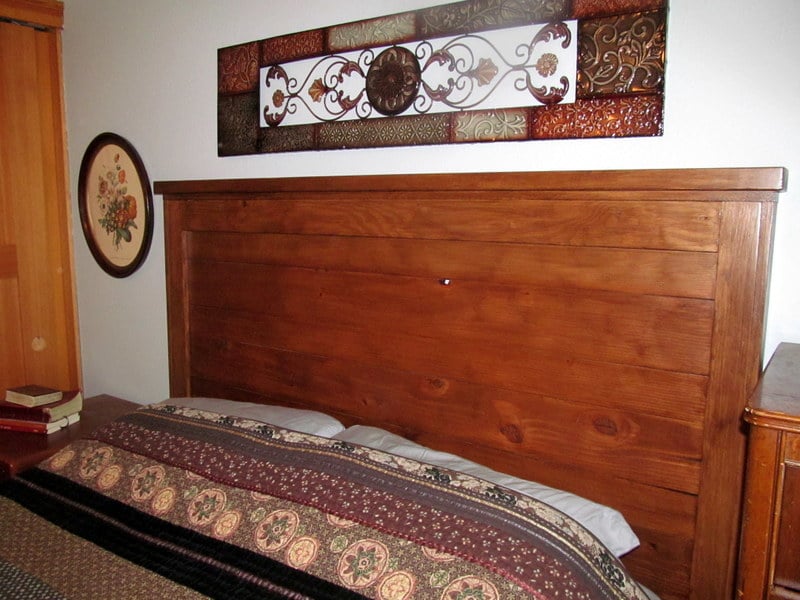
My hubby is a pro carpenter and was annoyed that i printed out instructions for him... but I wanted it to look exactly like the ones on the blog! I LOVE my new bed so much

Estimated Cost
$45 (wood and stain)
Estimated Time Investment
Afternoon Project (3-6 Hours)
Finish Used
Walnut poly
Recommended Skill Level
Beginner

Patio Furniture

We built this set as a variation of the Platform Outdoor Sectional plan. I read that several individuals had a hard time finding the right size cushions, or inexpensive cushions, so I found some on clearance and built the seating customized to their size. The built-in cooler was a neat little addition we had an easy time with, and we used mainly scrap wood for the coffee table and corner piece. We decided to stain it a translucent grey, as I really loved the natural wood look, but needed to match the cushions a bit more. Still adding a few finishing touches, but already enjoying relaxing on it. It was a fun project, and I love how it came out. Bring on the sun!!

Built from Plan(s)
Estimated Time Investment
Weekend Project (10-20 Hours)
Recommended Skill Level
Beginner

Comments

Christmas Tree Collar

Submitted by amyrunser on Wed, 12/13/2017 - 10:13

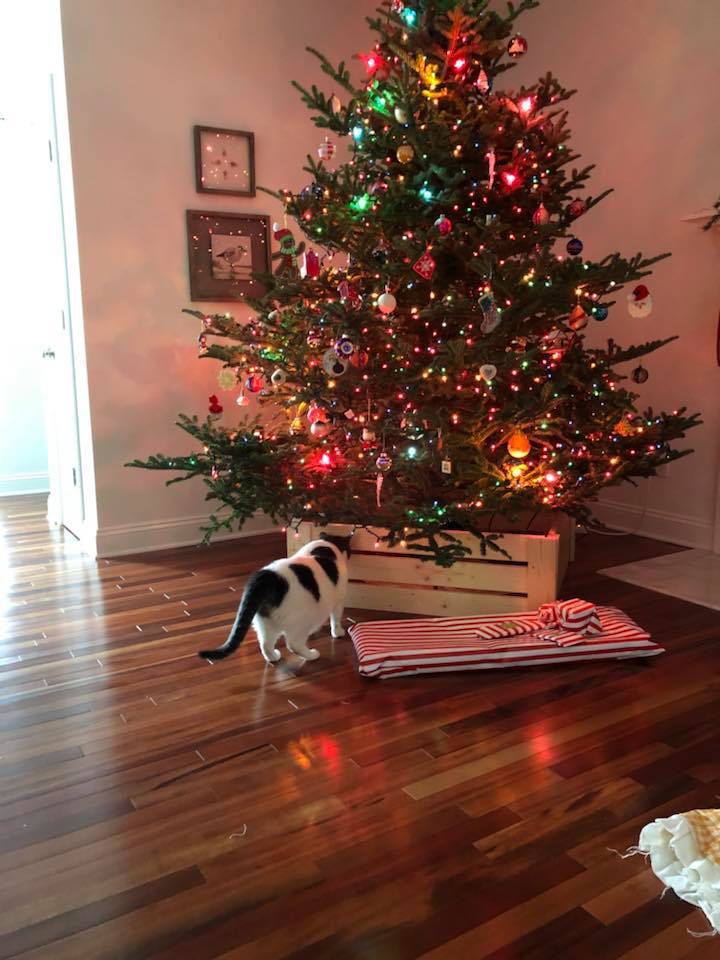
Thank you for these plans Ana! Had to make mine 36" wide to accomodate the tree stand tripod. Added bonus: kitty cannot drink the tree water! YES! Still have to stain and going to add hinges to one side to access water bucket easily. 

Built from Plan(s)
Estimated Cost
$20
Estimated Time Investment
An Hour or Two (0-2 Hours)
Finish Used
Stain to be applied; unfinished at present
Recommended Skill Level
Starter Project

Comments

My version of the Simple Outdoor Dining Table

Submitted by cchalifour on Wed, 11/24/2021 - 19:48

My version of the Simple Outdoor Dining Table
- All Cedar

Built from Plan(s)

Comments

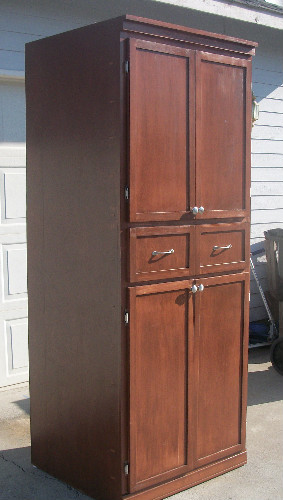
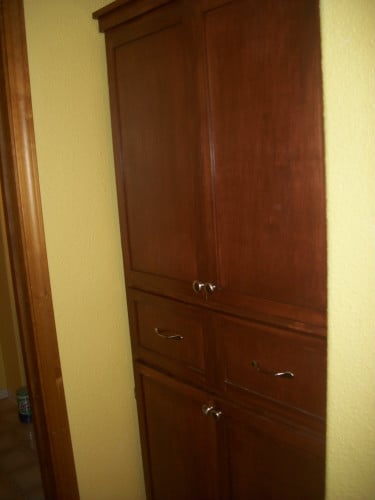
My Version of the Nursery Armoire

Submitted by tracysmith on Sat, 04/09/2011 - 22:35

We built this armoire cabinet for a client of ours (this was a paying gig) who needed extra storage in her bathroom.  I think it turned out beautifully if I do say so myself.  So much so that I decided the build two of these to put in my laundry room for extra storage.

This project took us a month and a week to do in overall time, but in that month, we didn't work on it everyday.  Actual build time was probably more like three weeks - 6 hours a day.  We tweaked a lot on this since it was going to a customer we didn't want anything wrong with it so if it was mine it probably wouldn't have consumed so much time.  We also had a couple of problems that arose and it took a bit of figuring to get past those.  All in all it was a great experience.  :-)
Modifications:
Height and width were altered to fit the available space.
Drawers were put on the outside of the upper doors instead of inside
Shelves on the bottom section were made into sliding shelves (see additional pics) so that the contents in the back were more easily accessible.
Thanks for posting these plans, it was a joy to build and help someone else with a project that they didn't have time to do themselves.  We appreciate the inspiration!
Built from Plan(s)
Estimated Cost
$425
Estimated Time Investment
Week Long Project (20 Hours or More)
Finish Used
Minwax Waterbased stain in Rosewood - 2 coats
Minwax Polyurethane - 3 coats
Recommended Skill Level
Intermediate

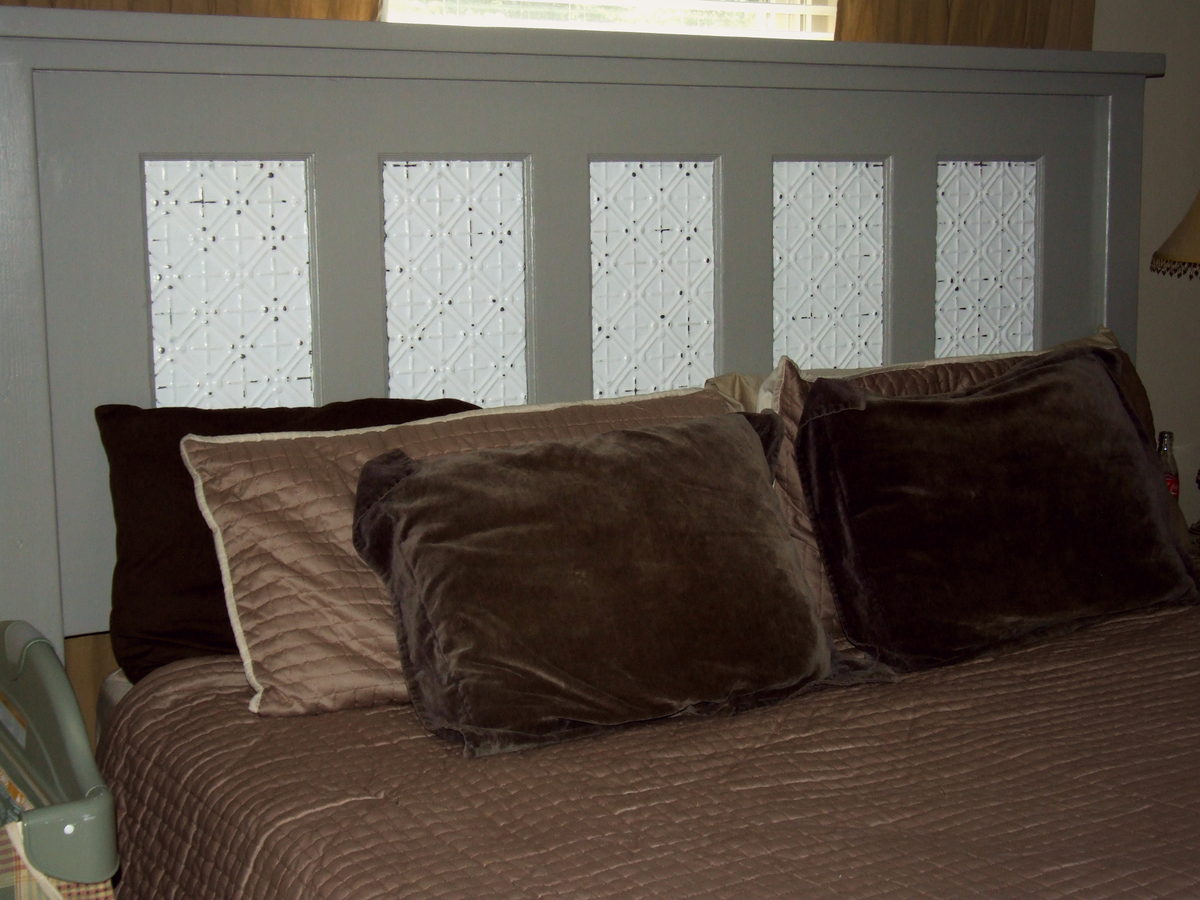
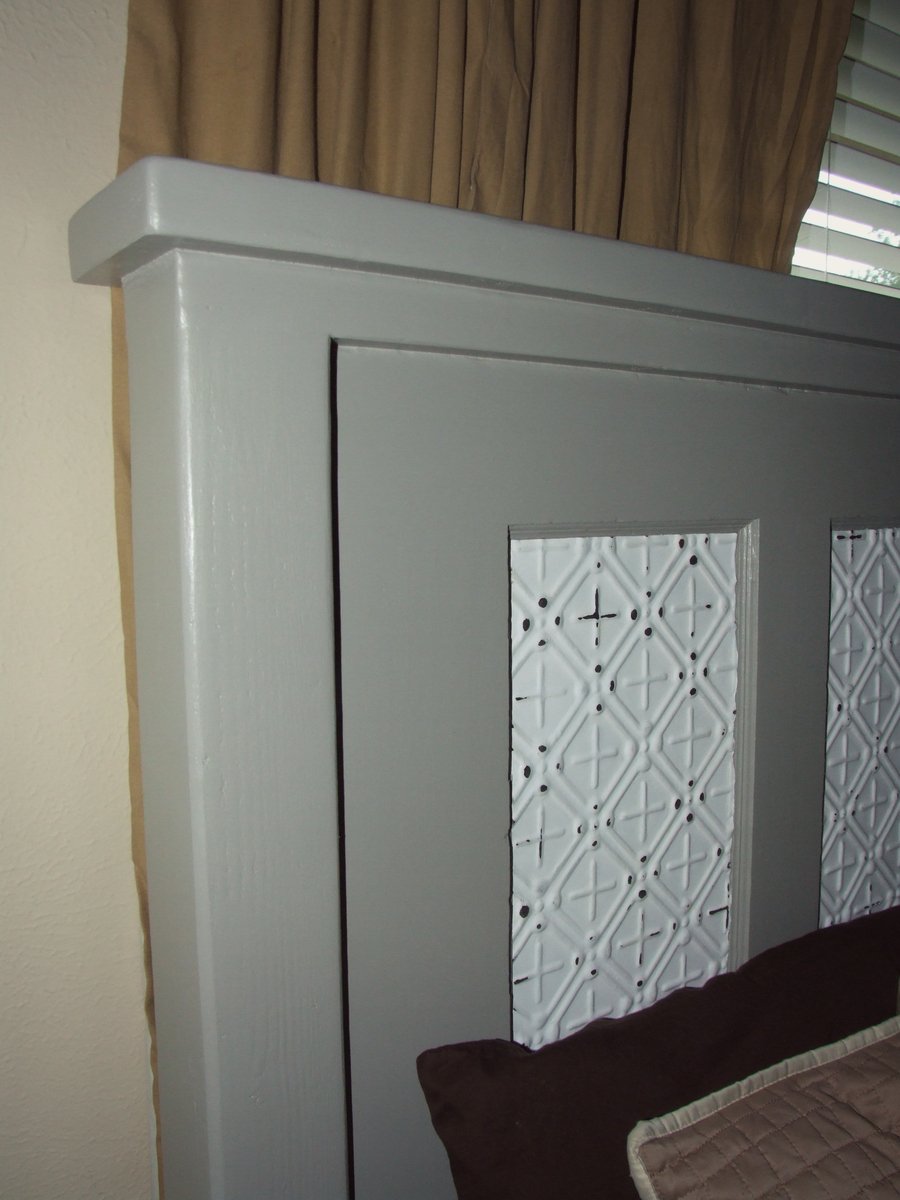
Farmhouse King/Vintage Door Headboard with tin panels

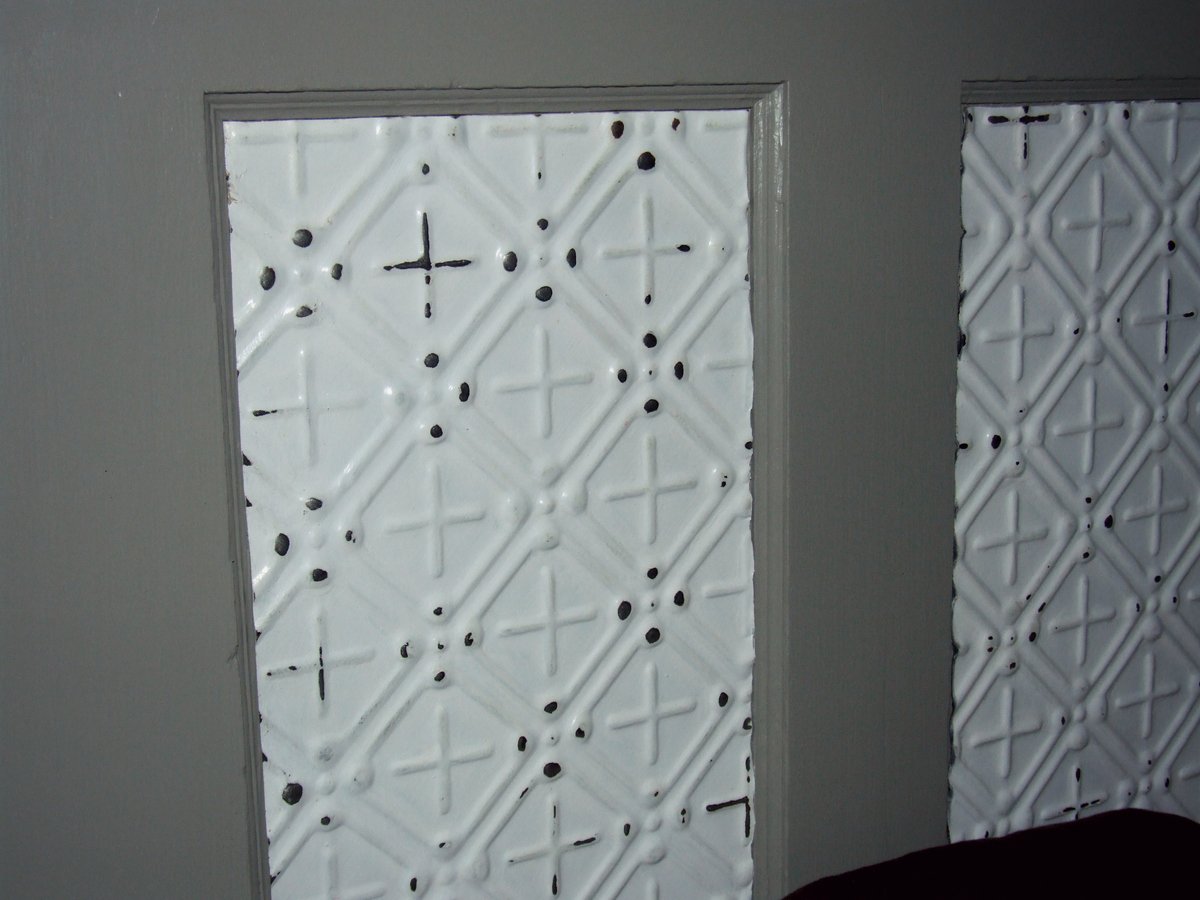
We used the modified king-size plans from the farmhouse bed to make this headboard. Instead of the planks, we used a vintage door that we cut to size, but the rest is according to the plans.

In each panel, we put a piece of painted, distressed ceiling tin, since this was our "tin" anniversary.

We used pocket holes to attach the door to the posts. My first time to use the jig!

Read more about the process in the blog post!
http://lassothemoon.typepad.com/lasso_the_moon/2013/06/diy-headboard-fr…

Estimated Cost
$100
Estimated Time Investment
Weekend Project (10-20 Hours)
Finish Used
paint, see blog for details on colors etc
http://lassothemoon.typepad.com/lasso_the_moon/2013/06/diy-headboard-from-a-vintage-door.html
Recommended Skill Level
Beginner

Comments

SoCaliforniaMel

Fri, 07/05/2013 - 23:10

This is so cute. I love the Tin ceiling tiles. I've always walked past them at HD and wanted to use them for something but never knew what to use them for. I love the idea of u using them because of your Tin anniversary. Turned out beautiful
~Melody

SoCaliforniaMel

Fri, 07/05/2013 - 23:10

This is so cute. I love the Tin ceiling tiles. I've always walked past them at HD and wanted to use them for something but never knew what to use them for. I love the idea of u using them because of your Tin anniversary. Turned out beautiful
~Melody

Lasso the Moon

Sat, 07/06/2013 - 06:27

Thank you! It was my husband's idea. He's a really great gift giver. For our cotton anniversary he rented me a cotton candy machine!
Anna

SoCaliforniaMel

Sun, 07/07/2013 - 00:55

He thinks out side of the box. What a great cotton gift. I got my husband DKNY towels. haha. (he always complained that ours werent soft enough. I think we stopped at wood because it got too hard. I cant even think of a wool gift since we live in Southern CA. You sound like you have a good man.
~Melody