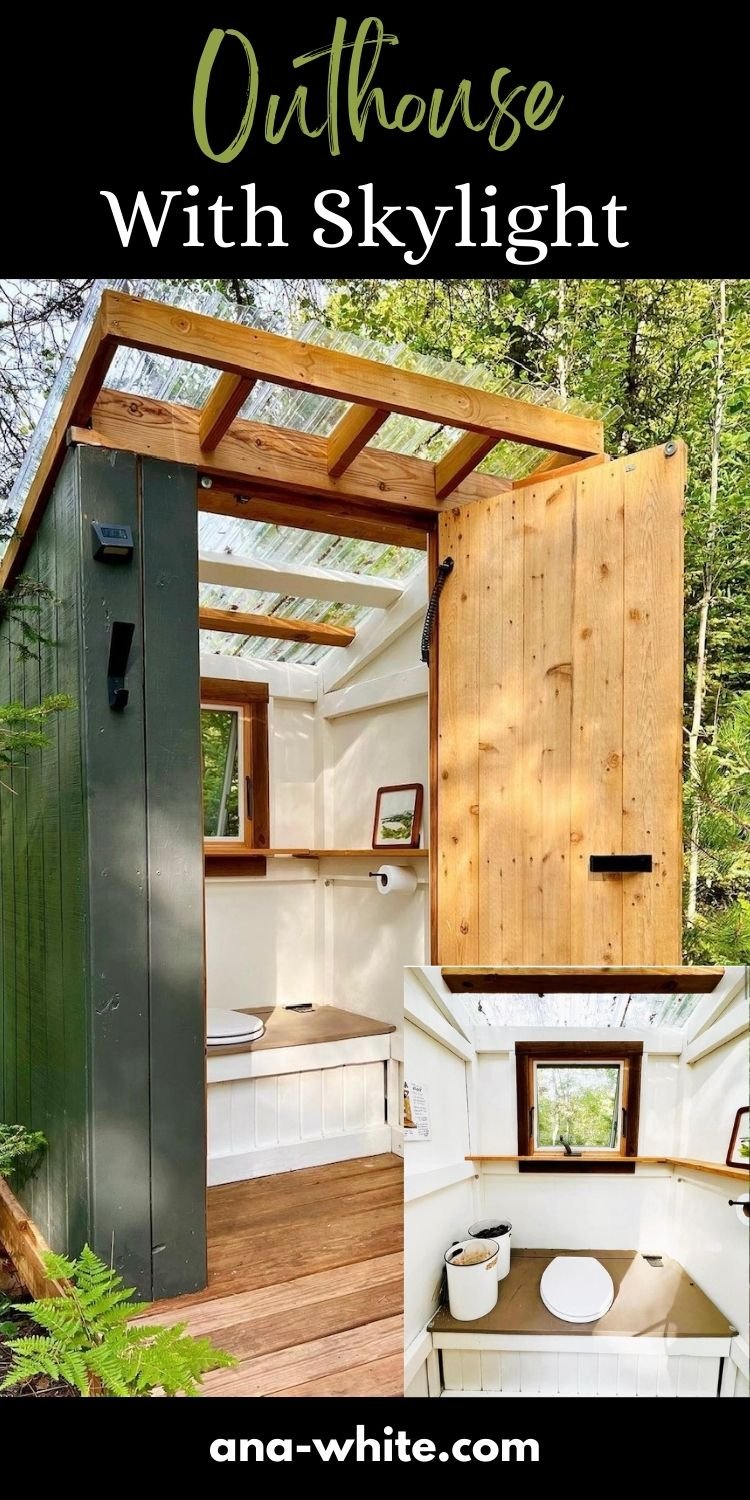
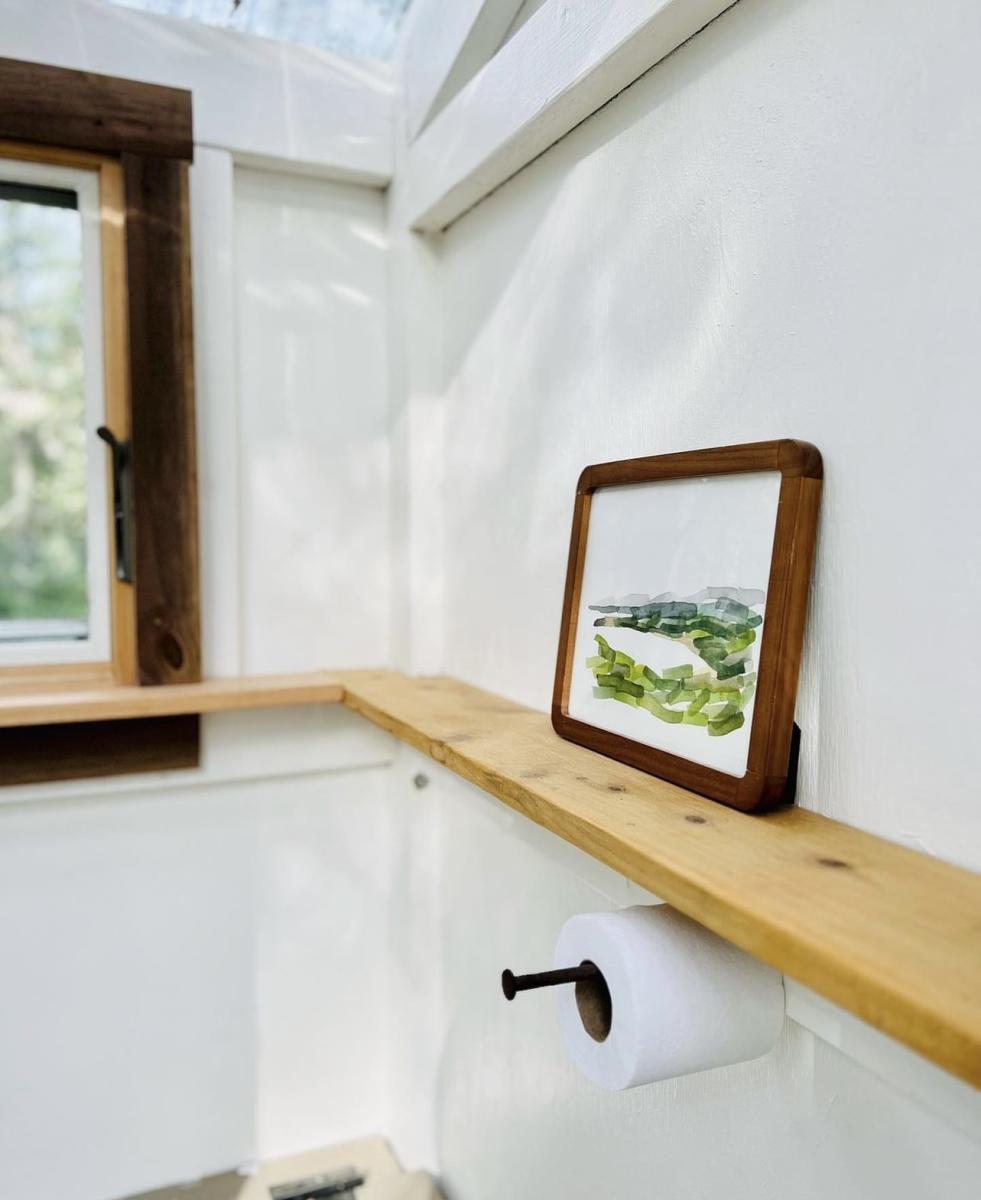
Outhouse with Skylight

Our favorite throne in town.
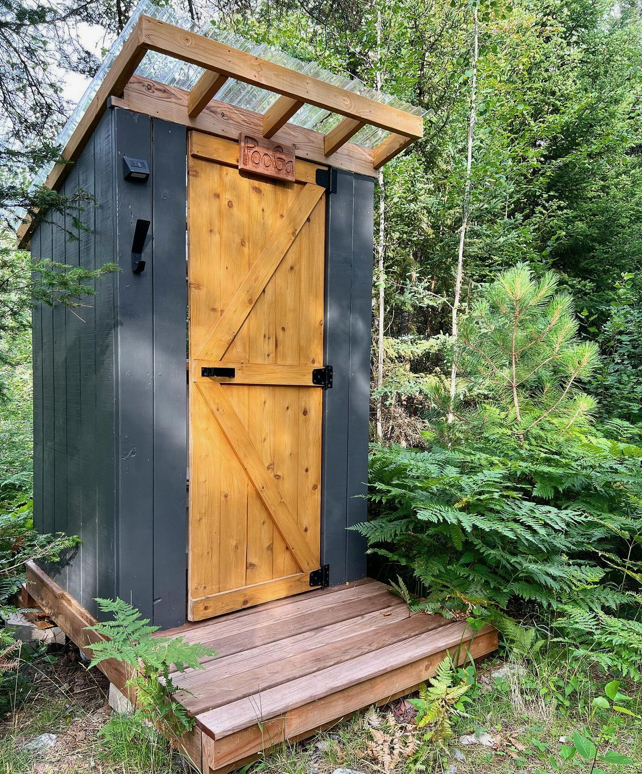
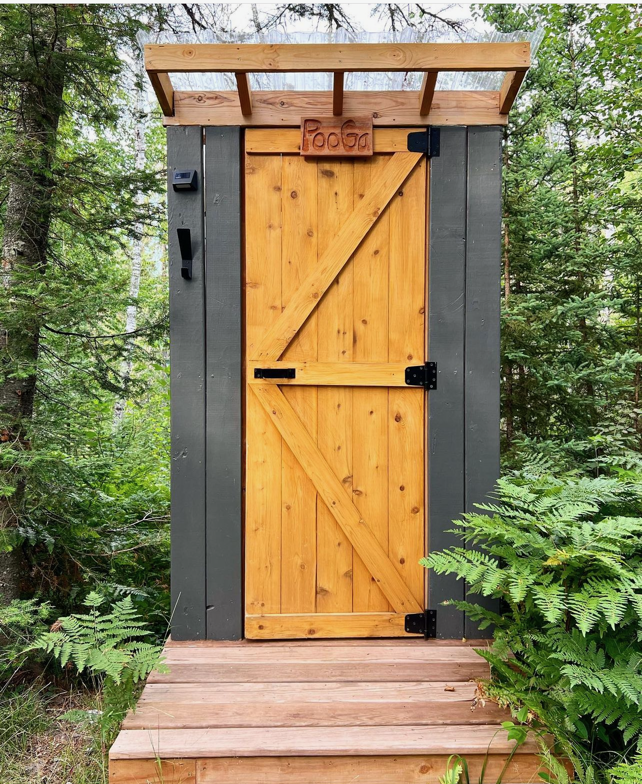
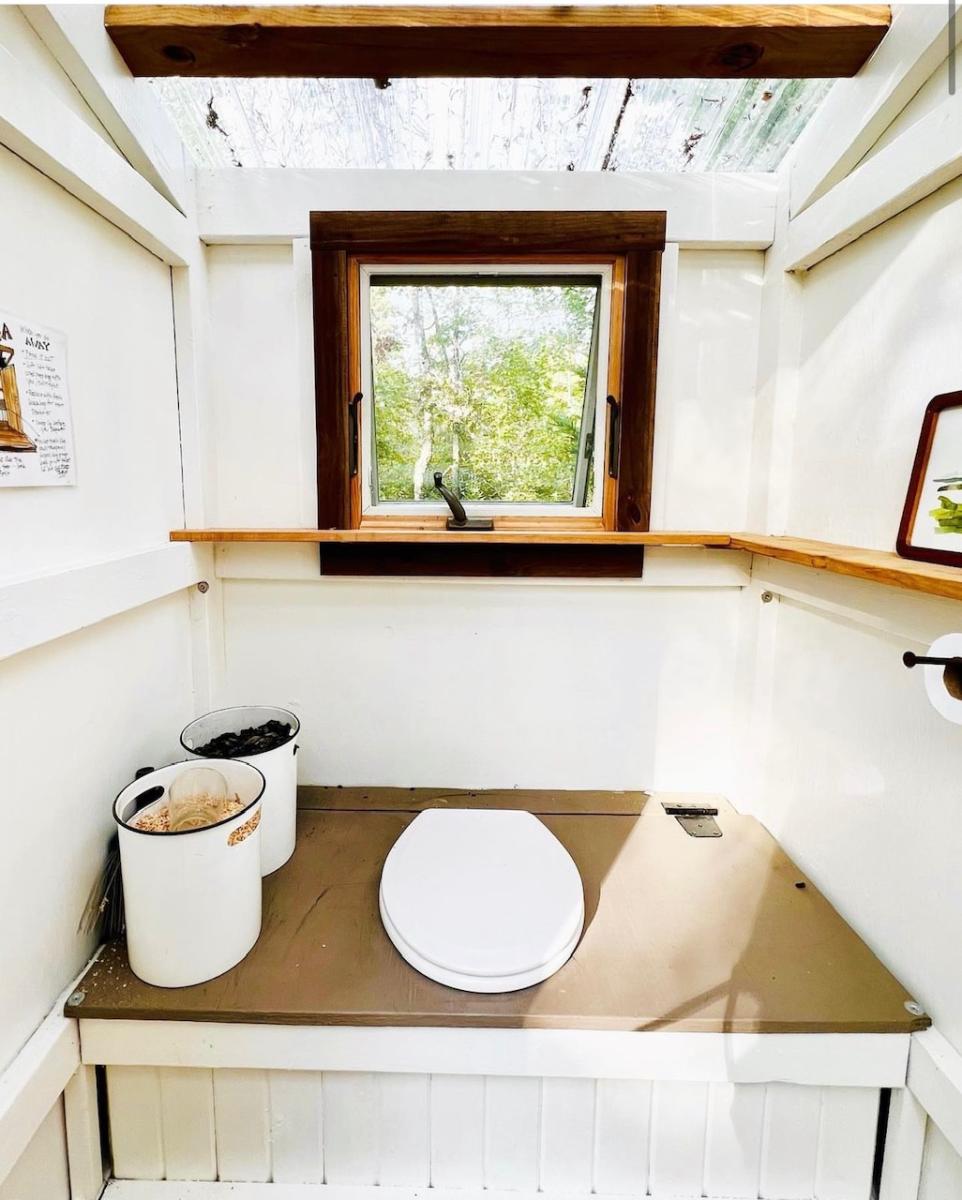
My daughter and I built the outhouse in the snow a few years ago. Once the TwoGa was named after the Stuga, the outhouse quickly became “The PooGa” (aka “The Ash-Hole “🤣). We use ash in the winter and sawdust in the summer, to keep away the stink, which works like a charm.
This is an adaptation to an Ana White outhouse design.
Pin For Later!
Built from Plan(s)


Comments
Ana White Admin
Fri, 08/04/2023 - 11:06
Best Outhouse Around
Love what you did here, the natural light and bright cheery interior, well done!
Maxi93
Fri, 03/29/2024 - 06:17
Outhouse
It's simply beautiful 😍