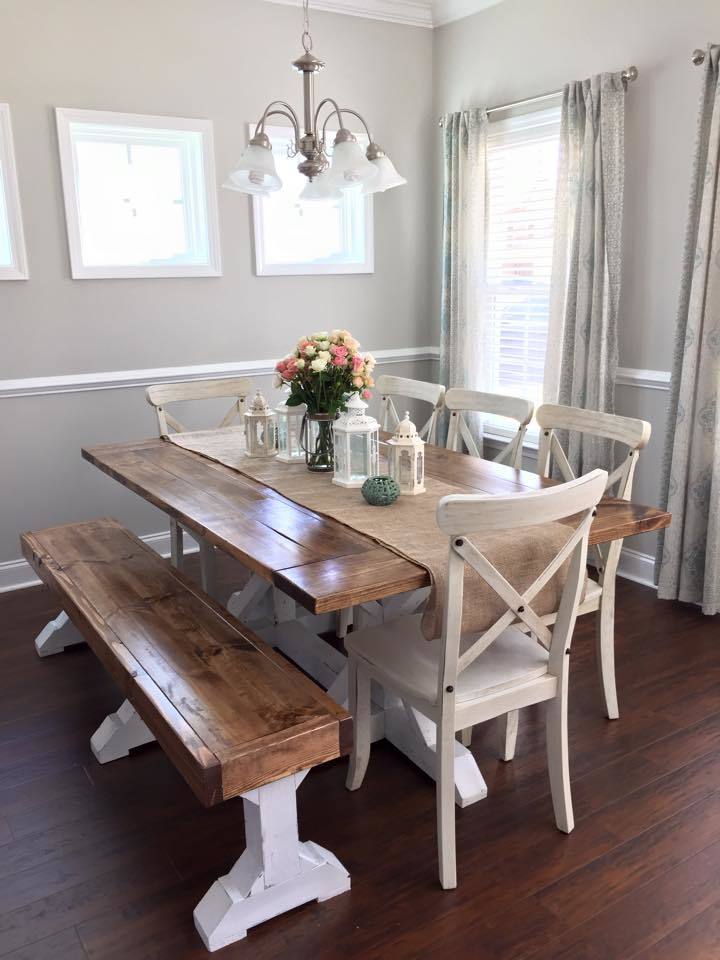
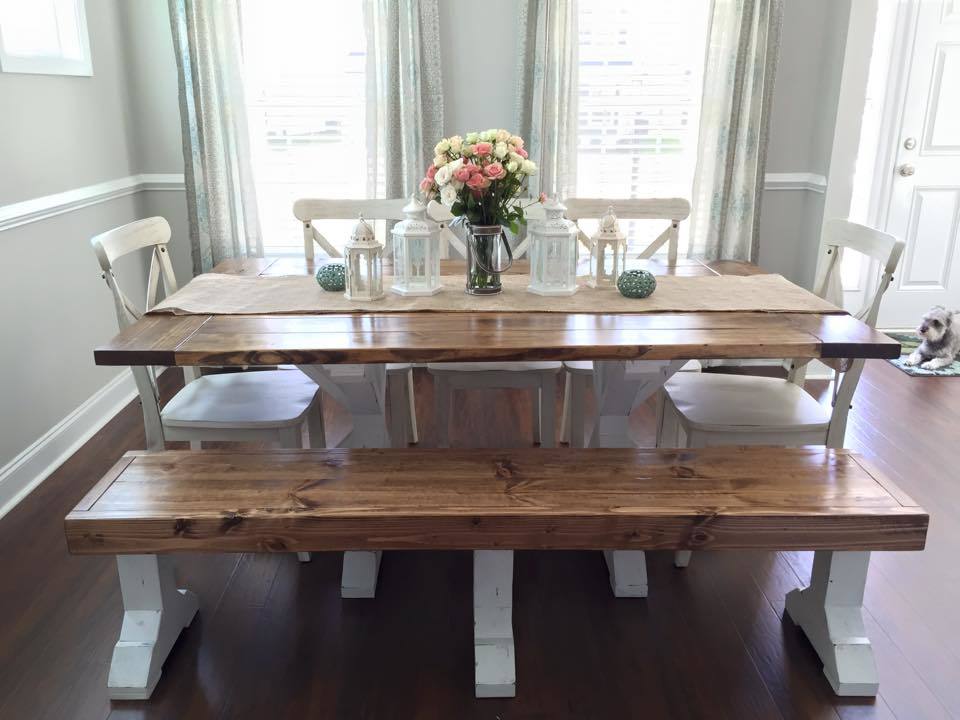
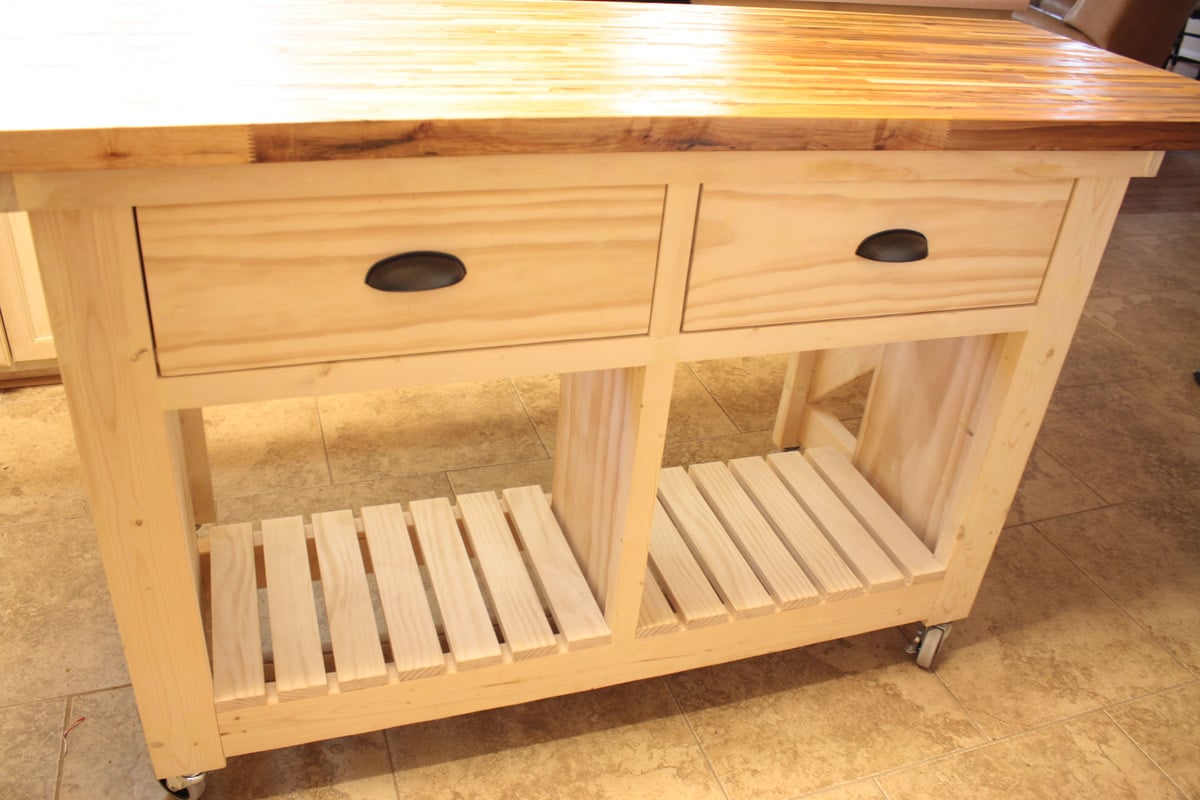
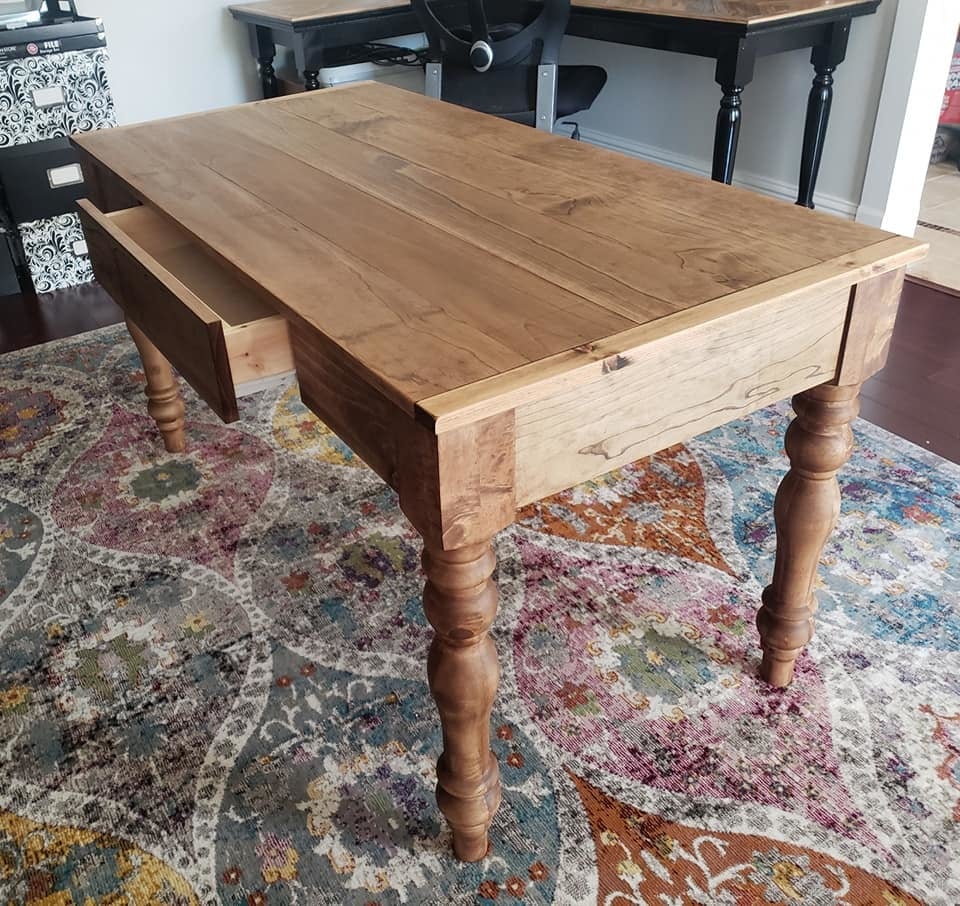
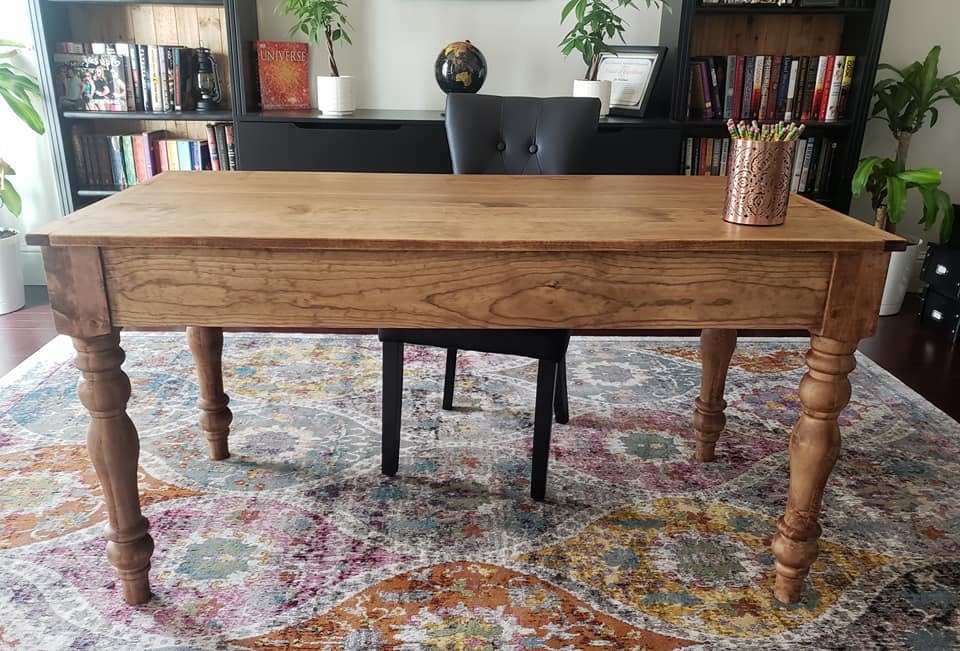
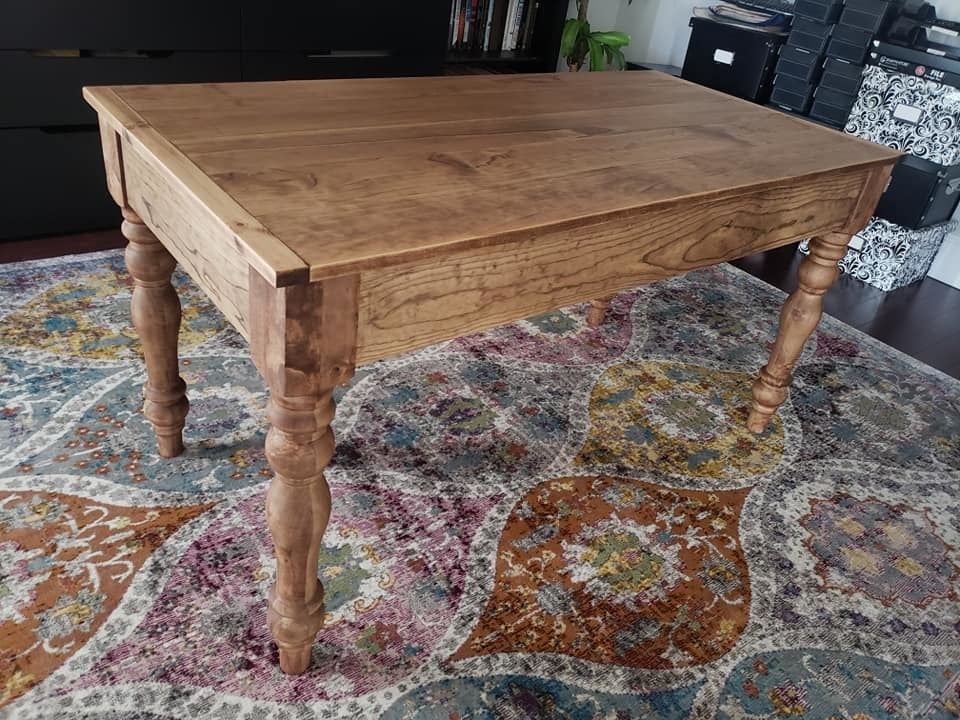
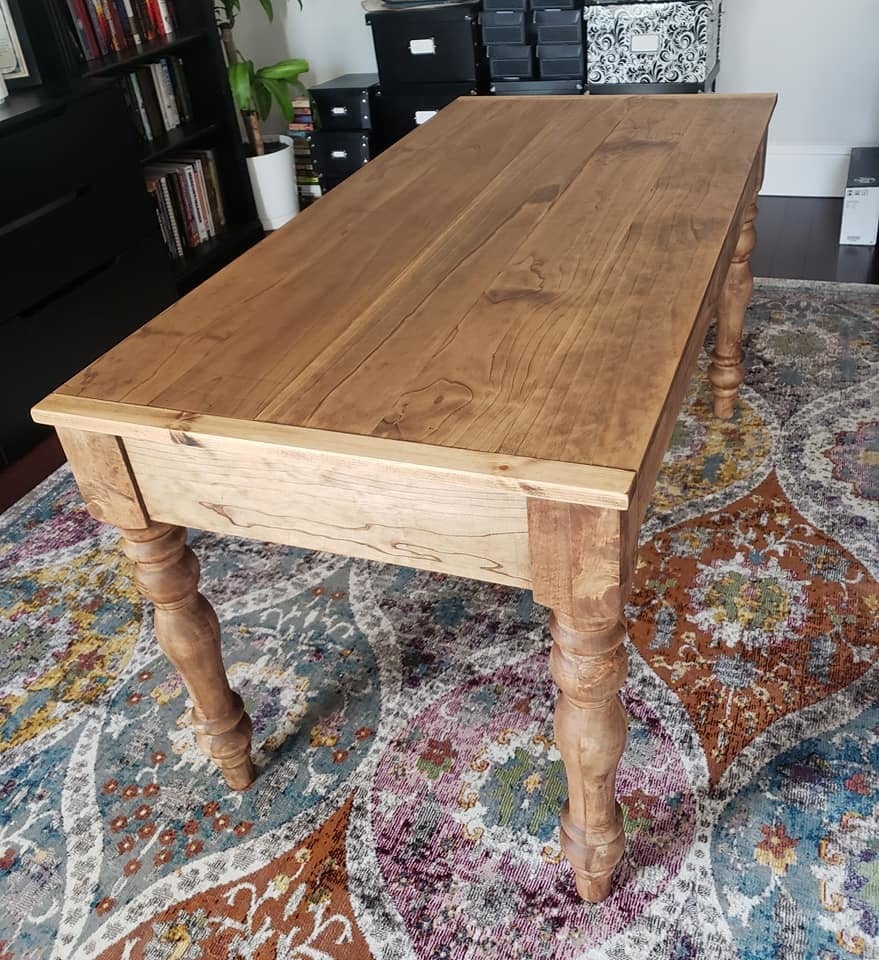
Farmhouse Table & Bench
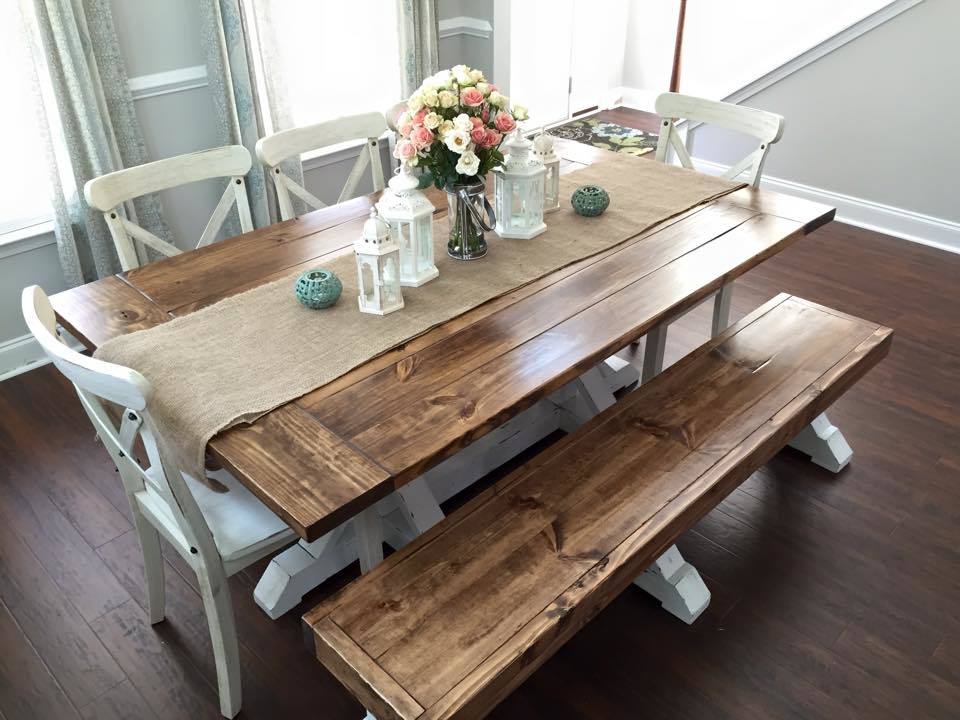
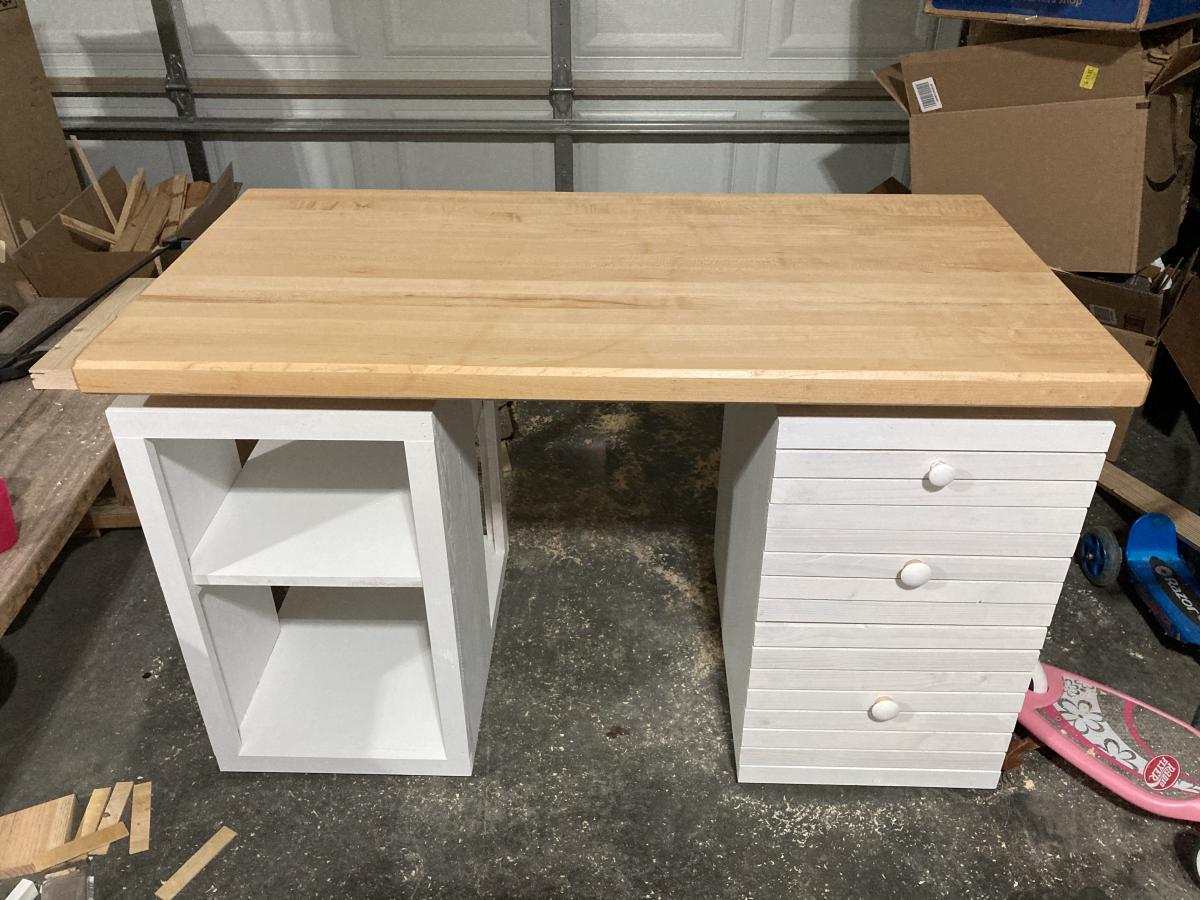
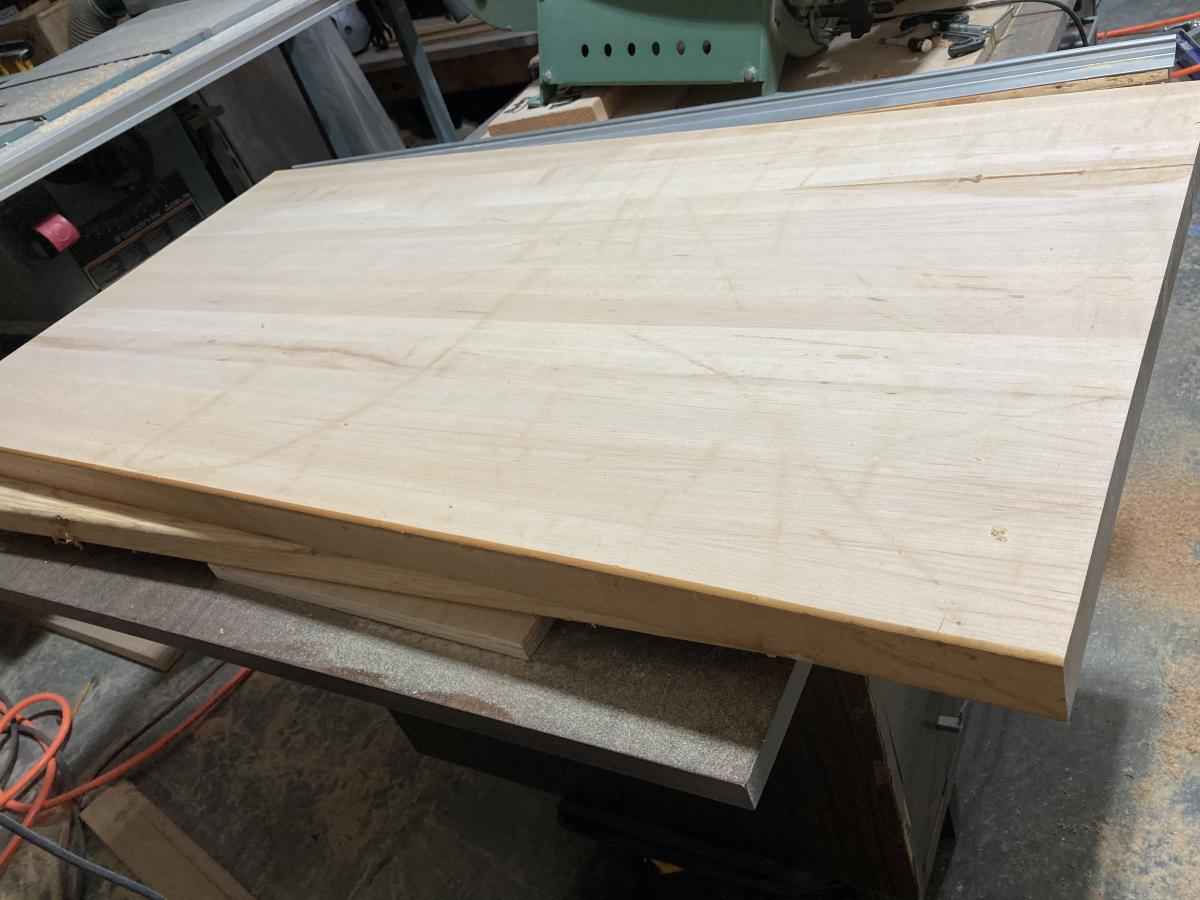
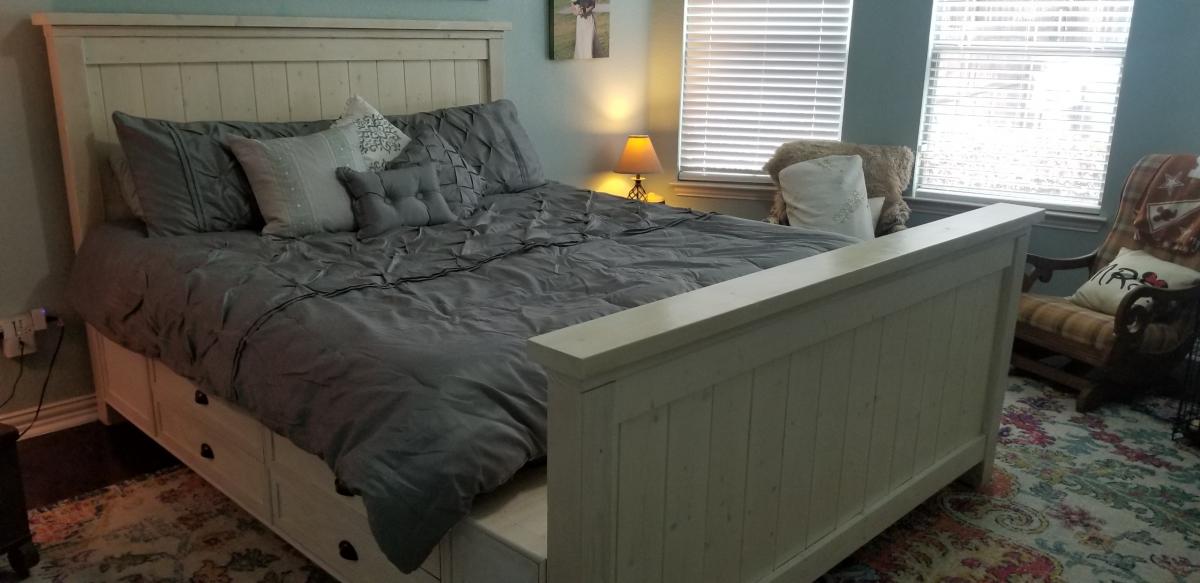
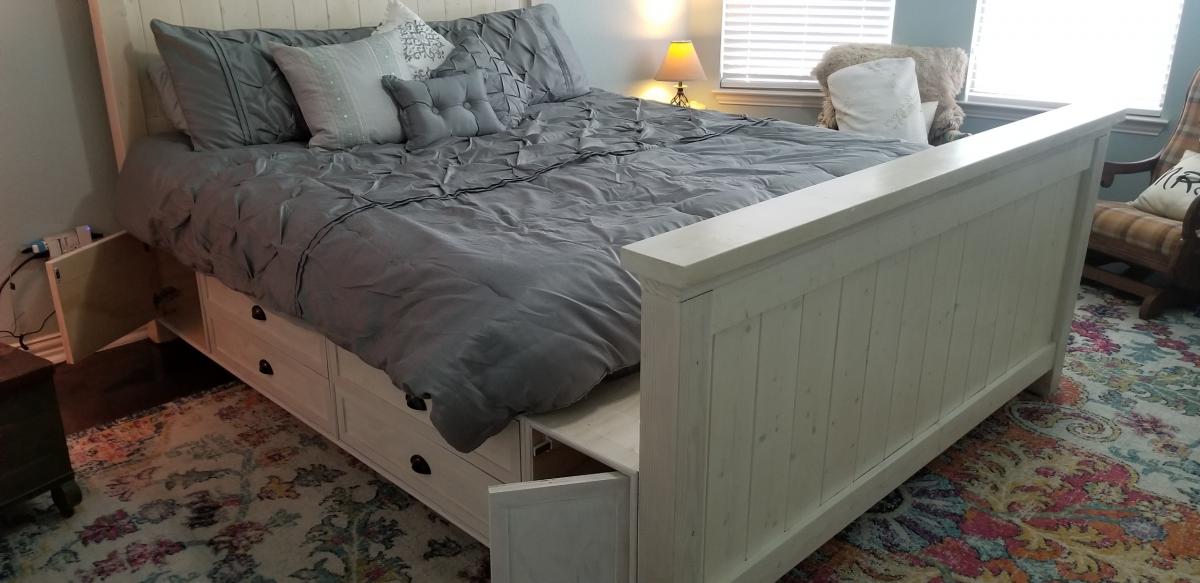
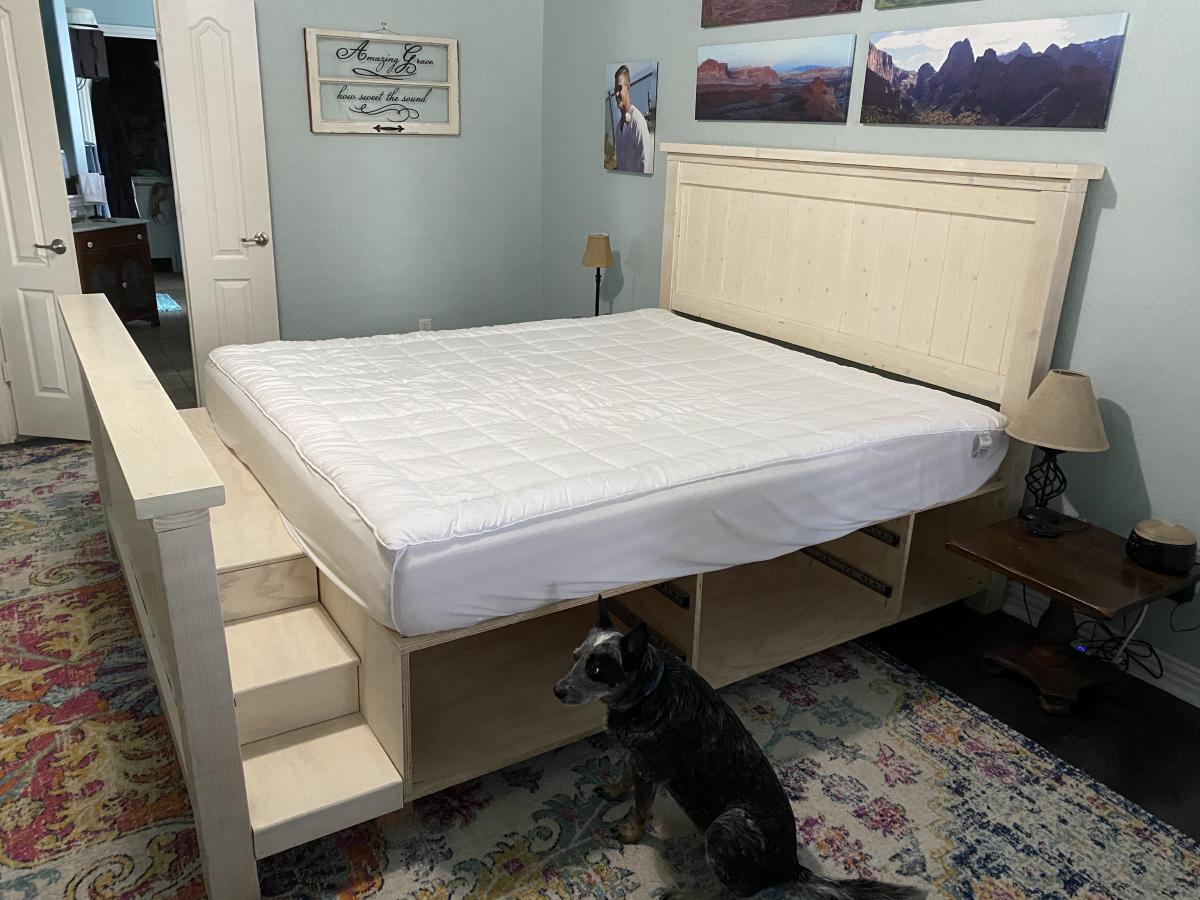
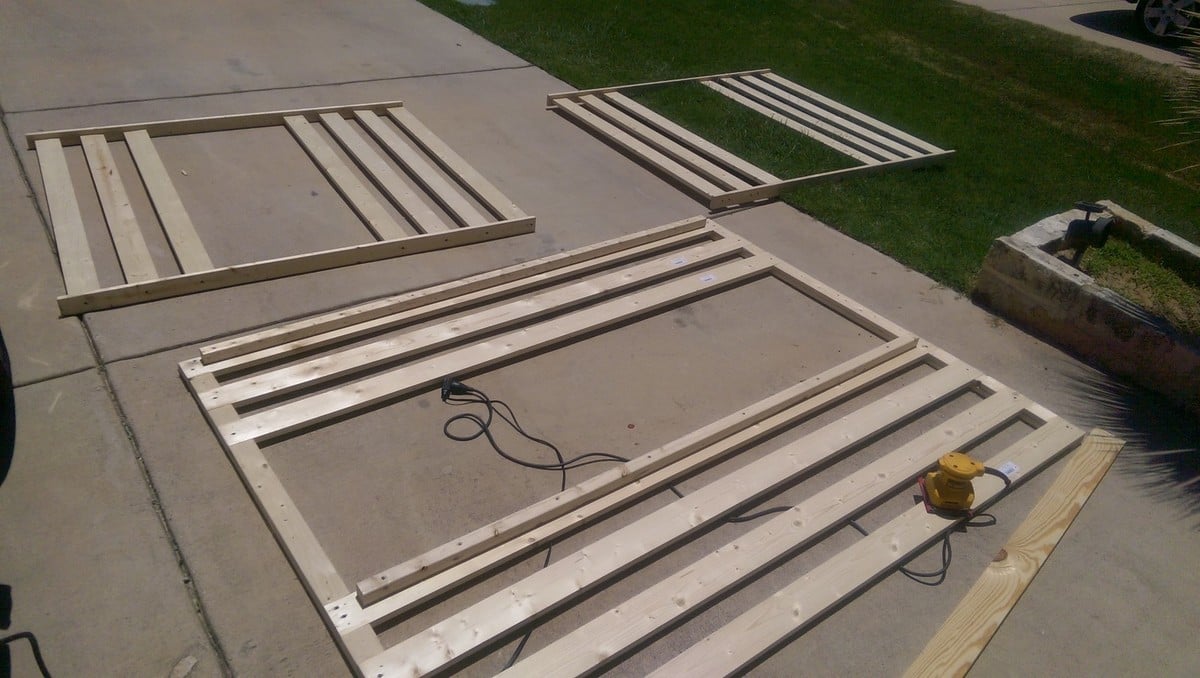
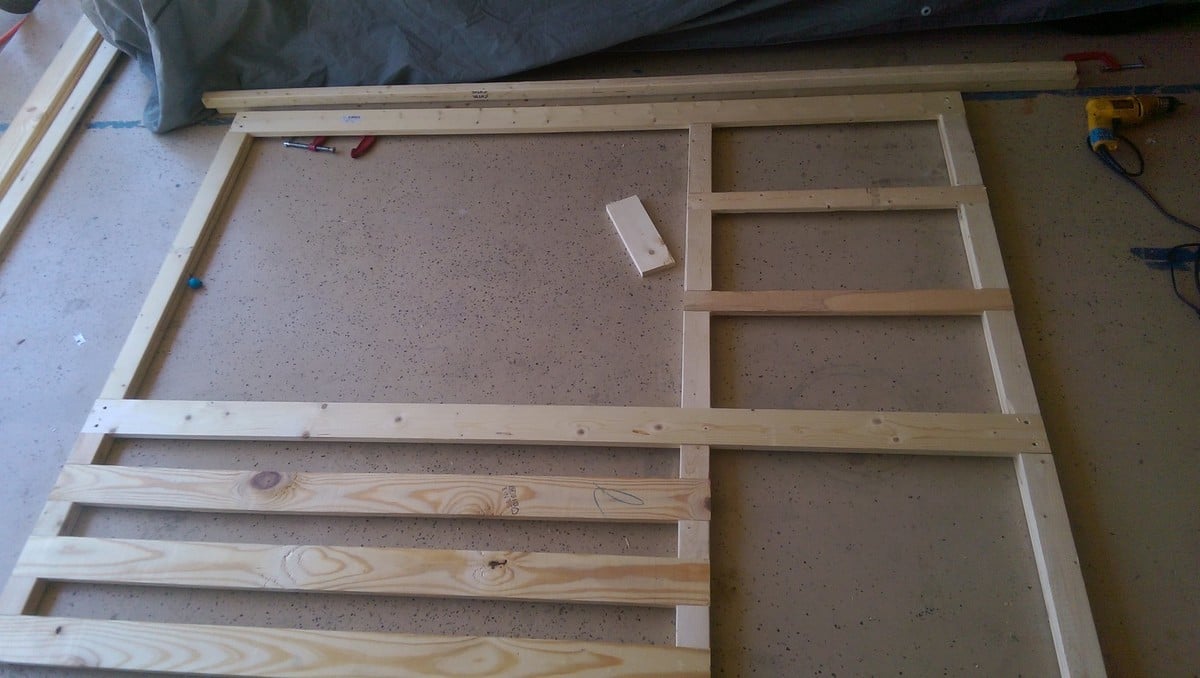
We wanted a farmhouse dining table but didn't want to be confined by 4 corner legs or supports at the end of the table so I combined the farmhouse top from this site with another farmhouse table base that I found at shanty2chic through a link on this site. We couldn't be happier with how it turned out! I didn't follow any of the plans exactly but adjusted them so we had a table that fit well in our dining room, still fit several guests and was a good eating height. The bench was also modified from the plans I found at shanty 2 chic.
Built from Plan(s)
Estimated Cost
$240 for table and bench
Estimated Time Investment
Week Long Project (20 Hours or More)
Finish Used
Minwax Special Walnut with Minwax Satin polyurethane
Recommended Skill Level
Beginner


Comments
robinm88
Wed, 04/29/2015 - 11:35
Plans
Do you have the plans for the base of the table and the bench? I found the tabletop plans, but have gone to the shanty2chic website and can't find anything for the base, etc.
kenneth.ring
Wed, 04/29/2015 - 12:28
base/bench plans
Here is a link to the plans I used for the table base: http://www.shanty-2-chic.com/2014/05/restoration-hardware-inspired-dini…
And for the bench: http://www.shanty-2-chic.com/2014/06/diy-benches-for-my-dining-table.ht…
I made some modifications to the table length/width to fit our dining room space better which is just a matter of preference. I then changed the length of the bench to fit our table. Other than those small changes which didn't effect the integrity of the plans, these are what I went by.
robinm88
Wed, 04/29/2015 - 13:34
Thank you so much! This is
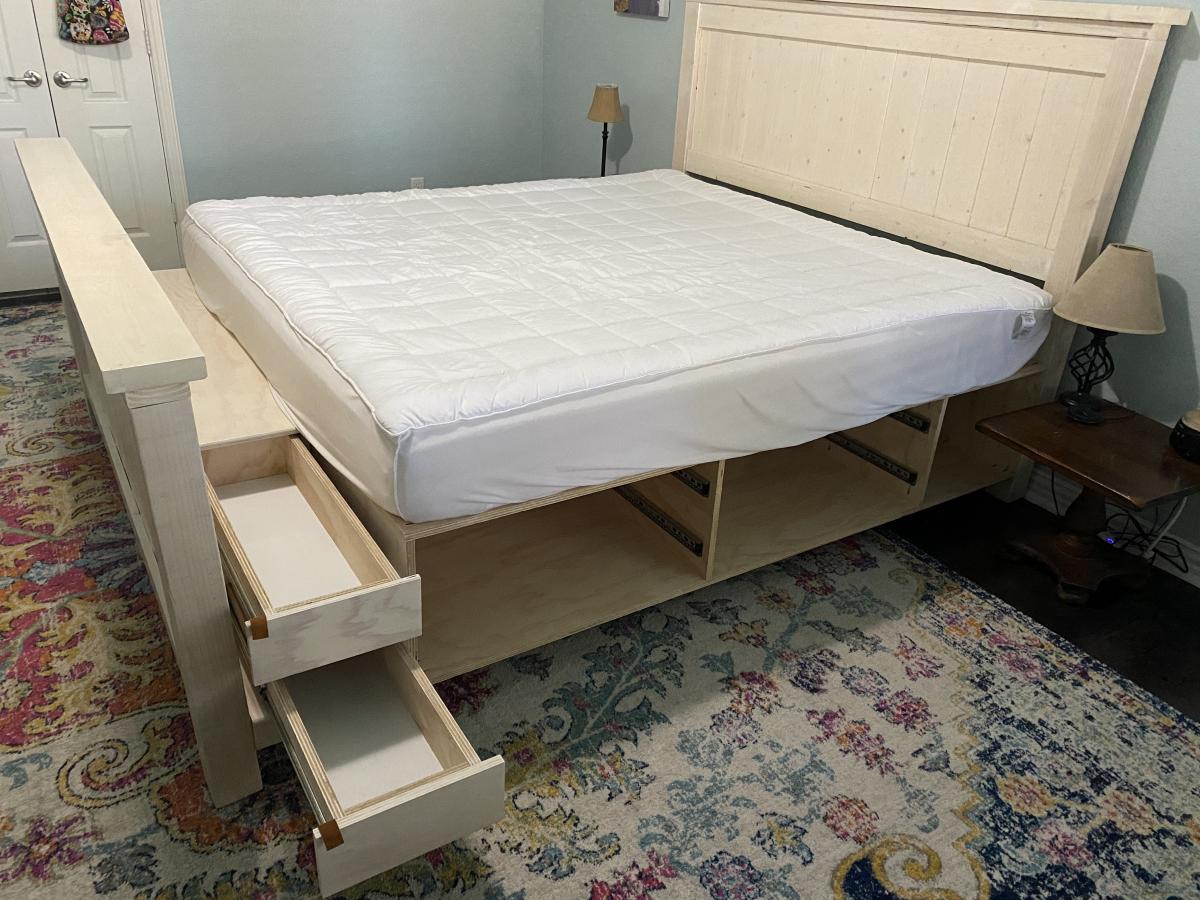
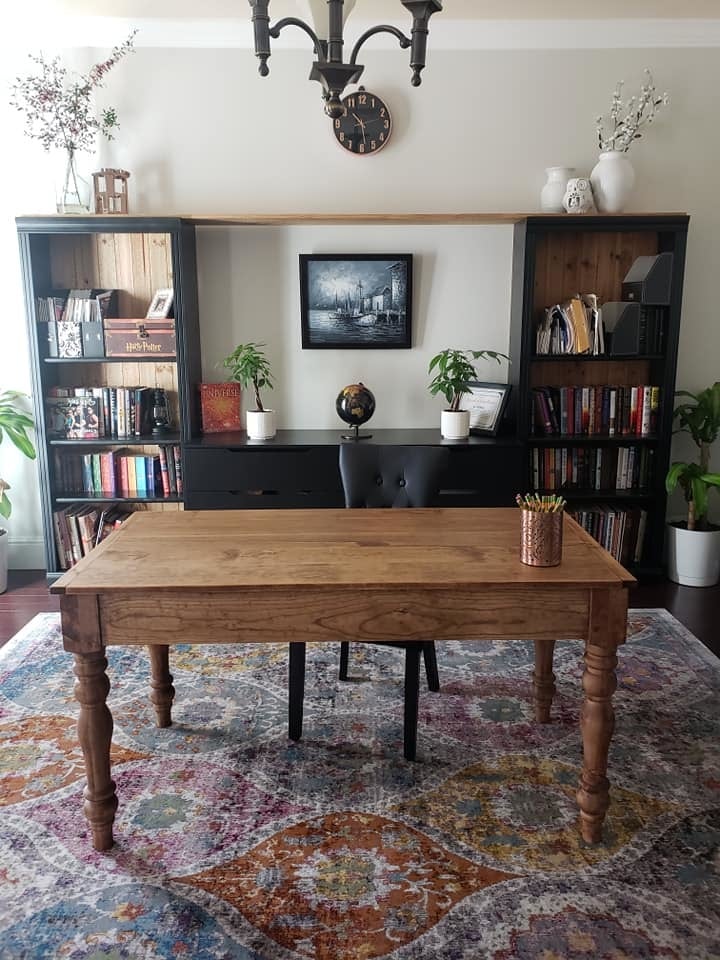
Thank you so much! This is exactly what we've been looking for. I love that the legs/base are completely under the table so not to interrupt or block causing wasted space.
catherineloren…
Fri, 05/08/2015 - 14:56
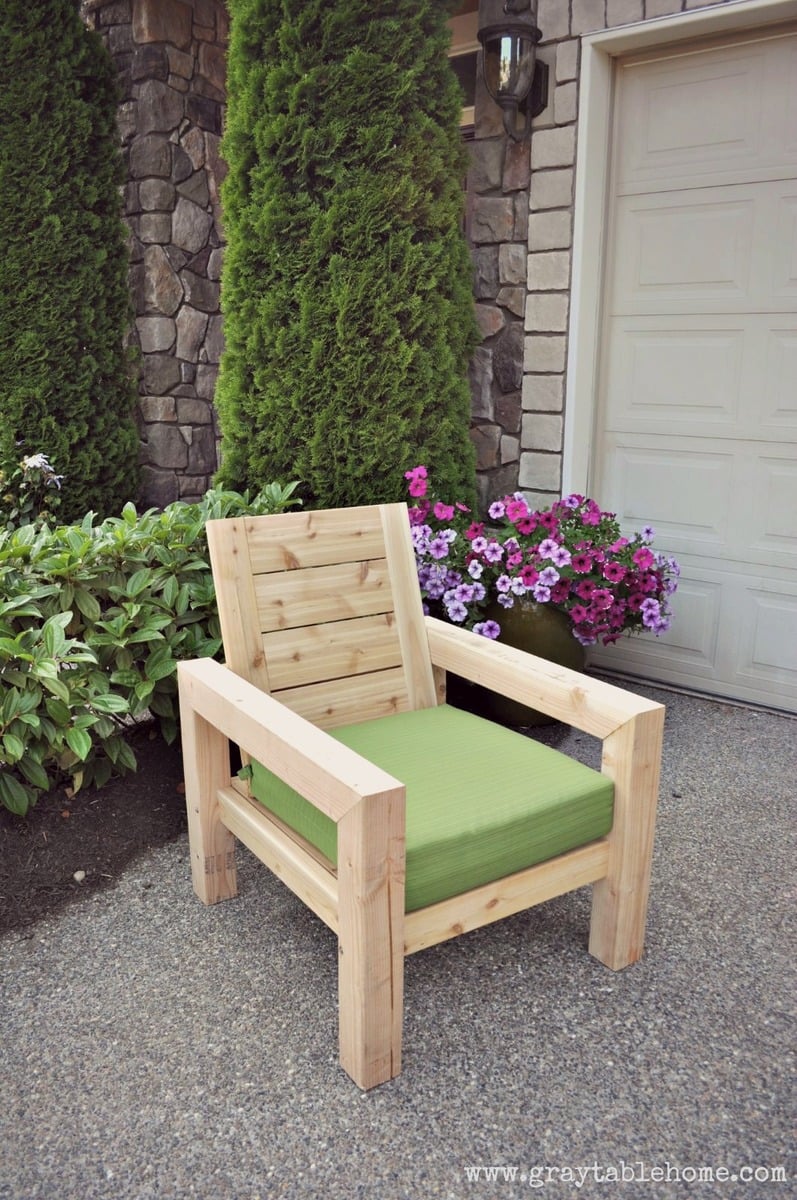
Chairs with Table
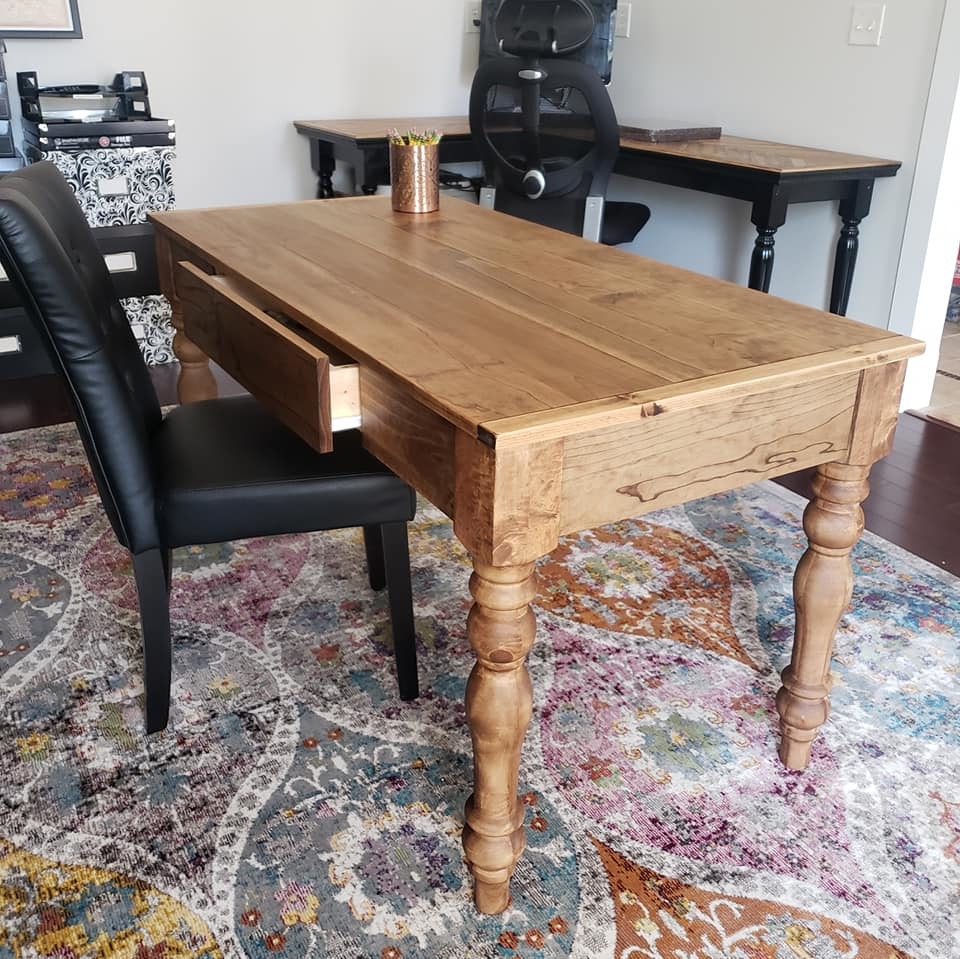
We are going to build this same table for our house. I'm curious where the chair came from that you used with the table? Thanks!
Kimberlee24
Fri, 01/12/2018 - 22:26
Chairs
This table looks great! Where did you get those white chairs?