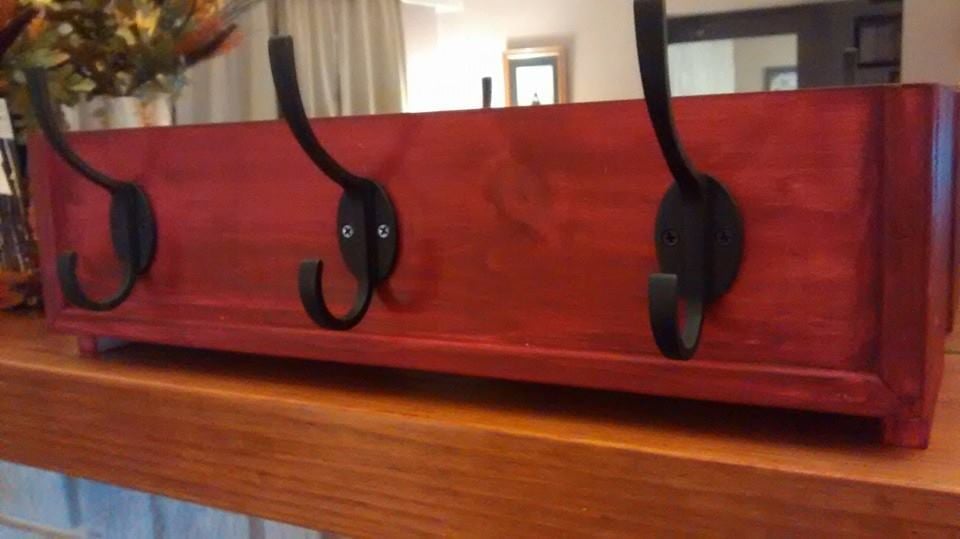
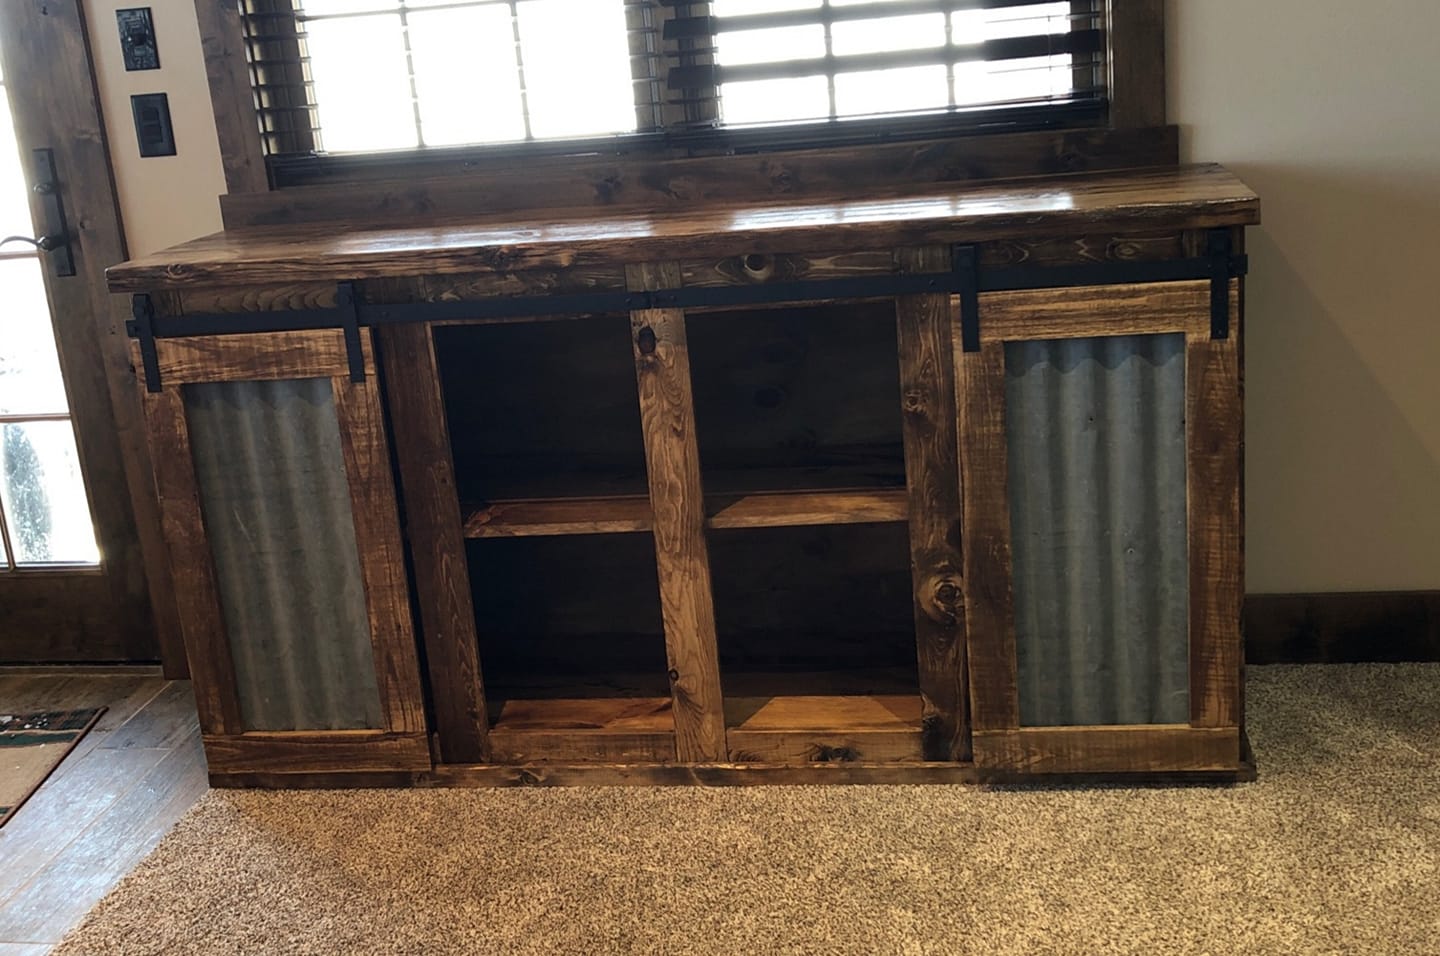
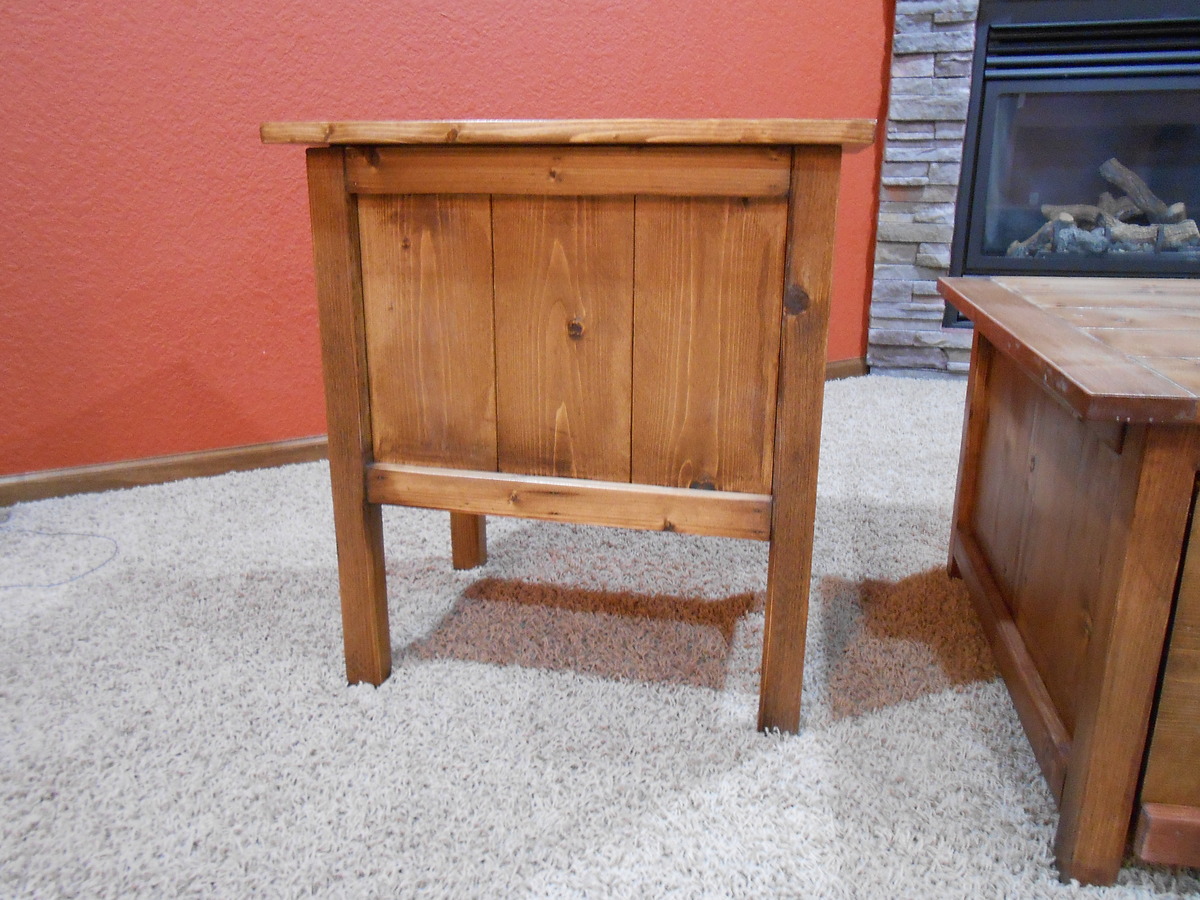
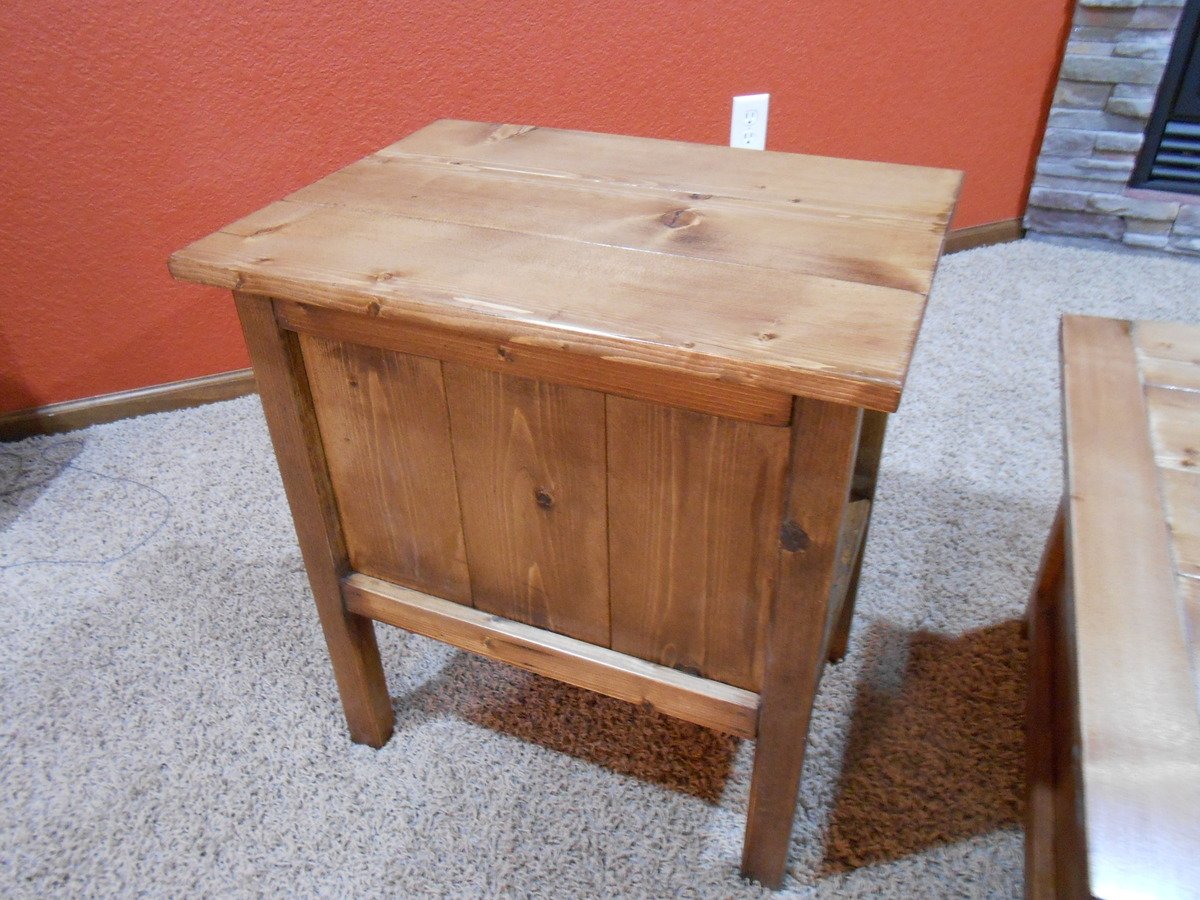
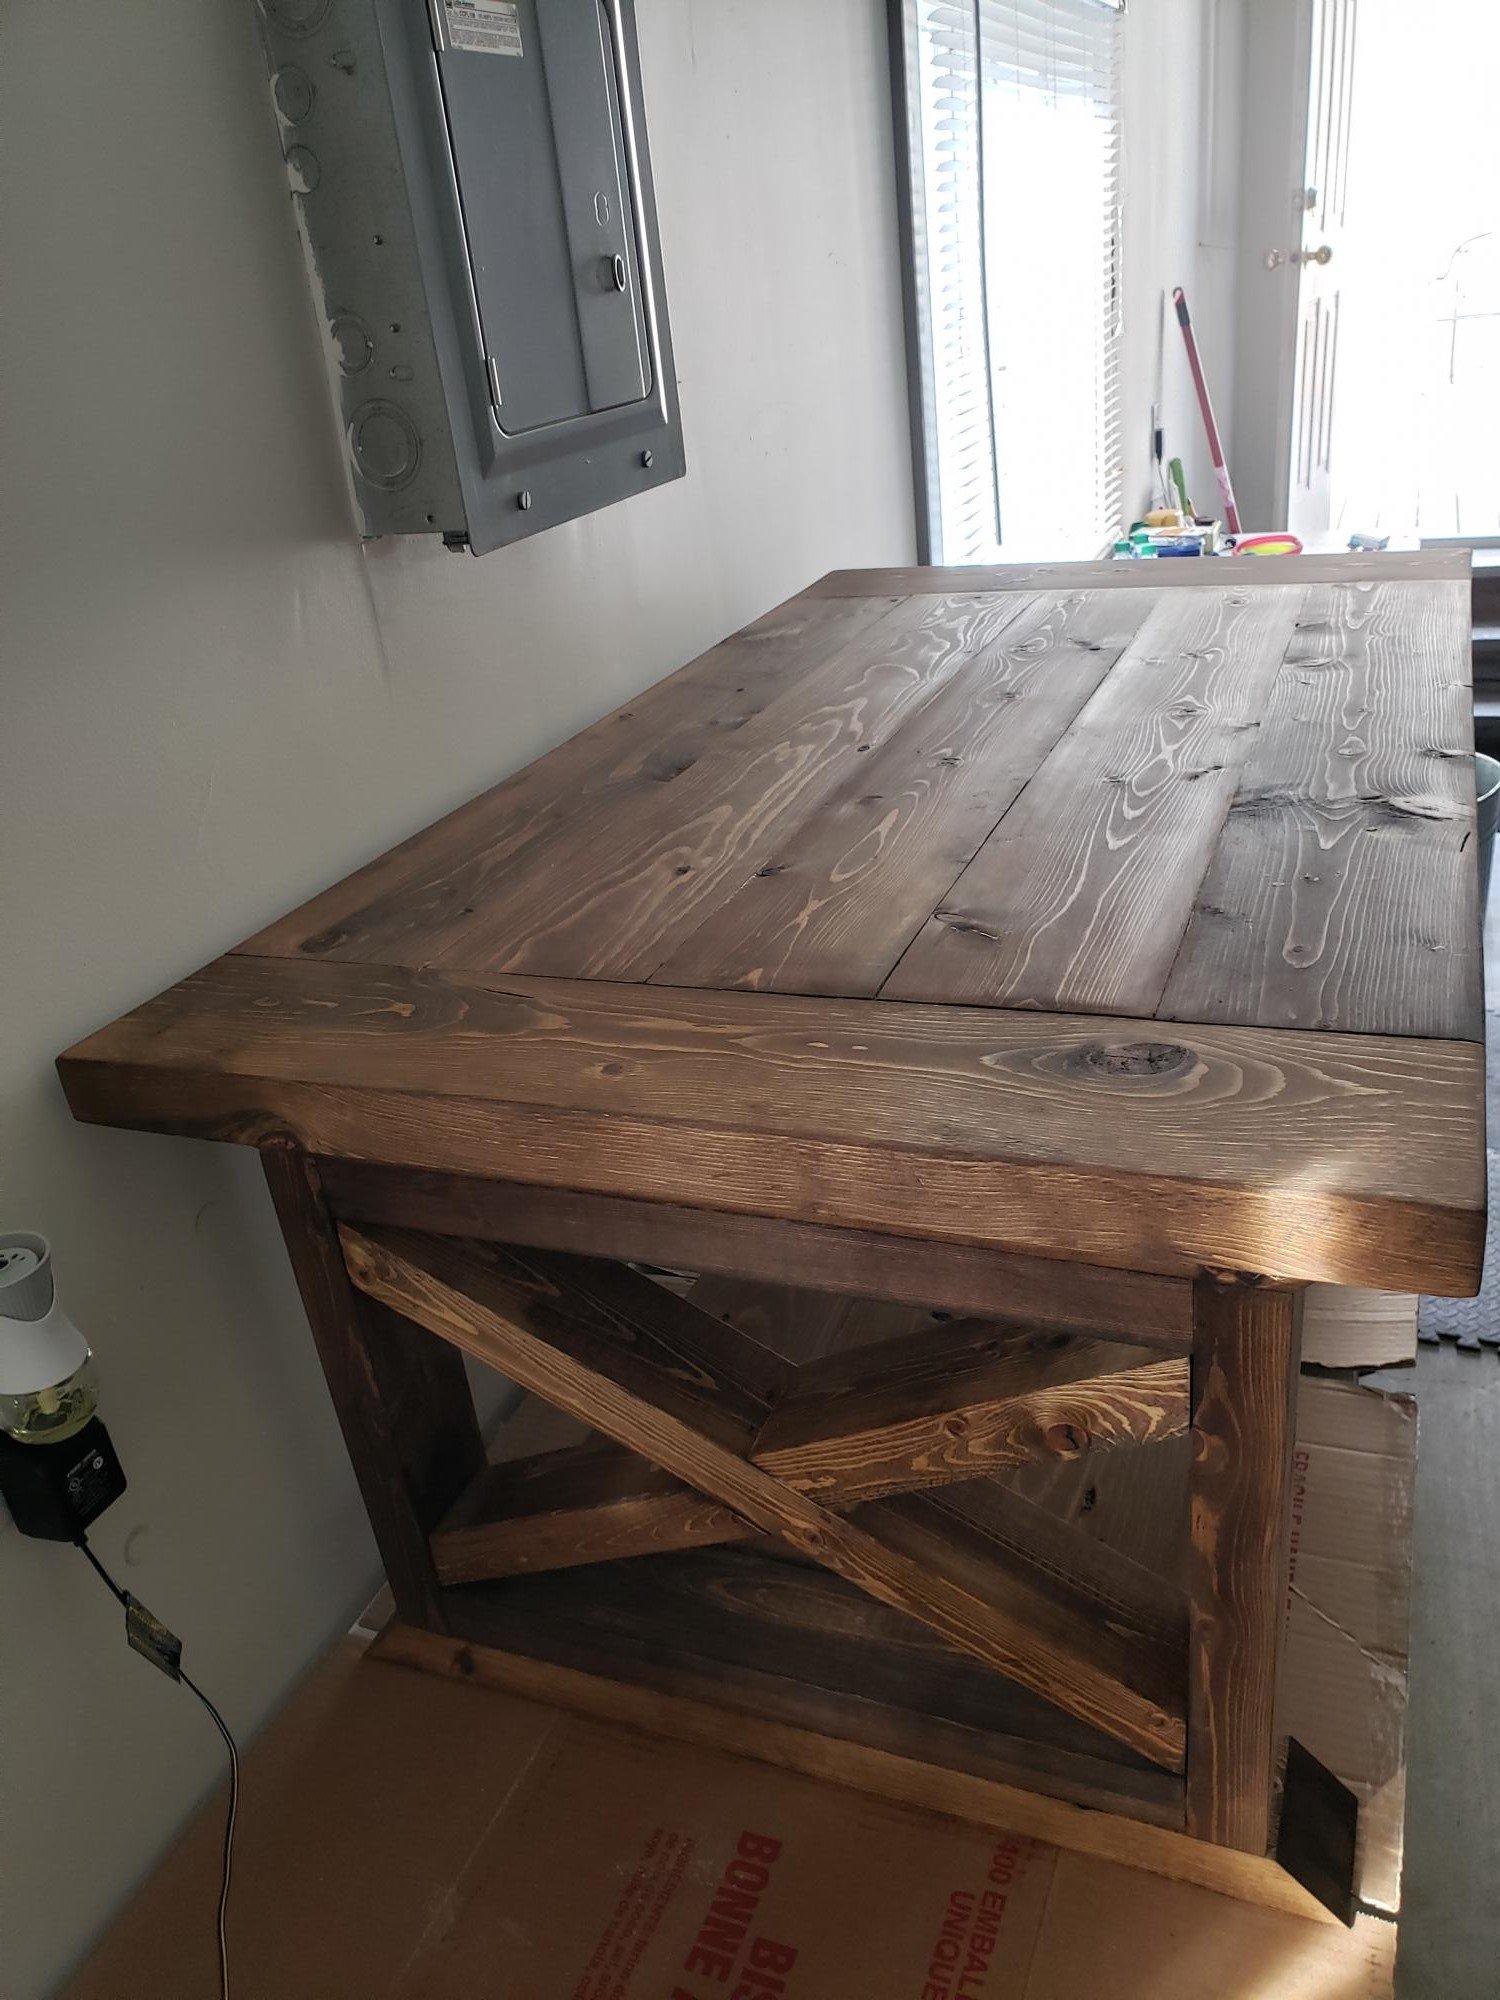
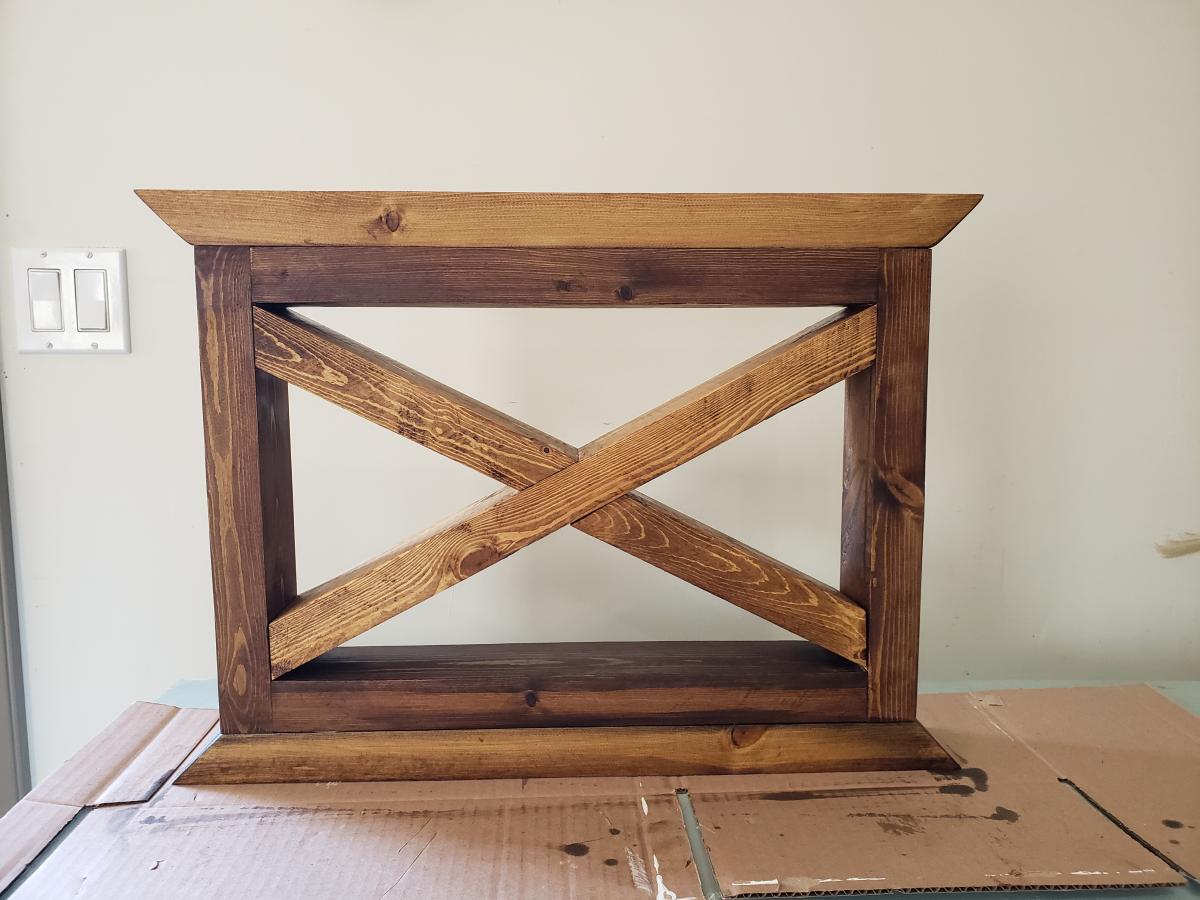
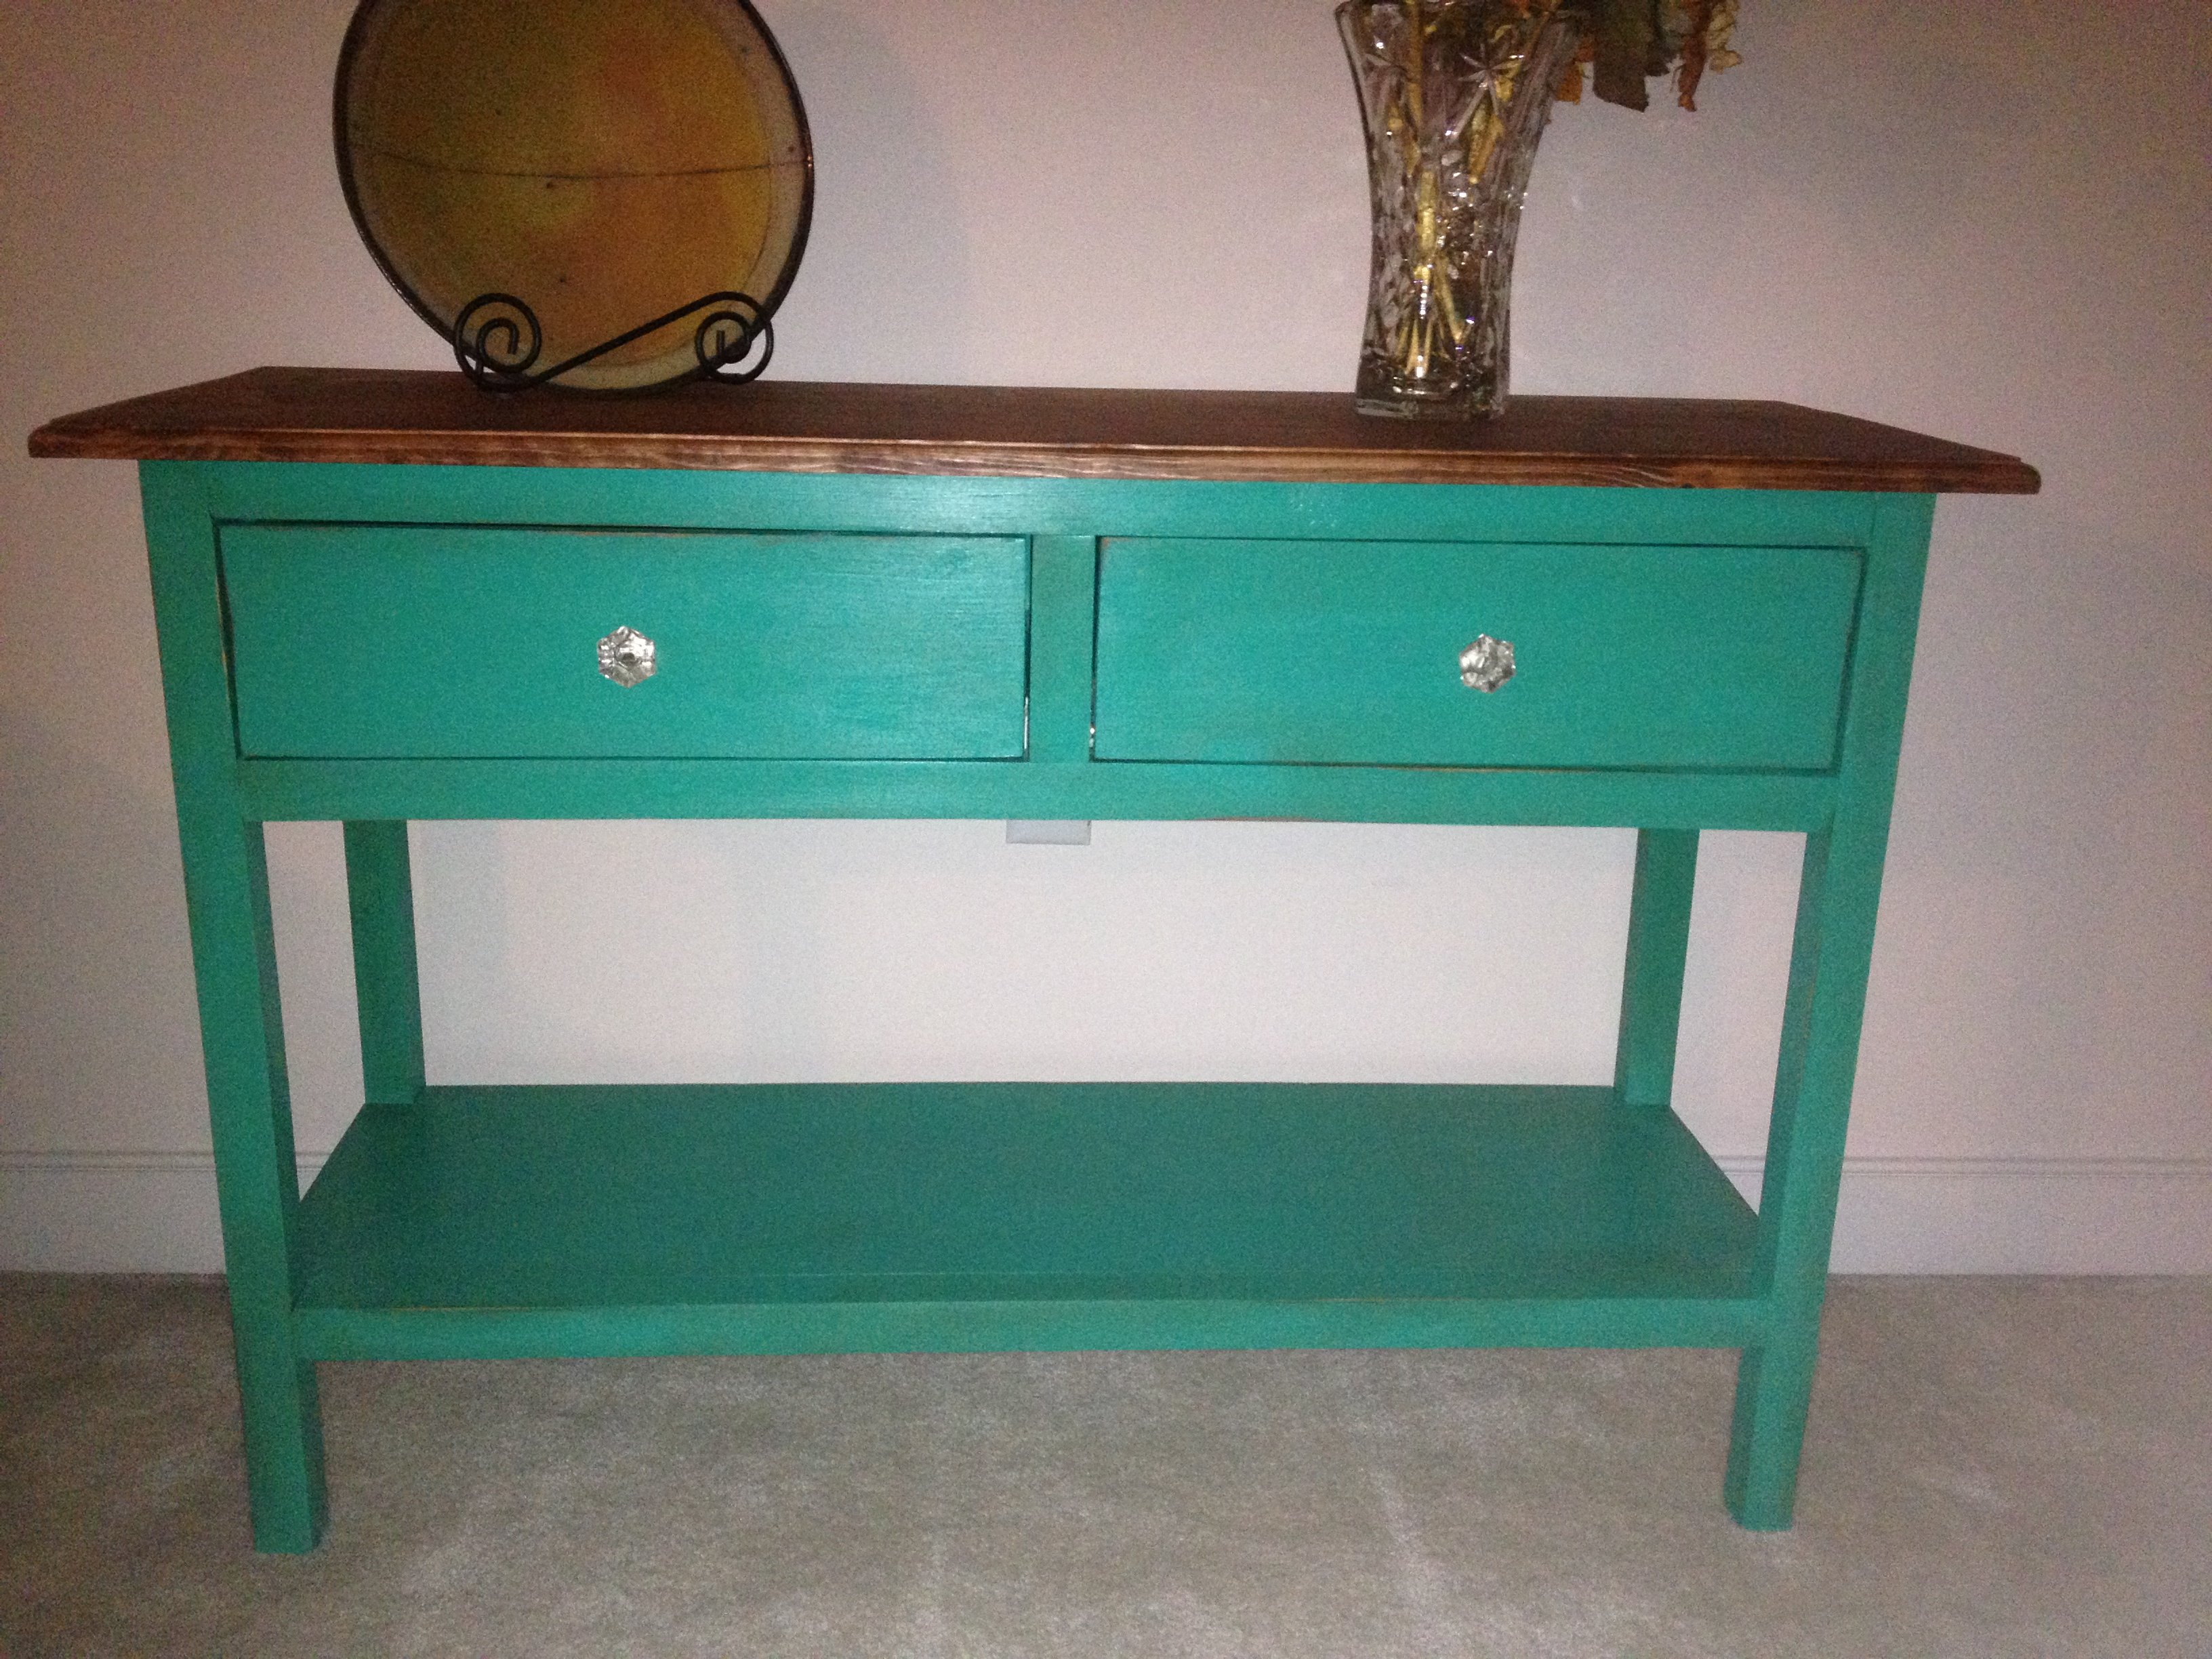
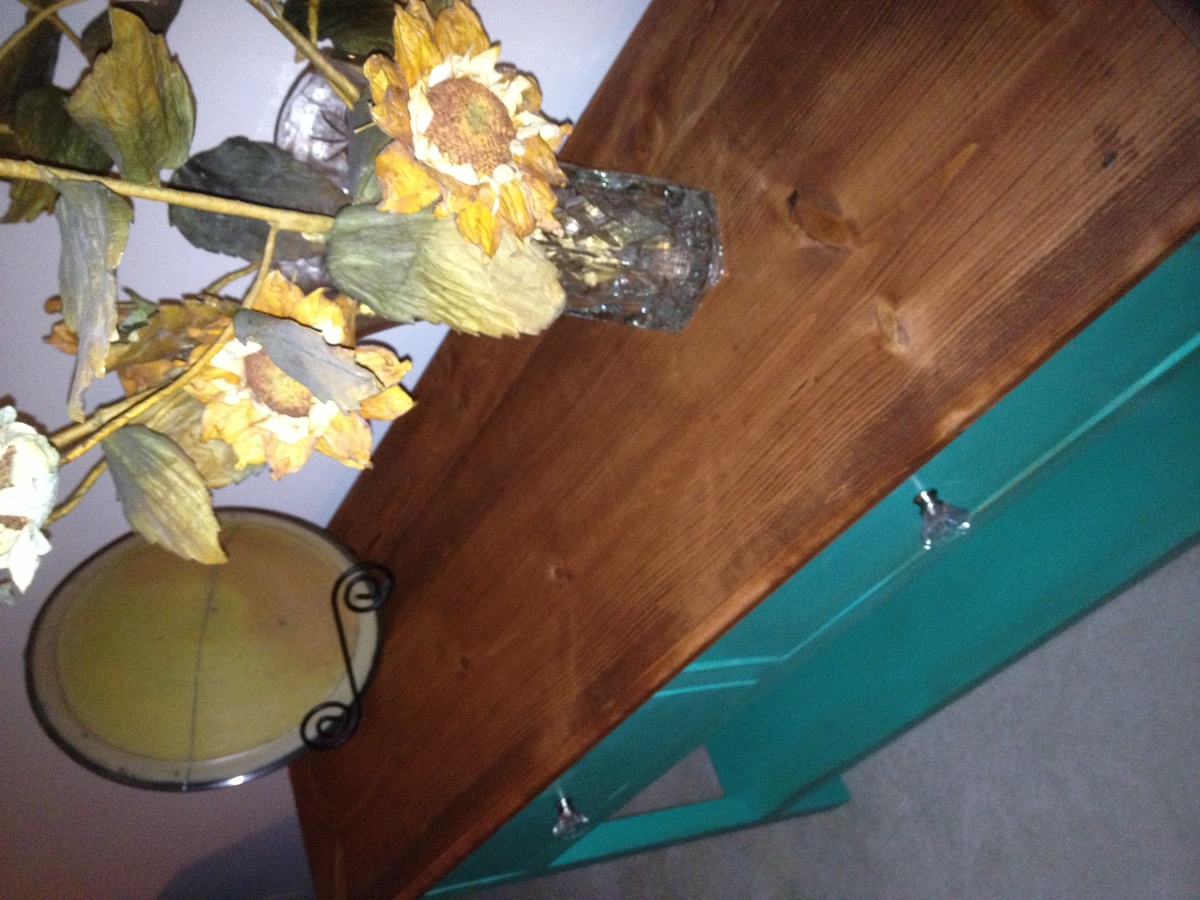
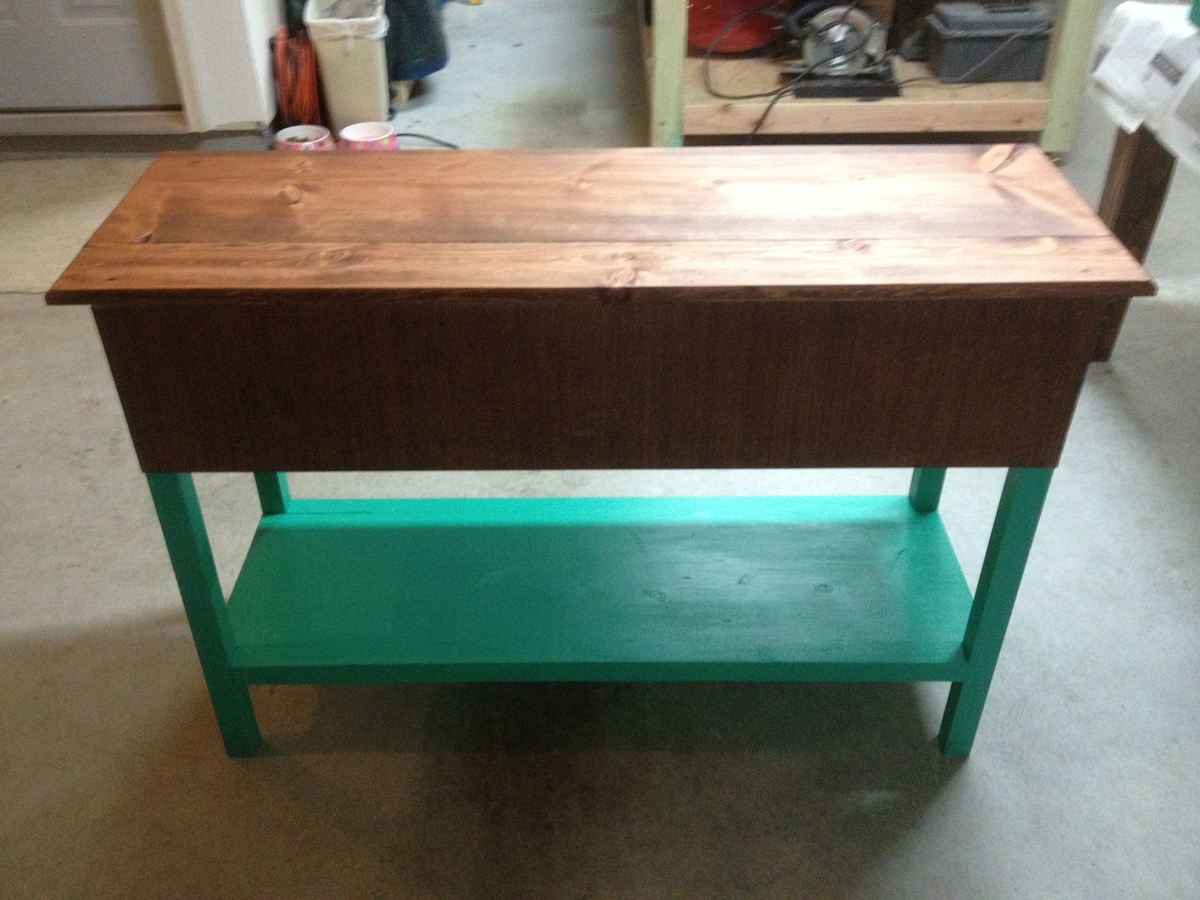
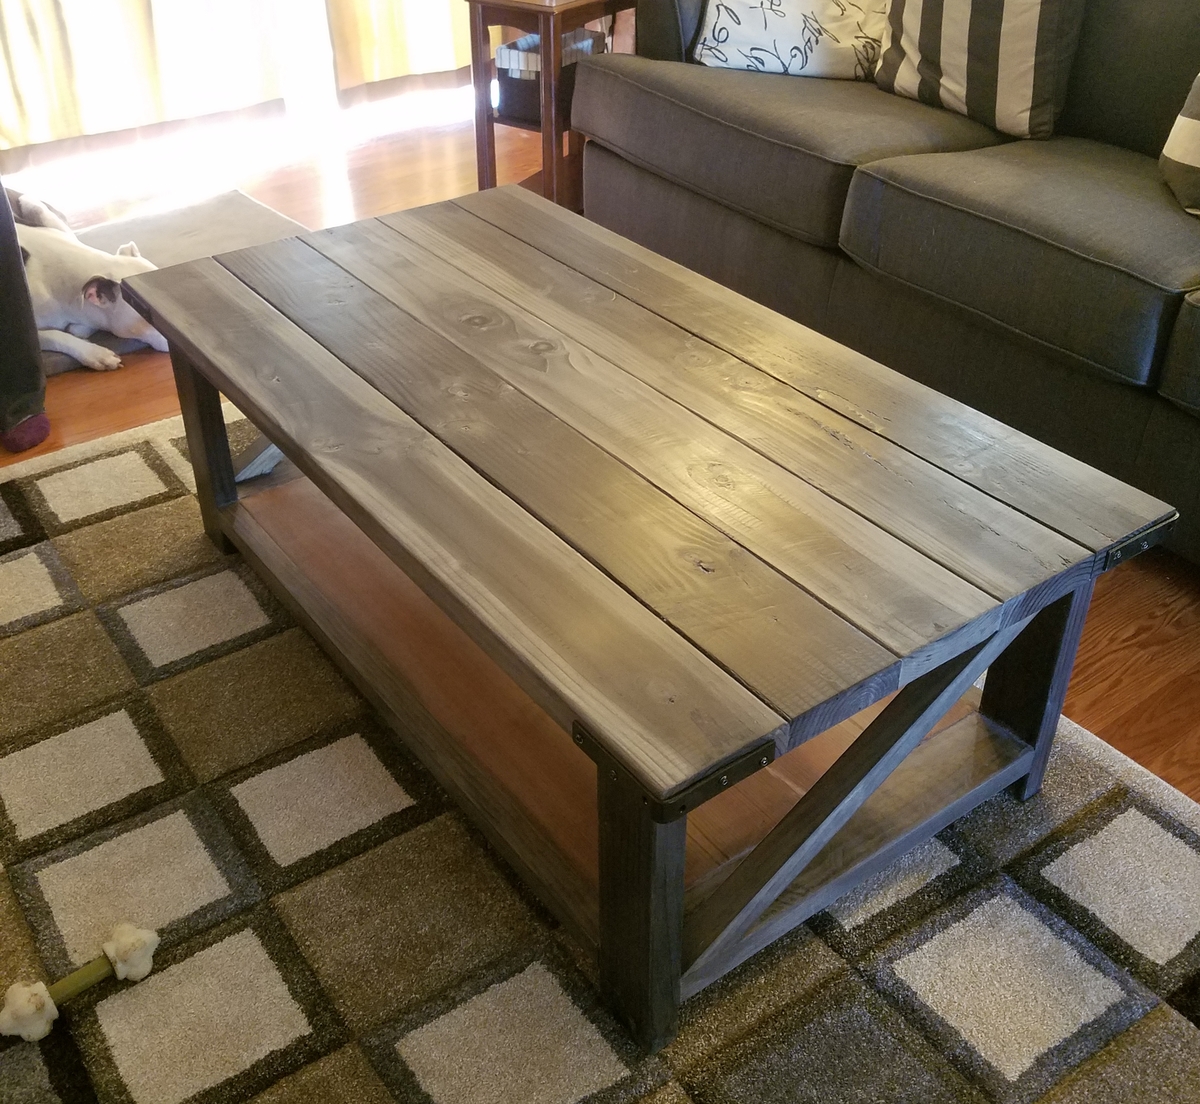
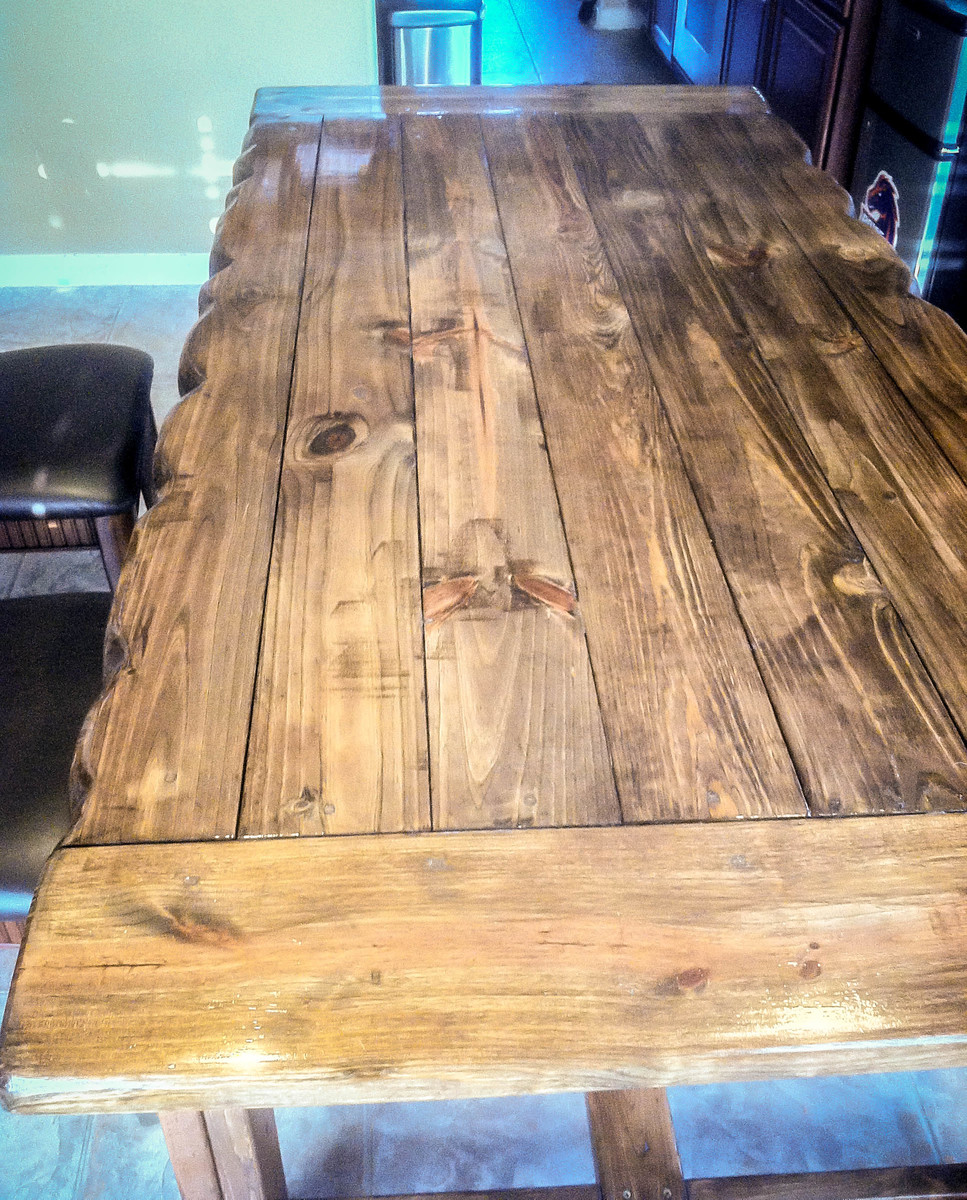
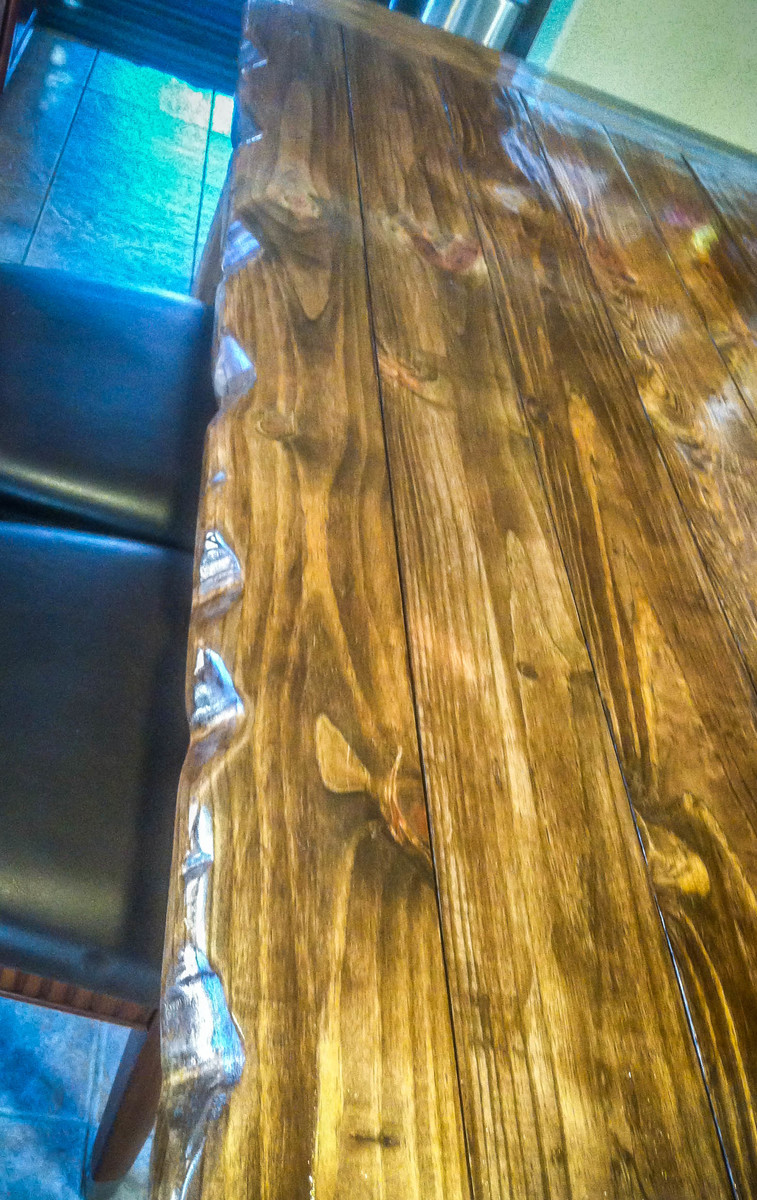
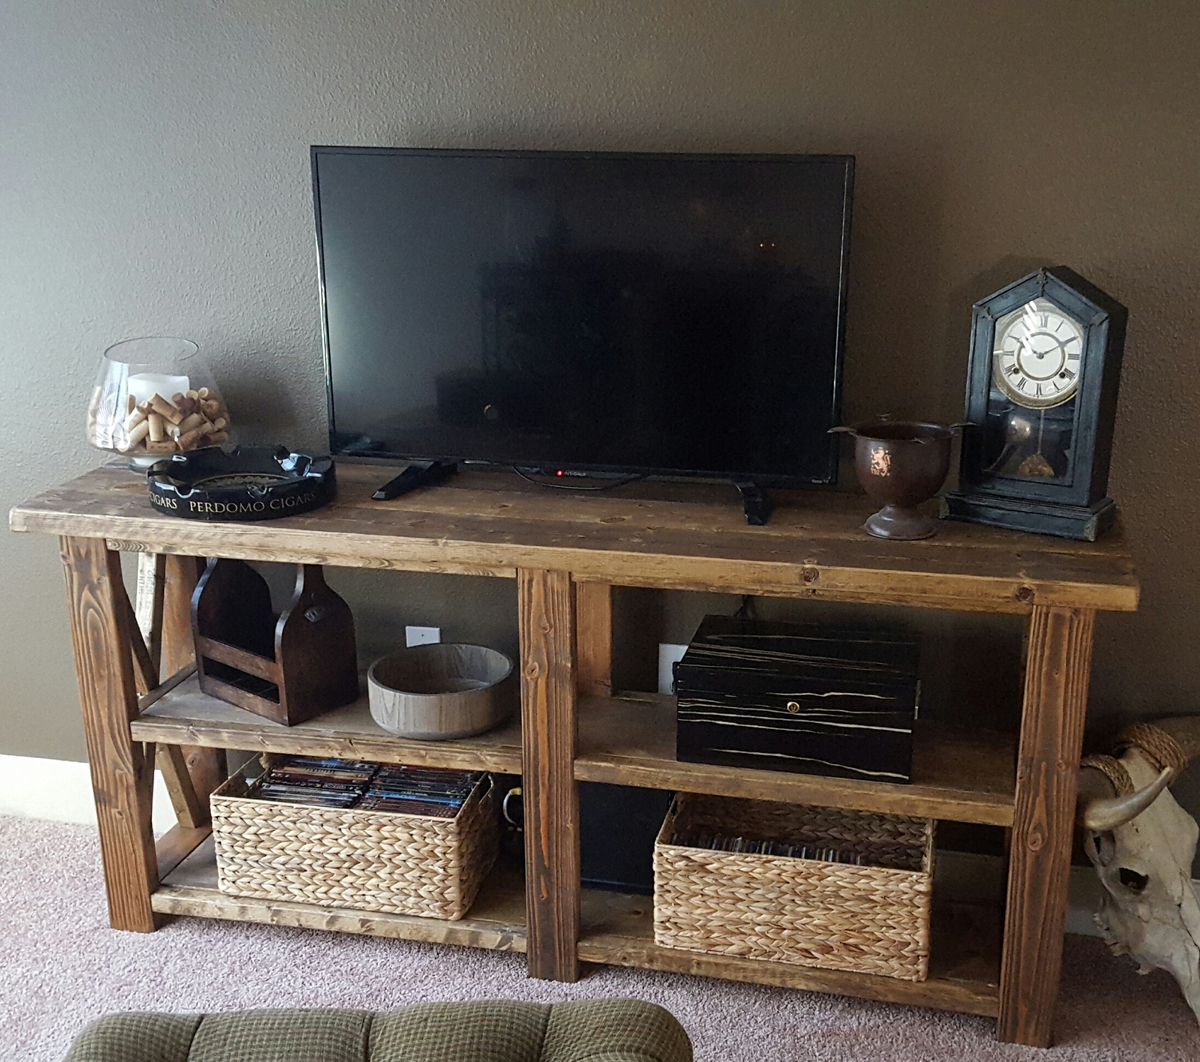
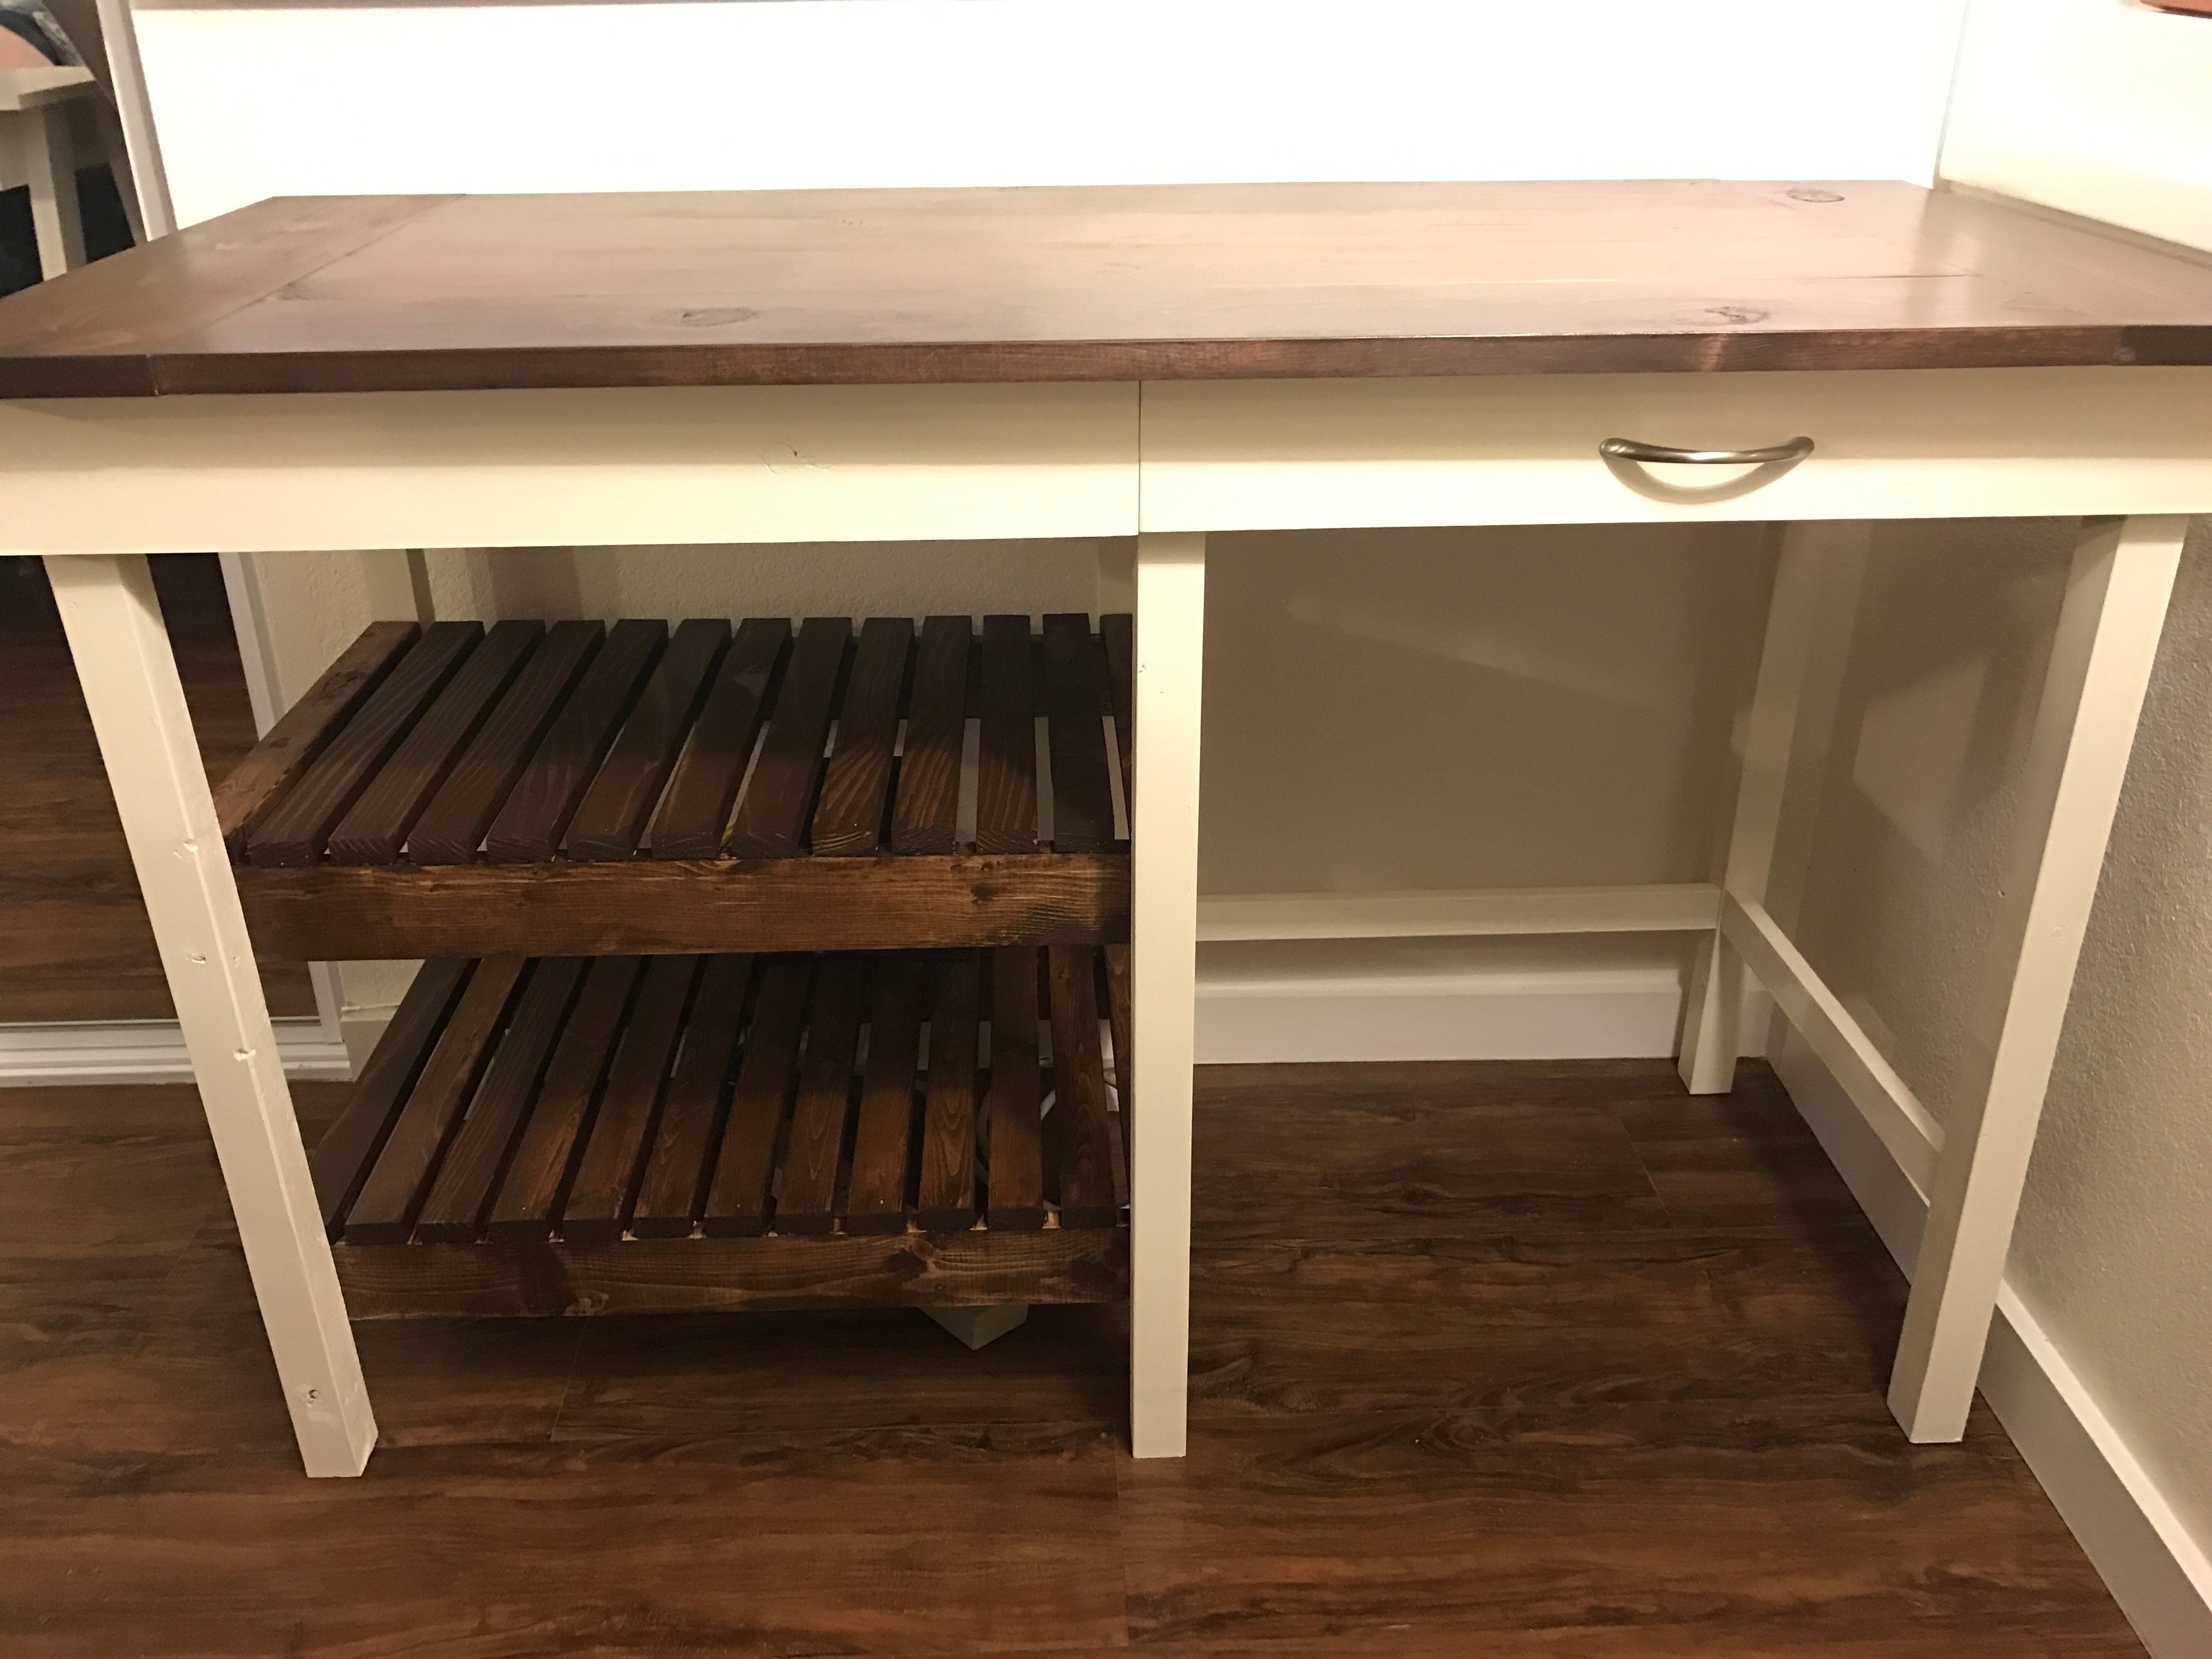
Balin Console Table
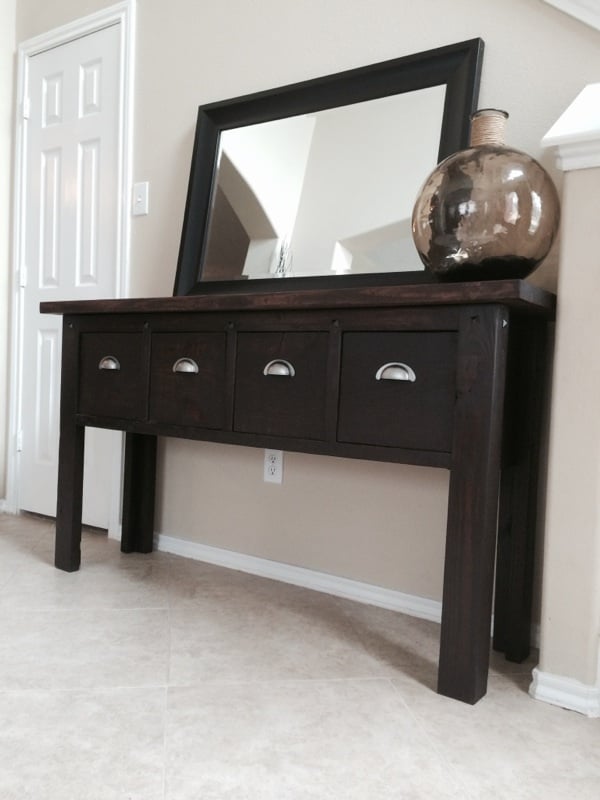
My husband built this in his spare time and I stained it, makes a great addition to my foyer!
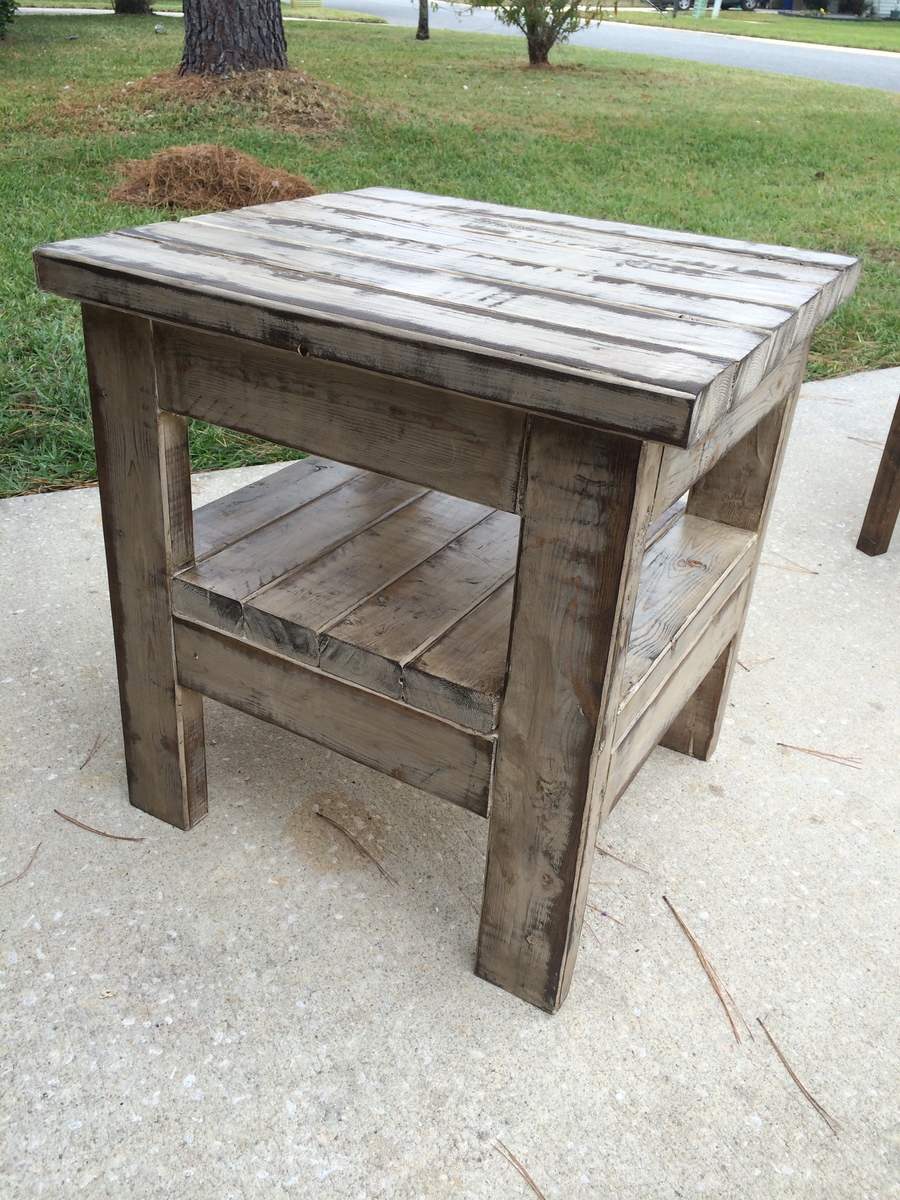
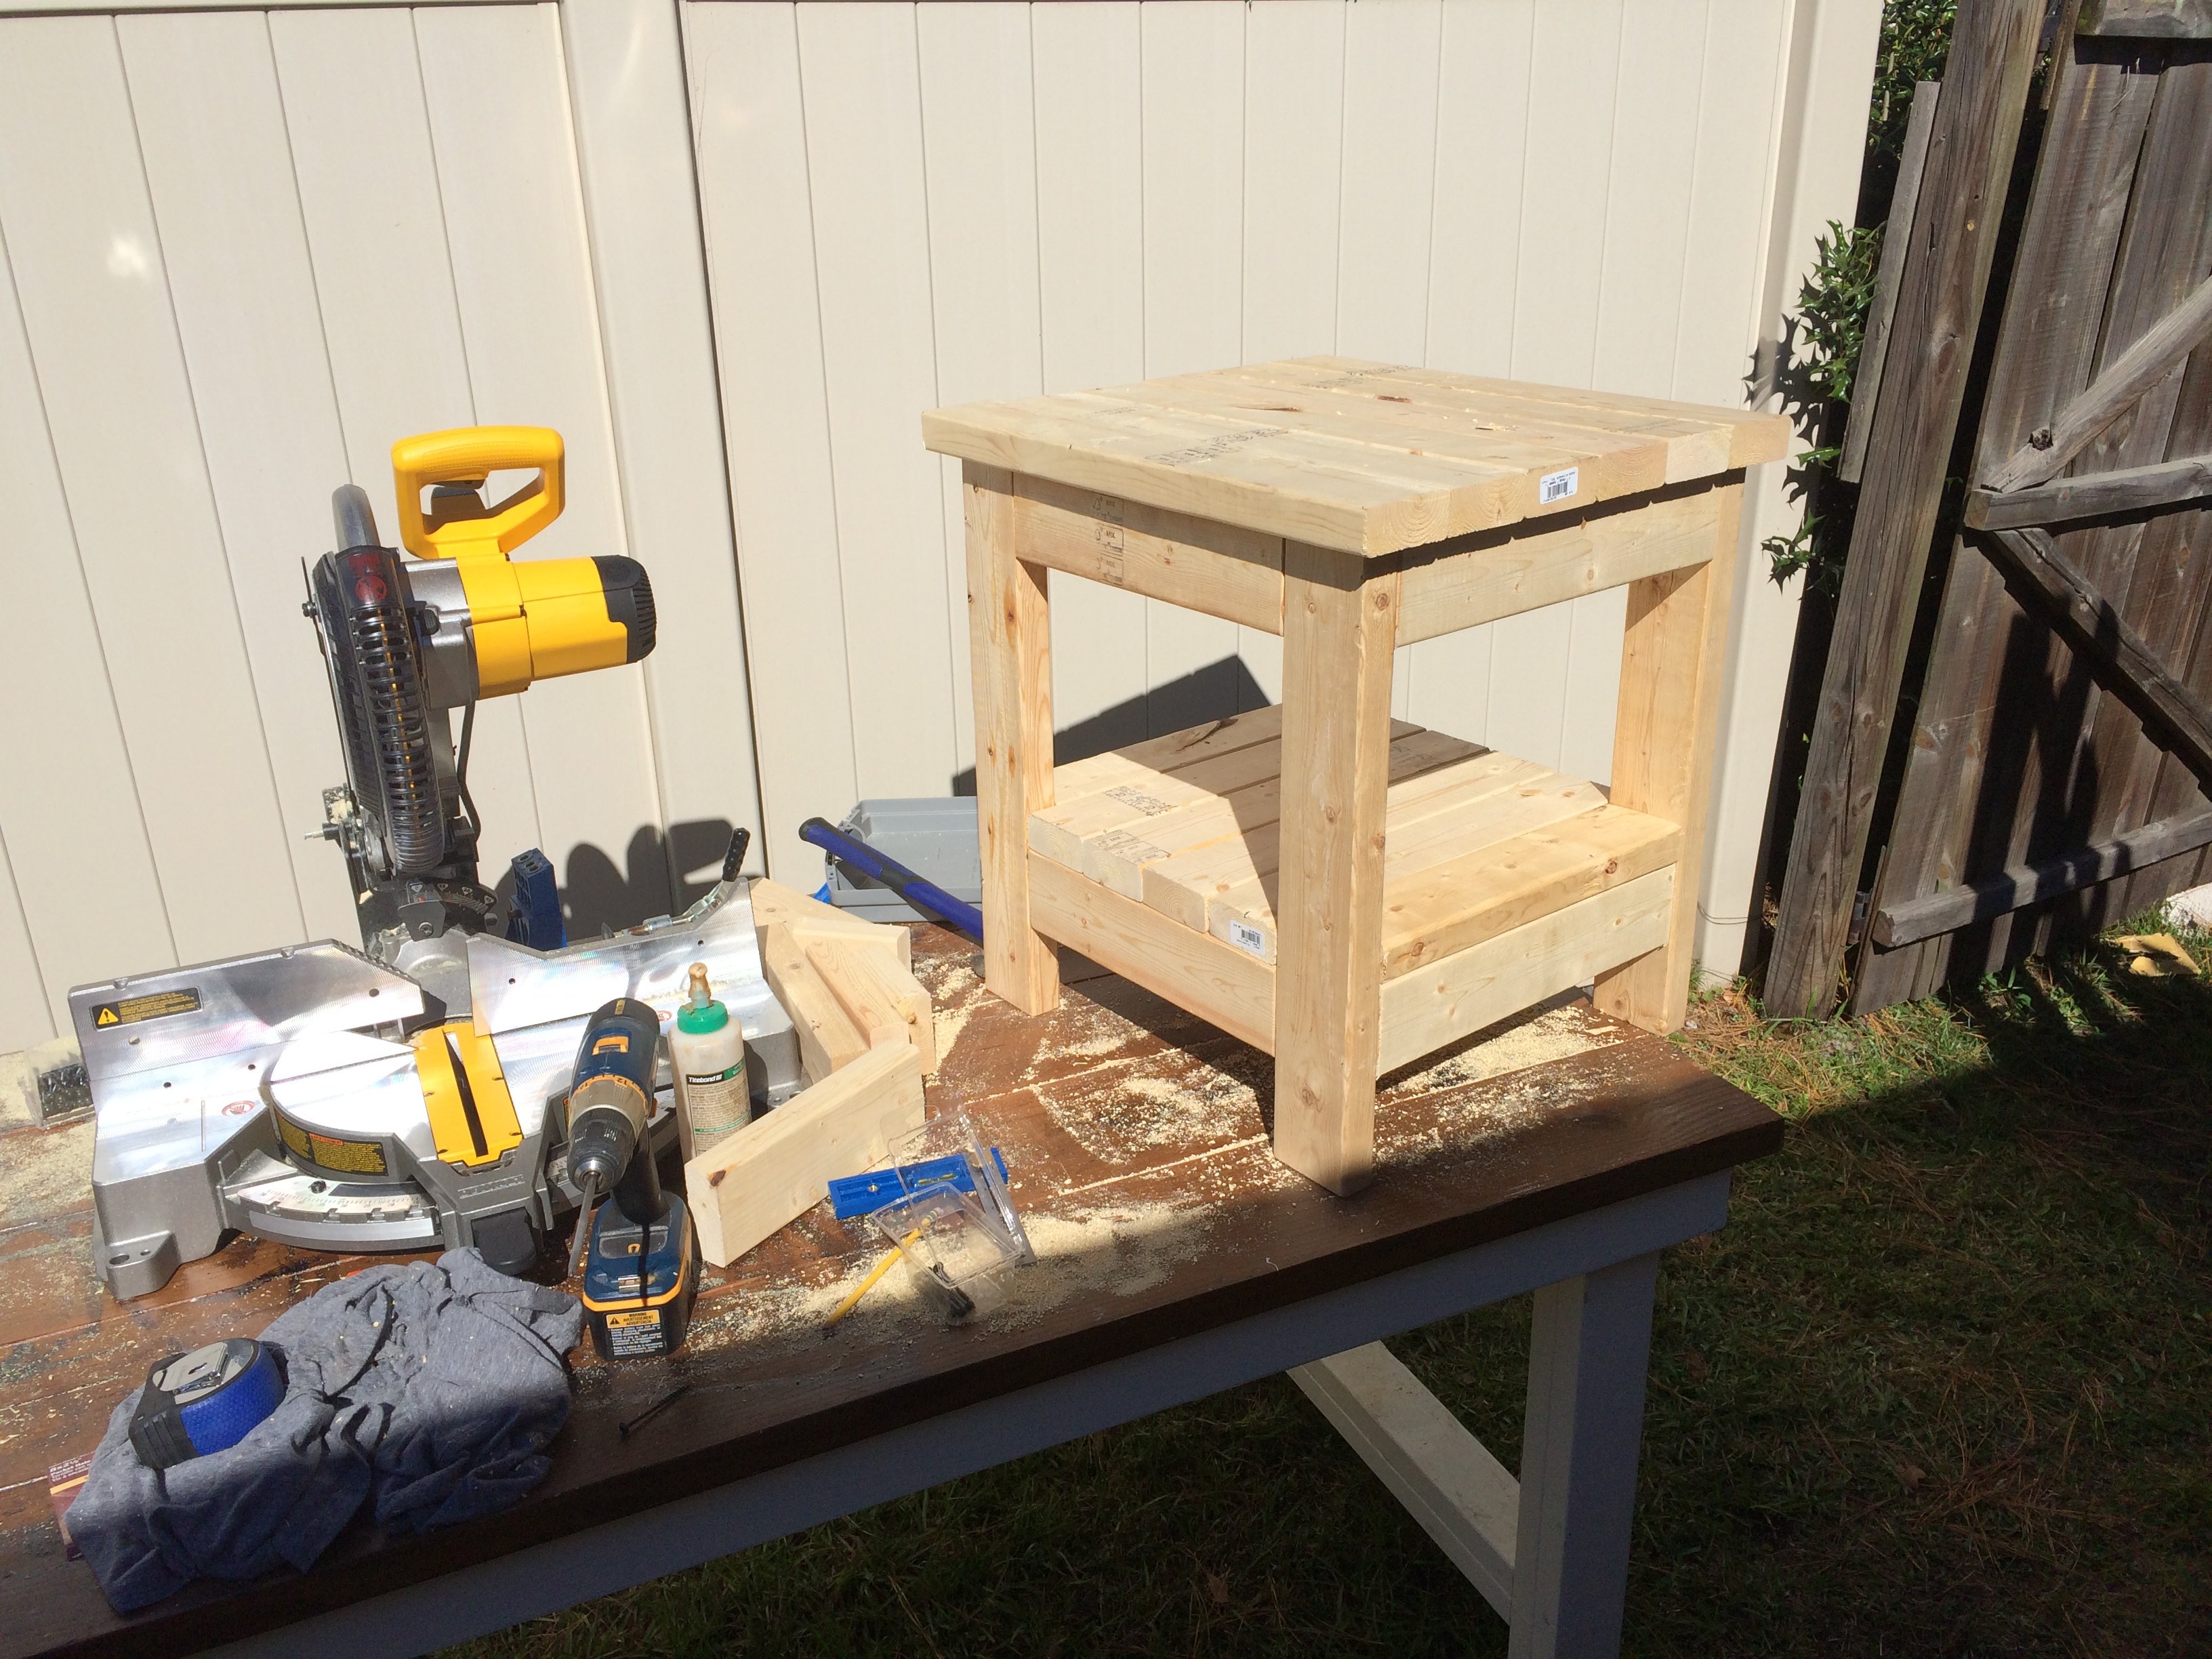
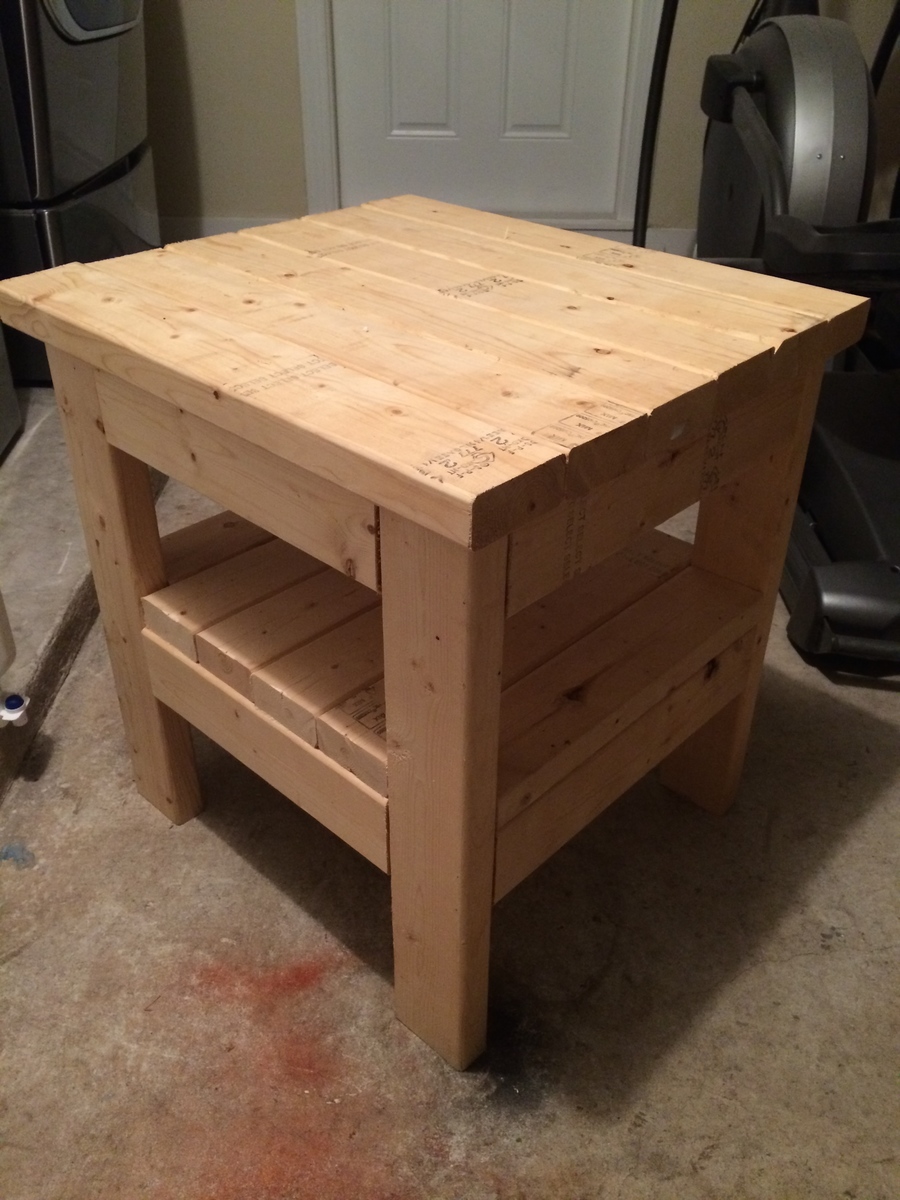
Built from Plan(s)
Estimated Cost
About $150
Estimated Time Investment
Week Long Project (20 Hours or More)
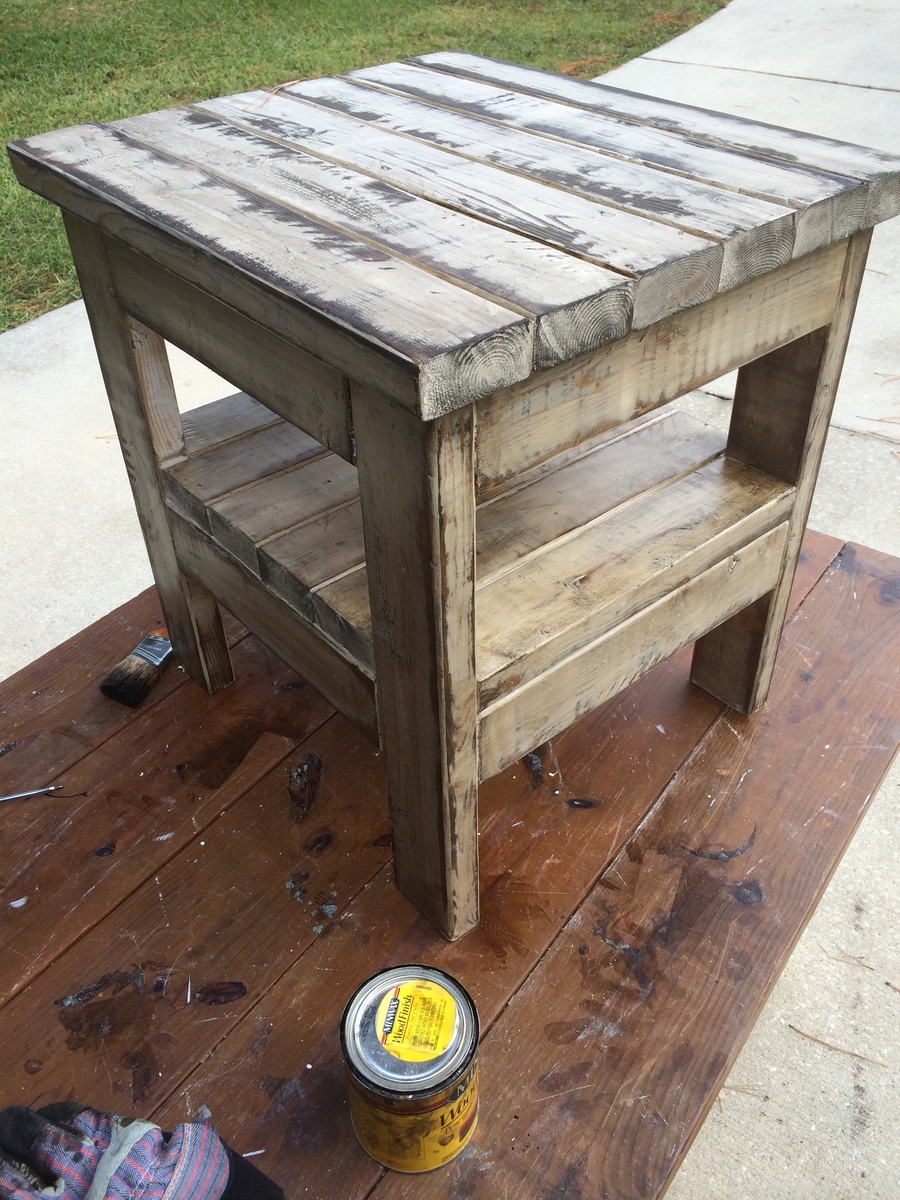
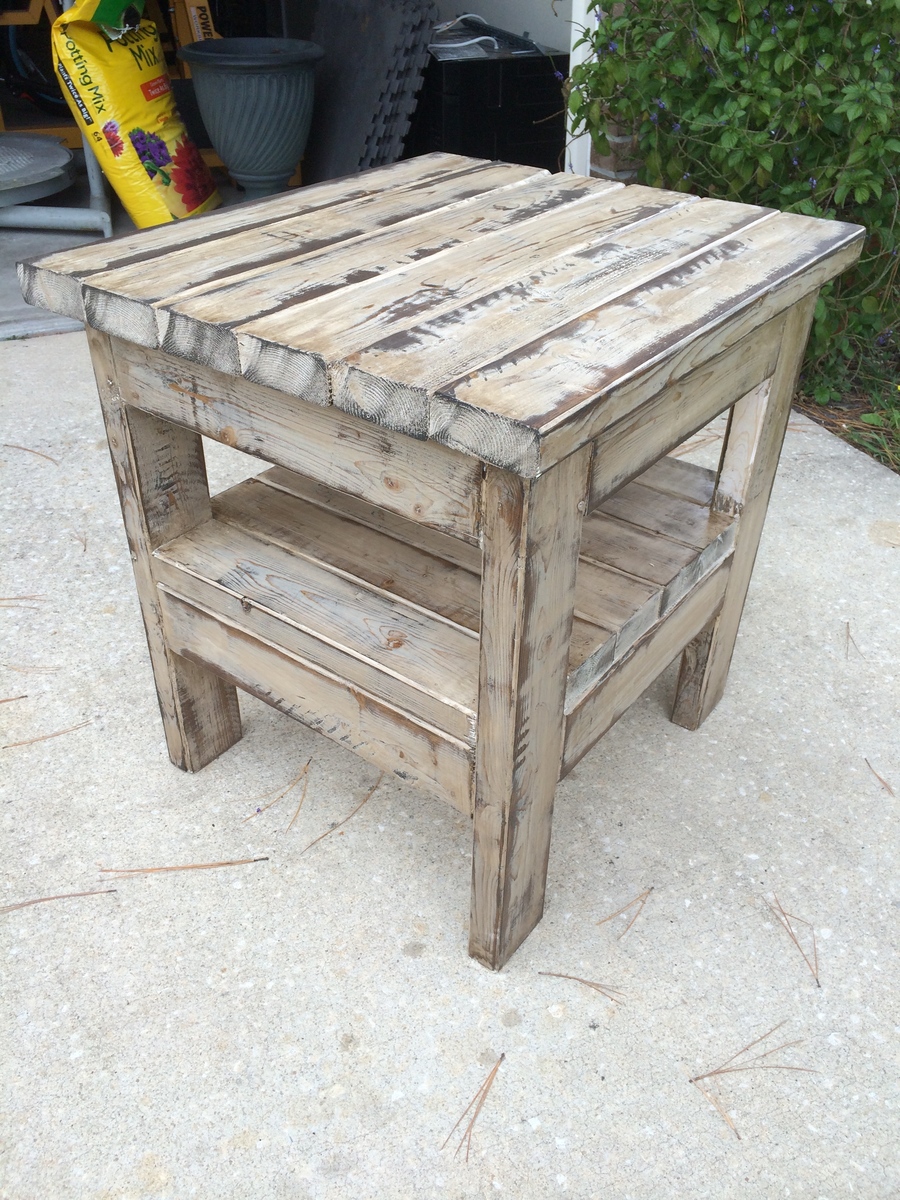
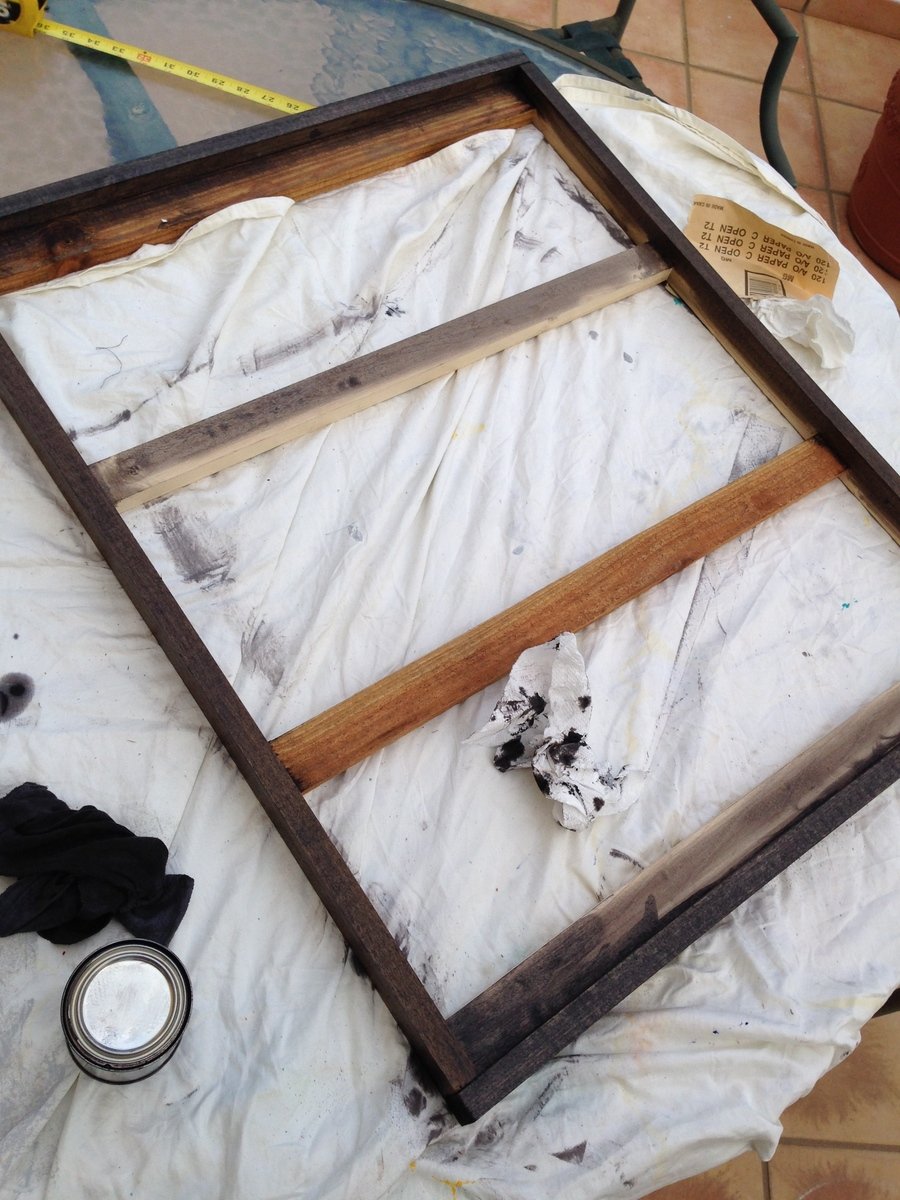
Finish Used
General Finishes Java, applied wood conditioner 15 minutes before staining. One coat of stain on table top and 3 on bottom. This gel stain really does a better job on pine than other stains.
Recommended Skill Level
Beginner


Comments
Ana White
Mon, 11/24/2014 - 12:06
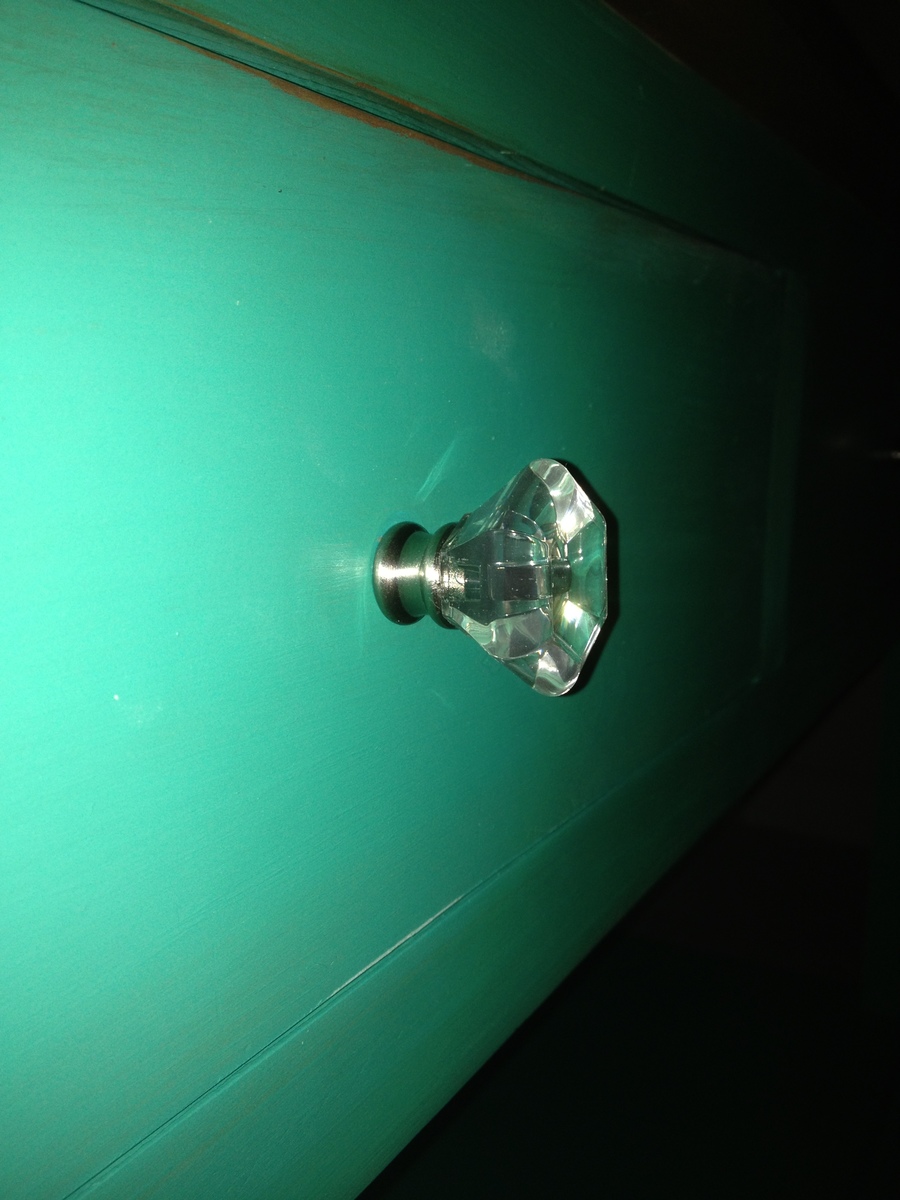
Very nice! I love the
Very nice! I love the handles that you chose! Nice work!