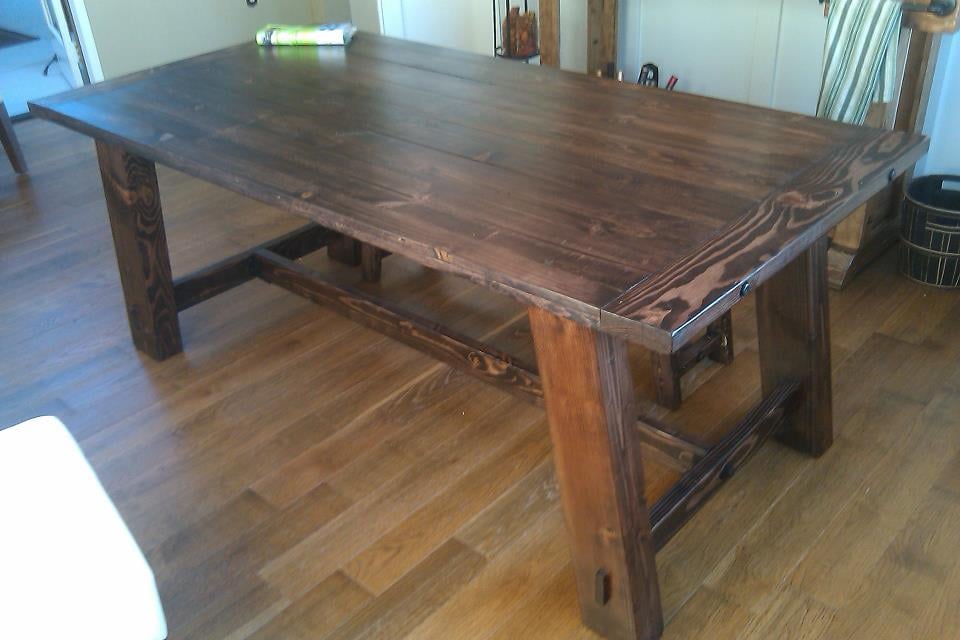
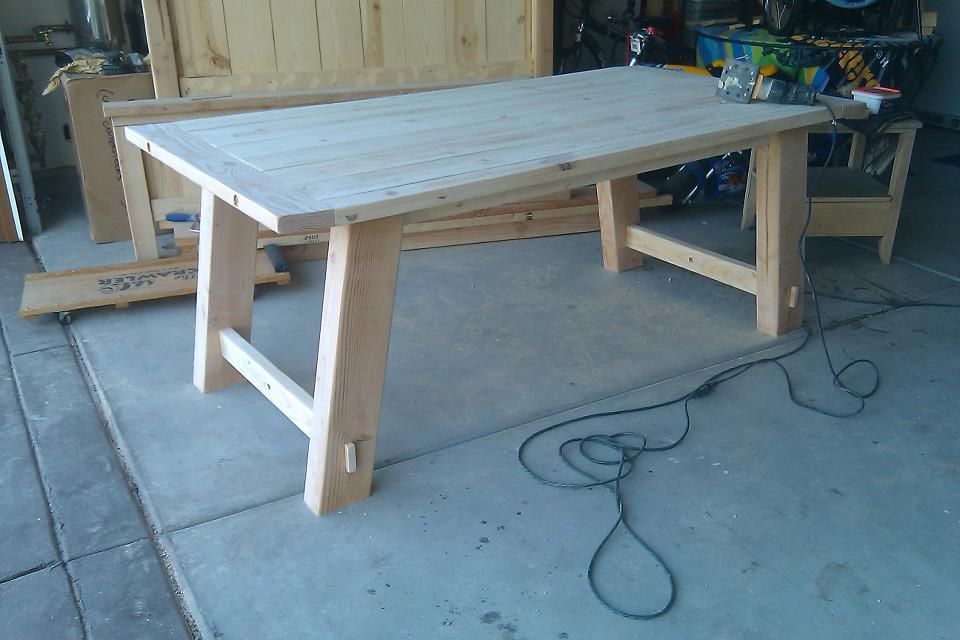
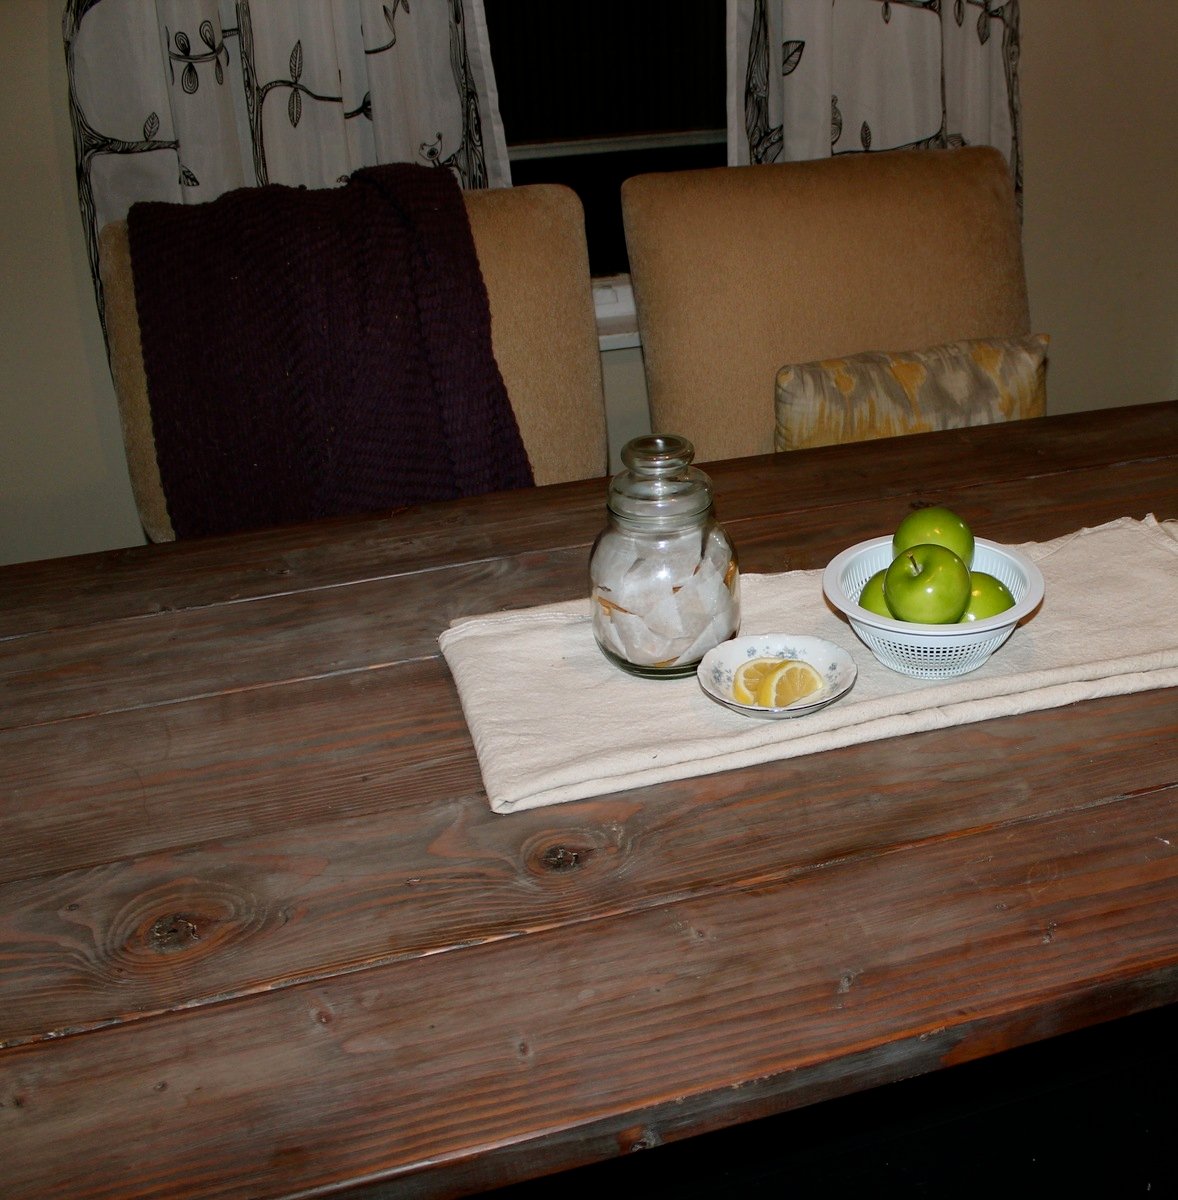
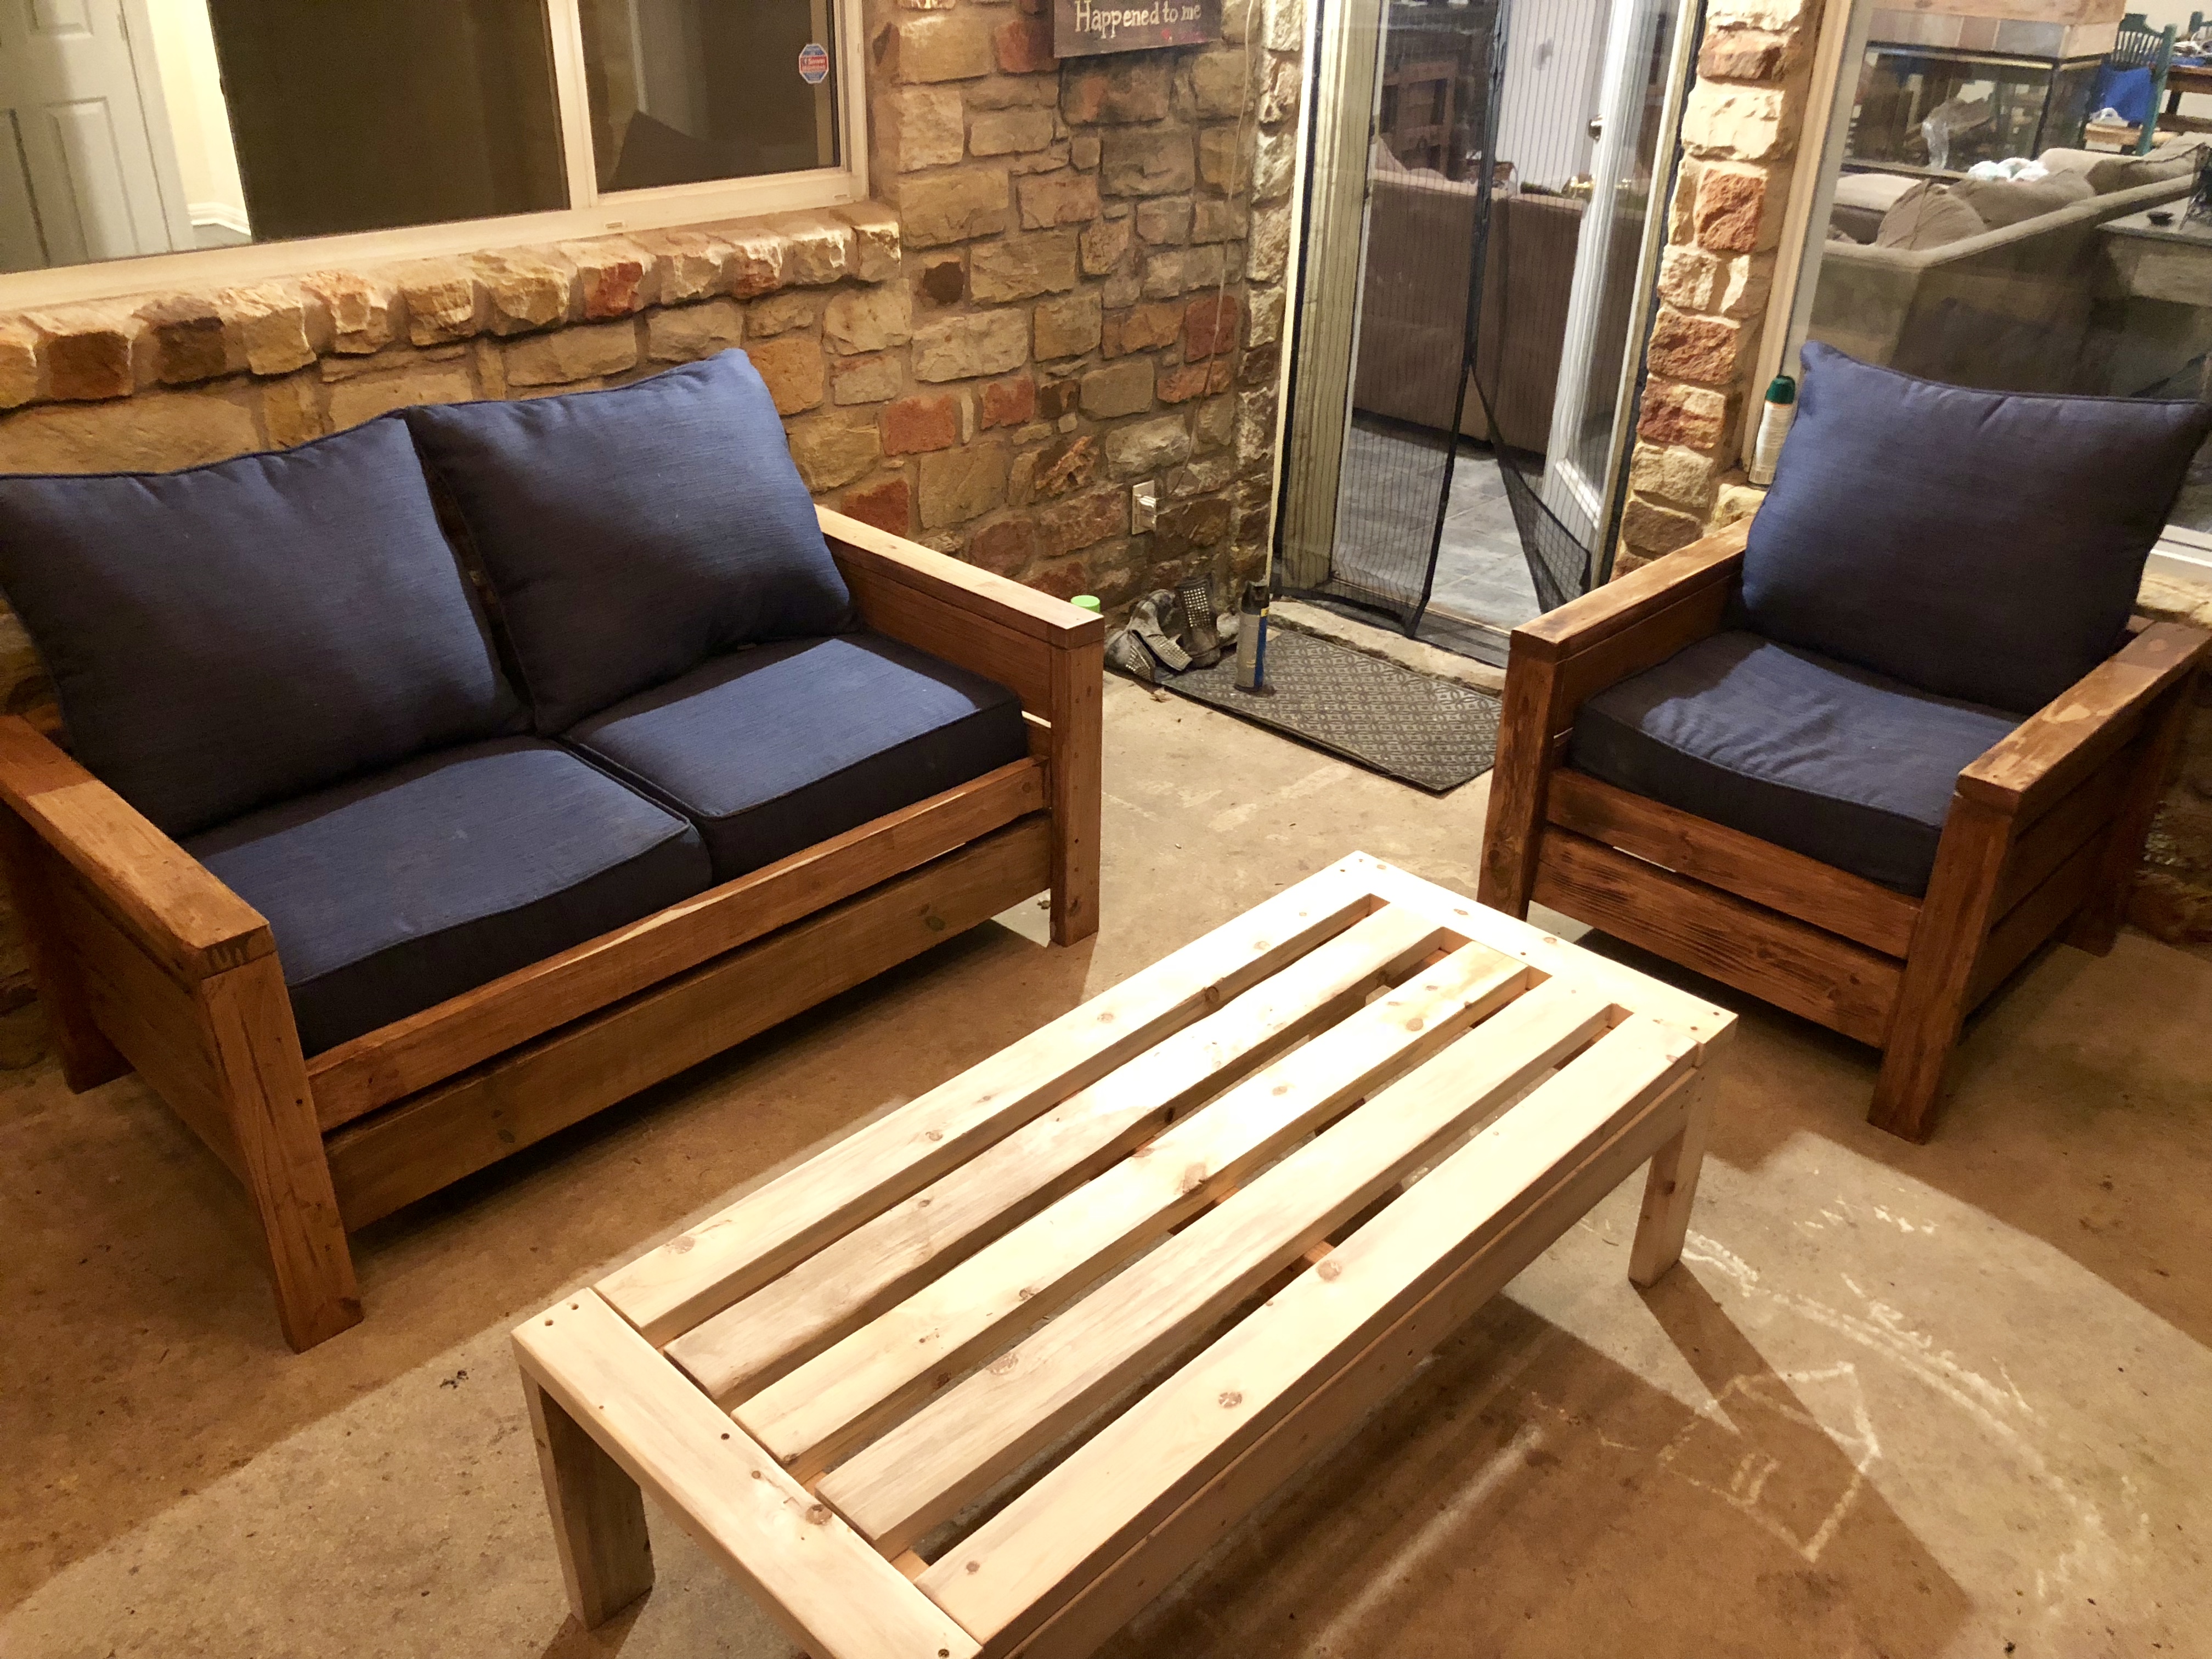
Modern Outdoor 2x Chairs
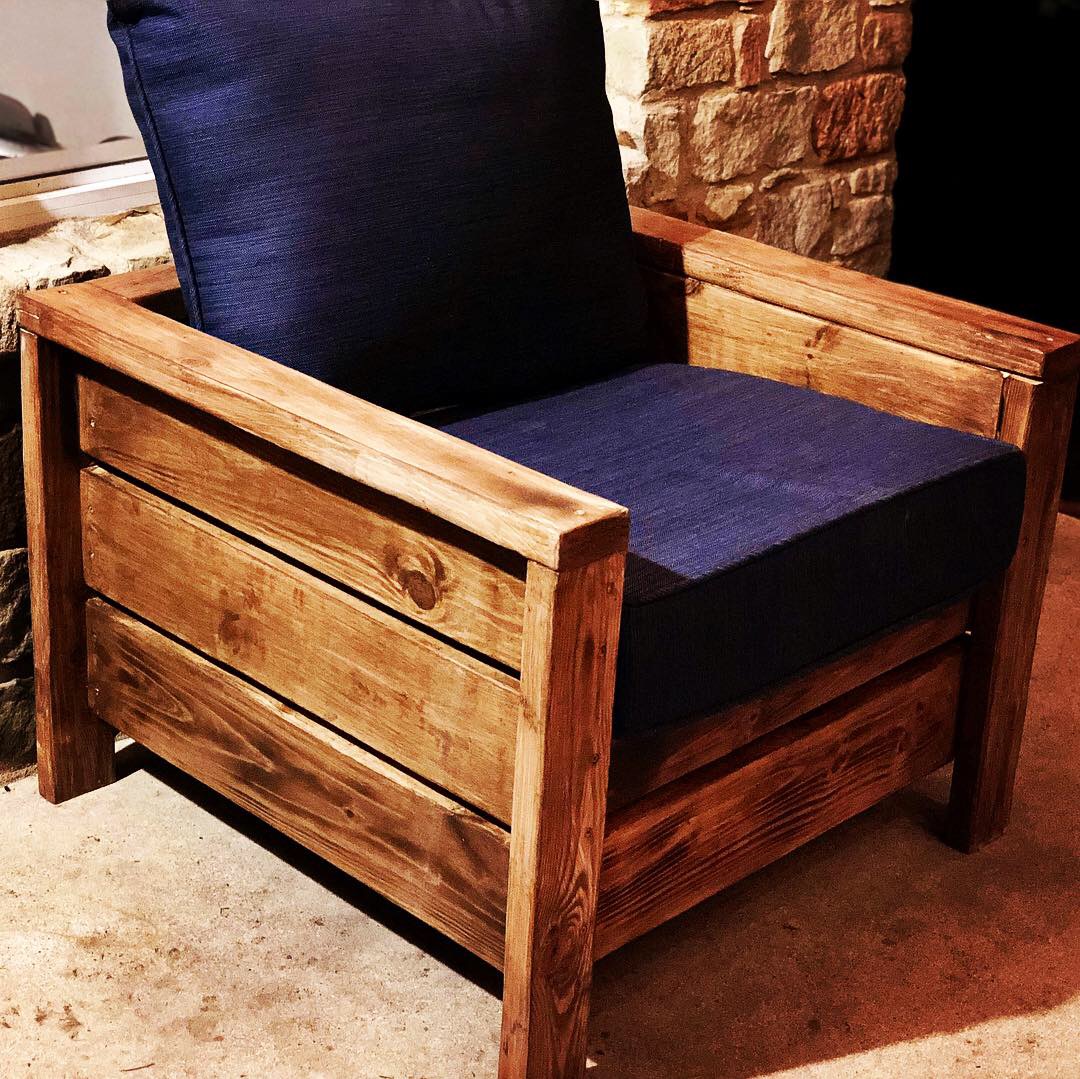
What a fast, fun, and FUNCTIONAL project! I did lower the seat height, as I think it allows you to sink into them a bit more -- especially with the cushions I had for them (which BTW, were on sale at Lowe's for $14.99/each.. normally like $60, I think). Thanks ANA, for making yet another project such a breeze!
Built from Plan(s)
Estimated Cost
IDK.. I had all the wood laying around already.
Estimated Time Investment
Afternoon Project (3-6 Hours)
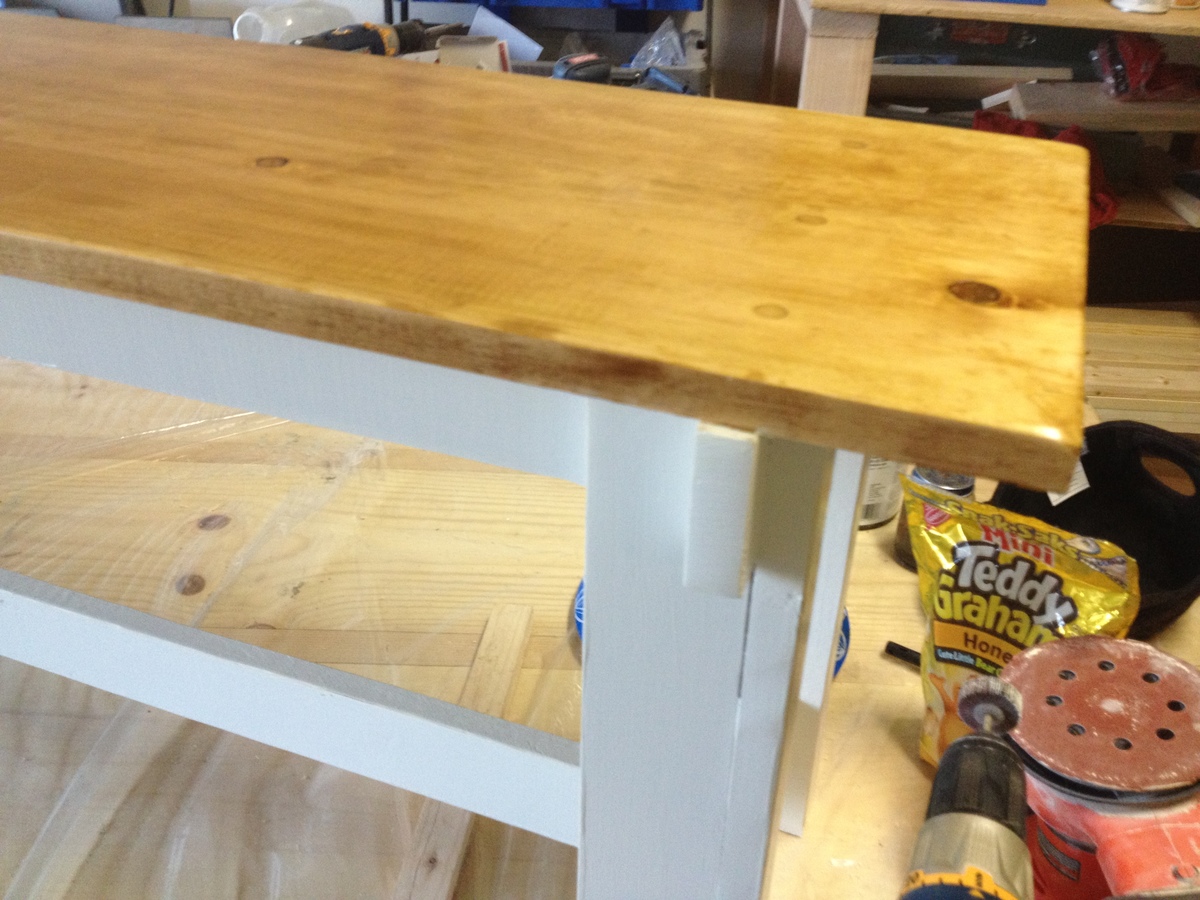
Finish Used
semi transparent deck stain in chocolate
Recommended Skill Level
Beginner