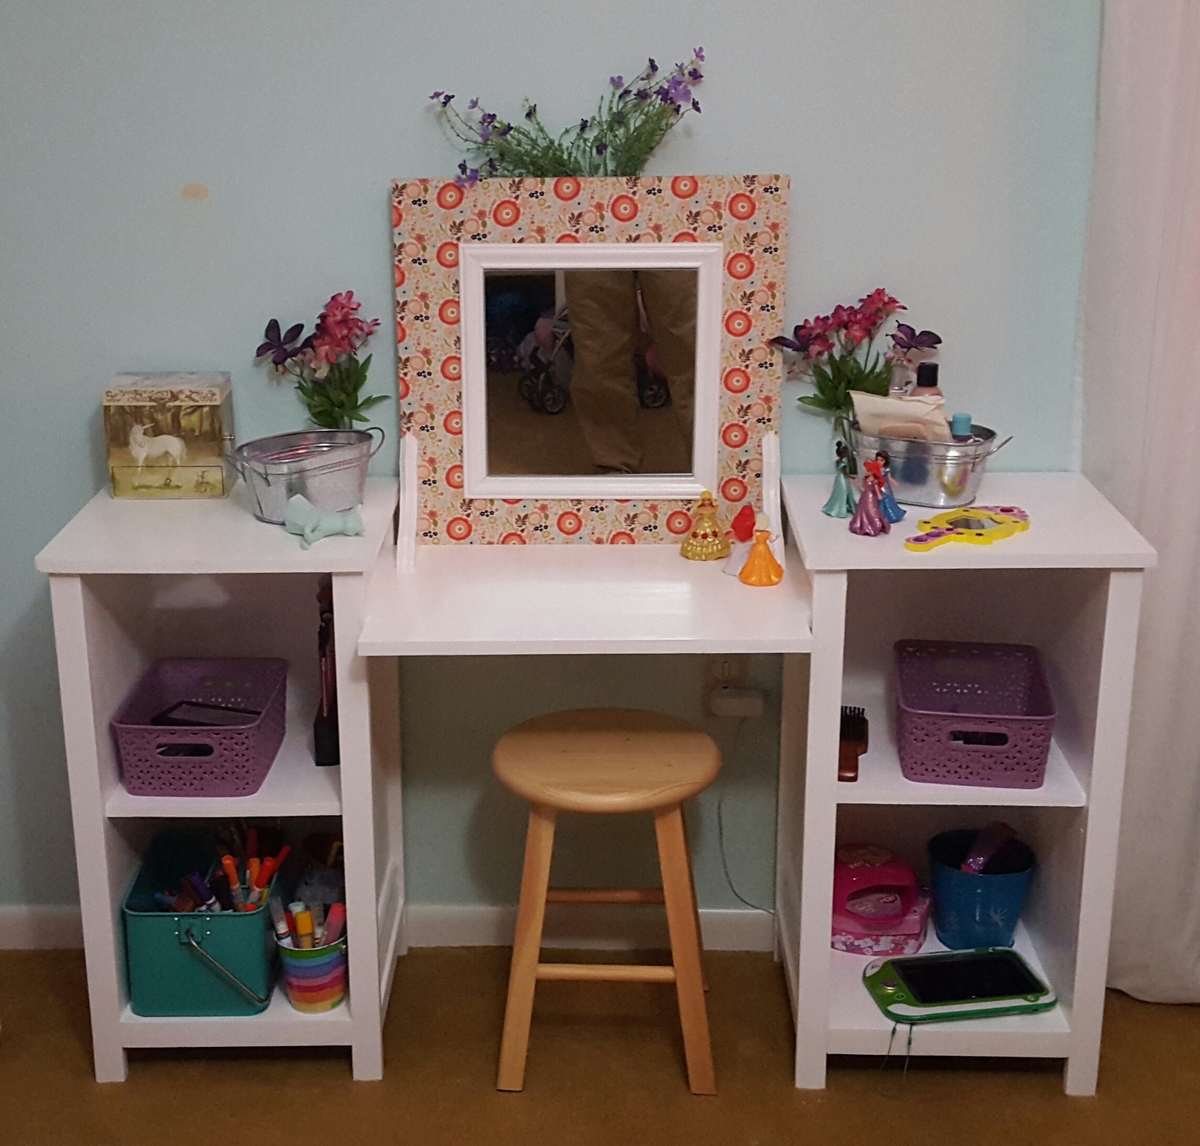
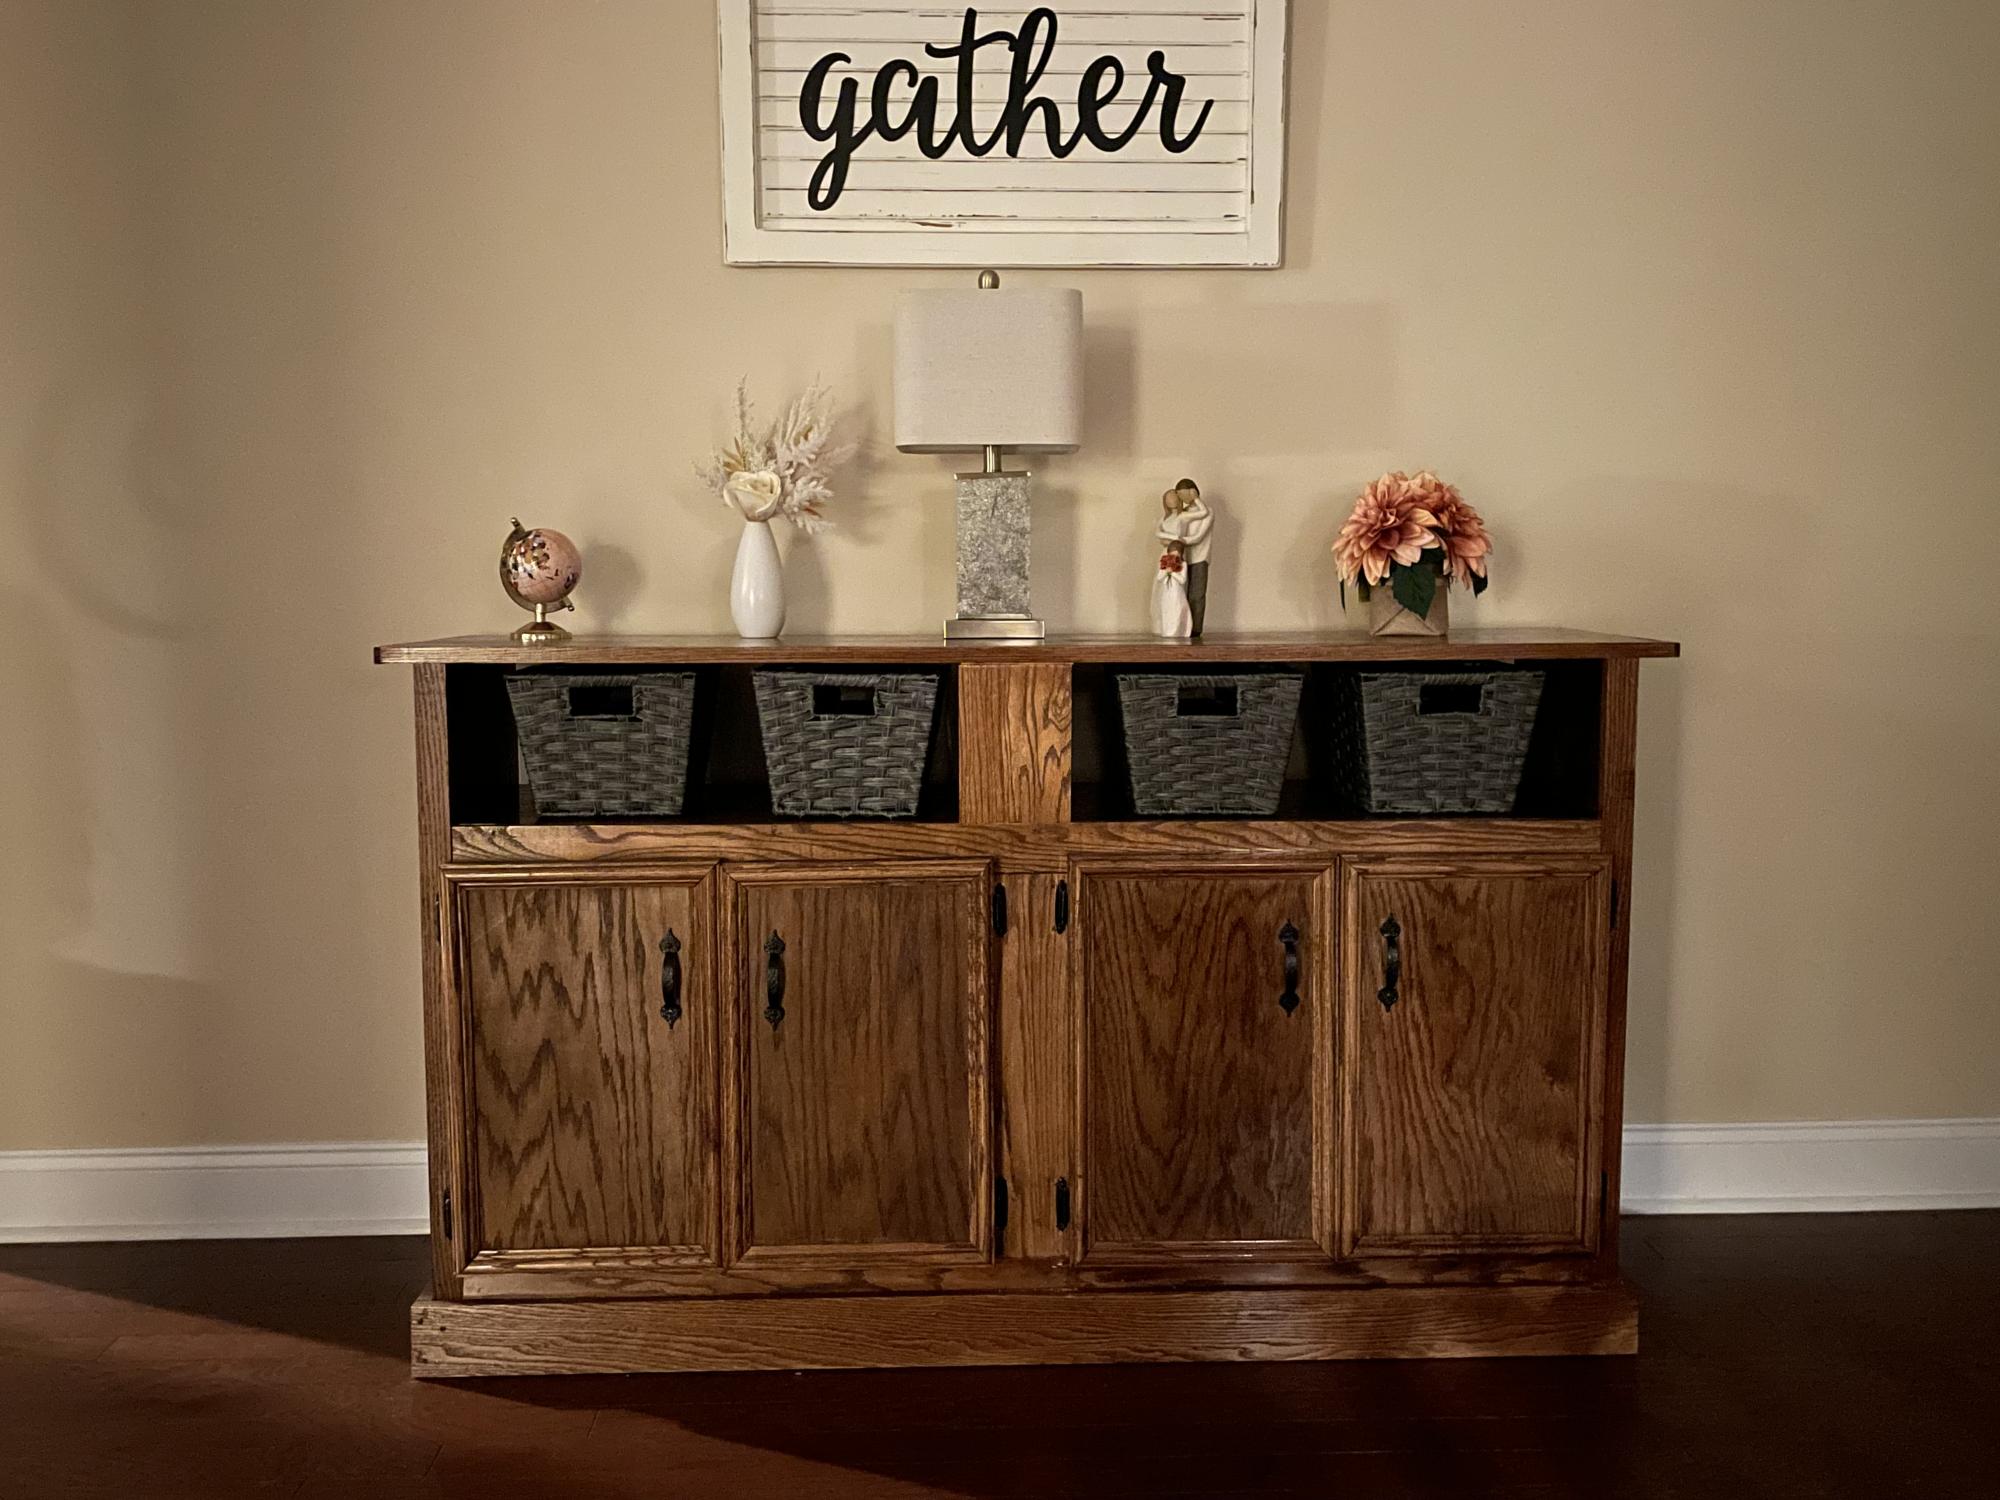
6 Cube Bookcase
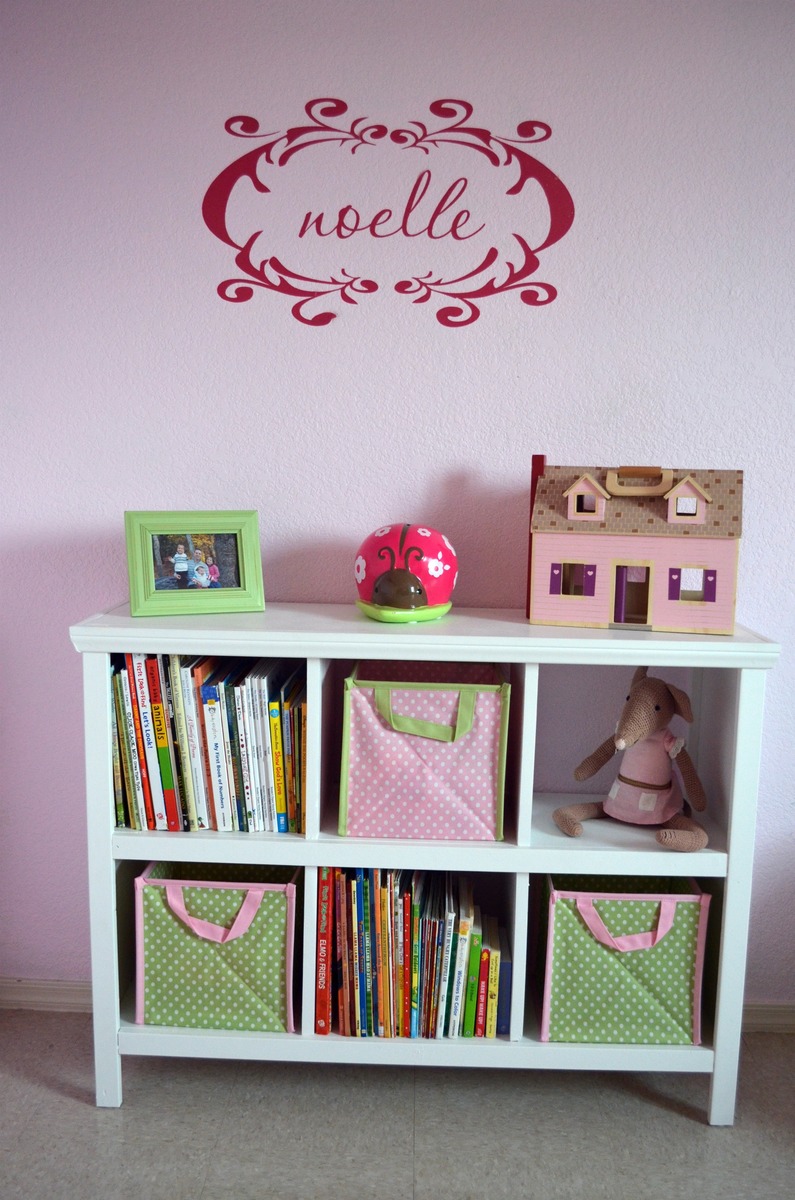
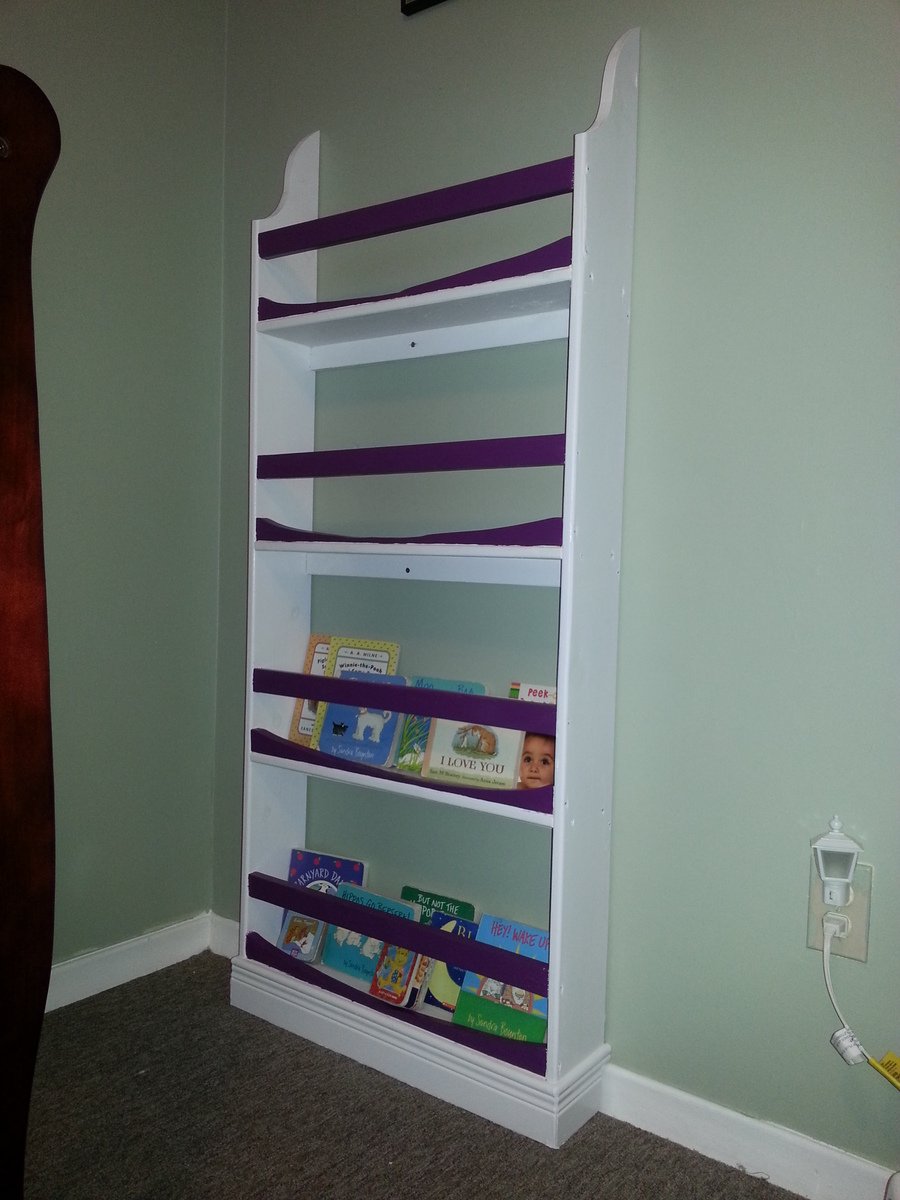
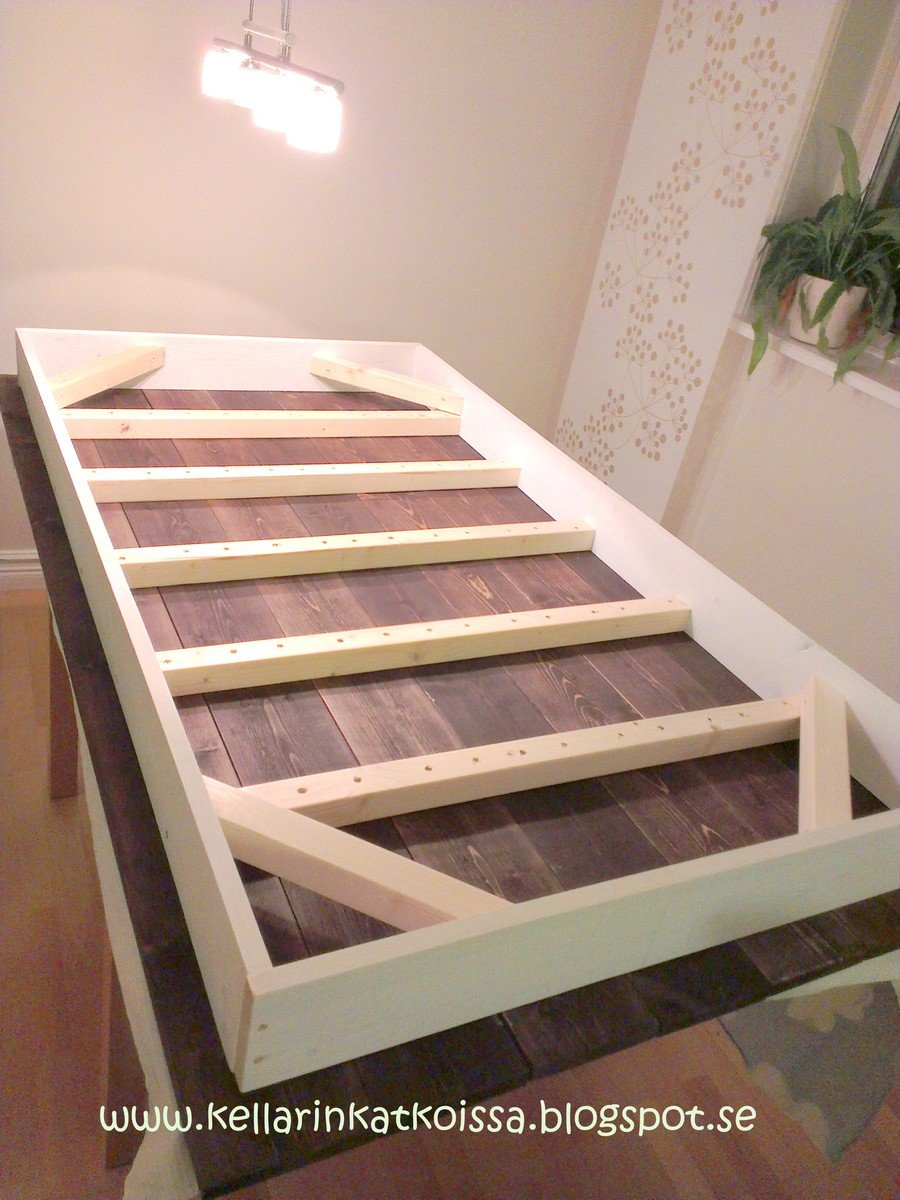
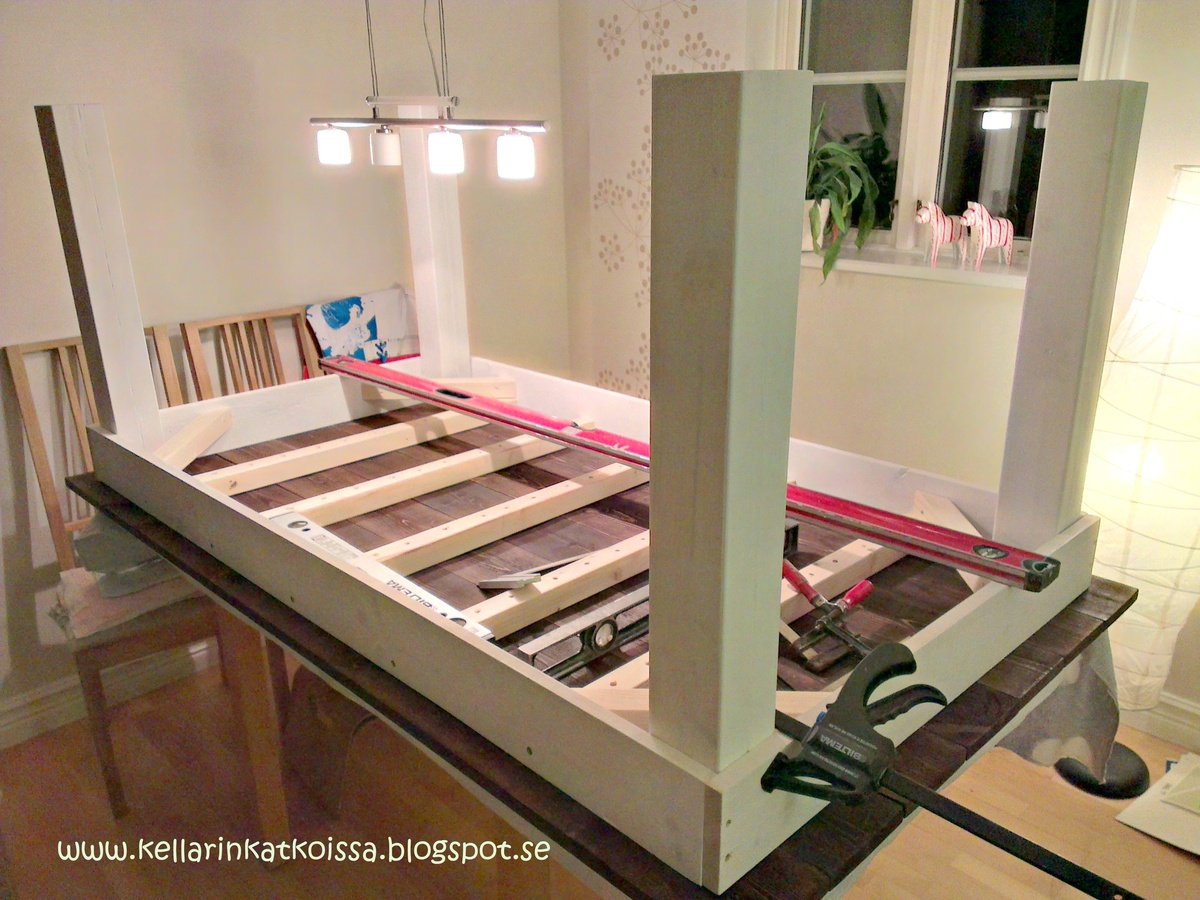
We are redoing our almost 3 year old girls room to a big girl room and we started with this! The Bed is almost finished and I can't wait to share it! I think adding the moulding to the top makes it look very pretty and professional. Our other two rooms have real PBK furniture in it but I honestly think this is going to look better!
Built from Plan(s)
Estimated Time Investment
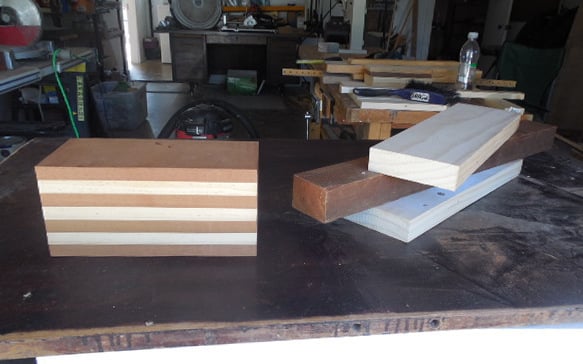
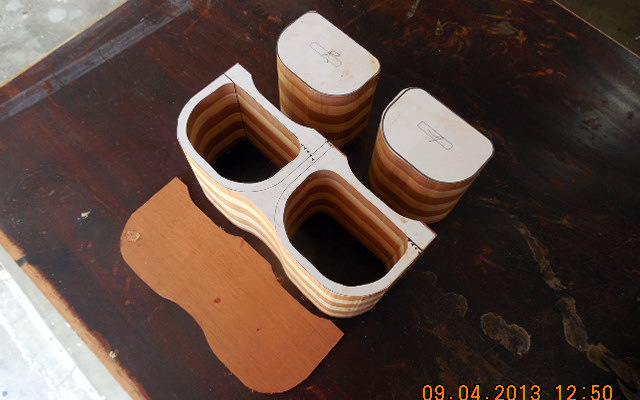
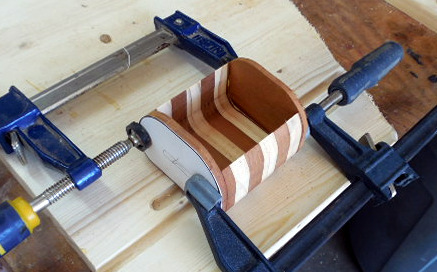
Afternoon Project (3-6 Hours)
Finish Used
White Paint
Recommended Skill Level
Beginner


Comments
Guest (not verified)
Wed, 02/01/2012 - 16:40
need this plan
need this plan
C. Tyson (not verified)
Tue, 02/07/2012 - 06:15
Beautiful!
This will look just perfect in my kid's room. I can't wait to try it out. Going to my local Lowe's in 30 minutes.