Tree Shelf
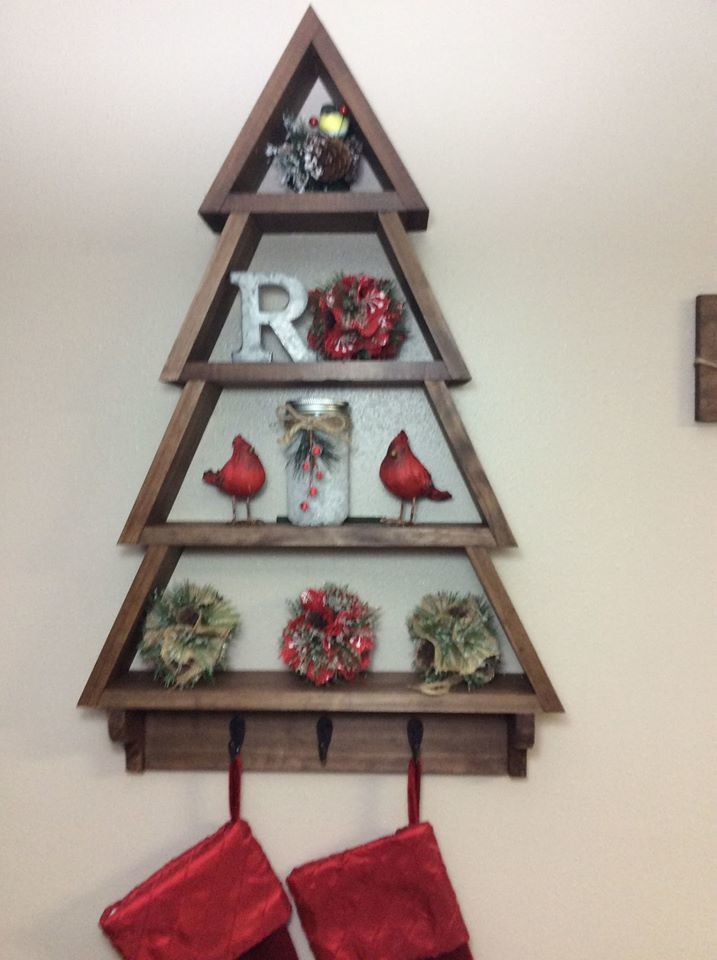
We loved making this project, I even learned how to work with angles.

We loved making this project, I even learned how to work with angles.
What a fast, fun, and FUNCTIONAL project! I did lower the seat height, as I think it allows you to sink into them a bit more -- especially with the cushions I had for them (which BTW, were on sale at Lowe's for $14.99/each.. normally like $60, I think). Thanks ANA, for making yet another project such a breeze!
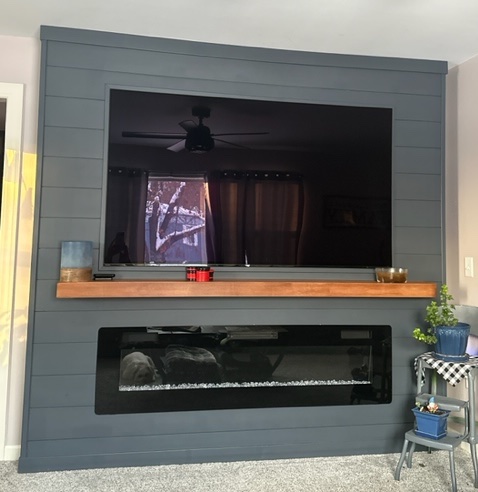
photos sent in via email from Leanne

I first saw this workbench and hutch on Ana's website, but didn't commit to the project until I saw them in person, as part of a model home that had been decorated by local Pottery Barn design services. I was sold. I built this for roughly $1900.00 less than PB charges. It was an easy weekend build for a guy with less than one years' experience in this arena.


Thu, 09/15/2011 - 16:20
Nice dude! I just finished my console last weekend. Was it worth it making the matching hutch? I haven't decided if I'll do it yet.....Great job though.
Thu, 09/22/2011 - 11:23
Absolutely. It's minimal time investment, and it really seems to finish the piece off. I went with seven 1x6's (instead of a plywood backing) to give the hutch a planked look.
Sat, 09/17/2011 - 15:19
Very very nice. This has been on my build list for way toooo long. It is beautiful and inspiring! Thanks!!!
Fri, 02/24/2012 - 05:43
Great job! I'm starting this same project and just purchased the kreg jig system but I'm stuck on assembling the table legs using pocket holes. I don't want to have visible pocket holes, could you give a quick description on how you assembled the legs and attached them to the feet using pocket holes? Thanks!
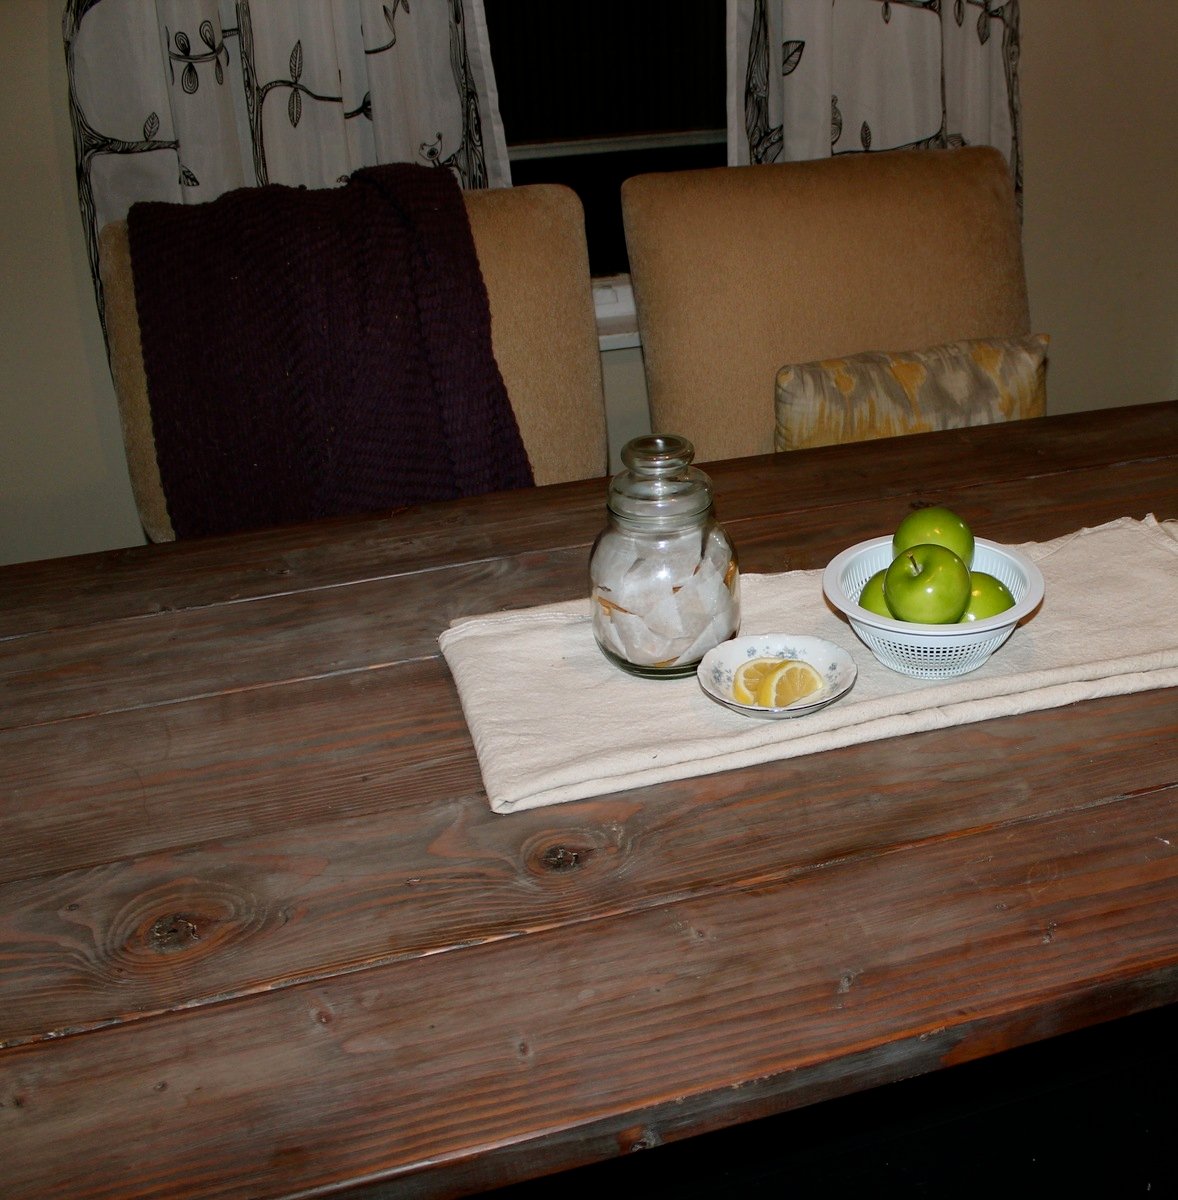
This Harvest table is the heart of our home. It was one of the first furniture projects we ever completed and my favorite finish to date. The night we spontaneously decided to buy lumber and build this table we had a lot of unexected visitors. We were out in the driveway working and a bunch of friends dropped by randomly so we all took a hand in building this table. It was so much fun. Spontaneous building party.
When I finished it it was my first time using a belt sander which wound up gouging some of the wood. The table top is super smooth but very rustic and I LOVE IT. I started with pre-stain conditioner, then cherry stain which I hated, then early american mixed with dark walnut. At this point it looked pretty lovely but I wanted it to look aged and gray so I lime waxed, dark waxed and buffed the whole surface of this piece. It turned out so special and you can see some red notes from the cherry stain and those are my favorite moments on this table.
Thanks again Ana.
** updated with a few better photos on 11/21
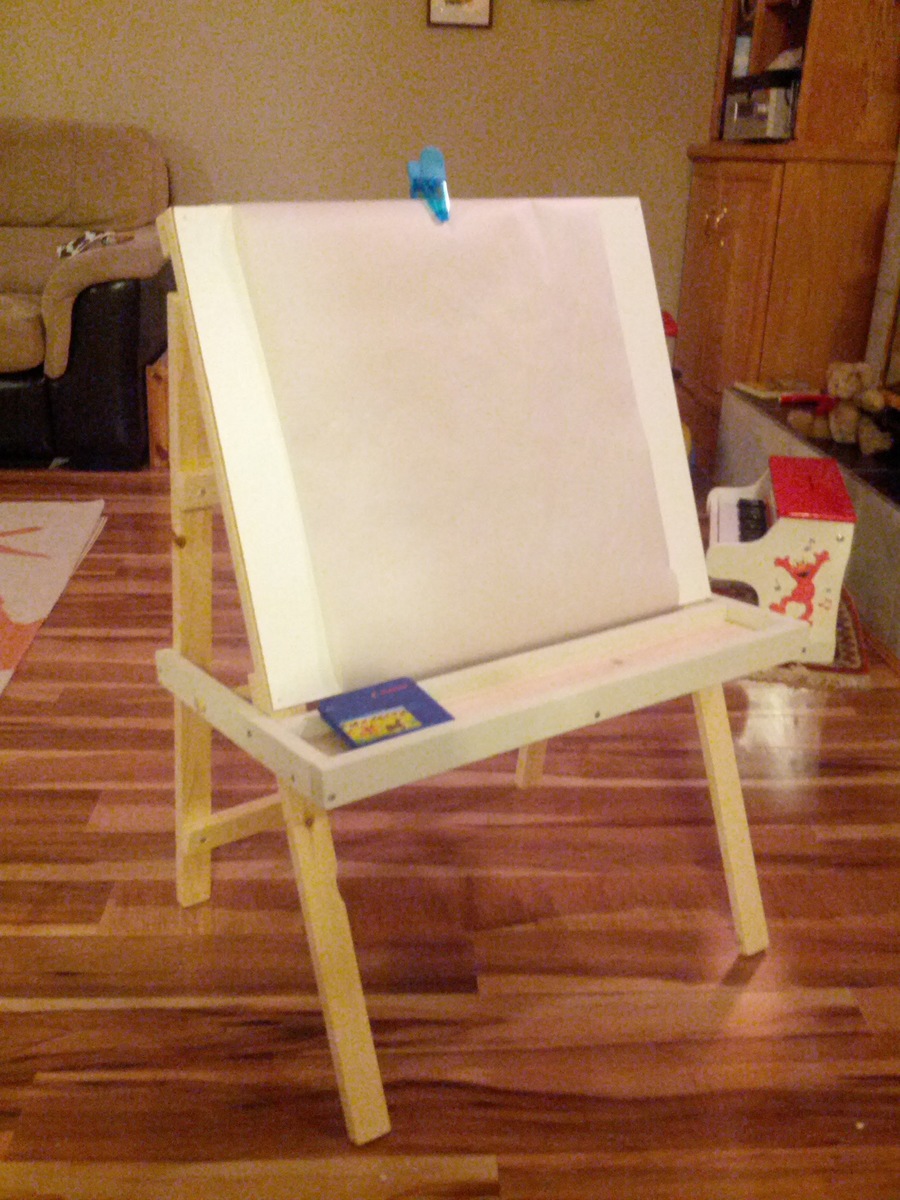
We opted to make this a regular easel (no chalkboard) and just used a sheet of paneling as the background. It's perfect, our toddler loves it. Thanks Ana!
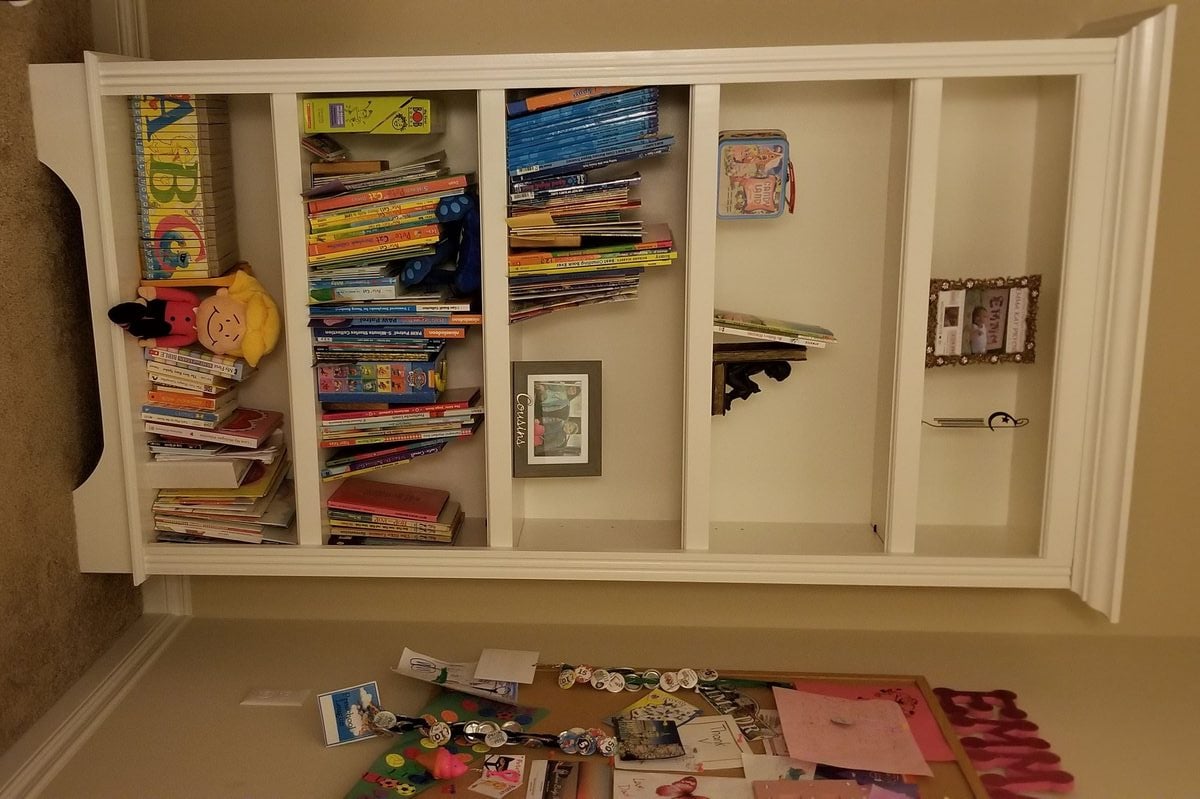
Just finished this maple bookcase with fluted trim for my daughter's room. I chose all maple trim even though it's painted because I wanted a good hardwood with low grain that would look good for decades to come. Full build details are on my website. Router bits used were a roman ogee and a core box bit.
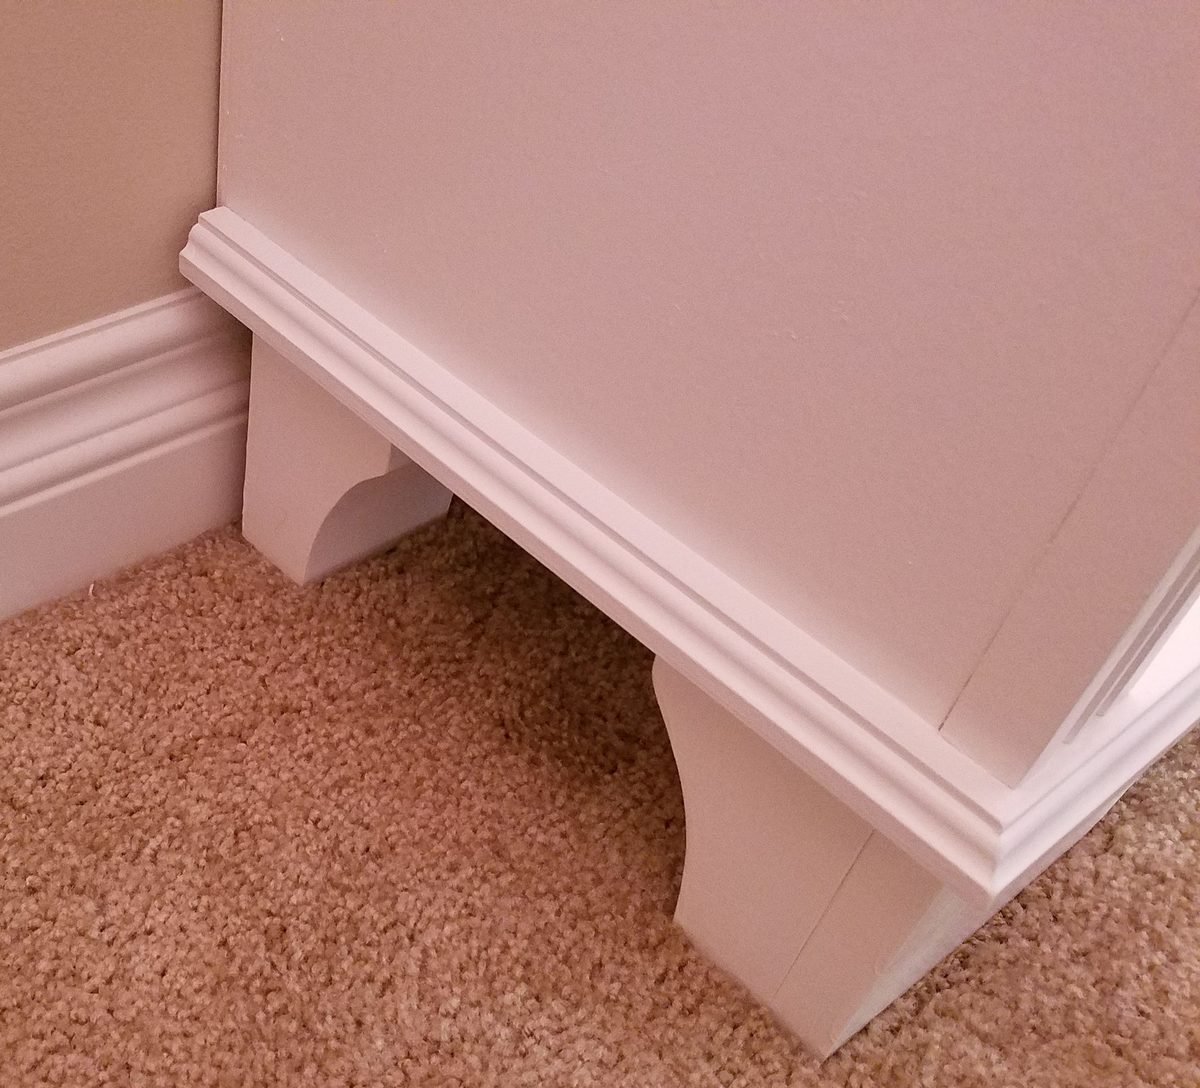
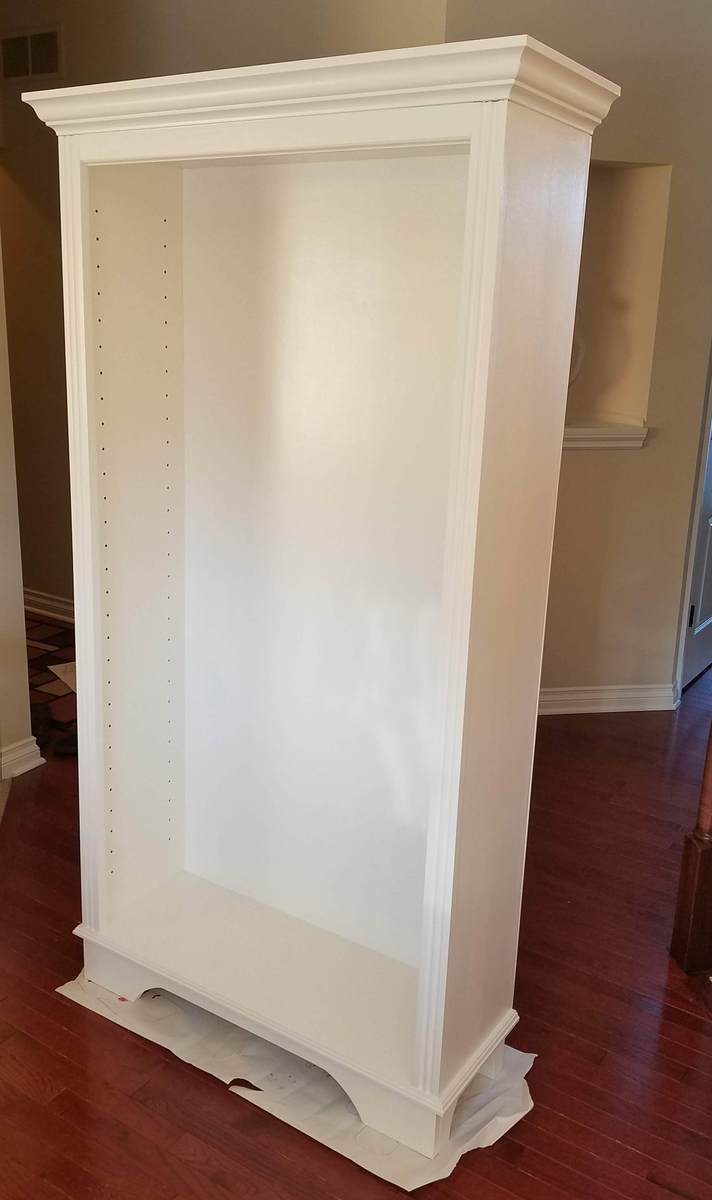
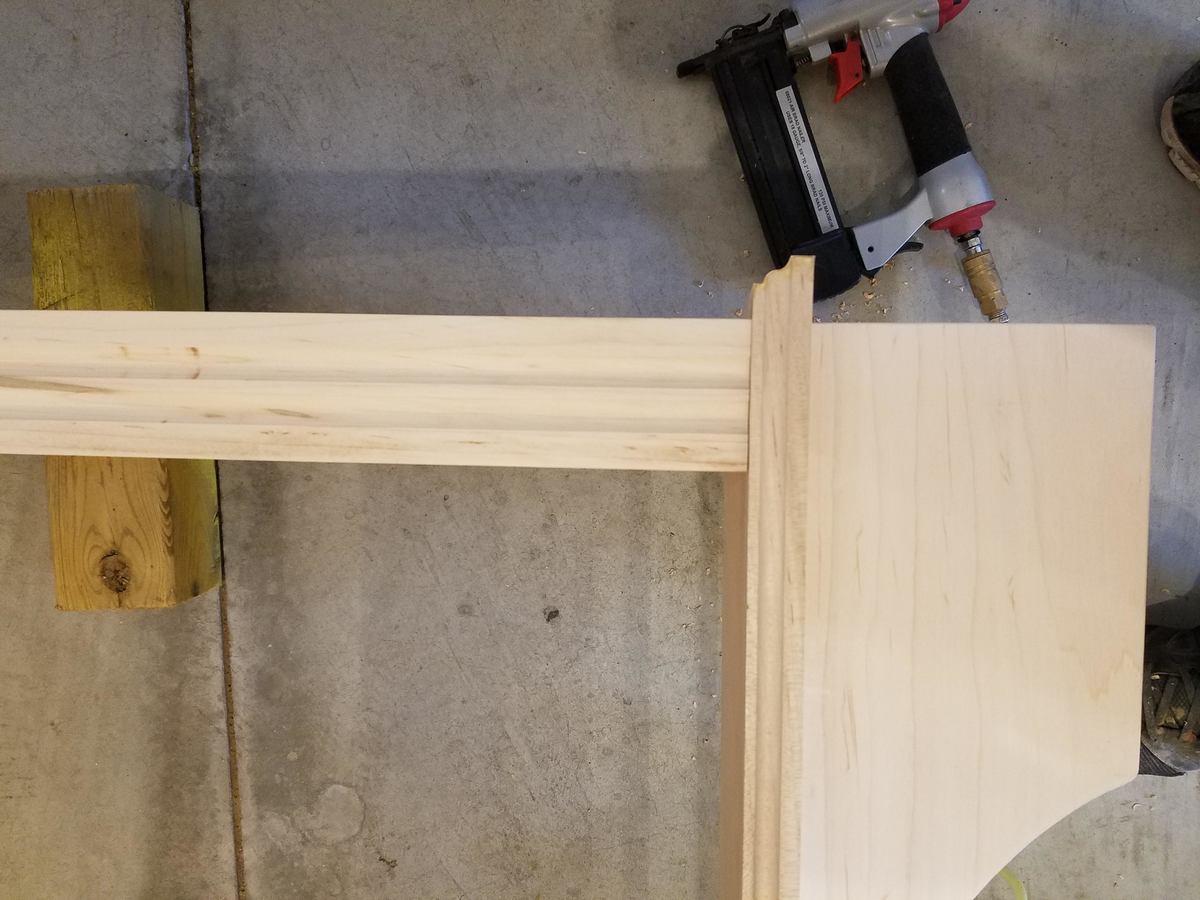
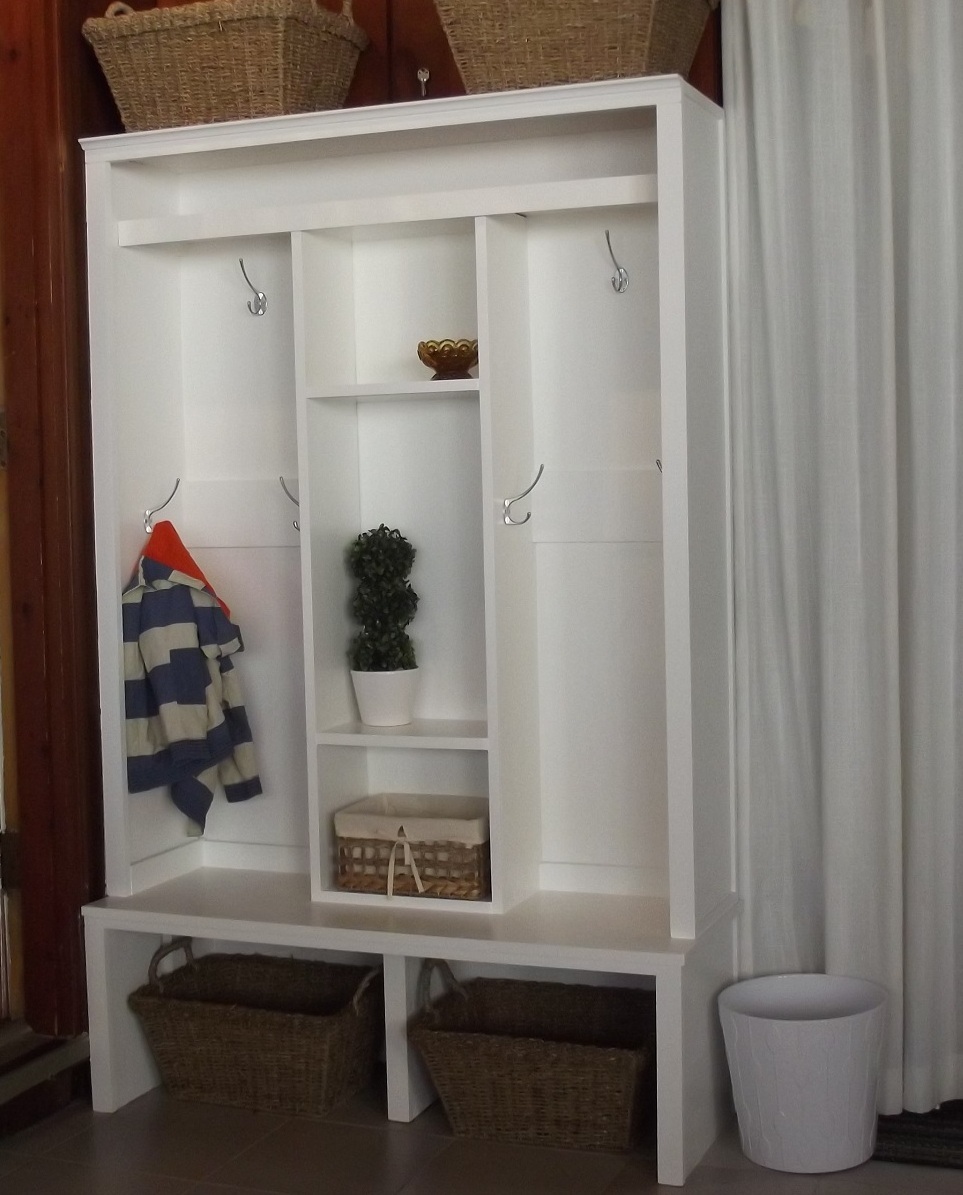
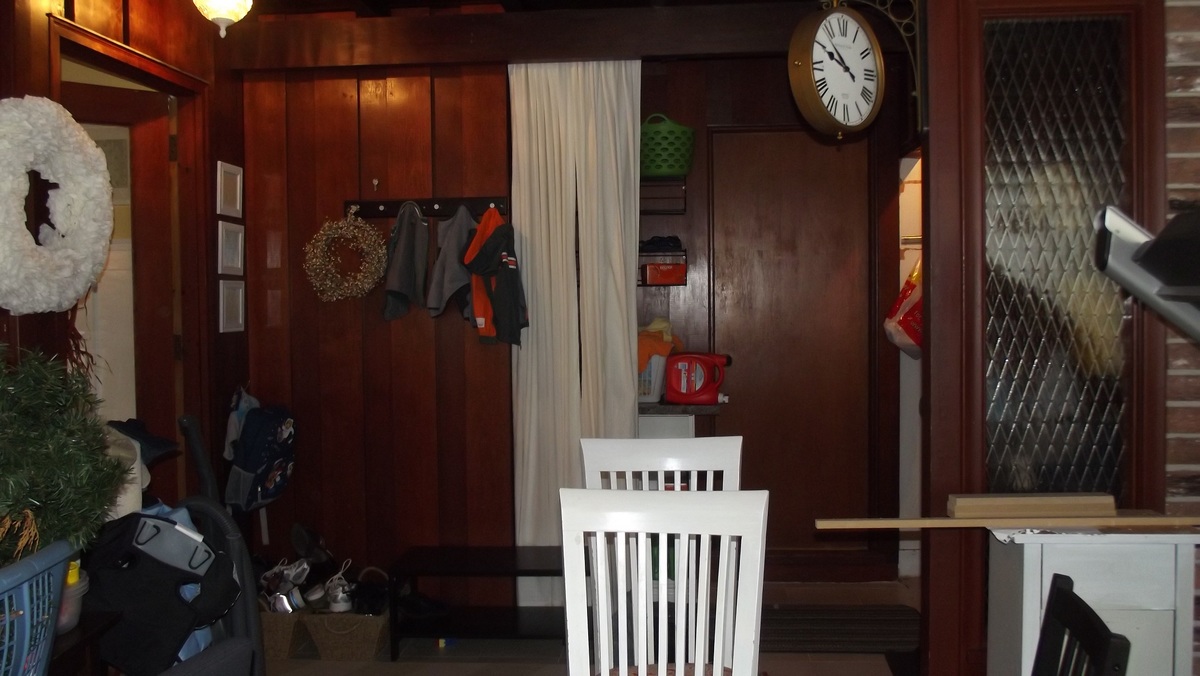
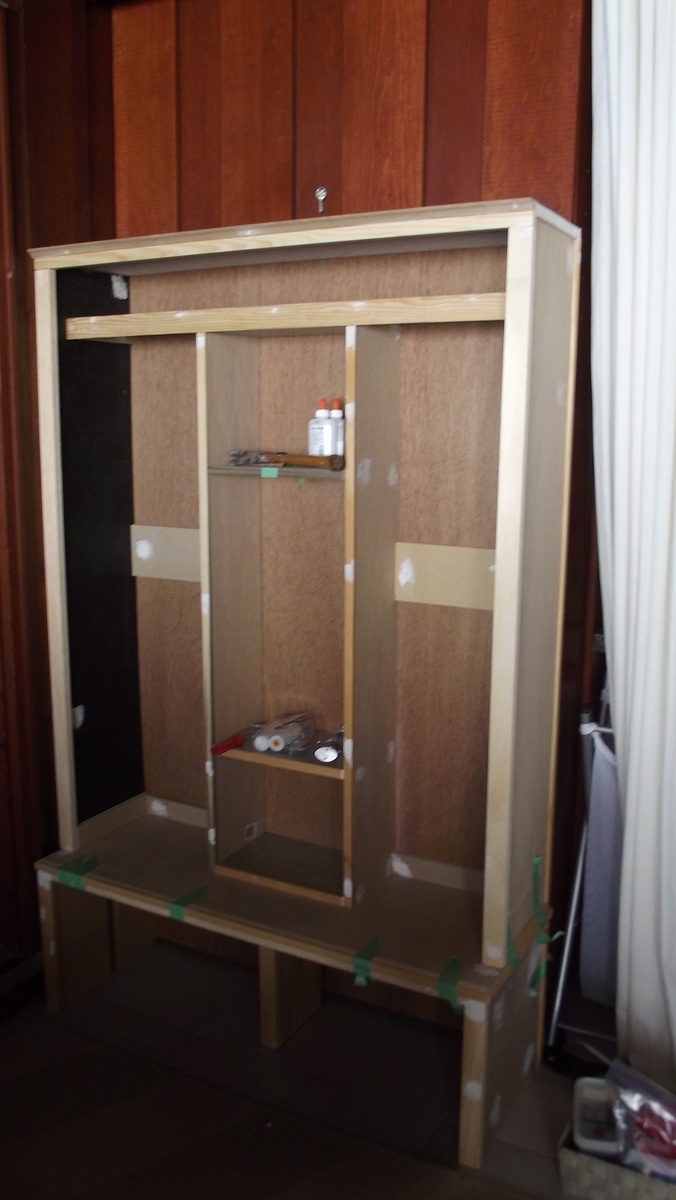
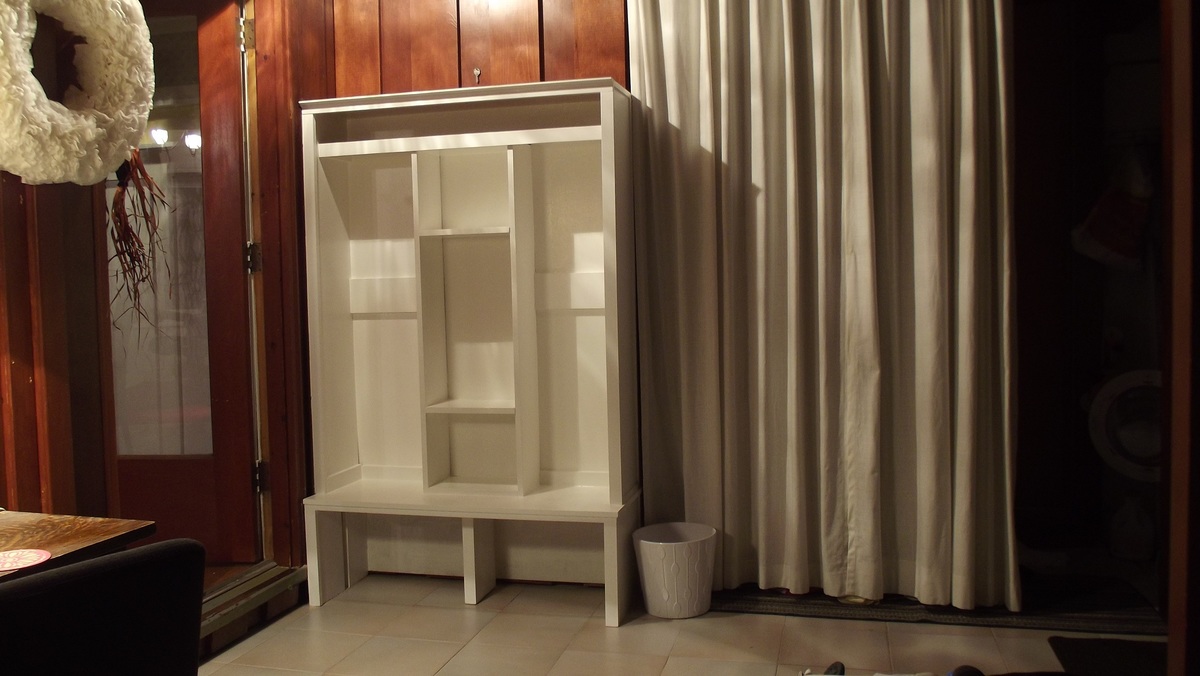
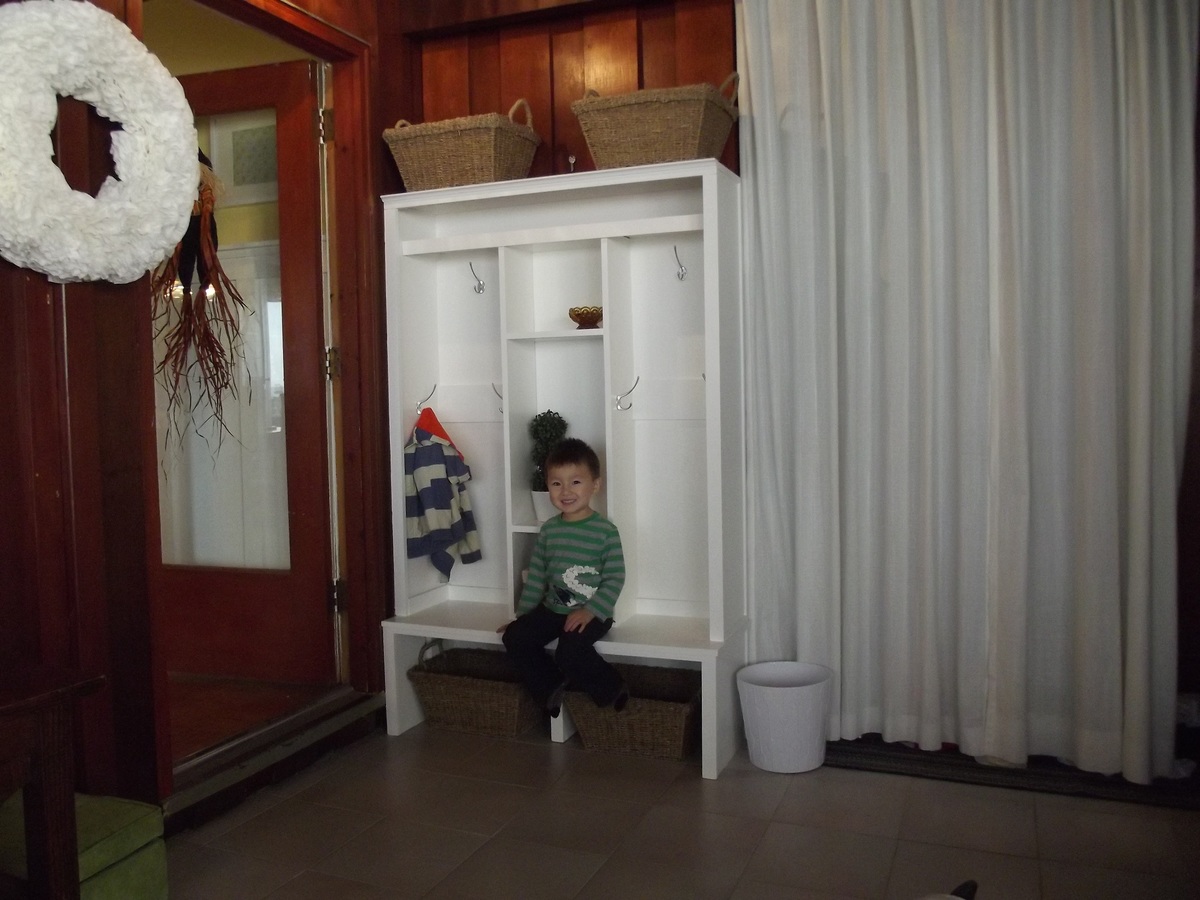
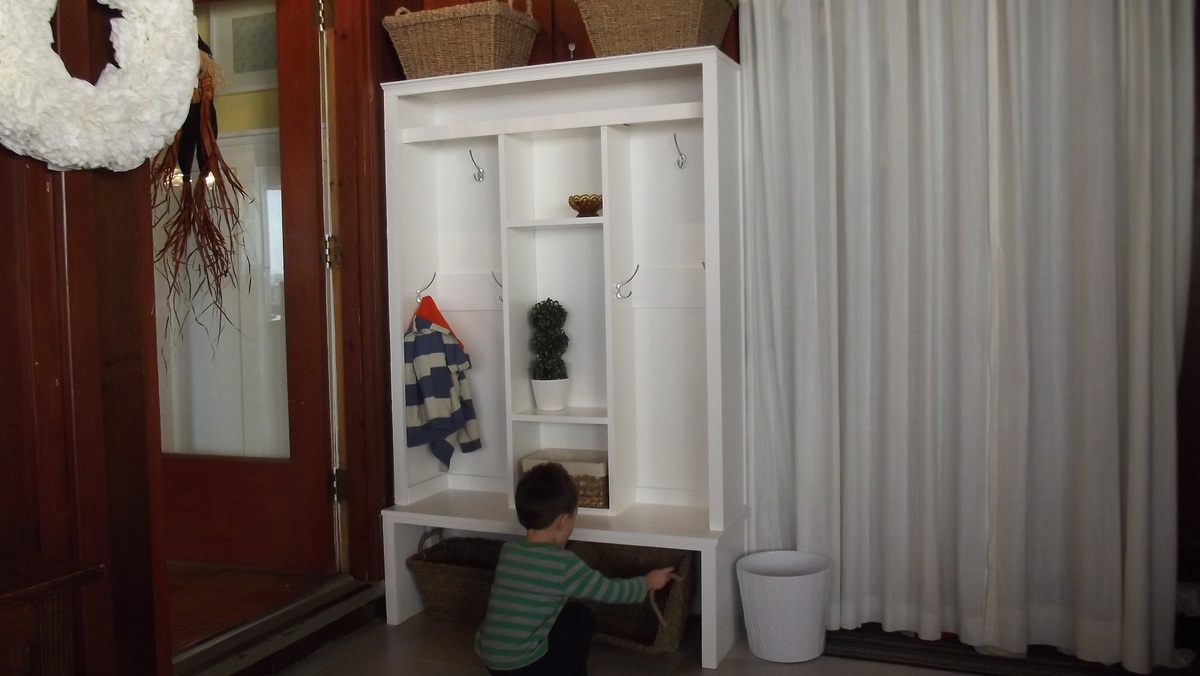
My most *favoritest* project ever. I modified the Braden plans like crazy to fit my family's needs for the sunroom/mudroom. I kept the bottom open so the it woould allow for baskets to slide it easily (which makes sweeping inside a snap). Also, I added some braces about midway down to hold the coat hooks for my 3 and 5 year-old. I had them show me how high they could reach and I just placed the braces there.
I literally used up whatever I could find in my garage for this project. We had a TON of scrap wood in varying thicknesses and lengths so I just used that. The only thing that I had to buy for this project was some 1x2 to finish off the trim.
Can't wait to get hardware on and style her up pretty! Will post final pics as soon as I do. :) I've been DYING to get something up on Ana's brag board and I can't wait to keep 'em coming.
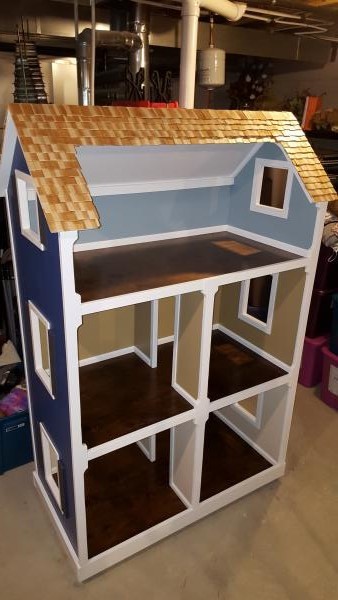
Built this from Ana's plan. Made a few small floor changes and added casing, baseboard, trim and cedar shake shingles.
Mon, 12/21/2015 - 15:22
I love all the attention to details here. It's a beautiful dollhouse.
Wed, 12/23/2015 - 15:07
Thank you for the kind comments. I really appreciate your work putting the plans out there for others to follow, Ana! My father is a high end custom homebuilder and made a house for my 3 sisters 20 years ago for Christmas. I thought if I'm going to do this, I might as well go all in and try to make something grandpa would be proud of. It is for my 2 girls, ages 8 and 11. The 11 year old still plays with dolls. I'm trying to hold onto her youth as long as I can! Again, many thanks. -Shane
Wed, 12/23/2015 - 15:12
Thank you for the kind comments. My father is a high end custom home builder and made a house for my 3 sisters 20 years ago for Christmas. I thought that if I was going to make a house I should go all in on something to make grandpa proud. I am very grateful, Ana, for your posting of the plans on the web for others to imitate! The house is for my 8 and 11 year old daughters. The 11 year old still plays with dolls and we are trying to hold on to her youth as long as we can. With thanks and gratitude, Shane
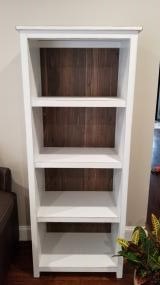
Bookcase followed plans exactly, finished in rustoleum white, varathane carbon gray stain for back paneling.
Finished with satin oil based poly to add some protection.
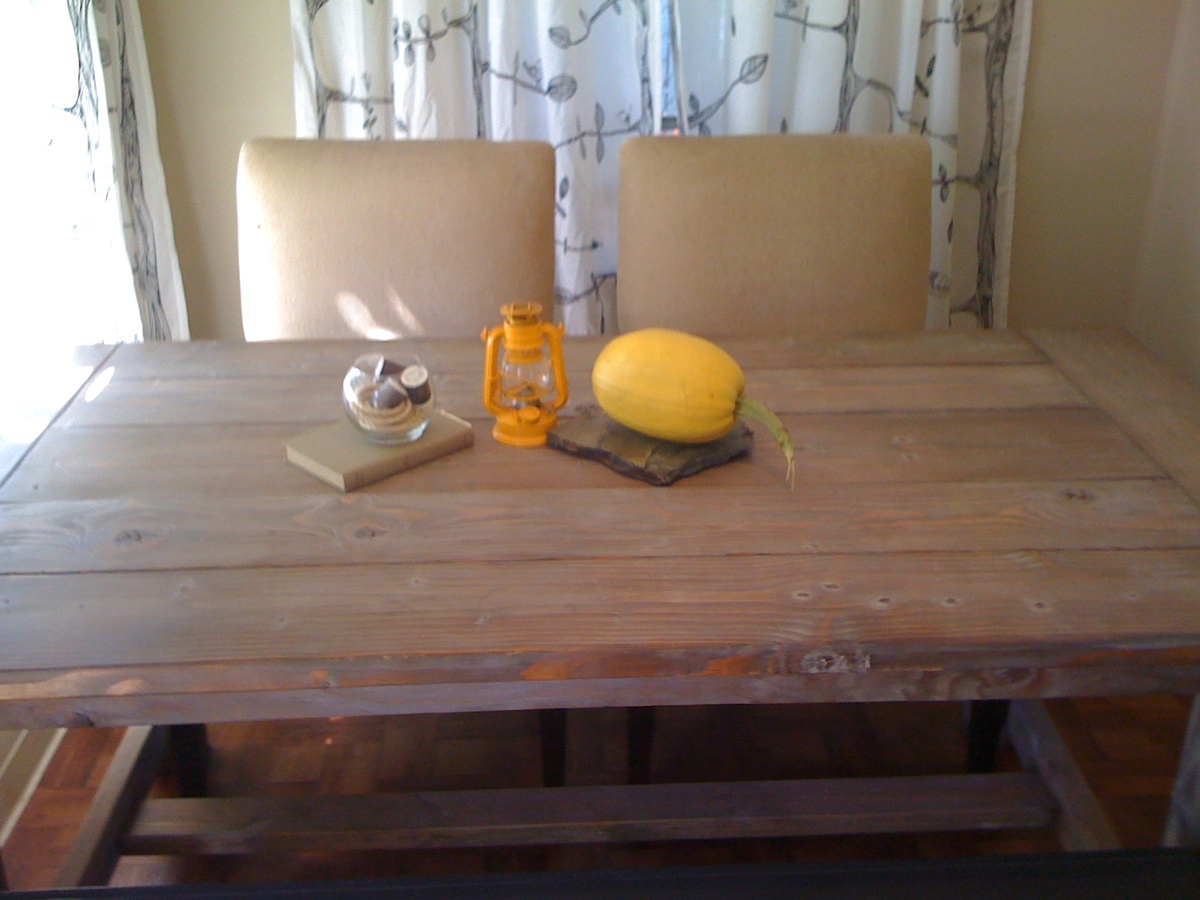
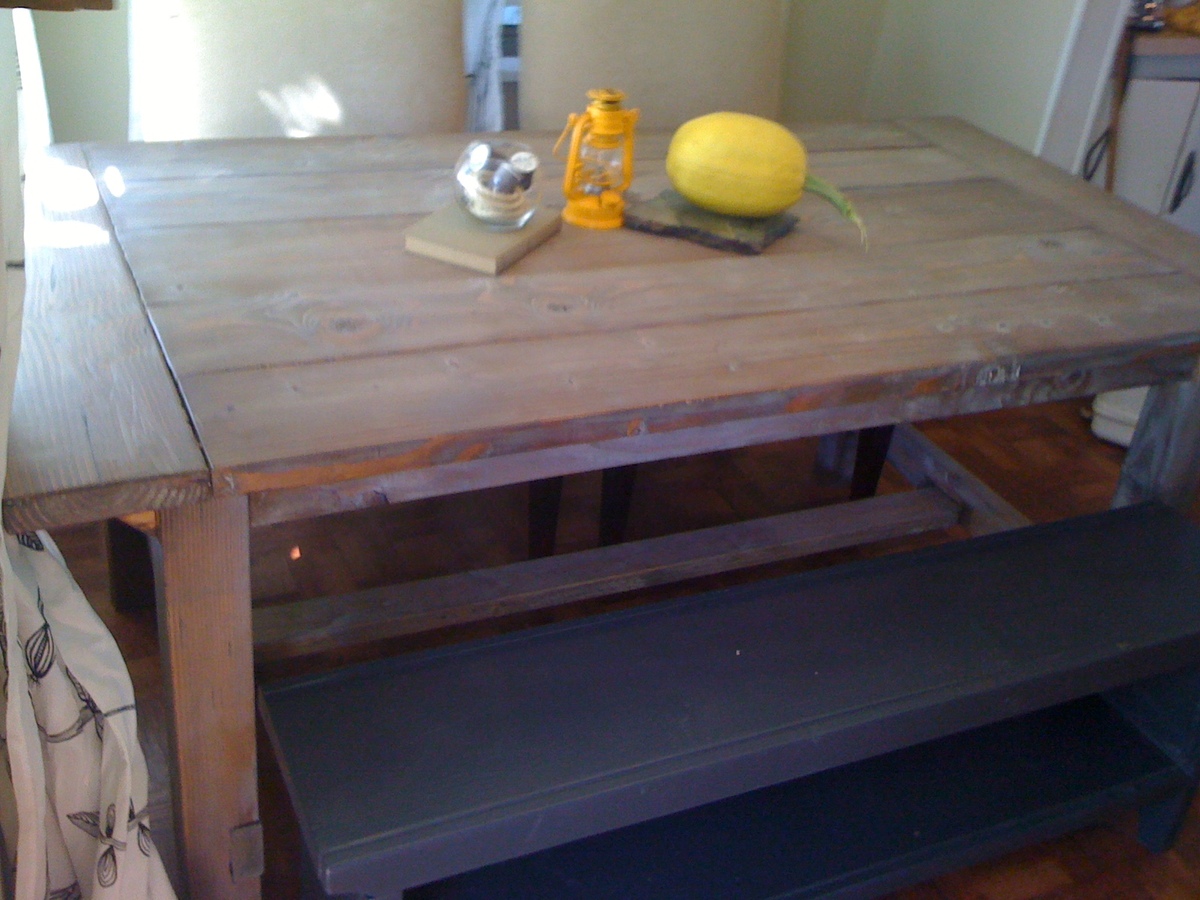
For this project, we combined plans from the Farmhouse table and also the Tryde coffee table. We have a smaller dining room so we had to modify the plans to fit our ideal size (44"wide x 62"long). I did not want the stretcher underneath as it would take up leg room and it is very sturdy without it. We used 2x12s for the tabletop & 2x8s for the breadboards. We used 4x4 posts for the legs and 2x4 for all the other support pieces. We constructed the table in 2 pieces: the frame and then the table top so it would easier to move into place then do the final assembly. This was our first time building furniture and first time using the Kreg Jig. I think the Kreg was easy to use and worth the investment. Overall, we were surprised at how well it turned out and will look to Ana for more plans in the future!
Mon, 09/26/2011 - 09:29
This looks so cute with the wood contrasting the white! :) I wish I could do a white pallette in my home. Good work on the table, I love it :)
Thu, 11/17/2011 - 10:04
I'm doing this exact project right now. Just bought the wood and am about to start the cuts today. I'm using the Tryde plan, but making it kitchen table size. I love that you were able to find 2x pine! My store doesn't carry that, only 1x pine. So I had to go with the UBER cheap 2x hemlock. It's ok, but I would have preferred pine.
ANYWAY, I'm wanting to build this in two pieces too. I'm assuming you Kreg Jigged the tabletop pieces together. How did that go? That's what I was planning to do... I bought 2 1/2" pocket screws for this part of the job. Is that what you used? My tabletop is all 2x8 boards. Just curious how it "felt" edge joining boards this size together. Did you use extra screws or just follow Kreg Jig recommendations (2" from ends, then every 6")?
Thanks for your thoughts! My table is going to be so similar to yours! LOVE seeing your picures!!! :) Great job!
Jennifer
Wed, 02/29/2012 - 13:14
Sorry, I wasn't notified there were more comments!
Yes, we used the Kreg Jig, it was our first time and pretty easy to use. We did not drill from the top down on the tabletop, only used the Kreg Jig on the underside and this table is STURDY. On the table boards-Yes, we did the 2" from the ends and every 6" or where we thought they should go. Hope your's turned out well and thank you for the nice comments!
The chairs are Ikea's Gilbert. We've been happy with them. They support some of the 6'4" men in my family, no problem.
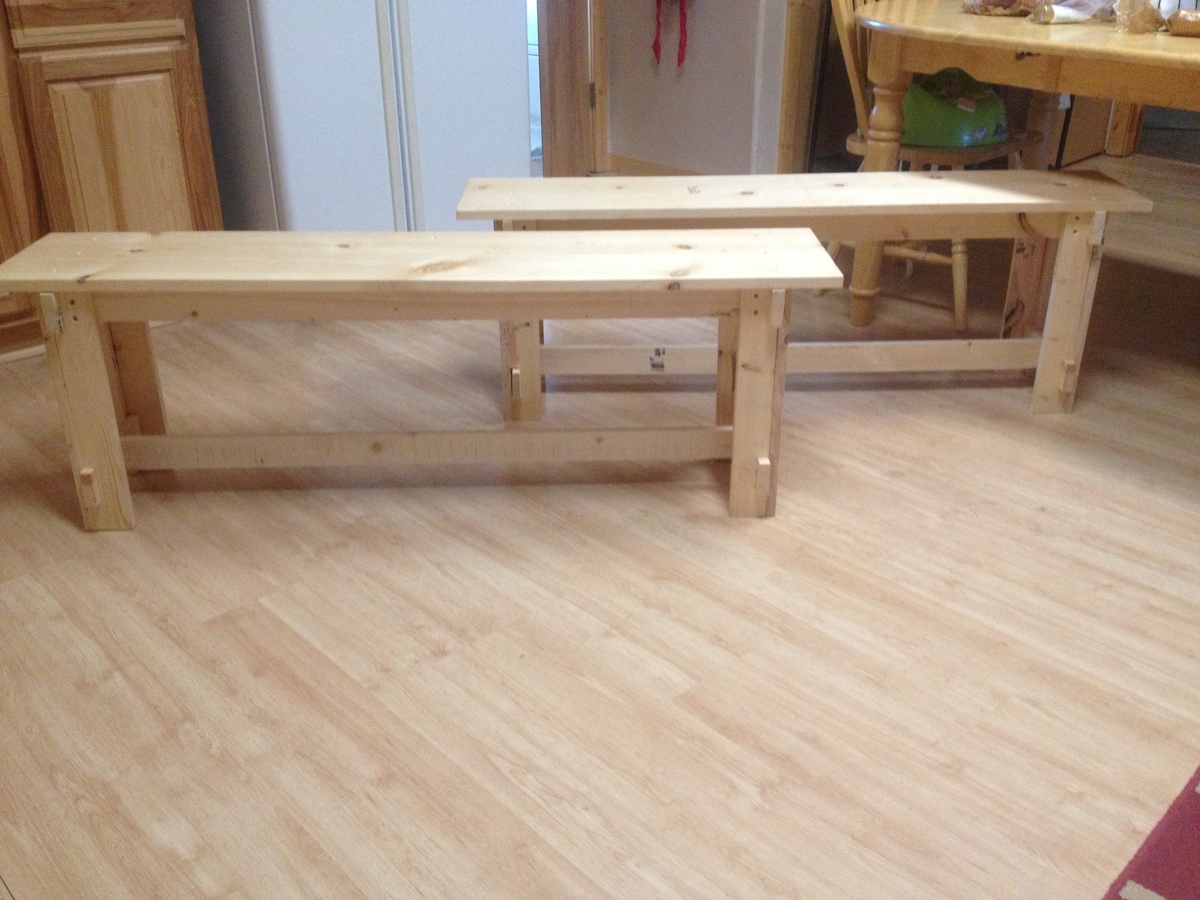
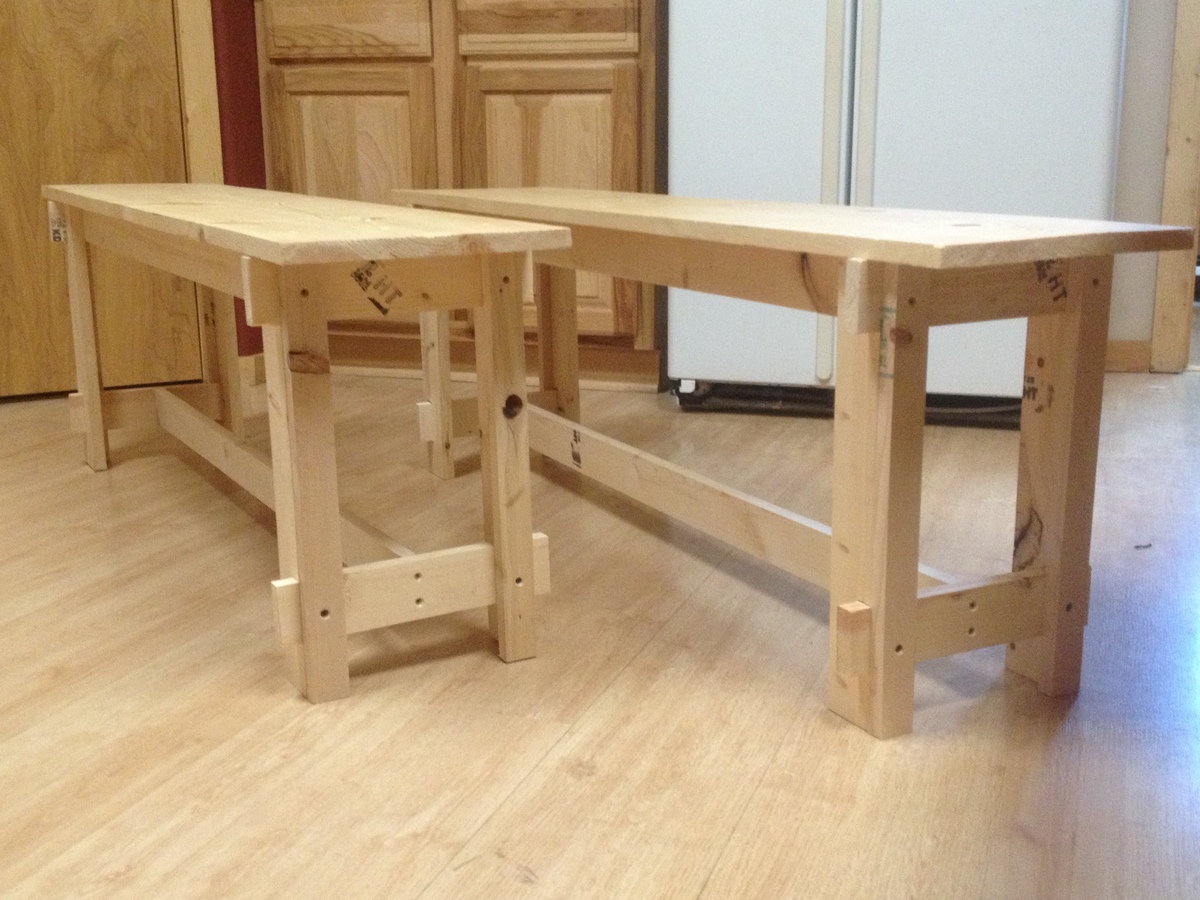
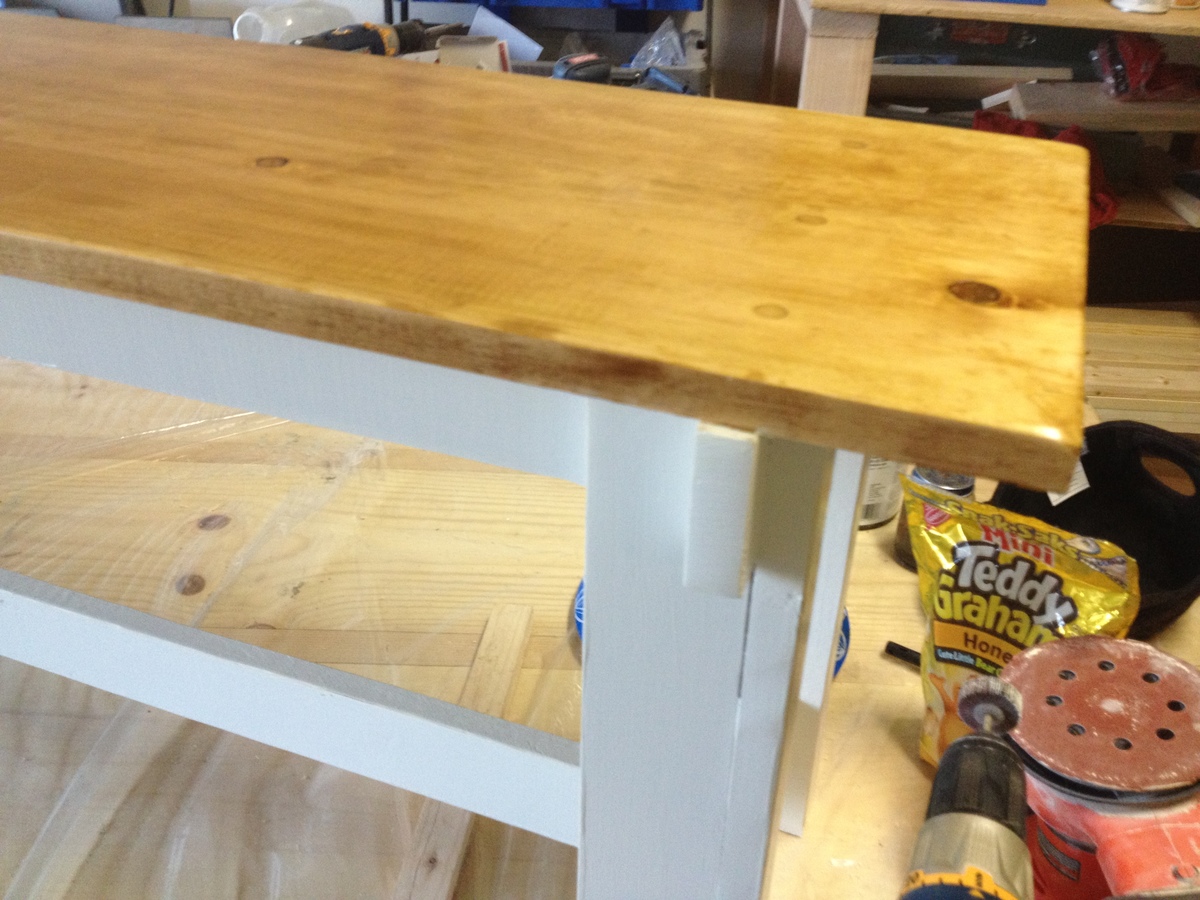
I have always loved benches at the dining table. They are so practical for cleaning, kids, and for cramming extra people at a table! We are (mostly) happy with our current table, but I was so sick of 6 clunky chairs floating around my kitchen, and these benches were the perfect solution. They were very simple to make and are exactly what I wanted!
I mixed my own color of stain for the top board from two Cabot colors (Golden Oak and Walnut) to create a color that break up all the oak in the room, while still fitting in. I painted the bases of the benches a creamy ivory for the same reason, to break up all the oak, and distressed the edges lightly.
I omitted the "x" feature in the plans because I was happy with the look of just the board along the bottom.
I decided to build the art table and use it as a lego table instead. I had a piece of 3/4" maple plywood left over from a previous project, so the only thing that I had to buy were the 1x4's and lego plates.
Thu, 02/02/2017 - 10:42
This is an awesome build! Your little one is too cute!
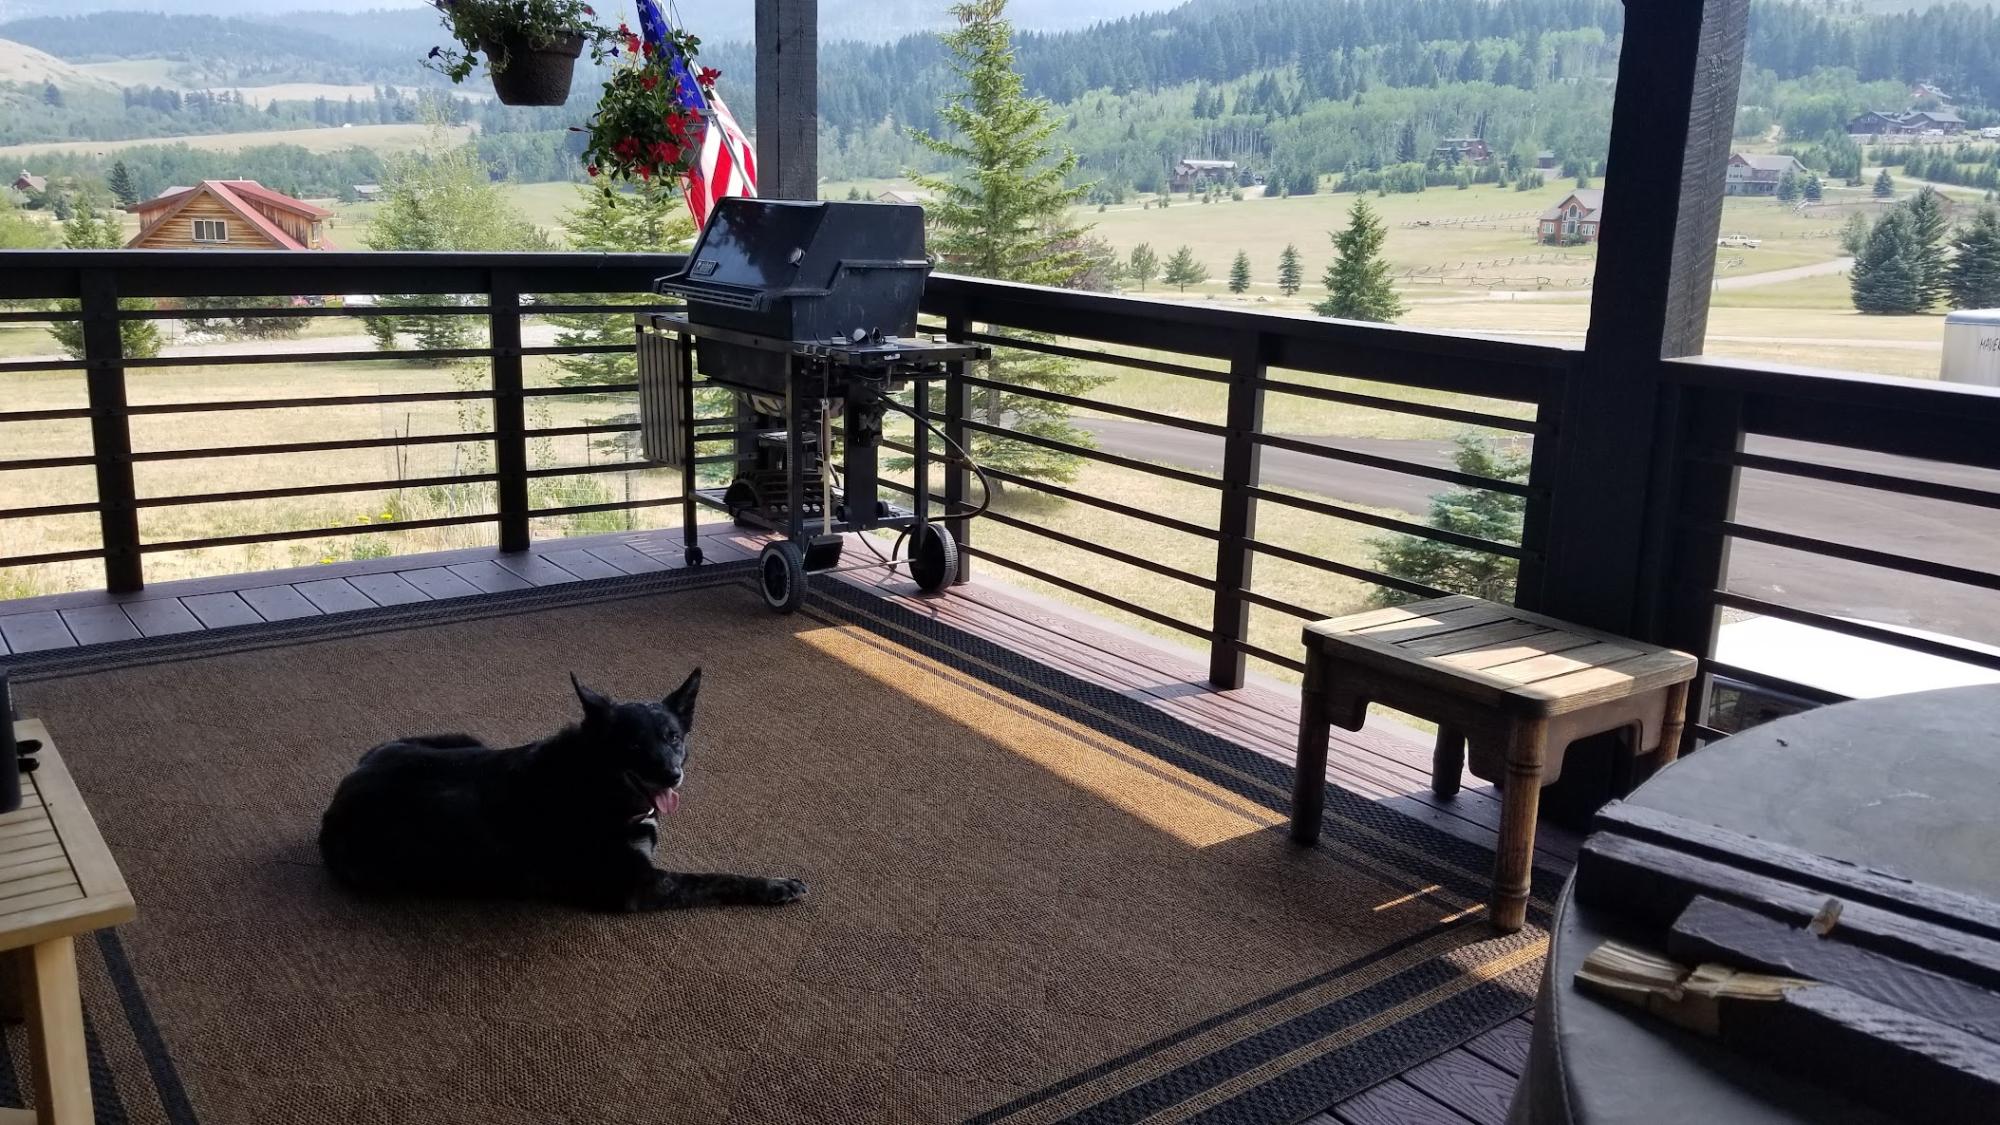
Inspired by the modern farmhouse railing we decided to install the same style on our deck. Our old railing was aged an deteriorated. The project took about two weekends, one to treat the metal with black magic, another to build the actual railing. We love how it looks!
When I saw Ana's post within Young House Love's blog, I thought this would be great for pictures. We have a large wall that spans two stories in our entry way. This shelf helped make a dramatic impact when we have visitors over.
Tue, 11/29/2011 - 06:07
I know this is going to sound stupid but what did you use to mount the shelf?
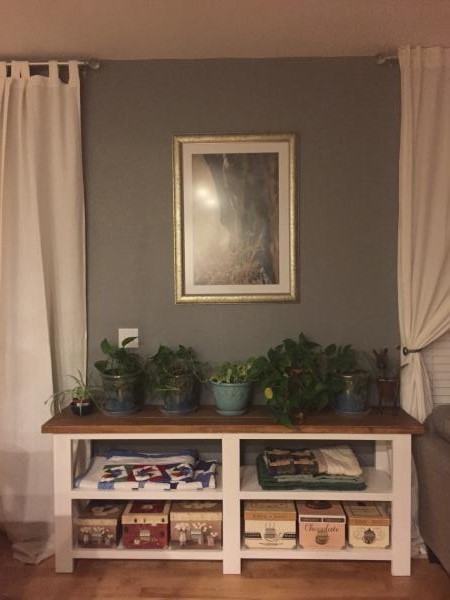
One of my first projects and I really felt like I had good cuts, however it was still a real challenge for me. I ended up doing the bottom in white to hide some of the errors. In the end I am happy with the resultes.
My son loves his tower! We didn't attempt the curved sides, but made it work by adding a door with a toy steering wheel instead :)
Fri, 10/07/2011 - 06:24
So Cute! I wish my guys were this little again - enjoy him!
Fri, 10/14/2011 - 19:16
I think the added steering wheel is a great idea!
Wed, 12/05/2012 - 18:58
I love the paint and steering wheel! I'm making this now and, first time using a jigsaw, my arches look awful! I think I'll just go with them but this was a good innovation.
Sun, 02/10/2013 - 17:57
We're actually going to drop the arches so ours will fit underneath our counter when not in use. :)
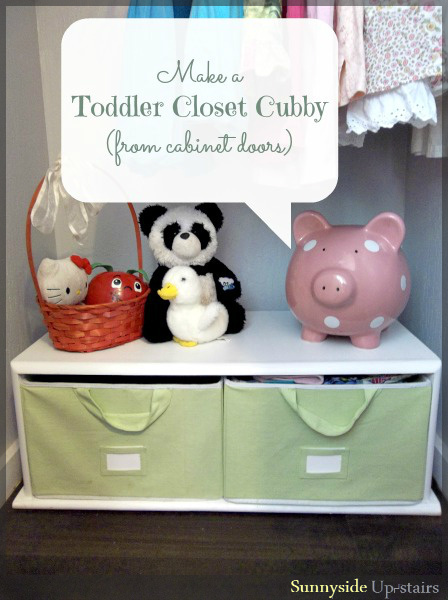
Solid wood is an amazing material because it can be cut, re-shaped, extended, filled, sanded, stained, painted, and essentially re-used almost endlessly.
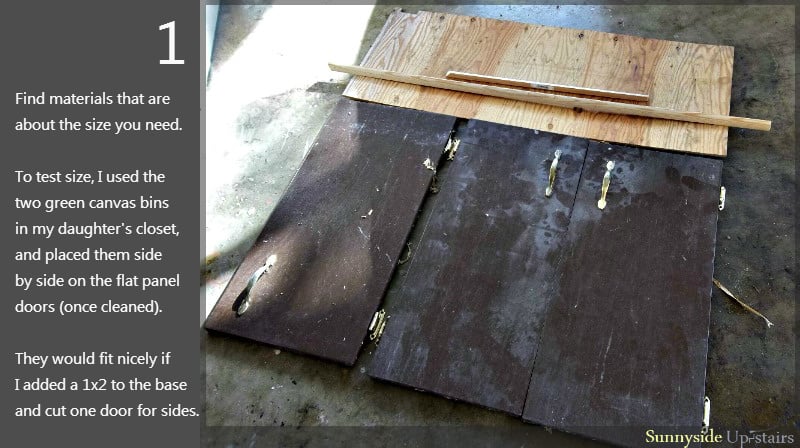
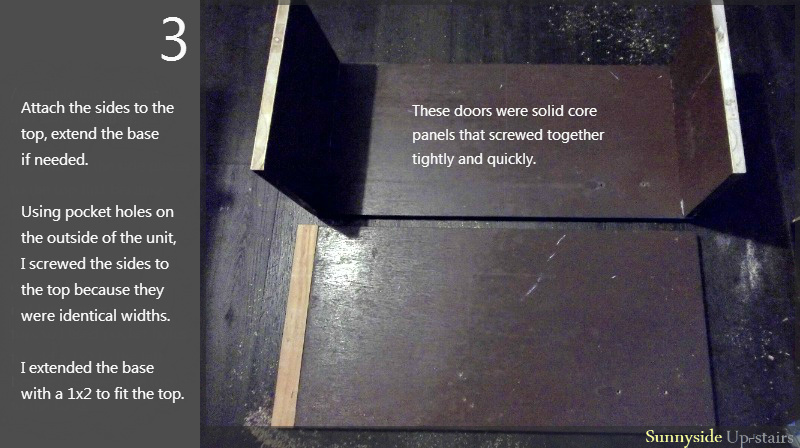
Last week, I took old cabinet doors (from when we gutted the mouse-hole kitchen cabinets that used to be in our apartment before we moved in) and turn them into a free cubby for my daughter's closet. :)
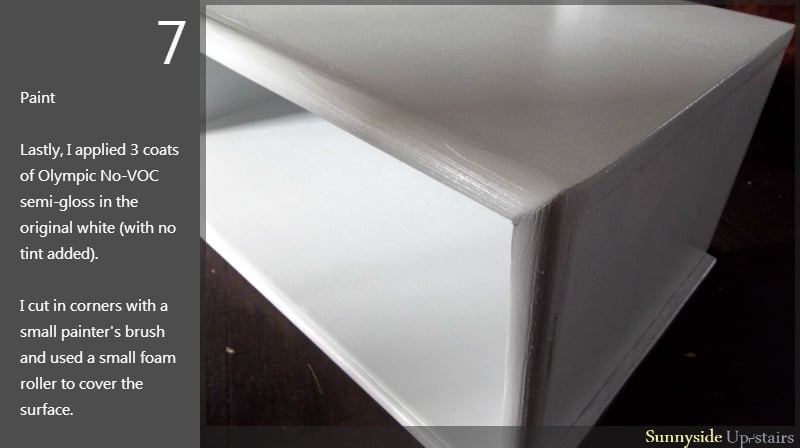
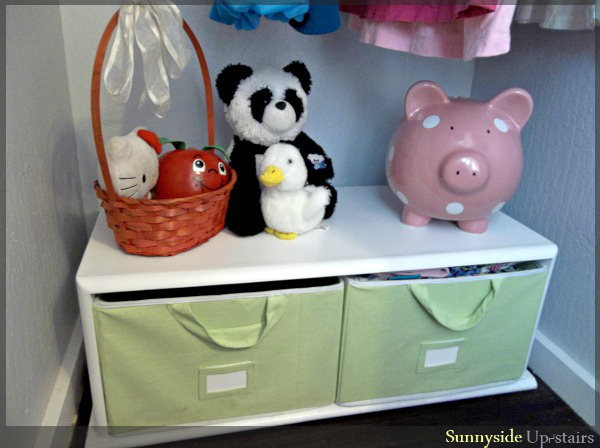
Mon, 10/07/2013 - 19:43
Beautiful Cubby from old doors! The trim adds elegance with the white color and it fits perfectly. Looks adorable! :)
In reply to Great project! by JoanneS
Tue, 10/08/2013 - 19:30
Mahalo, Joanne! :) I'm looking forward to your great builds coming up! =D
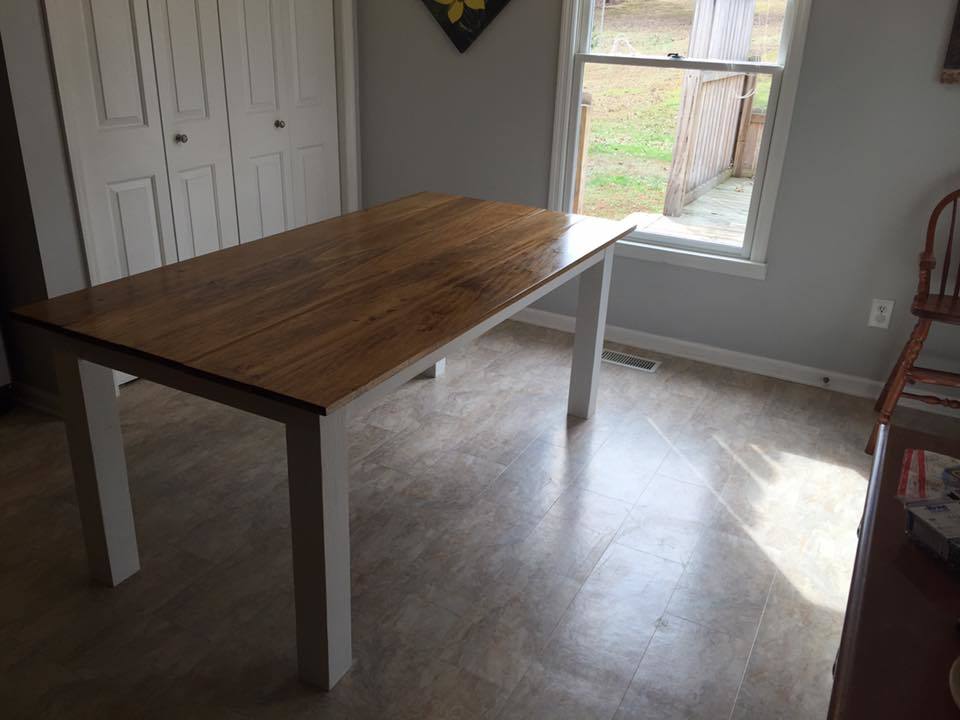
I used Poplar for the top and Pine for everyting else. Only took about two hours from start to finish. This is my first project using a Kreg Jig and now I don't know why I didn't get one of these years ago!
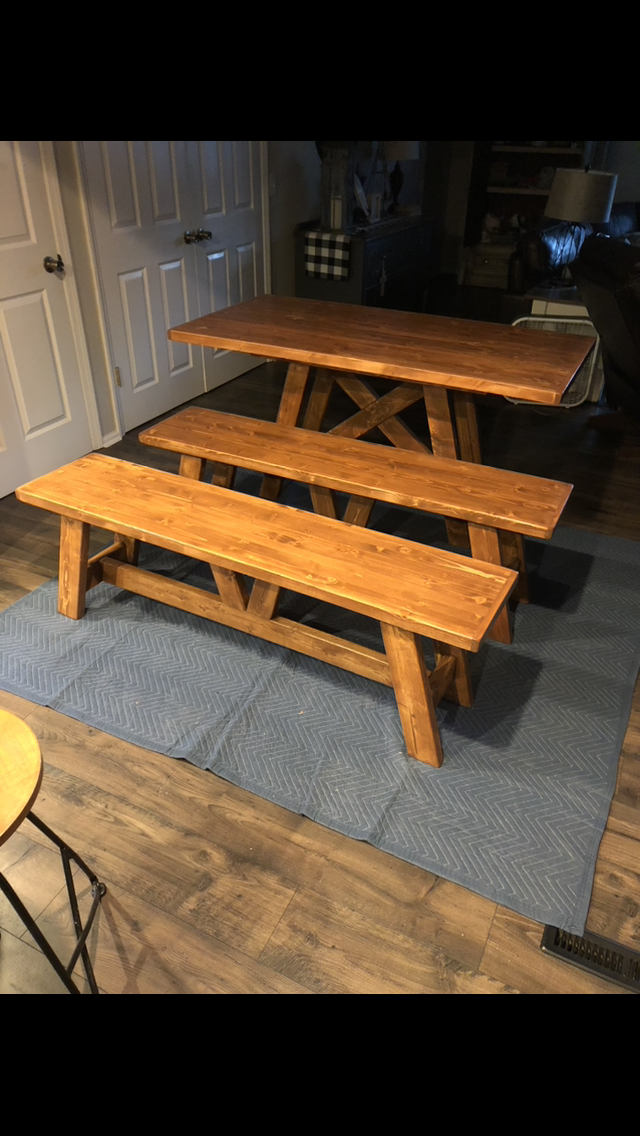
Dinning Table in honey brown finish!