Community Brag Posts
Pantry shelves adapated from Garage Shelves
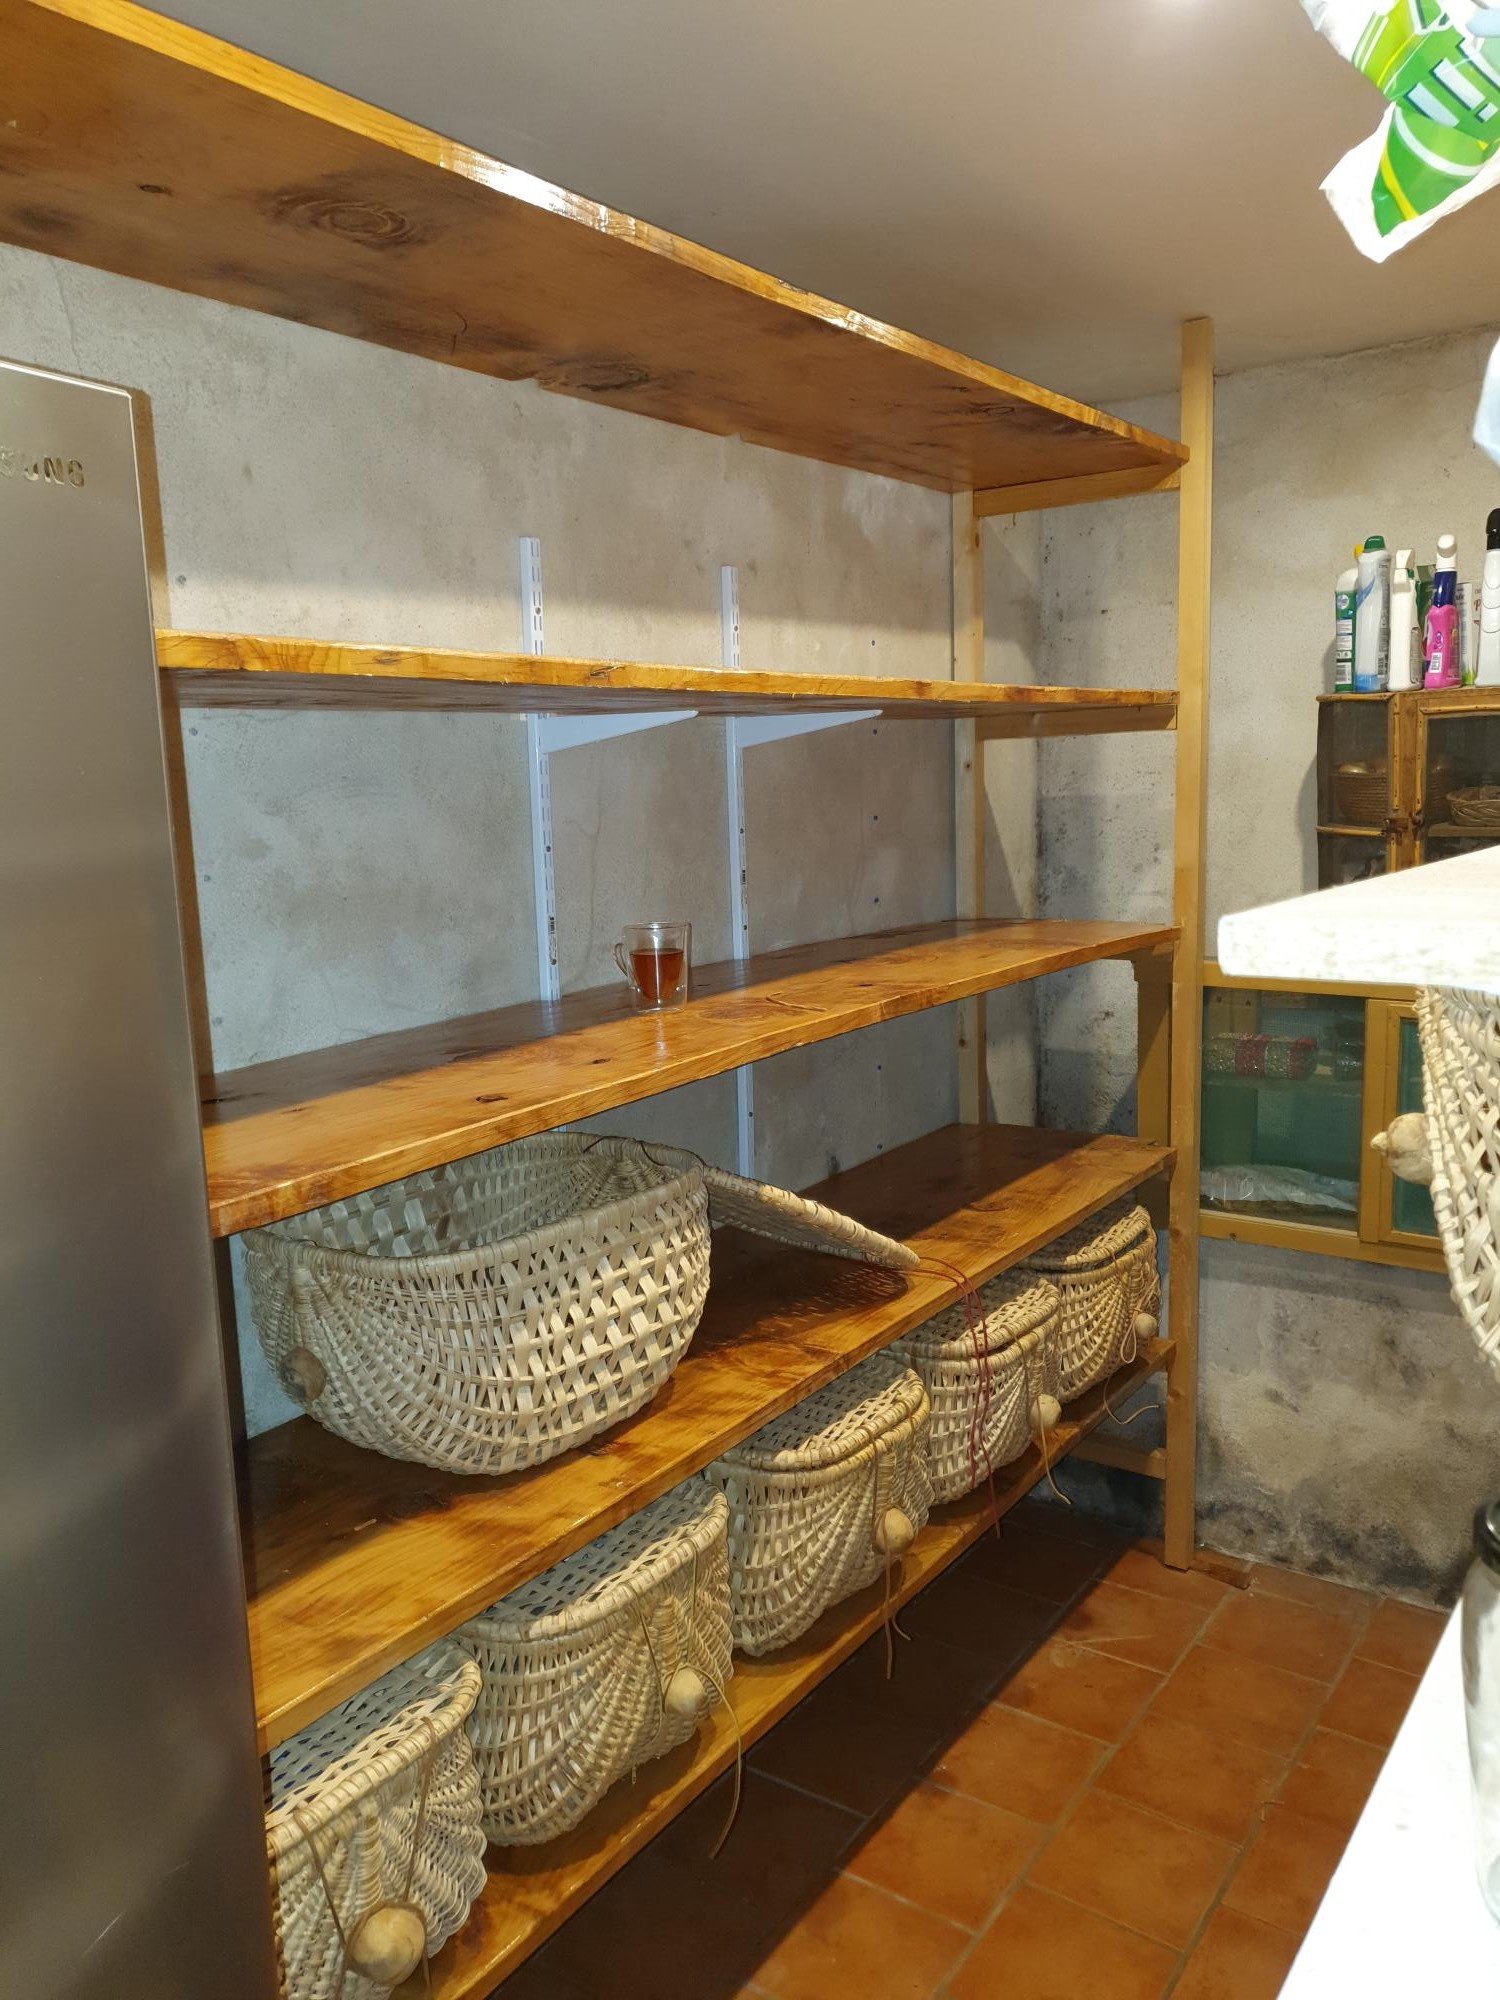
Thanks for the plans, adapted it to new pine standers but was able to obtain beautiful cherry tree panels from a defunct wood worker in the next village over. Planed those and used those to make a slightly more 'posh' version of your basic model. The supports on the wall you see are from the previous formica shelves. I left them in case the cherry starts rounding down.
Built from Plan(s)
Comments
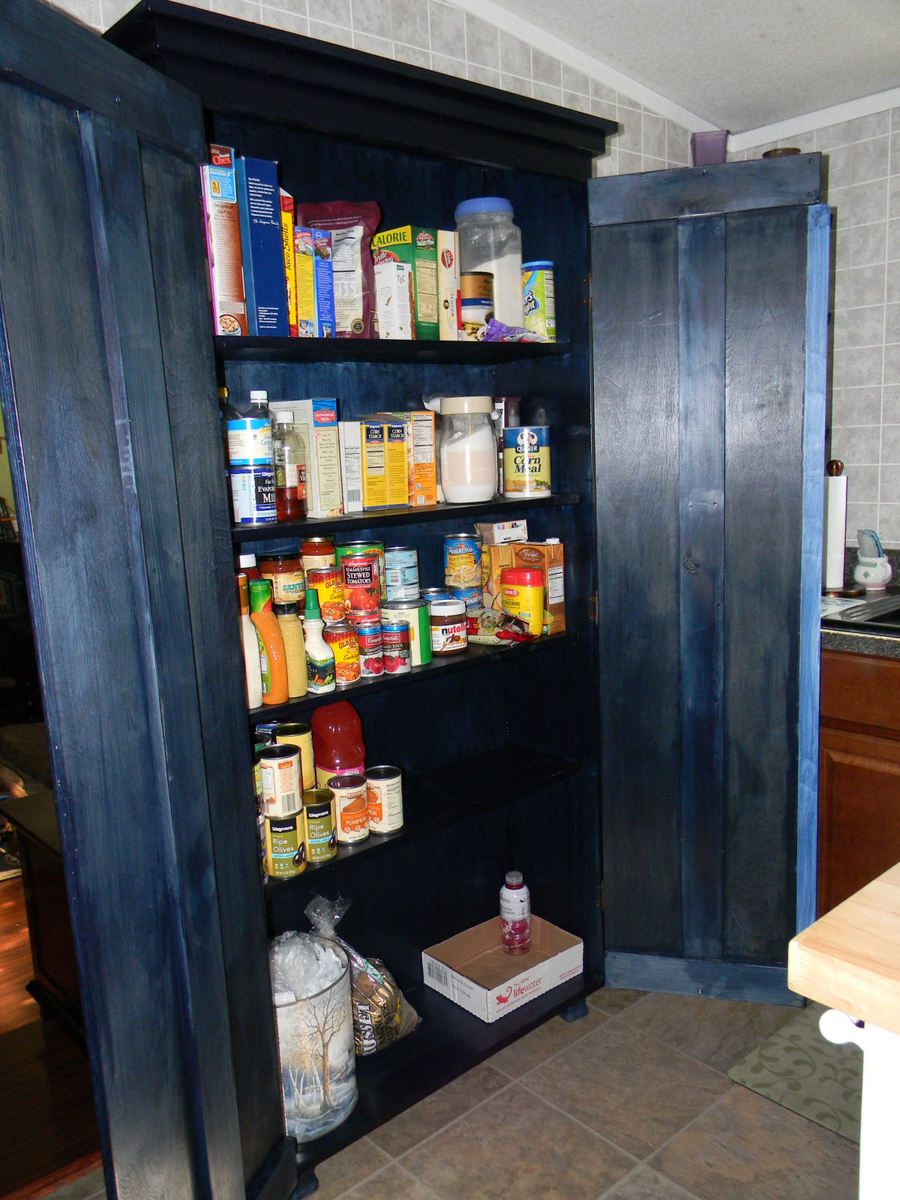
Simplest Armoire as Kitchen Pantry
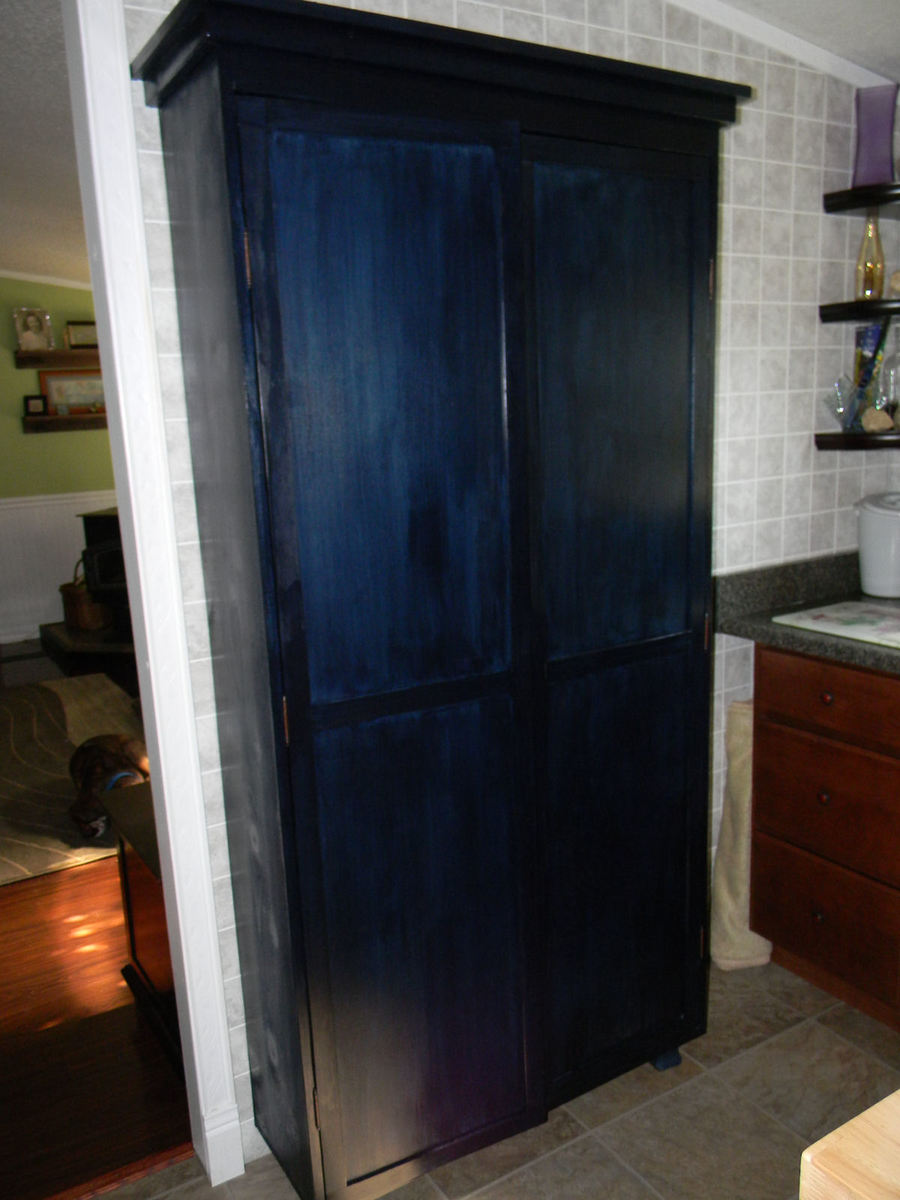
I ABSOLUTELY LOVE THIS CABINET! It's the perfect finishing touch to our kitchen remodel. We are still waiting on the finishing touch; a hand-polished Hoosier style latch for the doors. We found them at House of Antique Hardware. I will say that this cabinet required "non-mortising" hinges, ones that don't require you to dig out anything in the wood and that don't bulge up together in the space behind the door. These were nearly impossible to find in our town in a small enough size, even with the two big box stores and smaller hardware shops. We had to order them online HardwareSource. These were cheap at this source and we even ordered two styles in case we didn't like one of them. A local shop could order them for us @ 6 hinges for 48$!! The ones we found online came to $17 with shipping.
We modified our cabinet a bit because we wanted it to have feet that were different than the original plan. I have a thing about cabinetry that I can't see under! So, we just made the cabinet flat bottomed instead of having the bottom shelf sit higher and the facade on the bottom front. We also added I-frames to the interior of the doors because we have high humidity where we are and we thought it might help keep the doors keep their shape over time.
After building just the bookshelf part, we kept looking at it like we couldn't believe we built it. It's really beautiful. We do a lot of remodeling, demolition, and rebuilding in our home, but have always been intimidated by building furniture until finding this site.
My husband was so jazzed by our newfound furniture building skills that he built the planter/trellis for his mother last weekend for her birthday right after we finished this project. Pictures of that will be forthcoming as soon as we plant the rosebush in it. Thank you Ana White!!!!
Built from Plan(s)
Estimated Time Investment
Weekend Project (10-20 Hours)
Finish Used
A beautiful Minwax Waterbase Midnight Blue. Washed right off the brush and my hands and looks SOOO beautiful on this cabinet. It took two coats to look the way I wanted and I had to buy two quarts, but have about half a quart left.
Recommended Skill Level
Beginner
Comments
Wed, 06/29/2011 - 10:19
We are moving into a home
We are moving into a home that doesn't have alot of storage so I'm looking into building this. But depends on the cost. About how much would you estimate that this armoire pantry cost to build? PS- I love the look and color of yours! Awesome job!
In reply to We are moving into a home by Nicole S (not verified)
Thu, 12/29/2011 - 20:14
Cost
Wow. Sorry I just realized your question was here! I would say we spent about 120$ on wood and finish products.
It was much less than buying the perfect piece of furniture somewhere else. For us, this piece, in this finish was THE perfect piece of furniture. I still love just looking at it in our space.
Tue, 07/12/2011 - 03:55
Cost of pantry
We used birch plywood for the back and the doors so it was a bit pricier because we wanted something that was already a smooth finish without much sanding. I would say all together with the stain and the Hoosier latch we ordered for it the cost totaled almost $150. The wood cost was about $90, plus we purchased feet, stain, hinges, and a latch.
We LOVE this pantry in our kitchen and although it took a week to build this and have it ready for use, it was worth it to take our time and put care into building something we love. It was our first project and it has inspired us to build a ton of stuff in just a few weeks since.
Good luck!
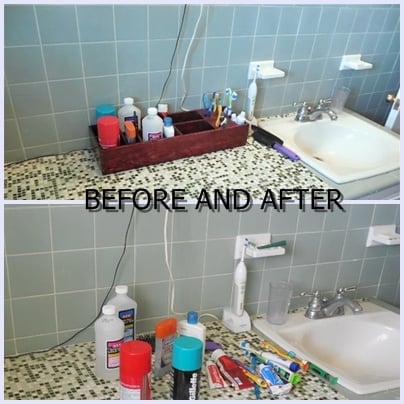
Bathroom Organizer
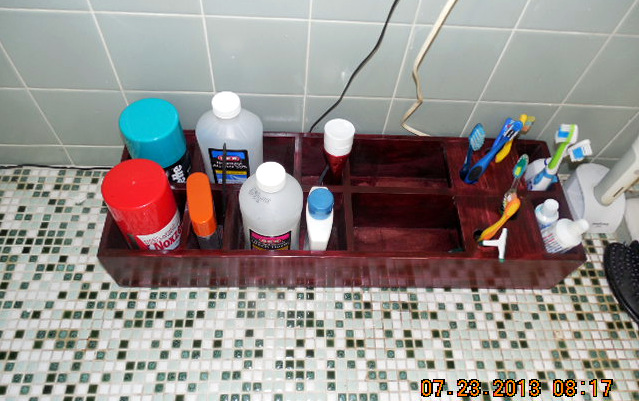
I think it is human nature that in the bathroom nothing is ever returned to its proper place in the cabinet or drawers. Everything has a place on the counter. Well it looks kind of messy so I decided to try to organize just a bit. I figured that if a person is OK with laying something on the counter they might actually put it in a designated slot if their arm movement was the same as before.
So I just came up with a simple box that is 22" long and 7" wide and it contains 12 cubby holes or slots of varing sizes. Two have holes in their tops to put toothbrushes and razors. By the way since I live in a 60+ year old home that has never been updated the original toothbrush holder will no longer hold modern toothbrushes.
The picture can give you some idea of how it is supposed to work.
I took 1x4s from the scrap pile and re-sawed them using a band saw to produce a number of fairly thin (about 5/16" ) thickness boards. Then through trial and error plus a lot of measuring of toiletry items I came up with the final product. The size of the box and the internal cubby holes and slots are really just a guess in hopes it is functional. It is held together with Tightbond II glue and some copper nails in strategic locations.
Estimated Cost
I just used what I had in the scrap pile so give the cost at $2
Estimated Time Investment
Afternoon Project (3-6 Hours)
Finish Used
Stain covered by antiquing oil.
Recommended Skill Level
Beginner
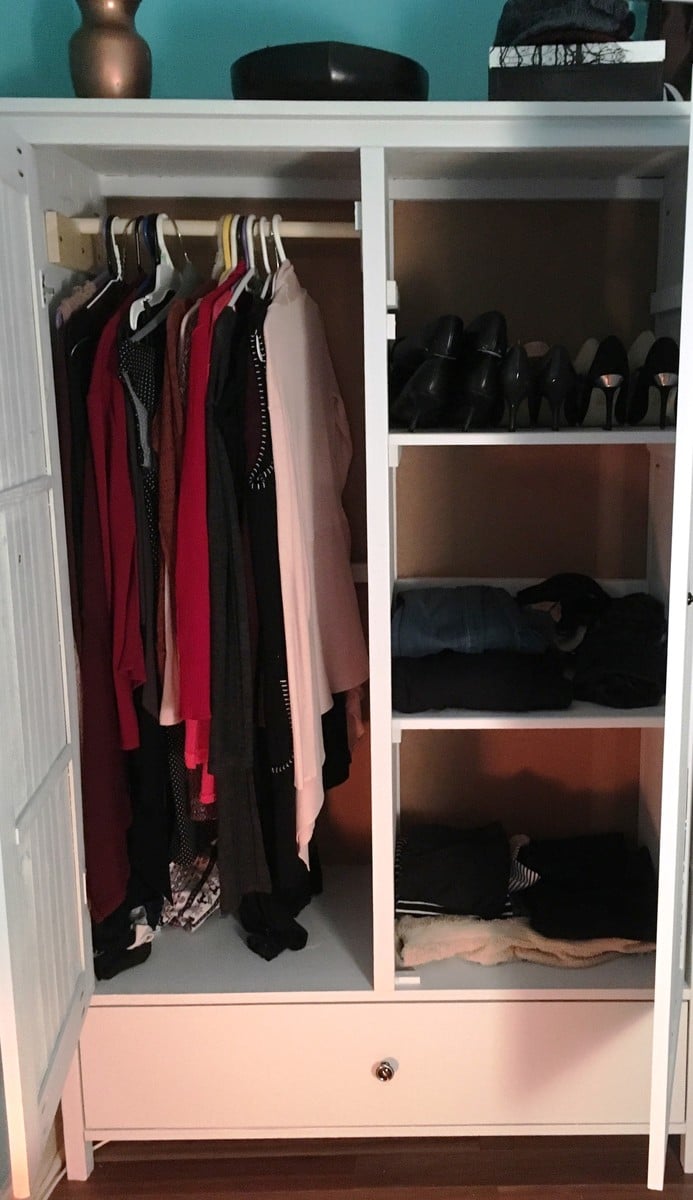
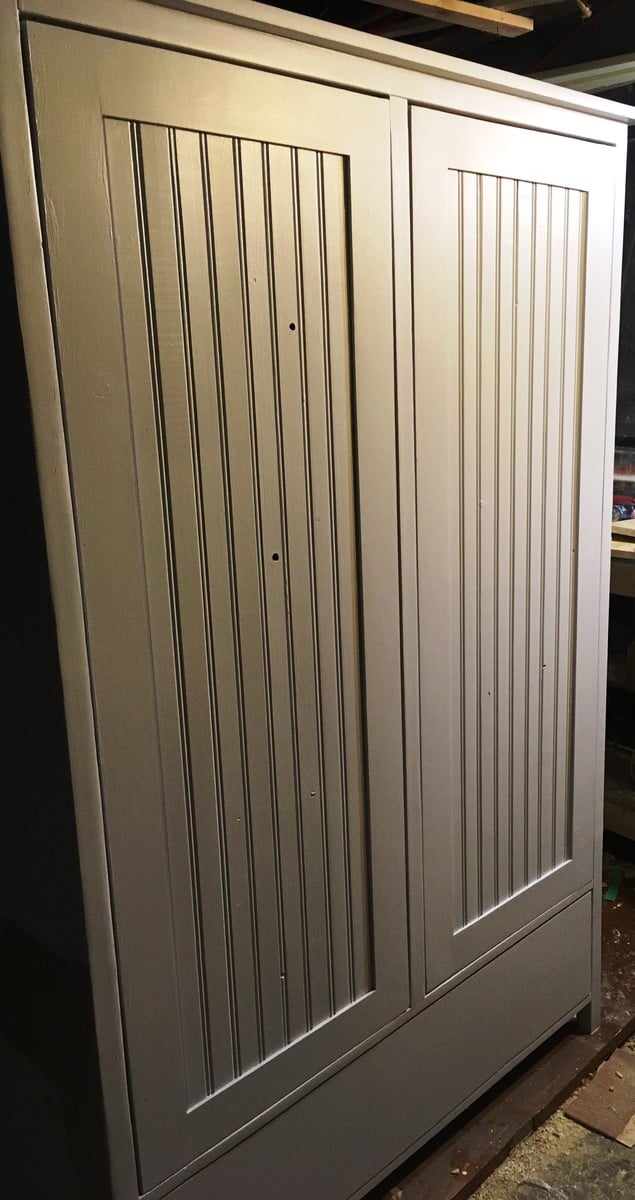
Wardrobe
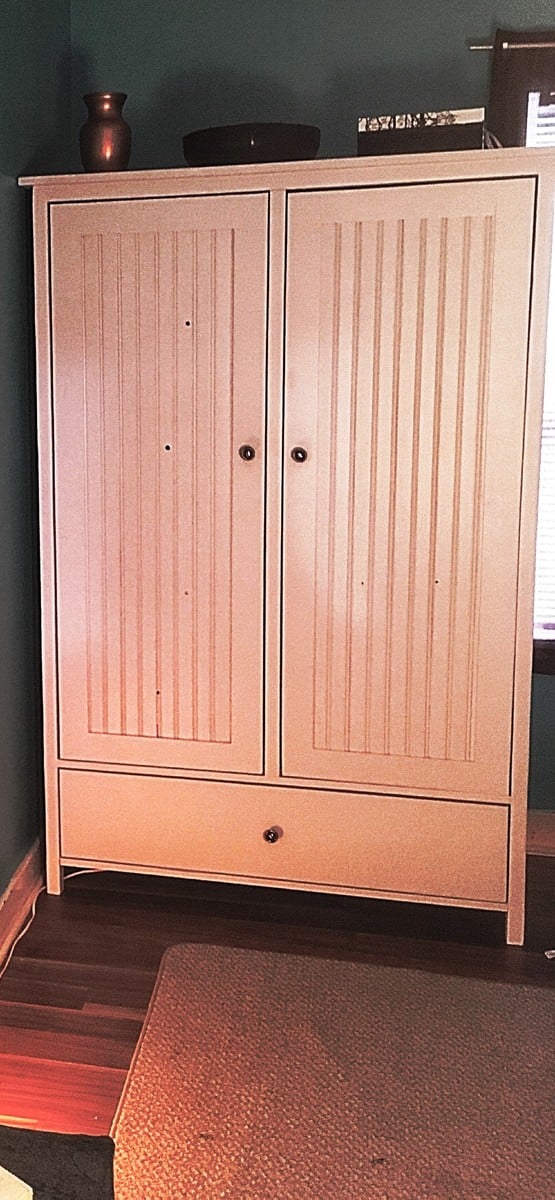
Made from Mirroed Door Wardrobe Plans. Built from pine shelf boards at a cost of approx $7.00 per board. Light grey cabinet paint, primed with Bins primer as it also seals the knots. Used a kreg jig and glue to attach boards to each other to get then wide enough. No ply-wood was used.
Estimated Time Investment
Week Long Project (20 Hours or More)
Finish Used
Bins Primer and Cabinet paint.
Recommended Skill Level
Intermediate
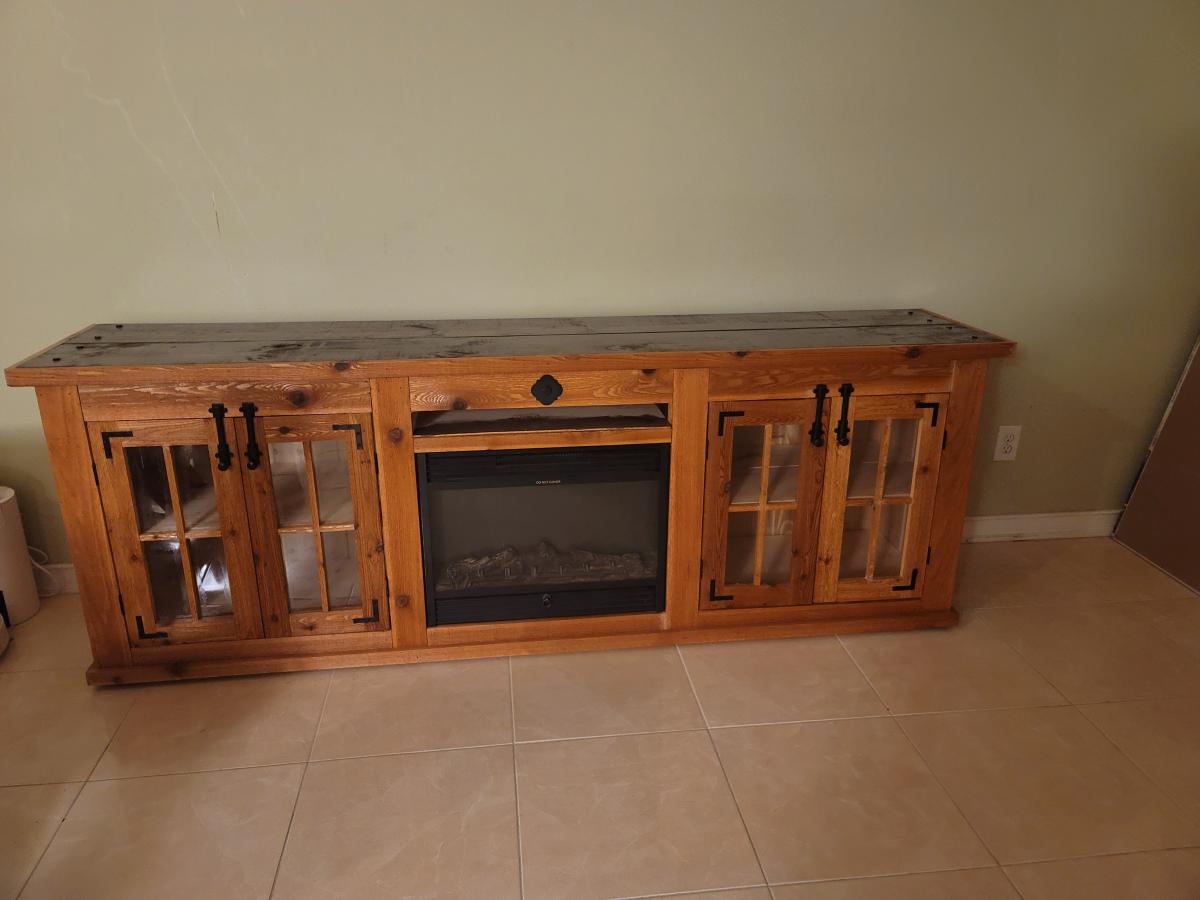
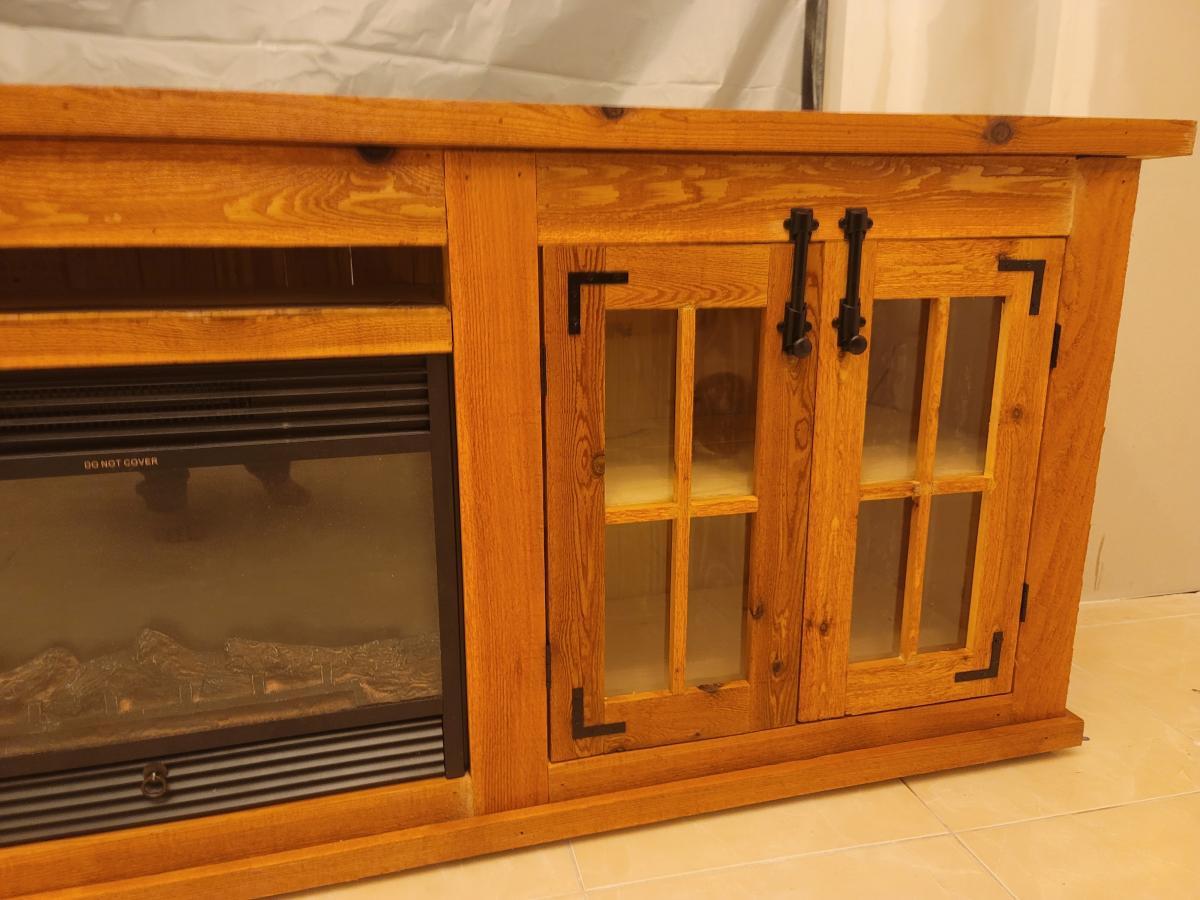
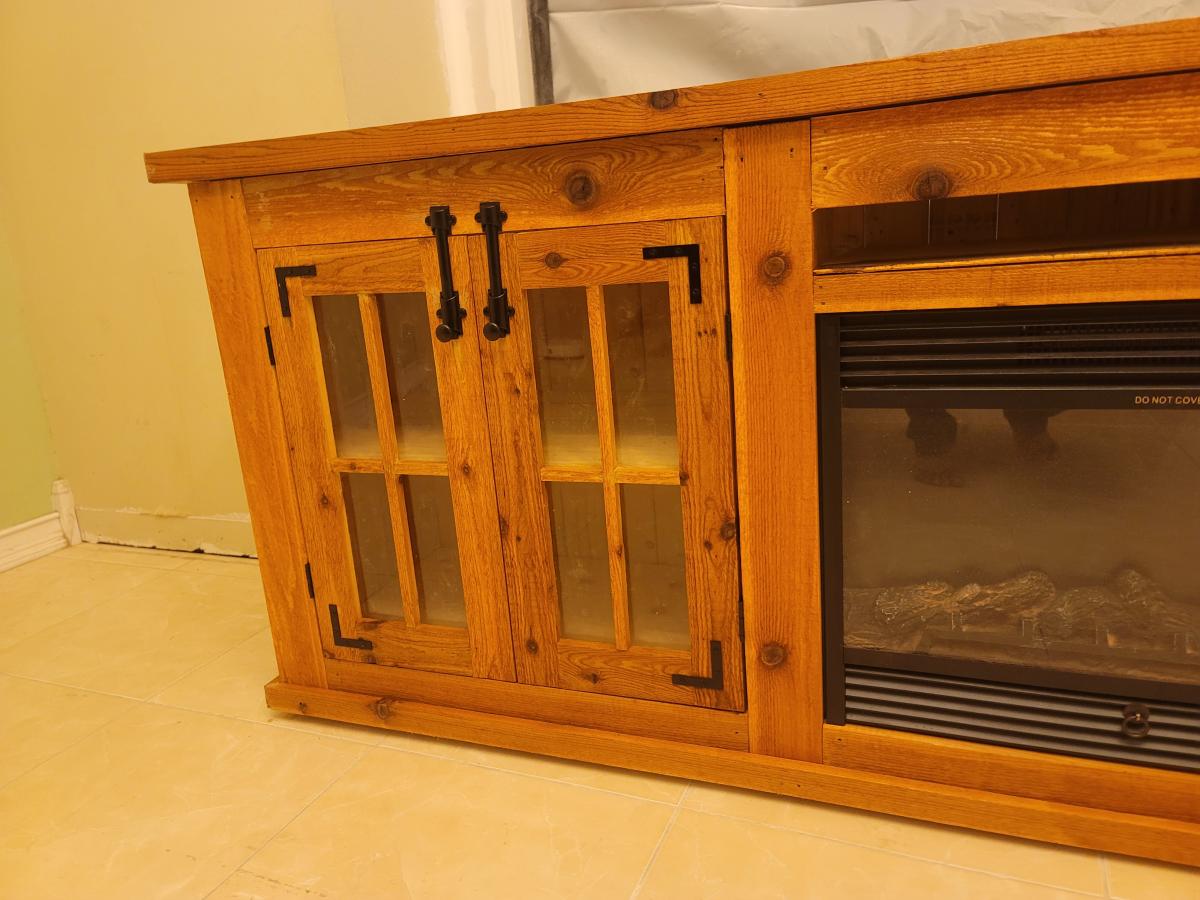
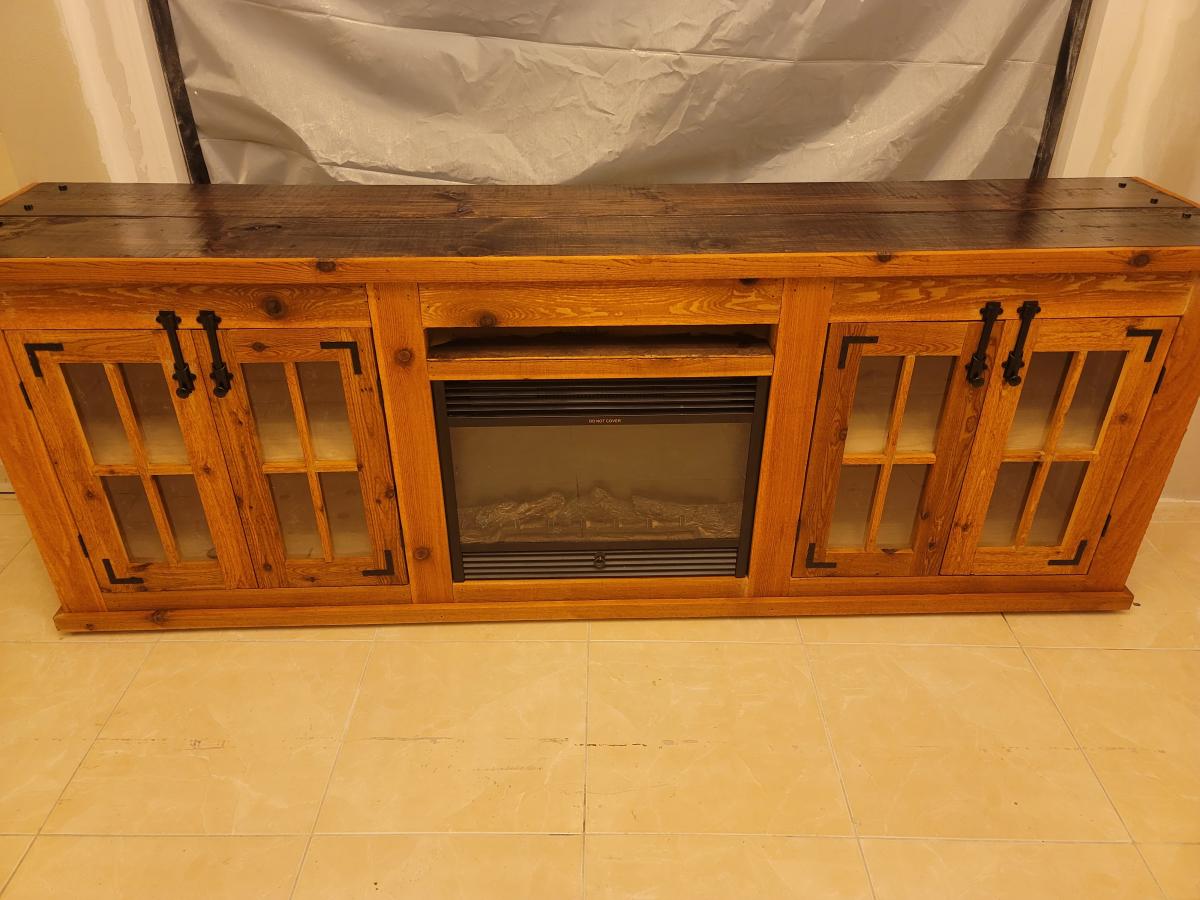
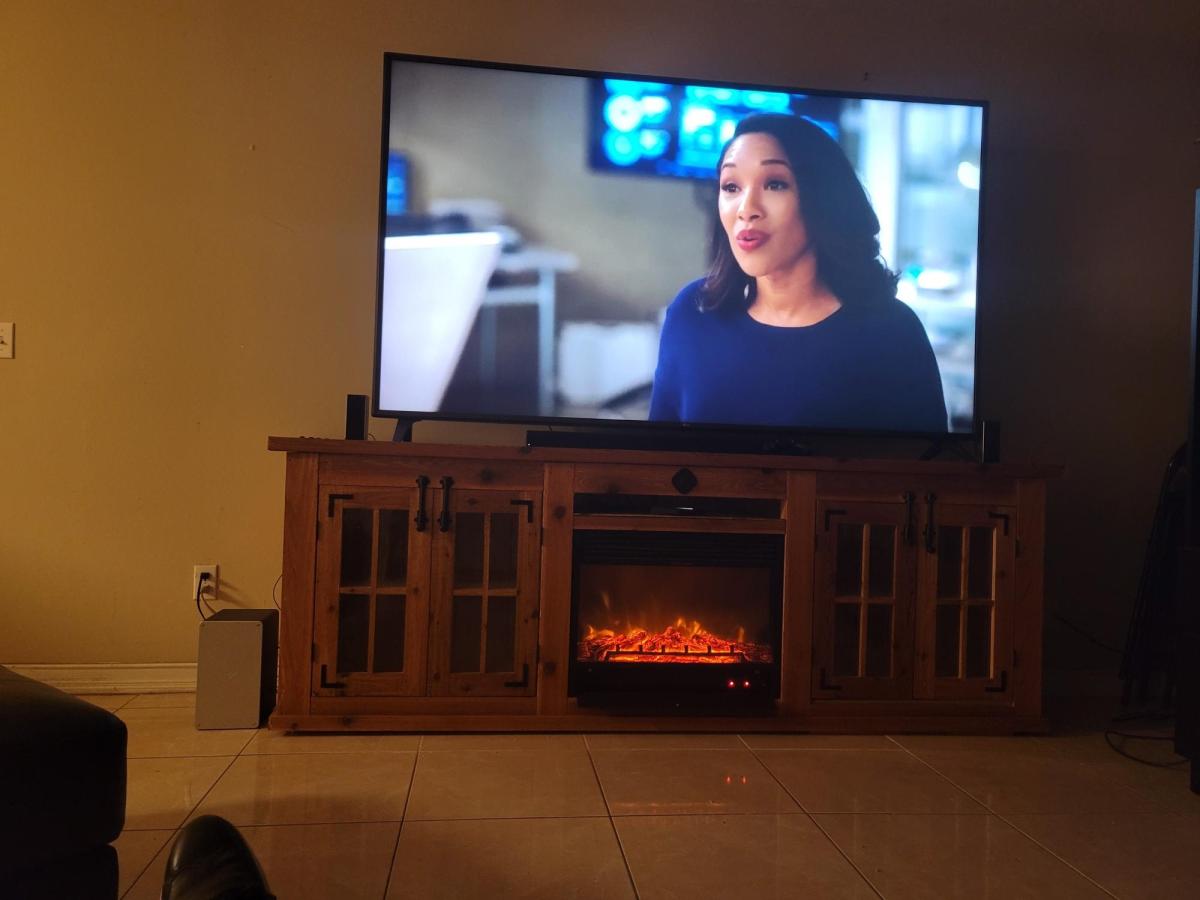
Inspired by Ana's barn TV stand
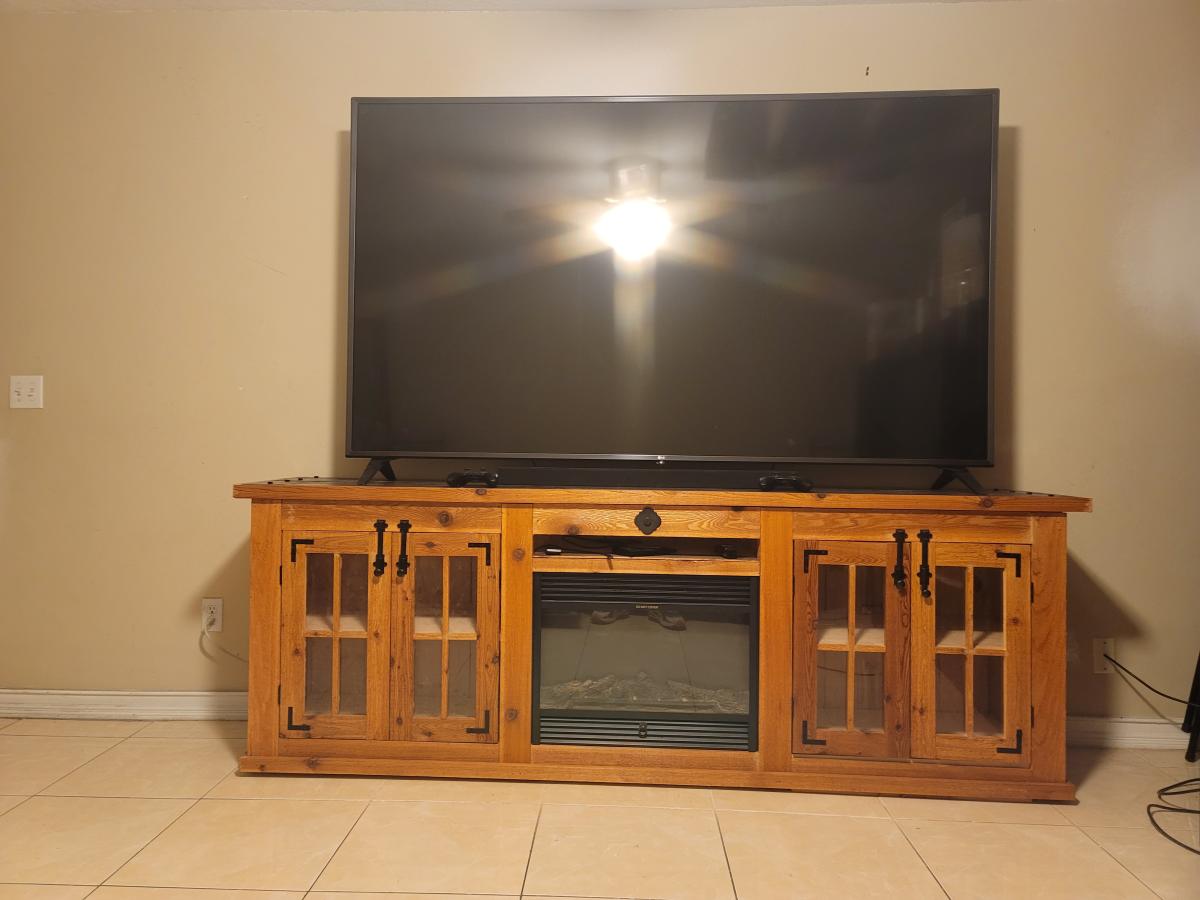
I made this TV stand from a combination of your DIY Farmhouse TV Console and another one I saw online ( Farmhouse Media Cabinet By Shades of Blue Interiors) with a little bit of my creativity. Thank you for everything you do for the community. God bless you and your family.
Comments
Thu, 04/21/2022 - 15:16
Very beautiful!
That looks amazing, love the fireplace insert too! Thank you for sharing:)
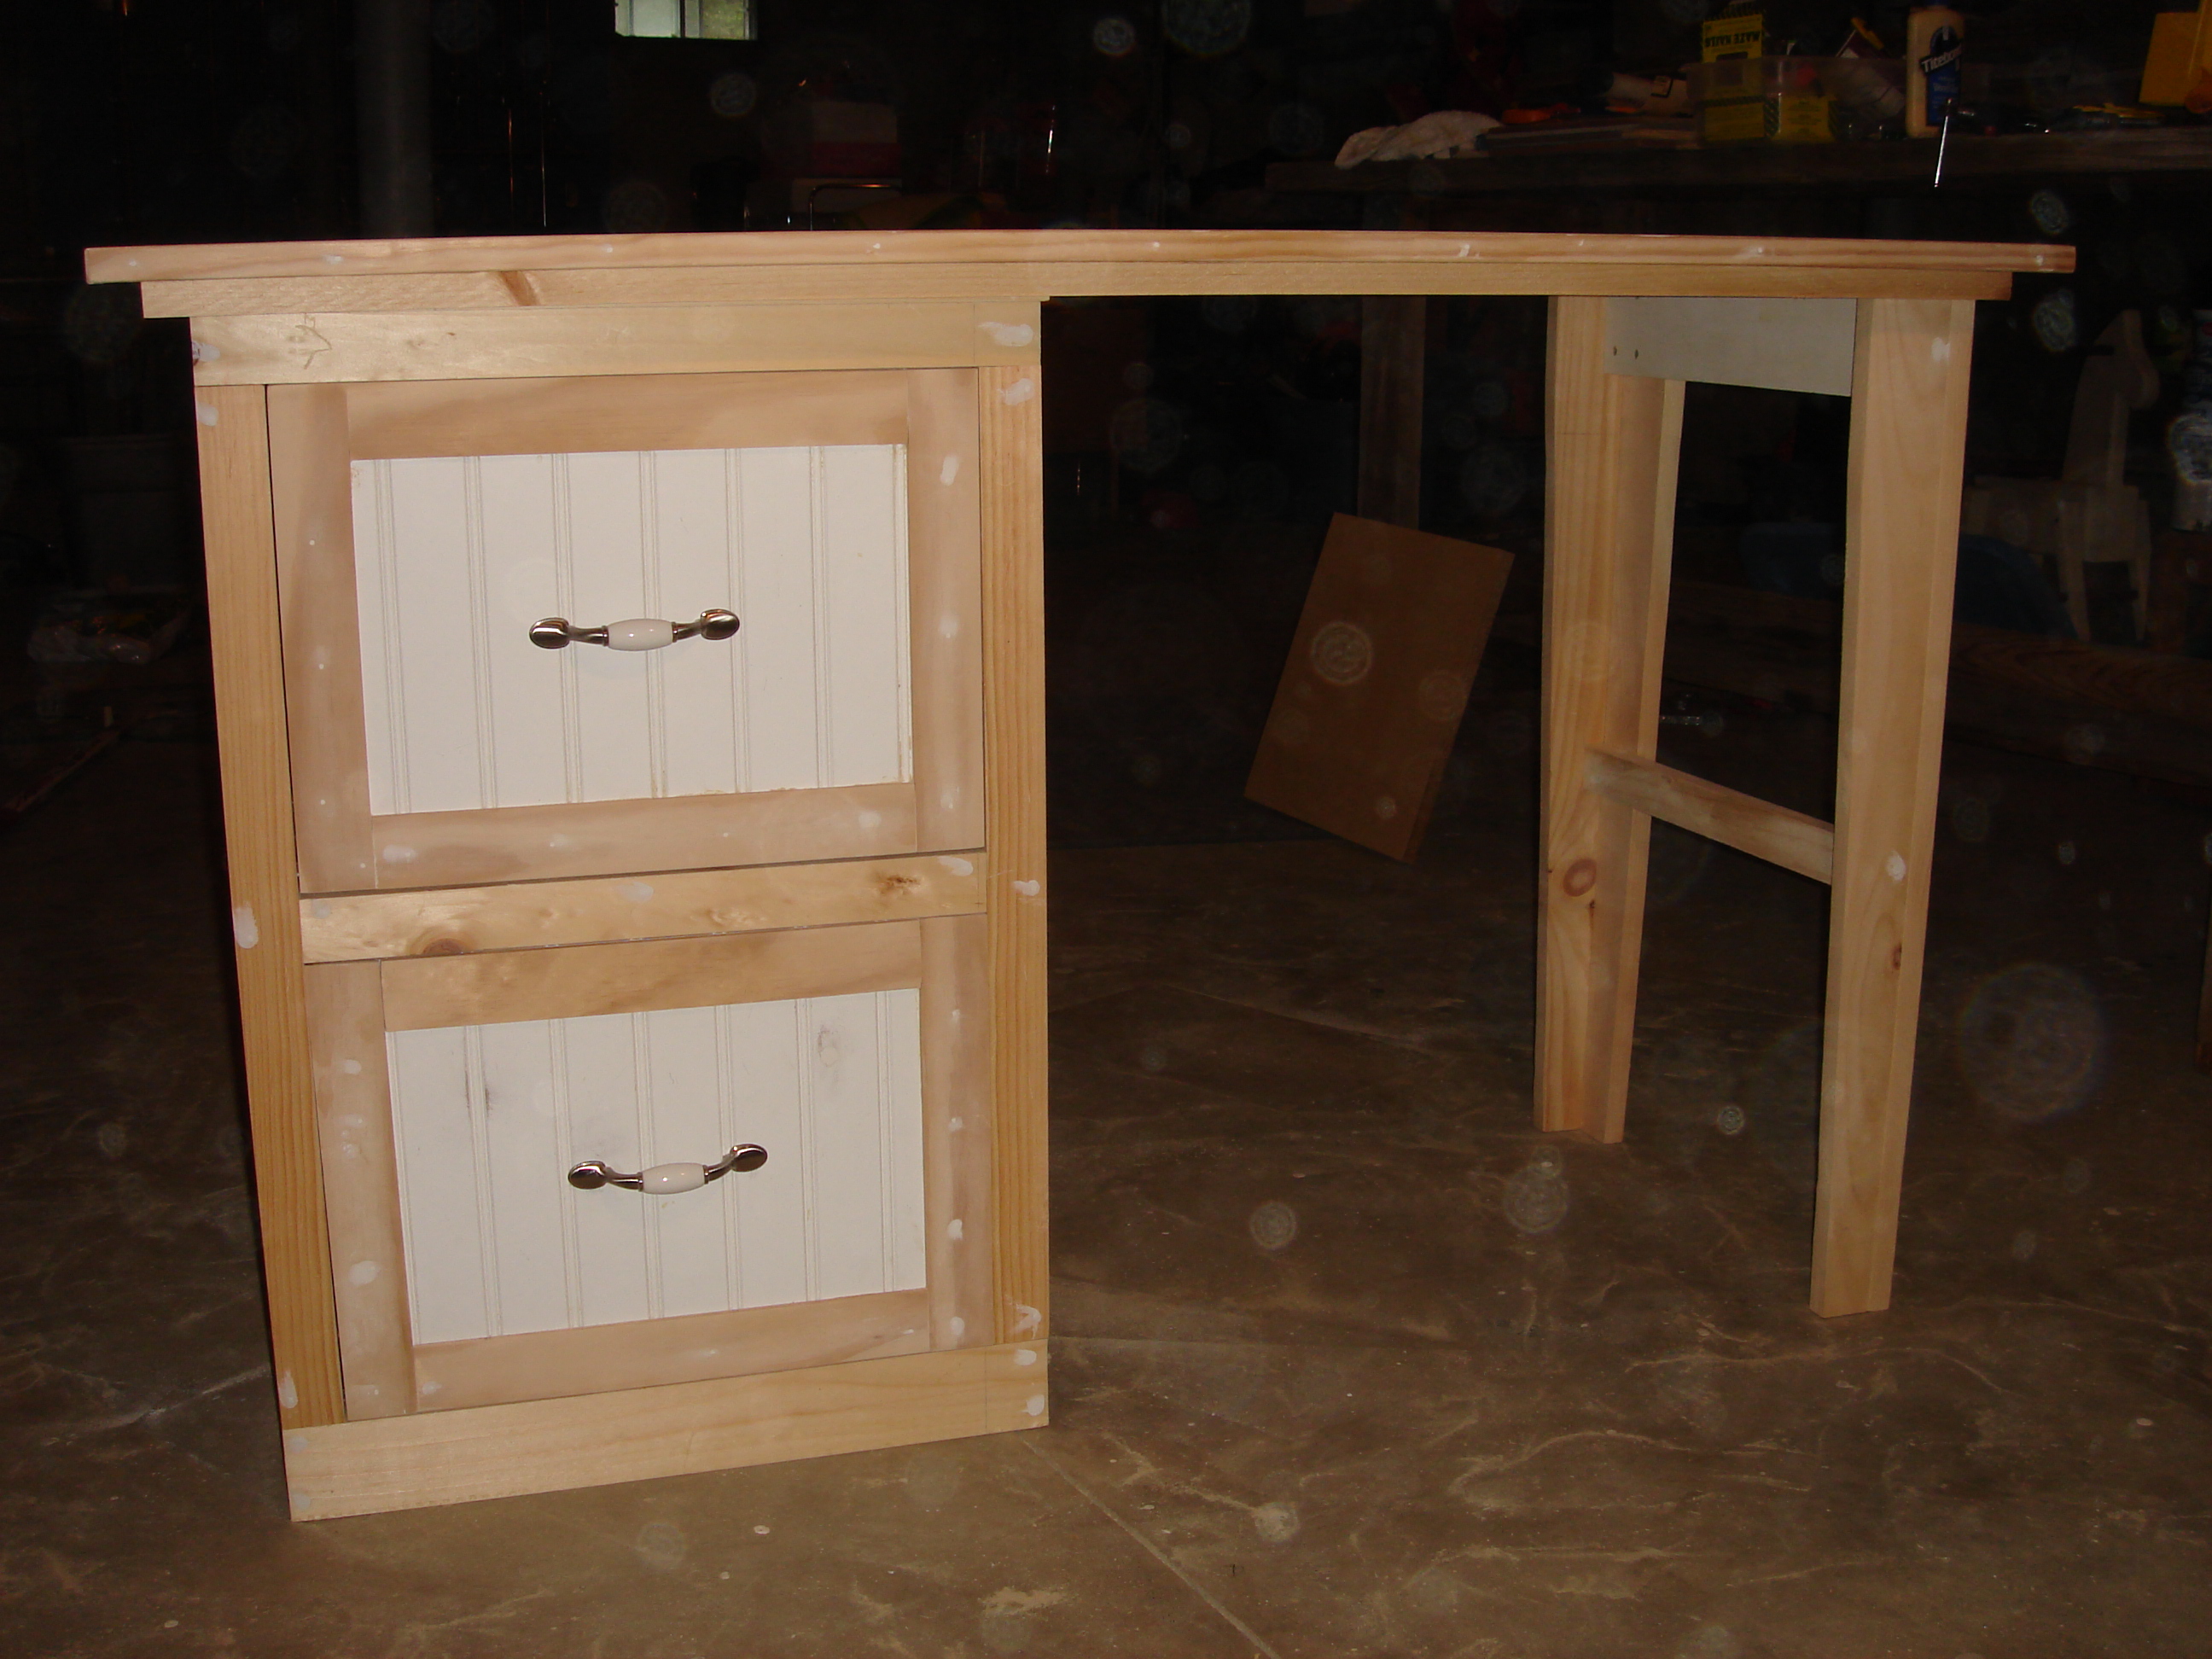
Modular office small desktop/Narrow file drawer base unit
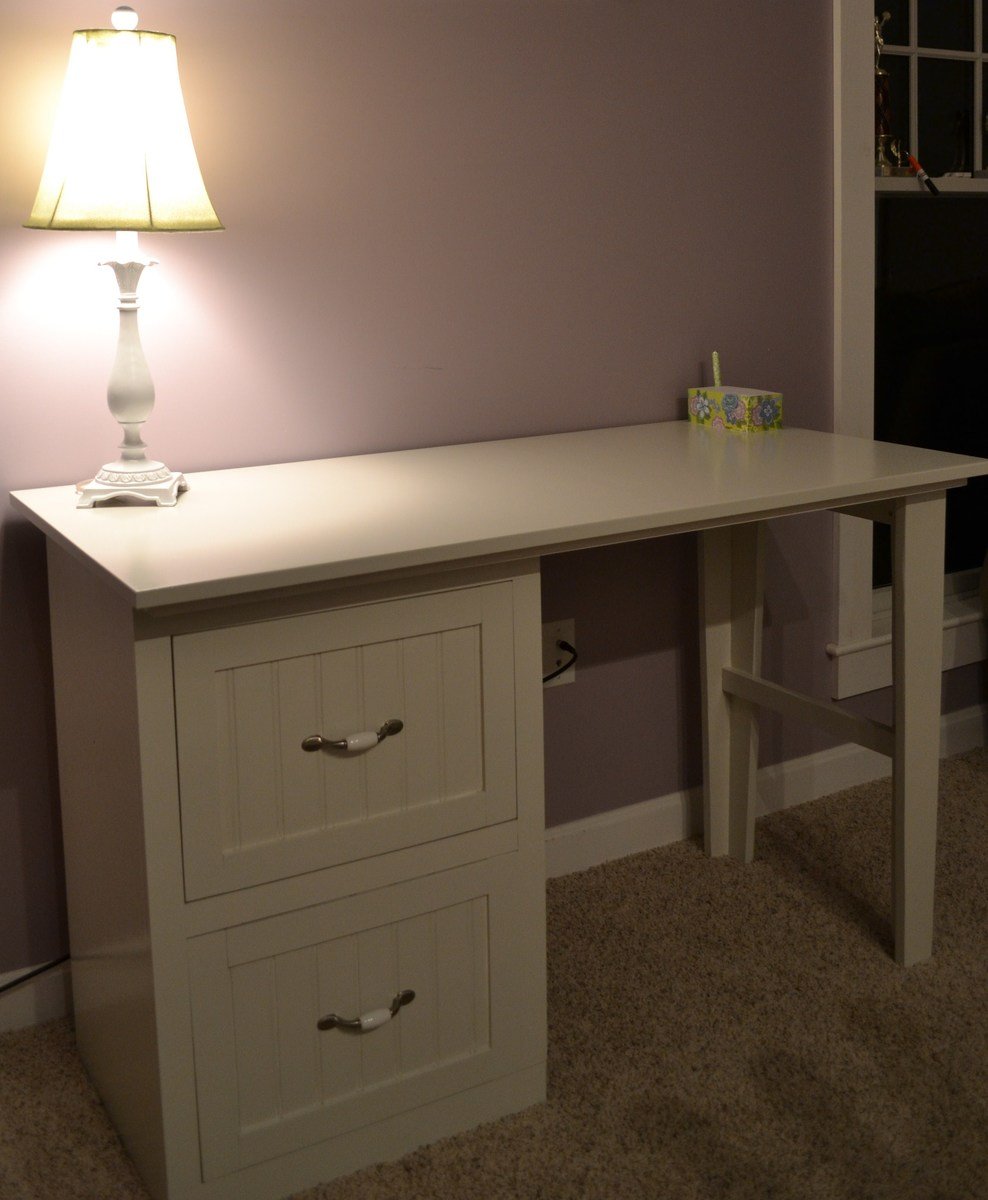
Combined the modular office small desktop with the Narrow file drawer base unit to suit my needs/space requirements. Used the legs from the narrow farmhouse table because I just loved them! Added beadboard for the drawer faces because it matches the rest of our house.
Built from Plan(s)
Estimated Time Investment
Week Long Project (20 Hours or More)
Finish Used
painters touch and minwax polycrylic
Recommended Skill Level
Intermediate
Comments

Mon, 04/28/2014 - 22:18
I am about to start on a very
I am about to start on a very similar 4 draw version of this, do you have any more information? In particular I was wondering how the drawer slides were fitted - are the side or bottom fitting? Cheers and well done!
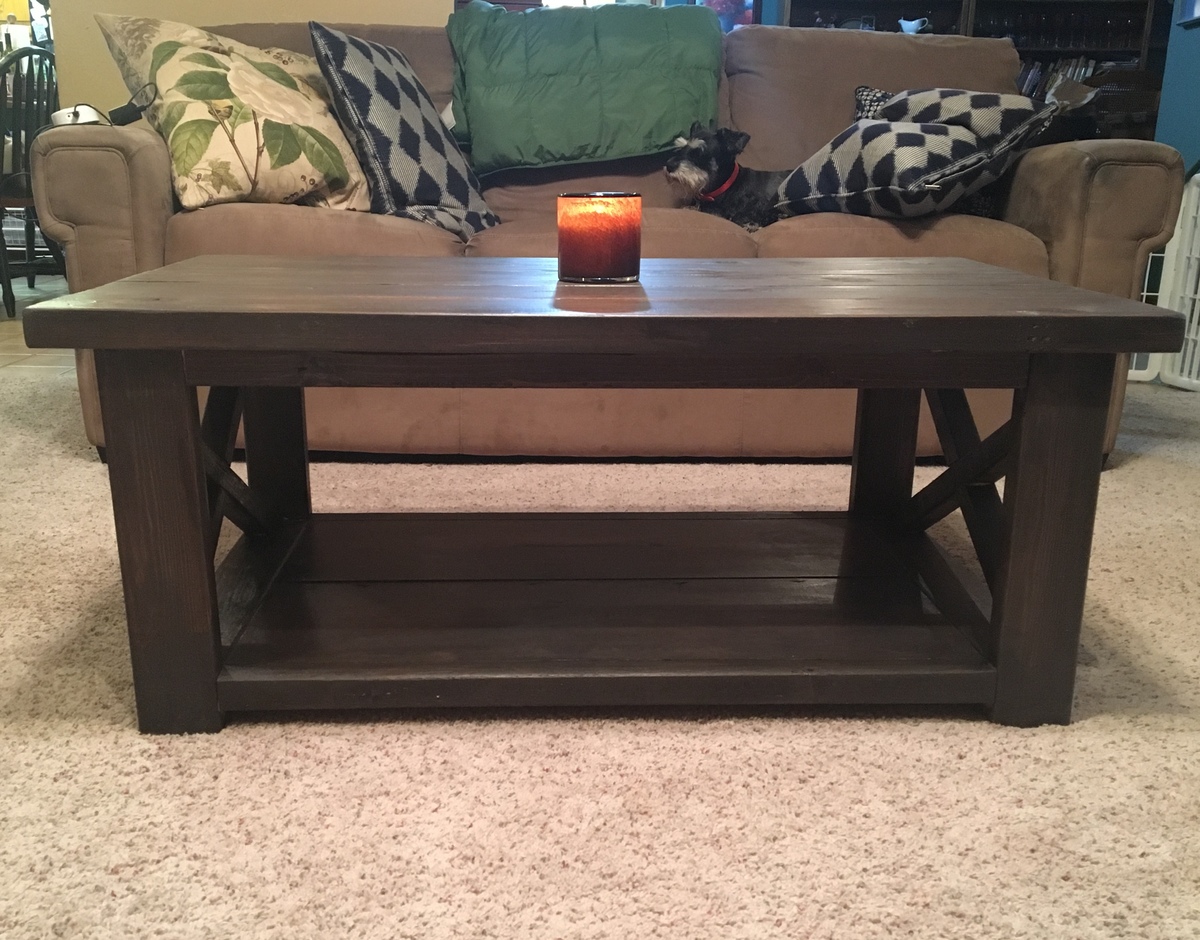
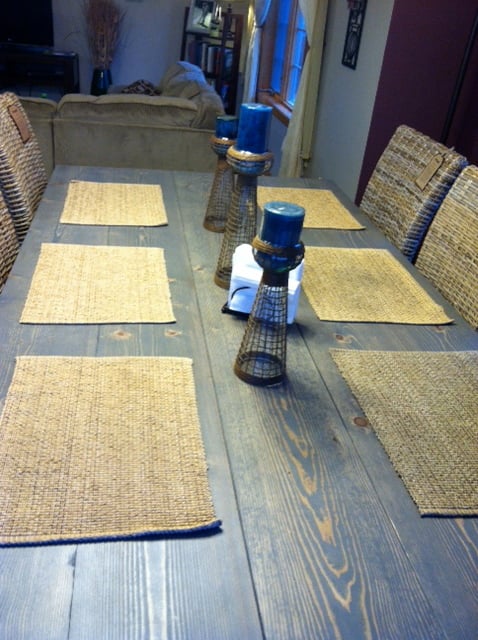
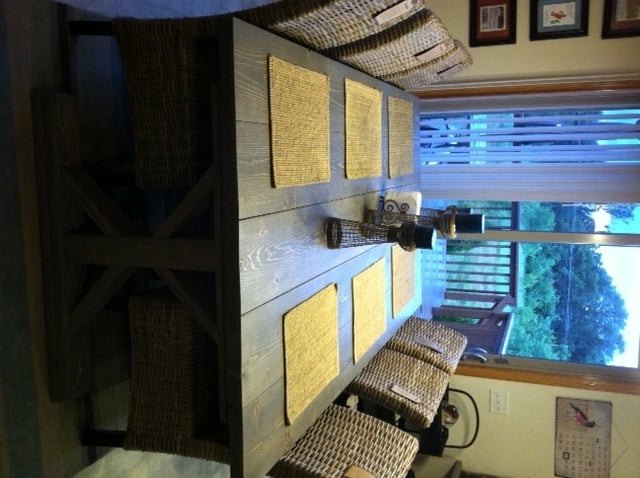
Classic Grey Fancy X Dining Room Table
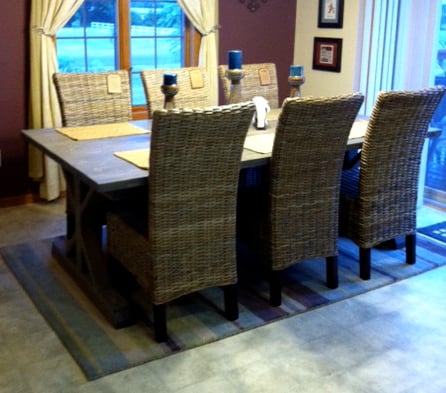
I recently made the end table and console table from the "Rustic X" collection and those were my very first wood projects that I have EVER done. I think I am addicted now! I have had NO experience in working miter saws, kreg jigs and barely drills before this. If I can do it, anyone can do it :)
My husband and I made this table over a weekend and I am very excited about how it turned out. I was inspired by the color and size (and chairs!) of Sawgrasshomegirl "weathered grey fancy x farmhouse table with extensions" and I used the classic minwax stain. Thank you so much to Anna White and Sawgrasshomegirl for their plans, ideas, and inspiration!
Built from Plan(s)
Estimated Cost
$100
Estimated Time Investment
Weekend Project (10-20 Hours)
Finish Used
Minwax Pre-stain, Minwax Classic Grey and Minwax Polycrylic Protective Finish
Recommended Skill Level
Beginner
Comments
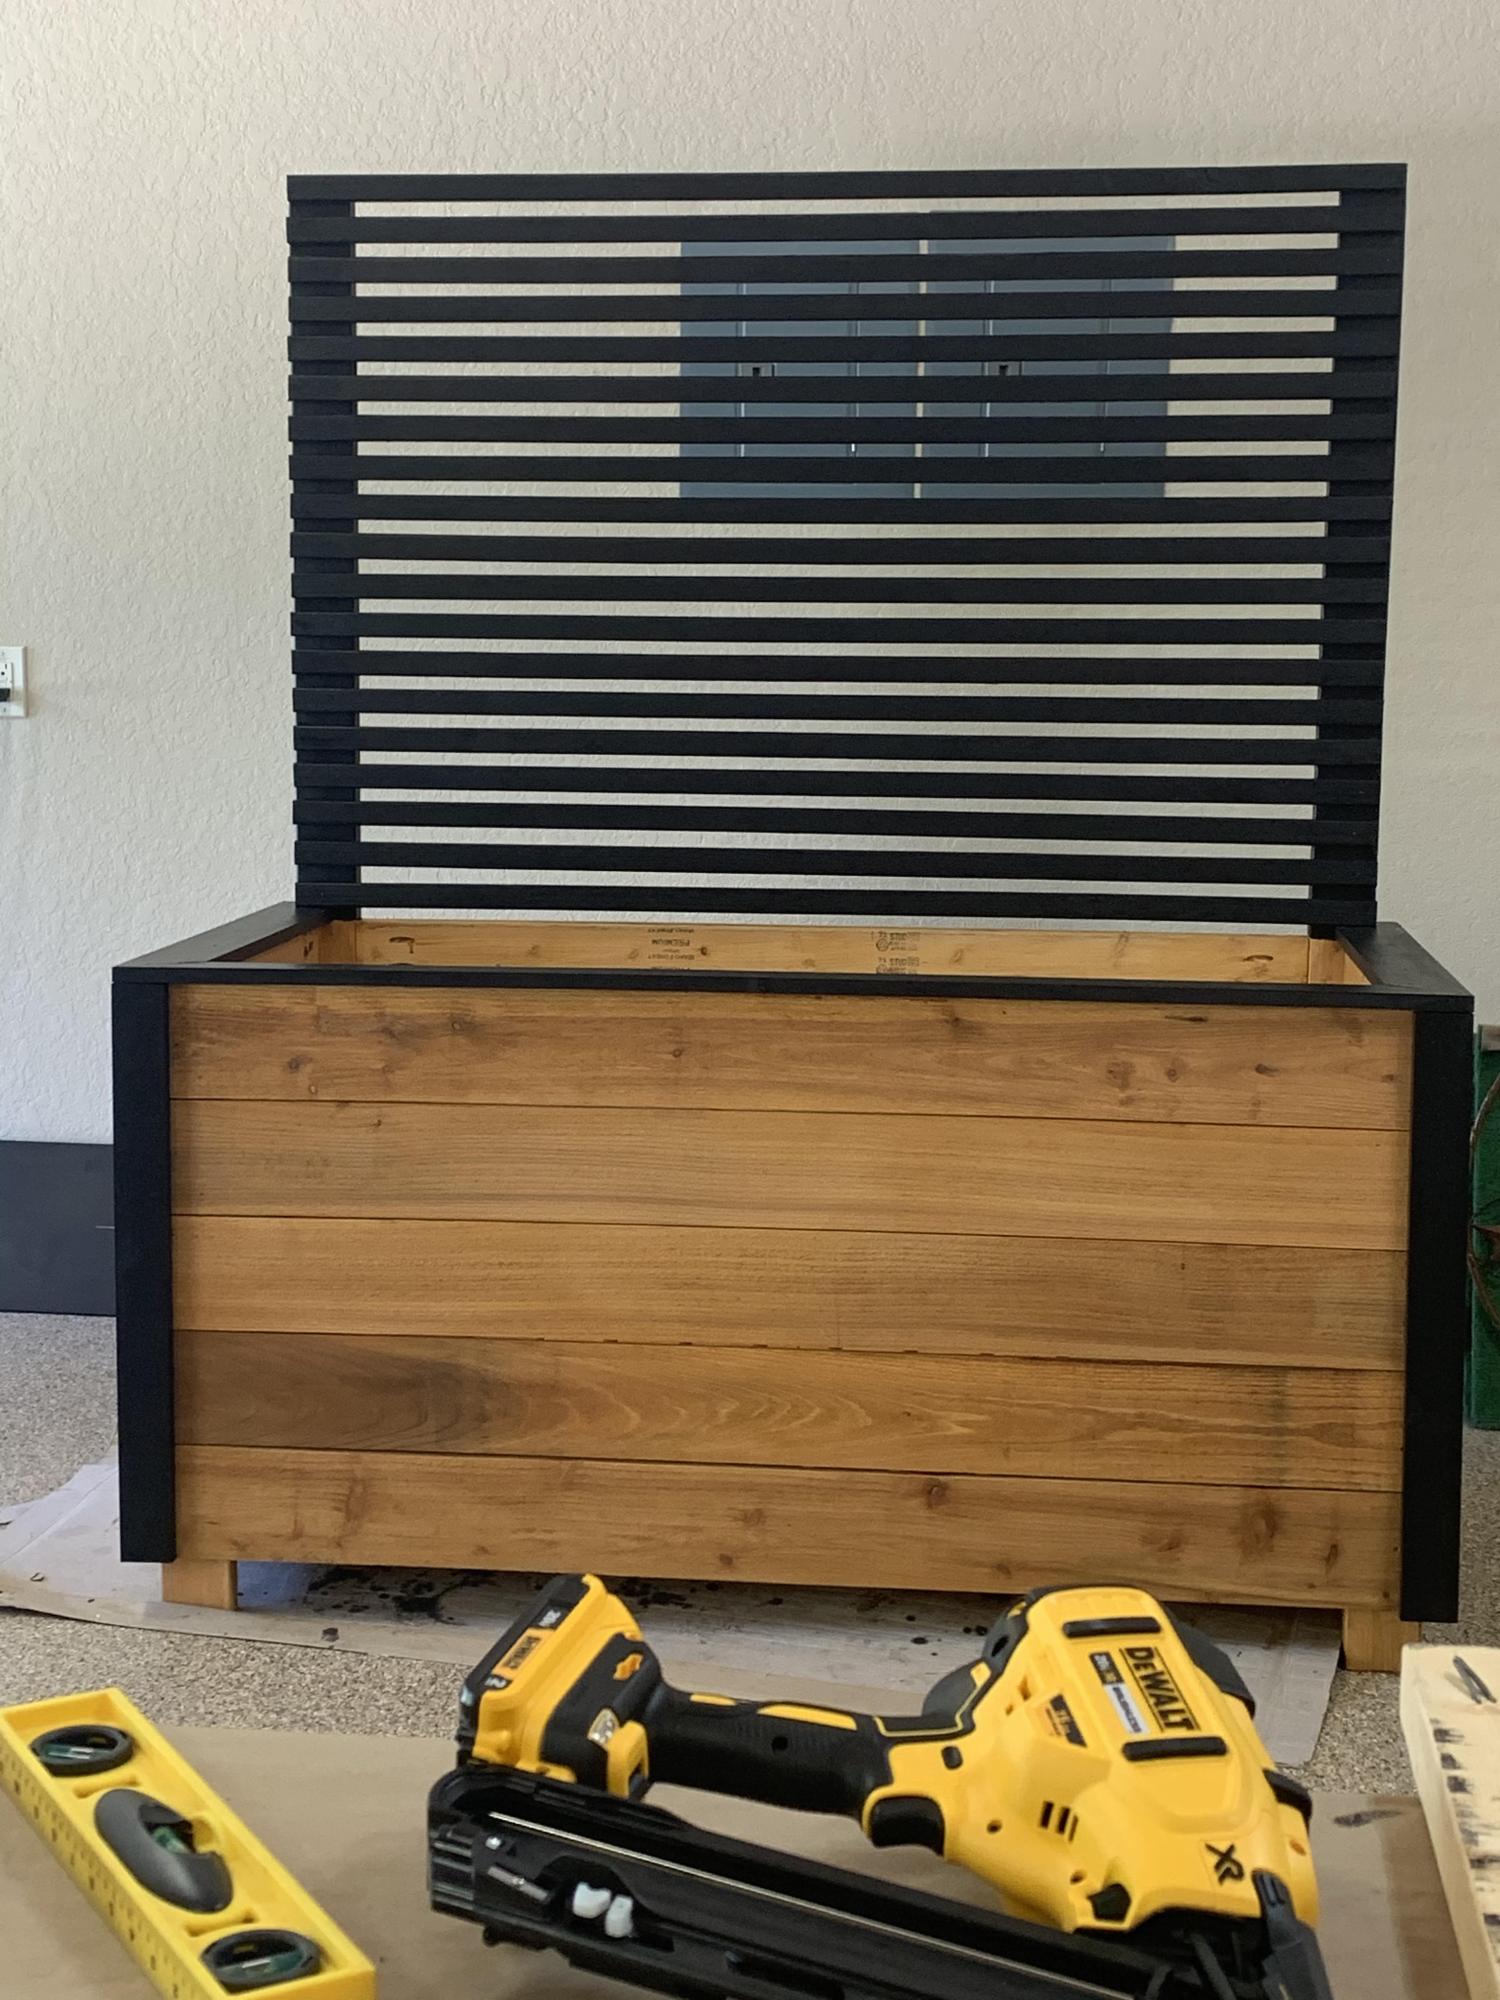
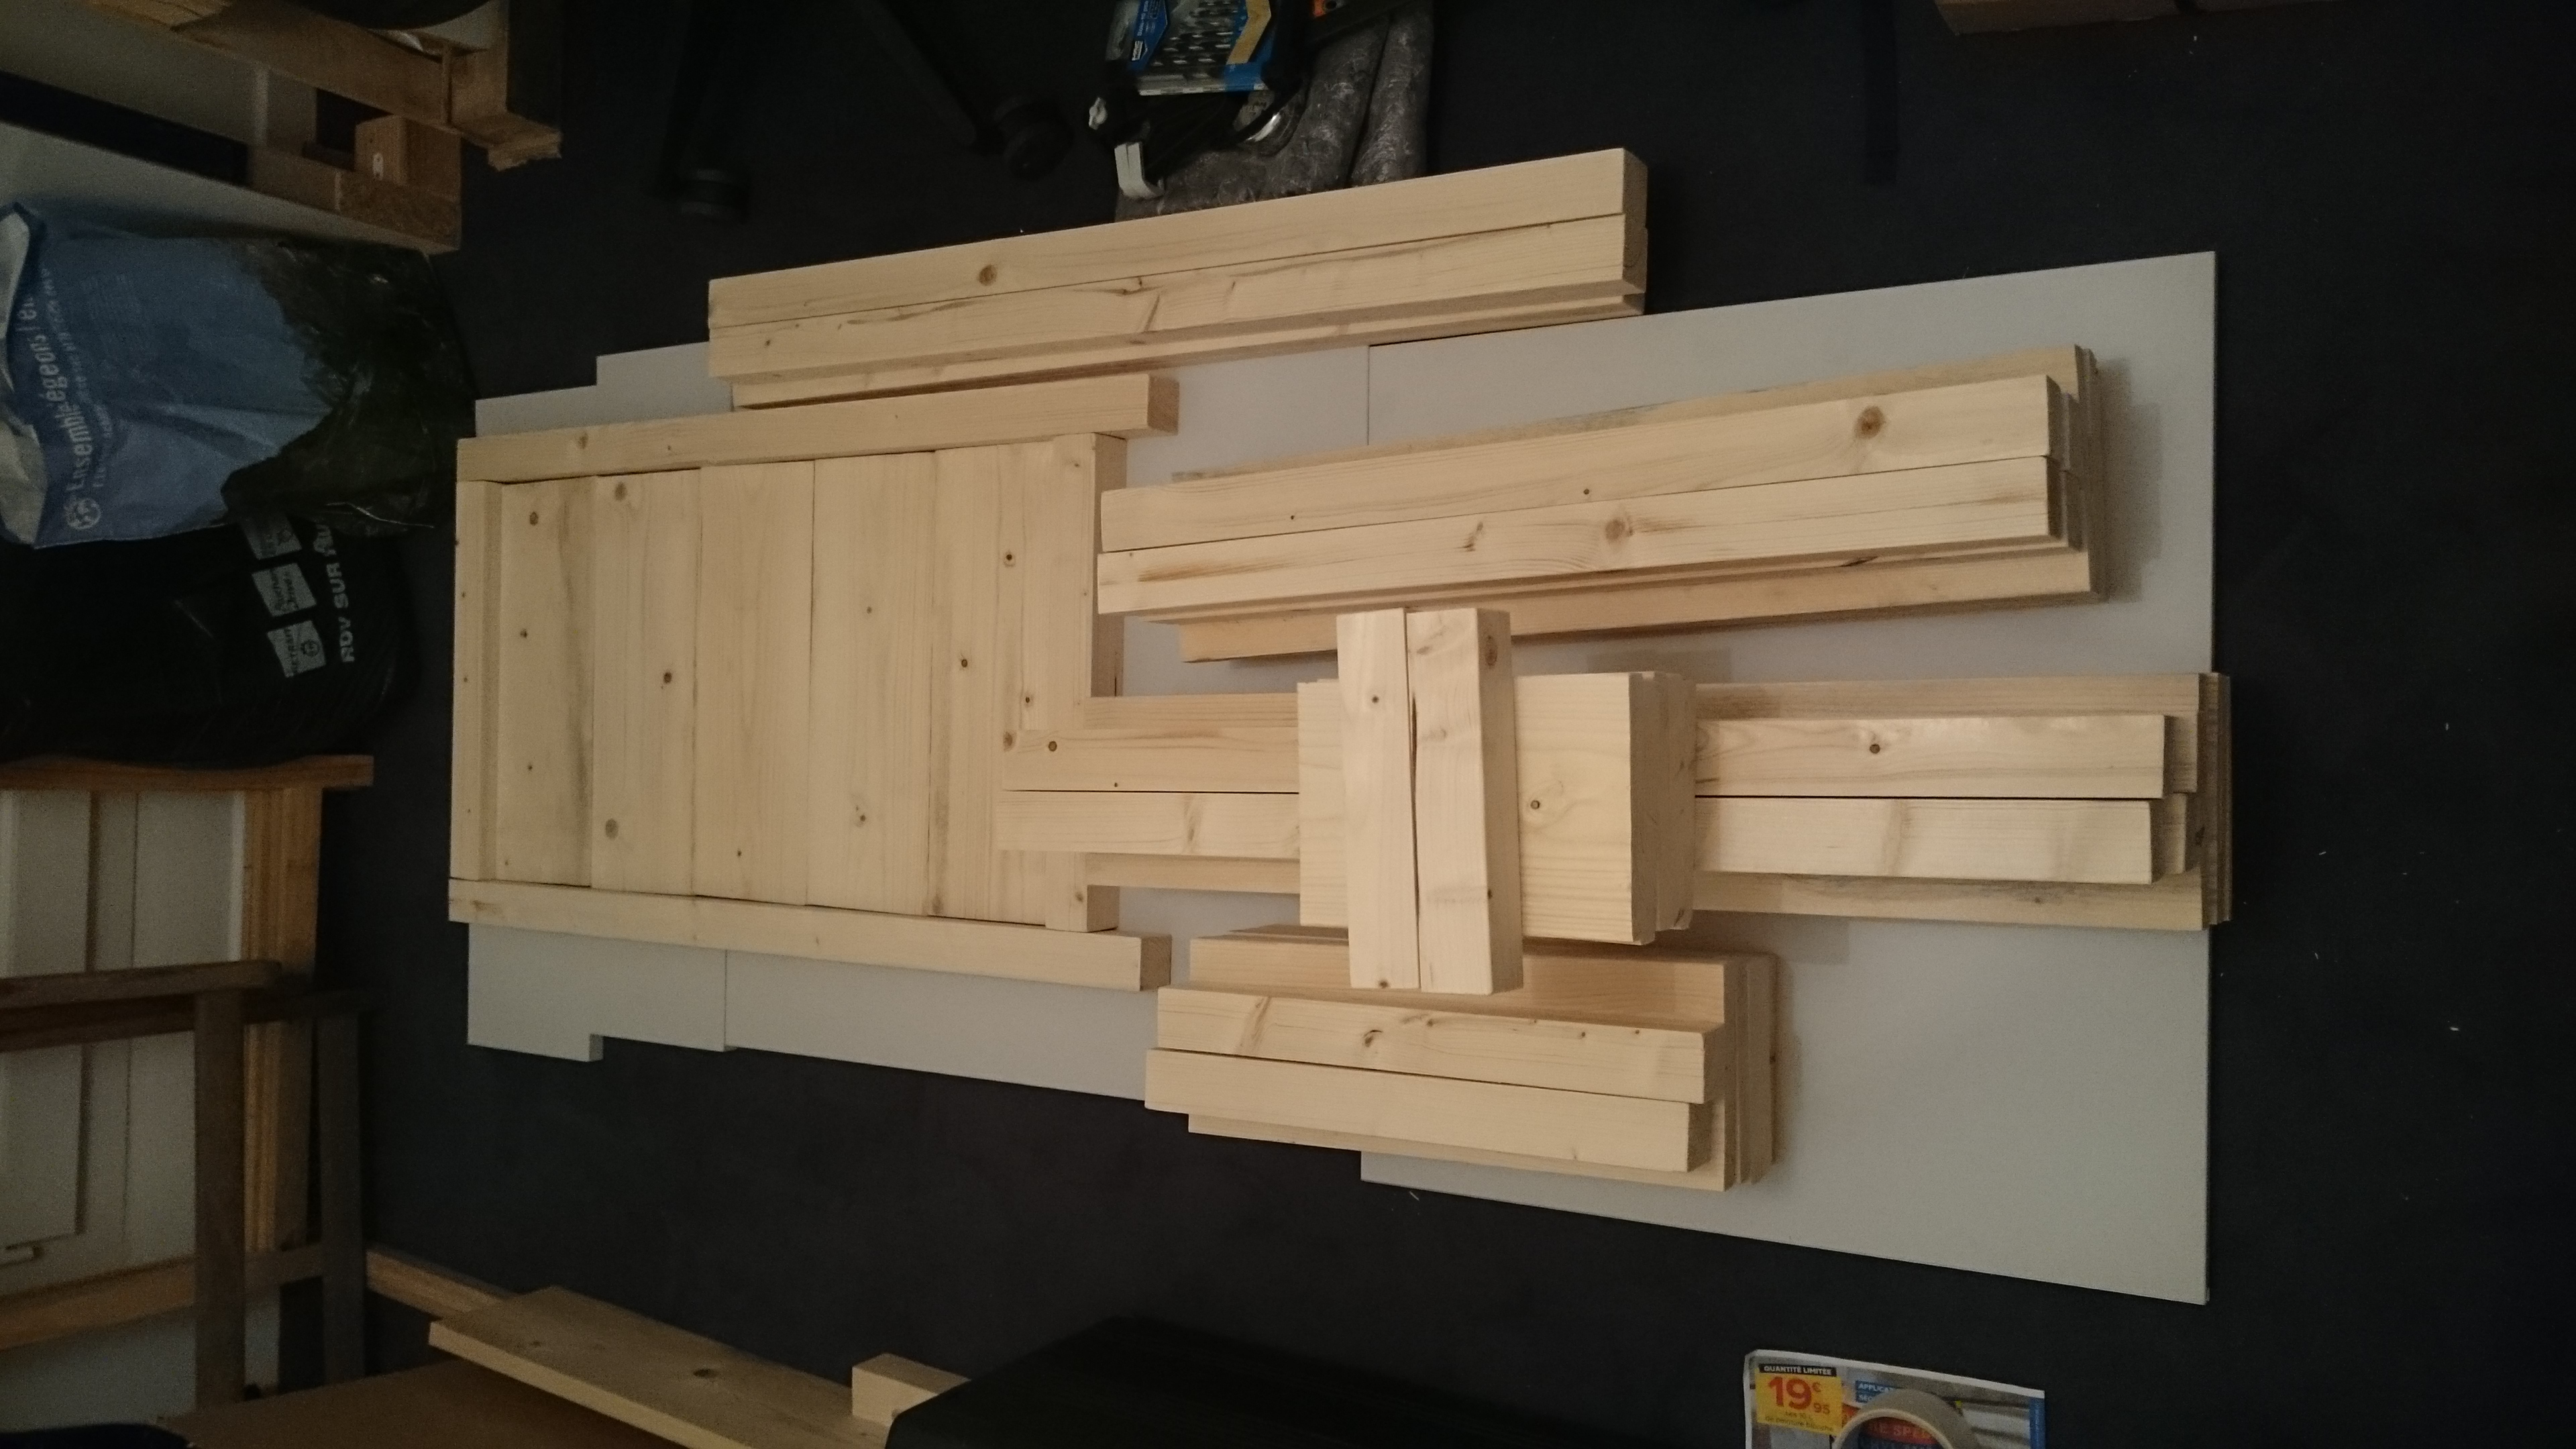
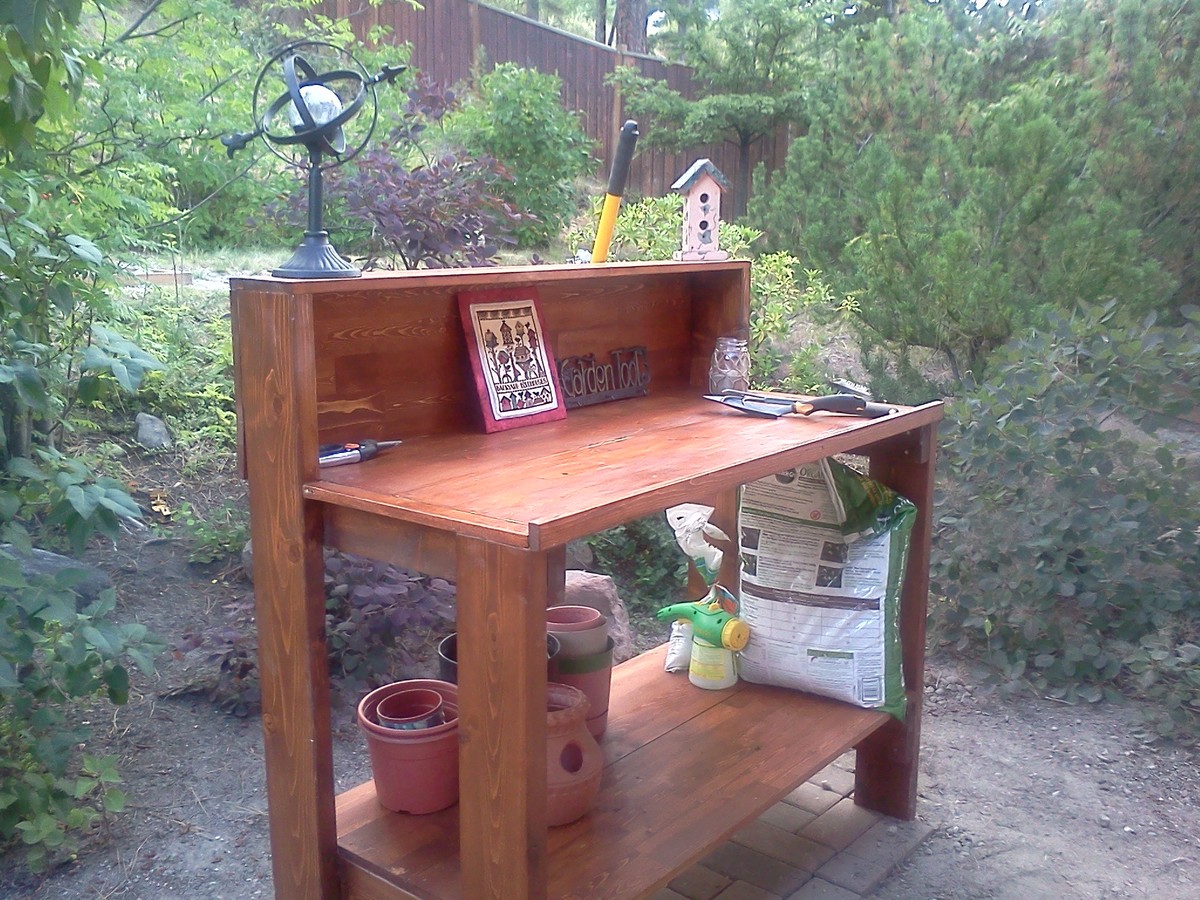
Around the corner, outside
First of all, sorry for my english, i'm french and i don't speak english often in life, so i don't know now if i still speak and write it well enough to be understood.
We needed some space outside our appartment to room bootles.
When i found the plans on this website i decided to start this project.
It was the first time i used my device "undercaver jig" to assemble or link all the wood pieces together.
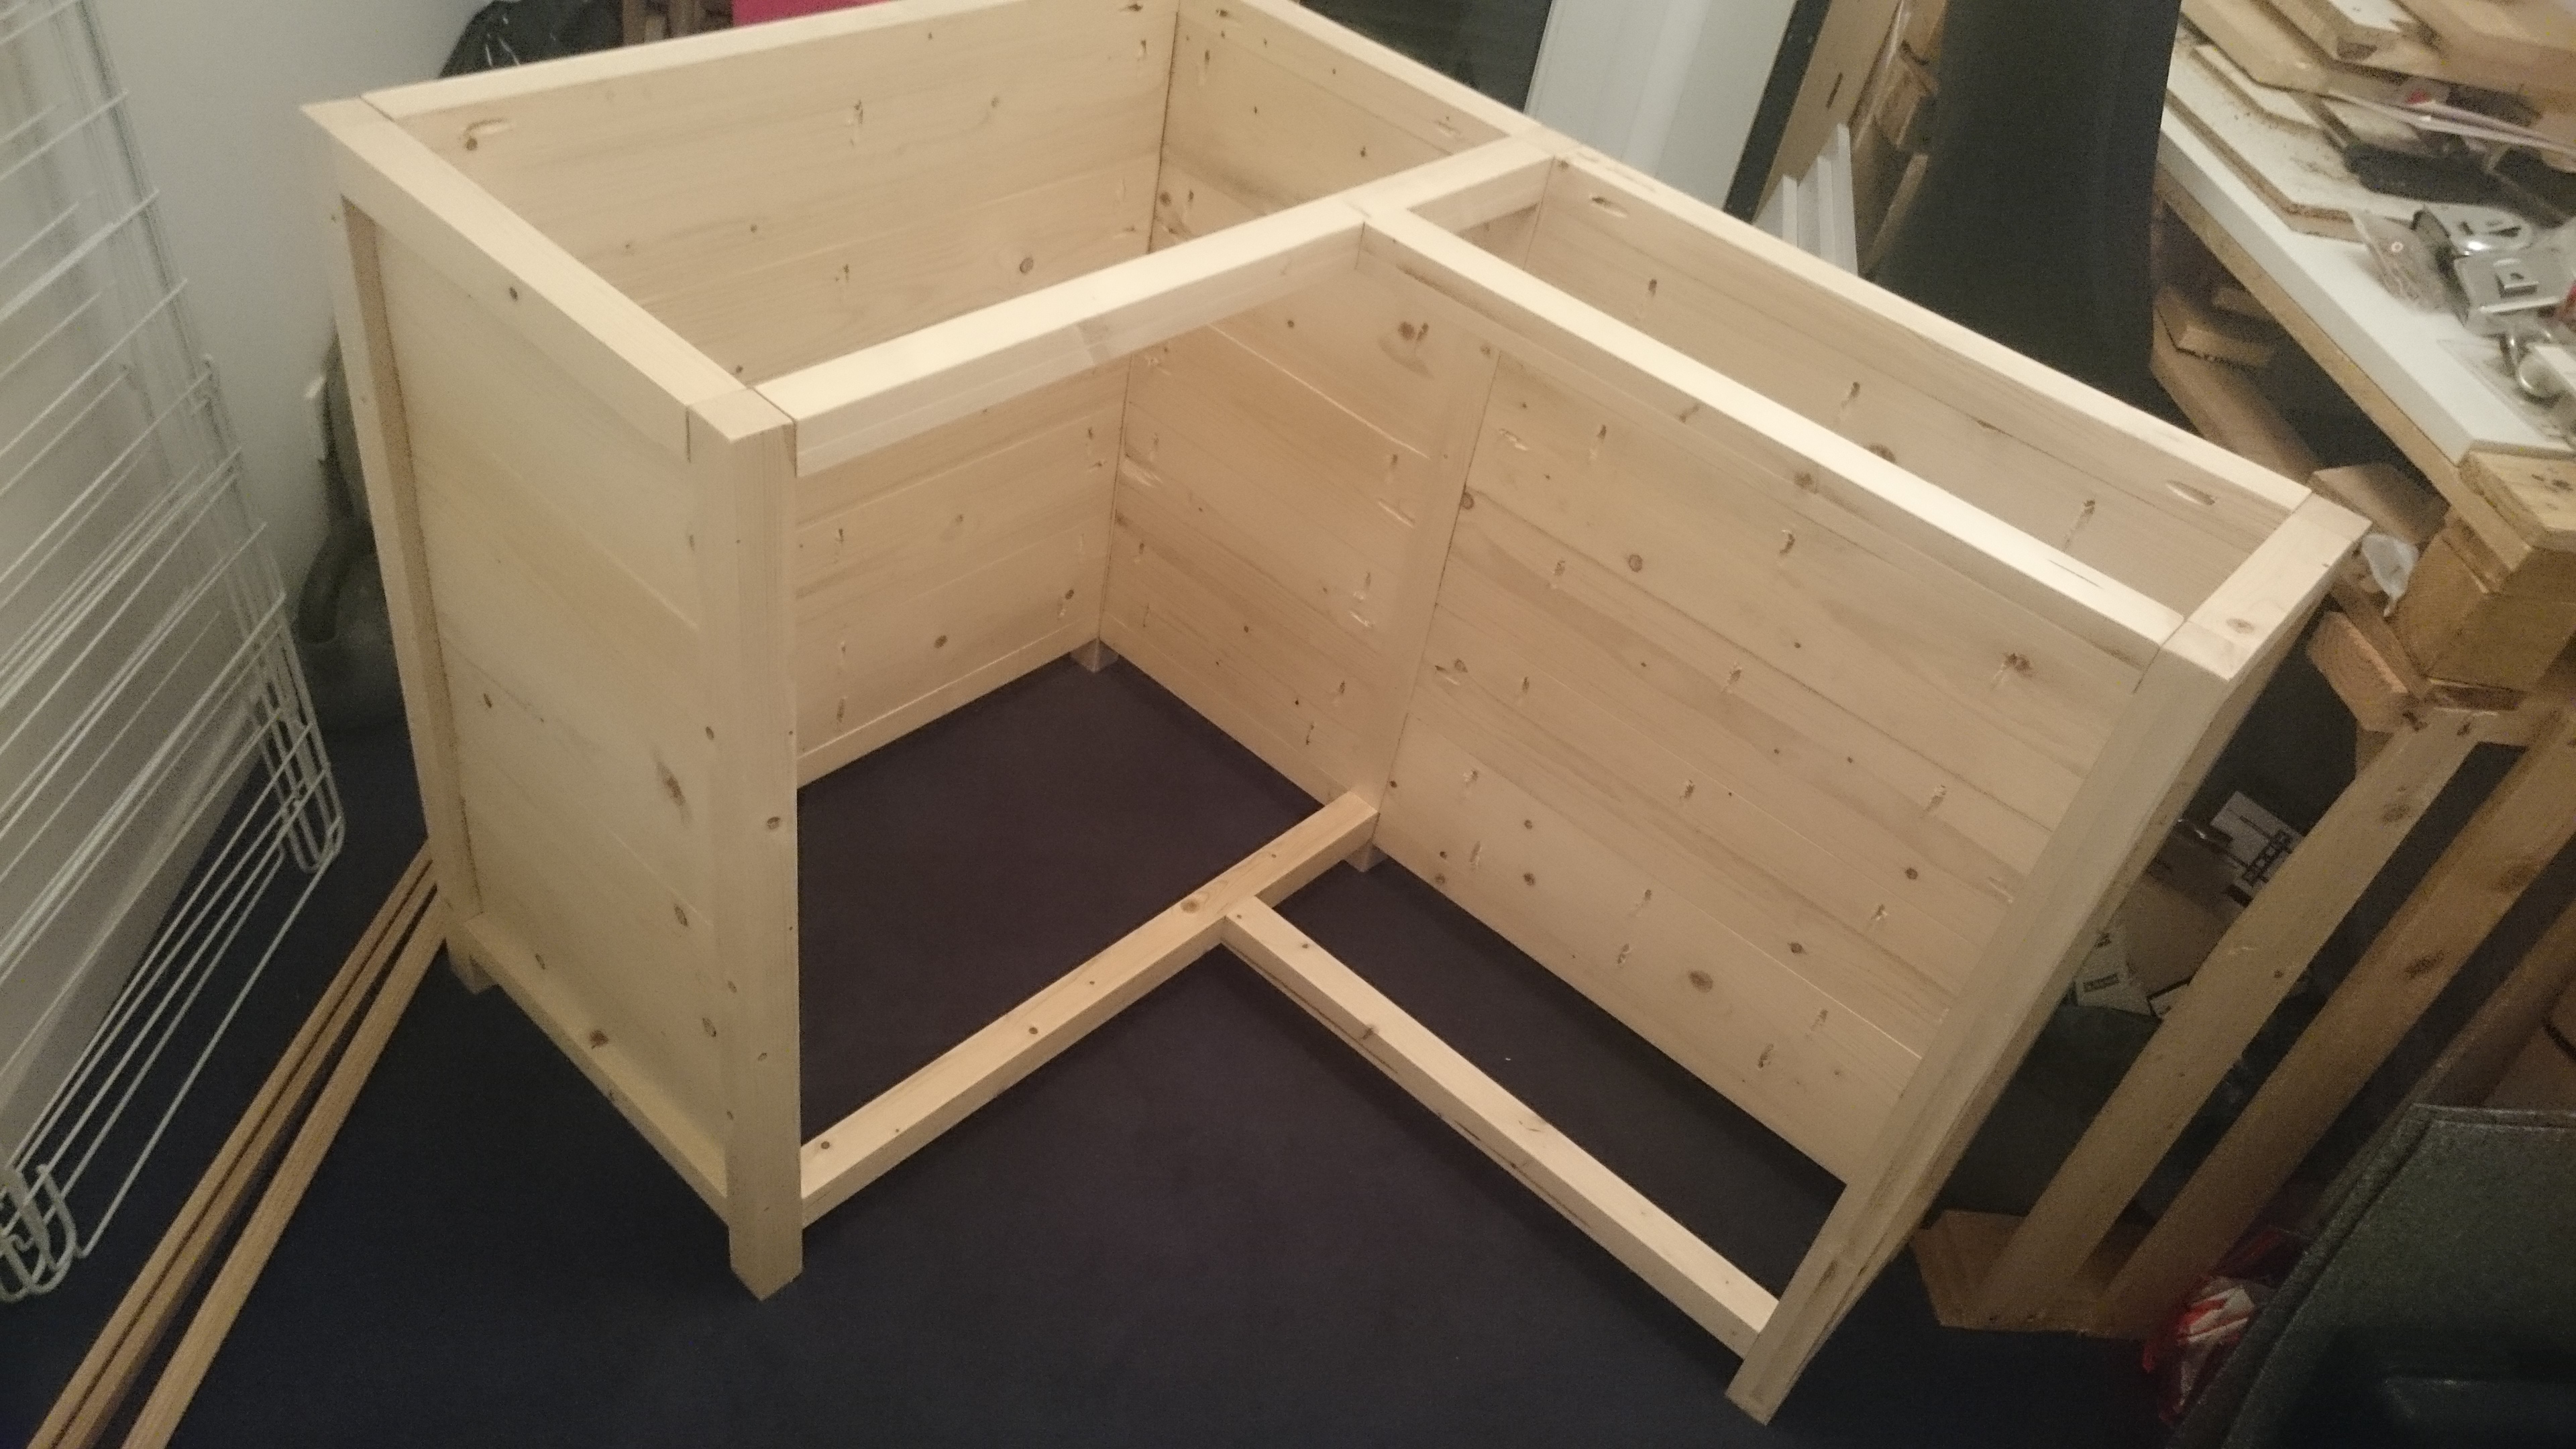
Once all the "wooden wall parts" made, i strated assembling the whole wooden furniture.
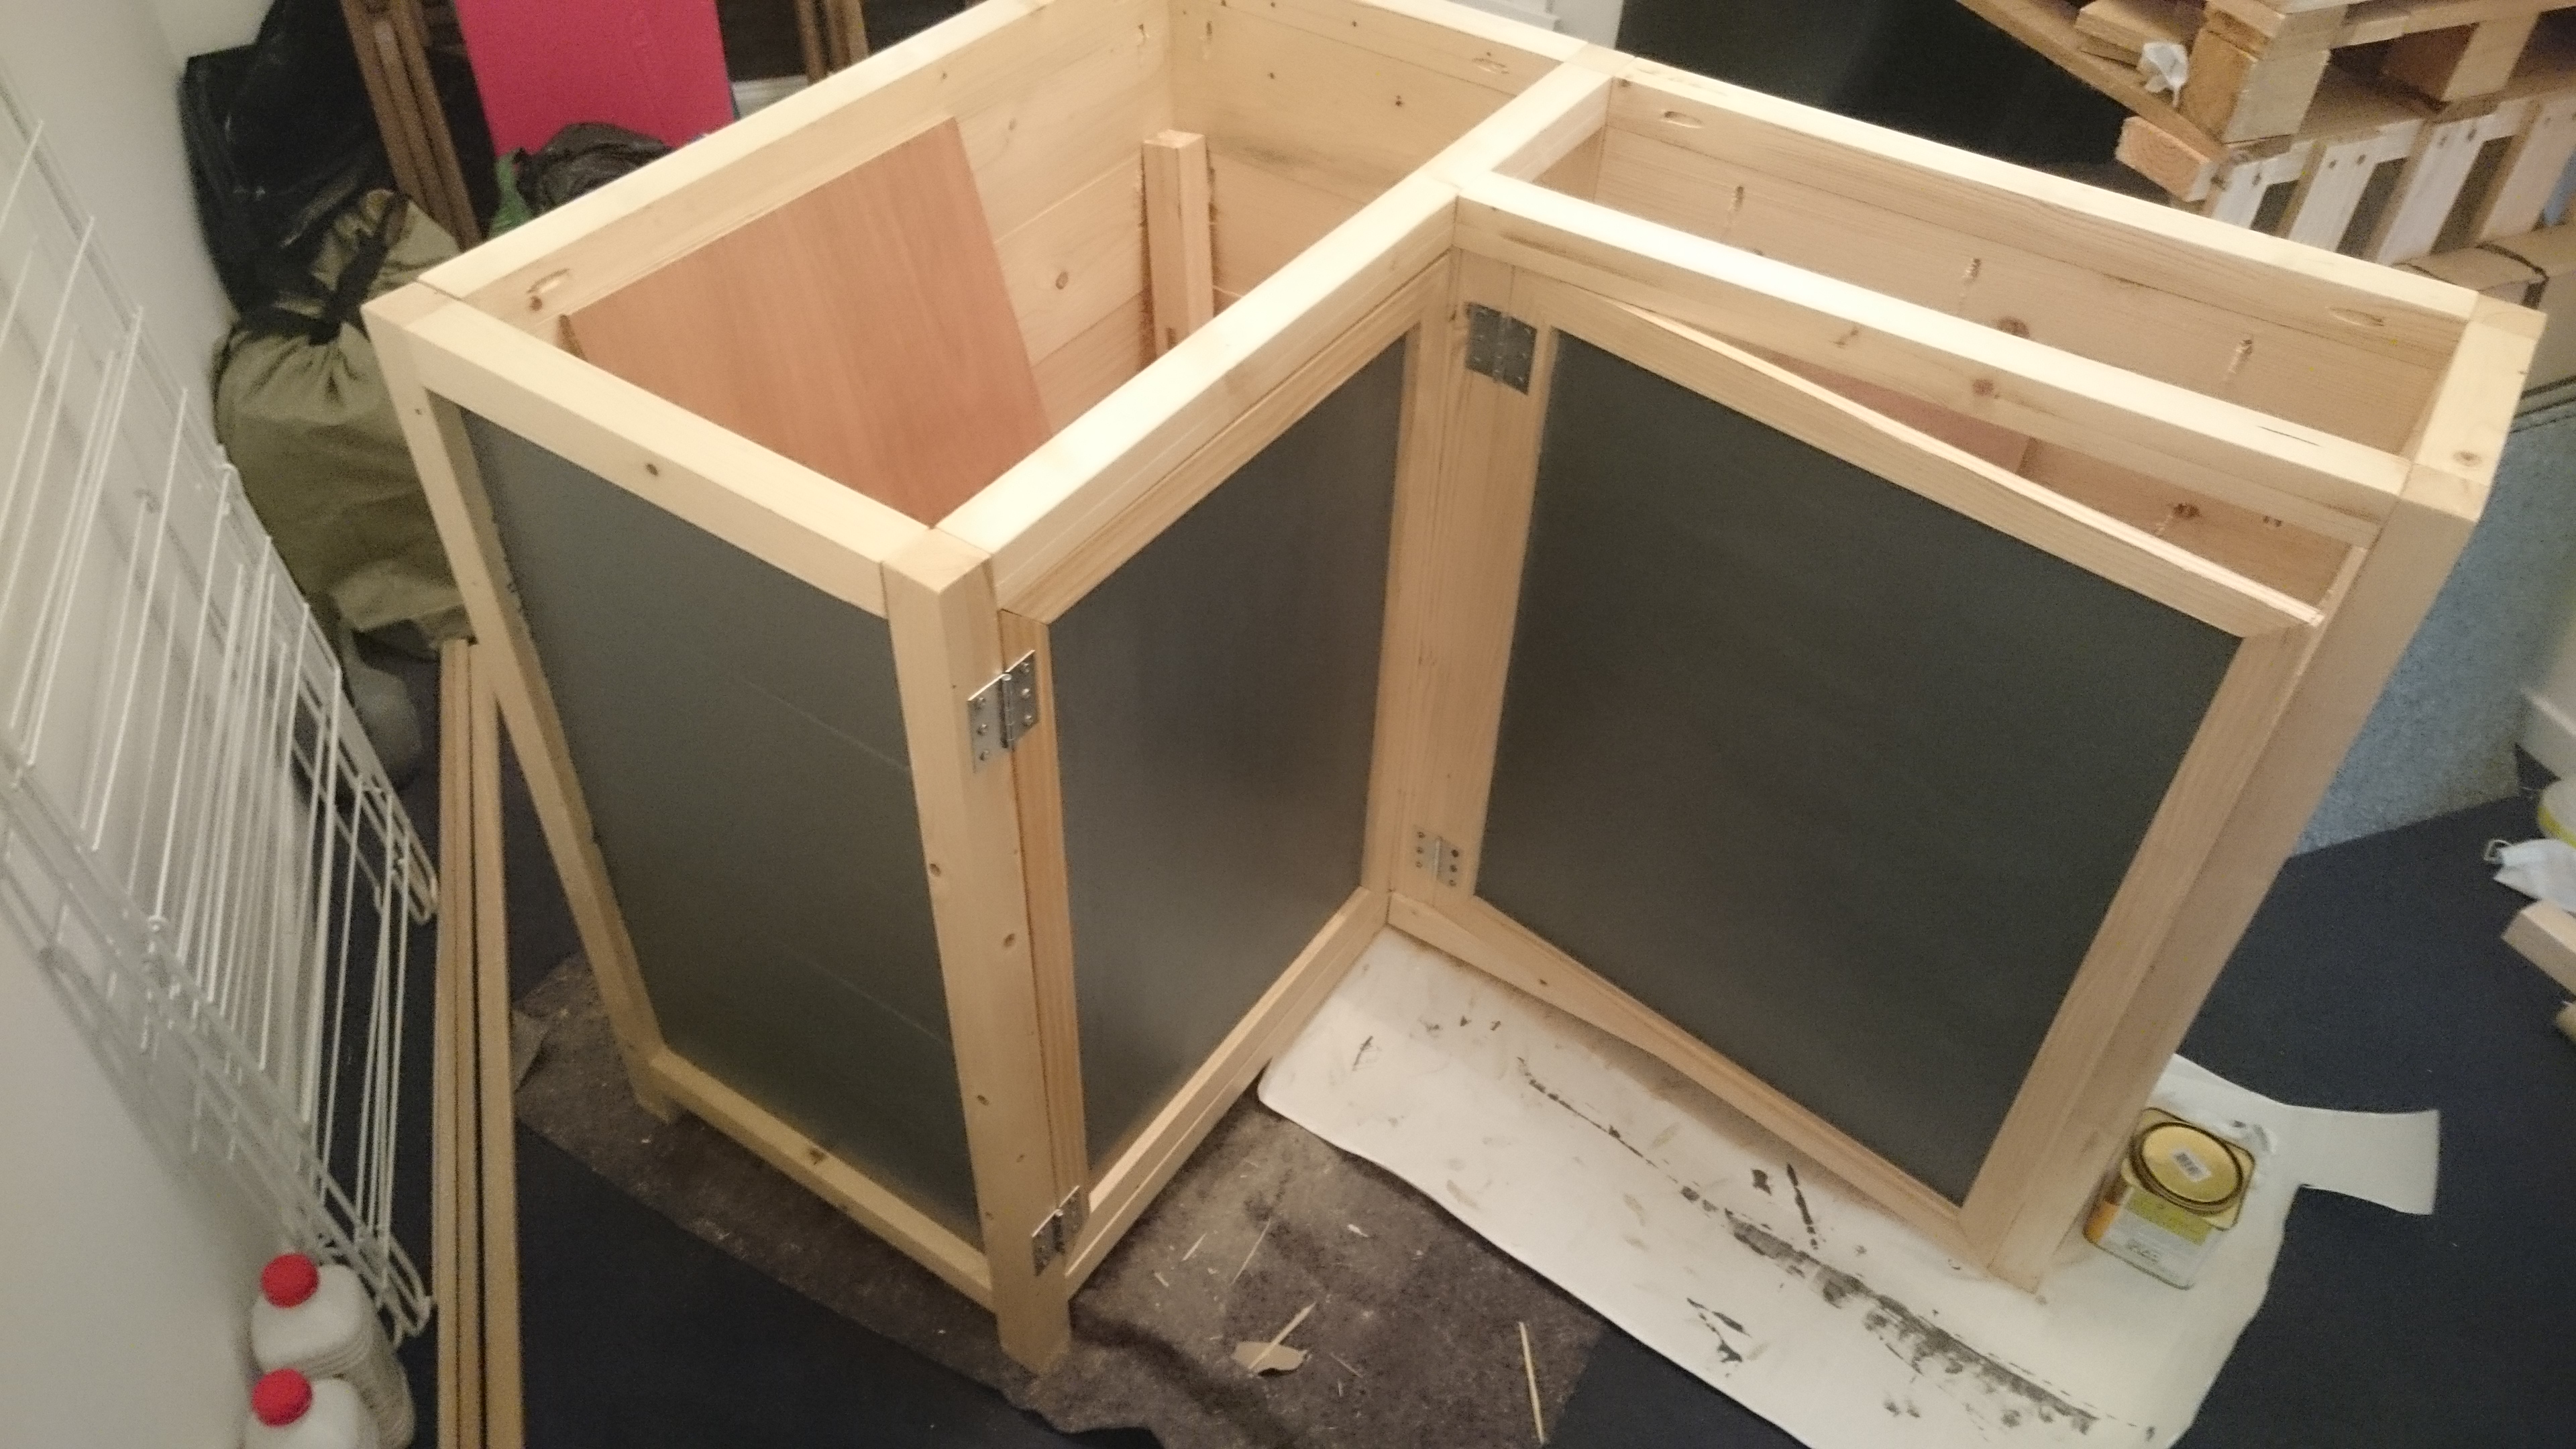
Then i painted them and once the paint was ok, i protected the wall furniture (painted parts and unpainted parts) whith an uncoloured protective product.
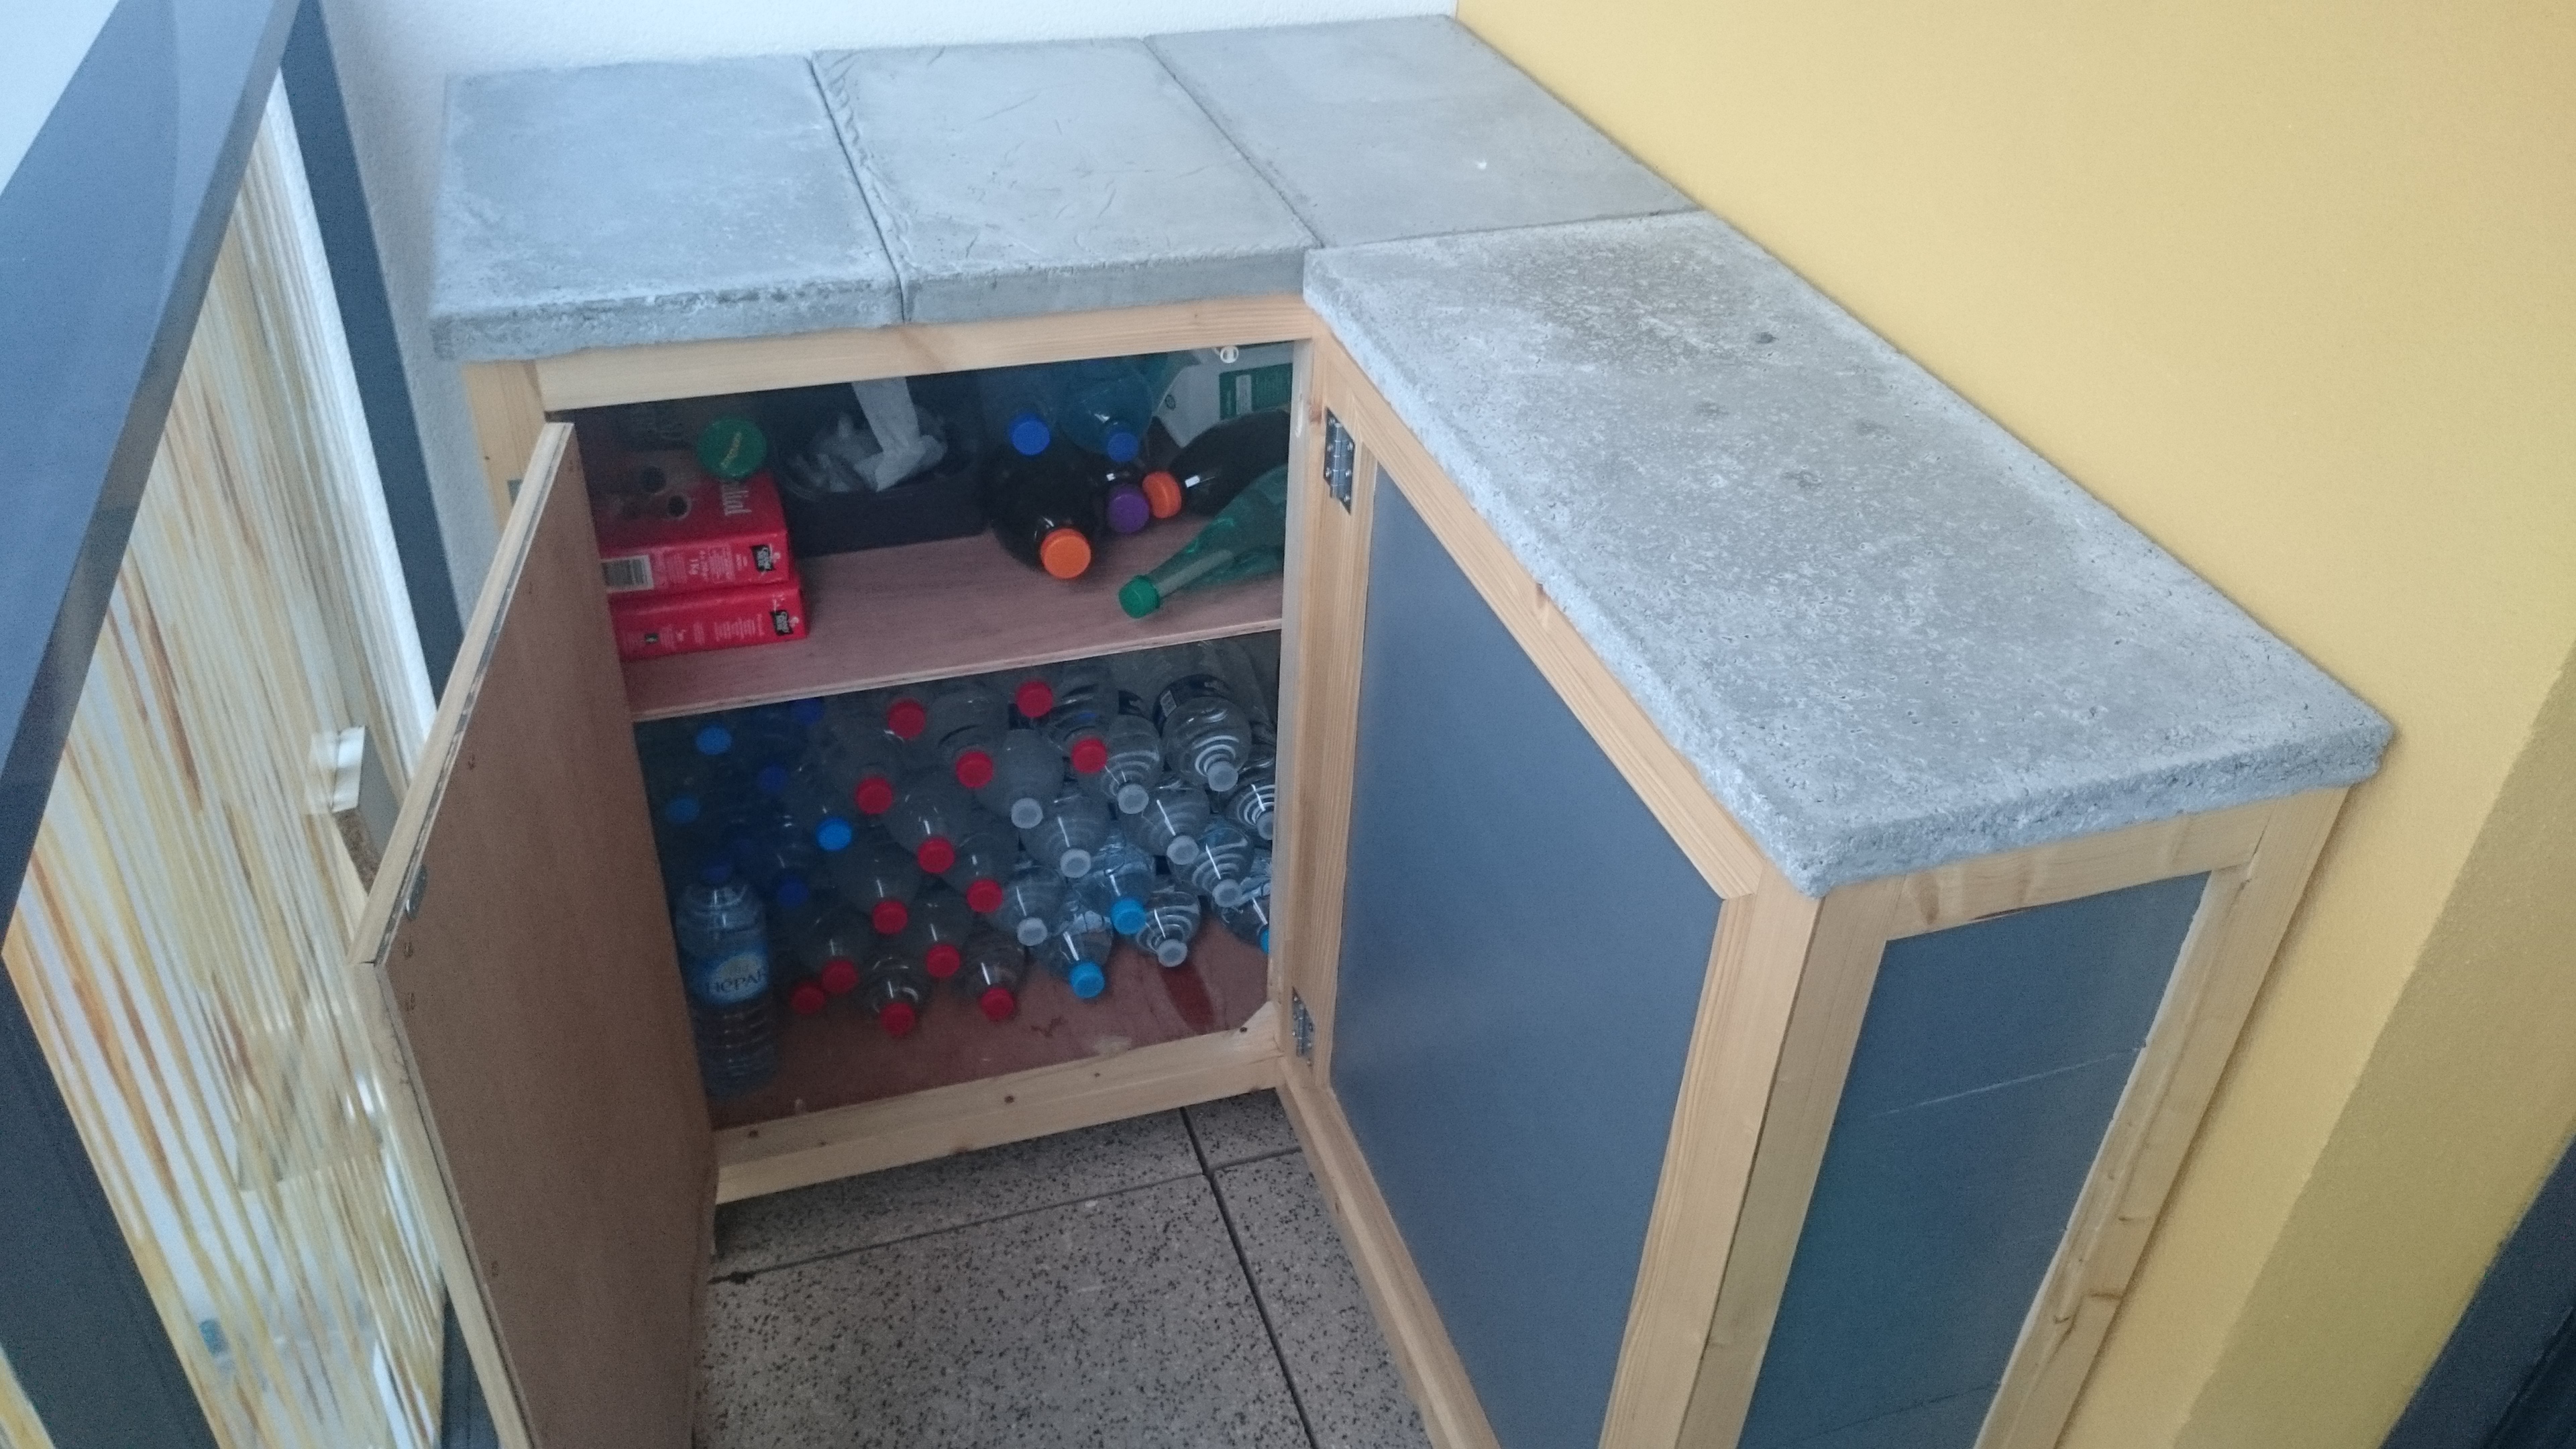
After that the inside was done to be able to store milk and water bottles.
The last part to be done was the upper part. I decided to make it in 4 indepedant concrete parts to be abble to replace it in case it breaks.
Estimated Cost
150 Euros
Estimated Time Investment
Week Long Project (20 Hours or More)
Recommended Skill Level
Intermediate
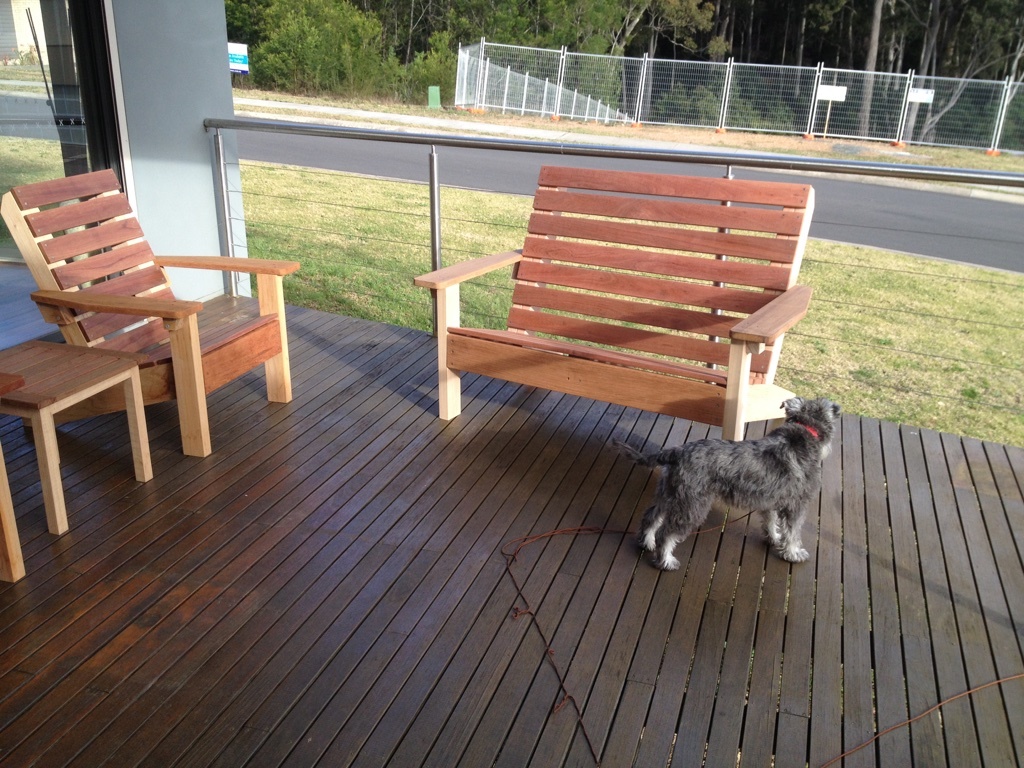
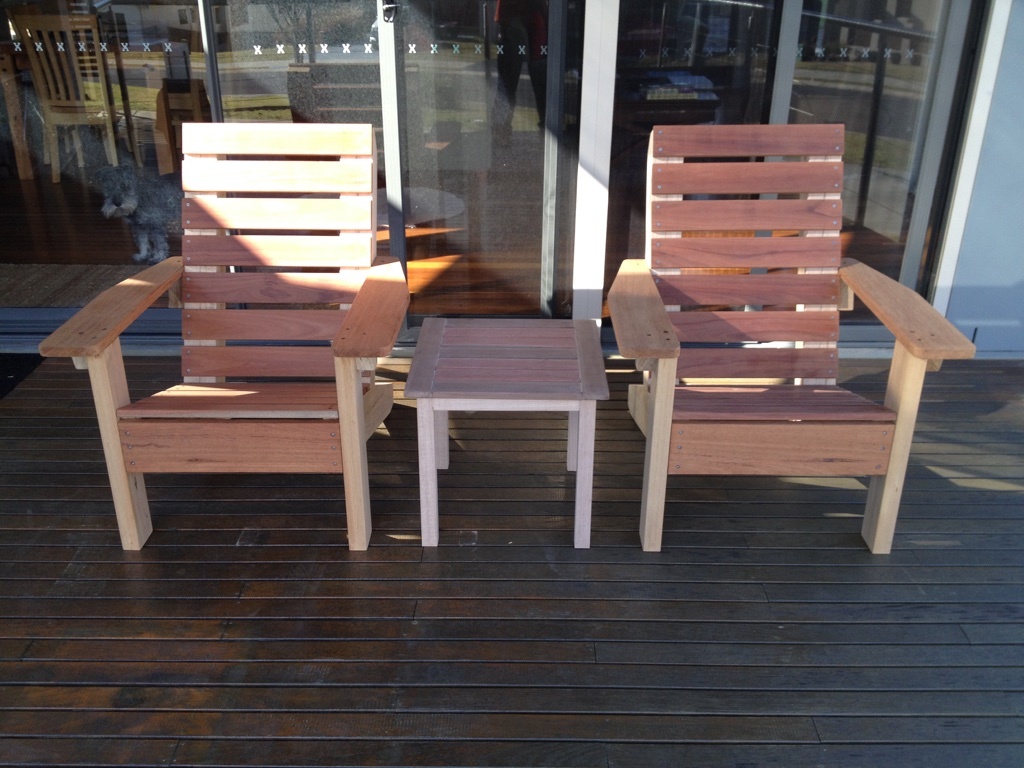
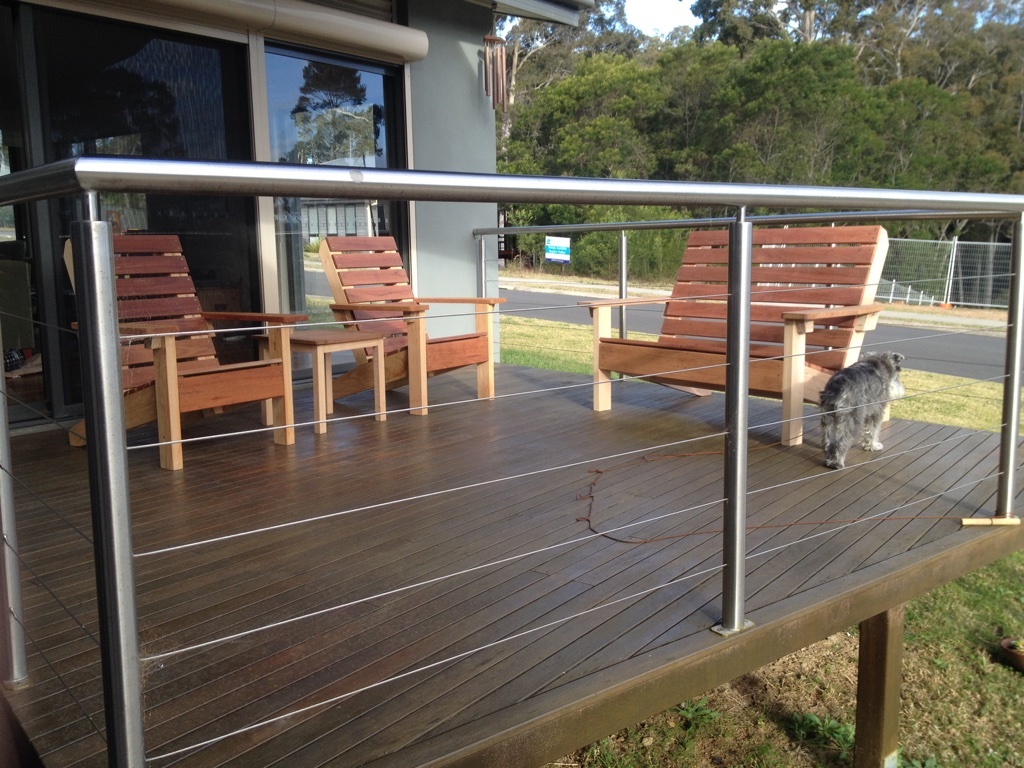
Outdoor double bench and Adirondack Chairs!
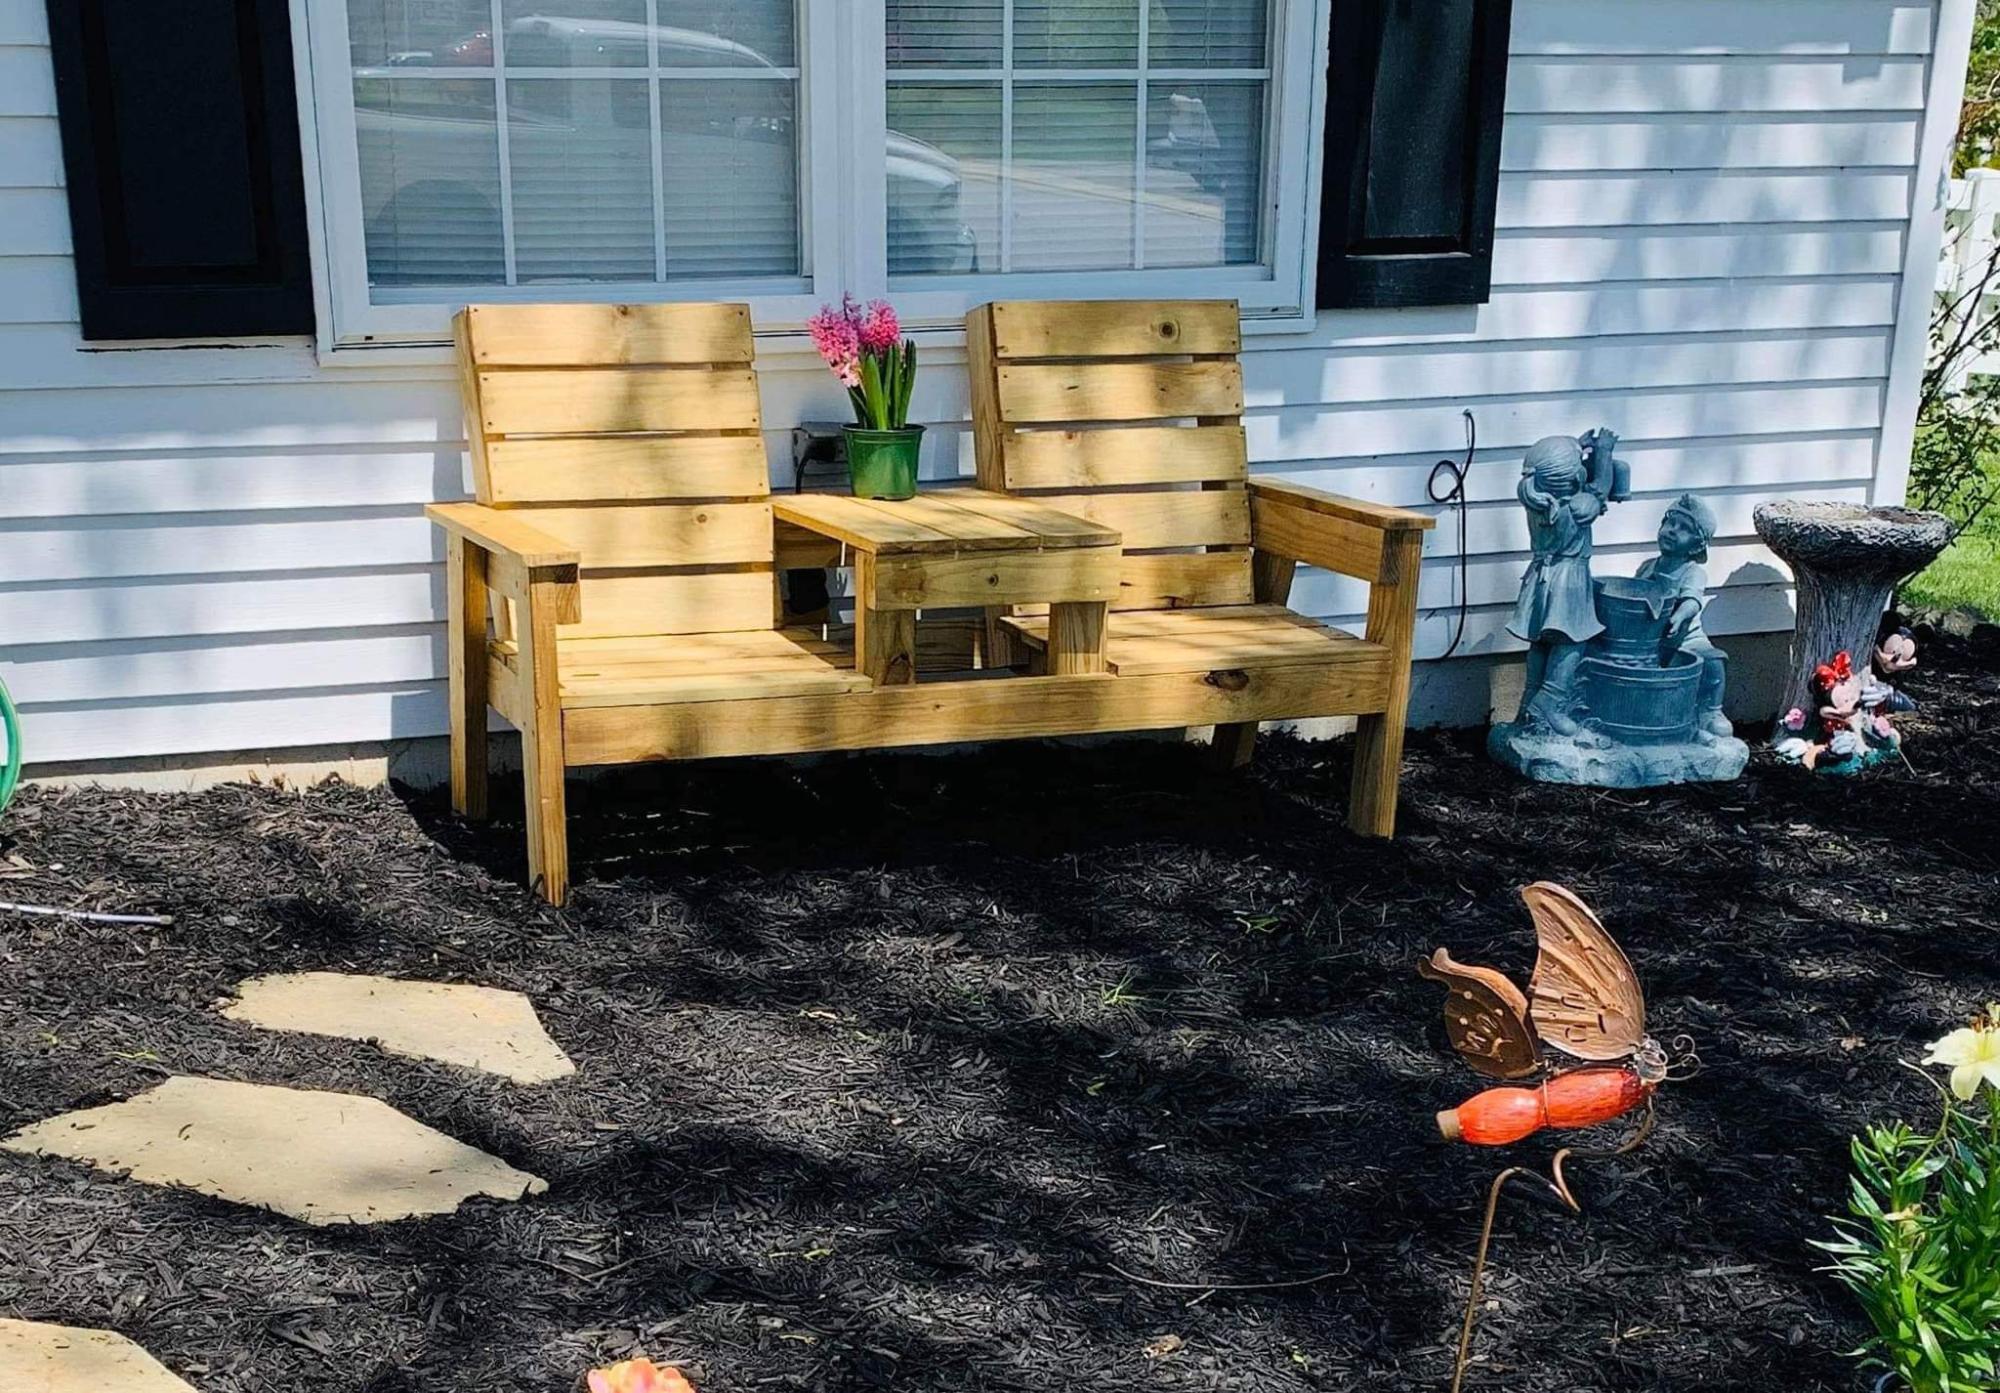
Nice outdoor bench and adirondack chairs by Nick!
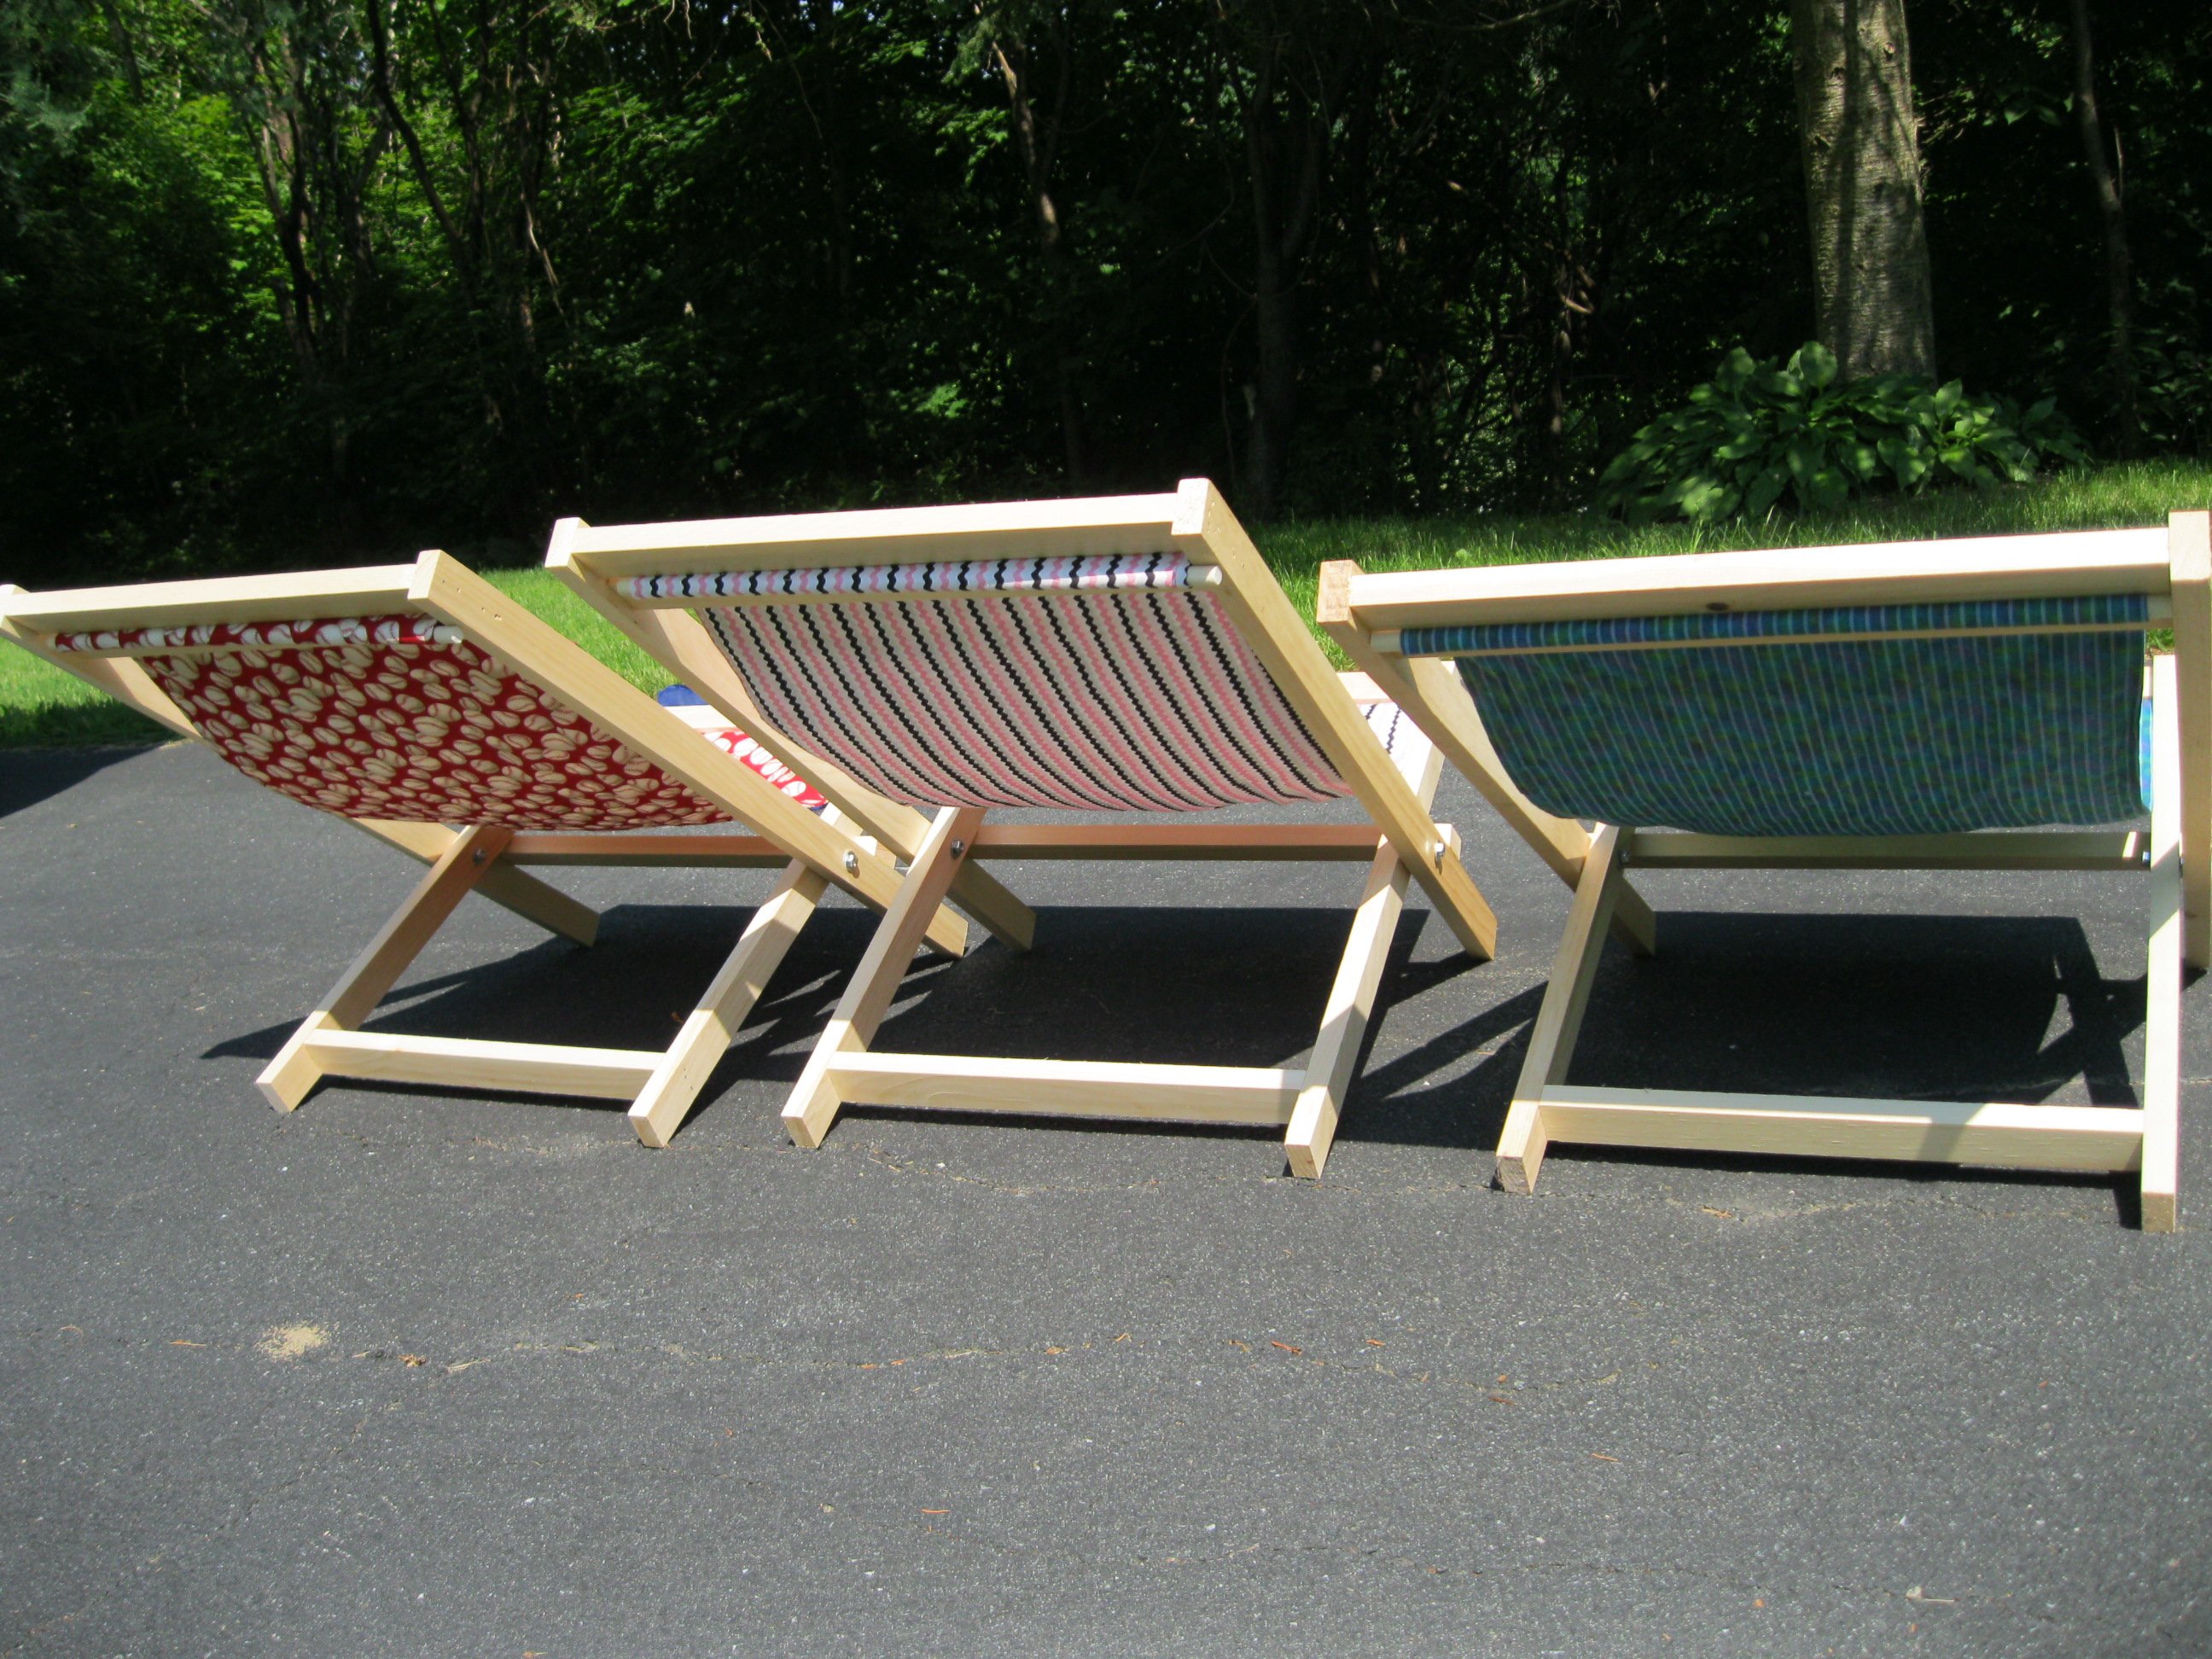
Three Little Sling Chairs
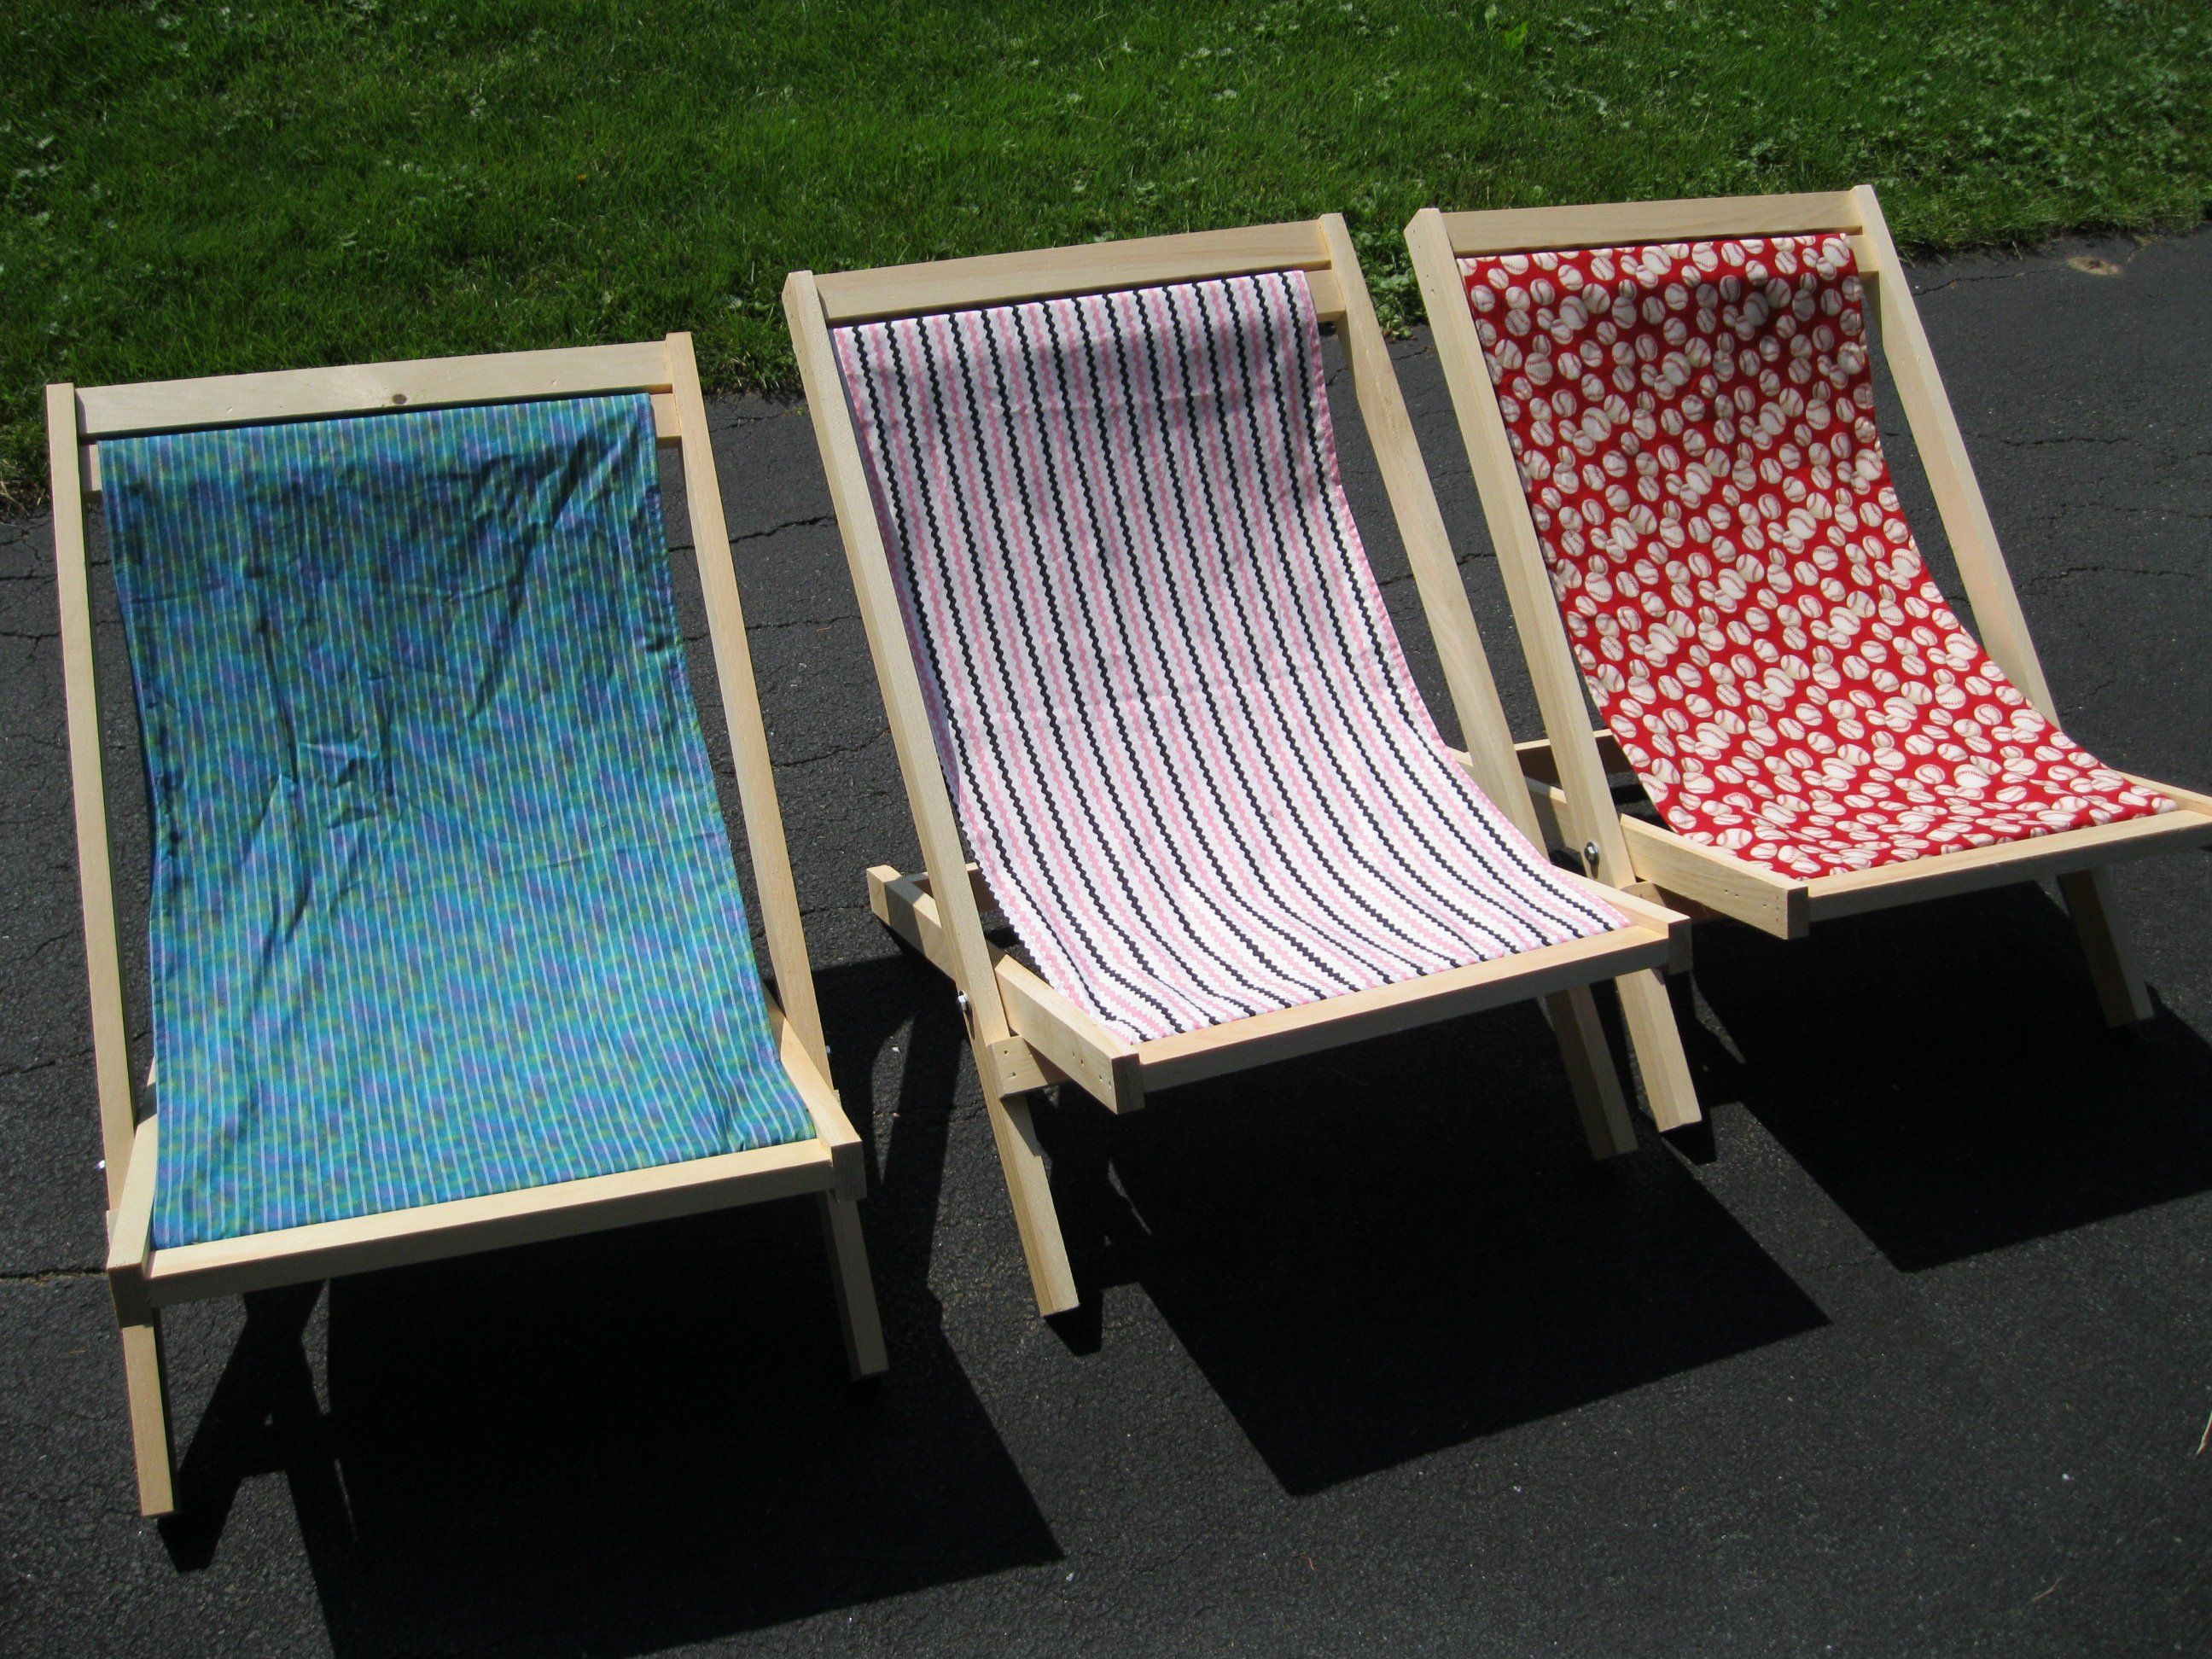
My first non-home-repair project. Made three of the sling chairs for my kids. They each picked out their own fabric (regular fabric). We still have not sanded, filled and painted but are hoping to do so this weekend. The kids were very excited to have them. I have been reading your website for months now wishing I had time to make something, and these chairs fit the bill. Thank you!

Estimated Time Investment
Afternoon Project (3-6 Hours)
Finish Used
Still unfinished. Undecided on how we are going to do each chair.
Recommended Skill Level
Starter Project
Comments
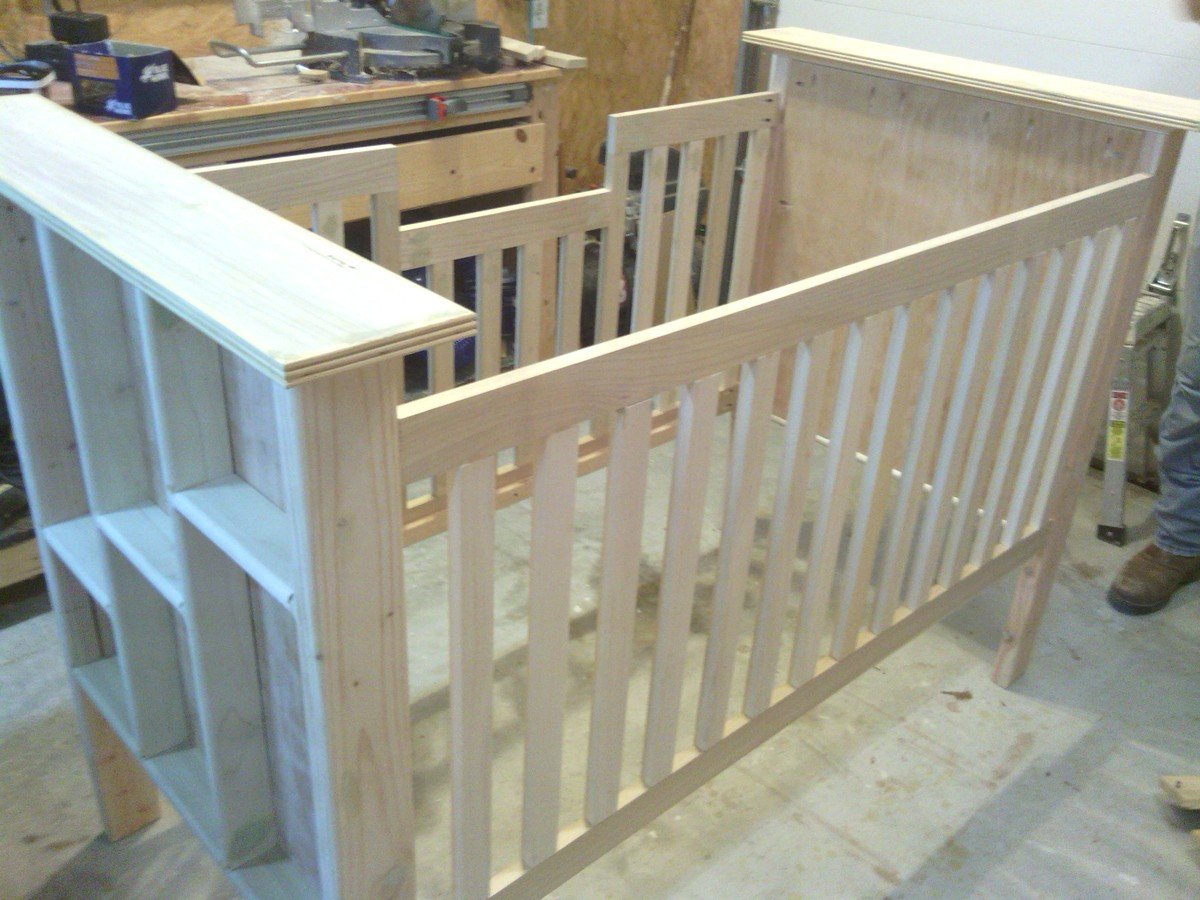
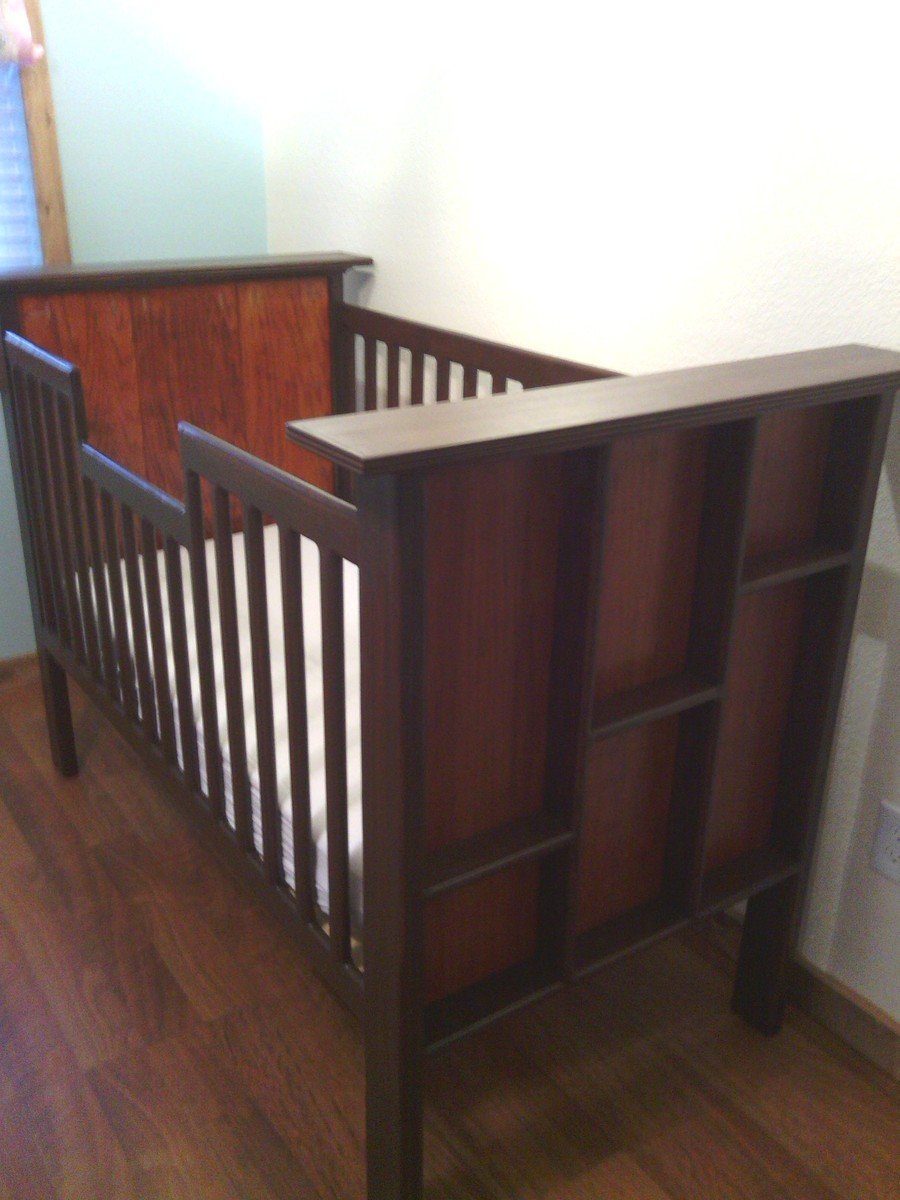
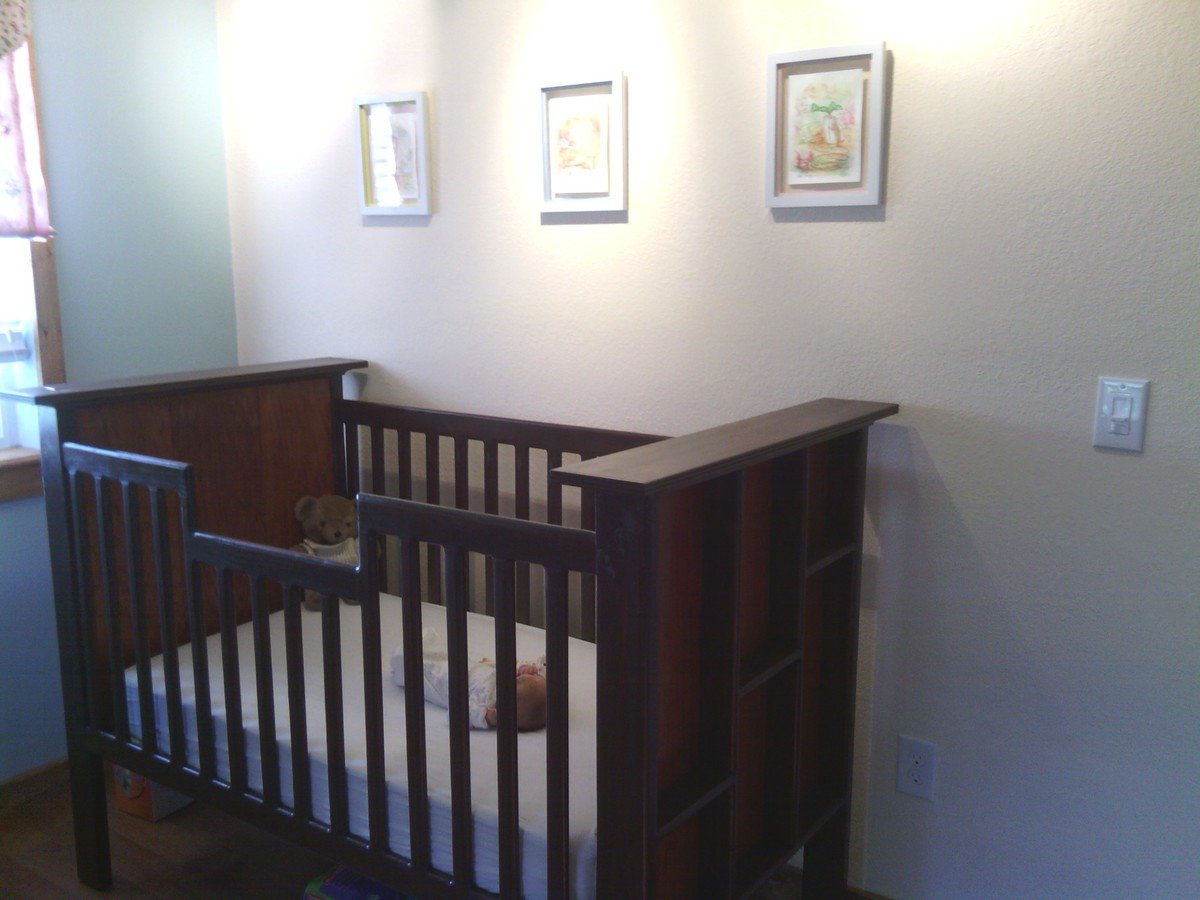
Crib for Ella
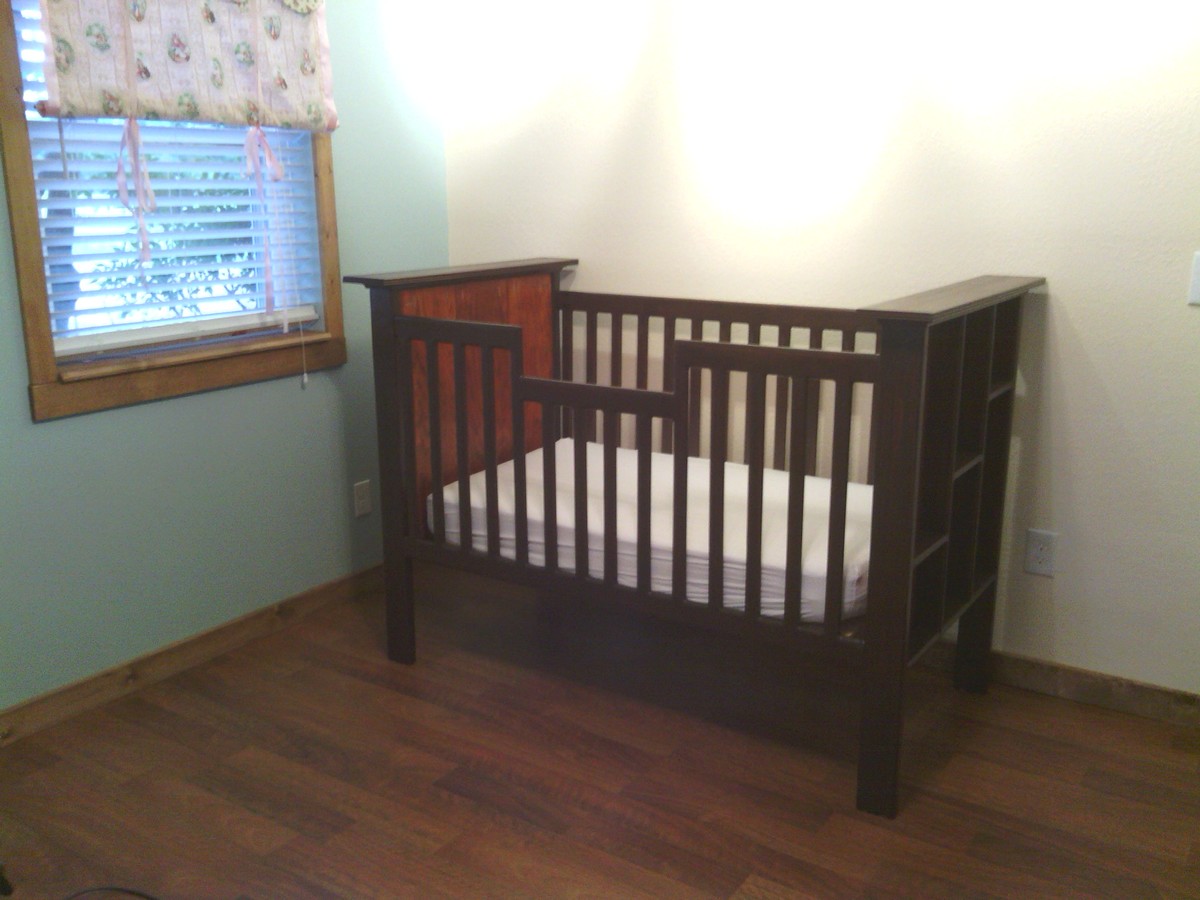
My husband recently designed and built our daughter's crib. After looking online and measuring another crib to make sure he had the rail spacing just right he came up with a plan and built it over a few weekends. He also built the changing station and will later build an armoire for her room as well.

Built from Plan(s)
Estimated Cost
$250
Estimated Time Investment
Week Long Project (20 Hours or More)
Finish Used
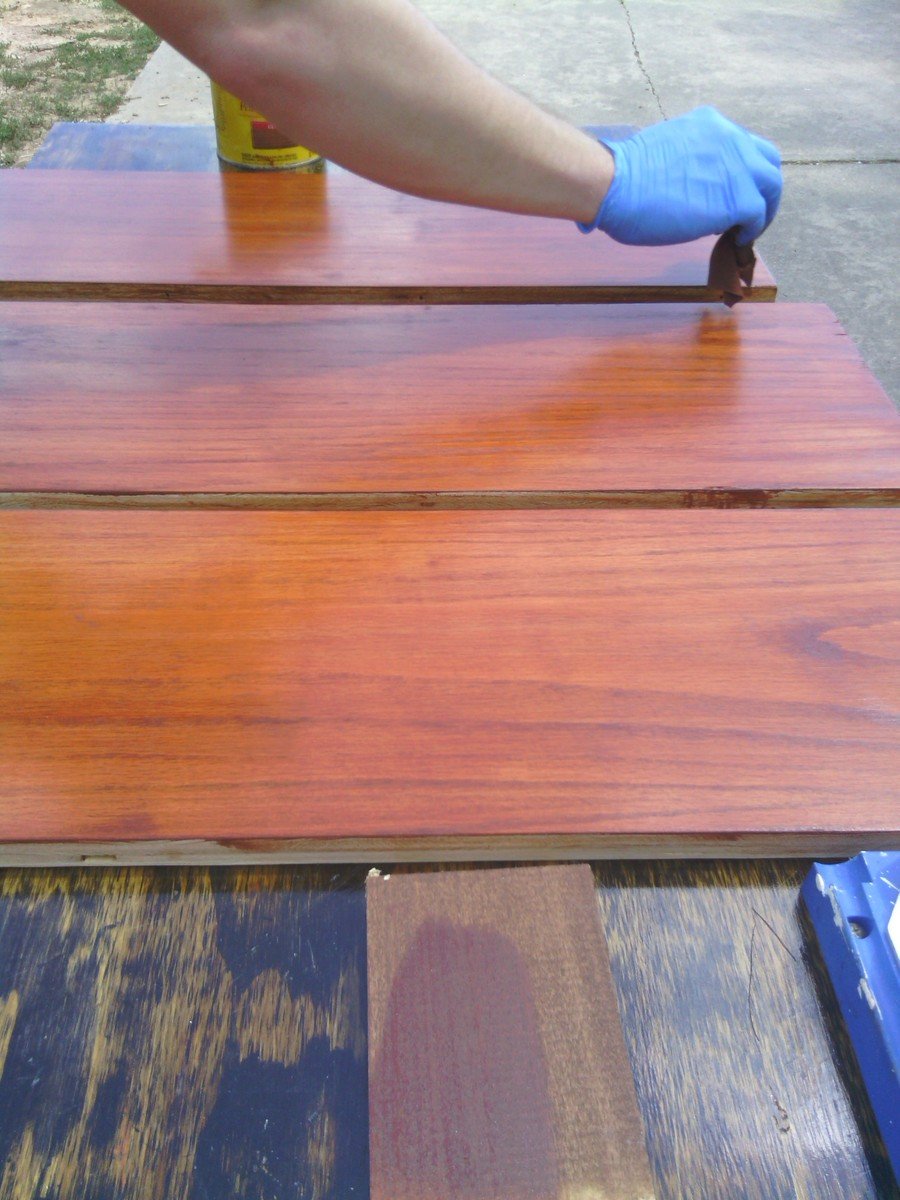
Rustoleum American Walnut on rails and frame
Minwax Gunstock on oak plywood (head and foot)
Minwax Gunstock on oak plywood (head and foot)
Recommended Skill Level
Intermediate
Comments
Tue, 07/30/2013 - 18:53
CRIB FOR ELLA
Beautiful!, I've been searching the web for plans to build a crib and haven't found any, would you mind sharing yours?, I think it looks amazing!
Media console and towers
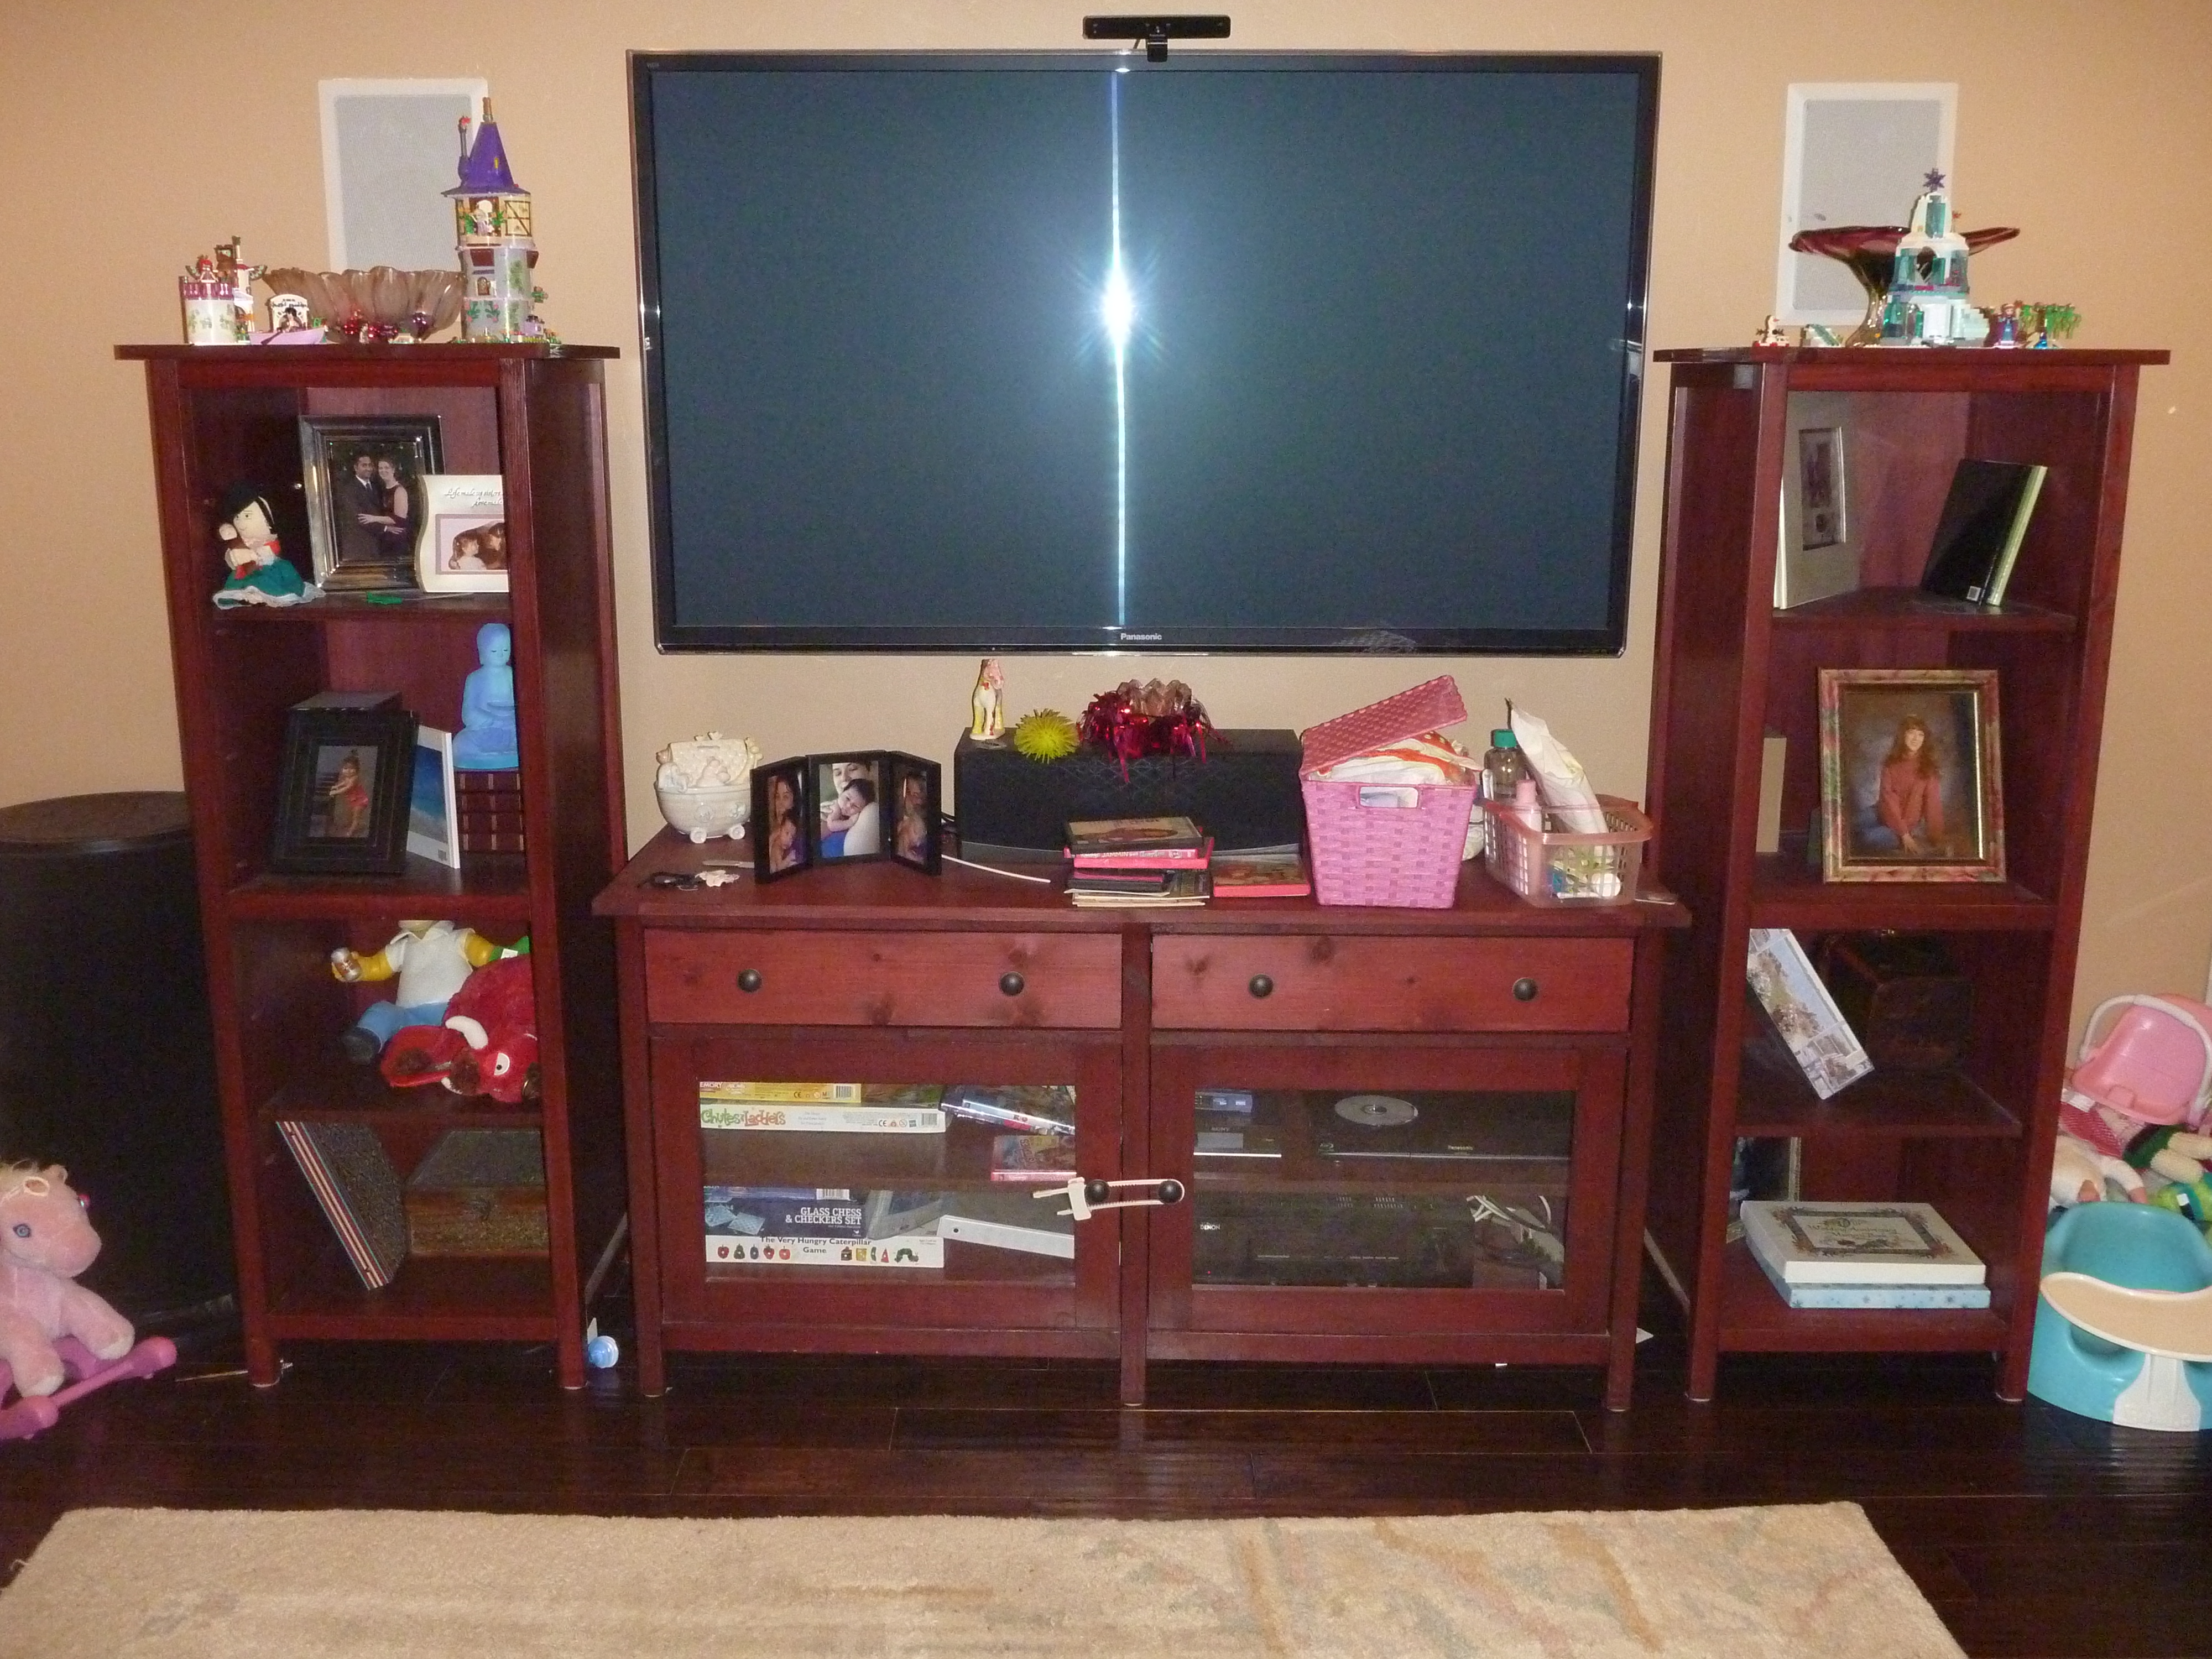
I wanted a new TV and my wife wanted new furniture...we both won...
Built from Plan(s)
Estimated Time Investment
Week Long Project (20 Hours or More)
Recommended Skill Level
Intermediate
48 inch island
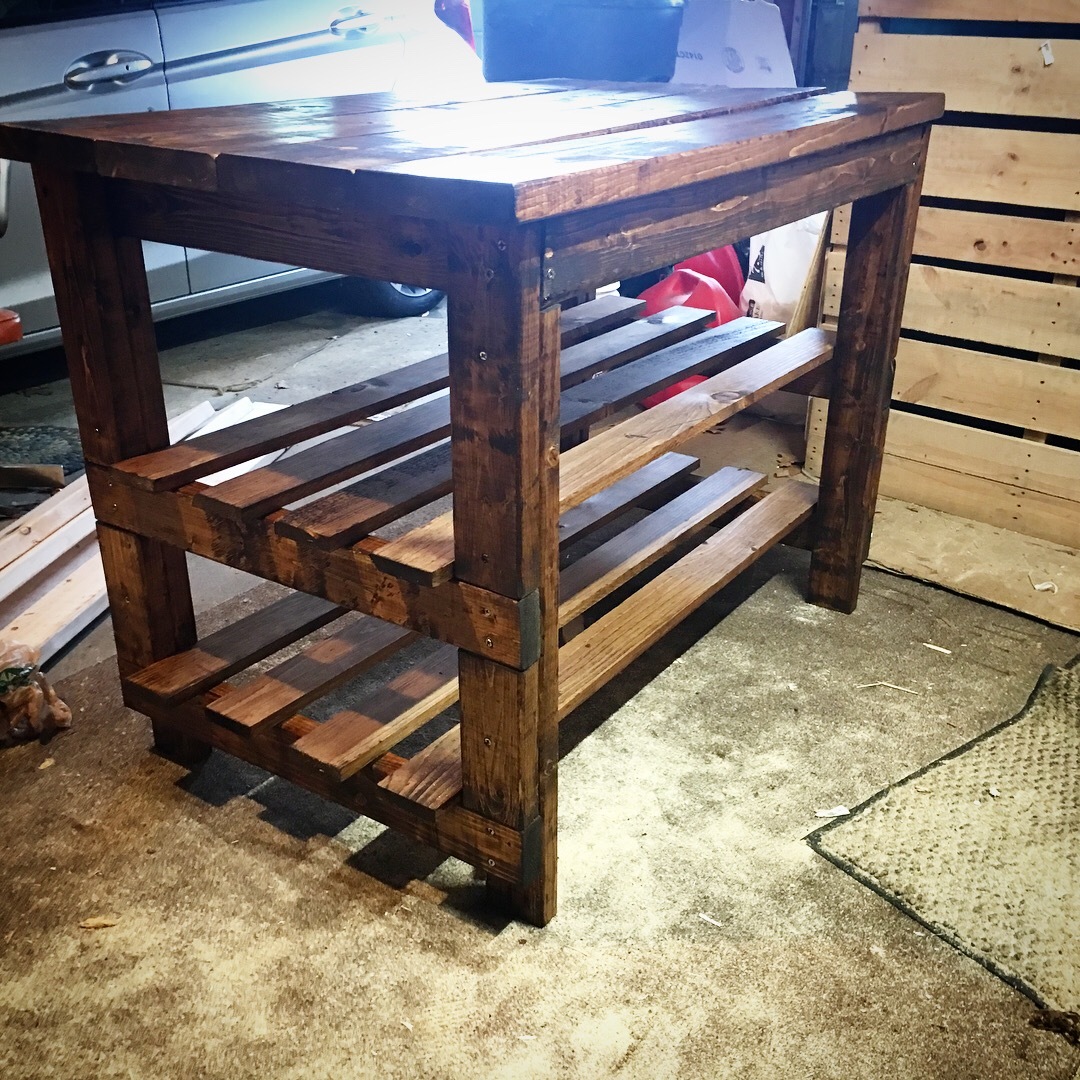
I chose to make this island 48 inches long to fit my smaller kitchen. I also used pine trim for the bottom shelving to make it more delicate.
Built from Plan(s)
Estimated Cost
90
Estimated Time Investment
Afternoon Project (3-6 Hours)
Recommended Skill Level
Starter Project
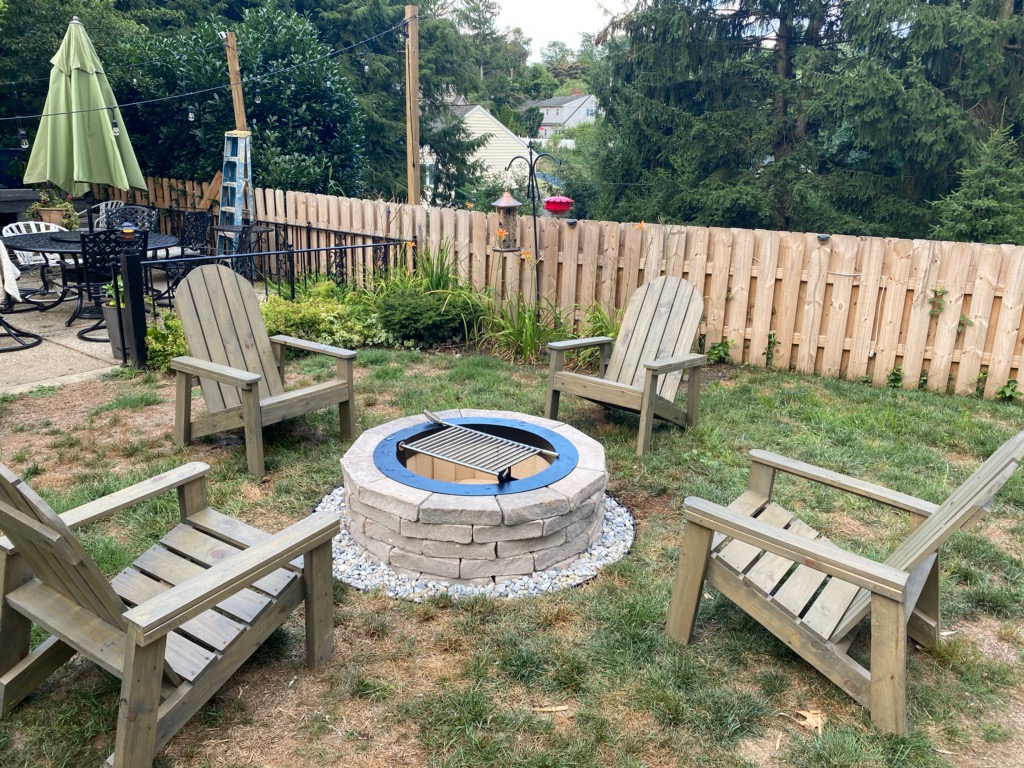
Adirondack Chair with Vertical Slats
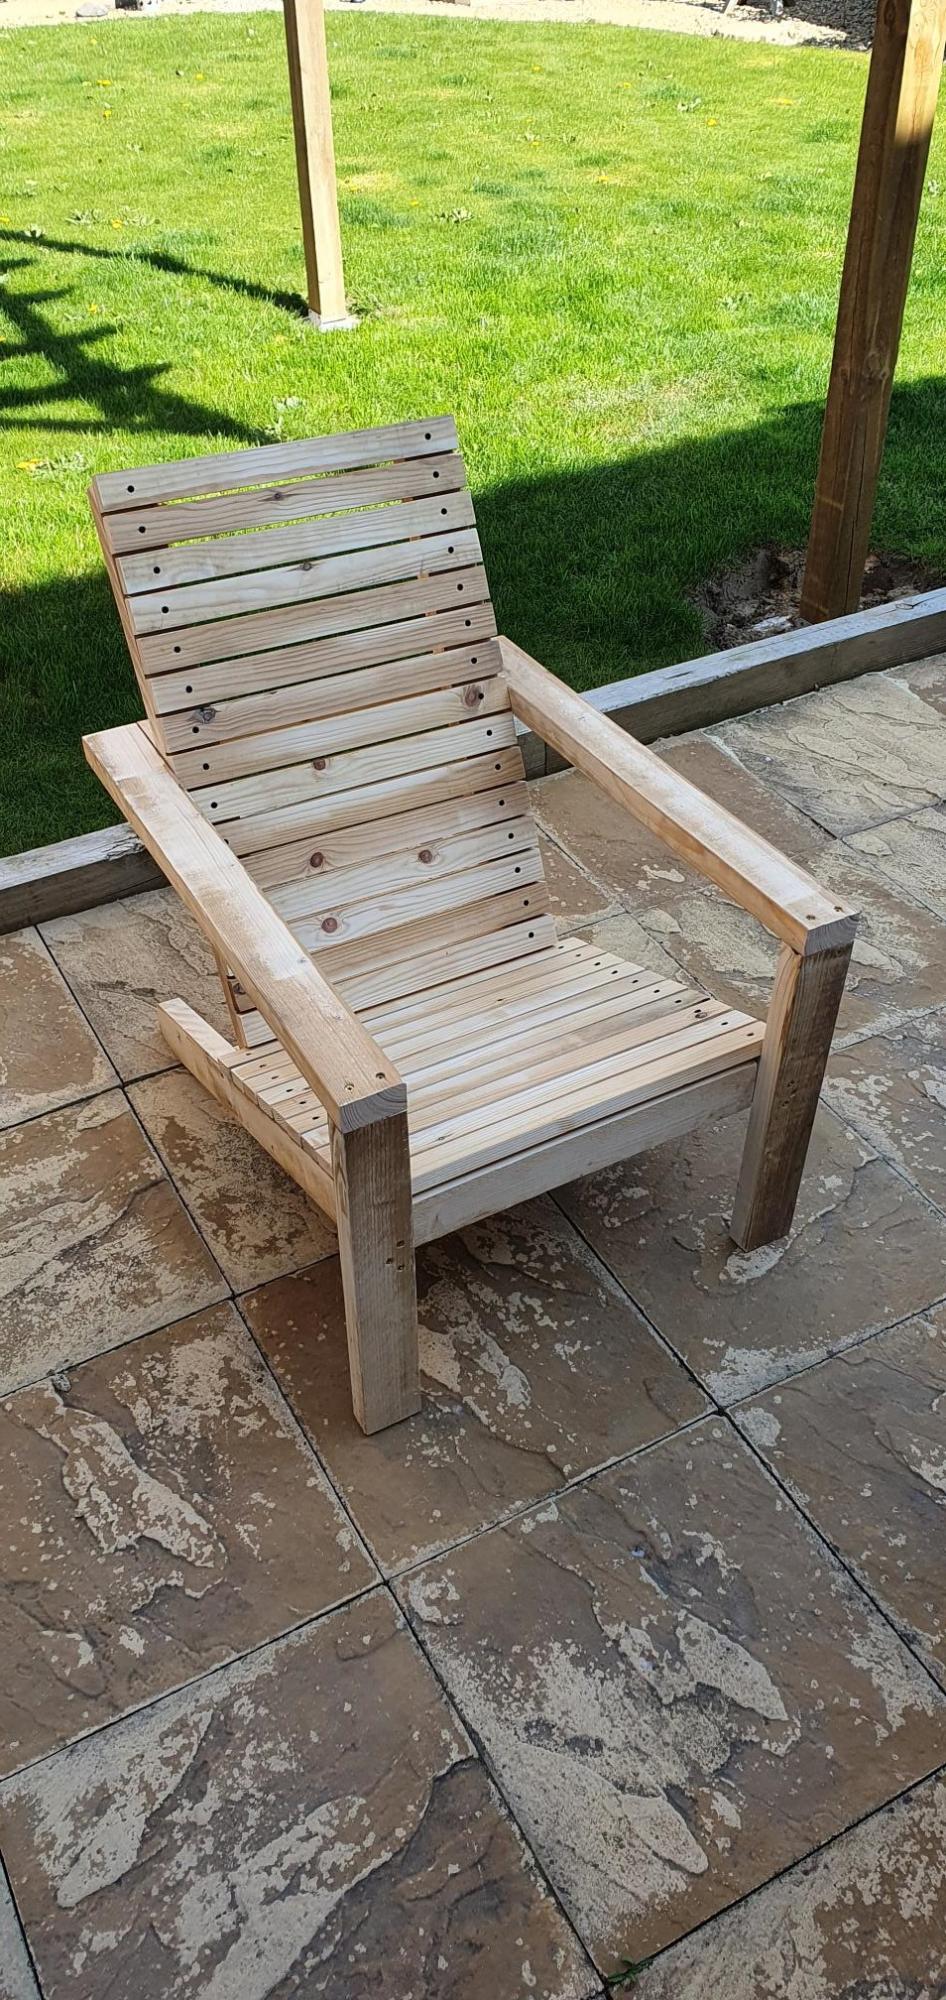
Built one of your Adirondack chairs today. Love it!
by Neil

Built from Plan(s)
Farmhouse Twin Bed
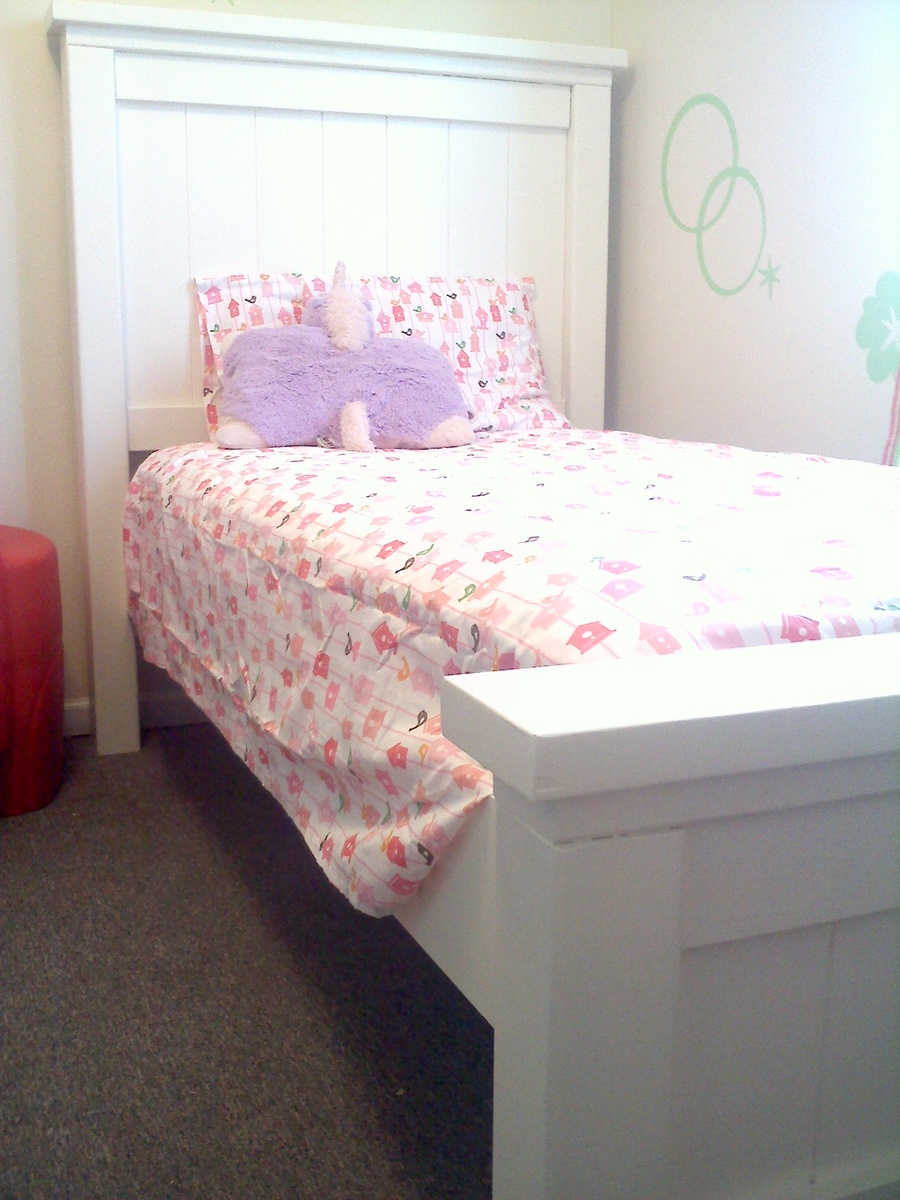
After making the sling chairs, I decided to give the Farmhouse twin bed a whirl for my daughter. I absolutely love it! It ended up costing us $225 for all of the supplies needed. The only issue we had in making this was trying to make it easy to disassemble. This was fun to make!

Built from Plan(s)
Estimated Cost
$225
Estimated Time Investment
Weekend Project (10-20 Hours)
Finish Used
Behr Creamy Almond Paint
Recommended Skill Level
Beginner
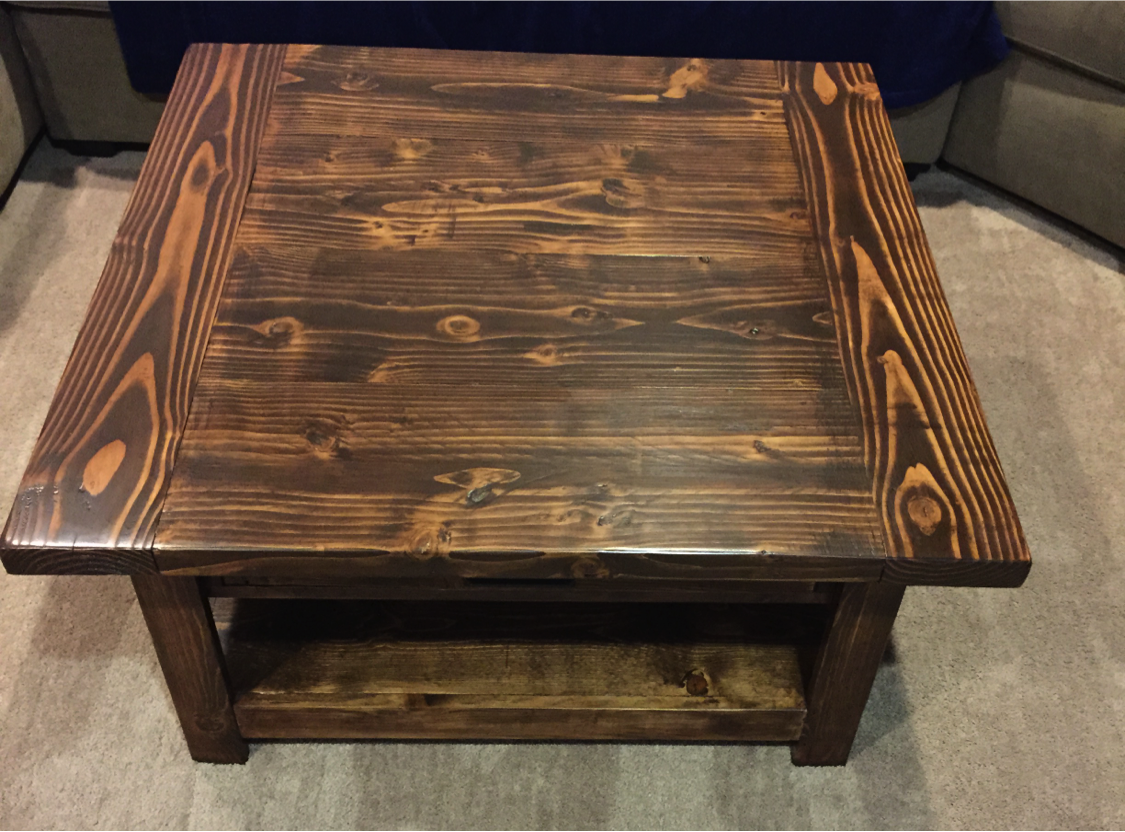
First Coffee Table
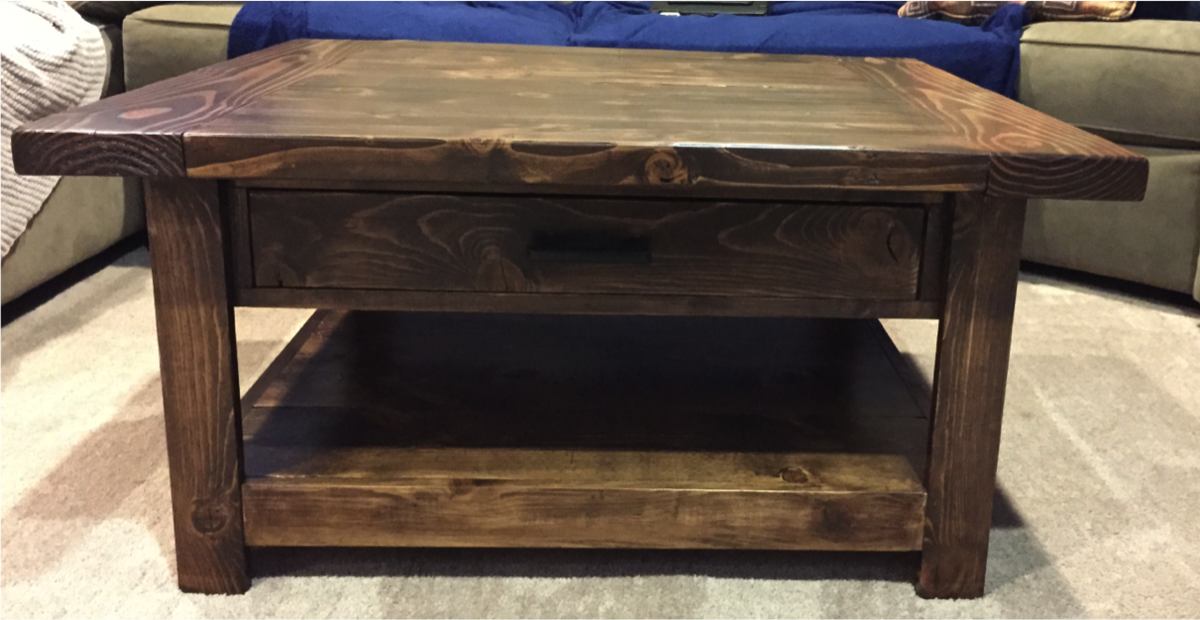
Inspired by the Pottery Barn benchwright square coffee table, I made this approximately 36'' square with one large drawer.
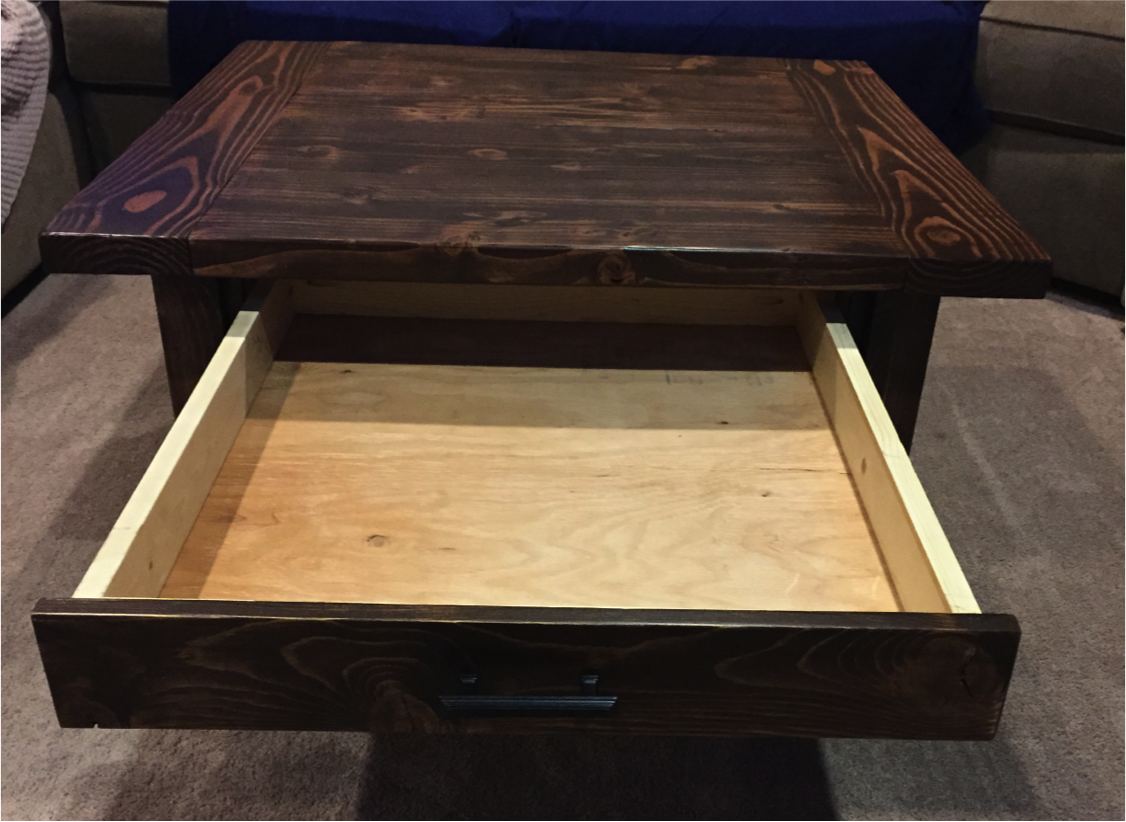
Built from Plan(s)
Estimated Time Investment
Weekend Project (10-20 Hours)
Finish Used
Rustoleum Dark Walnut stain with Minwax Satin Polyurethane
Recommended Skill Level
Intermediate
Comments
New side table for our guest space
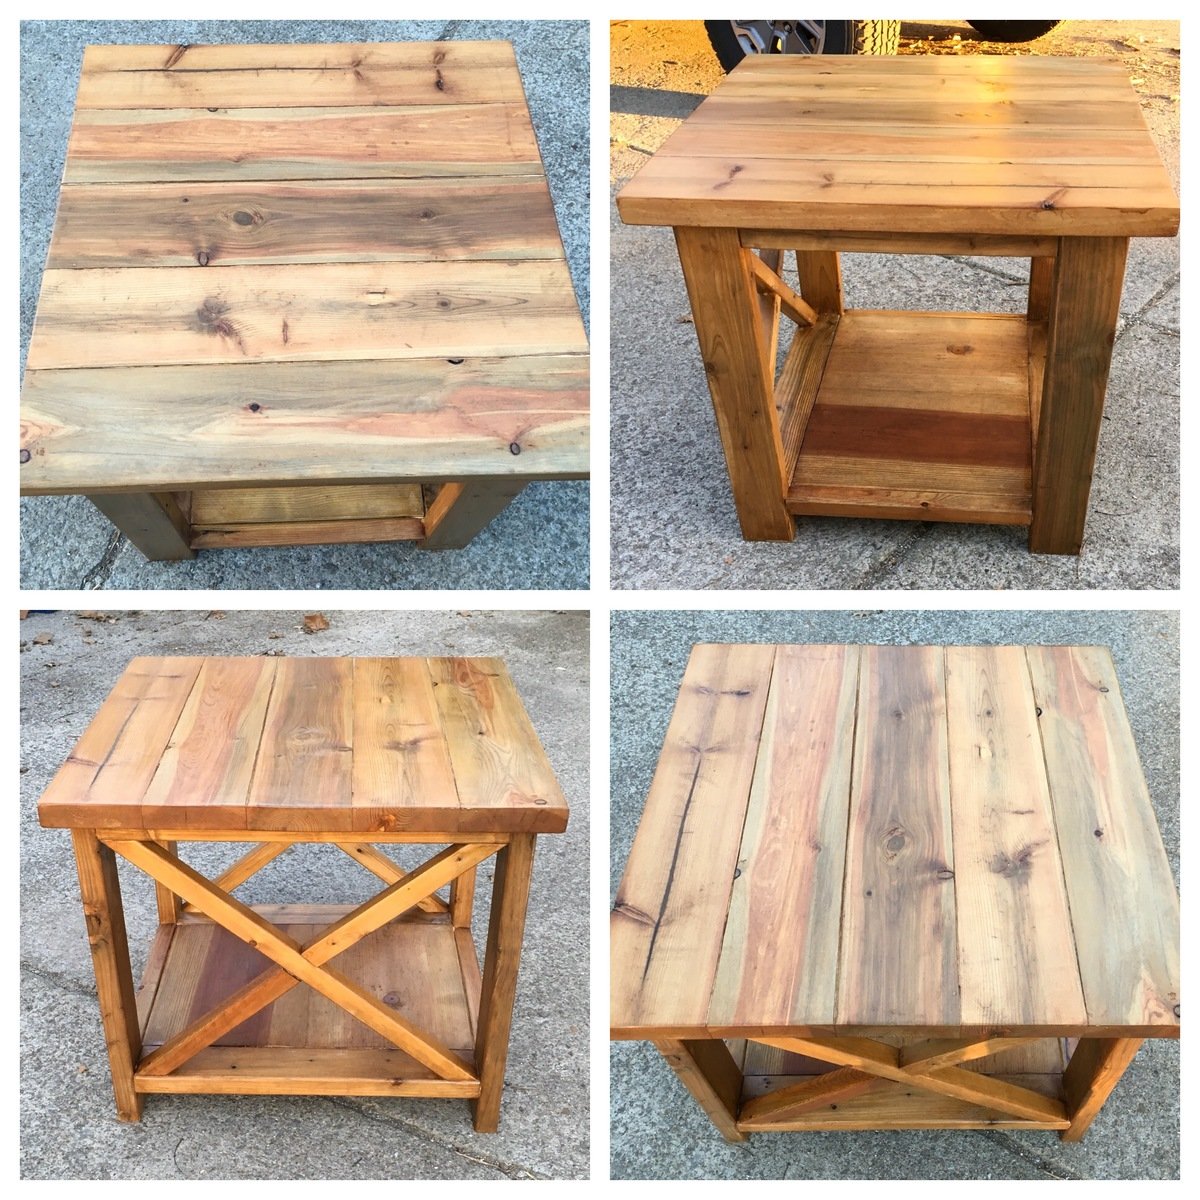
I was making a set of side tables for my daughter and decided to make an additional one for our spare room/guest space. I love to try new wood treatments so I used Apple Cider Vinegar applied with a steel wool pad on this table. Let the steel wool soak for about an hour and then applied. Sanded after dry to even out the finish and then applied a gloss finish to give it a beautiful shine.
Built from Plan(s)
Estimated Time Investment
Afternoon Project (3-6 Hours)
Finish Used
Apple cider Vinegar applied with Steel Wool Pad
Recommended Skill Level
Intermediate