Tapered planter
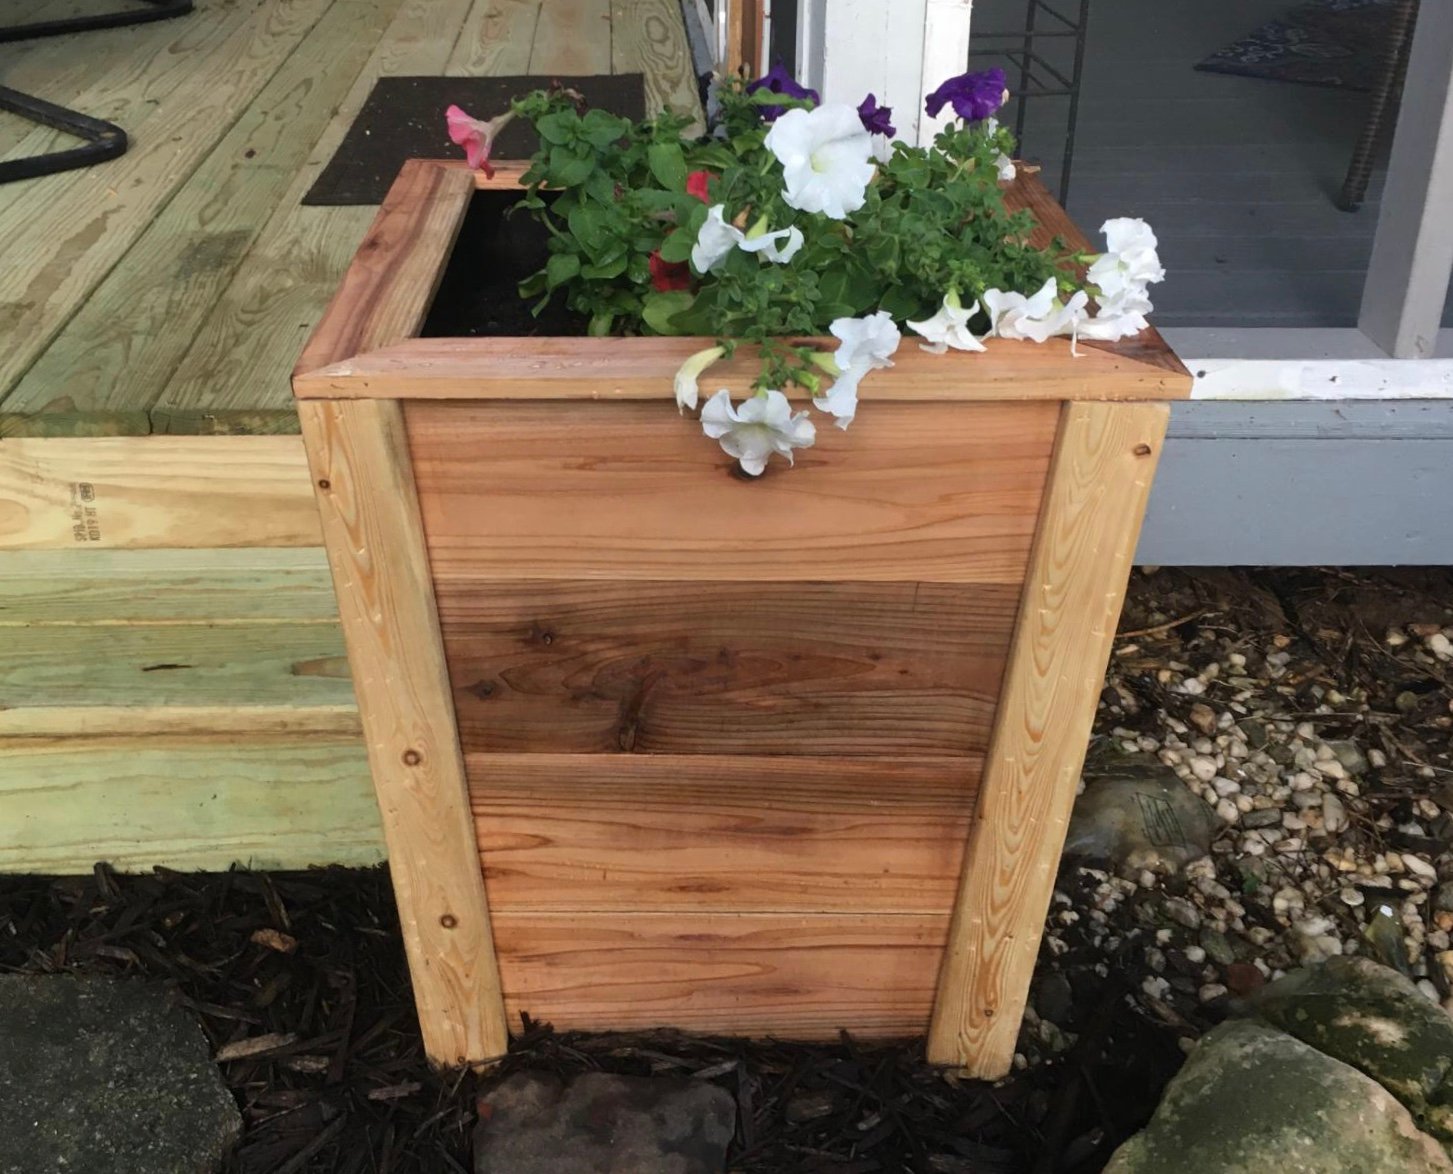
Next time, I will cut the 1x2 and 1x3 at the 5 degree angle to match the top and bottom planes...
Thanks for the idea! It is great

Next time, I will cut the 1x2 and 1x3 at the 5 degree angle to match the top and bottom planes...
Thanks for the idea! It is great

This is a bay window standalone desk. The desk has an enormous top and fits snugly into the bay window. It did not have to be attached to the wall. There are four pieces in total: the top, 2 base units and a support that spaces the desks at 36" and further secures the top.
The base unites are built from the File Base Classic Wall Storage System and the top is glued up 2x12s that were planed down and straight edged.


We have considered buying a cedar-lined chest to store blankets, towels, etc. for many years. However, we couldn’t find one that came close to matching the Knotty Pine bedroom set that we had in our master suite.
Hence, our design criteria was quite simple; match the bedroom set and have a chest sturdy enough to support our Beagles as they peer at the squirrels outside the window.
We used plans / ideas from several different chest designs which were readily available on the internet. Most of those plans were using hard woods such as oak. Those plans called for a hard wood framing with ¼” oak plywood for the panels. Since we needed to use Knotty Pine to match the bedroom set, we used 1” Knotty Pine for framing and Knotty Pine ¾ ply w/ Kreg Screws and copious glue to strengthen the construct. We finished it off with locally available 3/8” cedar T.G. planks. It is very heavy and very strong! This project was done entirely w/ Kreg Screws and no router rabbeting for the panels.
We learned the following while doing this project:
· When using soft woods, always put the power sander on the wood before you start the sander. Otherwise, you can get scratching / sander burns that don’t present themselves until staining begins.
· While very strong, ¾” plywood is very heavy!
· When using plywood, it is recommended that you stain both the visible and non-visible sides of each piece where glue is not to be applied. Otherwise the chance for delaminating increases dramatically.
60 hours work and $350 to build.
Mon, 12/15/2014 - 12:40
Beautiful chest. I better get busy and make one.

Our old screen door wasn't cutting it anymore, so I built a new one, and to kill two birds with one stone, I included a built-in dog door. Now I just need to find the motivation to close off the old dog door.
I have the plans to build this screen door with a built-in dog door posted via the blog link below for anyone interested.

I was only going to build the table, but after I found this chair and decided to make the 8 chair set. Great descriptions a d plans.


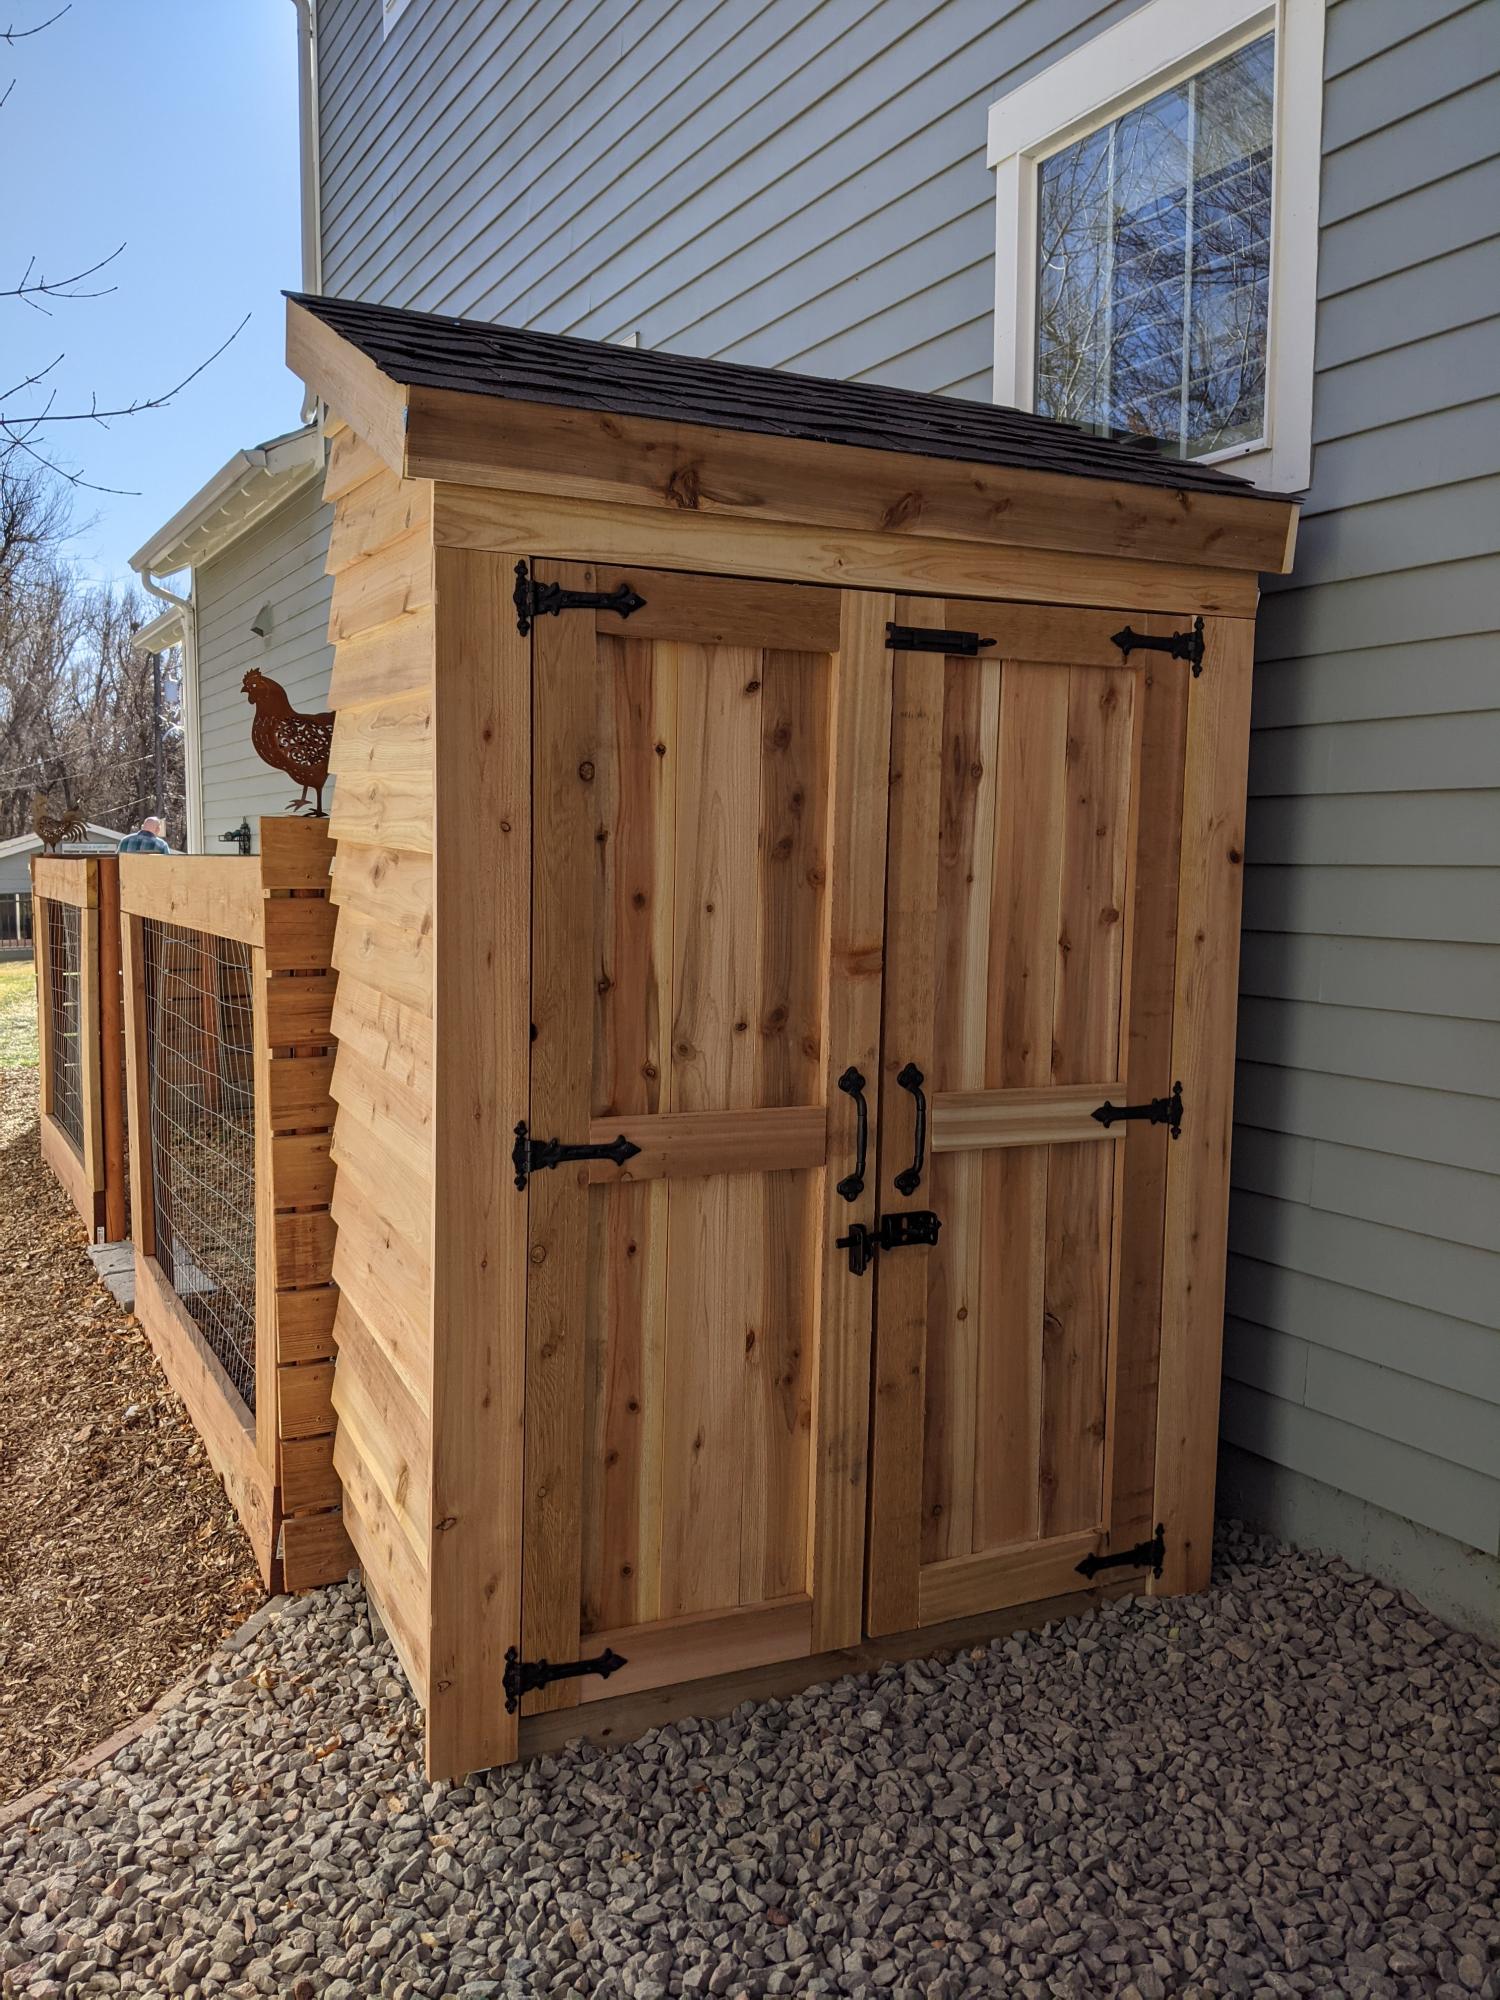
Our take on the small garden shed. Ours is 4 1/2 by 7 feet. We used cedar fence pickets and 2x4 construction. Left over shingles from when our house was built. We are definitely not roofers or framers, also chasing around a 3 year old didn't make things easier. Turned out beautiful for what we want it for. Just rustic enough. Great intermediate project.
Mon, 11/30/2020 - 11:14
You did a great job, the 3 year olds add just the perfect amount of challenge to really appreciate a completed project!:)
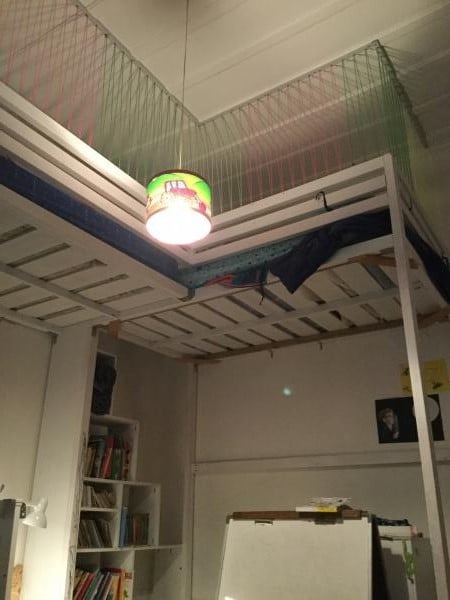
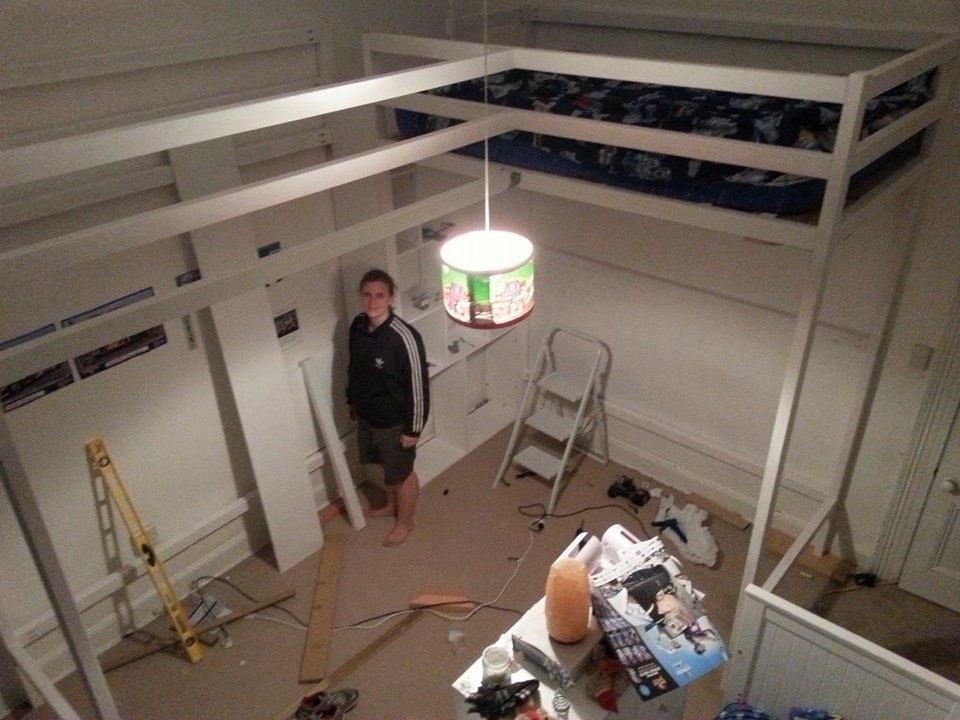
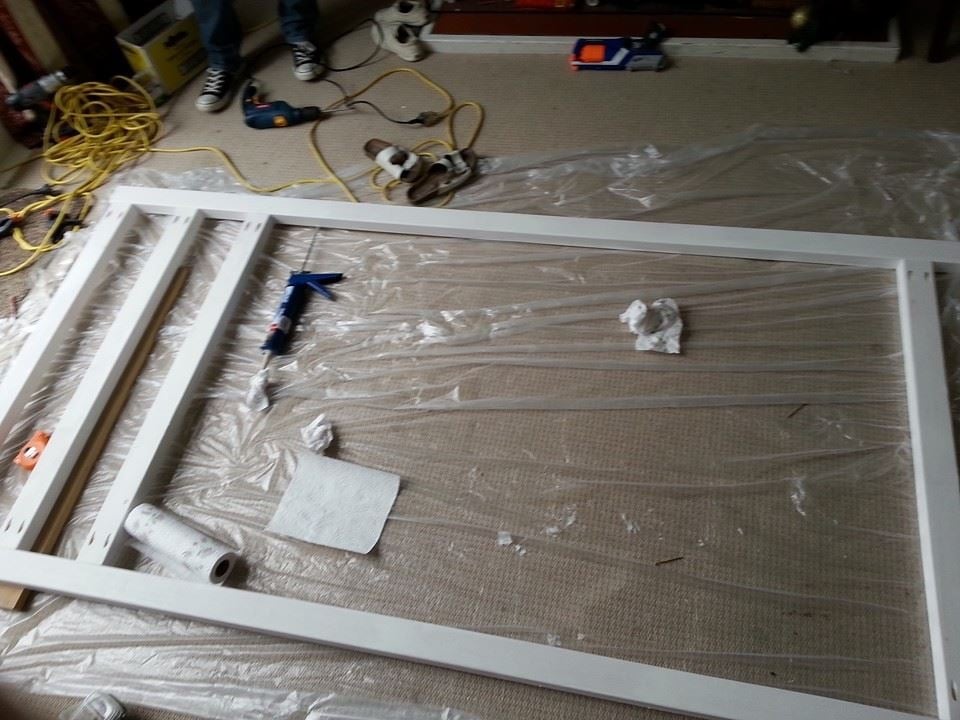
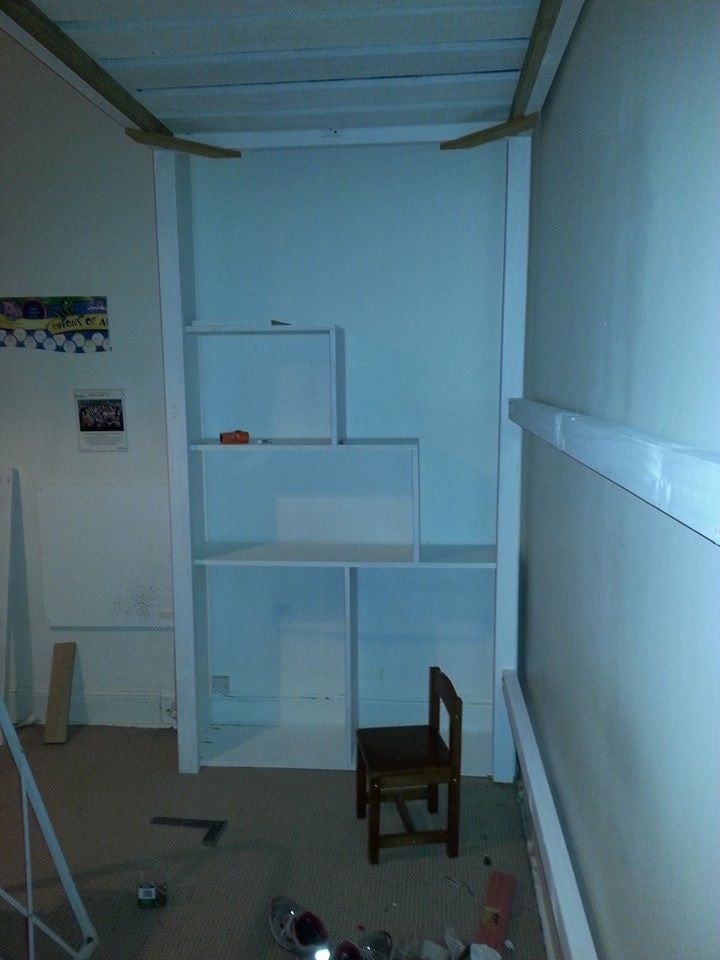
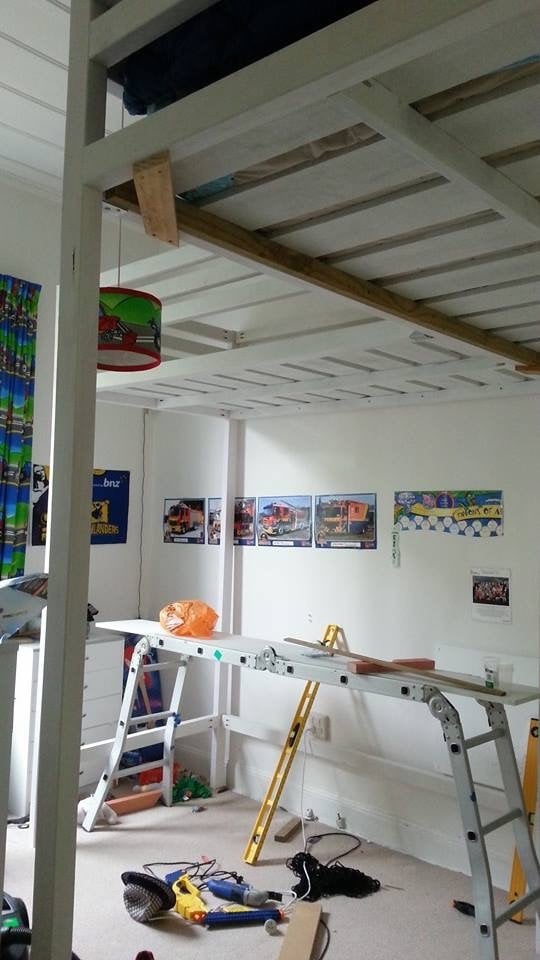
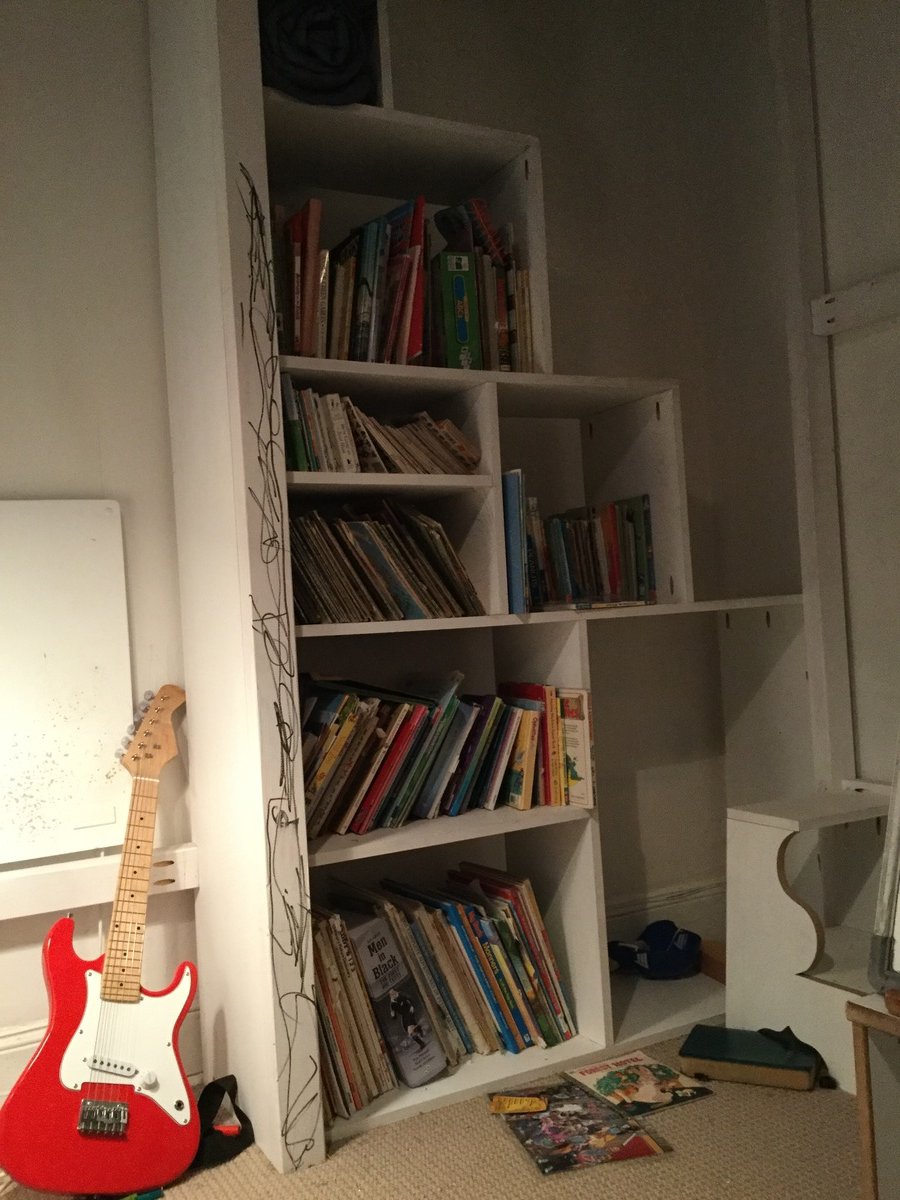
We have 12 foot studs in our house so I wanted to make use of the height of our ceiling to provide more space on the floor for the boys to play! With two boys sharing a room, the beds were going to take up a lot of valuable floor space. I found the bunk bed plans in Ana's book and decided to modify them to make loft beds. We had to do two so decided on an L shape so we could fit them into the room! Once we made the first bed we decided we should put only one set of stairs in to save space. The safest way we could think to do this was to place the stairs against the wall so the boys were less likely to fall. The stairs double as book shelves. The coloured rope was an added safety feature we thought up and gives me peace of mind! This was a fun, relatively easy build for two non-builders making their first big project. I bought a Kreg pocket hole jig for this project and it was a life saver. I can't imagine doing this build with out it!!! We completed it in about two to three days while my brother was down on holiday. It was fun and good brother sister bonding time! I am about to embark on phase two of the boys room, this time by myself , adding a storage dresser under one bed. I will modify Ana's laundry dresser plans to fit some plastic storage boxes. Then a day bed/sofa under the other bed using Ana's Alaska cabins day beds plan and finally (if I'm still standing) a shorter version of the craft table for the middle of the room! That's my year planned! Hope you enjoy the pictures, the beds are so big and high it's very hard to get a good photo.
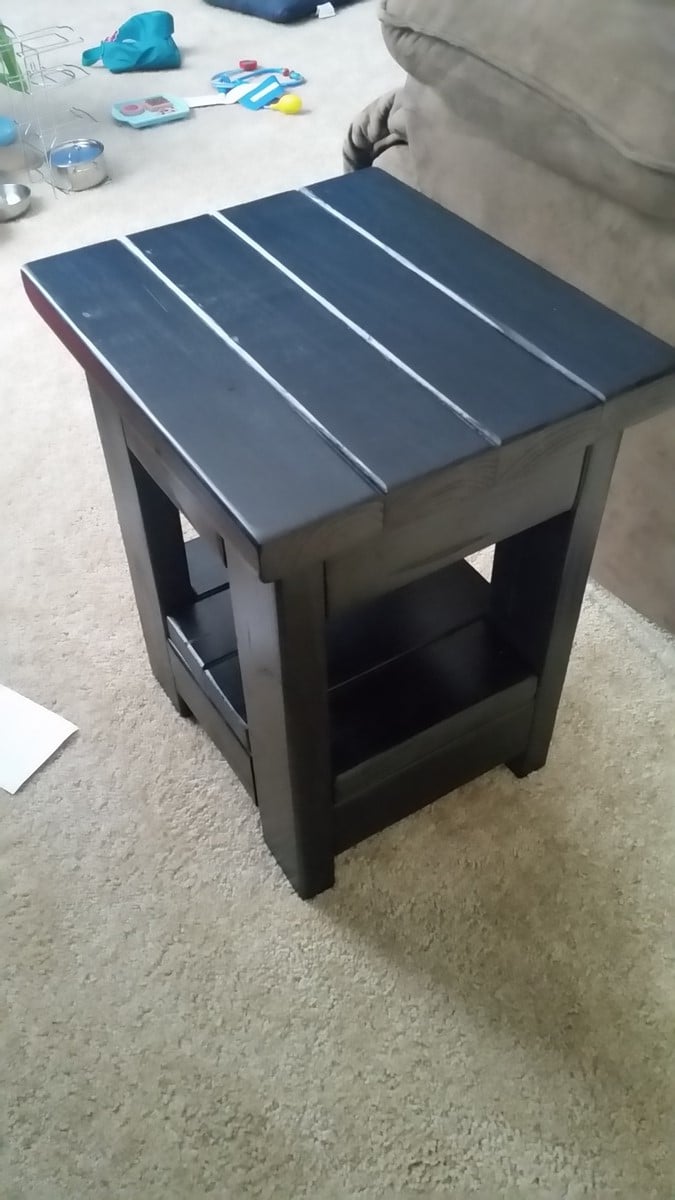
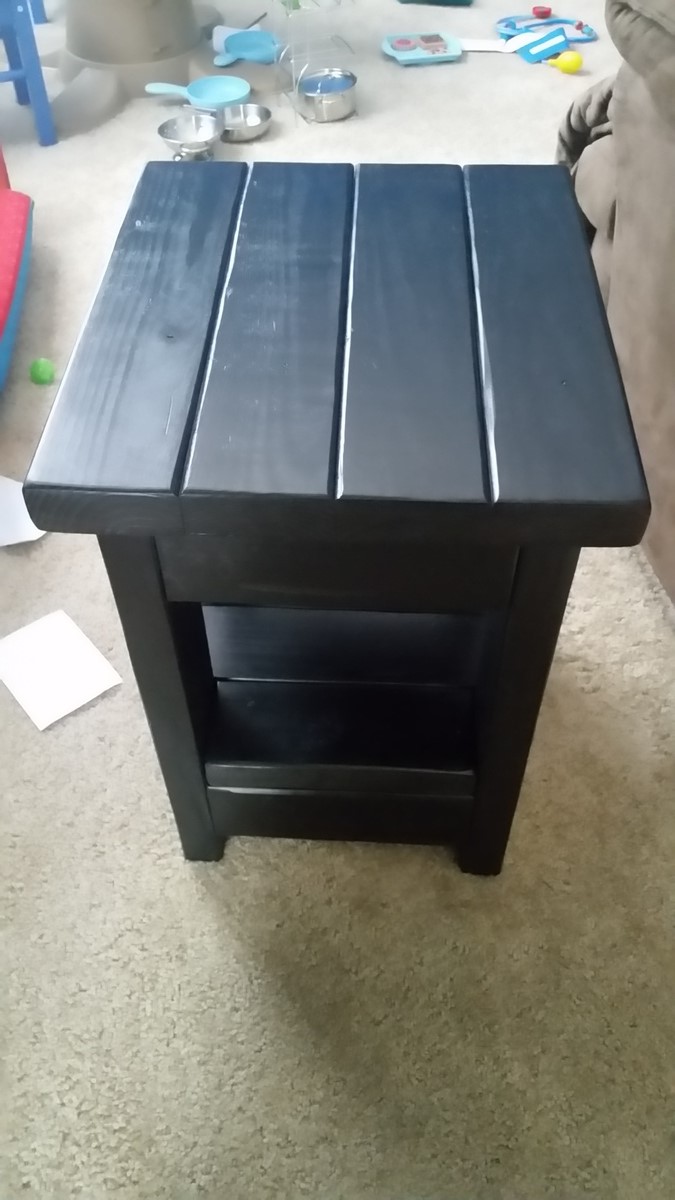
I made a smaller version of the Tryde End Table with Shelf. I made 2 of them from 6 2X4's
Mon, 05/25/2020 - 06:27
Love this! Do you have the dimensions of the pieces for this one?
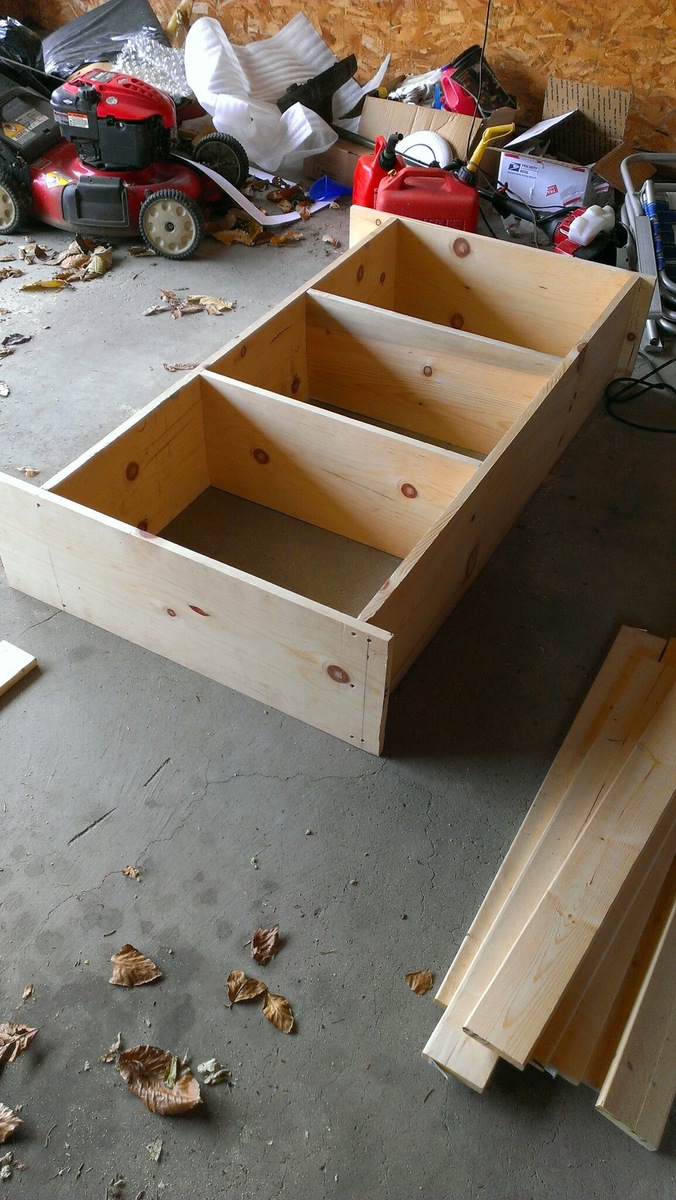
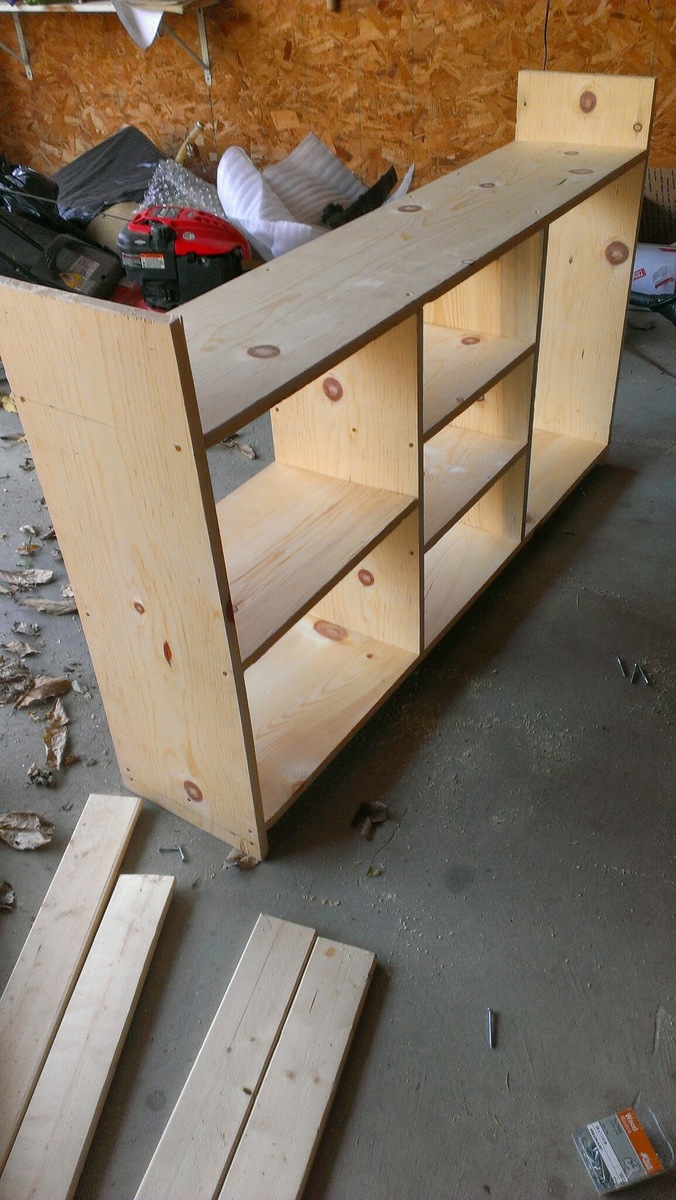
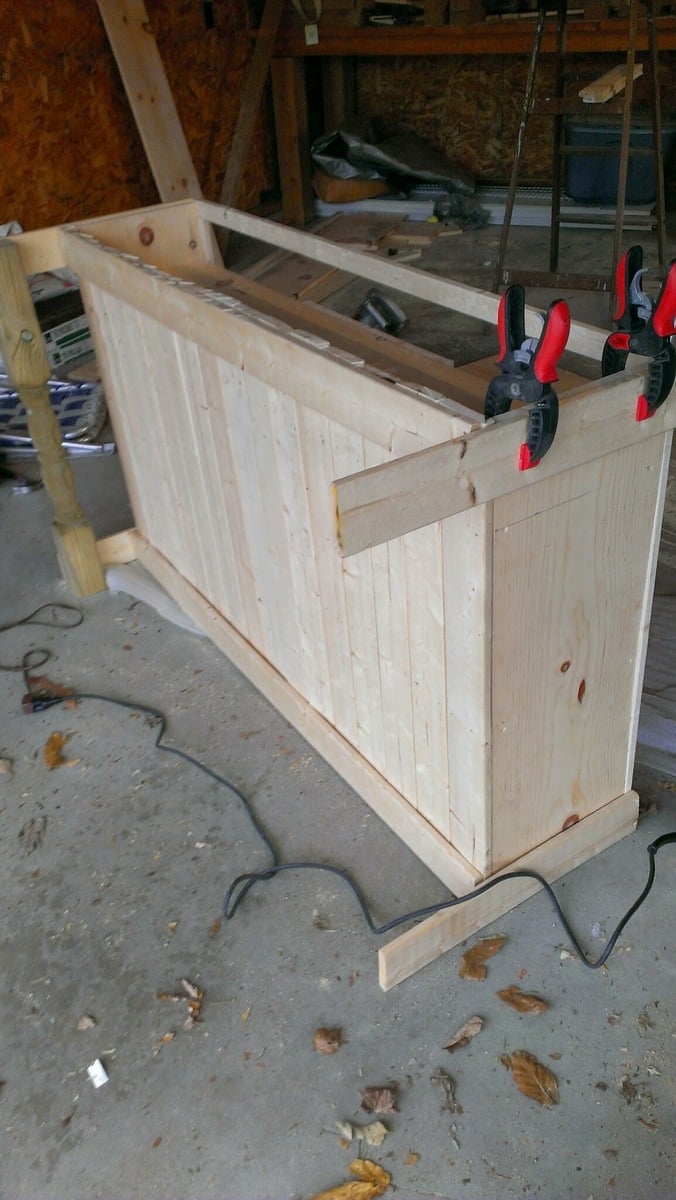
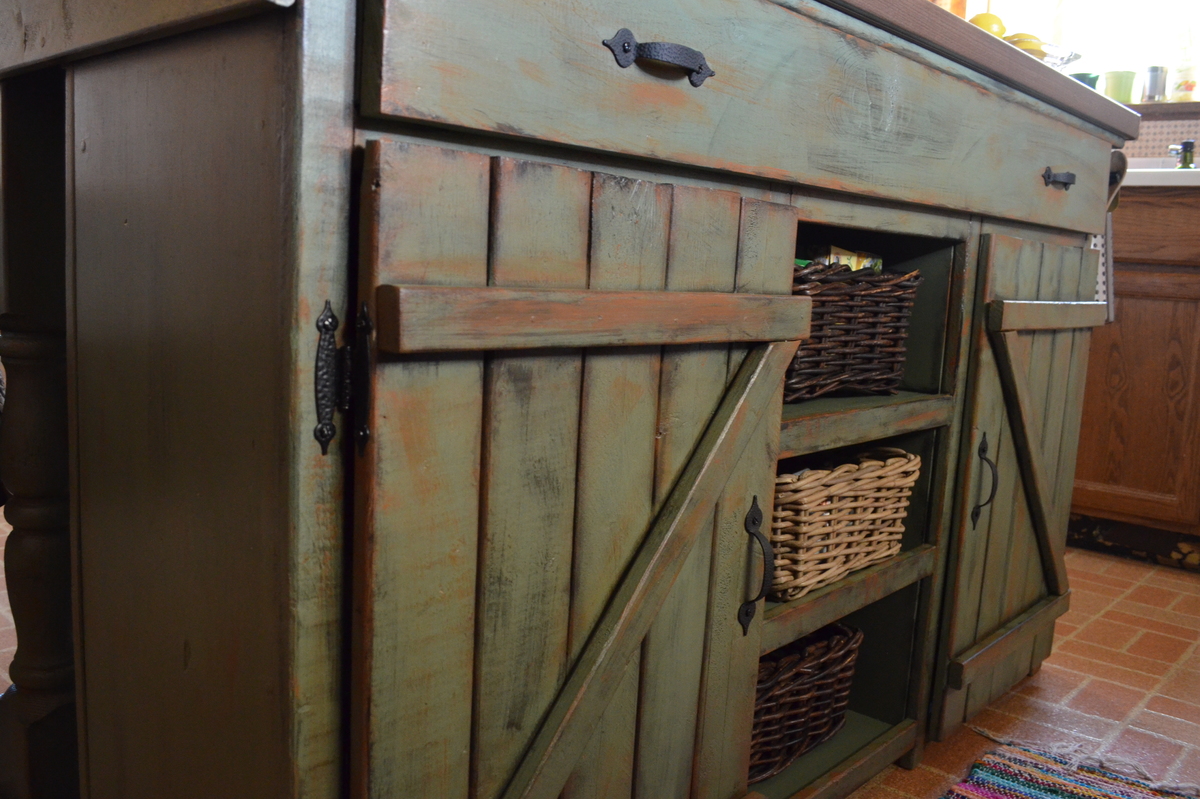
Grabbed some cheap whiteboard for my first project. My wife was looking at buying an island and I decided to surprise her by trying my hand at building one. Turned out to be an enjoyable new hobby that I hope to continue (plus, Laura now says I am her "favorite husband!").
Materials breakdown:
The lumber is white board from Lowe's for $115
The countertop is laminate Pragel from Ikea for $59 (cut to size)
Paint, polyurethane and drawer hinges were $50
I had another $75 in tools, glue, wood filler, nails, etc, because this was my first project.

In reply to Love the color by NimbleShopper
Wed, 04/02/2014 - 17:38
My wife, Laura, helped with the paint and came up with the dry-brush distressing technique.
In reply to Impressive by Ana White Admin
Wed, 04/02/2014 - 17:42
We just moved into an old house with a garage and the previous owners left a work table and an ancient Craftsman jig-saw, circular saw, and scroll saw (all from 1956). They were a bit sketch, but they got the job done!
Fri, 04/04/2014 - 21:42
wow. very impressed. love the finish! it turned fantastic for your first project; looks like you have a new hobby!
In reply to wow. very impressed. love the by birdsandsoap
Tue, 11/15/2016 - 00:15
I love that. It have a nice design. ین درها دارای تکنولوژی مدرن و پیشرفته بوده و استفاده از آن سهل و آسان می باشد. وجود موتور توبولار و مرکز کنترل پیشرفته الکتروند فرانسه در آن باعث ایجاد امنیت، آرامش خیال و سهولت کارکرد آن بصورت دستی و اتوماتیک شده است. این مدل درب اتوماتیک به دلیل کم حجم بودن و جمع شدن در زیر سقف فروشگاه ها و یا مراکز تجاری و یا به صورت عمودی در سوله ها و کارخانه ها، هم باعث کارآیی بیشتر و هم دارای زیبایی مضاعف می باشد و کاربرد آن در مراکز تجاری، فروشگاه ها و صنعتی باعث ایجاد امنیت، راحتی و سهولت در استفاده از آن شده است .
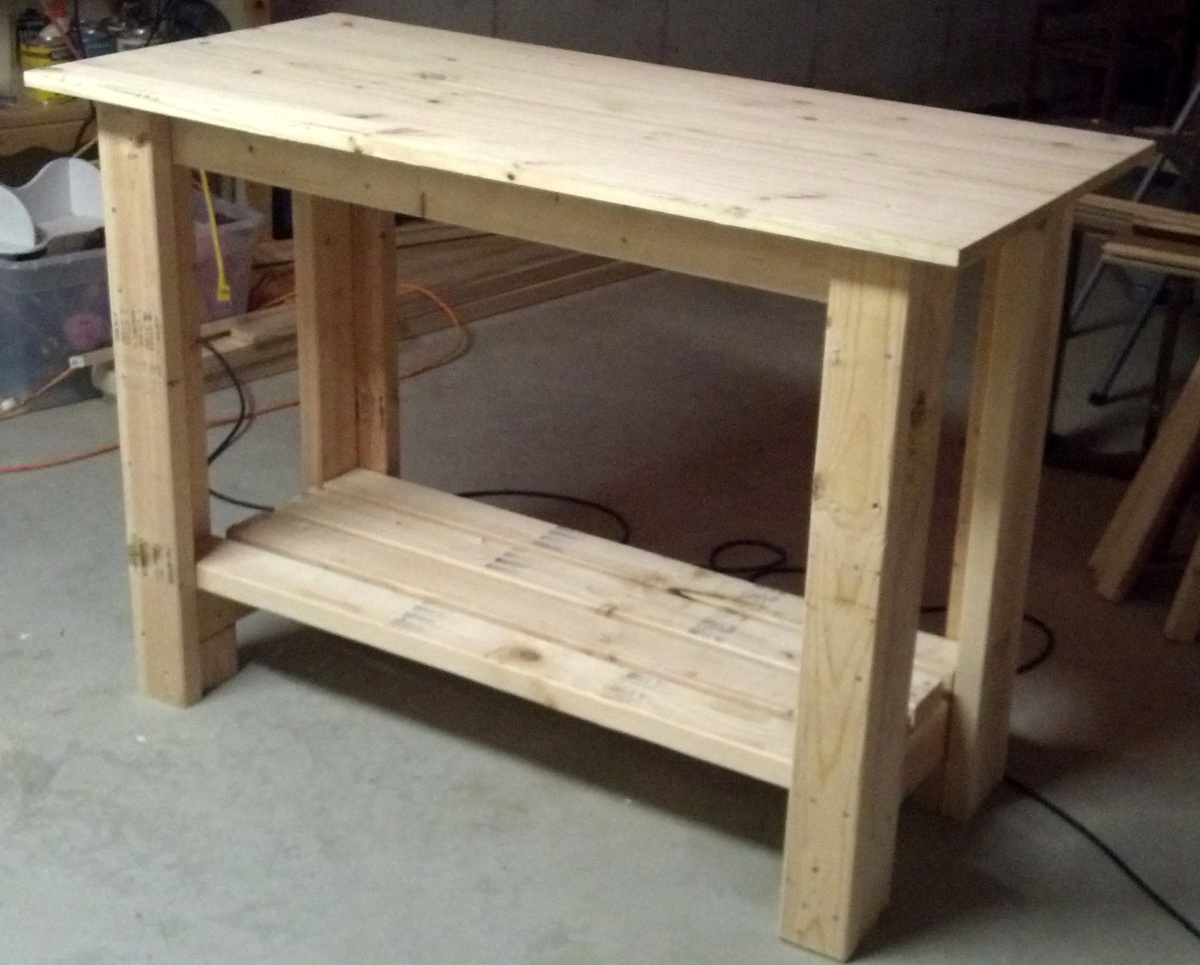
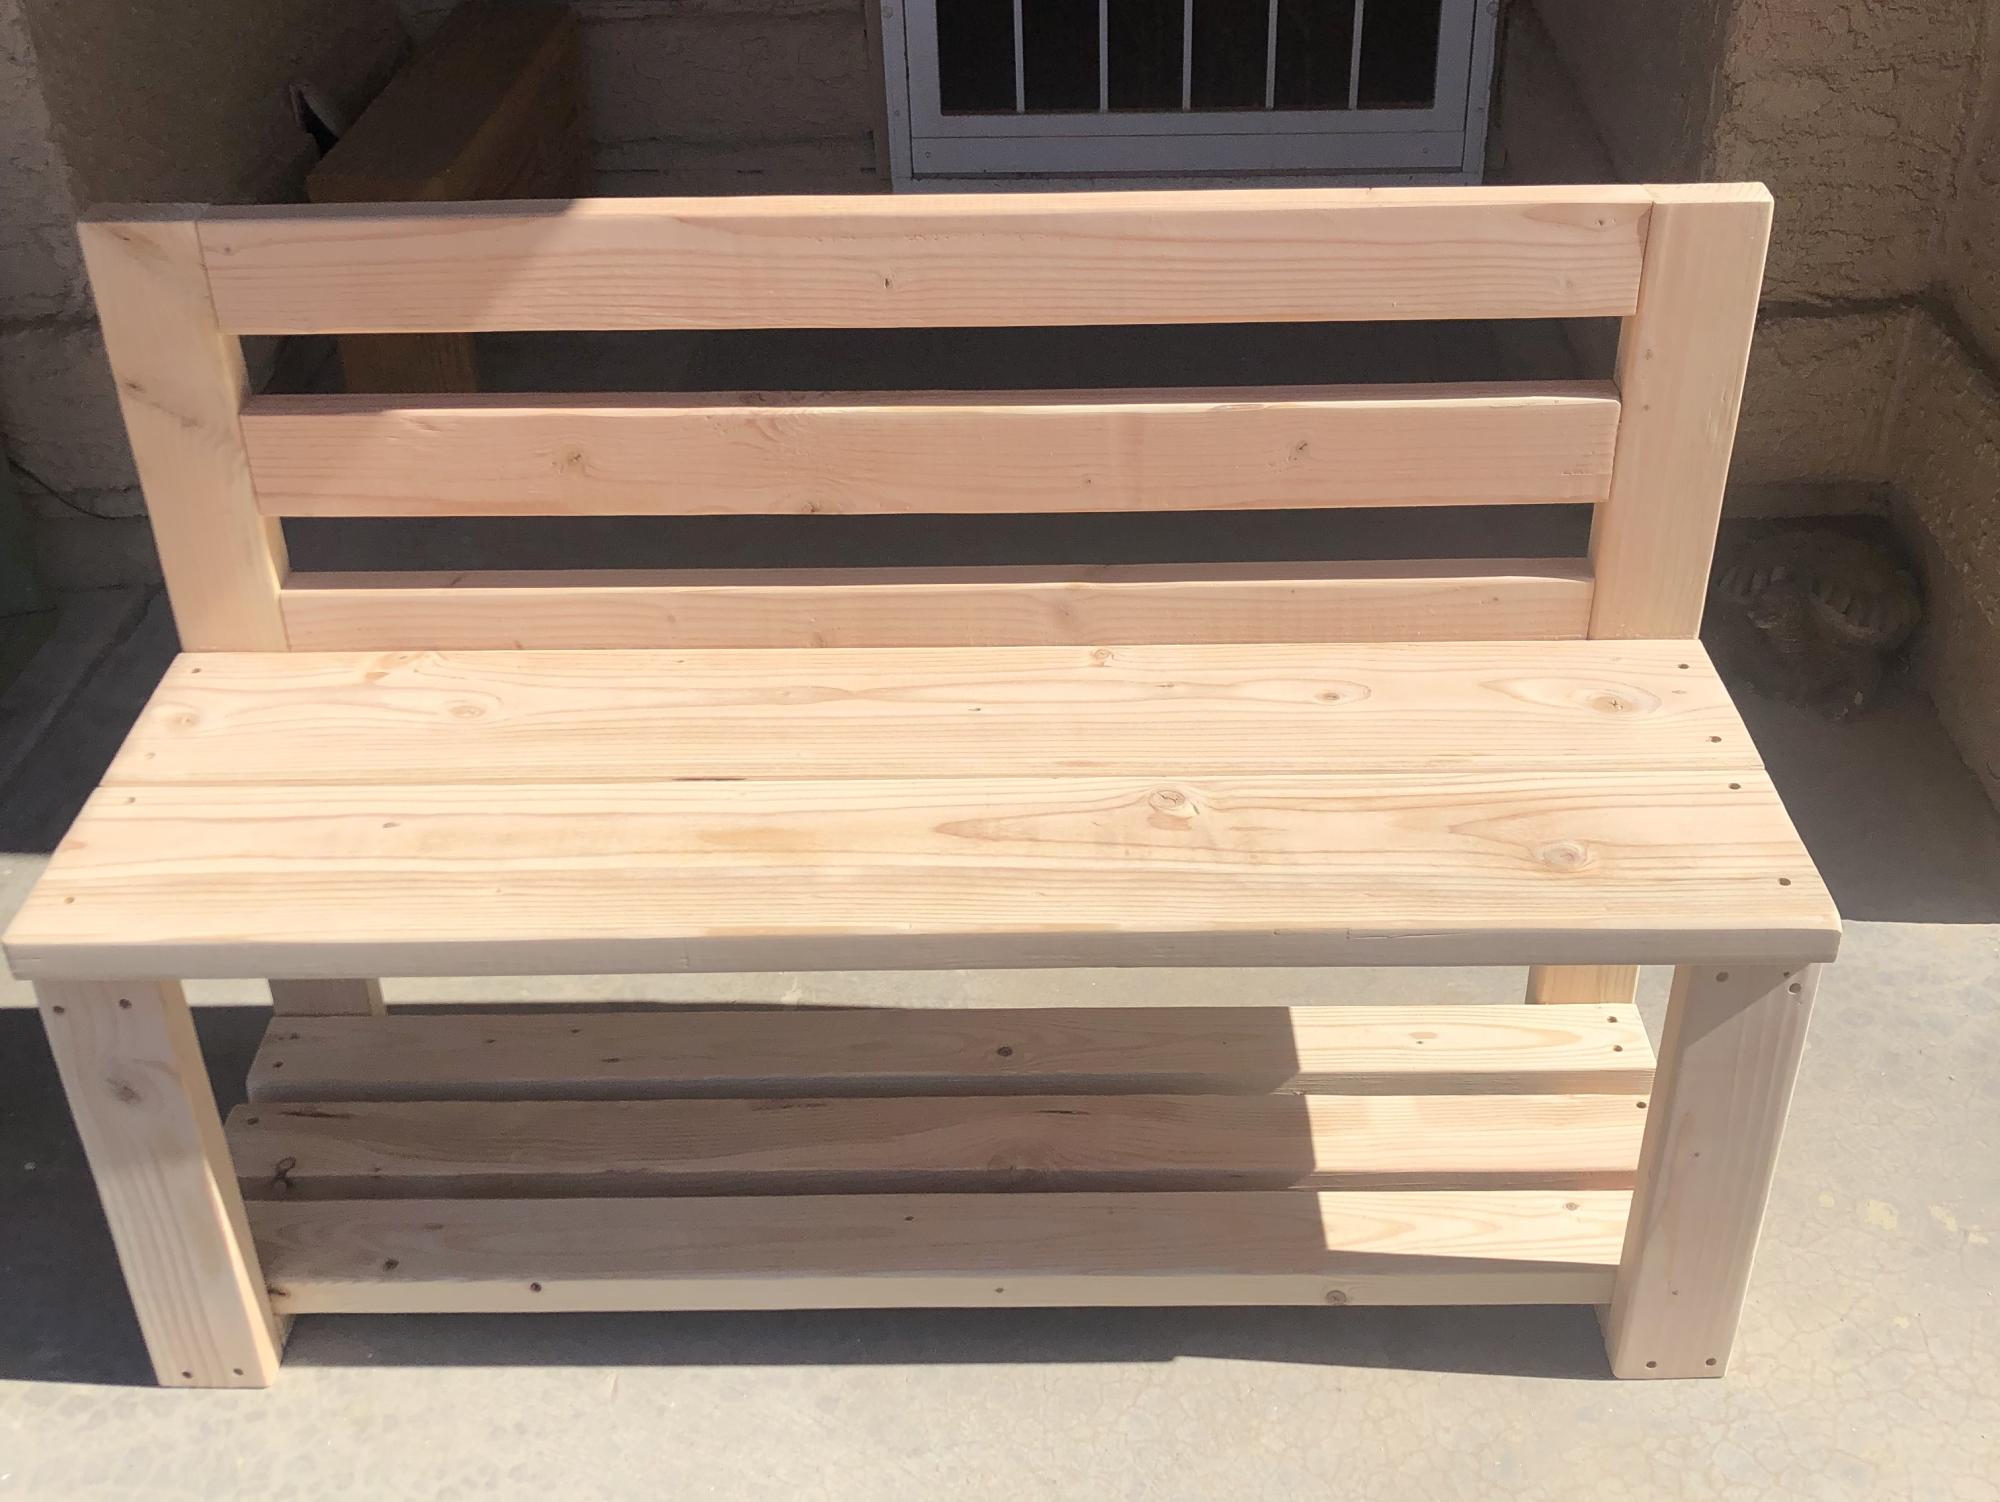
I figured the first thing I should make was a bench to work on :)
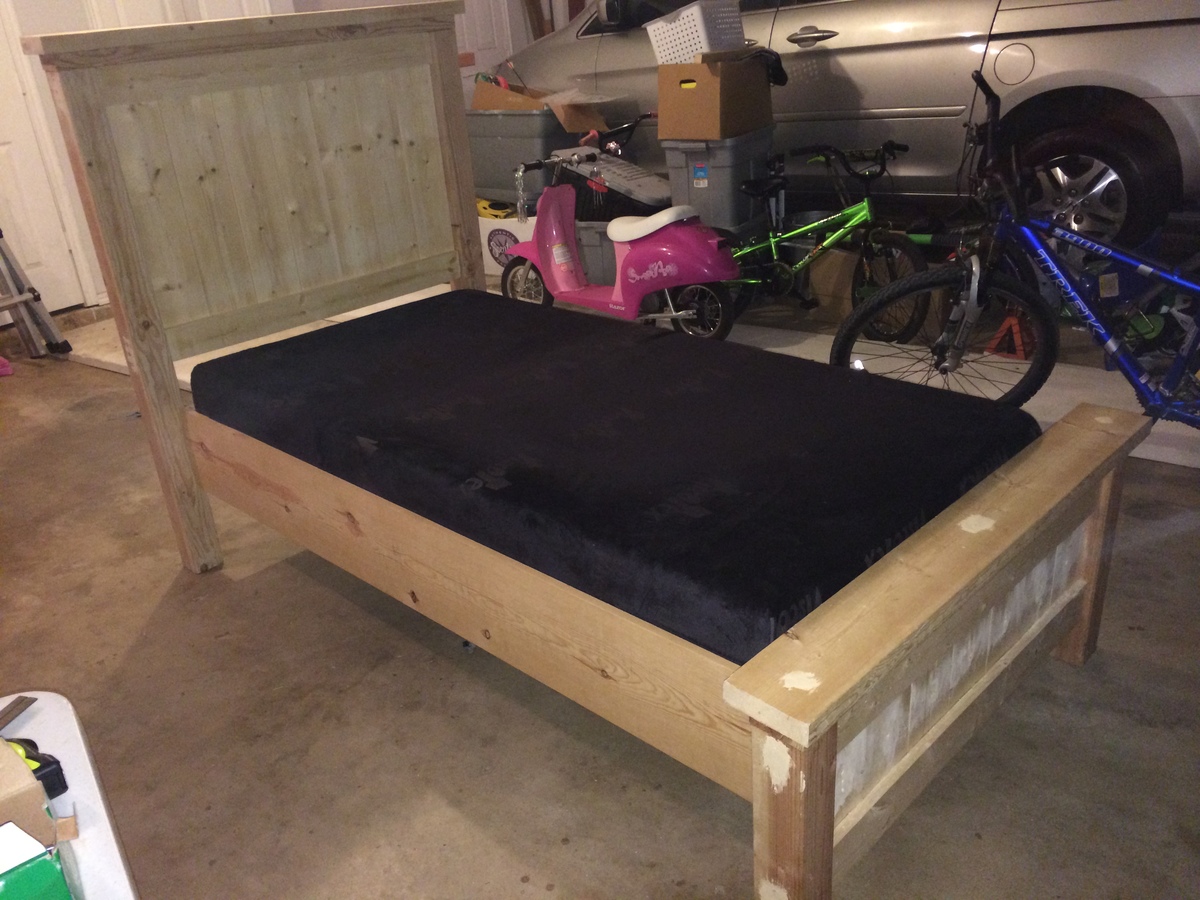
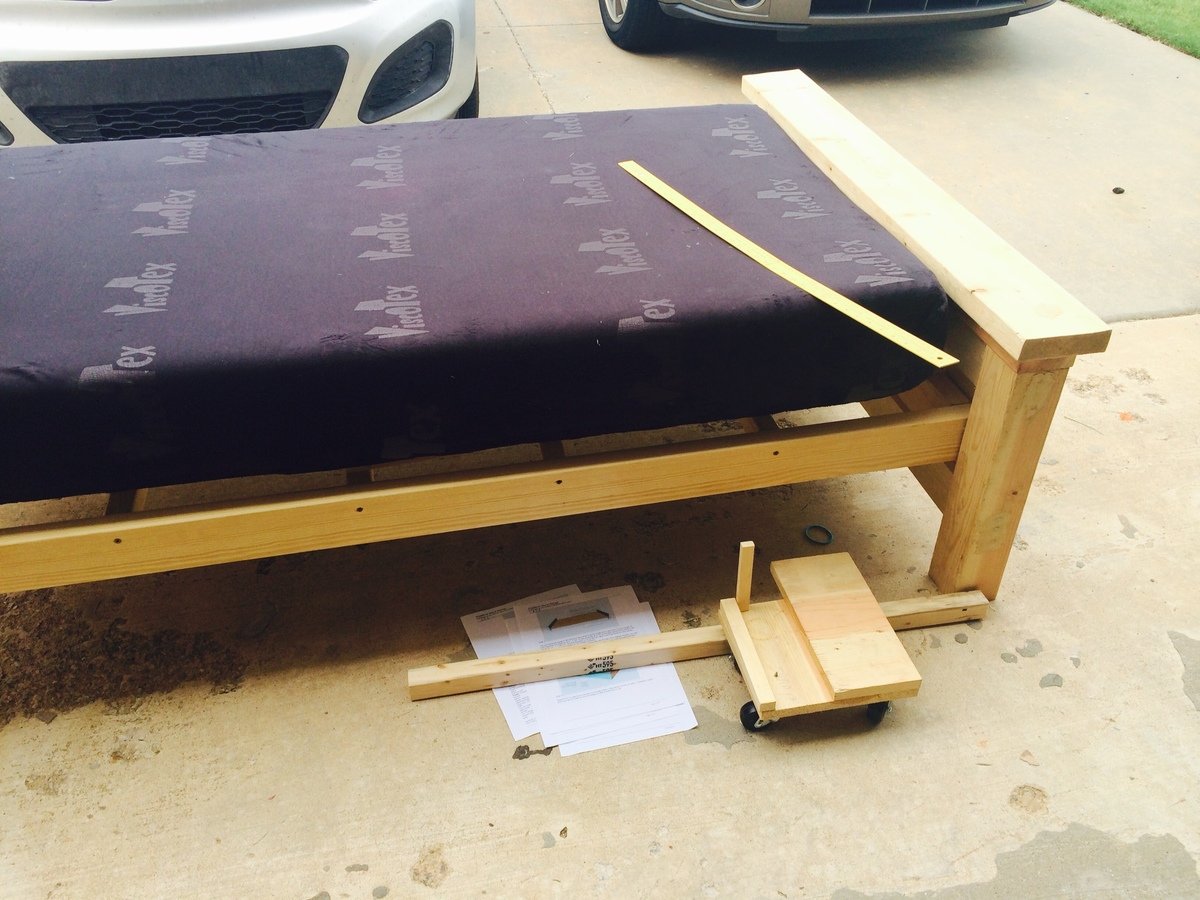
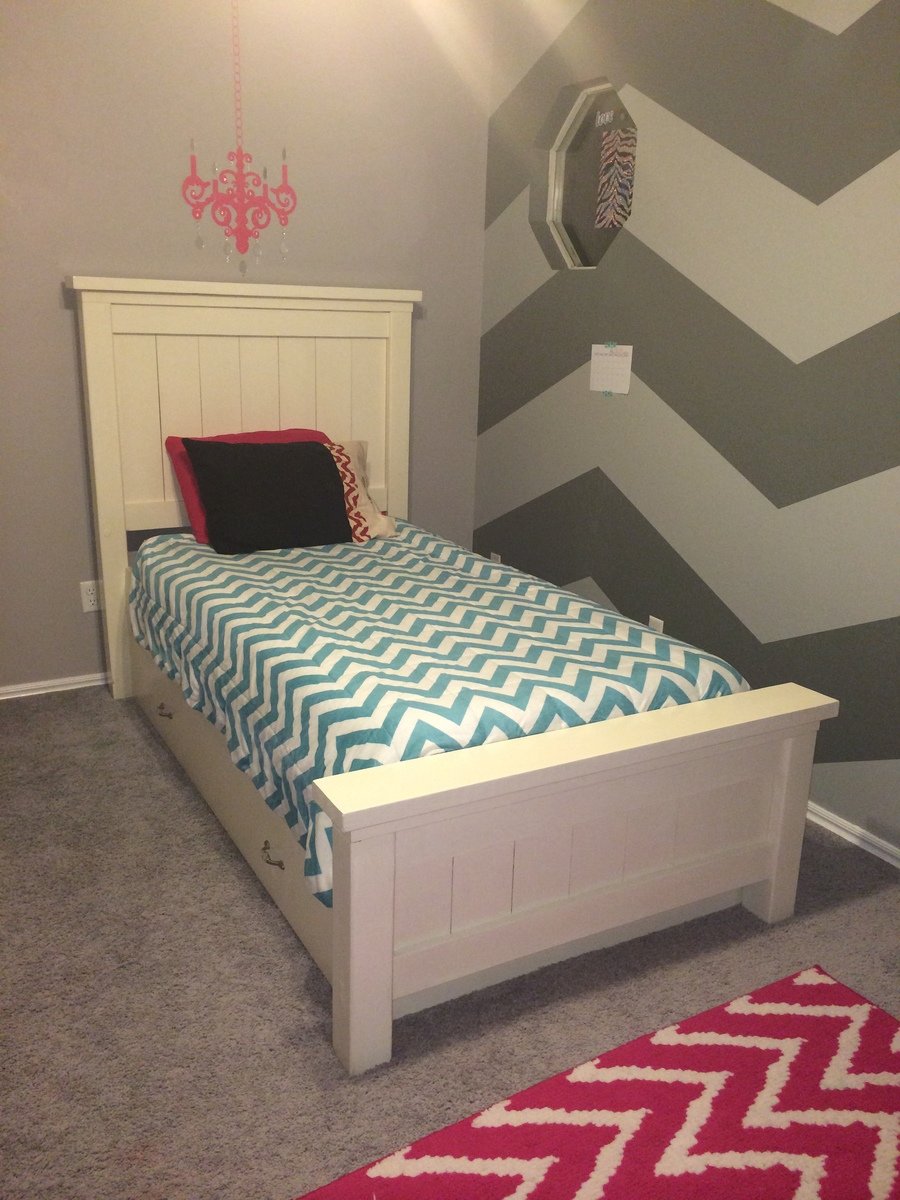
We made the traditional Twin Farmhouse bed using Ana's plans. We did modify the height of the headboard and foot board in case we decide to move the bed to under her window.
I was very particular about the sizing and placements of the sideboard/trundle. I did not want a big gap between the mattress and the trundle. Also, did not want the actual bed mattress to sit down too far into the 1X10 and look like a crib.
Very happy with the results. Thanks so much, Ana!!!
Mon, 08/18/2014 - 05:01
This looks great! I see you have carpet (as do I) did you use caster wheels? It looks like it's resting on the floor. I want t build but, I'm concerned about the ease of sliding. Tips appreciated.
Thanks in advance.
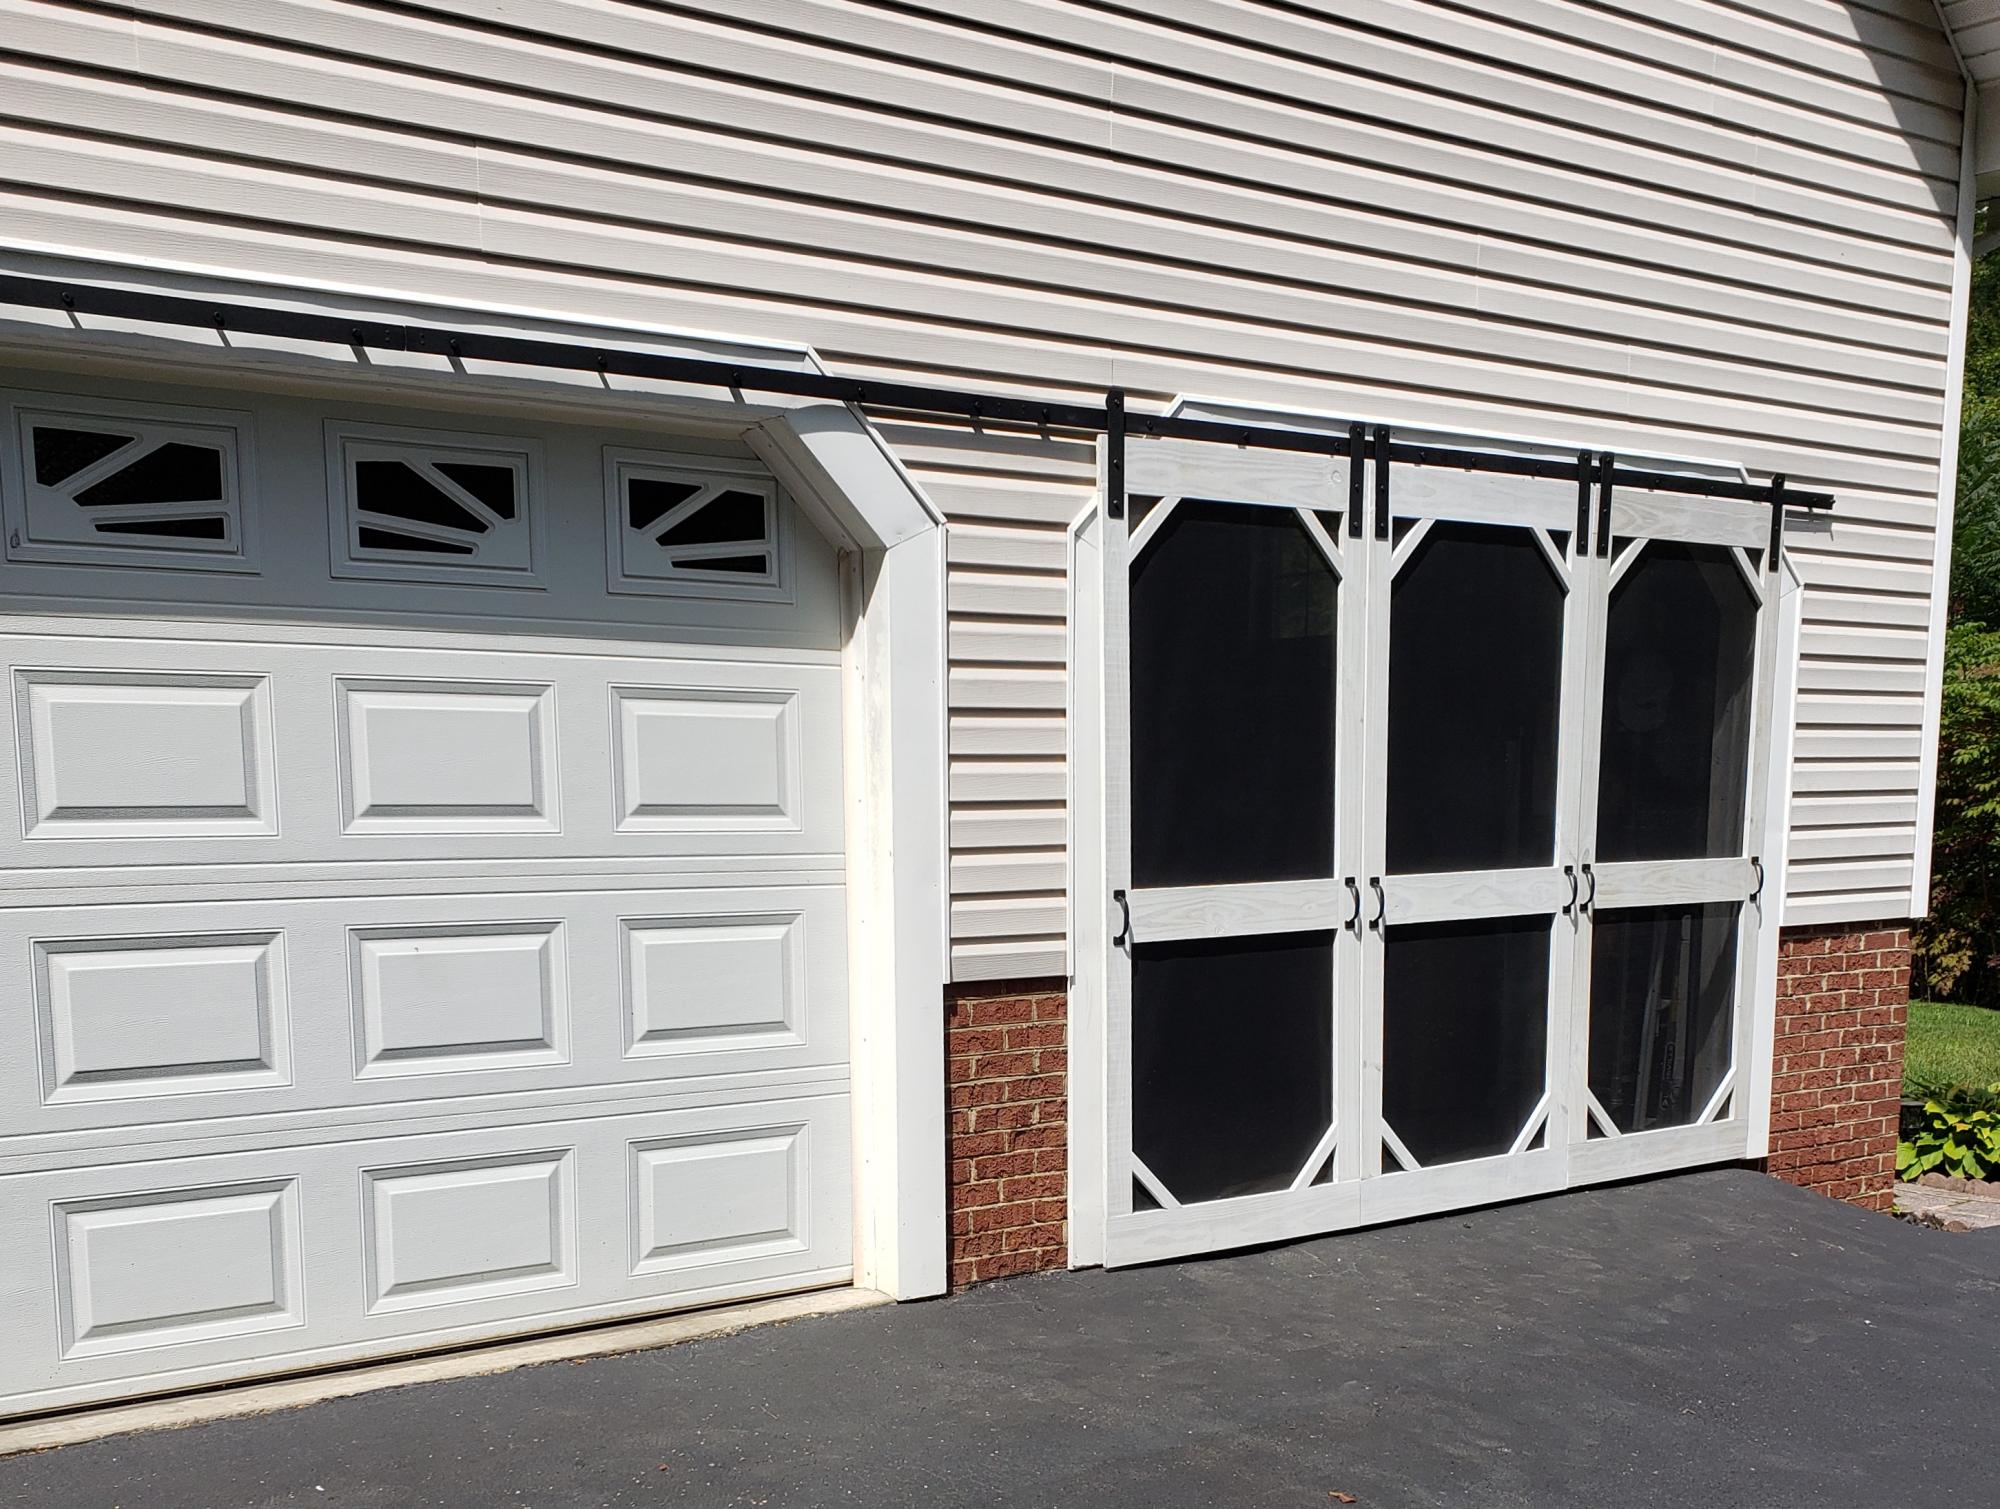
Inspired by your diy barn door hardware, I wanted to create a way to have airflow in my garage as I work in there without the nuisance of bees, flies, and hummingbirds entering in. Since this is my first attempt to make a project like this, a few mistakes were made along the way, but, overall, I am happy to say my objective has been accomplished! Thank you, Ana, for inspiring me to start and finish this project to the end!DI
Sat, 09/12/2020 - 11:19
What an amazing and inventive idea! Thanks for sharing, it looks great!
Thu, 02/16/2023 - 12:52
Amazing, can you tell me what thickness your flat bar was and what size Fender washers you used. I am wanting make hardware for a door that is 27.5 inches wide by around 68 inches high. It is 1.5 inches thick. So I’m also curious what size bolts you used as I want to ensure 1/4inch bolts are enough. I’m struggling to find 2 inch diameter fender washers that have a 1/4 inch hole. I’m excited to make the hardware as traditional hardware is too big for the space. Any ideas are appreciated.
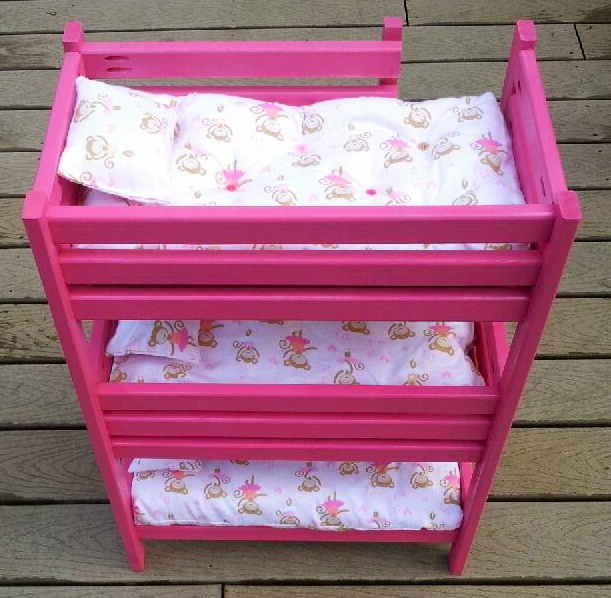
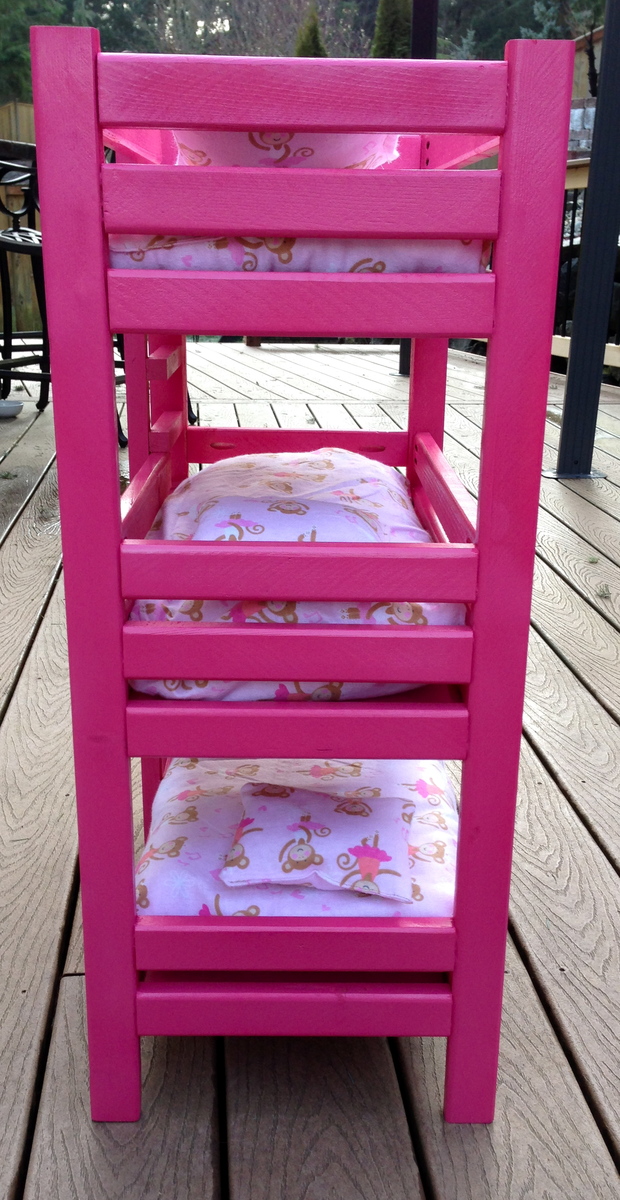
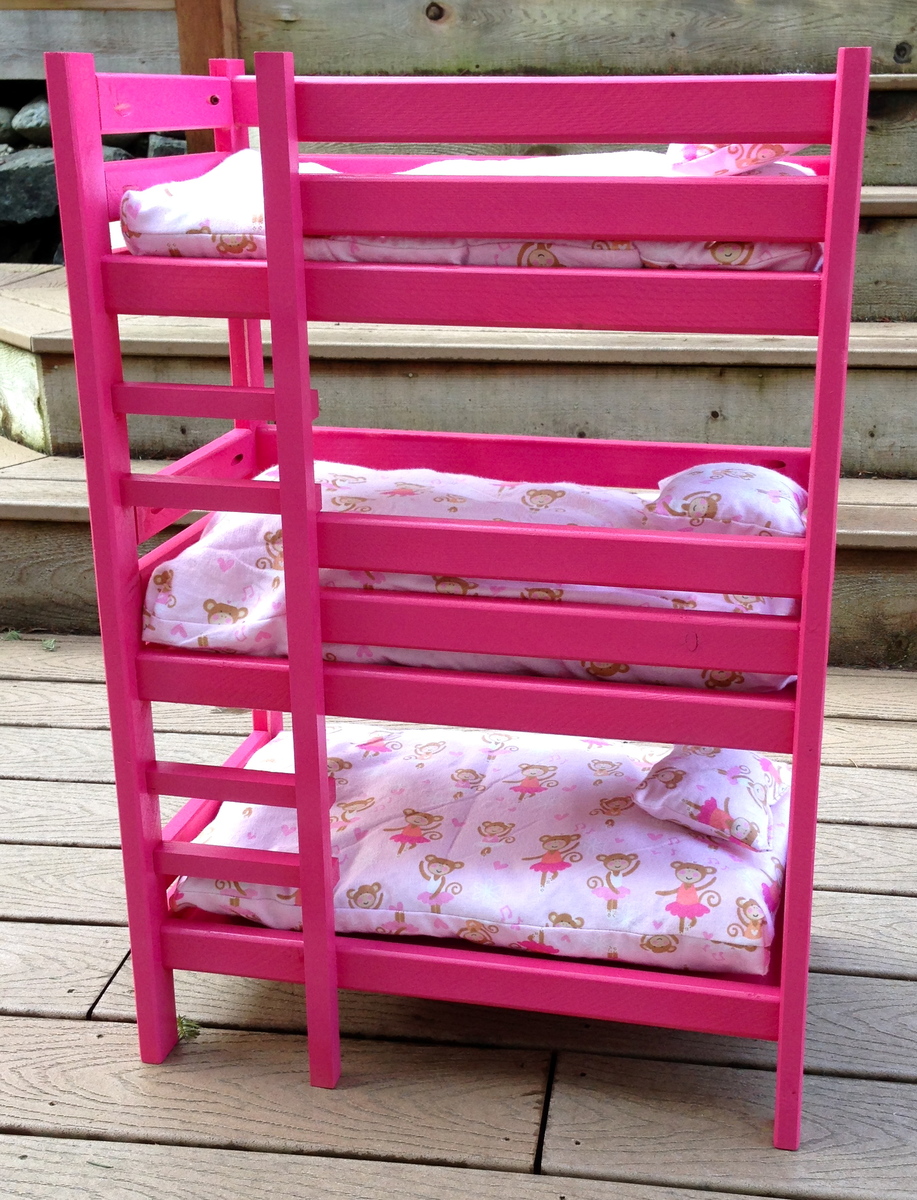
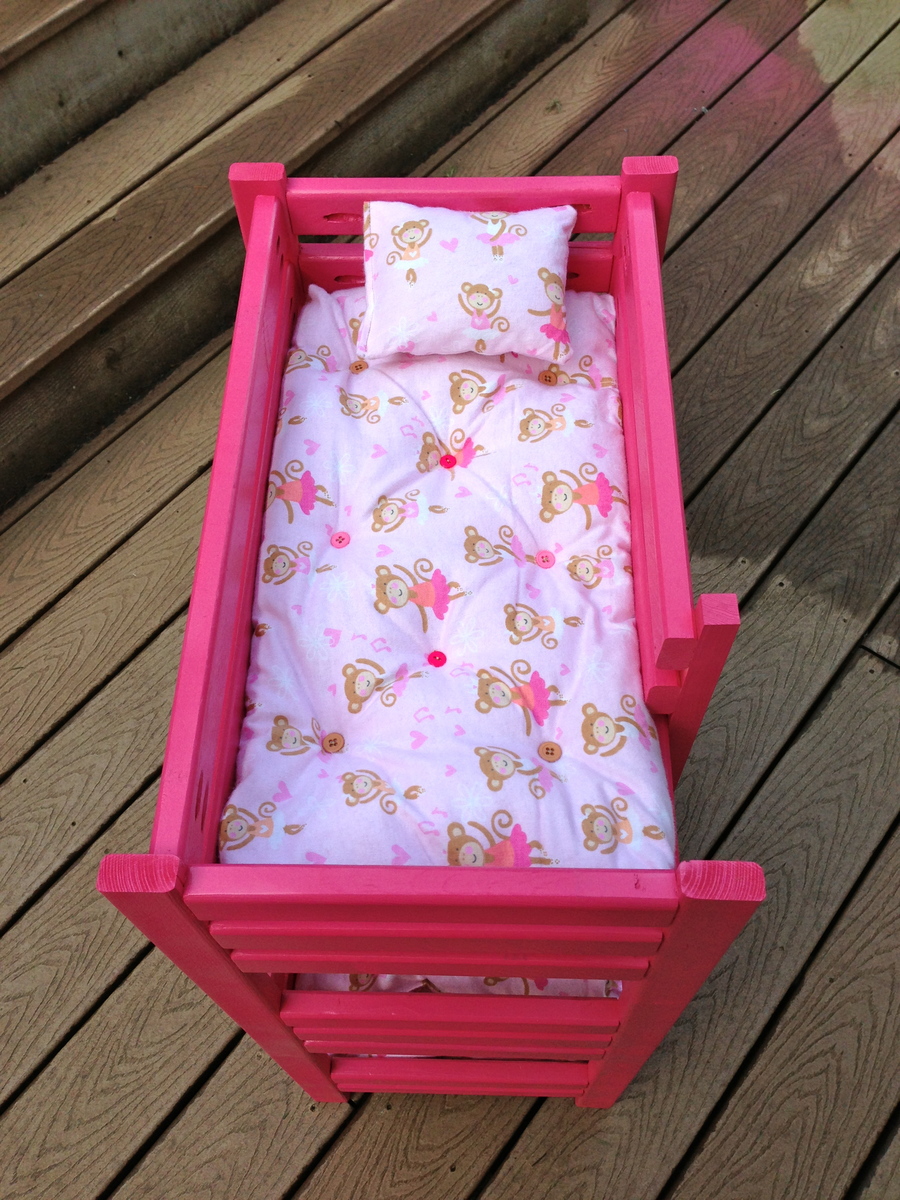
My friend's 7 year old daughter custom ordered this bunk bed! She asked for a bunk bed for her 3 dolls and she even picked the color! I had a lot of fun building it and learned a lot in the process. As usual, finishing took longest. Lucky for me, my hubby likes spray painting :-)

Wed, 02/17/2016 - 17:41
Can you please post the plans for this bunk bed. I want to make it for my daughter to play with her dolls with.
Thank you
Brett
Created this door with pine wood tongue and groove lumber and pine wood planks. Purchase barn door hardware / track from Jet.com and door handles from Hobby Lobby.
This replaced my Master bath door and I think came out pretty good. Thank you for the ideas!!! Jeff M. Brownstown, Mi
Some 2x and 4x Wood Projects
Lee Lape
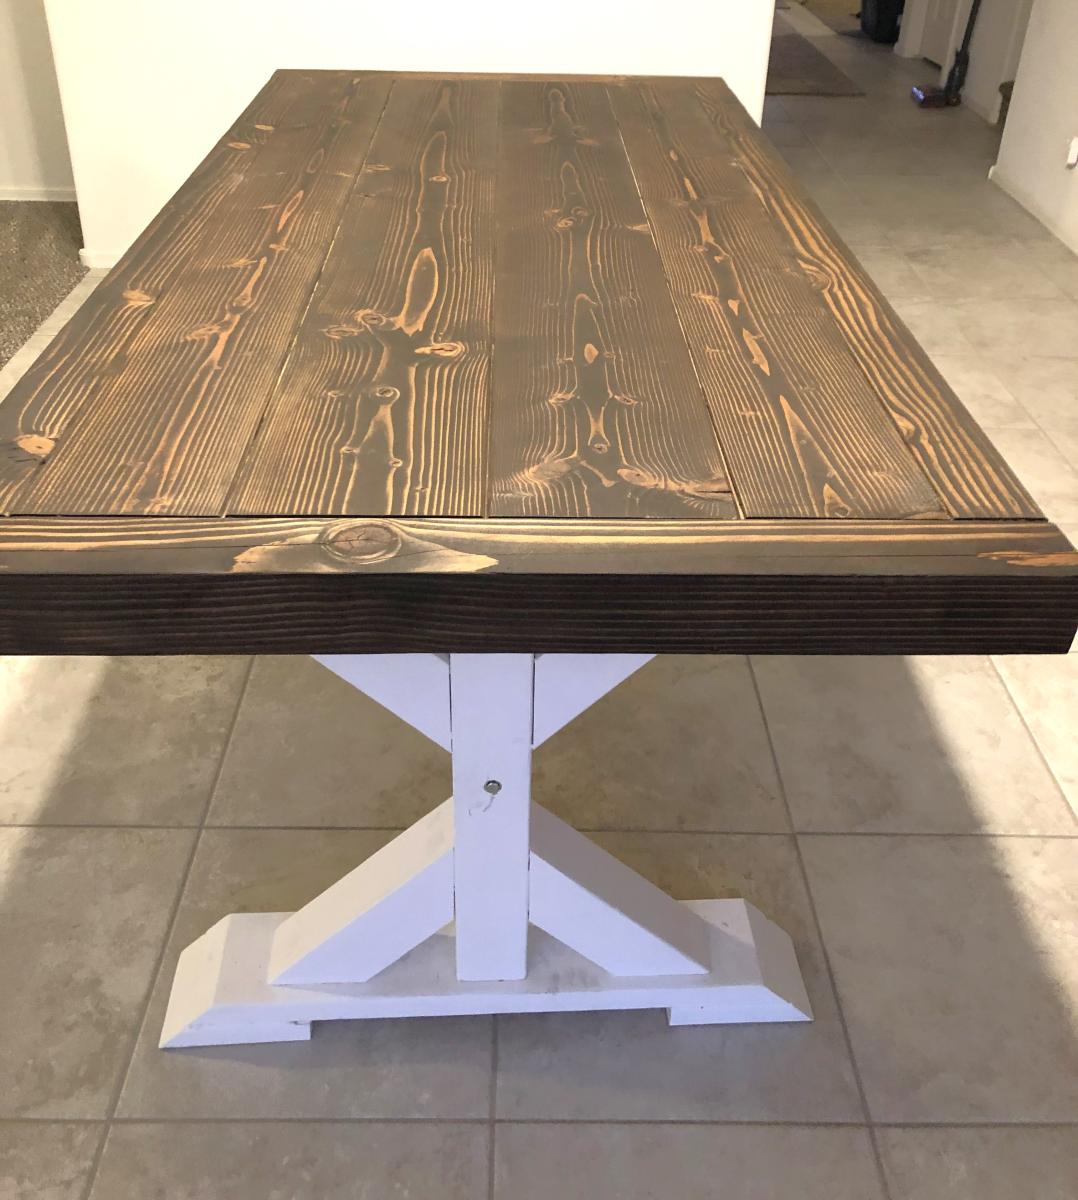
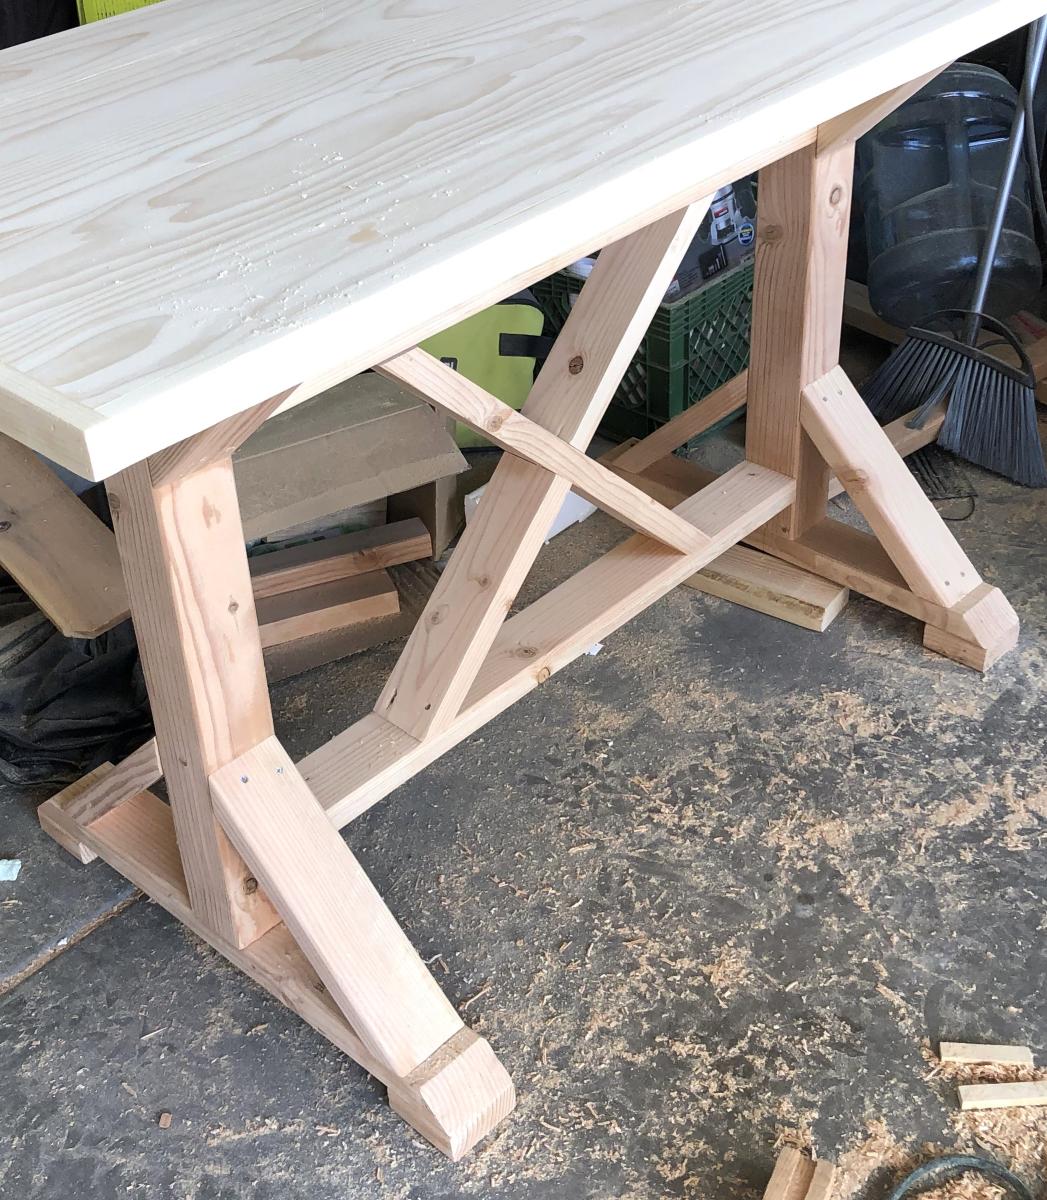

I made this coop twice as wide like Ana suggested since I have 4 chickens and wanted to make sure there was some extra wiggle room in case “chicken math” got the best of us. I made a nesting box to mount on the outside. I also used plywood for the sides like Ana did in the video. I installed a Run Chicken automatic door that opens at sunrise and closes at sunset. I added some hasps and clasps to make sure all my doors would close tightly. I put hardware cloth across the top before installing the roof panels. I stapled and buried hardware cloth around the perimeter for predator protection. I also spray painted the hardware cloth flat black so that it would be easier for us to see inside the coop. I stained the rest of the wood with Varathane Semi-Transparent stain, color “Carbon Gray.” I also added some roosts and cedar shingle siding for some extra protection during our New England winters at to match our house. Working 2-4 hours a day, off and on, with a bum shoulder and weak hands, this took me about a week! Thanks for the great plan, Ana!


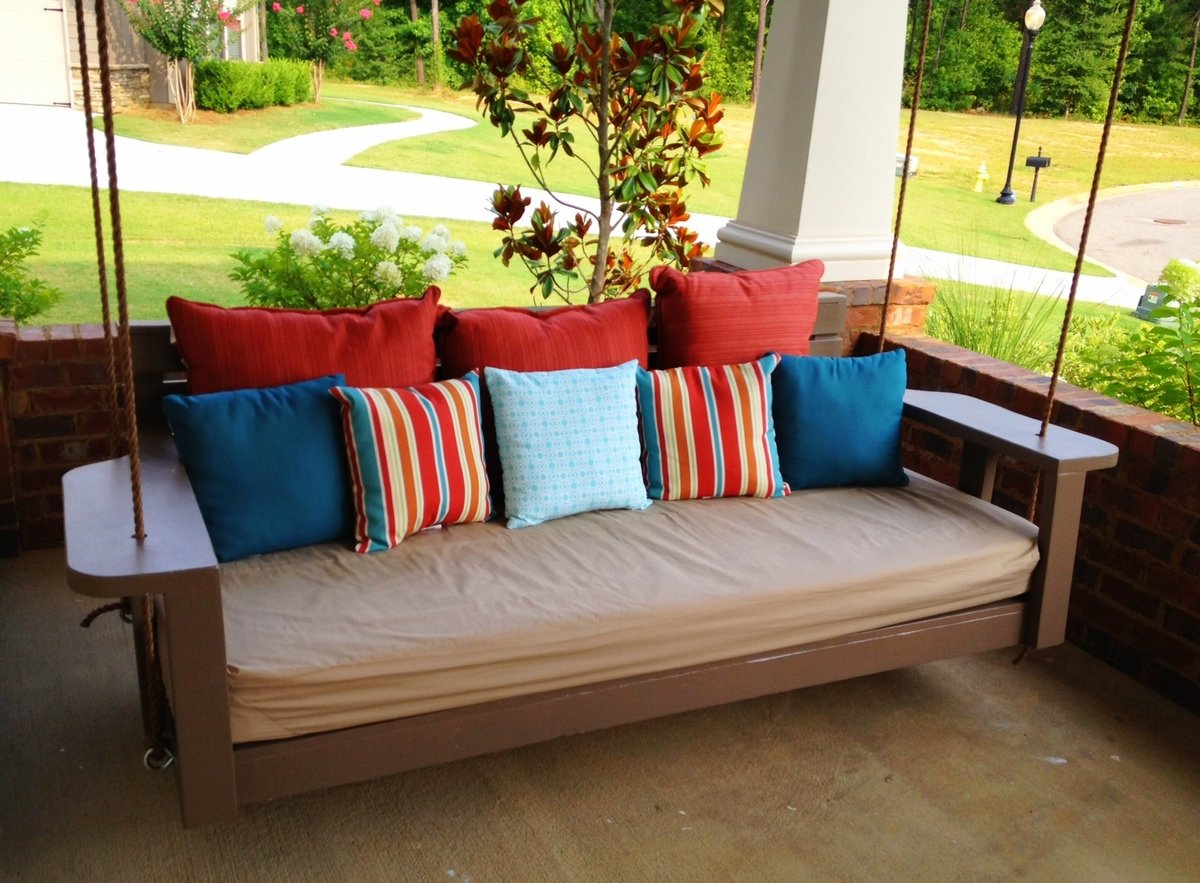
A few years ago our family vacationed in Watercolor, on the northwest Florida coast. We loved the house we stayed in so much when we returned home we put our house up for sale so we could build a home similar to the one we stayed in. One of the features we loved so much was the large covered front porch and most of all the swing bed it showcased. My wife spent every morning and night that week relaxing in that swing. I promised my wife then that I would make sure got her own swing. Thanks to Ana White, she was back in her (new) swing last night.
I began with the "Large Modern Porch Swing" plan and made some changes. I wanted to use a twin size mattress so I increased the size of the swing's base. Also, because the mattress was 6" I lifted the arms and back. The arms are the biggest and best change I think. I had seen someone else do similar arms, but I they used an 1x12 I think. I wanted a heavier look, so I used a 2x10.
Wed, 07/17/2013 - 13:56
Do you use a regular twin mattress? What do you do when it rains?
I followed the plans as listed pretty closely. I added a 2x4 under the main shelf for extra support, and used 2x4s instead of 2x2s at the bottom, so I could have something to attach the casters to. I also opted for 1x3 braces, rather than the hinges to hold up the sides. I need to add the fence and paint it white.
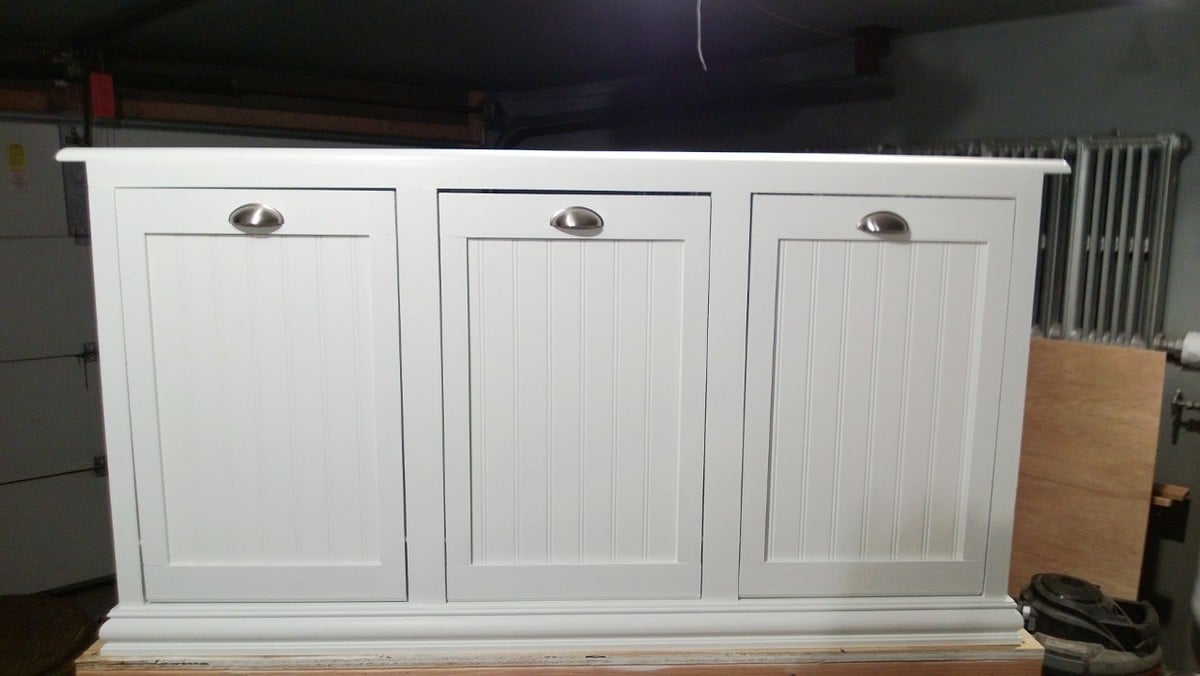
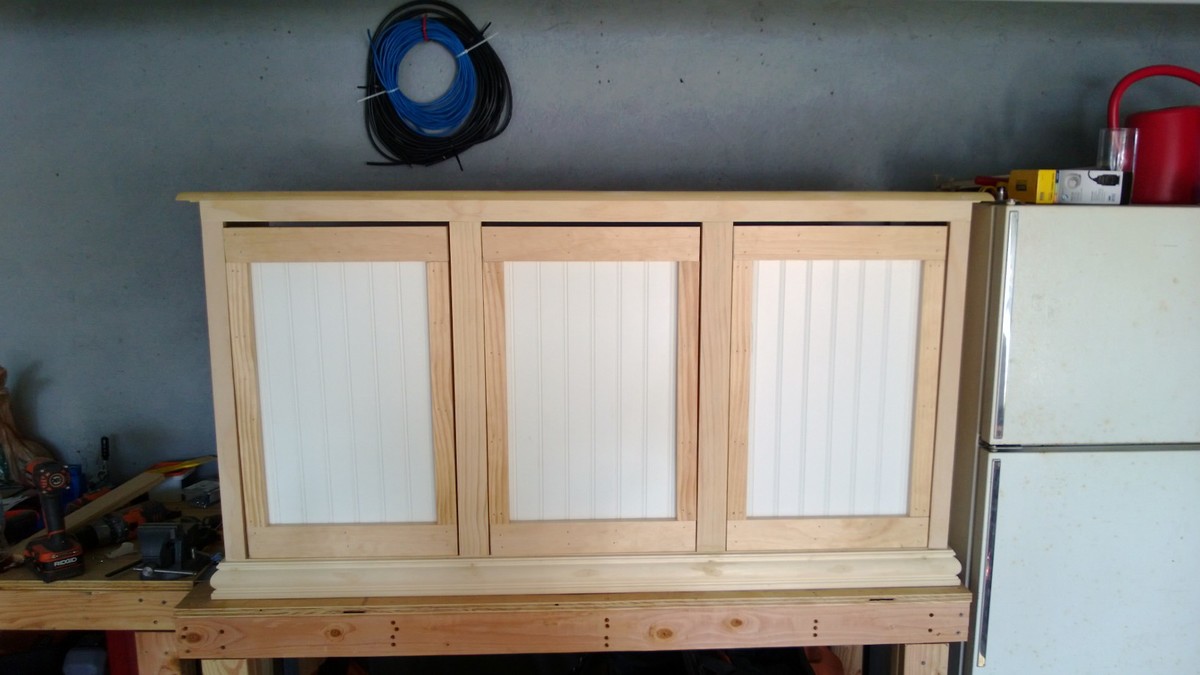
Modified the original plan to meet our needs of a laundry sorter. Had problems with the hinges so ditched them. I used dowels with a combination of a chamfer cut on the bottom of the door. Dado-ed the trim on the doors and slide the bead board panels in. The face frame is all held together with pocket hole screws, which I highly recommend because it eliminates nail holes and keeps the face frame square. This was my first wood working project, took me a little long to get it done. Thanks for looking.
Modified January 28
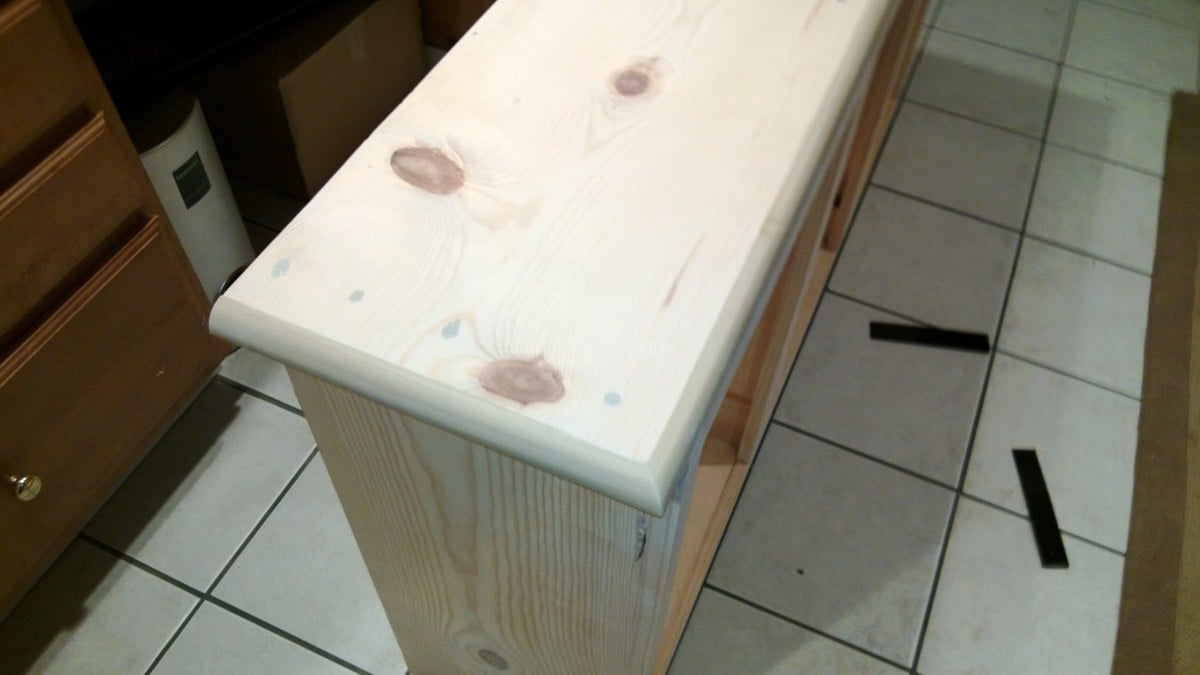
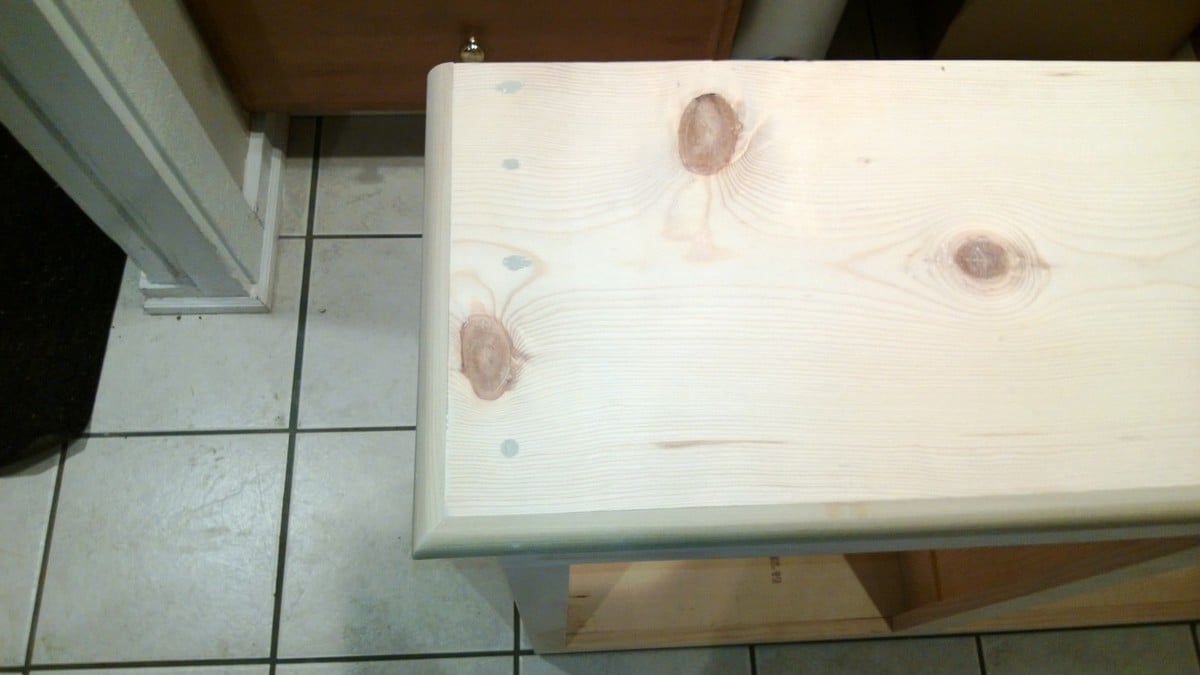
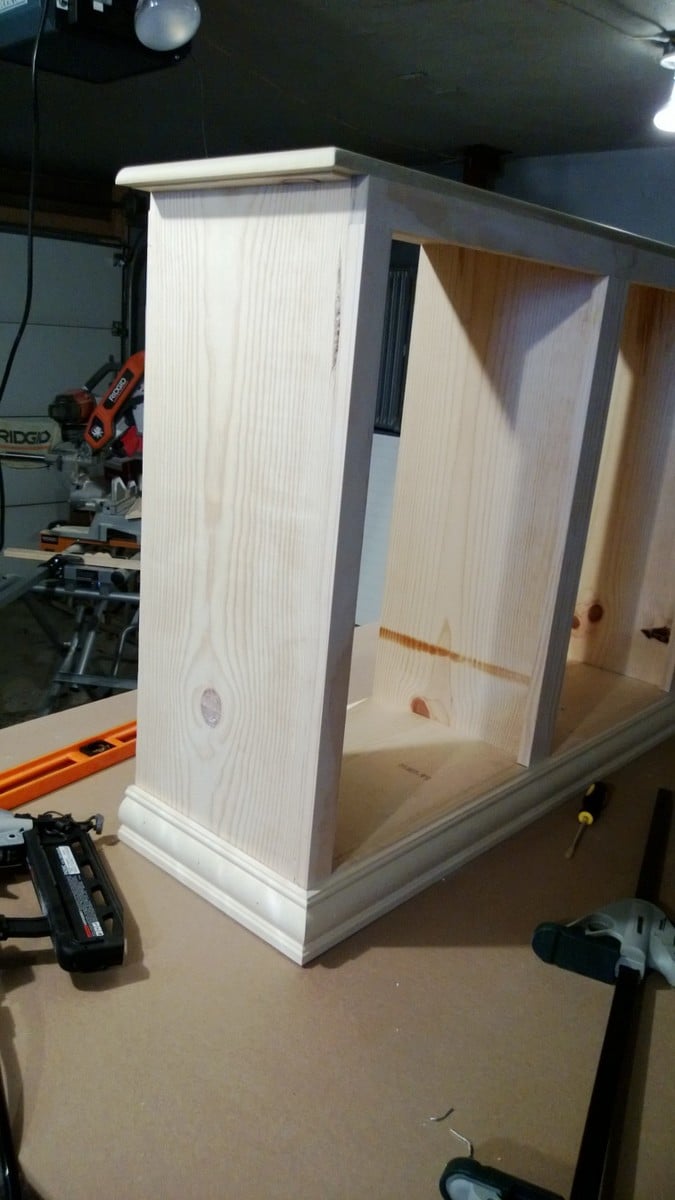
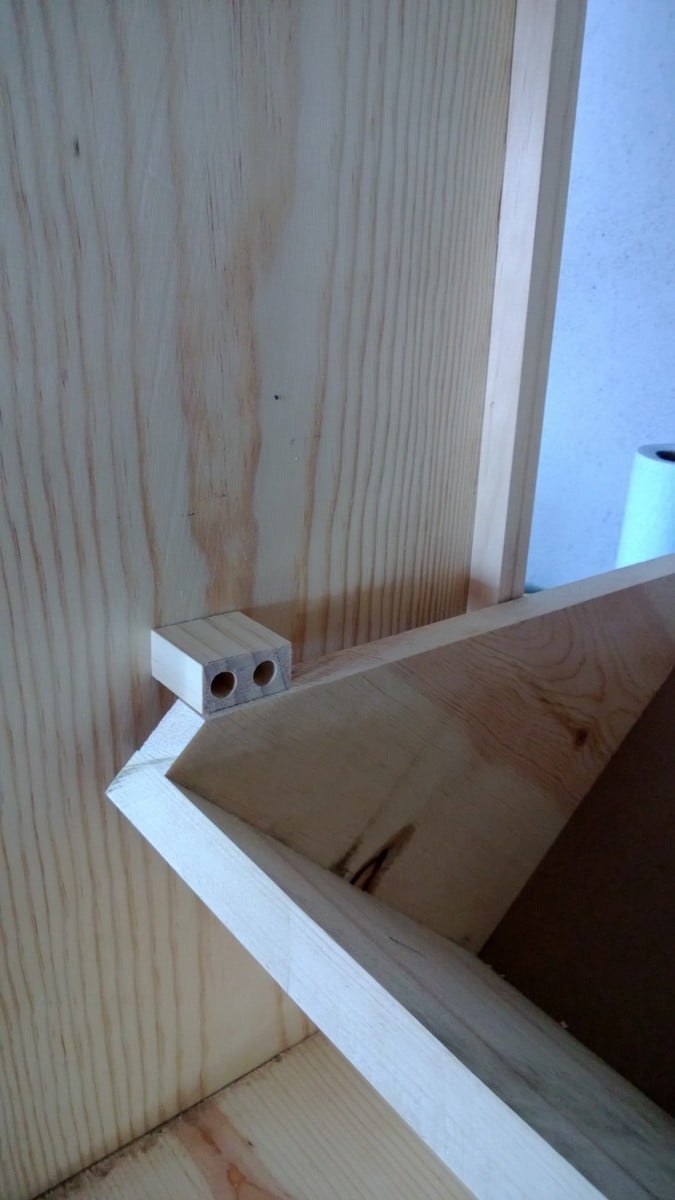
So here are some more pictures of my project. I don't really have any good pictures of the dowels. But what I can tell you is, I drilled holes through the sides of the face frame and the trim pieces and then measured where the holes would be in relation to the "drawer". I then drilled holes in the drawers at those measurements, I was careful to not go to deep. I think I went in half an inch. After that I started at one end and placed the dowels in, then put each drawer in. It wasn't easy but with a little patience it worked. The key is to wax the dowels so they will last longer as well. I also am including pictures of the top and bottom trim. On the top the original plans called for an overhang piece and I didn't like the way that looked. I ran the top board an inch long on each side and then wrapped it in quarter round trim. I did this because I plan on adding the Mimi Hutch Top. The bottom was built per the plan, but I ran into a problem with my bottom trim not being level and you could tell. So I raised the whole unit on 1 1/2 legs then placed it on a level surface and again wrapped it in a decorative trim. The key on both trims was a nice miter joint. Last picture I added was of my stoppers. I took scrap from the 1x2 trim and cut them to an inch and a half or two (can't really remember), then using the Kreg Jig drill bit drilled recessed holes. I then opened the doors until the side 45s were level then mounted the blocks on each side. I feel that it is better than a chain or string catch. Again thanks for looking and I hope I answered all of your questions.
Tue, 01/22/2013 - 11:29
Dowels! What a great idea! Would you mind sharing how you did it? Could you possibly add some pictures showing the dowels? You did a great job. It looks beautiful.
In reply to Dowels! What a great idea! by moosmani
Tue, 01/22/2013 - 20:11
Yes I will send you the info you requested, I'll try to get it out to you tomorrow or Thursday.
Wed, 02/15/2017 - 11:05
Can you send the plans to me?!?! I need this for my new home! [email protected]
Thu, 01/24/2013 - 09:27
I love what you have made! Could you post pictures of the top and the bottom trim? I'm very impressed that this is your first project!
Sat, 11/16/2013 - 18:23
I am a little confused. I love the three bin laundry sorter, but everyone is mentioning plans. I am not finding plans for it on the site. Also, what goes in to hold the clothes? There may be obvious answers, but I am not seeing them. I'd appreciate any help you could give.
Tue, 12/02/2014 - 02:58
I've been thinking of working up one very similar to this, also with 3 bins, but I didn't want to use chain either. Those stoppers will be ideal - do you put them on both sides or is one enough? Thanks for the share!
Sat, 01/24/2015 - 11:29
Hi-
Im not sure if you still have the plans to this awesome project, but if you do, would you be able to share them with me? Ive been looking to make something like this forever, but just couldnt find any help!
thanks,
karah
[email protected]
Wed, 02/25/2015 - 12:35
If you still have these plans, could you please send them to me? [email protected]
THANK YOU!
Wed, 02/25/2015 - 16:45
I am searching for the plans for the gray corner entertainment center. Does anyone still have them that could email it to me….
Tue, 01/19/2016 - 17:43
Hi there! If you still have the plans for this I would love to have them! Thanks a lot
Tue, 04/12/2016 - 18:51
I would love to have the plans for the laundry bin if they are still available, Thank you!
Wed, 02/15/2017 - 07:16
Can i also have the plans! This is perfect for what we want to do in our laundry room
Wed, 02/15/2017 - 11:24
Can you please send me the plans! [email protected]
Mon, 07/10/2017 - 04:19
I absolutely LOVE your laundry sorter!!!! You did a fabulous job and the TRIM, WOW amazing!!!! I've searched Ana's website and cant find the plans' could you please email me the plans to [email protected]. I started building my own furinture back in October 2016 and the reward is amazing... Keep up the good work.
Happy Building,
Lisa
Tue, 01/16/2018 - 19:55
Love this! Can you email the plans to [email protected] please?
Thank you
Tue, 01/16/2018 - 22:18
I'm too new at woodworking to be able to tackle this right now, but would love to download the plans for future. My most successful project so far is a pretty standard bookshelf. I got a free plan, with lots of guidelines and explanations, at https://tinyurl.com/ydeup8lo -- it came with a 440 page guide, "The Art of Woodworking" that has tips and techniques, and am plowing through that right now.
Wed, 02/28/2018 - 12:53
This is amazing. I am very new to woodworking. Could you send me the plans please? I would be most appreciatative
Wed, 03/11/2020 - 23:27
I would love to have the plans for the three bin laundry sorter to build for my laundry room. Are the plans available? Awesome work!
Thu, 07/16/2020 - 14:14
Looks amazing!! I want to build one just like that, can you please email me the plans, thanks!! [email protected]
Tue, 01/12/2021 - 06:26
This looks like something I can build. Would you please e-mail me the plans? The address is [email protected]
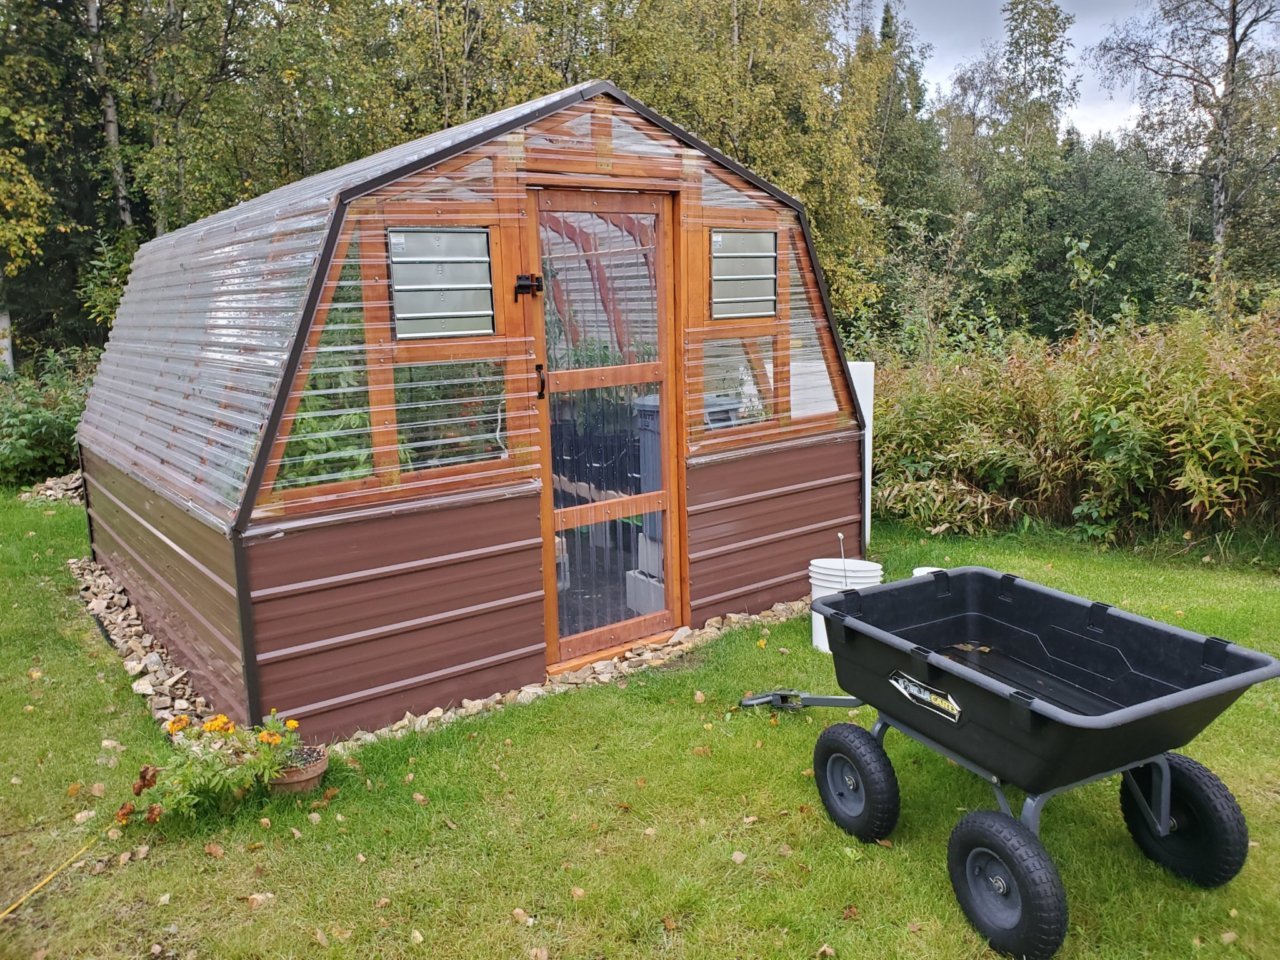
It was truly great for us to find a greenhouse design from a fellow Interior Alaskan blogger. We kept coming back to this design, enough times to where we decided to actually build it.
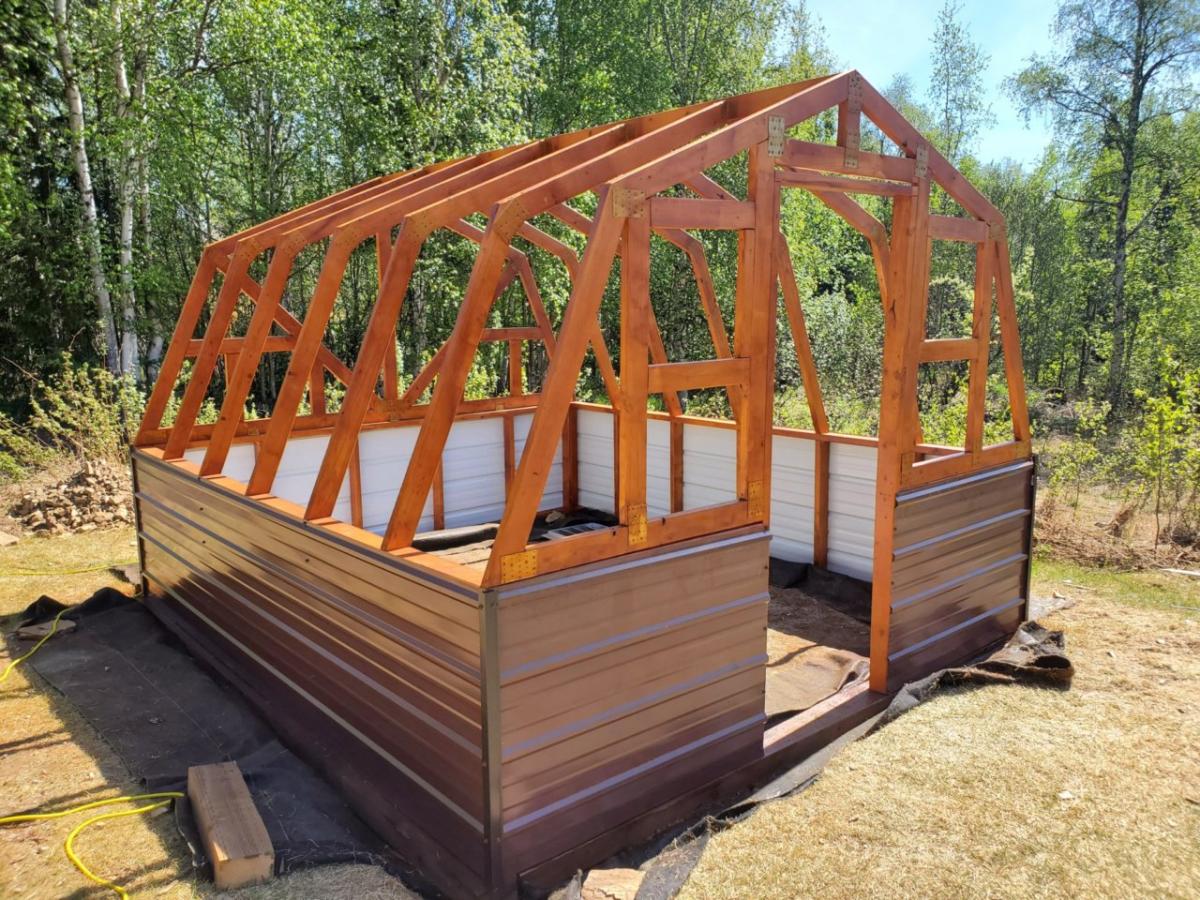
We would be the first to admit that tackling a gambrel style building was slightly intimidating and not what we had in mind for our very first self-built building! But, we faithfully followed the cut lists and directions. It turned out beautifully! If you're in the same boat, have confidence that you can build this too!
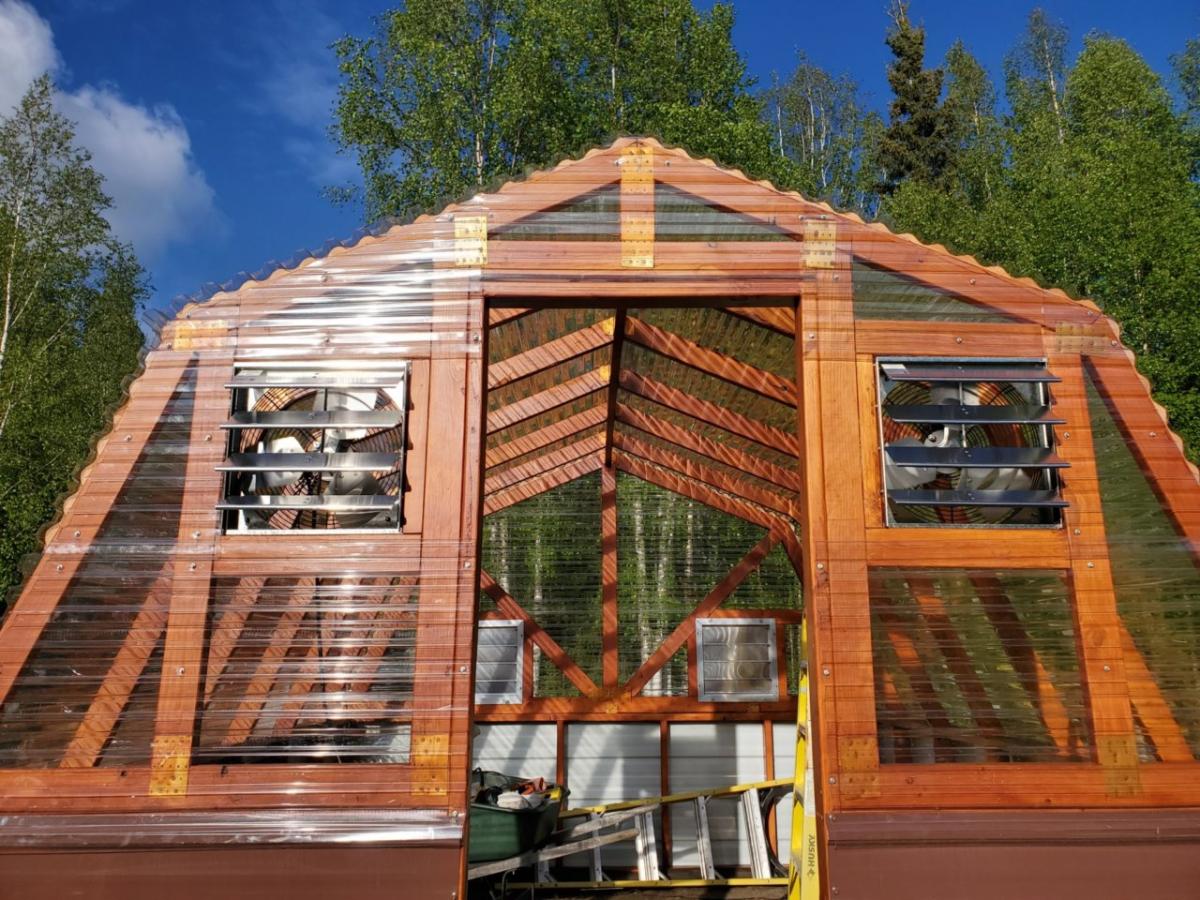
We love the options available for making it your own. We decided to stain the greenhouse lumber of ours to match our cedar sided home. We also built a semi frost-resistant foundation, since we're a little north of Ana at 65 degrees and sometimes experience frost heaving. We also added full climate controls to ours, adding both fans and louvers that keep our greenhouse at perfect temperatures.
The performance has been great! Building this greenhouse has been the single greatest thing we have done in our years of subarctic gardening. We might even consider building a second greenhouse down the road. No matter how big your greenhouse is, it's never quite enough!
Thanks for the great plans, Ana! We appreciate your work!

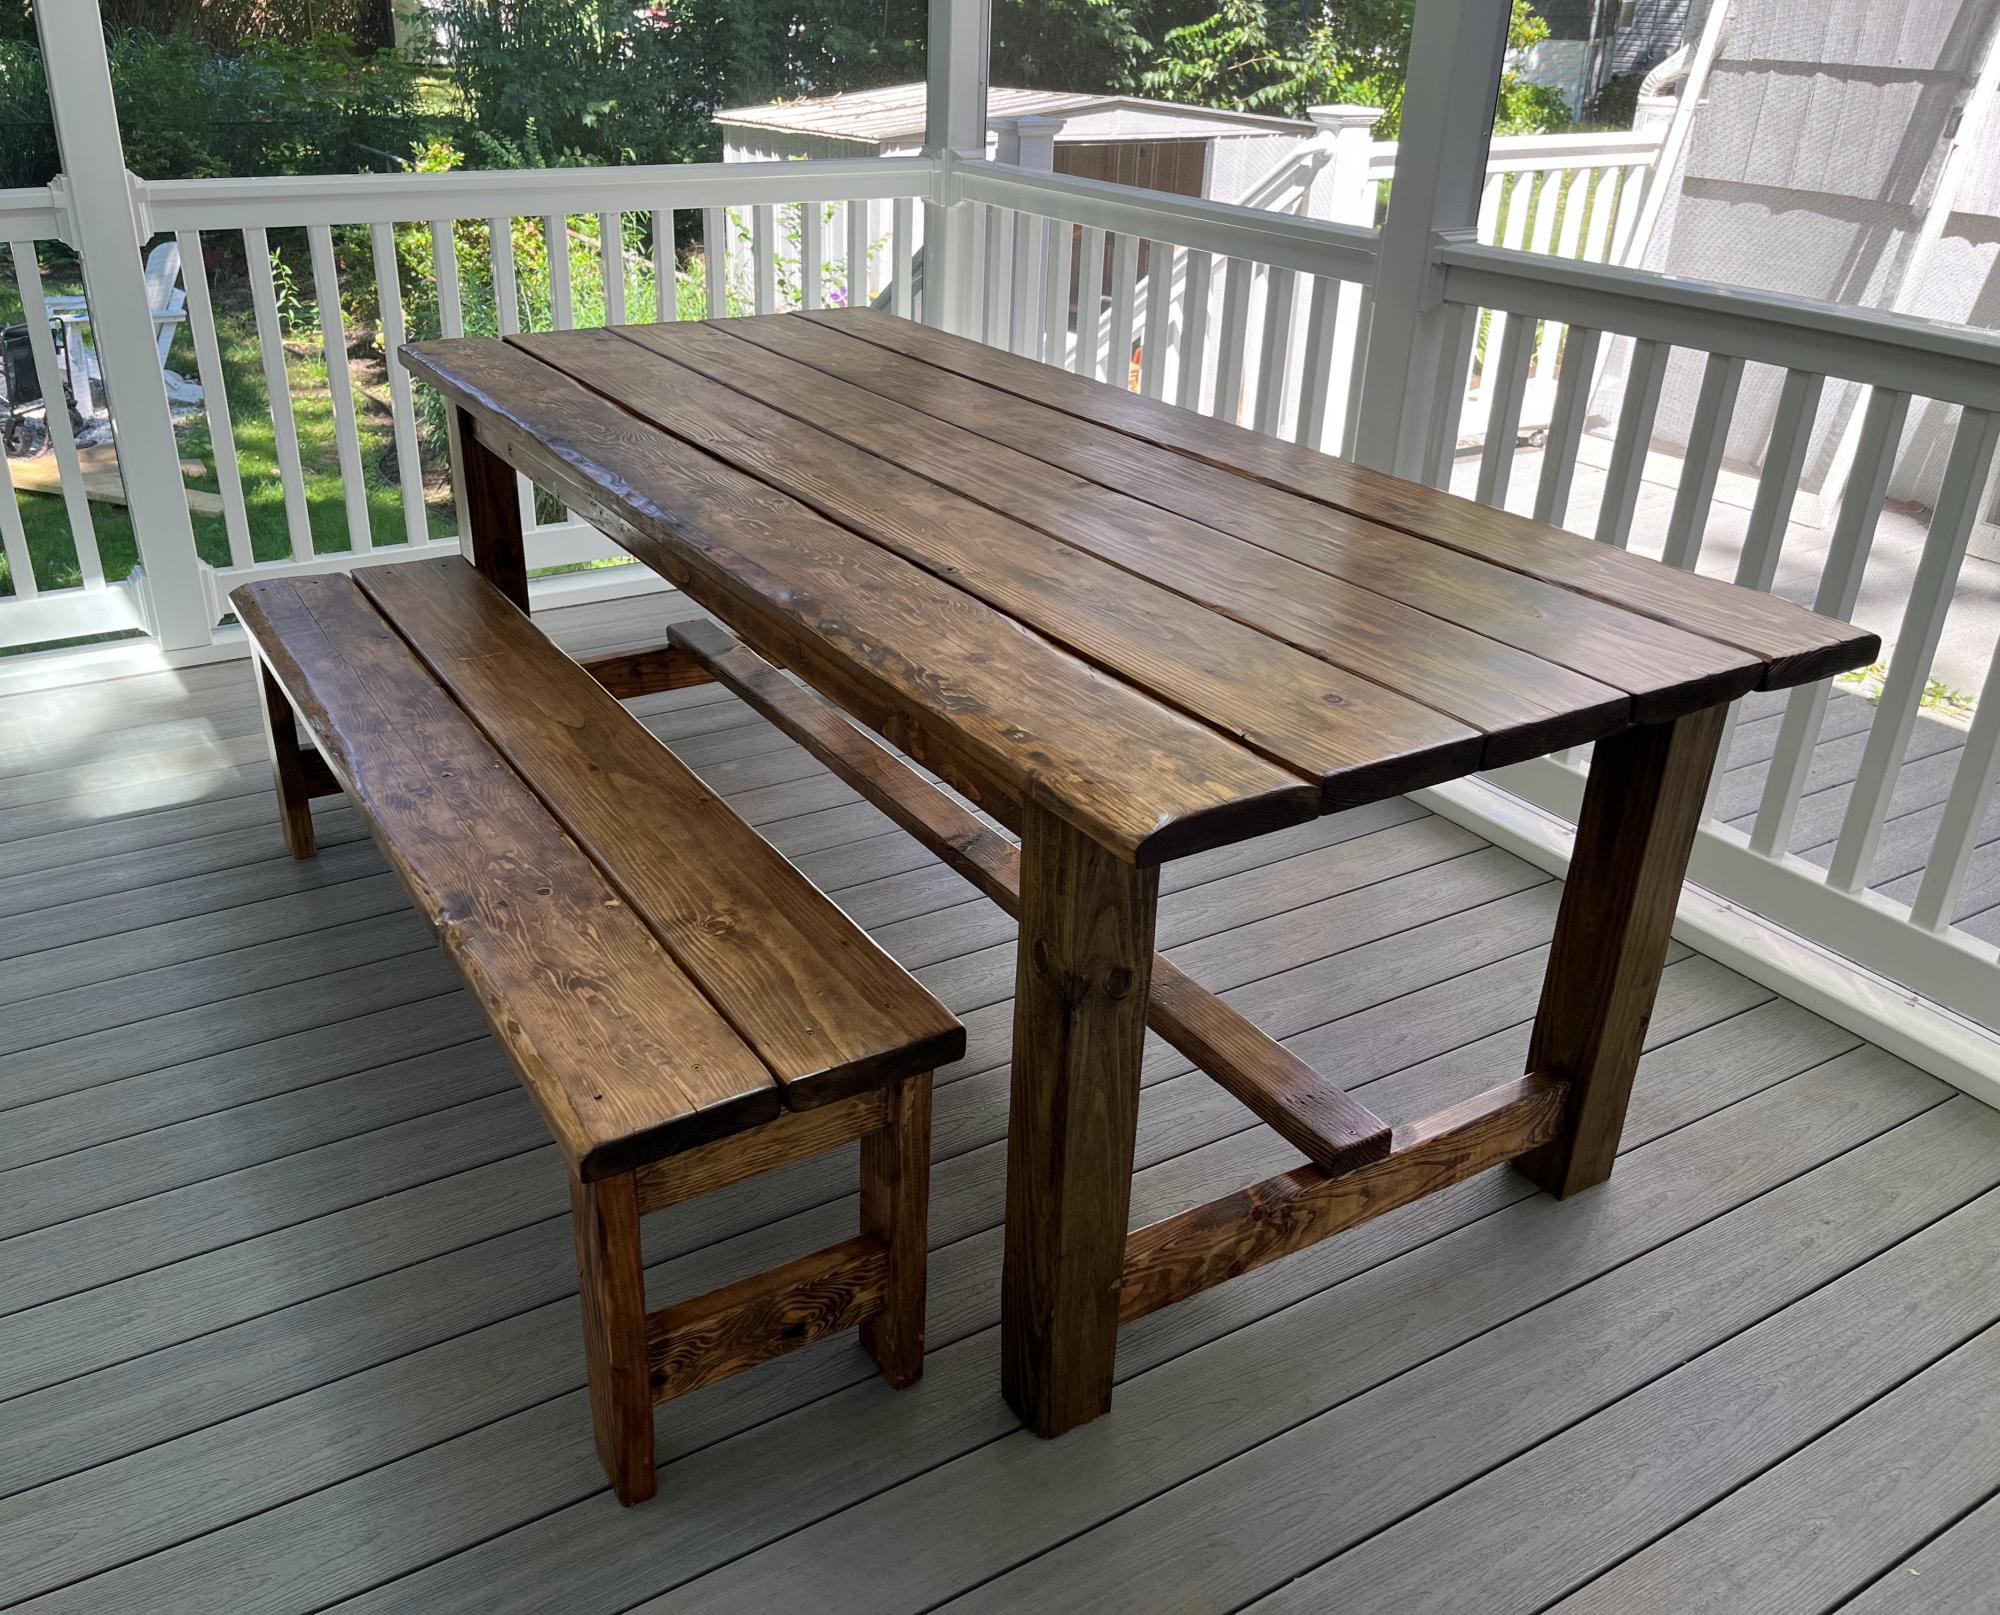
Altered the Beginner Farm Table plans to use 2x8s for the top and 4x4s for the legs. I used pocket holes for the table. I followed the bench plans almost exactly, adjusting slightly for the 2x8 tops. I am a beginner and I did it myself! The table and bench are beautiful and sturdy! Thanks Ana!