Community Brag Posts

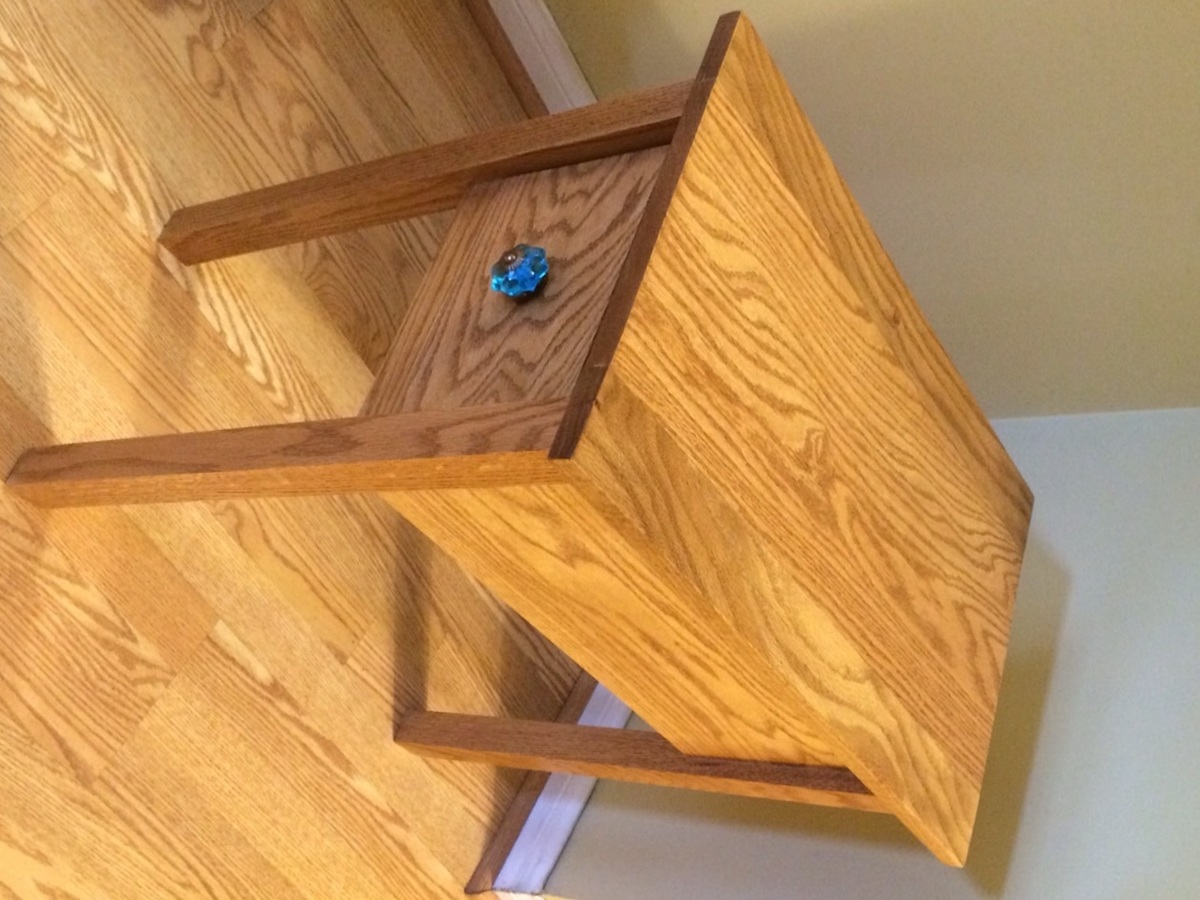
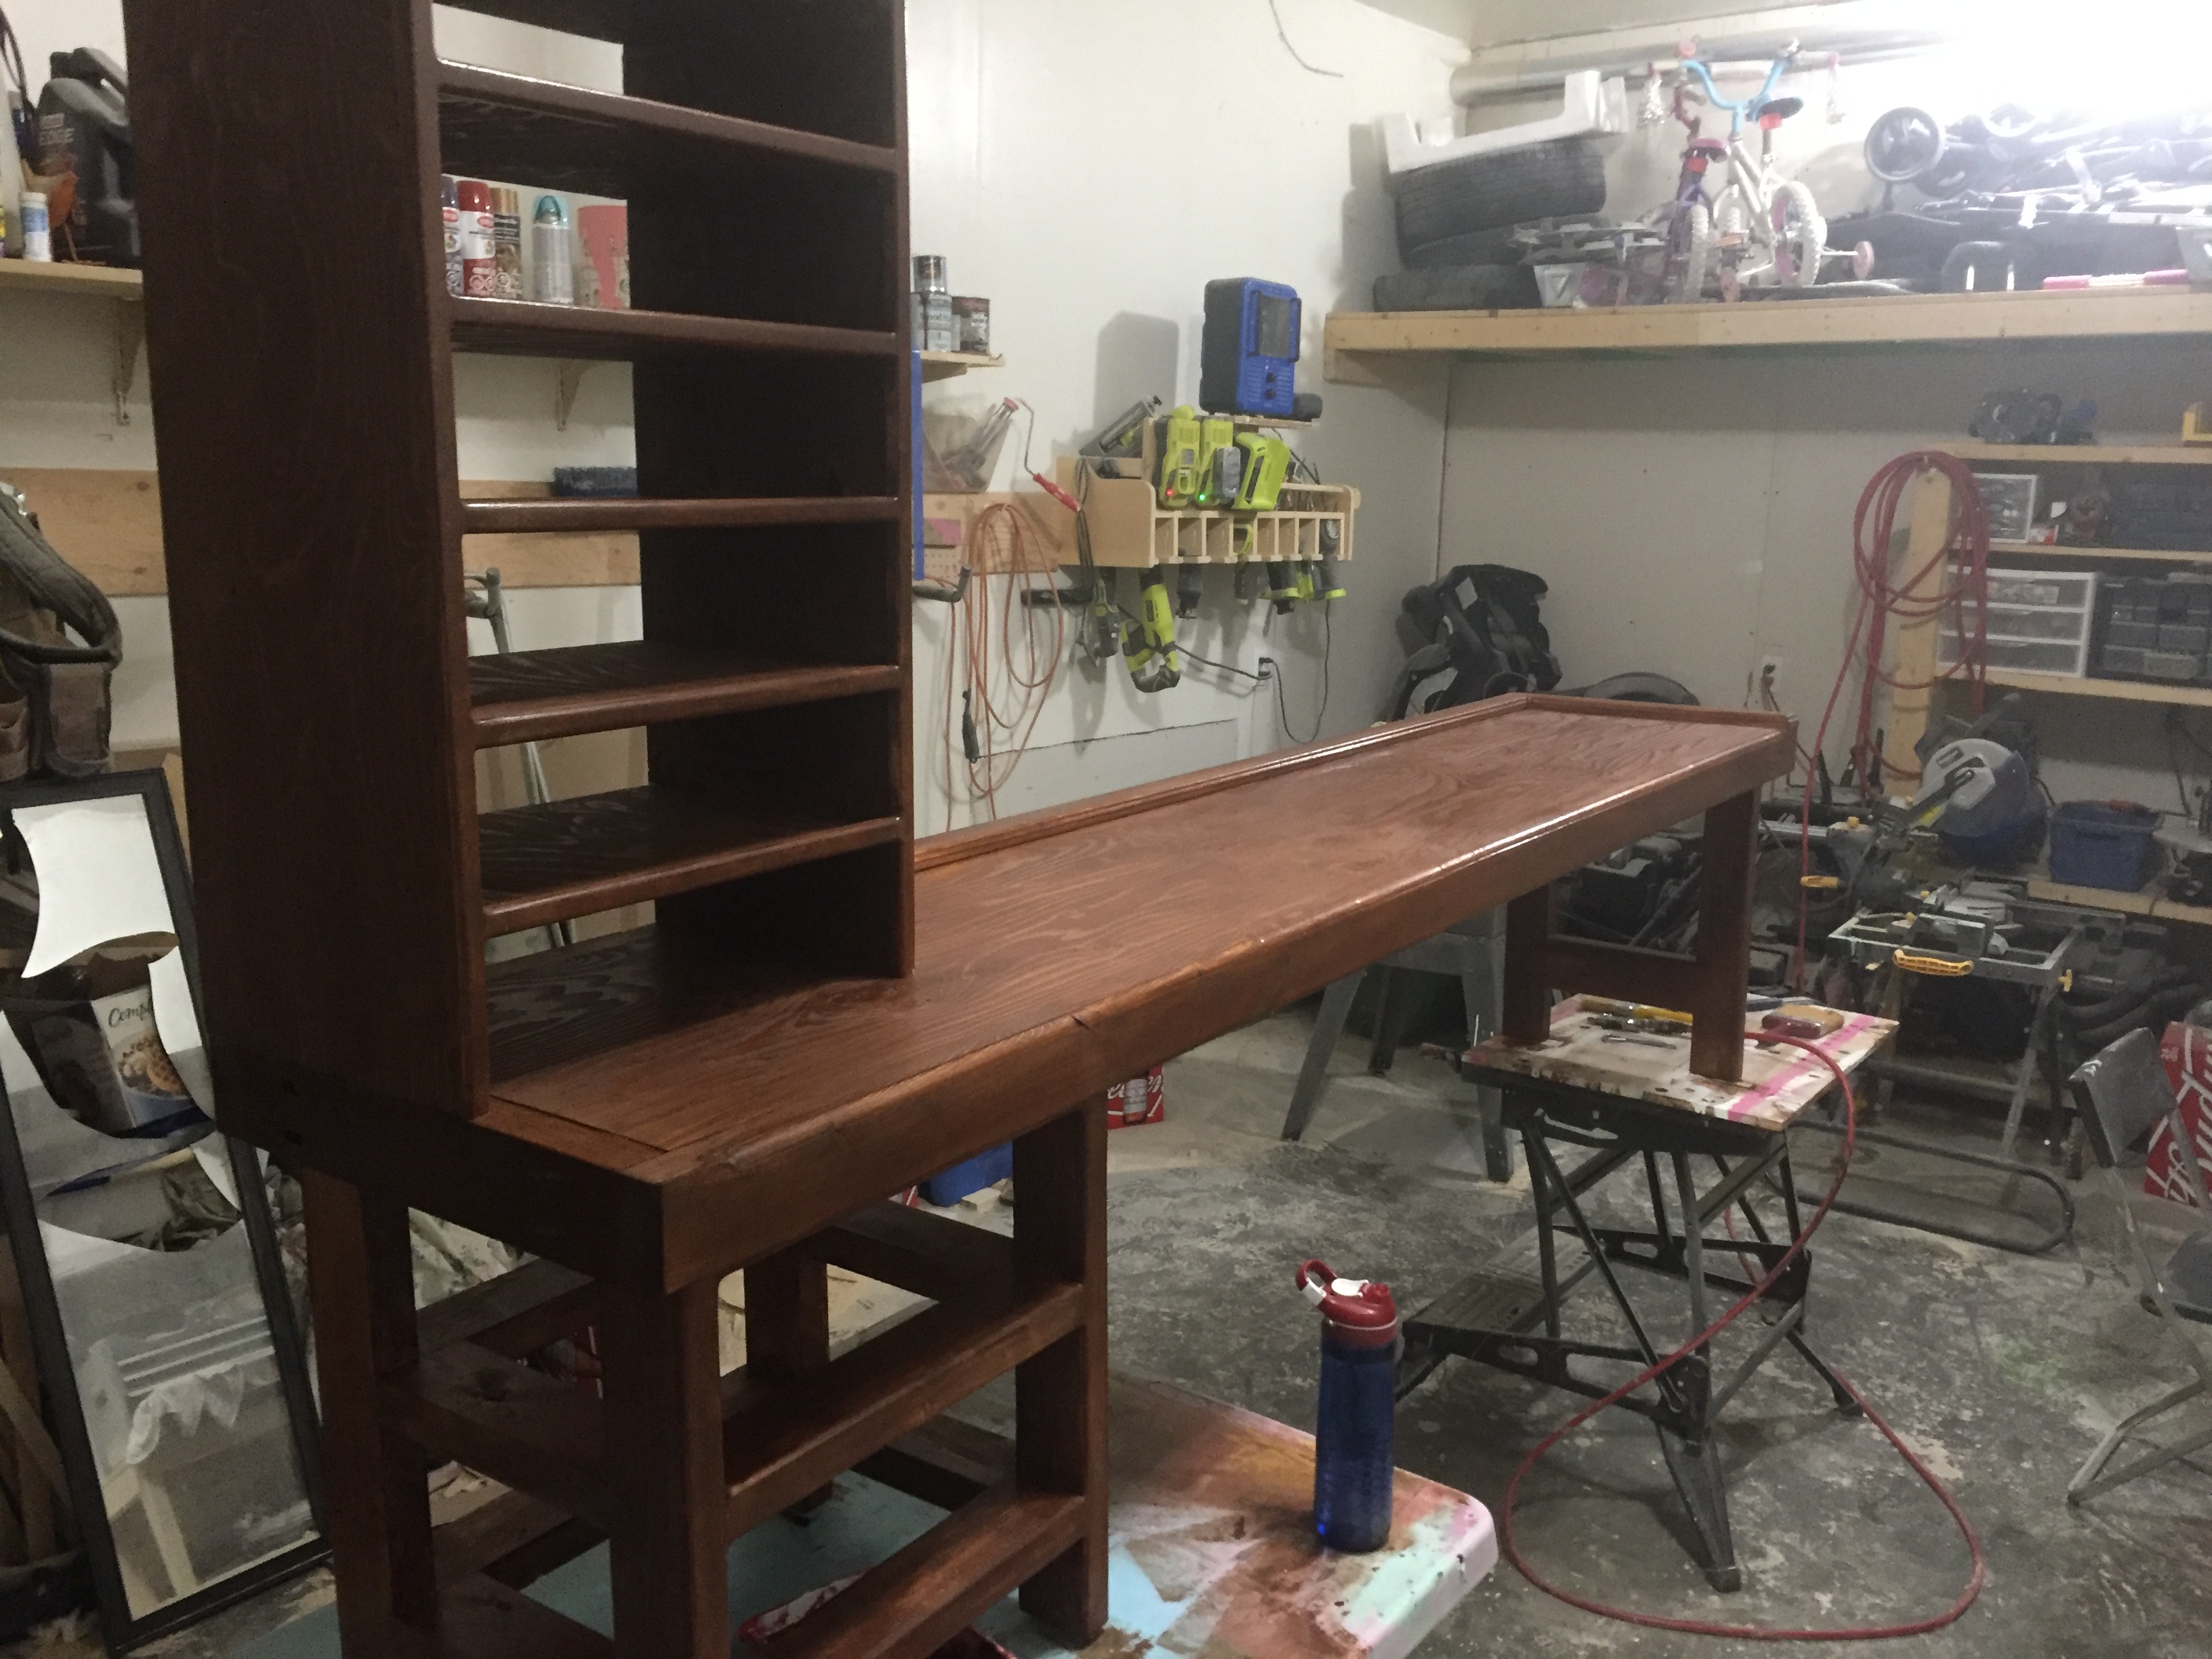
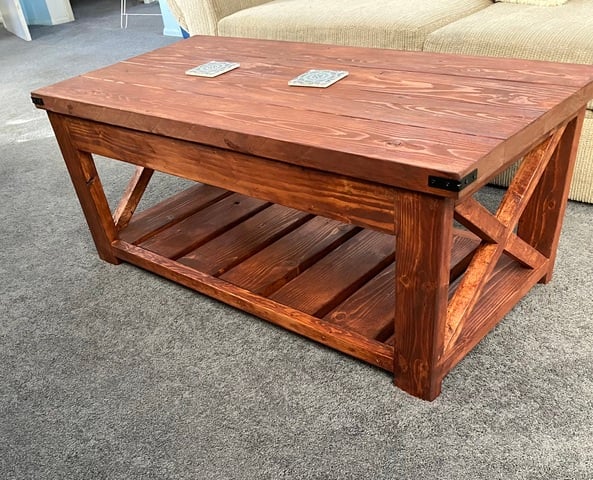
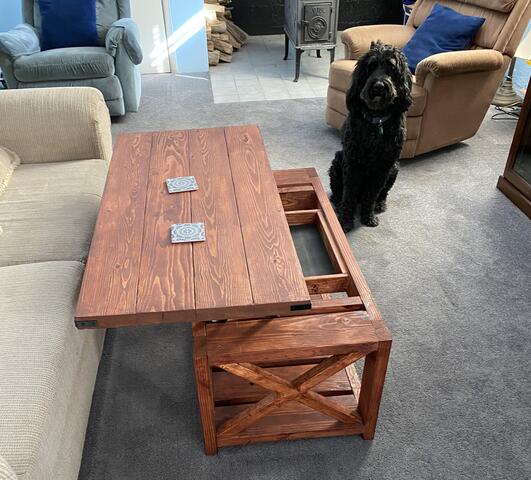
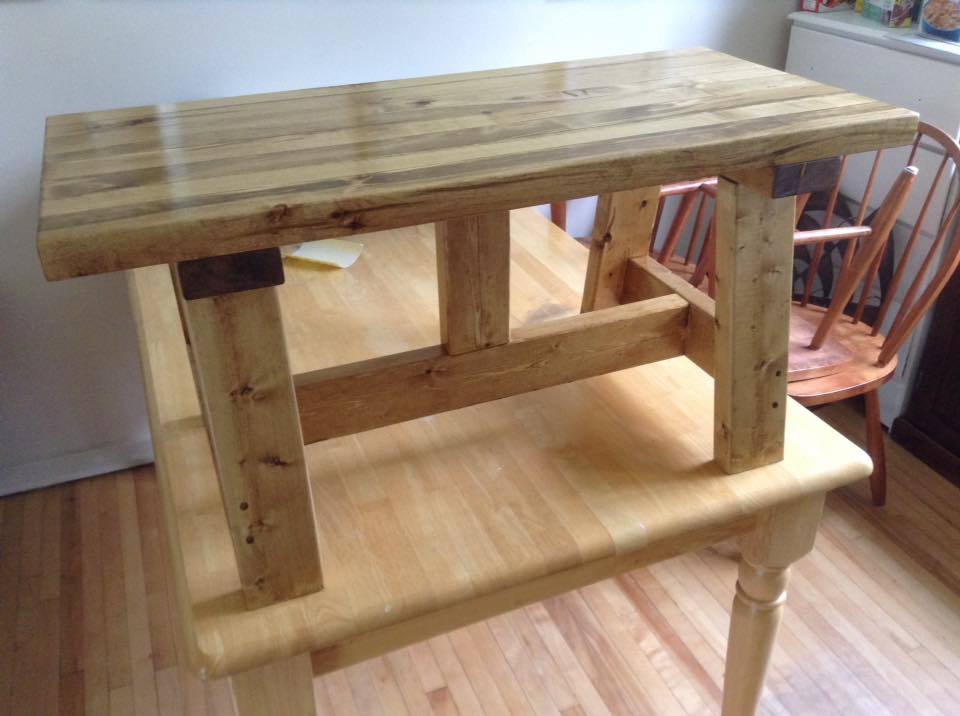
Cottage End Table in Oak

Submitted by JanMarie63 on Mon, 07/06/2015 - 06:48

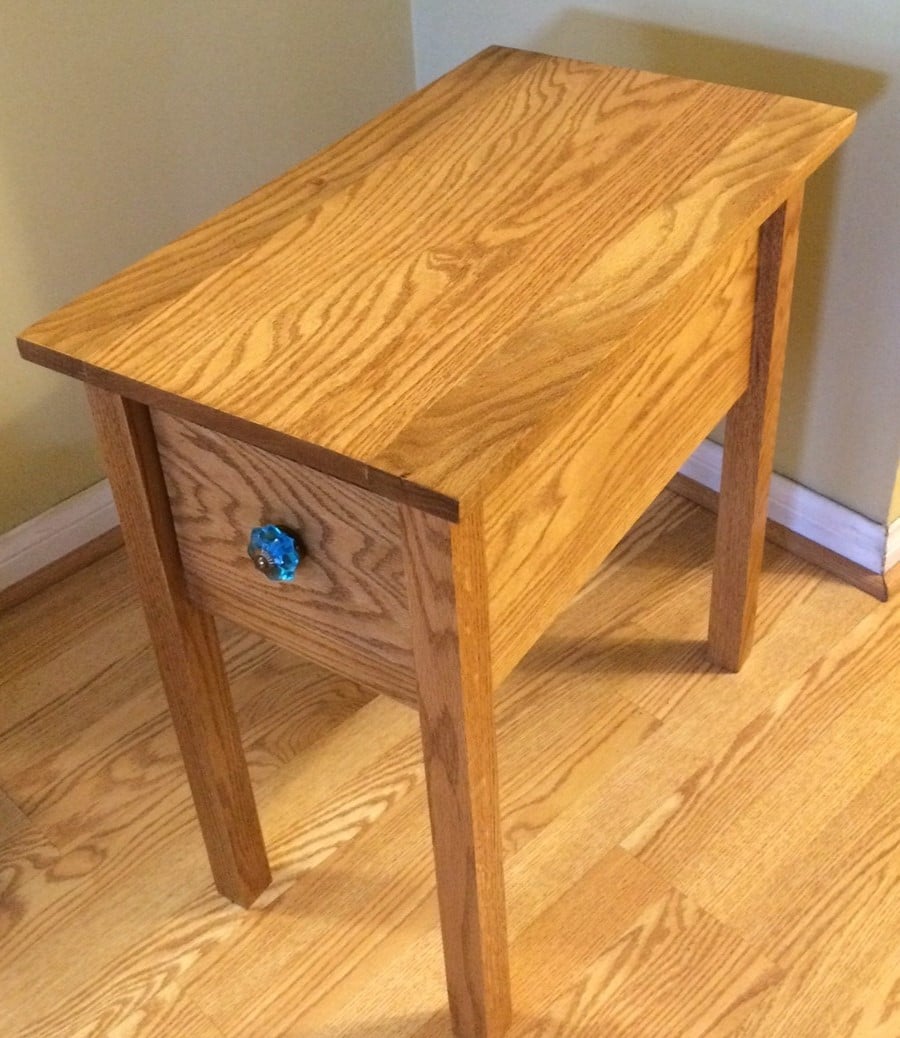
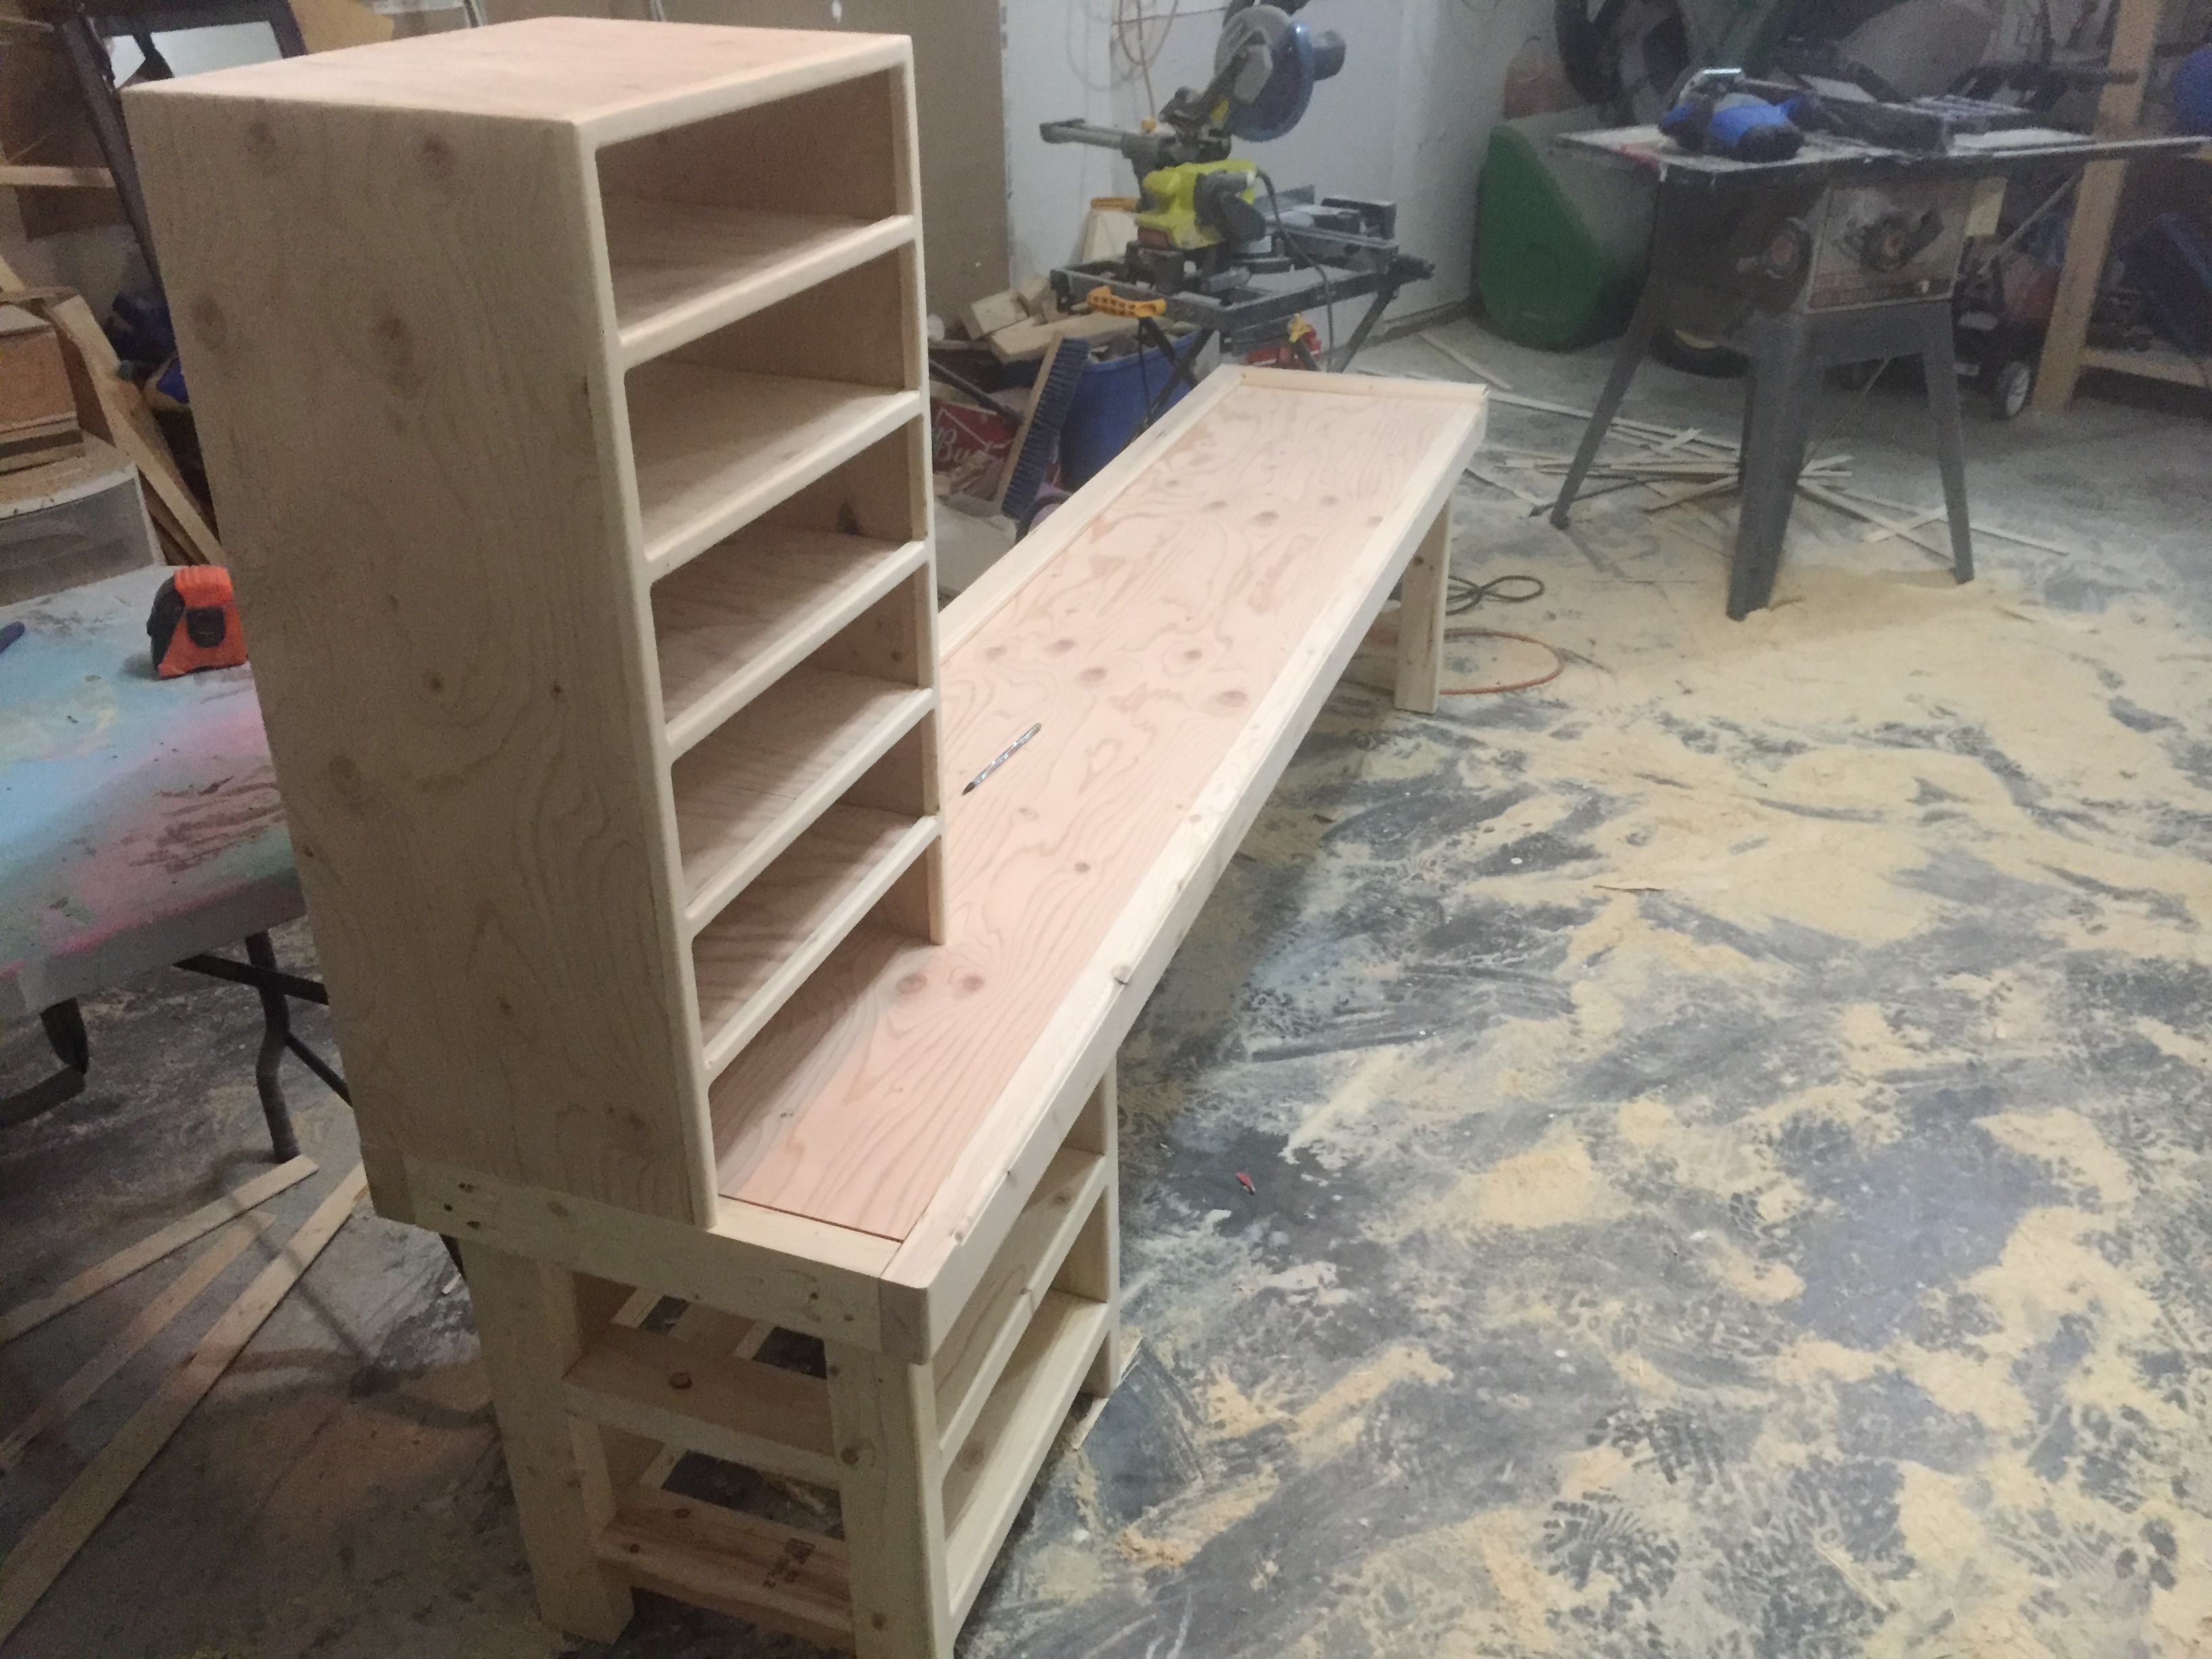
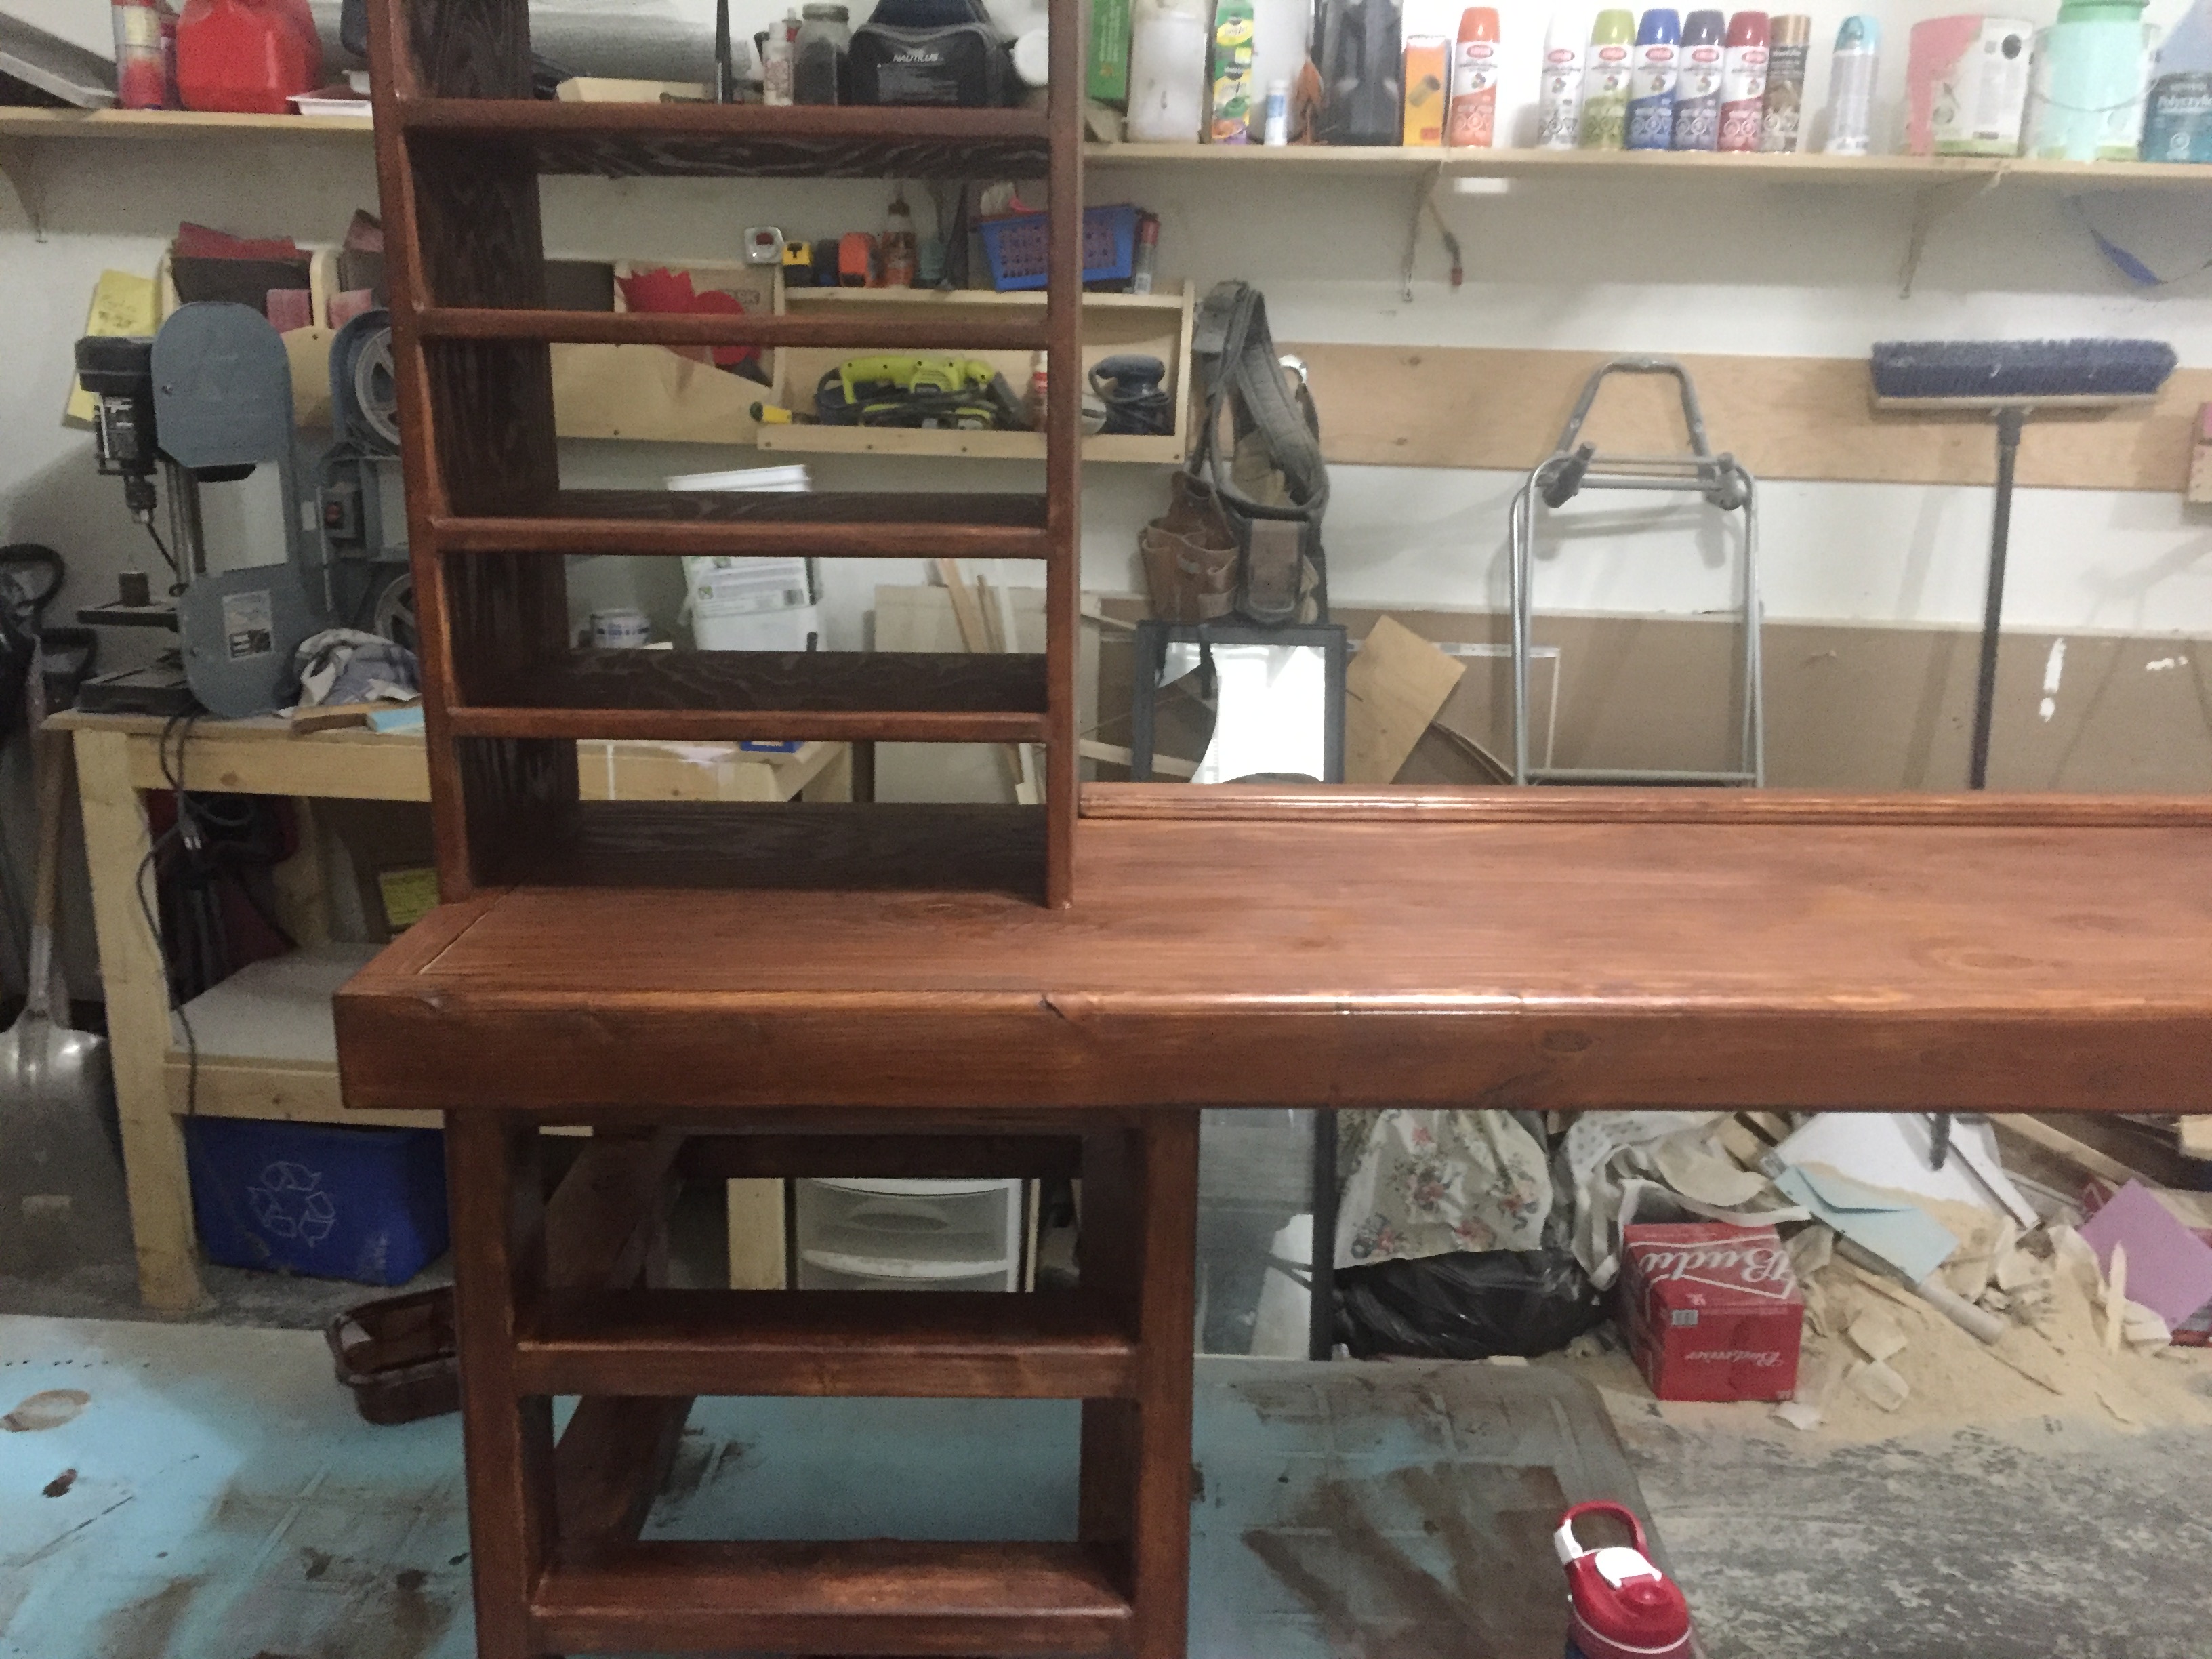
I loved making this Ana White's Narrow Cottage End Table plan after seeing it here on a search. I made it for my mother's 83rd birthday. She asked for oak and a light stain (Rust Oleum's Summer Oak Stain). Used three coats of wipe on Poly and one coat of Johnson's paste wax on the top. I bought the blue knob at Cost Plus World Market. The project took me two days. Will difinitely make another one but in pine this time.

Estimated Cost
$40, plus scrap wood on hand
Estimated Time Investment
Weekend Project (10-20 Hours)
Finish Used
Rust Oleum Summer Oak Stain, Minwax Wipe-on Poly (3 coats), Johnson Paste wax final coat for table top.
Recommended Skill Level
Intermediate

Comments

Fancy X Farmhouse Table and Bench

Built this table and bench for my wife. She wanted to host Thanksgiving dinner and needed a bigger table. I used the 96” plan, building the bench first and the table second. 3 coats of Danish oil dark walnut, and 2 coats of poly. I get a lot of compliments about this table. The bench is remarkably comfortable and sturdy. And yes, my wife was very pleased, plus I finished on time for dinner.

Comments

BearWoodworks

Mon, 01/17/2022 - 13:49

Thank you. The set up gratitude goes to my wife. She inspires me to complete these builds. And thank you to Ana White for these awesome build plans. I’m running out of house for all the builds so far.

Bunk and loft beds

I designed and built these beds with the help of my husband and daughter. We spent about $350 on the materials and about 4 days in the Texas heat to build it. My kiddos absolutely love them, especially my 7yr. old. His is the loft bed with a ladder system and a bookshelf, and area to play underneath. The bunk bed is for my 18yr. old and my 14yr. old, so it had to be extra sturdy. We built everything out of 2x6s except the bookshelf. It was built from 1x12s and plywood.

Estimated Cost
350
Estimated Time Investment
Week Long Project (20 Hours or More)
Finish Used
Ebony stain
Recommended Skill Level
Intermediate

Comments

Queen size storage bed

We made this storage bed for our teenage daughter. She helped! She picked out the stain, comforter, and went through different plans with me to make it her own. She learned how to use a miter saw, sander, etc. and it was a great bonding experience. It's a few different plans, and we had to make modifications, but it is immensely better quality than store bought furniture we purchased a few years ago (it's falling apart!) and it has sentimental value. We are proud of the furniture, but even more proud of our daughter. :-)

Estimated Time Investment
Week Long Project (20 Hours or More)
Finish Used
Charcoal Grey
Recommended Skill Level
Beginner

Our First Project

Submitted by Simplyel on Fri, 05/20/2011 - 19:56

My dear husband built the bed and I painted it. He found that it was easy to make. Thank you Ana, we love it. We are waiting for our new mattress!

Estimated Cost
Less than $175.00
Estimated Time Investment
Weekend Project (10-20 Hours)
Finish Used
Latex White Paint. I want to distress it but he is not sure. Figure we will live with it for awhile and then decide.
Recommended Skill Level
Beginner

2 couches and tables

Submitted by Polysoup on Sun, 07/14/2013 - 07:40

I bought two sets of Restoration Hardware cushions on clearance and they worked out great. I had to adjust the measurements a little bit but that went pretty quickly. I came up with a plan for the tables to match the couches.

The tables are both 30x30. This way I can use them as 2 tables, one large table, ottomans or seating.

I LOVE the cushions. They are 6.5 inches thick and were dry 3 hrs after a rainstorm. There was no way I could have sewn something cheaper.

Thanks for the plans Ana!

Estimated Cost
$250 each (including cushions) Tables - $30 each
Estimated Time Investment
Week Long Project (20 Hours or More)
Finish Used
White Sherwin Williams paint (forget the exact name) and a stain for the cedar details
Recommended Skill Level
Intermediate

Comments

Blue Shocked Sideboard

Submitted by joshwgnr on Sun, 07/12/2015 - 08:17

One of the most rewarding, yet frustrating projects done to date.

A project completed over the course of several weeks challenging the limited tool set available.

In the end, the cost of new tools and frustration of assembly was all worth it!

Built from Plan(s)
Estimated Cost
Material Cost ~$600

Hardware, hinges, and slides add up quickly.
Estimated Time Investment
Week Long Project (20 Hours or More)
Finish Used
Espresso stain for exterior, Blue paint interior
Recommended Skill Level
Intermediate

Art Center / Work Dest

Girls table was too small, especially when they have friends over. We have a little nook that this will slide right into in the living/dining room. The bottom has drawers, they just were not completed when i took the pictures.

Estimated Cost
100
Estimated Time Investment
Weekend Project (10-20 Hours)
Finish Used
Minwax - American Chestnut
Recommended Skill Level
Beginner

First Furniture Build

Submitted by Jeffmb on Thu, 02/03/2022 - 14:23

My first indoor furniture project - the Rustic X coffee table. I added a lift top to store remotes etc and use as a laptop table. Fairly easy build I only had trouble aligning the "x's". I used of the shelf dimensional lumber but I might try this one again using different wood and a lighter finish.

Built from Plan(s)

Comments

Outdoor Patio Deck Chairs

Submitted by nlindauer on Tue, 05/24/2011 - 06:42

Made these chairs from plans found on the Kerig Jig website. I added the cup holders for convenience and lowered the seats by 2 inches to account for our short legs. Chairs were stained with an outdoor fence treatment that was tinted with a light grey color.

Estimated Time Investment
Day Project (6-9 Hours)
Finish Used
Olympic Maximum Solid - Grey Base
Recommended Skill Level
Beginner

Our First Project: A CA Mudroom

Submitted by jcablopez on Tue, 07/16/2013 - 11:28

I've been looking for a storage solution for the area next to the driveway we use as our main entrance. The area opens to the kitchen, dining, and living rooms. We had a computer desk here, but it just ended up piled with junk all the time and backpacks and jackets ended up on the floor.

I fell in love with the smiling mud room plans as soon as I saw them, but it took a while to convince my husband we should try to build it. I used the Smiling Mud Room plans and modified to add the computer desk section since we couldn't move our internet cable. It didn't have to be really big since we don't use the desktop computer very often.

I still need to find baskets for the shelves and I'm planning to make a fabric skirt to cover the computer and cords. My kids already got out their old backpacks to test it out, so hopefully they'll use it!

We bought the Kreg jig as recommended and now my husband is planning lots of new projects just so he can use it.

Built from Plan(s)
Estimated Time Investment
Weekend Project (10-20 Hours)
Finish Used
I used a tinted primer and Valspar Signature semi-gloss paint in Posh Red. It took 1 coat of primer and 2 coats of paint. The plywood took the paint better than the pine, so some of the trim got 3 coats.
Recommended Skill Level
Intermediate

Rustic X Console, Coffee and End Tables

Submitted by deblynn42 on Thu, 07/16/2015 - 12:29

I modified the Rustic X plans by removing the X's on the sides and using 1x3in slats on the shelf.  They were made for a beach condo so I wanted a more open look.  I wanted a white washed finish and after trying several ideas from the internet I came up with this process:  First, I used rags to rub on Minwax Special Walnut stain as lightly as I could.  Second, I diluted latex satin white paint, at least 50-50, and brushed it on a small area and immediately wiped it off with a clean rag.  I used Minwax Polycrylic as my protective layer.

Estimated Time Investment
Week Long Project (20 Hours or More)
Finish Used
Minwax Special Walnut stain, white latex satin paint, Minwax Polycrylic Clear Satin
Recommended Skill Level
Intermediate

Comments

amati5

Mon, 07/20/2015 - 10:28

What kind of joint did you use?  I don't see any holes or screws and very nice looking finish.

deblynn42

Mon, 07/20/2015 - 14:57

The Rustix X plans use the hidden pocket screws using the Kreg Jig tool.  It really makes a strong joint.  All the hidden pockets are on the underside of the trim pieces.   The top and slats are screwed on with normal wood screws, again from the underside.

Farmhouse king

Submitted by Chrisdiana on Sun, 02/04/2018 - 15:14

Followed Ana's plans as directed but made the headboard four inches shorter by shortening the legs only on the headboard.  We used low profile boxsprings (2 twin XL @ 5 inches thick) and king size memory foam mattress which was 10 inches high.  The clearance at the bottom of the side rails is 6 and one half inches high.  Total cost of lumbar was about $300. We had stain on hand. Kreg jig screws brings the total to about $315.

Estimated Cost
$315
Estimated Time Investment
Weekend Project (10-20 Hours)
Finish Used
Miniwax ebony stain, and satin polyurethane.
Recommended Skill Level
Intermediate

Farmhouse table bench no pocket holes or screws on top

Submitted by tjlichat on Wed, 02/23/2022 - 12:55

Liked very much the general design of the farmhouse plans but wanted to avoid buying the pocket hole jig and the puttying of screw holes on top side (exposed) side of boards.

Increased slightly the table top and bench seat board supports (2x2's) which worked well for holding those down and placed the angled wood piece in corner of table leg to support bread board.

Please with the results. We really wanted to avoid attempting to hide the screw holes with putty. Others have posted and we had similar results of blotches on the surface of the top boards resulting from even "stainable" putty. No amount of sanding seemed to help.

Library Cart - Teachers Gift

Submitted by lollypoppy on Fri, 05/27/2011 - 09:32

The moment I saw this I knew it would be a perfect teachers gift for my daughters teacher. She loved it.
This was only my second project, the first being the 10 dollar ledges. I'm glad I tried a smaller project before tackling the farmhouse bed. I think it helped with just knowing how to assemble a project a bit better.
I used my Kreg Jig and it worked marvelous! Also I ended up not having a jigsaw so I just cut the top at a 35 degree angle with the miter saw and rounded the edges a bit with the sander. I was going to add handles but the top goes up enough that it's easy to manuever without. I also wanted her to be able to fit it in anywhere and was worried that the handles sticking out would just get in the way.
Overall I think it turned out great. Her teacher loves it. Thank you Anna for such wonderful plans!!

Krista

Built from Plan(s)
Estimated Cost
35
Estimated Time Investment
Day Project (6-9 Hours)
Finish Used
White gloss paint
Recommended Skill Level
Beginner

Dog Kennell / End Table

Submitted by Lilo7 on Wed, 07/17/2013 - 15:30

This projected turned out great! I admit, it was a bit of a stretch for me. This was the first project where I had to use the Kreg jig. Yikes! That takes some time getting used to! I chose to stain my Kennell/End Table with Minwax Red Elm. And that took the longest! Everyone always makes it look easy to stain something, I still haven't gotten the complete hang of it after project 50, and the waiting between coats is for the birds. But, I am happy with the overall end product! Thanks Mrs. Ana White!

Estimated Cost
I used premium wood, so about $125
Estimated Time Investment
Week Long Project (20 Hours or More)
Finish Used
Minwax Red Elm, two really thick coats!
Recommended Skill Level
Intermediate

Comments

YankeeBelle

Wed, 07/17/2013 - 17:26

It looks so professional and so much nicer than the fatally versions! Great job!! BTW what plan did you use?

Lilo7

Thu, 07/18/2013 - 08:48

Hi YankeeBelle,

I used the plans for the "Large Wood Pet Kennel End Table." If you chose to do this project, beware that the cut sheet does not include all of the plywood cuts. There should be two identical for the sides, and one additional one for the back.

Thanks again!

Pottery Barn Bench Knockoff

Submitted by worrow on Mon, 07/20/2015 - 11:54

My neighbours had noticed the things I build and asked if I could build them a nice bench. I had some very nice pieces laying around that I thought would be amazing to laminate for the top. After completing the top which was alot of elbow grease, I needed to build the base. I cannot for the life of me find the link, but I know it was from Shanty Chic. It is absolutely beautiful, one of my best pieces of work.

Estimated Time Investment
Day Project (6-9 Hours)
Finish Used
Minwax (Walnut)
Recommended Skill Level
Beginner

Comments

worrow

Mon, 02/20/2017 - 08:12

I don't remember which plan I got the base from, but the top is of my own design, and I spend awhile figuring out what kind of base I wanted, but it is suppose to be representative of an old design from Pottery Barn, was built for some friends that needed something heavy duty.

Extended piano bench

Submitted by Lukilla on Thu, 02/15/2018 - 12:13

Got a piano for free that has no bench with it. When I started looking up dimensions, I realized traditional benches are a little short if you want to sit and play with someone else. The size of this plan works perfectly and can store music. Best part is that if we ever get rid of the piano, we will have a nice entryway bench.

Estimated Cost
$50
Estimated Time Investment
An Hour or Two (0-2 Hours)
Finish Used
Kona stain
Recommended Skill Level
Beginner

Added a wall for mounting the tv

Submitted by Anonymous (not verified) on Wed, 03/16/2022 - 10:28

I've gotten tons of comments from friends and family already on this build. I liked the original white but it wouldn't have matched my other furniture in the room already built/stained this color.

Comments

HBWineWoman

Fri, 03/18/2022 - 09:28

Oh my gosh, this looks fantastic! I love that you did the simple framing on the "headboard" portion. Might have to give this a try!