Community Brag Posts

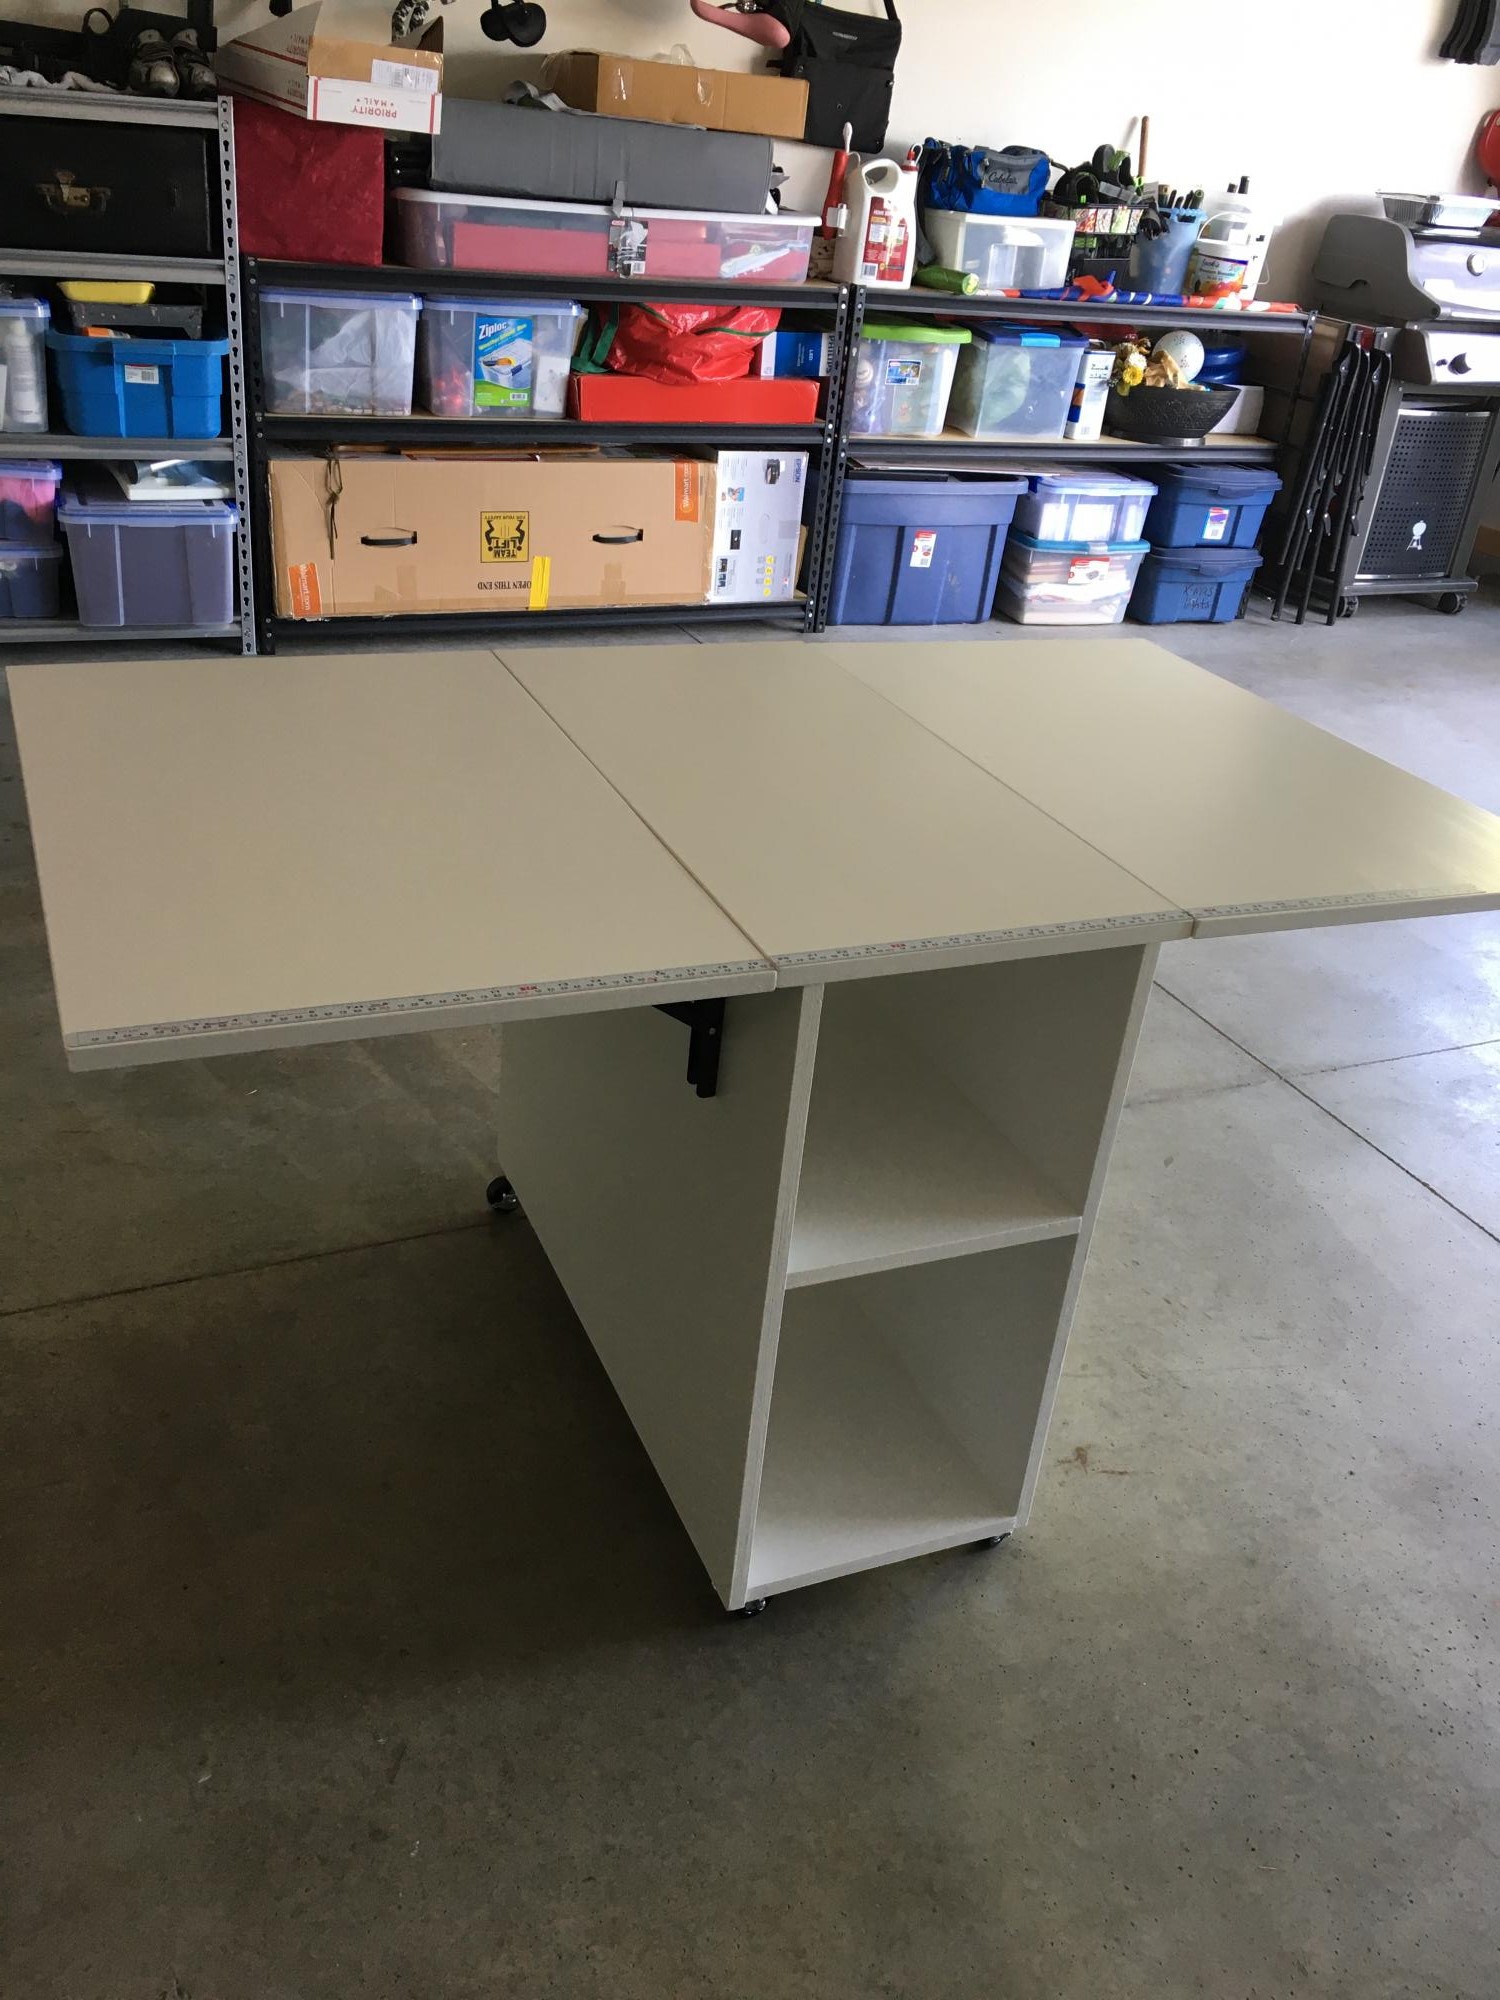
Sewing cart/table

Submitted by luxonagel on Mon, 08/17/2020 - 09:08

Love this plan! I used locking hinges instead of legs because it will overlap a bed in our guest room when in use. The hinges are rated for 250lbs and have held both of my sewing machines with no issues. I placed the middle shelf to fit my machines on the lower and standard fabric storage cubes on the upper. A metal adhesive measuring tape was added to the edge for convenience. This table will also be used as a buffet for family/group gatherings.

Built from Plan(s)
Estimated Cost
$75
Estimated Time Investment
Afternoon Project (3-6 Hours)
Finish Used
Sherwin-Williams Duration in Snowbound (7004)
Recommended Skill Level
Beginner

Comments

Akroezen

Wed, 12/02/2020 - 09:09

Hi! I need my sewing cart to be used without legs as well and have search everywhere for an appropriate hinge. Could you share with me what type & size you used? Did you change the sizes of the top to accommodate at all? Thanks!

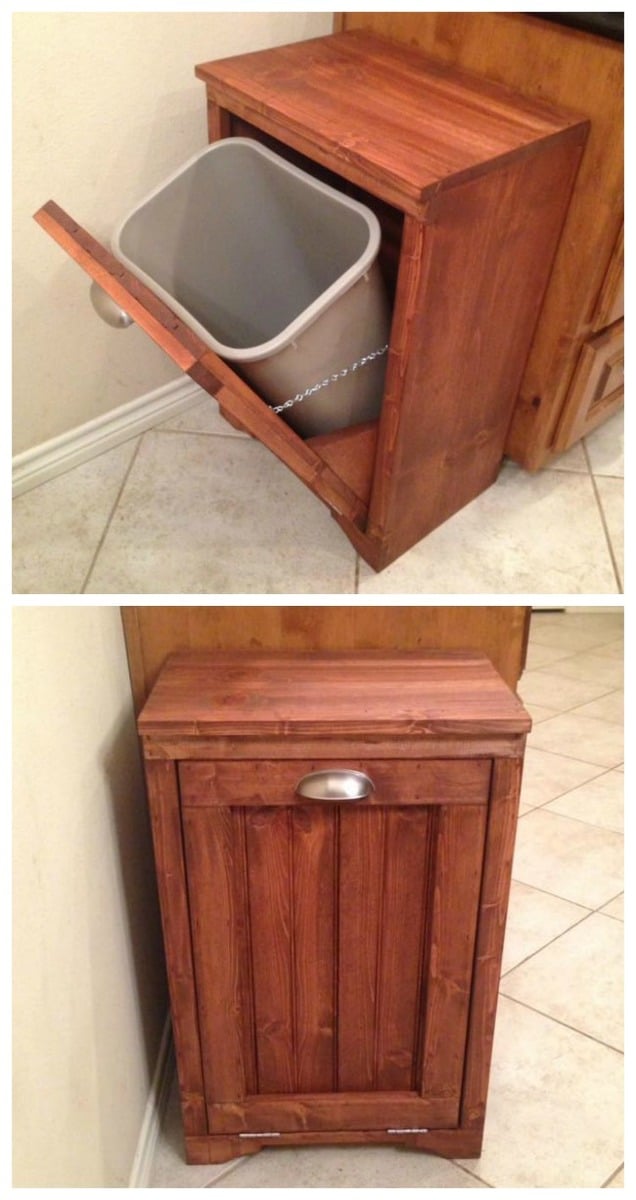
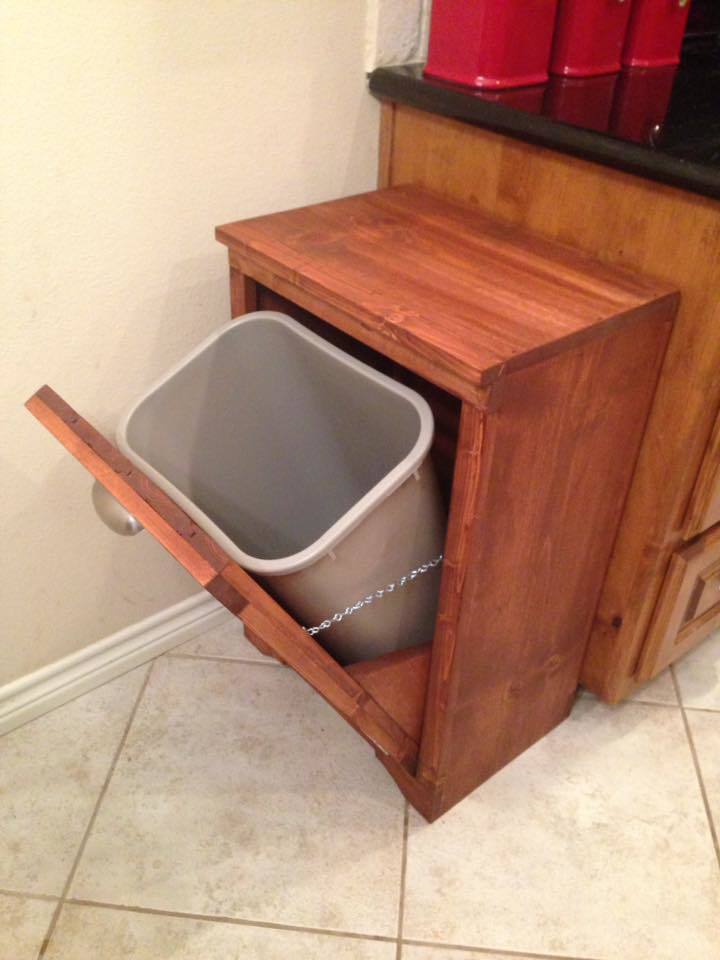
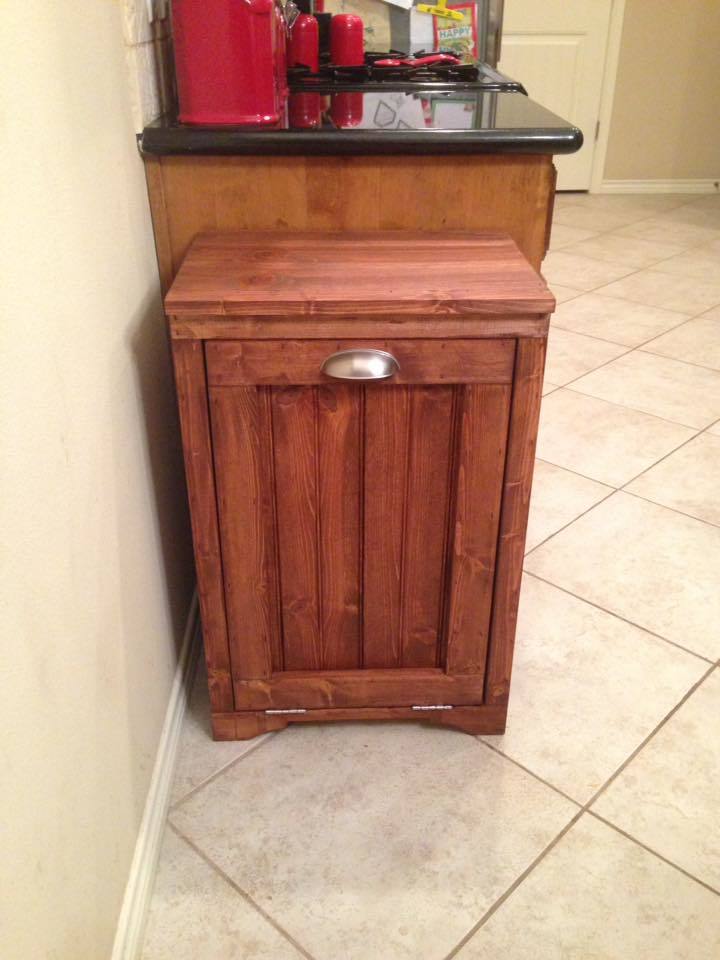
Tilt Out Wooden Trash Bin

Submitted by paigers01 on Mon, 01/09/2017 - 11:27

Tilt Out Wooden Trash Bin

After 7 years of our trash can sitting out in the open, my wife decided we needed to do something about it. I saw the plans for this tilt out wooden trash bin, and slightly modified it using tongue and groove for the face panel.


Estimated Cost
$50-$75
Estimated Time Investment
Afternoon Project (3-6 Hours)
Finish Used
Minwax English Chestnut
Recommended Skill Level
Beginner

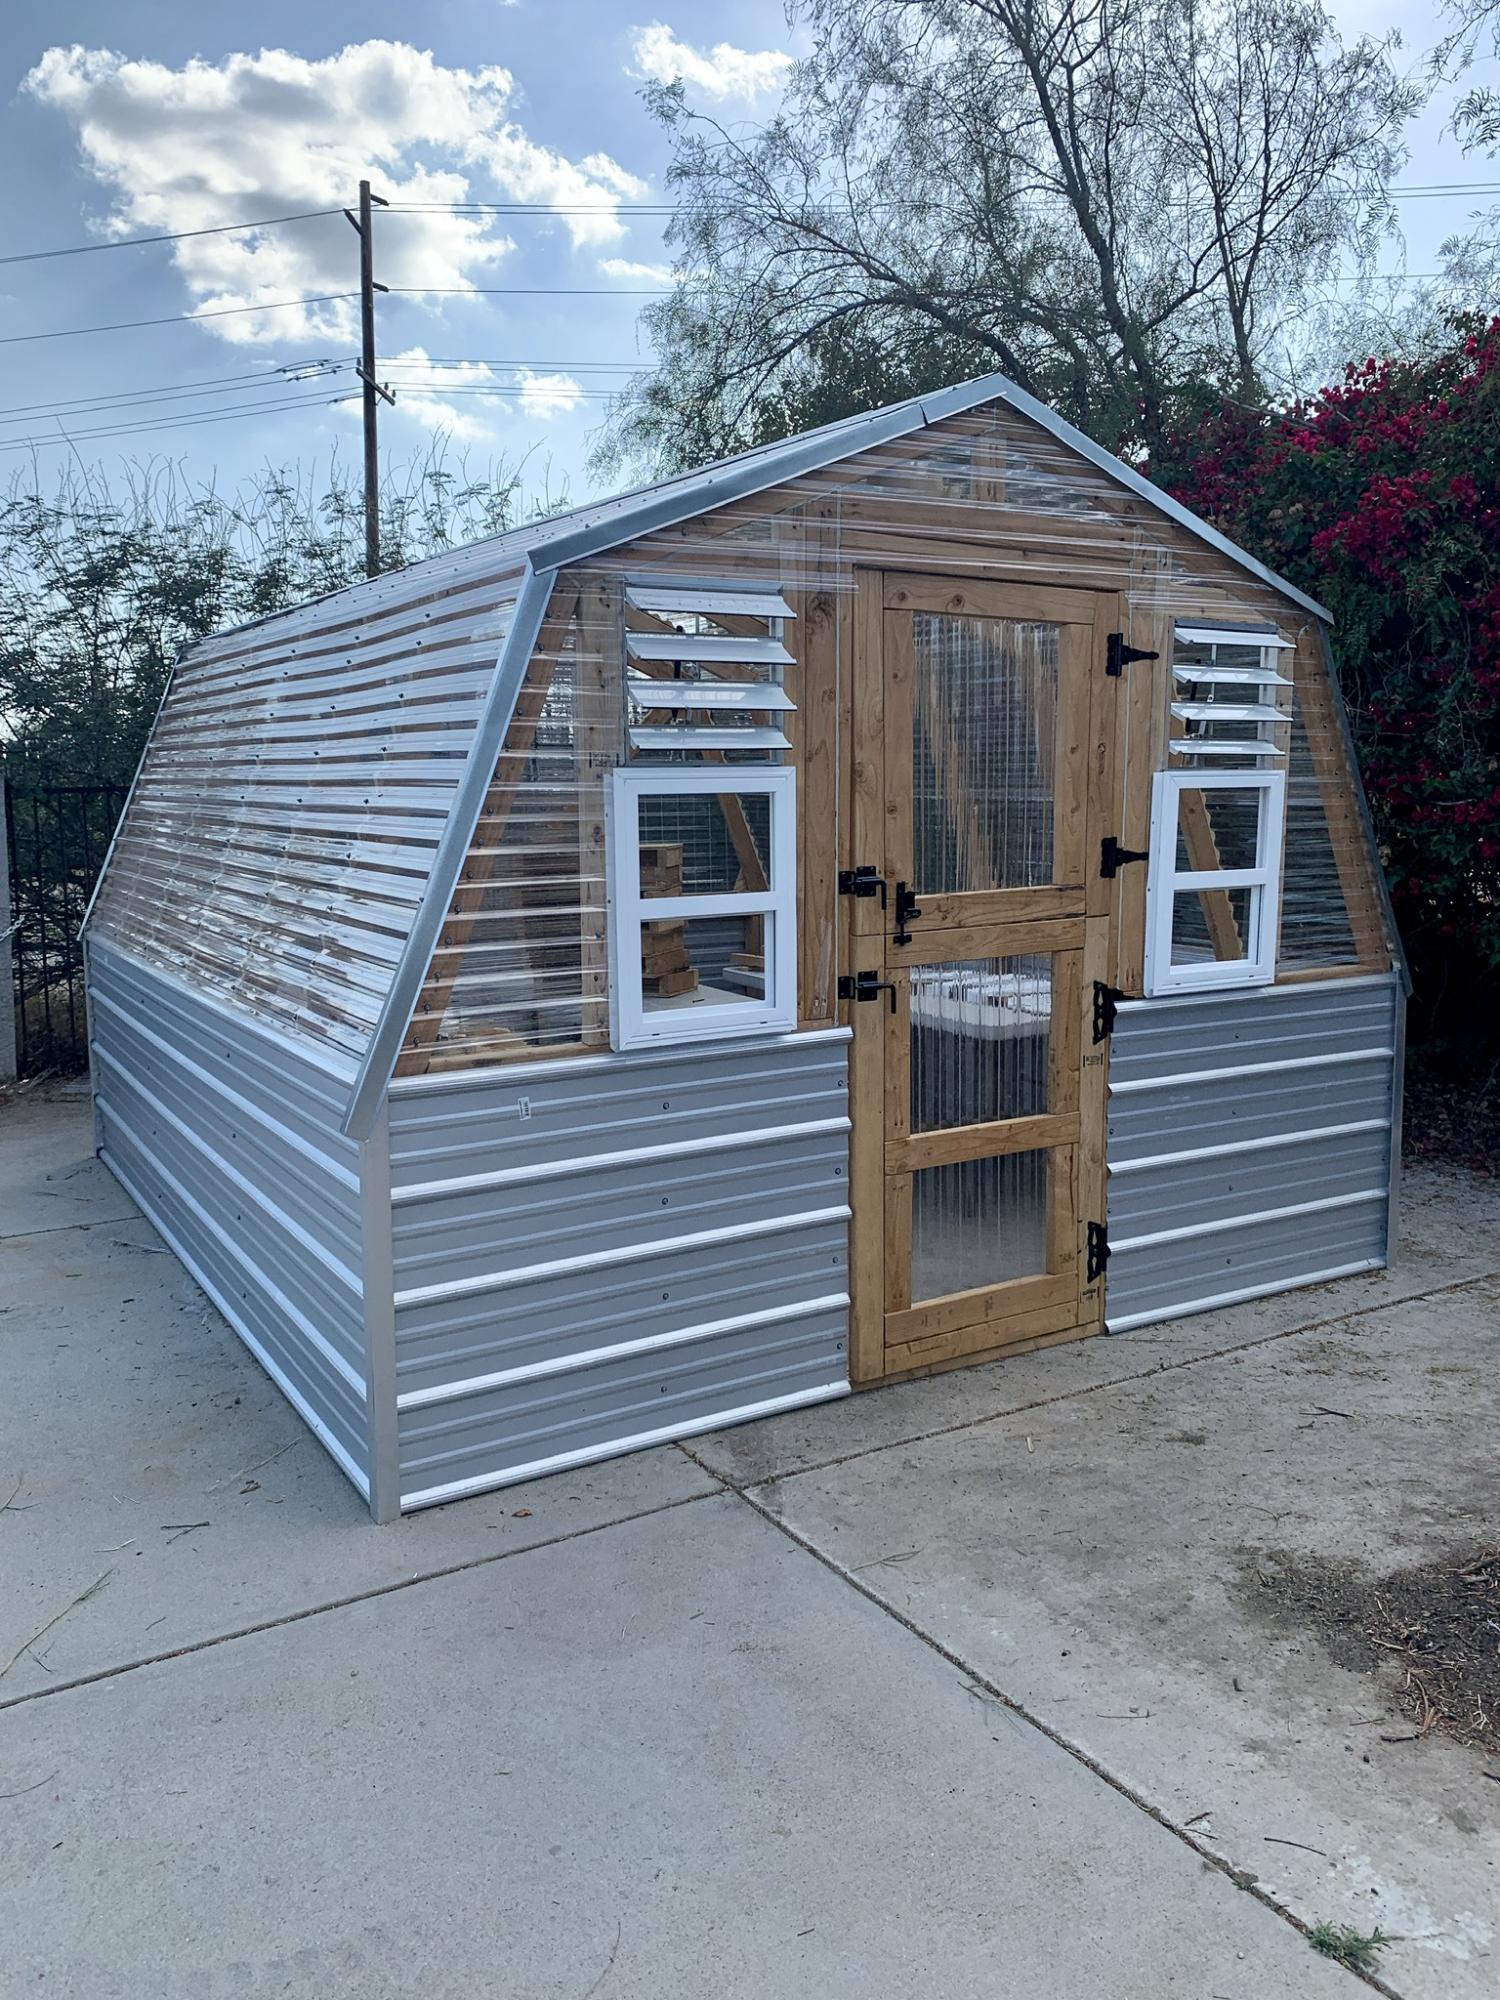
Greenhouse

Submitted by Anonymous (not verified) on Tue, 01/05/2021 - 08:08

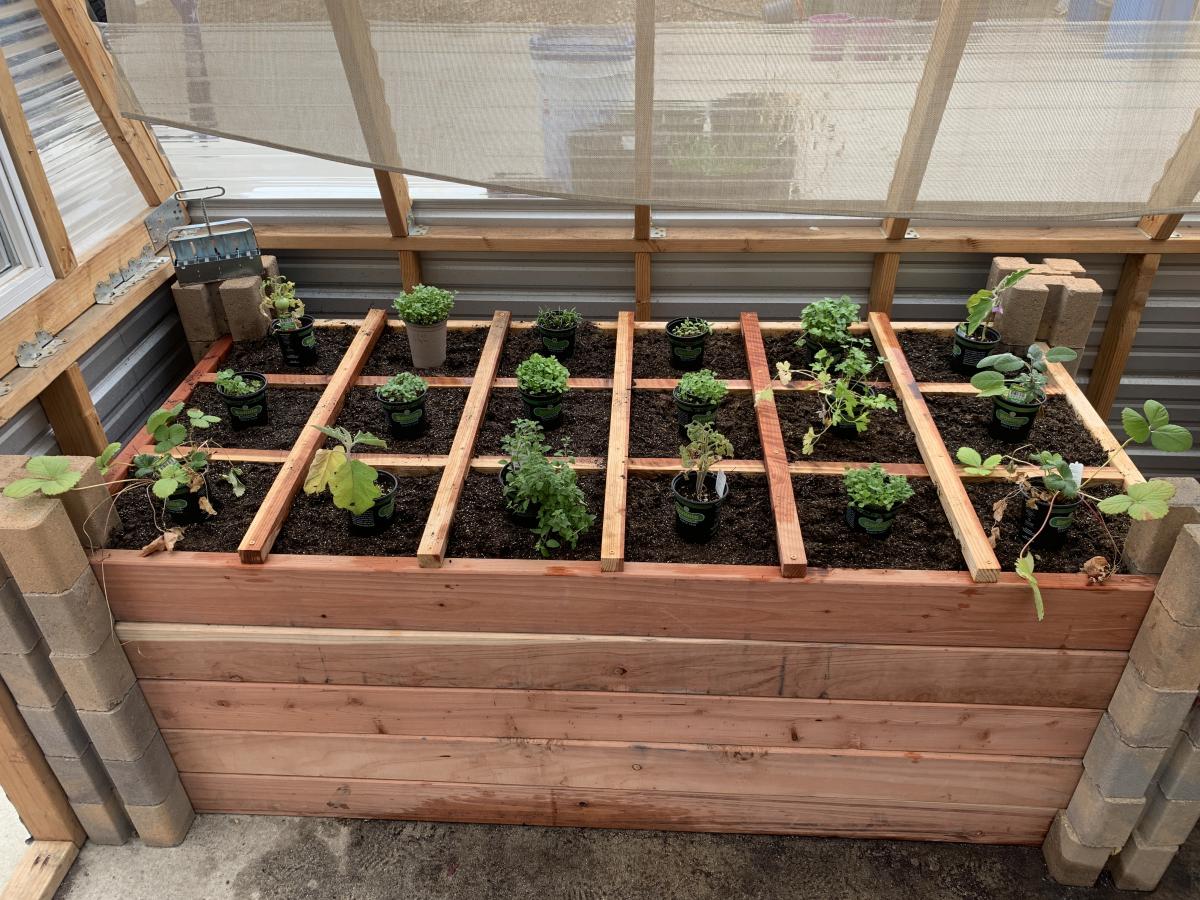
We made some modifications to the greenhouse to include a bench with three levels, a working bench and a square foot garden. We also put it on concrete to keep all the weeds out from the bottom as well.

Built from Plan(s)
Estimated Cost
2500.00
Finish Used
We start our own seeds and plan to grow 15 different varieties of vegetables inside this greenhouse all year long.
Recommended Skill Level
Intermediate

Comments

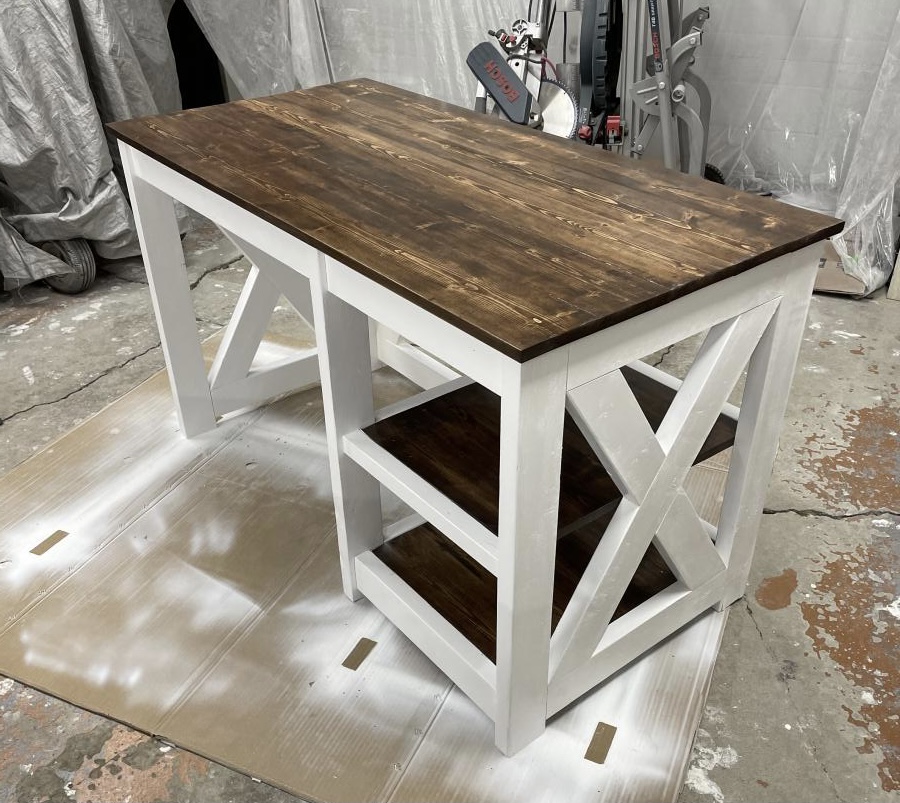
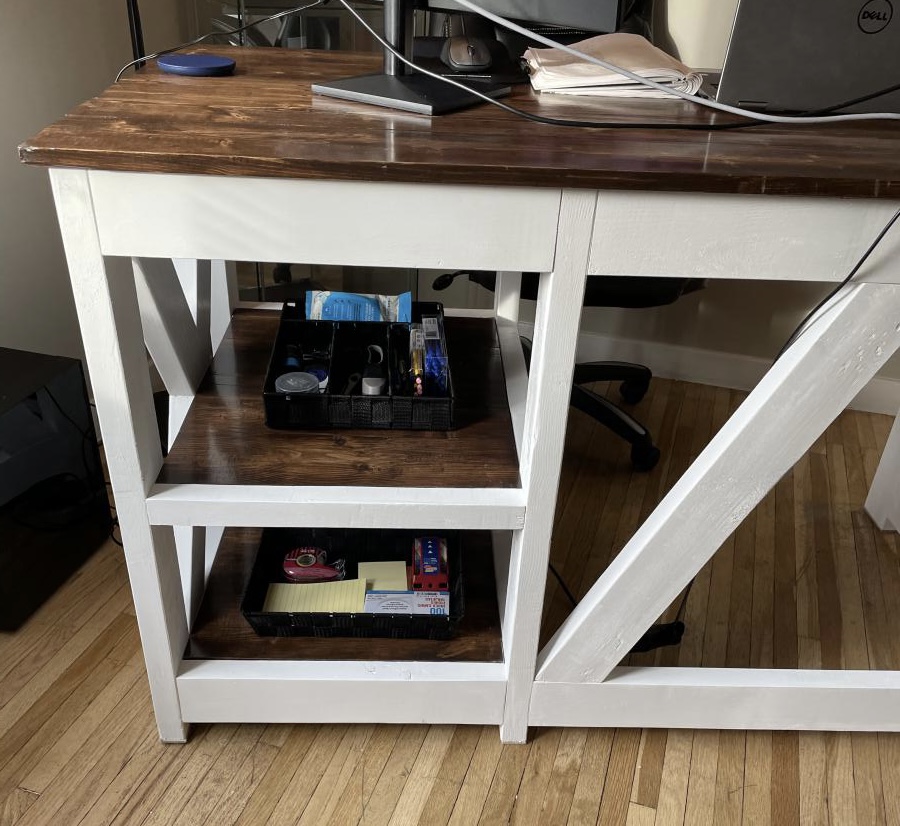
Farm style desk

Submitted by Barlam on Sat, 03/06/2021 - 17:32

Used the DIY Plans but my son wanted the shelves to match the desktop. Very happy with result

Built from Plan(s)
Finish Used
Walnut stain plus 3 coats of varathane

Comments

Kitty Outhouse

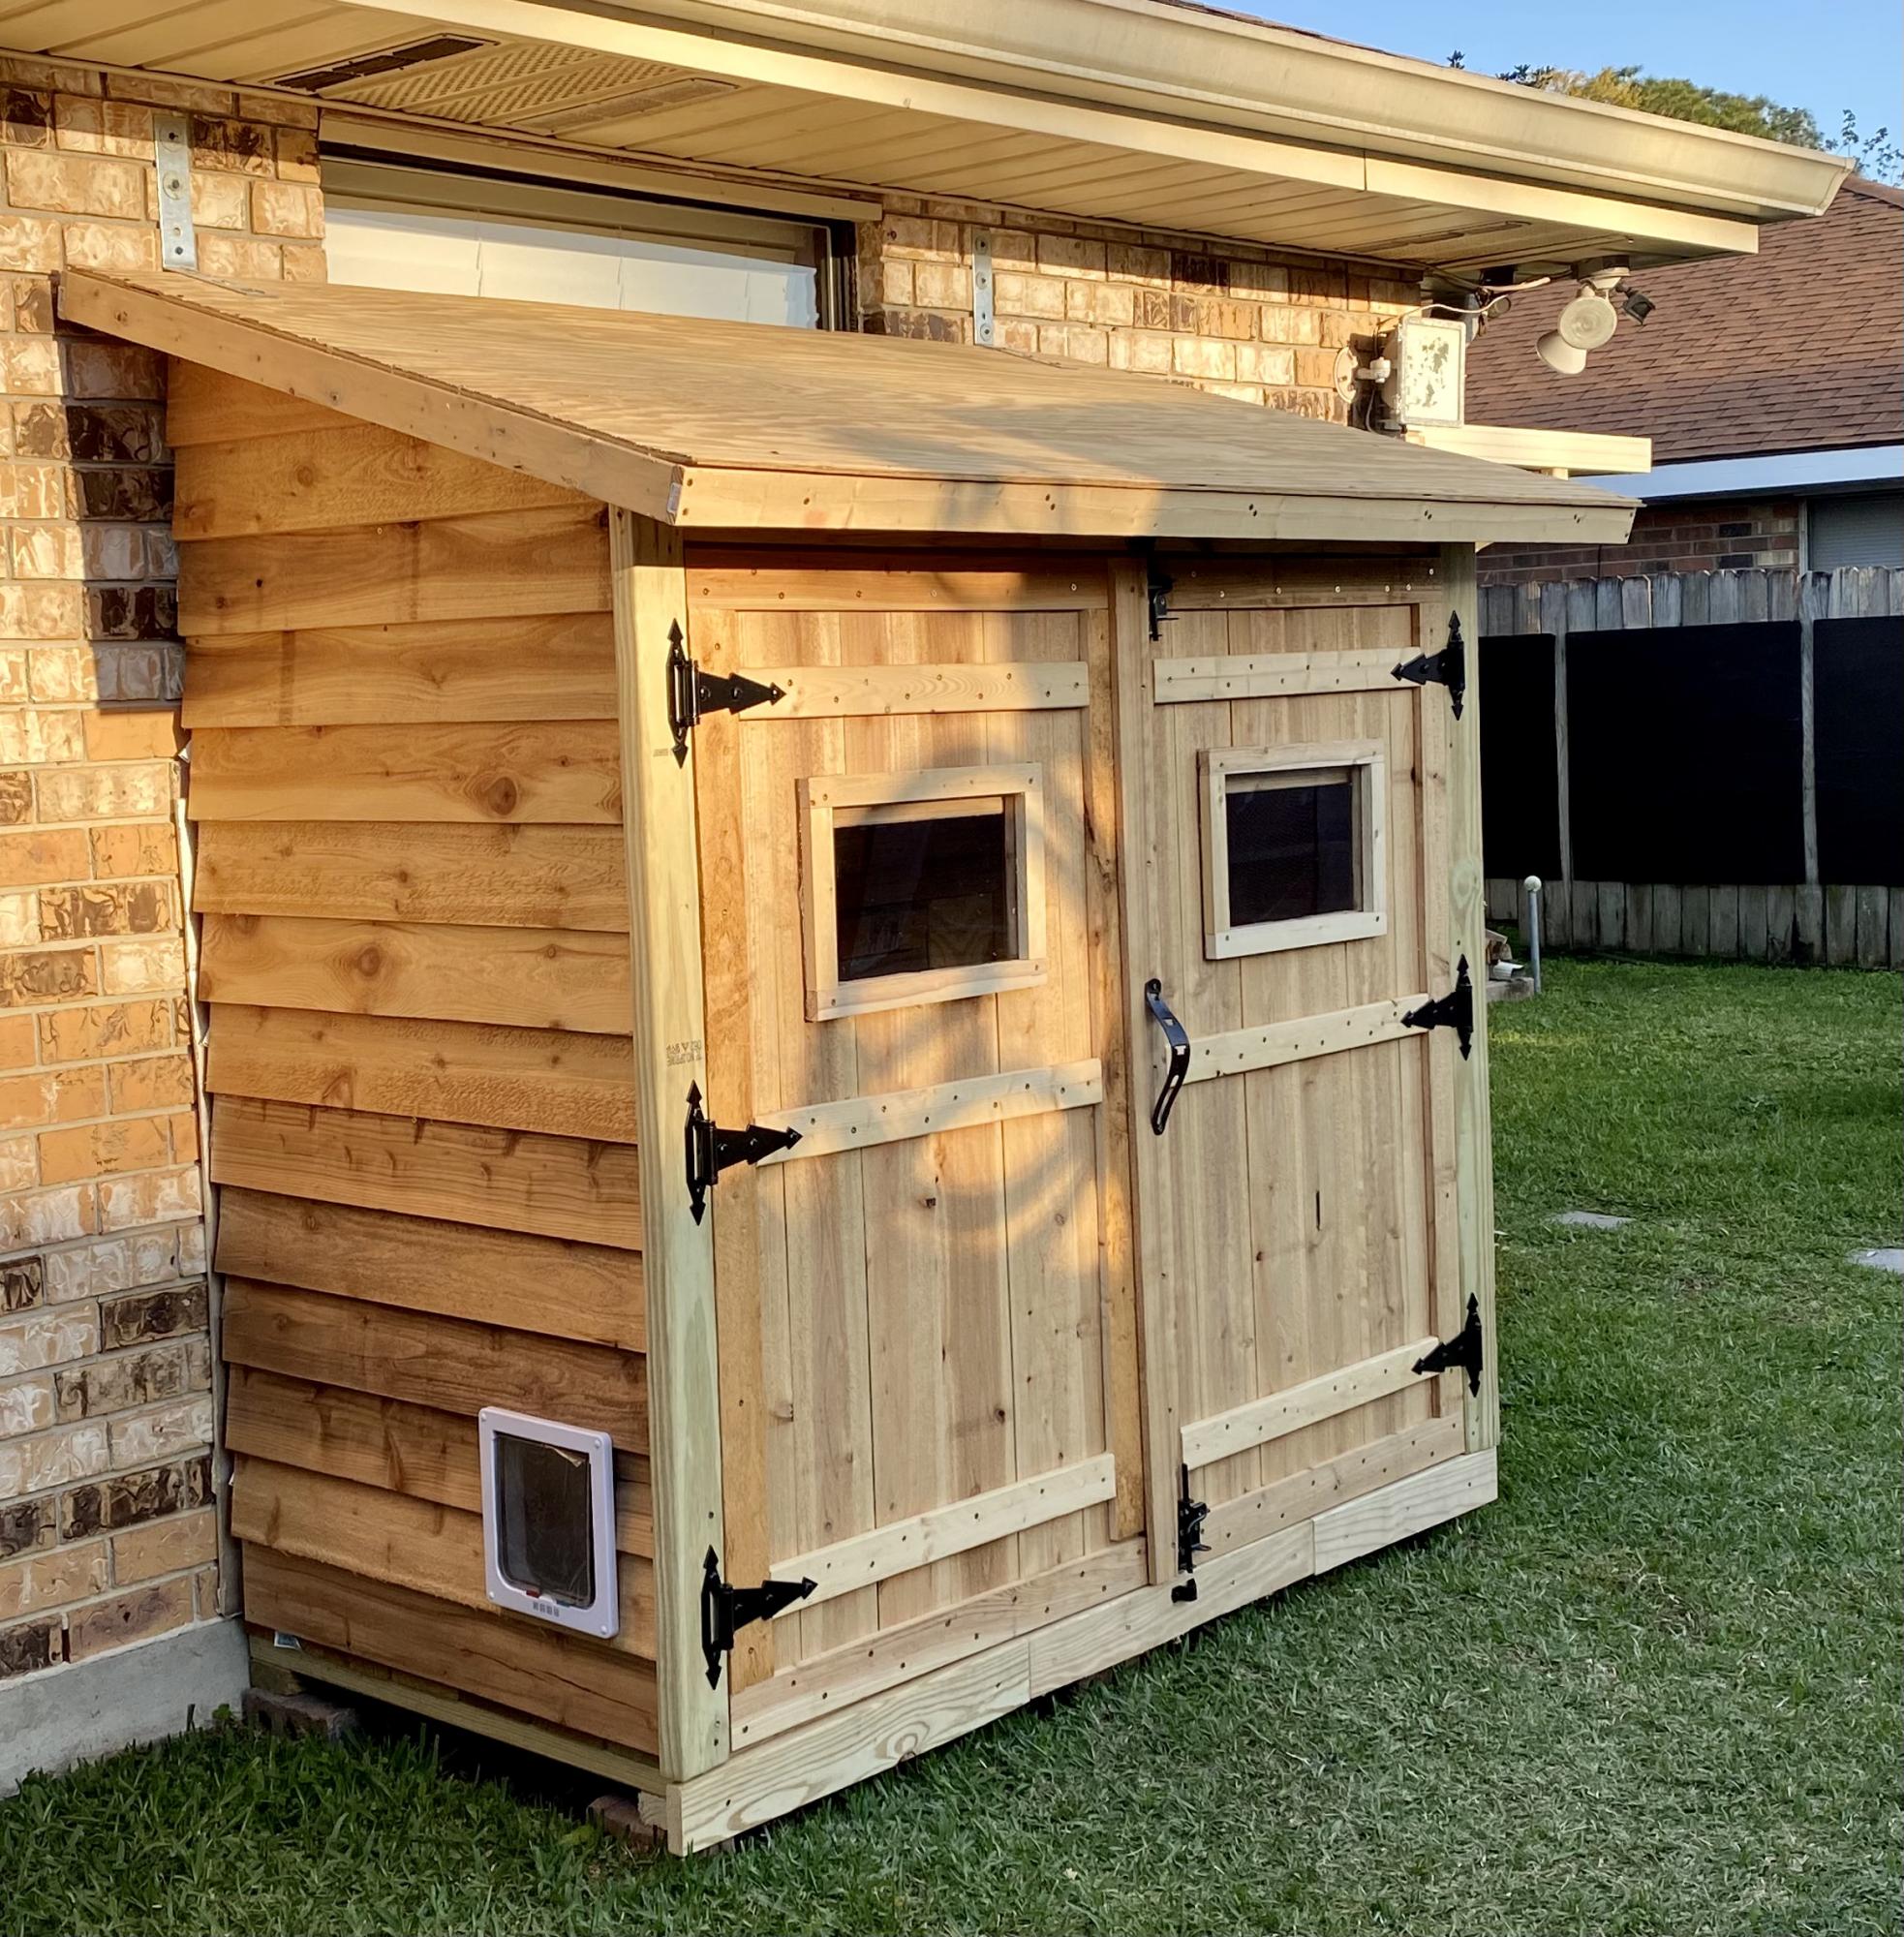
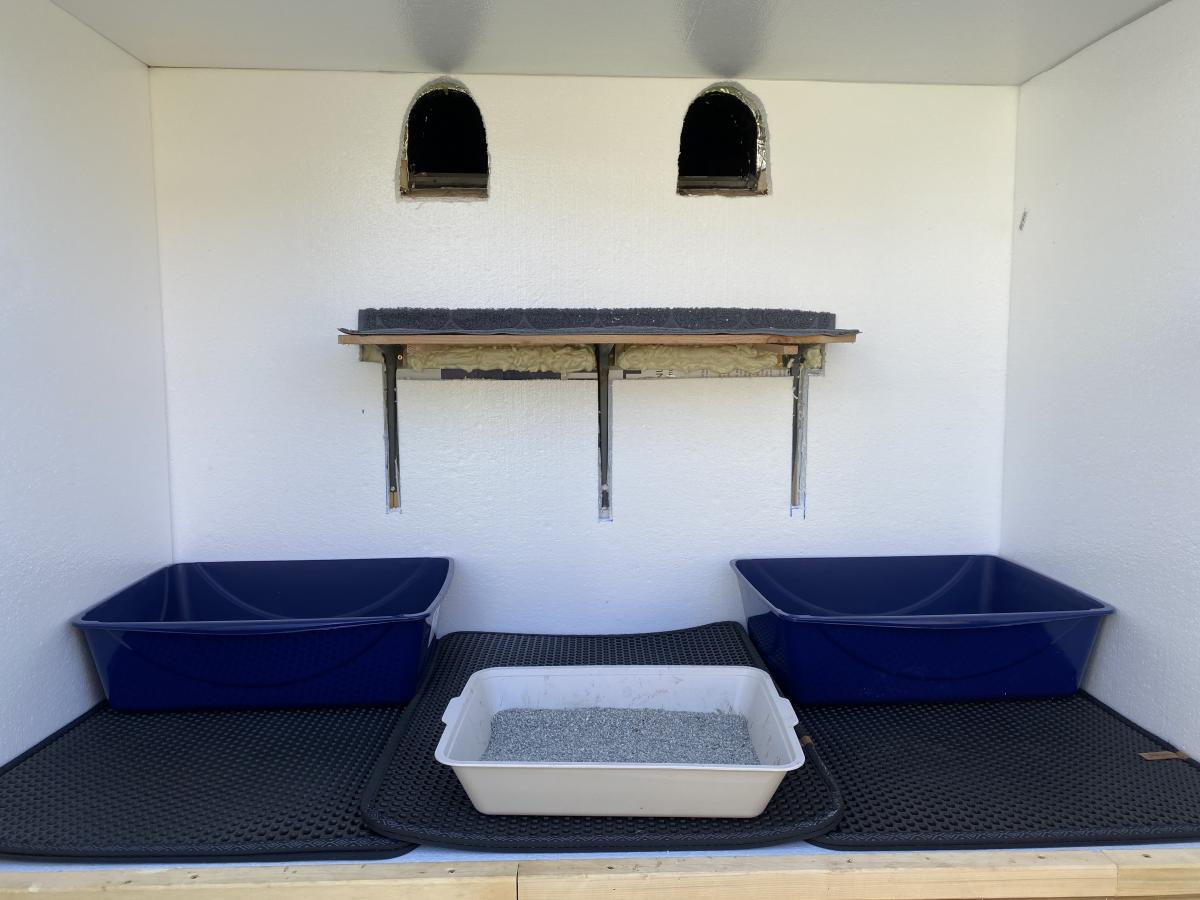
My first Ana White project. Built Ana’s awesome small cedar shed as an outhouse for our many cats. The have access to it from inside the house. Great way to keep litter boxes and the mess out of the house. It is stand alone, and attached to the house, in front of a bedroom window. There are two ‘entrances’ as well as two, one-way, escape hatches, if a cat in the outhouse is interrupted by another cat (I.e. a male cat comes in and the female feels trapped) they can exit to the outside (one way so no critters can come inside!). Ana has easy to build plans, great site! I plan on making the square table just posted today for my newly refurbished deck. Keep in mind, my estimated costs and time reflect a LOT of additional features on the inside. The shed itself, very easy, simple, inexpensive. Very little waste with Ana’s projects as well.

Built from Plan(s)
Estimated Cost
$500
Estimated Time Investment
Week Long Project (20 Hours or More)
Finish Used
No finish, at least not yet.
Recommended Skill Level
Intermediate

Comments

Large Wood Storage Chest

Submitted by danicarby on Tue, 05/14/2013 - 07:25

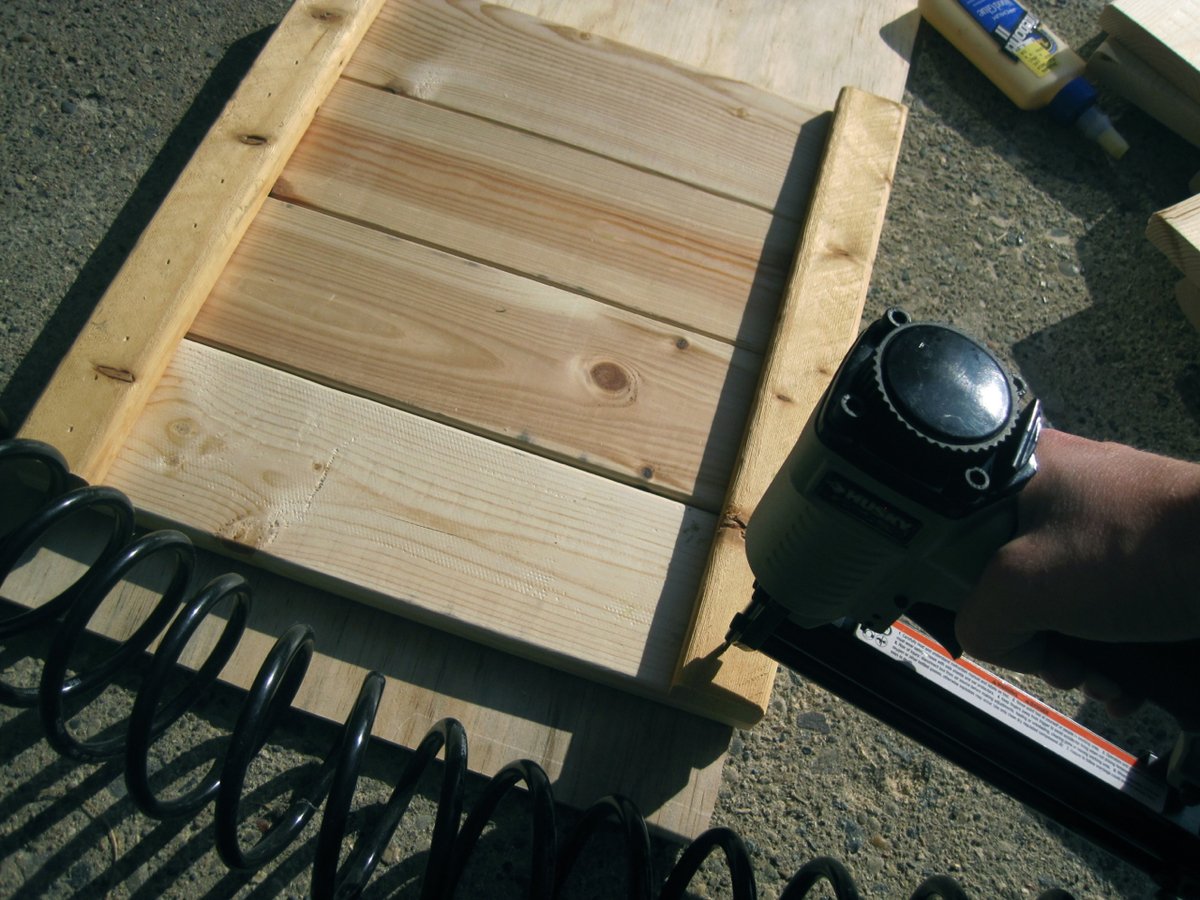
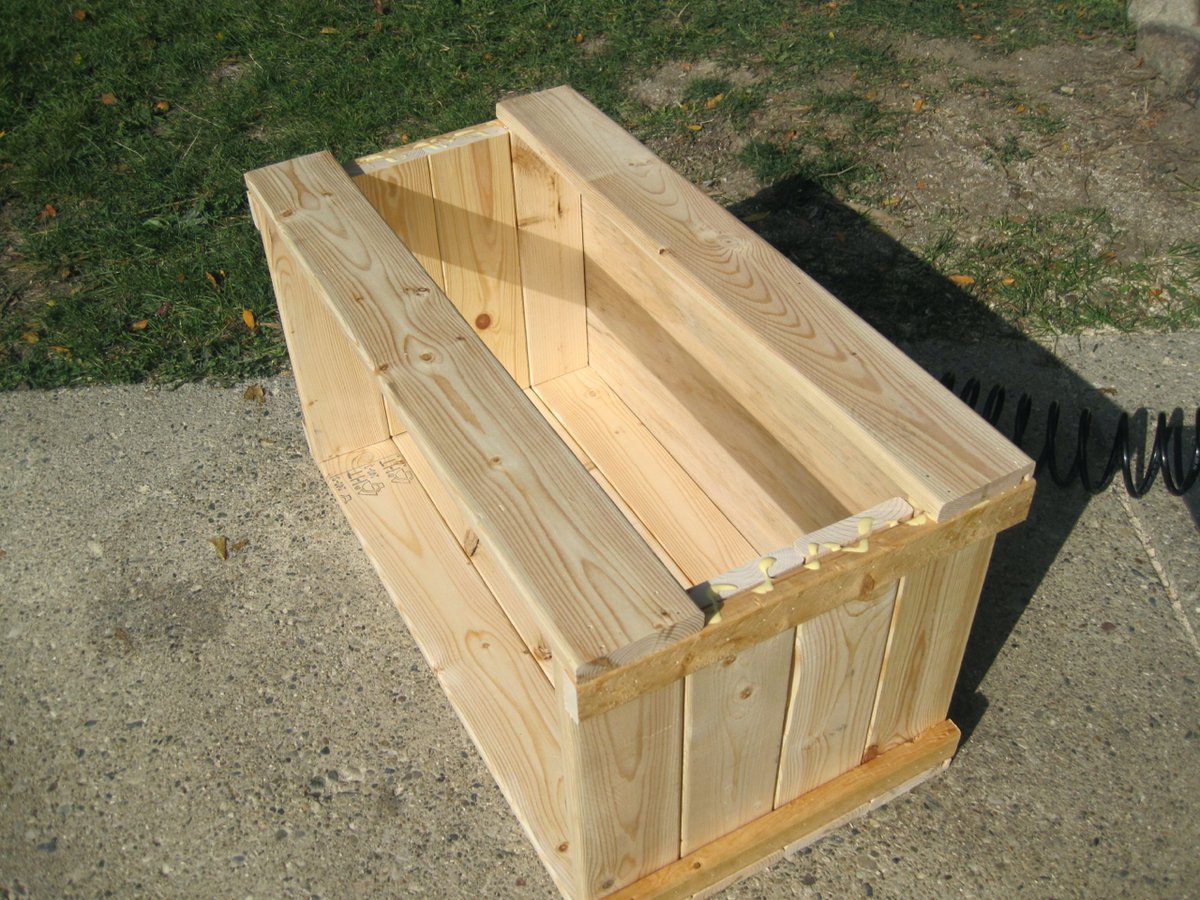
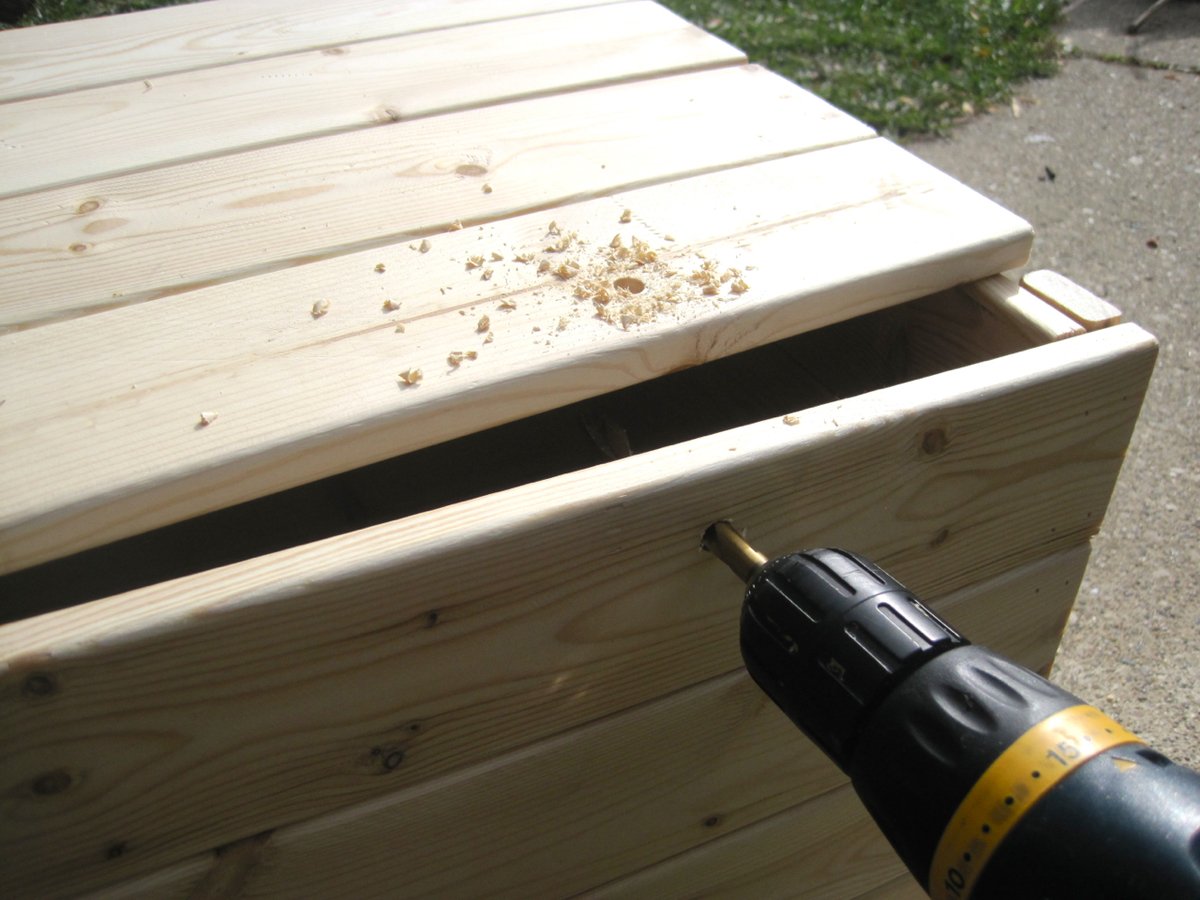
I wanted a large chest to store toys, books or blankets. I wanted it to be cheap to build and be rustic. This project turned out perfectly! I used 2" and 4"-wide furring strips and rope for the hinges and handles. I used 1/4" plywood for the bottom and made a groove with the router for it to slide into while assembling. I helped 16 girls make these who had no previous experience and they loved it!

Estimated Cost
$20-$40
Estimated Time Investment
Afternoon Project (3-6 Hours)
Finish Used
Mixwax Stain and Polyurethane
Recommended Skill Level
Beginner

Comments

benjaminrogers

Fri, 12/27/2013 - 06:21

Can you provide a lumber list for this? I know you said you used 2x4 but the lumber I see in the photo doesn't look like 2x4.

Thanks,

Ben

danicarby

Fri, 12/27/2013 - 07:17

Hi Ben!

I used 1x4's and 1x2's. I have a shopping list and cutting list on my blog. I can't post the link here but you can click on the link where it says "Blog Link" under "About This Project"

Let me know if you have any other questions!

Corner Desk for Craft Room Sewing - DIY

Submitted by Anonymous (not verified) on Mon, 10/23/2017 - 11:02


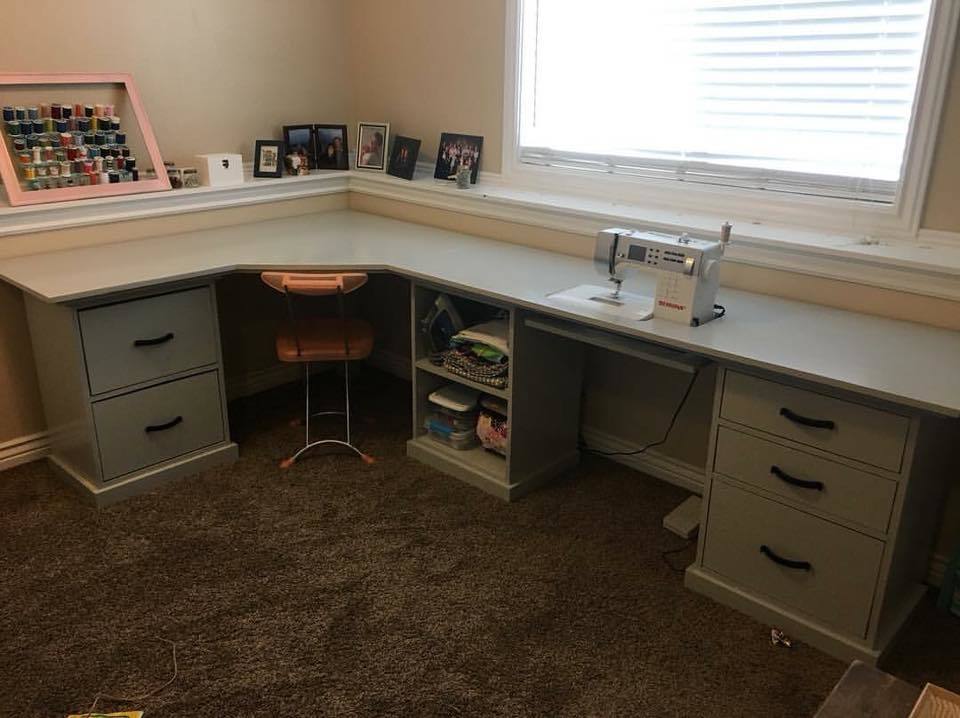
We made this sewing/craft table by combining plans from the modular office. It was a big job but SO worth it! We love your plans and use them all the time!

Submitted by Candace Ann Williams

Comments

melkaye

Wed, 02/19/2020 - 13:49

Could you tell me how much extra did you add on to the one side? And how did you fit your sewing machine in there? 

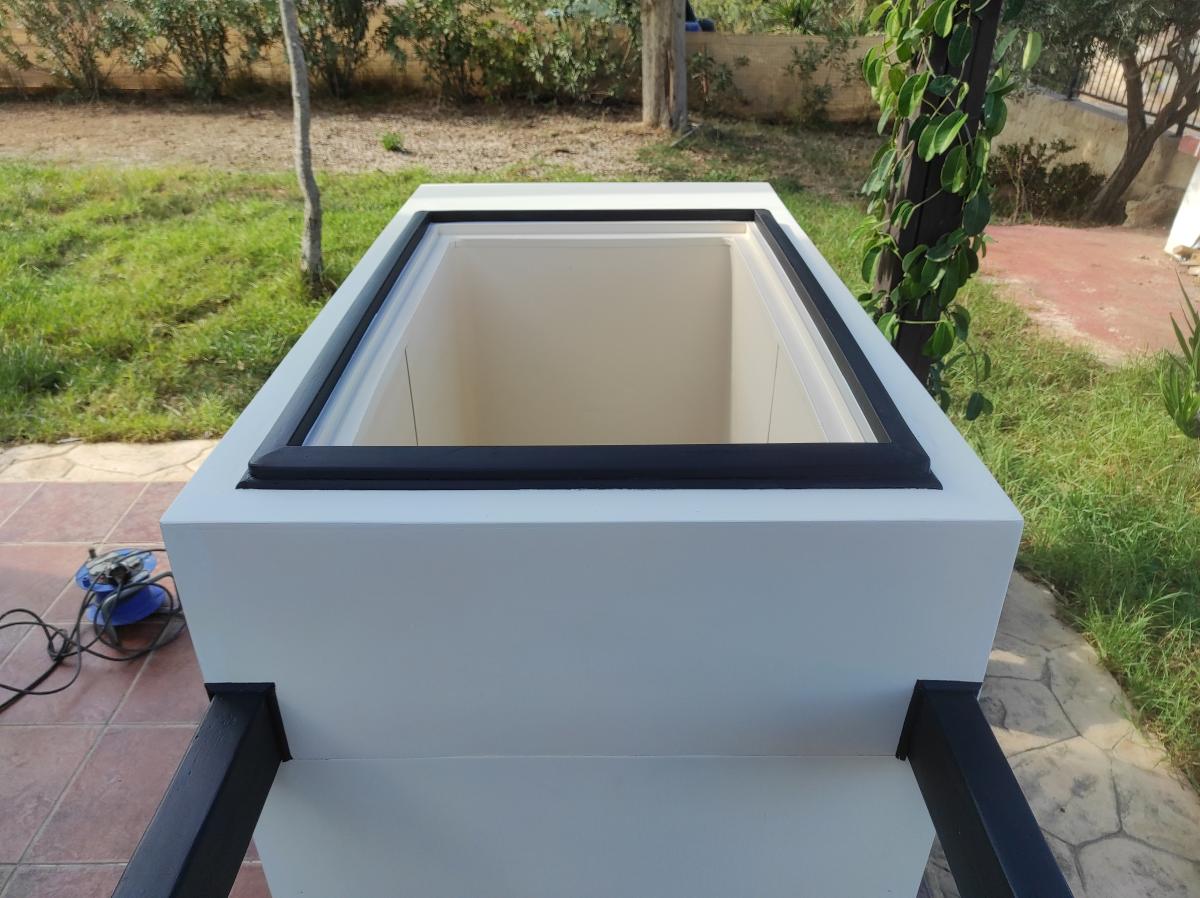
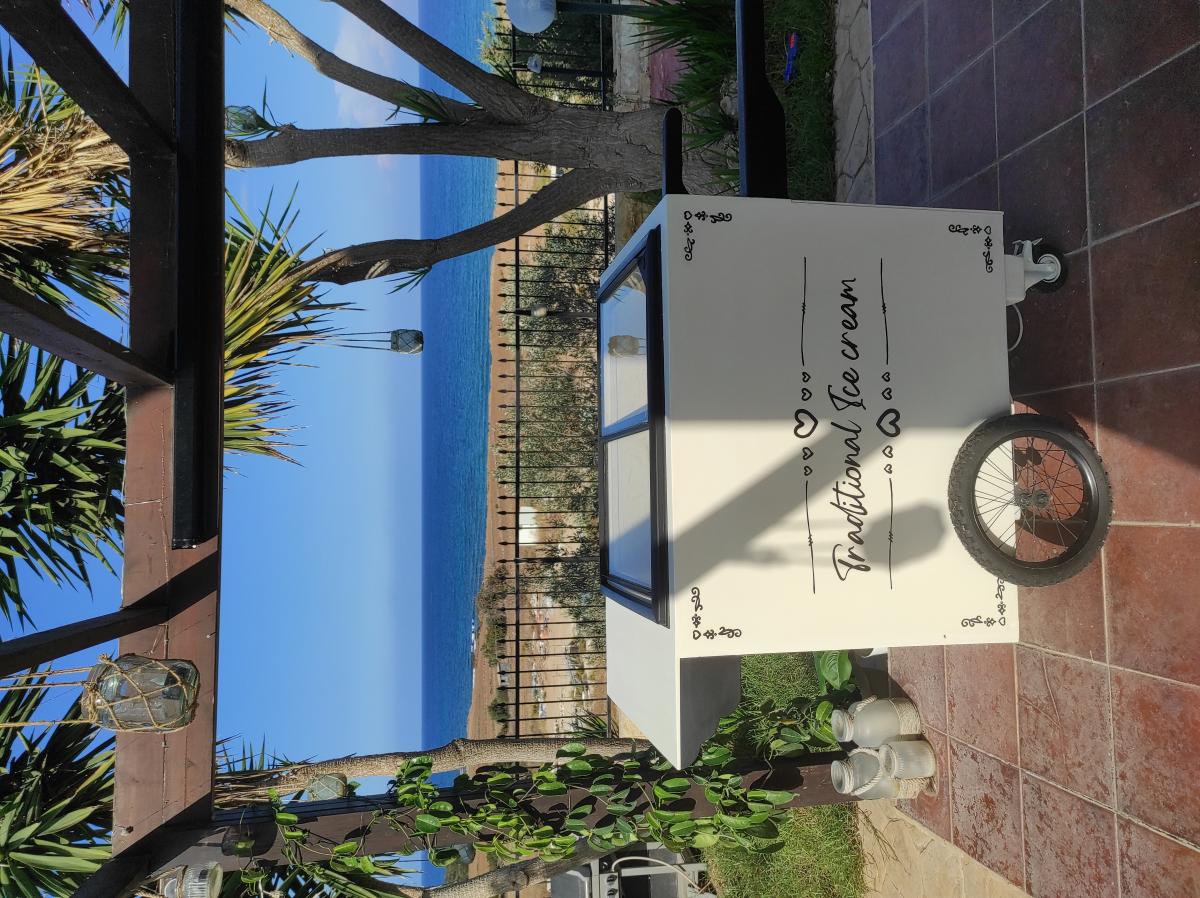
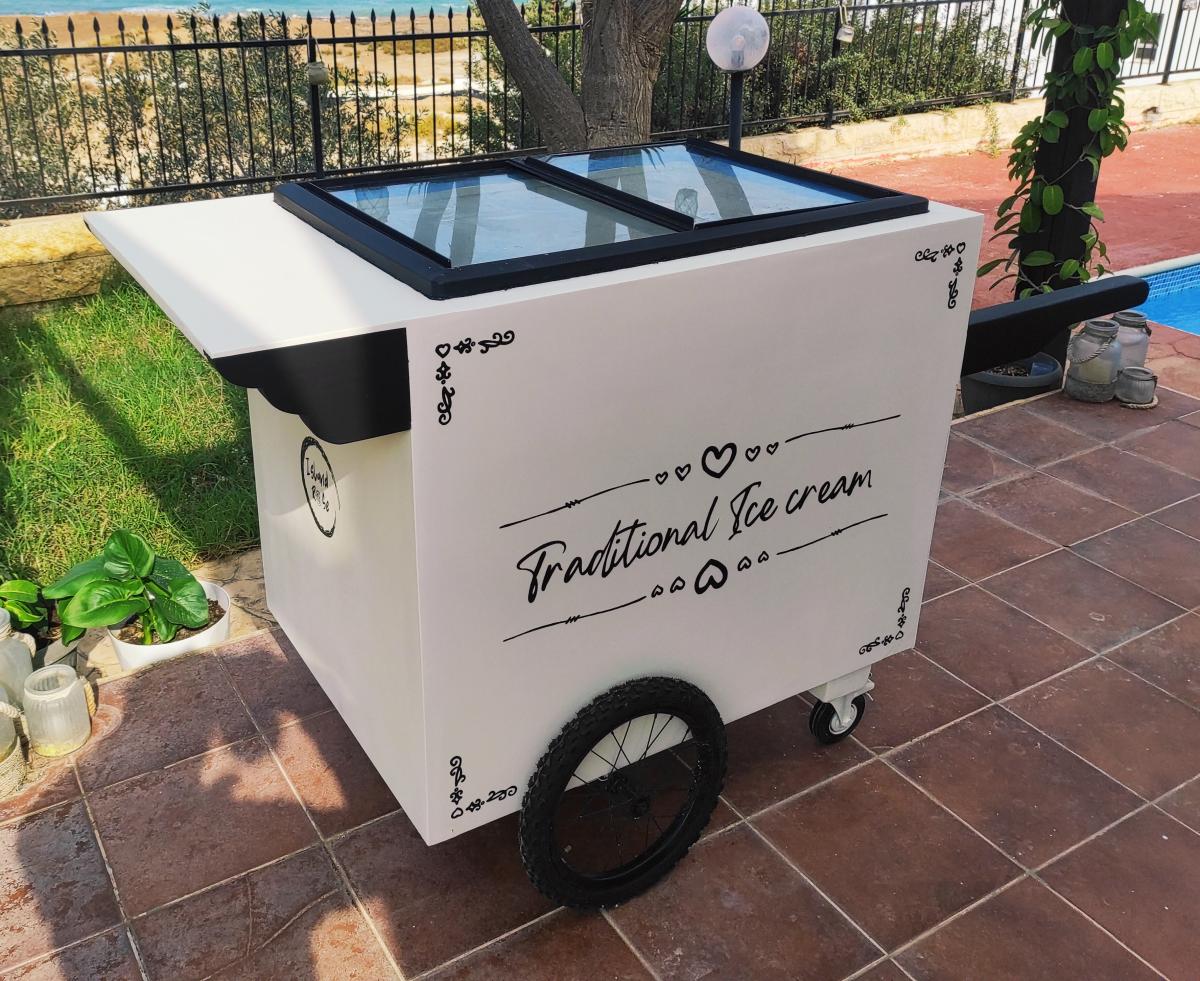
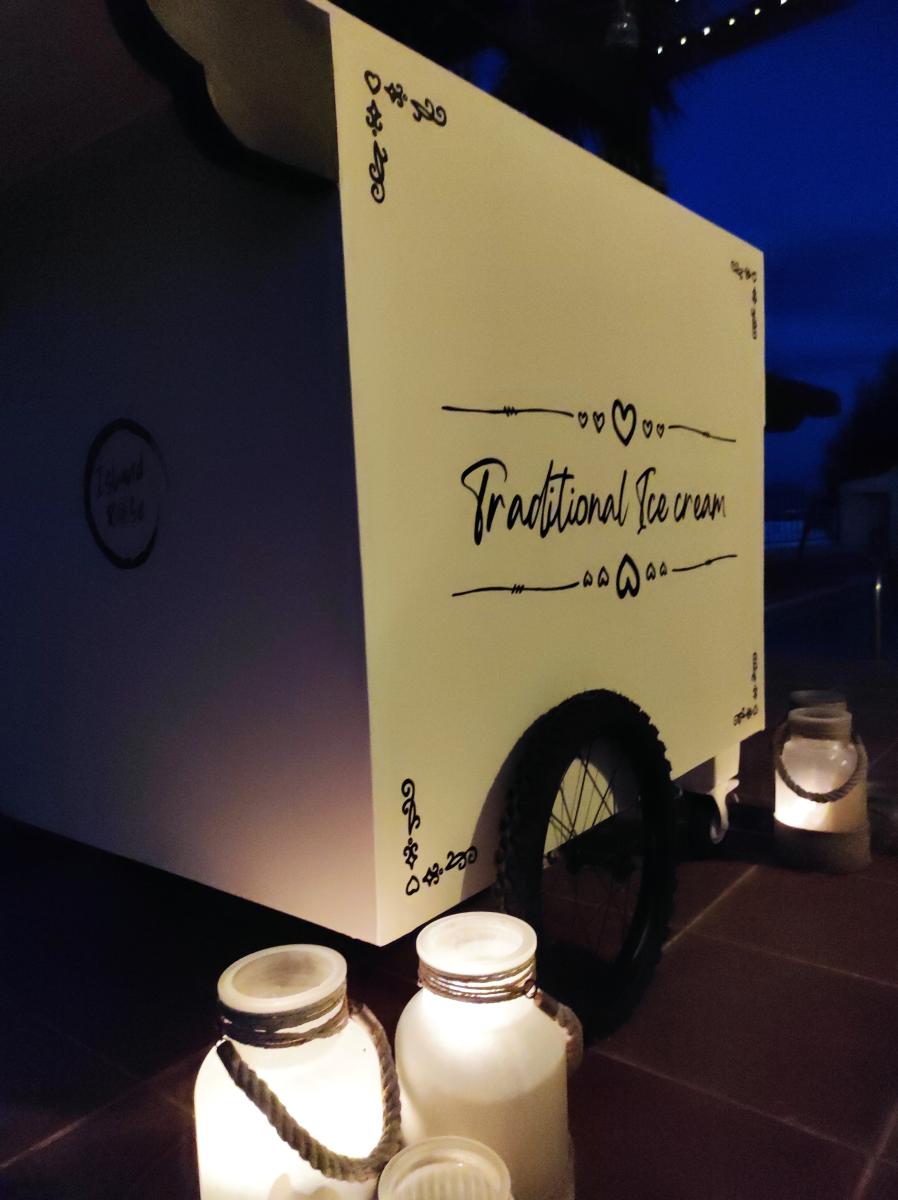
Ice cream cart

Submitted by Markb25 on Mon, 11/22/2021 - 23:52

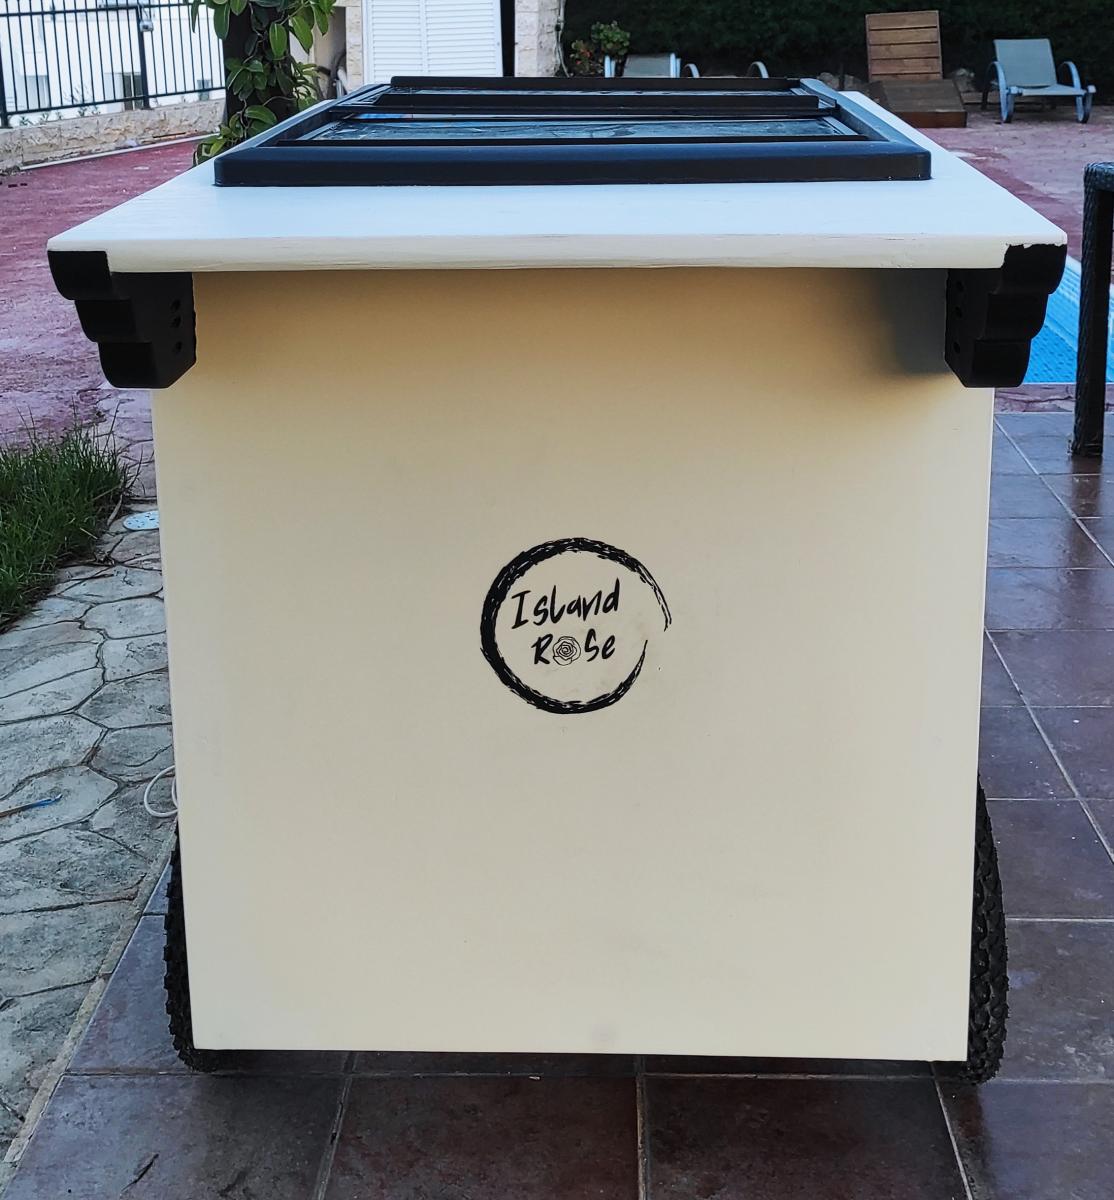
A friend wanted a tatty old chest freezer turning into a traditional looking ice cream cart for her business. The freezer itself was way to heavy and not really fit for purpose but, after a week of tinkering about with a couple of design changes here and there to accommodate the weight, I don't think I've done too bad a job.

The internal frame is Nordic fir, half lapped at the joints and secured in place with 38mm oak dowels, the cladding is 6mm birch ply finished with paint from the French chic Al fresco range, the writing proved a little challenging on the the eyes and my hands aren't as steady as they used to be but she's happy.

Comments

Easy Garden Bed Plans

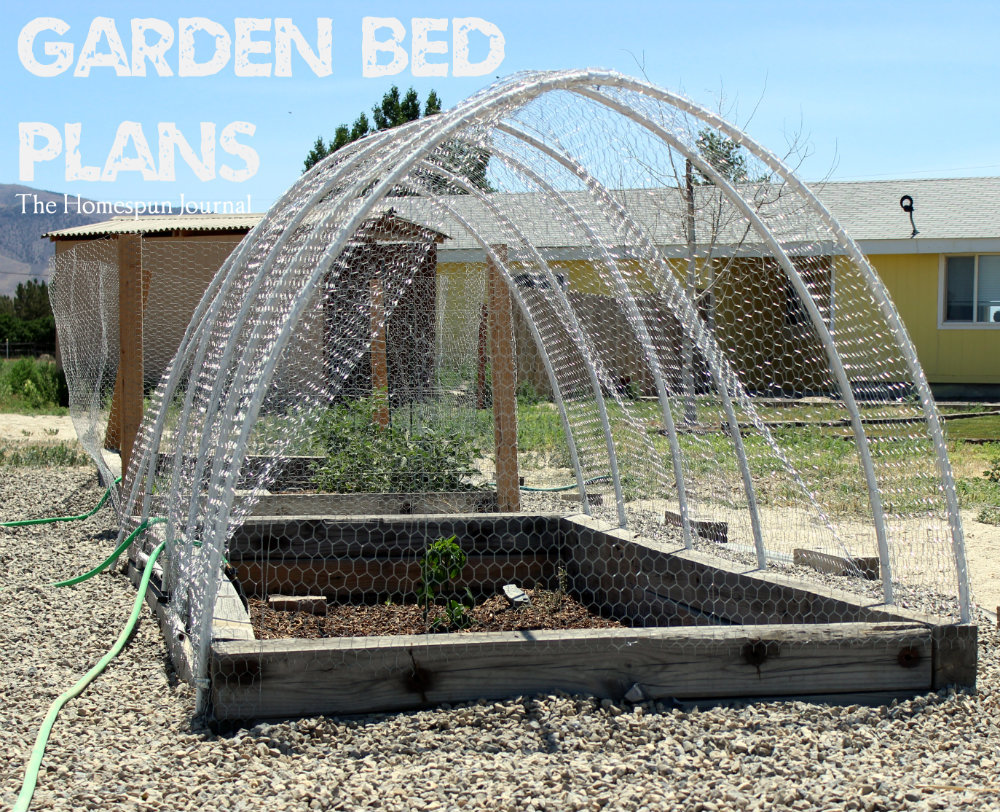
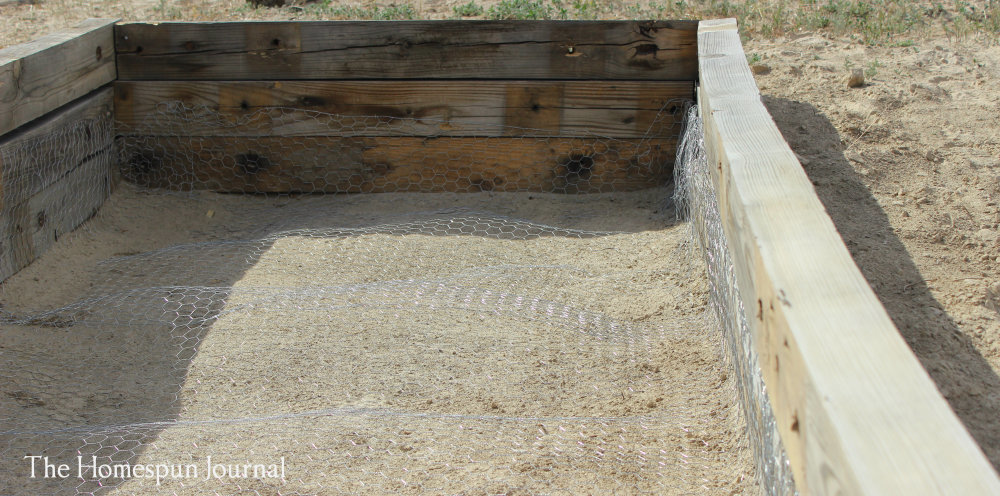
This is an easy garden bed plan. The only tool you need is a staple gun and you can easily complete this project within a weekend! Find part 1 of the design here.

Estimated Cost
$20
Estimated Time Investment
Day Project (6-9 Hours)
Finish Used
None
Recommended Skill Level
Starter Project

Pergola

Pergola is 10x12 made of all cedar except posts.  Posts were 6x6 brown wood then covered in 1x6 cedar. Slats on top were attached using L brackets. Stained the same year.

Estimated Time Investment
Week Long Project (20 Hours or More)
Finish Used
Cabot in Natural finish
Recommended Skill Level
Intermediate

Pet Stairs

Submitted by alli2410 on Tue, 03/13/2018 - 06:26

I needed sturdy stairs for my 2 60lb dogs.  My bed is 33 inches from floor to top of mattress.  So, this is my very first project completed by myself!  Custom size pet stairs 24inx24inx24

Estimated Cost
$40-50
Estimated Time Investment
Afternoon Project (3-6 Hours)
Finish Used
Minwax polyshades Espresso gloss (3 coats)
Recommended Skill Level
Starter Project

Comments

Cortona Buffet - Pottery Barn

Submitted by Nathan1342 on Wed, 09/11/2013 - 07:40

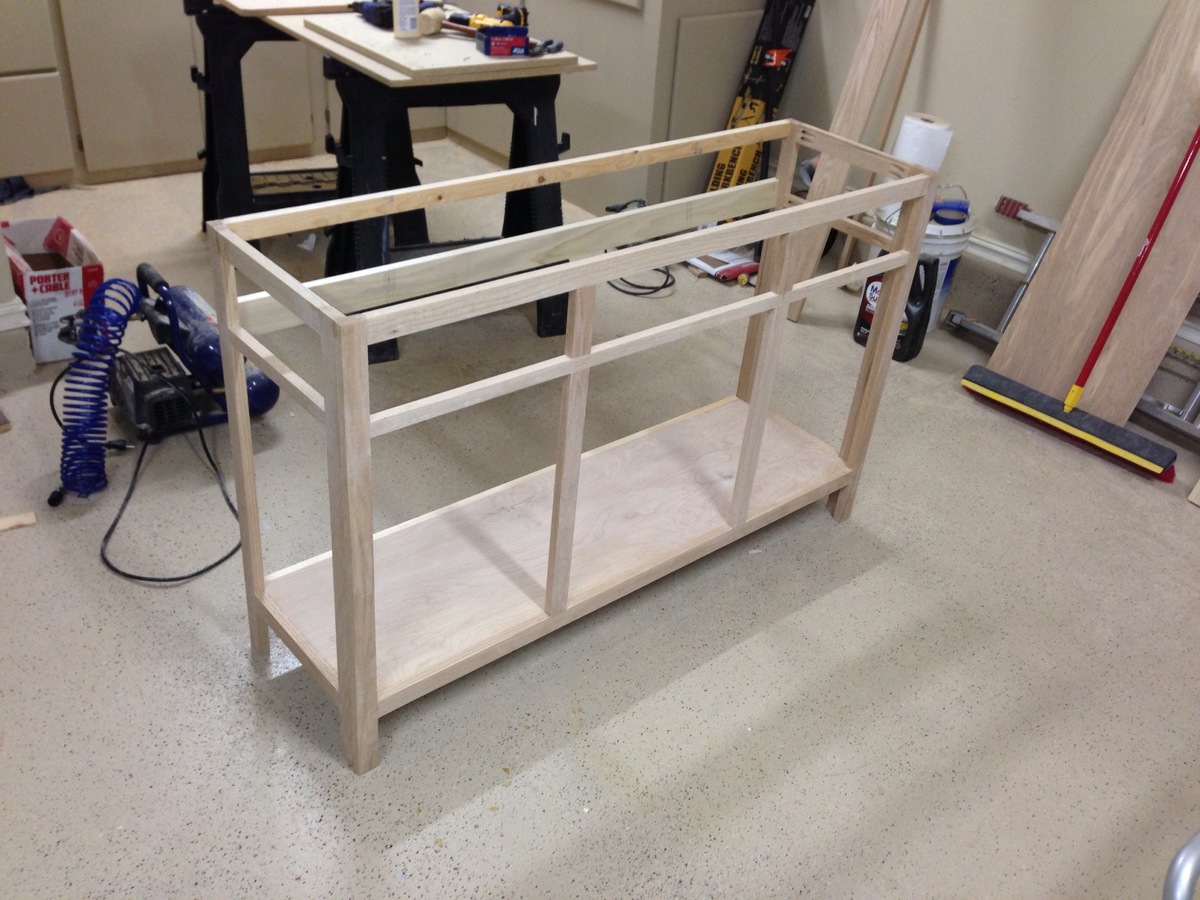
I really like all the furniture at Pottery Barn but hate paying the high prices. I saw their Cortona Buffet on day and decided it would make a great addition to my dining room. I started out by making a simple frame out of oak, put a bottom in it and built the sides. The drawers were inset drawers and i wanted 1/16 of an inch clearance on all sides so I made some simple drawer slides out of wood. You can kind of see them on the last picture. They worked great! Drawers fit perfectly and didn't have to spend extra on drawer slides. The top is 1inch thick oak that I distressed with a variety of tools to try and achieve the same weathered look as the real deal. The only thing I wasn't able to keep the same was the bottom trim. I went to ever custom molding and trim place in town and no one had anything like it. So I settled for a little less ornate piece but I think it came out well. The hardest part of the entire process was making the tiny trim pieces that fit on the door and on the sides. I had to make my own scratch stock and scratch them out of a piece of oak. If you've never had any experience with scratch stock (I didn't) Google it and try it out. You can make some pretty nice custom trim pieces by hand. All in all it was a nice build, now the wife just needs to decorate it!

Estimated Cost
250
Estimated Time Investment
Week Long Project (20 Hours or More)
Finish Used
Rustoleum Dark Walnut, Minwax Poly
Recommended Skill Level
Intermediate

Comments

JoanneS

Wed, 09/11/2013 - 18:14

This is what I call WOW factor! It is a spectacular build! The way you did the drawers is intriguing. I've seen some wood slides in Rockler, did you build your in that style? The finish and craftsmanship are just awesome. Now I'm off to google 'scratch stock'. Thanks for sharing this wonderful build!

In reply to by JoanneS

Nathan1342

Thu, 09/12/2013 - 08:13

Thanks you for the kind words! They are the same idea as the Rockler slides just not with a tapered slide. I built a simple wooden stop to keep the drawers from falling out since the slide wasn't tapered. I think if I had to do it again i'd taper the slides for a little better fit. Thanks again!

tracysmith

Sat, 09/14/2013 - 23:30

I don't mean to sound condescending or anything, but YOU MADE that? That looks like something that was bought not built. I hope that doesn't sound badly, it really is a compliment! It's amazing! I love it! Fantastic quality looking piece, excellent color!!!! LOVE LOVE LOVE!!!

Mothersday Planter

Thanks for these plans! I was able to complete this planter in one afternoon.

Estimated Cost
$50
Estimated Time Investment
Afternoon Project (3-6 Hours)
Recommended Skill Level
Beginner

Comments

Sliding Door console with Cedar pickets

Submitted by KathrynK13 on Tue, 01/12/2016 - 18:46

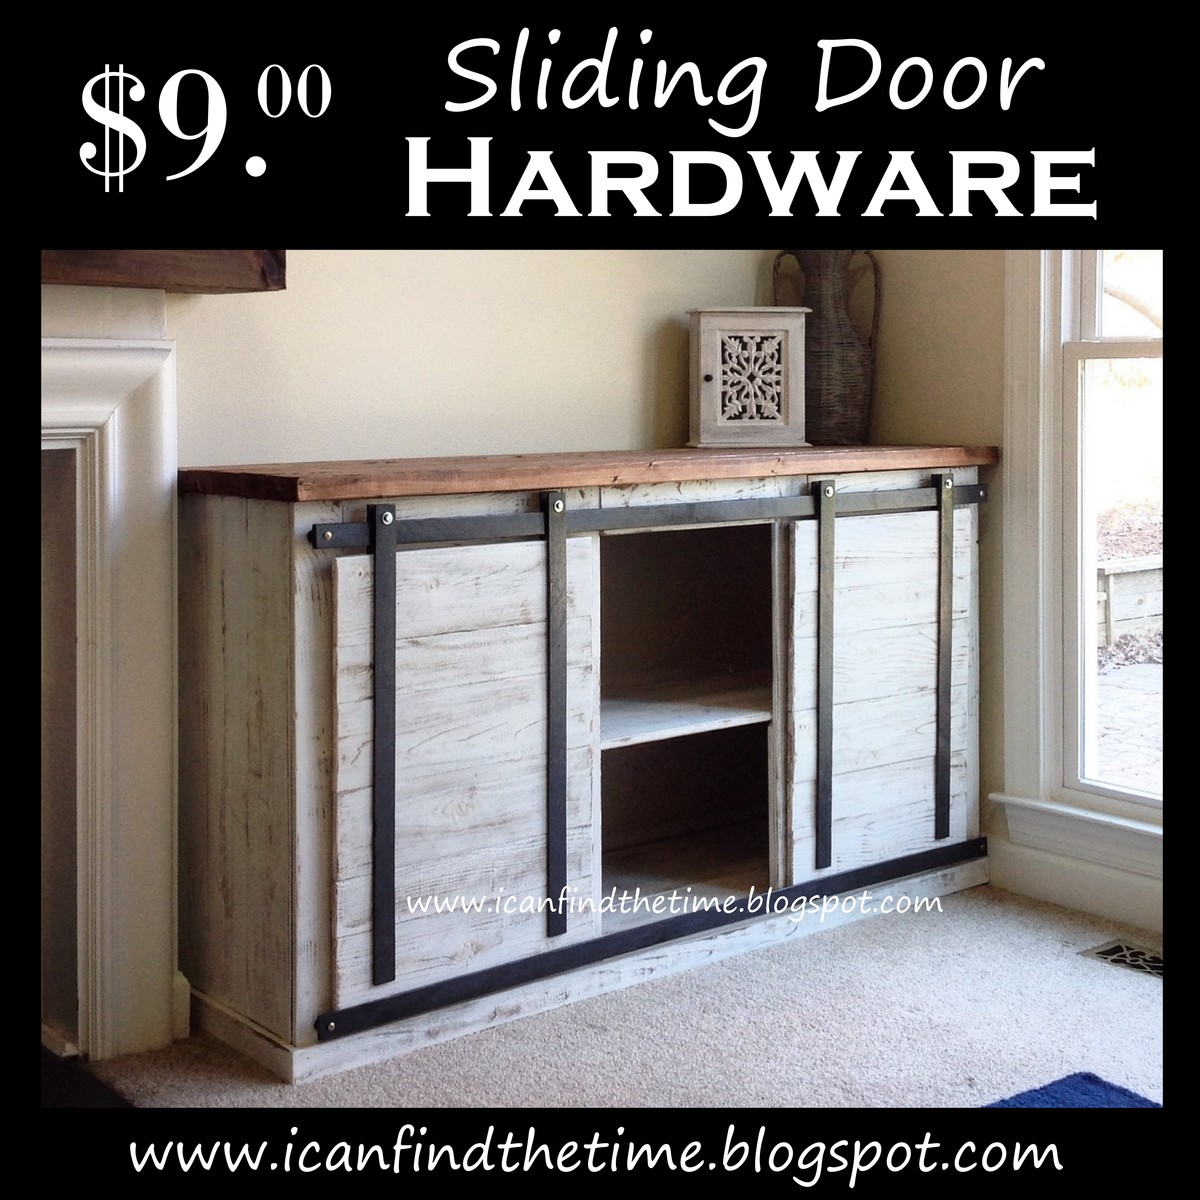
My first big build and I love it! I followed the plans in concept but changed the materials. My frame is still 2x3, but all the trim and siding is cedar fence pickets. I love these! They need a lot of finish work (sanding for days!), but the look is so rustic and real.

I also came up with a great way to get the sliding door look for only $9 in materials. The other tutorials I found online would have been $60+ and I just didn't want to spend that much. Make sure to check out my tutorial for the sliding door hardware.

Built from Plan(s)
Estimated Cost
Under $100 with some scraps that will be used on the second matching piece
Estimated Time Investment
Day Project (6-9 Hours)
Finish Used
DIY distressed finish. Stained cedar pickets with Early American then did a quick painting with basic white I had on hand. Lightly sanded to reveal a bit of wood grain and distress.
Recommended Skill Level
Beginner

Outdoor Sectional

Submitted by Anonymous (not verified) on Fri, 04/28/2023 - 05:24

This was my seventh outdoor couch but my first sectional. My very first couches were all inspired by Ana White's plans and I have gotten so much better with my skills that I building other things as well. Thanks Ana for all your inspiration!

Comments

Turned Leg Farmhouse Table

This projected started with a mishap. I bought table legs from Lowes that were 35" tall, and after trying to decide if I could somehow make our chairs taller...I returned them for the correct set. The set I used was from Waddell online (the manufacturer). 29" Country Pine legs. With shipping these were the most expensive part of the entire project. The rest went according to plan. Once the table was done I decided on a whim to make a matching bench. I bought the bench legs from Home Depot and a bit more pine for the seat. The bench legs were 15" country pine also. I guessed on the measurements for it, and it came out okay. The only hard part was that my drill didn't fit with the Kreg bit on it when I was trying to screw in the bench supports. I actually had to borrow a shorter drill and bit from a friend to complete it! The staining took me a long time because I don't have a heated garage and the temperatures dropped below comfortable to work on it.

Built from Plan(s)
Estimated Cost
$130 for table and bench
Estimated Time Investment
Weekend Project (10-20 Hours)
Finish Used
I used oil based pre-stain by Minwax so the stain would cover evenly (mostly because I used such a soft wood). Then two coats of Minwax oil based stain in Special Walnut. I was planning on going darker, but this Special Walnut had that Pottery Barn rustic look I love. Lastly I did 3 coats of Minwax oil based Polyurethane in Satin finish. The first coat looked great, the second coat ended an ugly cloudy gray color. So...I didn't read the instructions and now I know. STIR STIR STIR. You have to stir this finish for a long time prior to each application. I thought stirring it was was enough. Don't make this mistake! Then I sanded forever and started over...3 coats.


UPDATE: I moved to a house with grey wood floors and the table didn't match at all. So I sanded the top coat of poly off and added Minwax Classic Grey Stain over the Special Walnut from last year. One more coat of poly and this table looks like it was made to match the floors!!
Recommended Skill Level
Beginner

Comments

Farmhouse coffee table

My first project from this websie! From the moment I saw this table I wanted to make it! Really loved it.

it was A little bit harder than I thought it will be, especially because the X’s, but also because the top plate, i had some trouble to figure that out, but After I figured that out it went well.

Estimated Time Investment
Day Project (6-9 Hours)
Finish Used
A Semi Transparent paint.
Recommended Skill Level
Intermediate

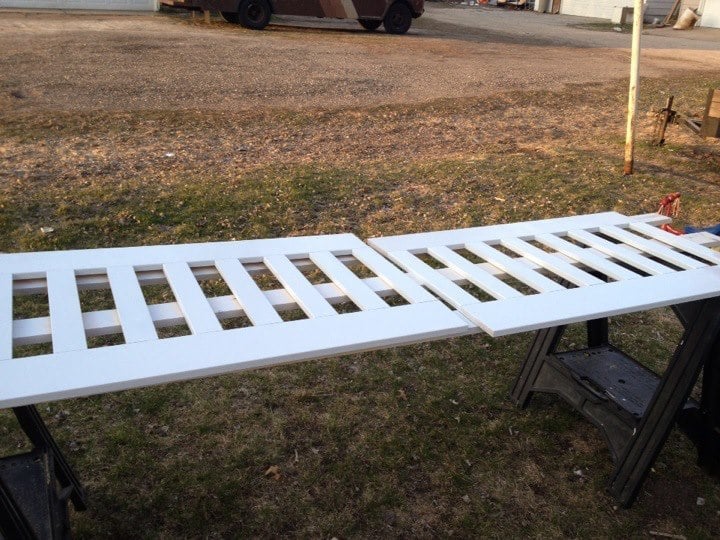
Converted A ashley twin size bed into Twin size Crib

Submitted by Mamabear2 on Thu, 01/23/2014 - 09:53

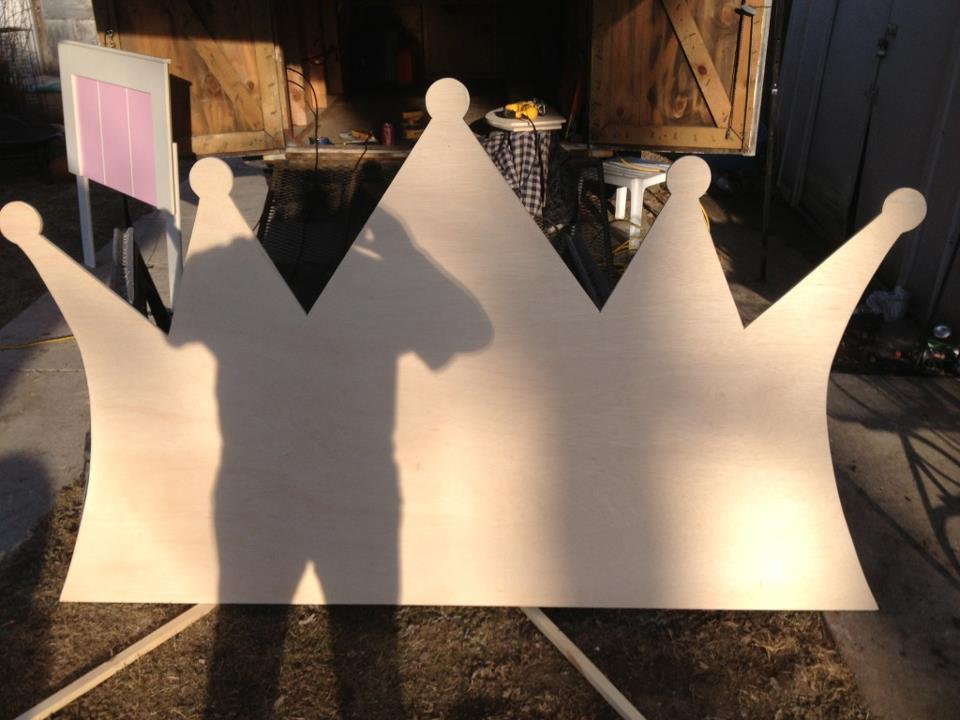
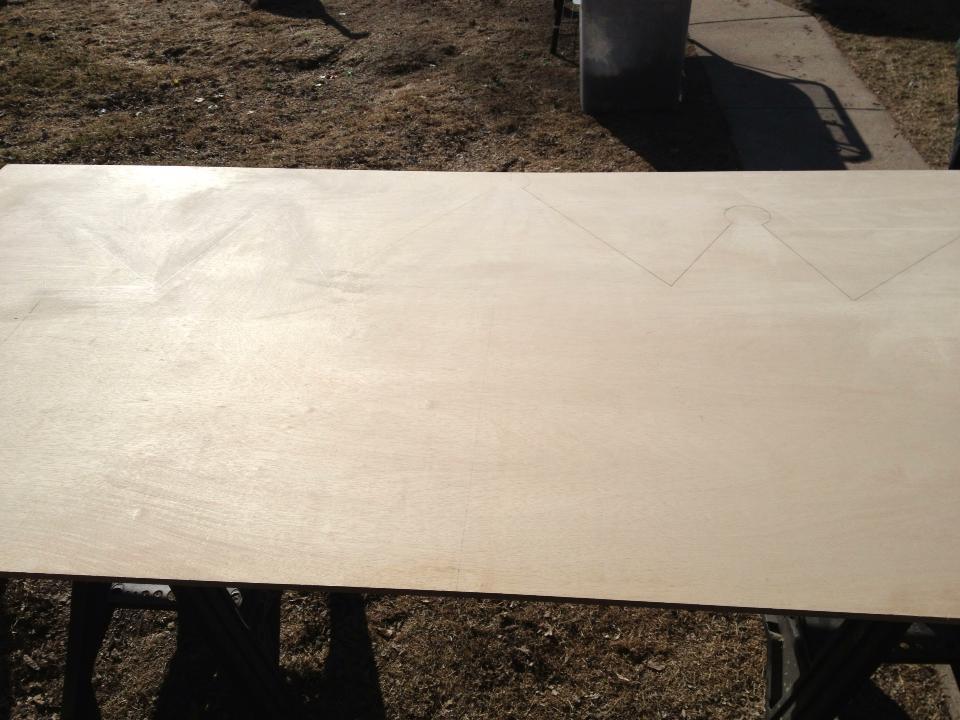
I purchased a twin girls captins bed for my daughter to grow into but she wasn't quite big enough for it yet so I had my husband convert it into a twin size crib!!!! Im in love with how it turned out. My husband Free hand a crown on a sheet of ply wood and cut it out. I used quilt batting and covered it with pink material and did the tips of crown in purple.

Estimated Cost
80.00
Estimated Time Investment
Day Project (6-9 Hours)
Recommended Skill Level
Starter Project

Simple Bunk Bed Triple Bunk

Submitted by Anonymous (not verified) on Wed, 04/20/2016 - 07:07

I loved the look and design of Ana's Simple Bunk Bed but due to limited space in our home, needed a triple bunk bed. I wasn't interested in the hassle of a trundle so I decided to modify the simple bunk bed plan and make it a triple. I have to say, I was a little worried about how sturdy it would be but this plan is so solid with the 4x4 posts that there is no need to even even think about that for another second!
I changed the ladder so that it was attached to the side rails of the bunk bed as someone had posted they did earlier and decided to add another little ladder for the middle bunk so my little one wouldn't have to leap from the ladder to get into her bed. ;D

In order to do a triple in our home (with 8 ft. ceilings), I needed to bring the height down so I made the bottom bunk sit on the floor with the legs only being as long as the height of the headboard. I also made all the headboards and footboards only as tall as the footboards in Ana's original Simple Bunk Bed plans.

This was my first build and there are definitely things I would do differently to make this work better if I had it to do all over again. I would make the legs a little shorter on the 2nd and 3rd bunk so that there is more head room for the person on the top bunk.

All in all though, I had a great time building this and can't wait to try some more of Ana's plans!!!
Estimated Cost
$450 including hardware
Estimated Time Investment
Week Long Project (20 Hours or More)
Finish Used
White paint, not sealed
Recommended Skill Level
Intermediate

Comments

wbmclaurin

Mon, 11/01/2021 - 21:30

Do you happen to have the exact plans for this triple bunk? I saw that you modified the simple double bunk to fit your space but I'm wondering if you drew up plans wih measurements to make it easier for beginner folks.