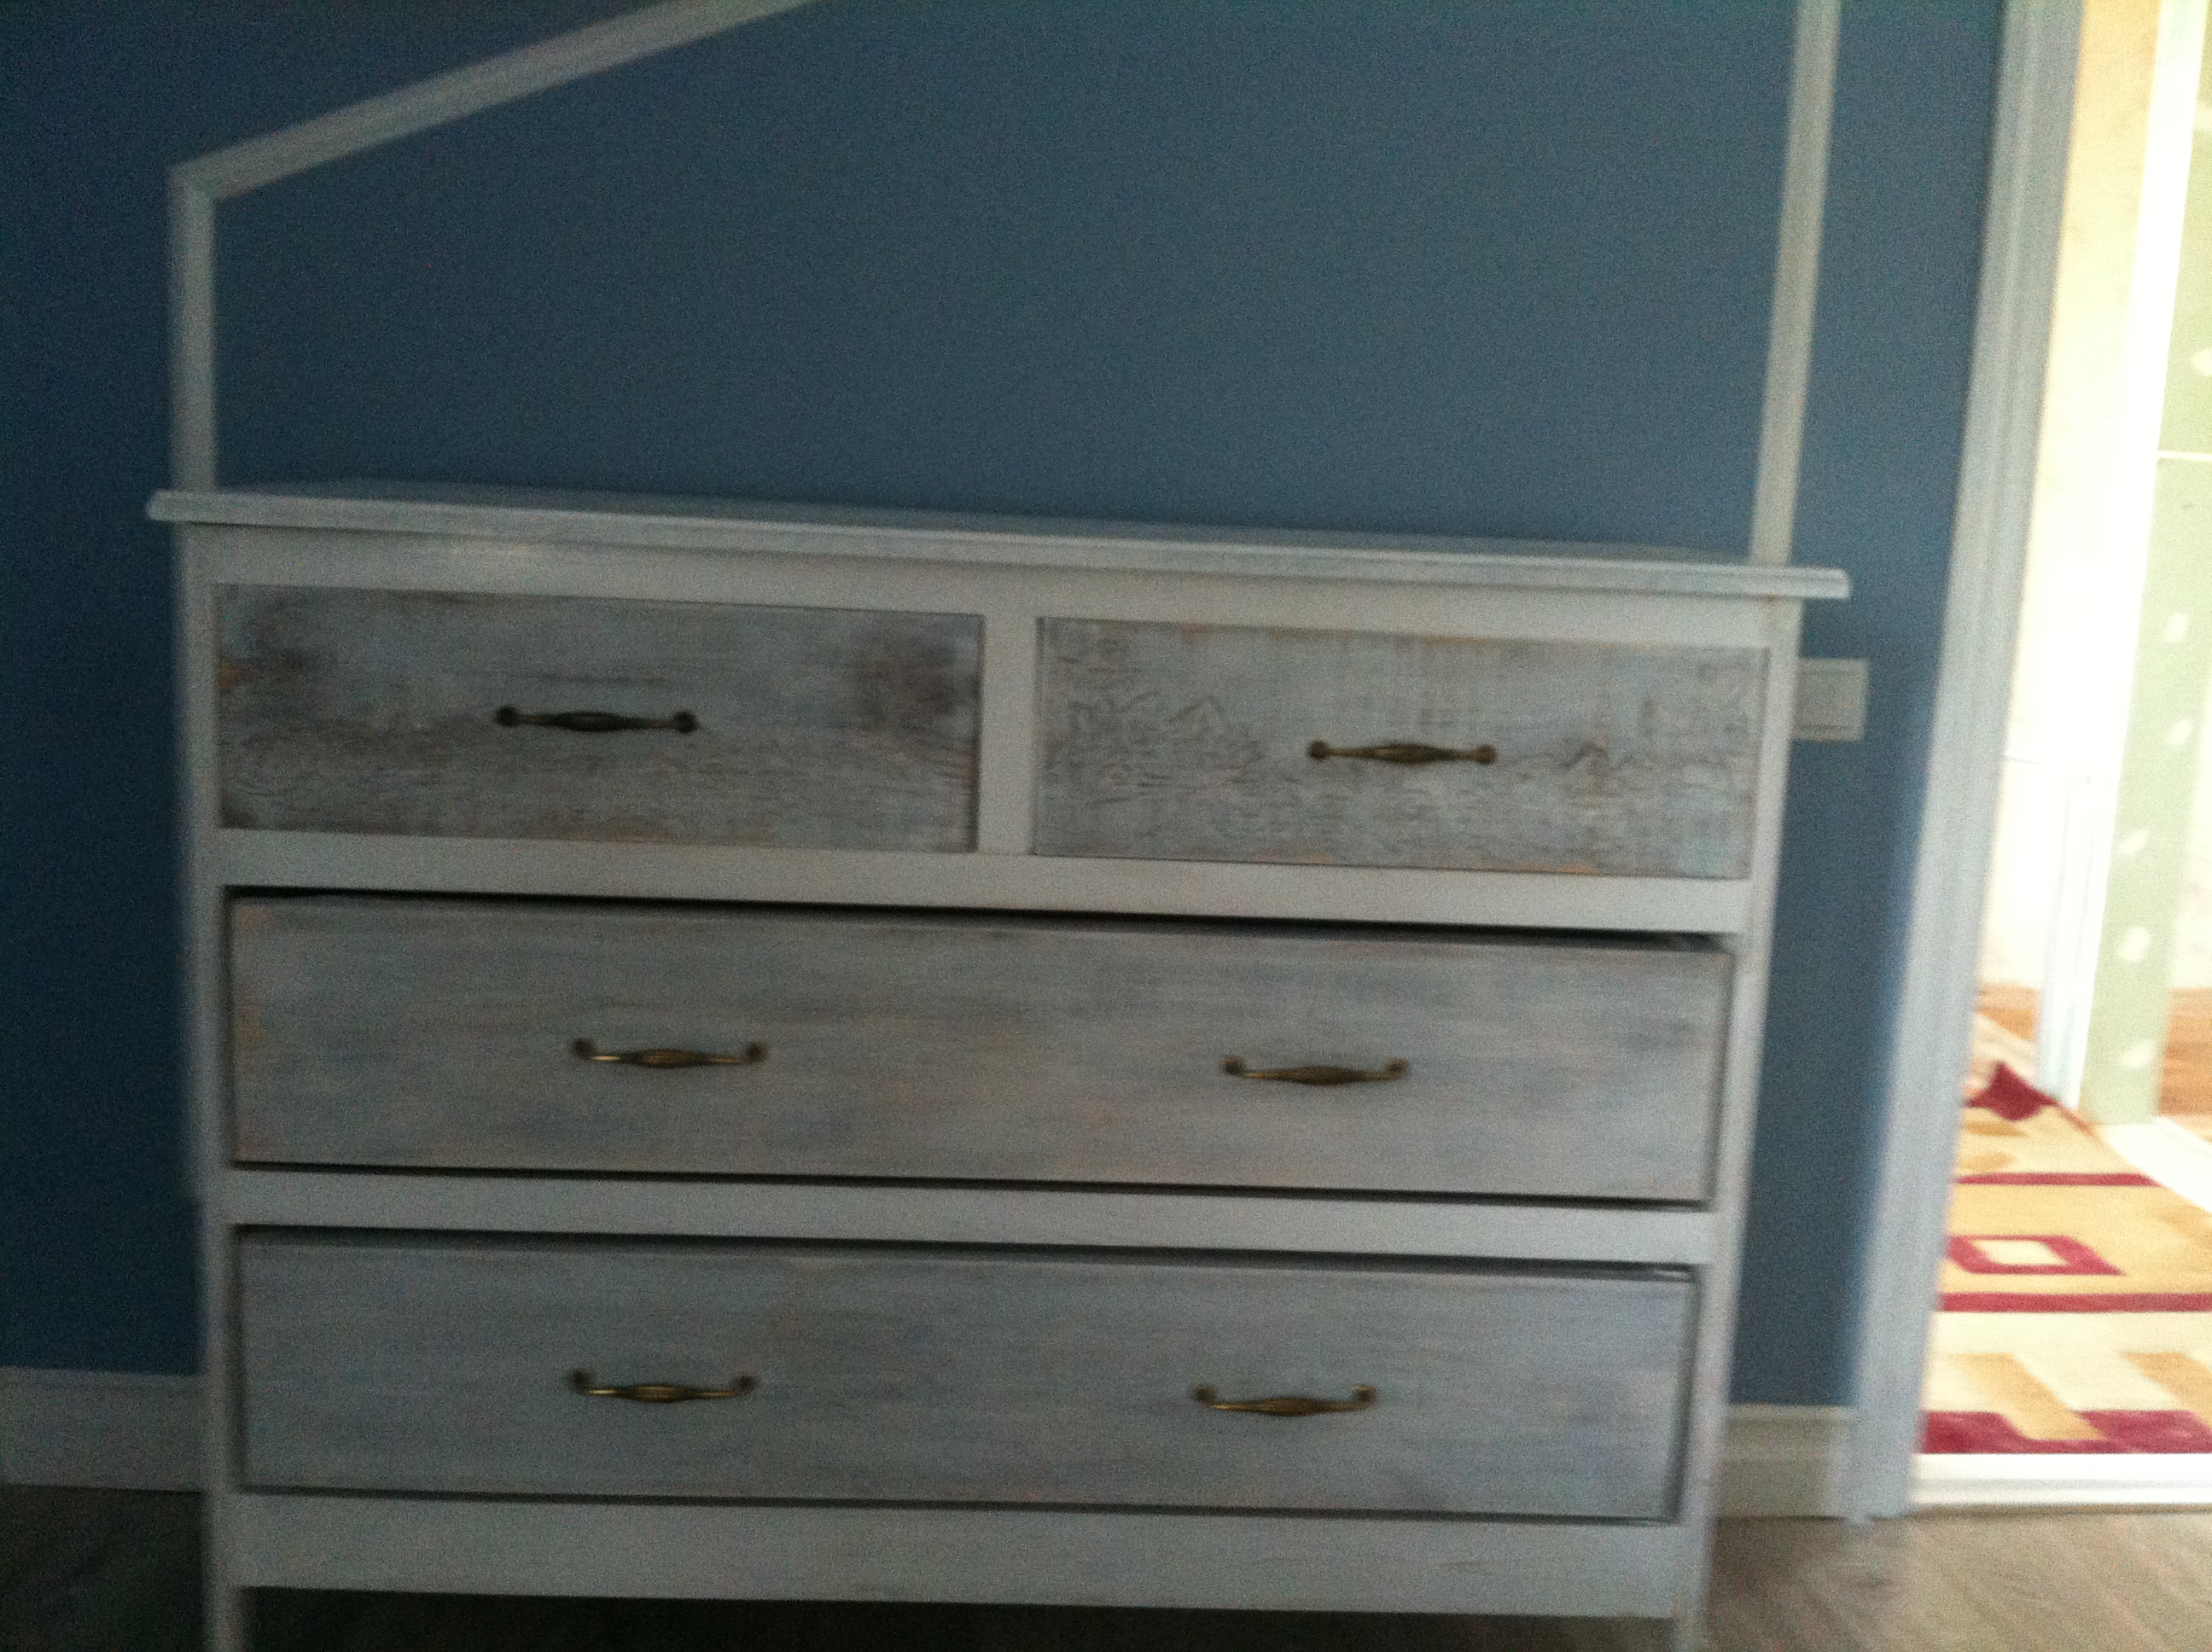
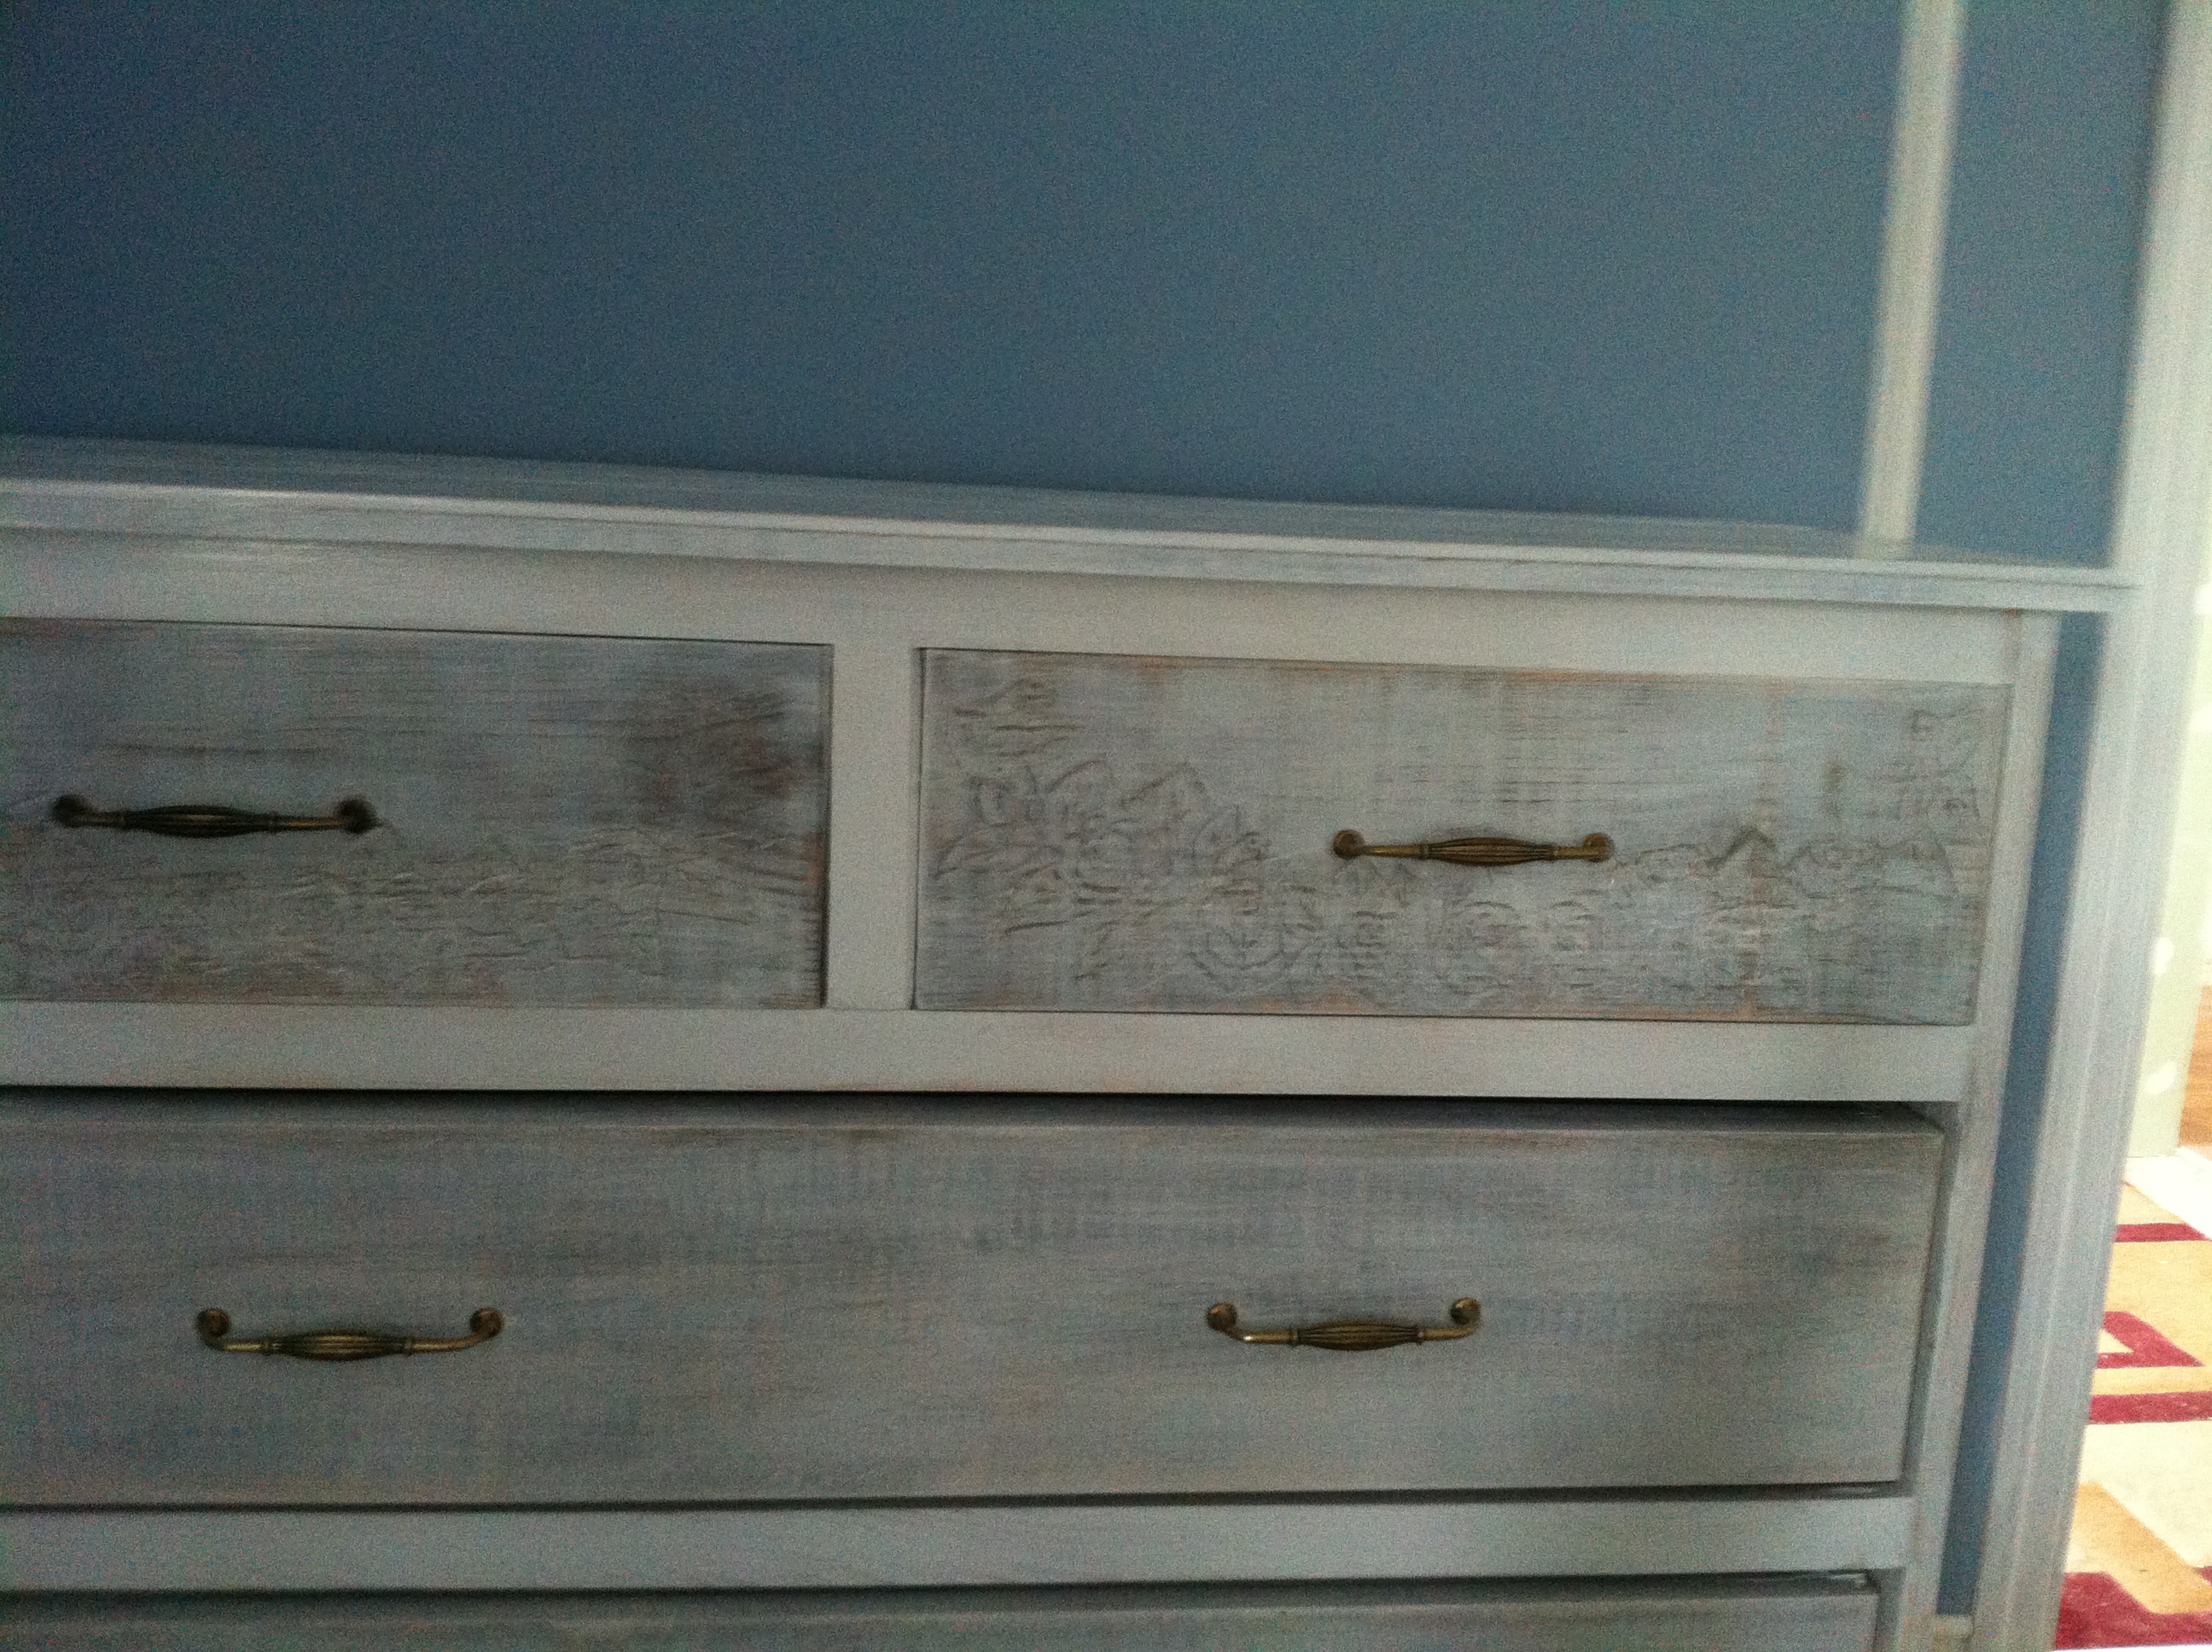
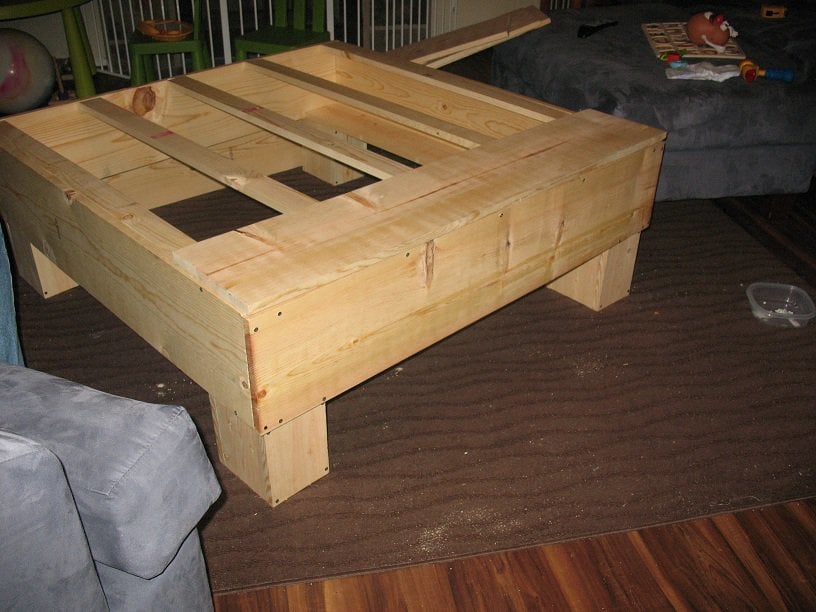
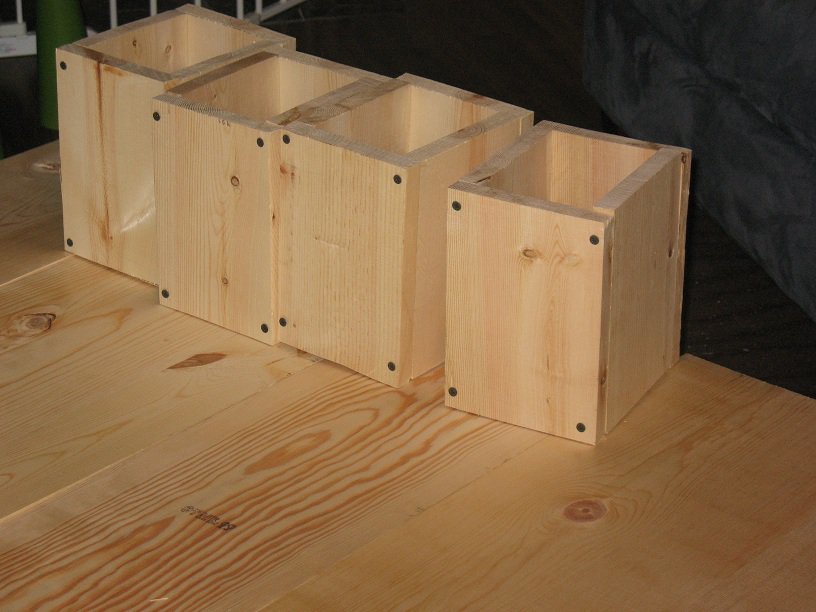
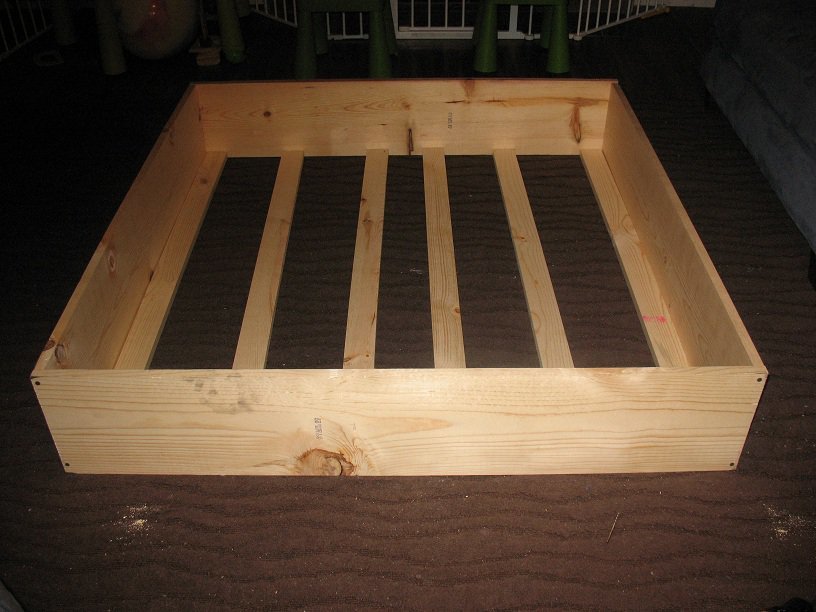
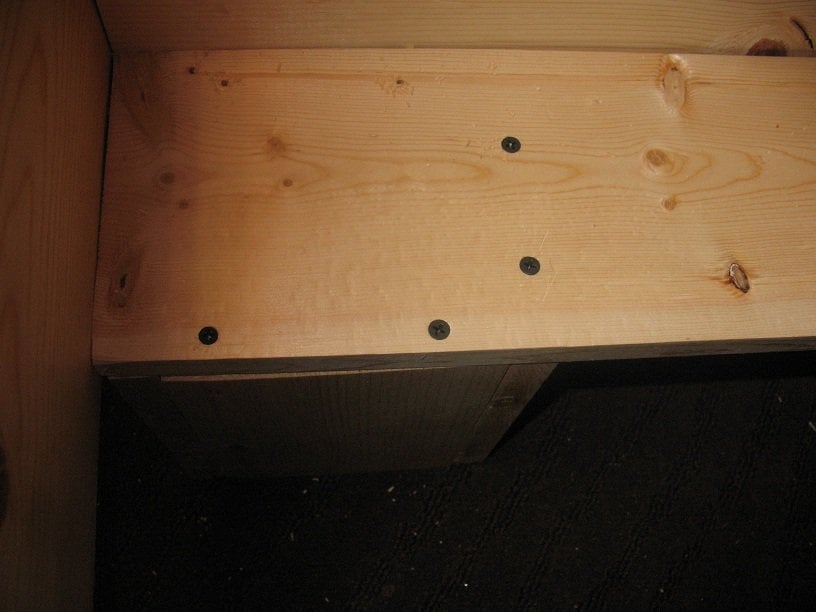
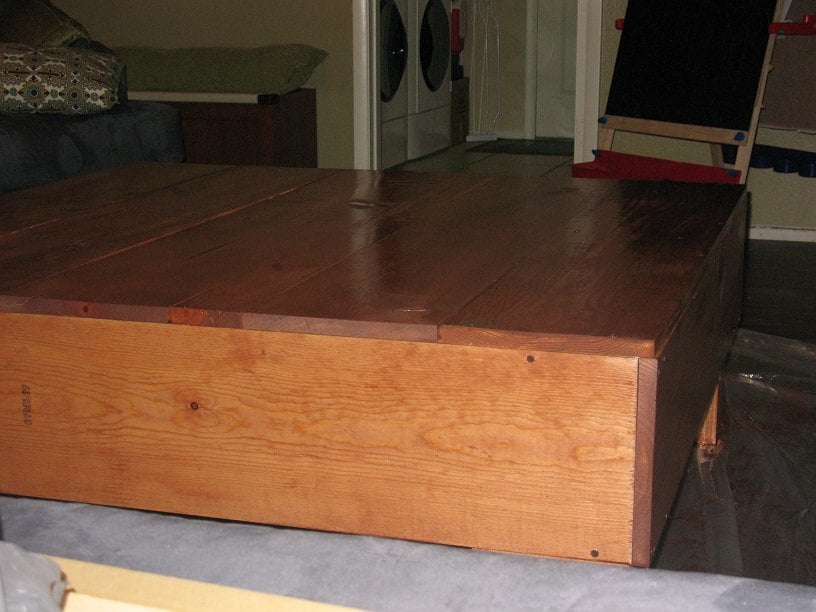
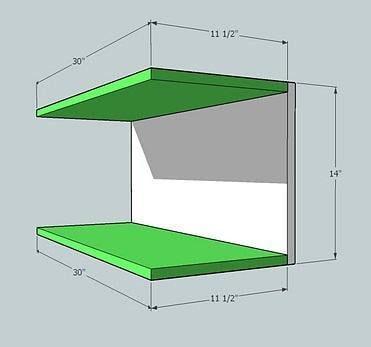
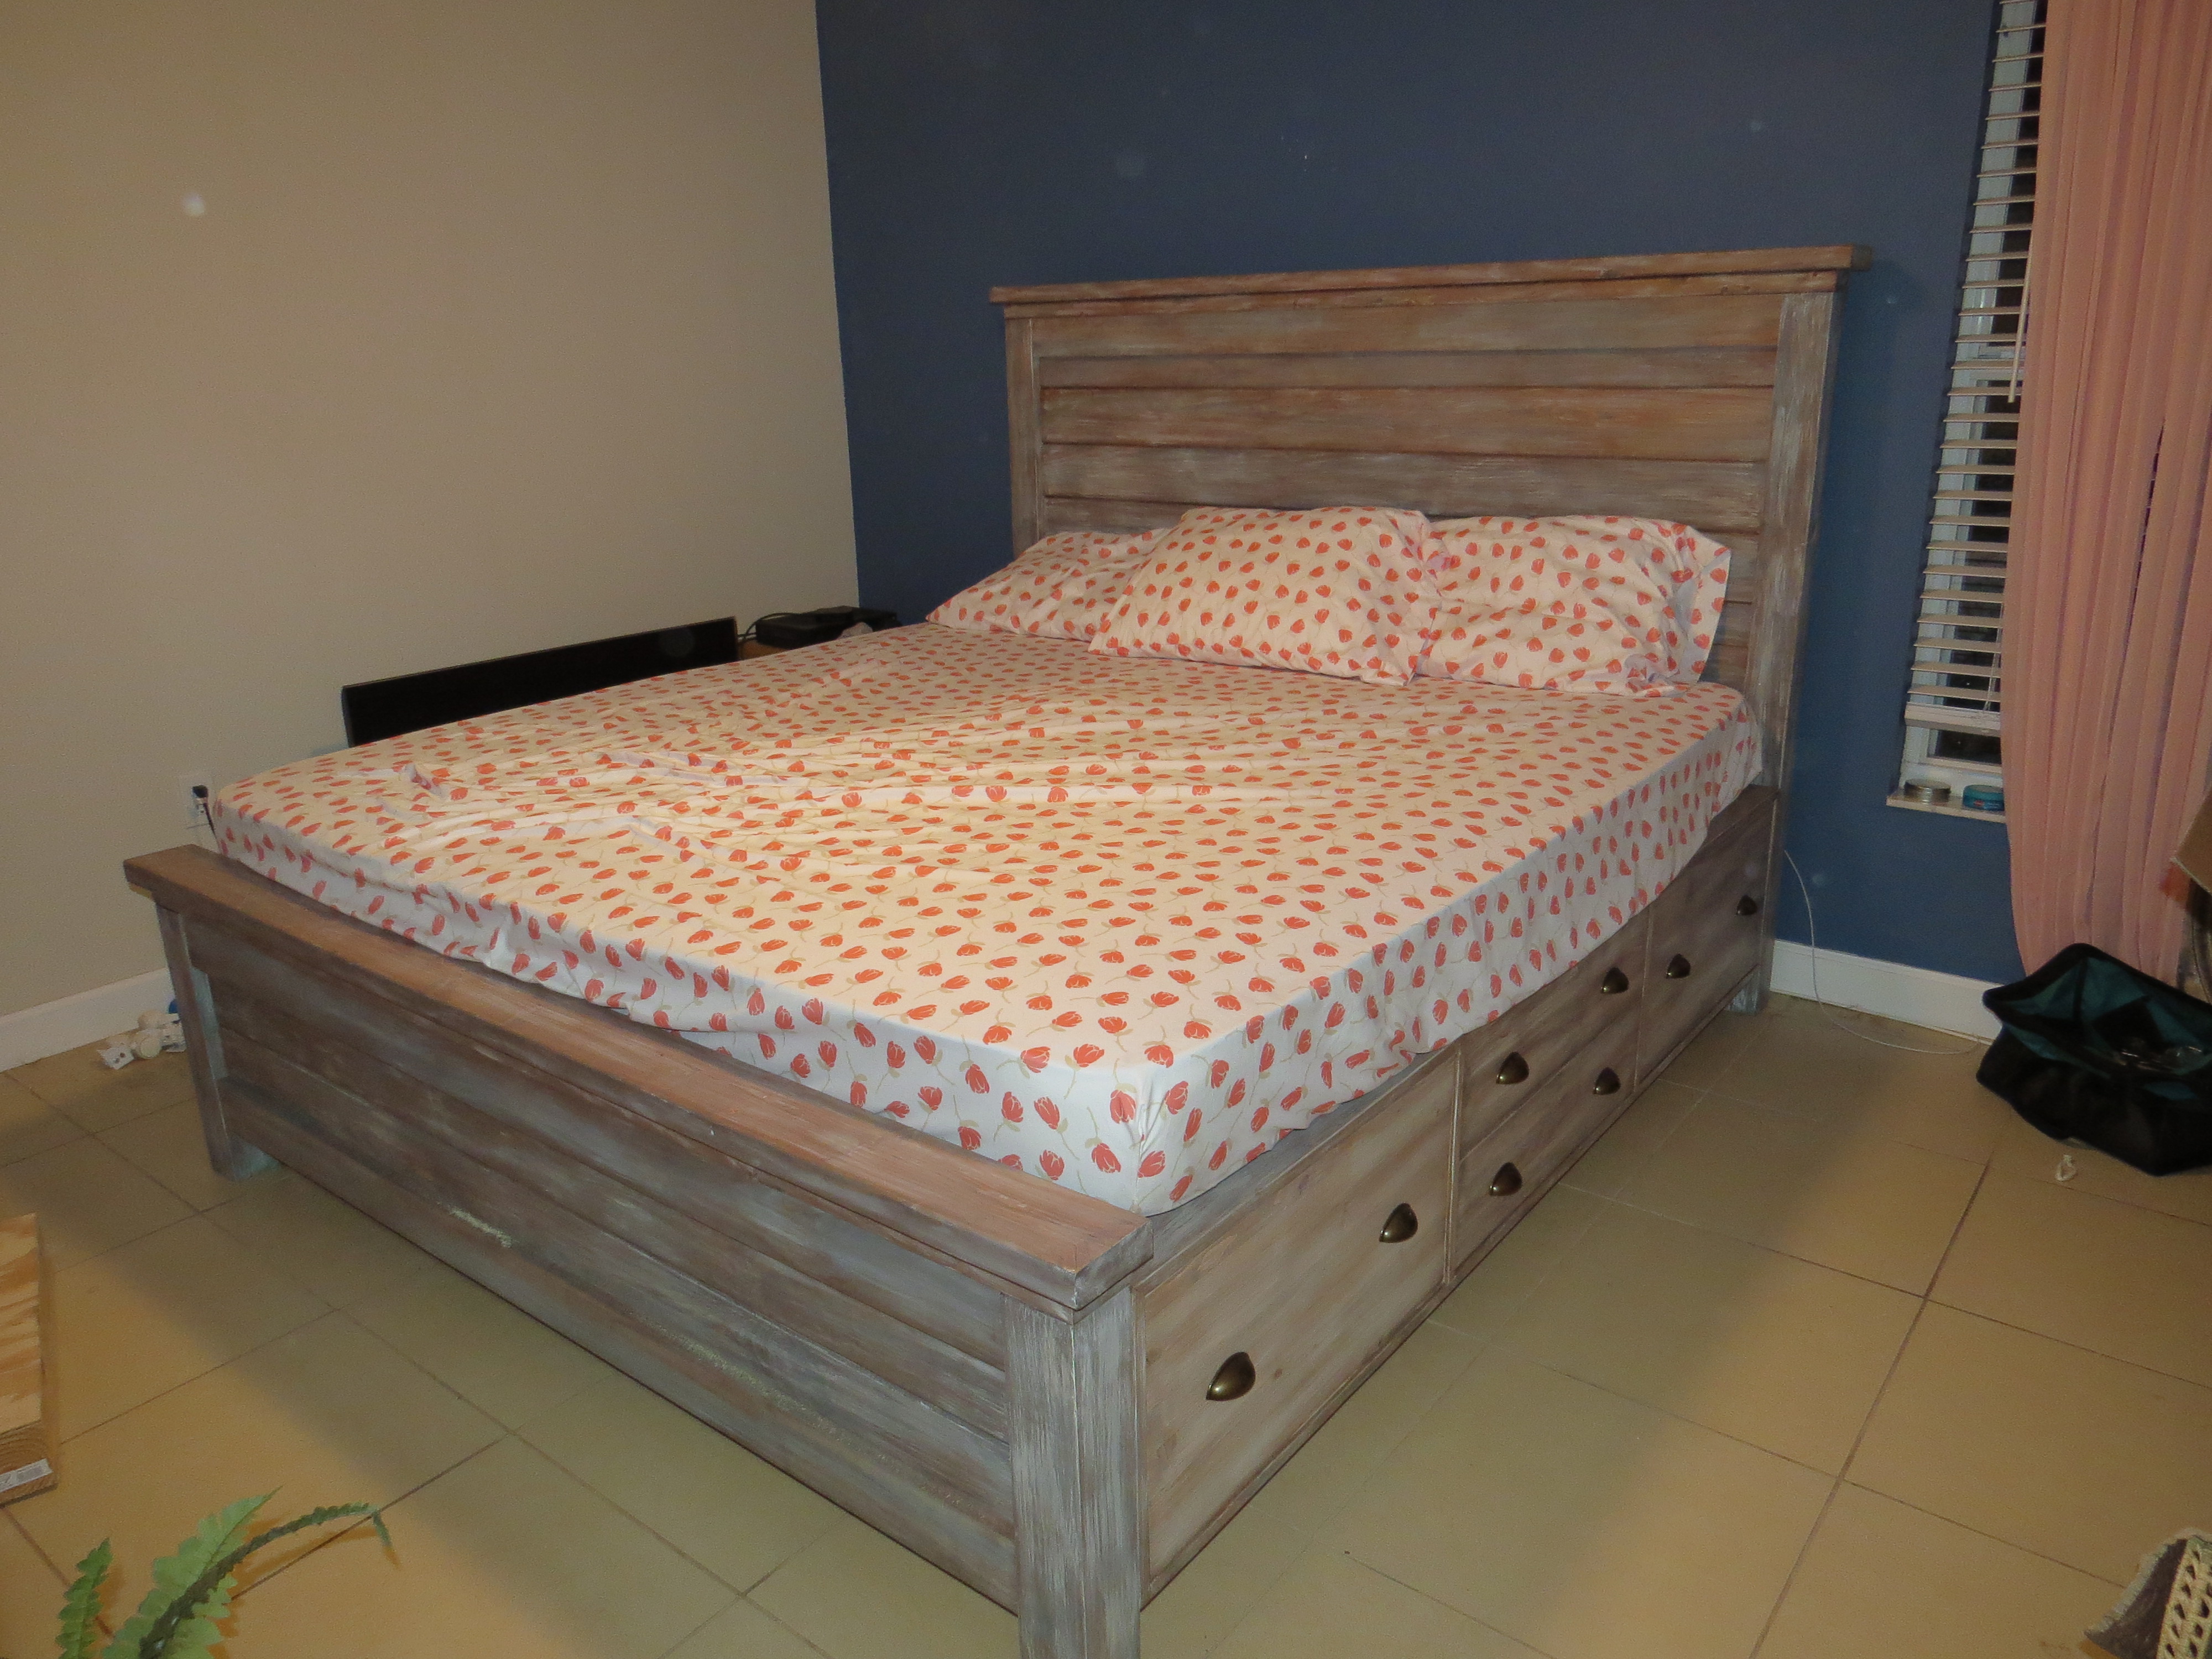
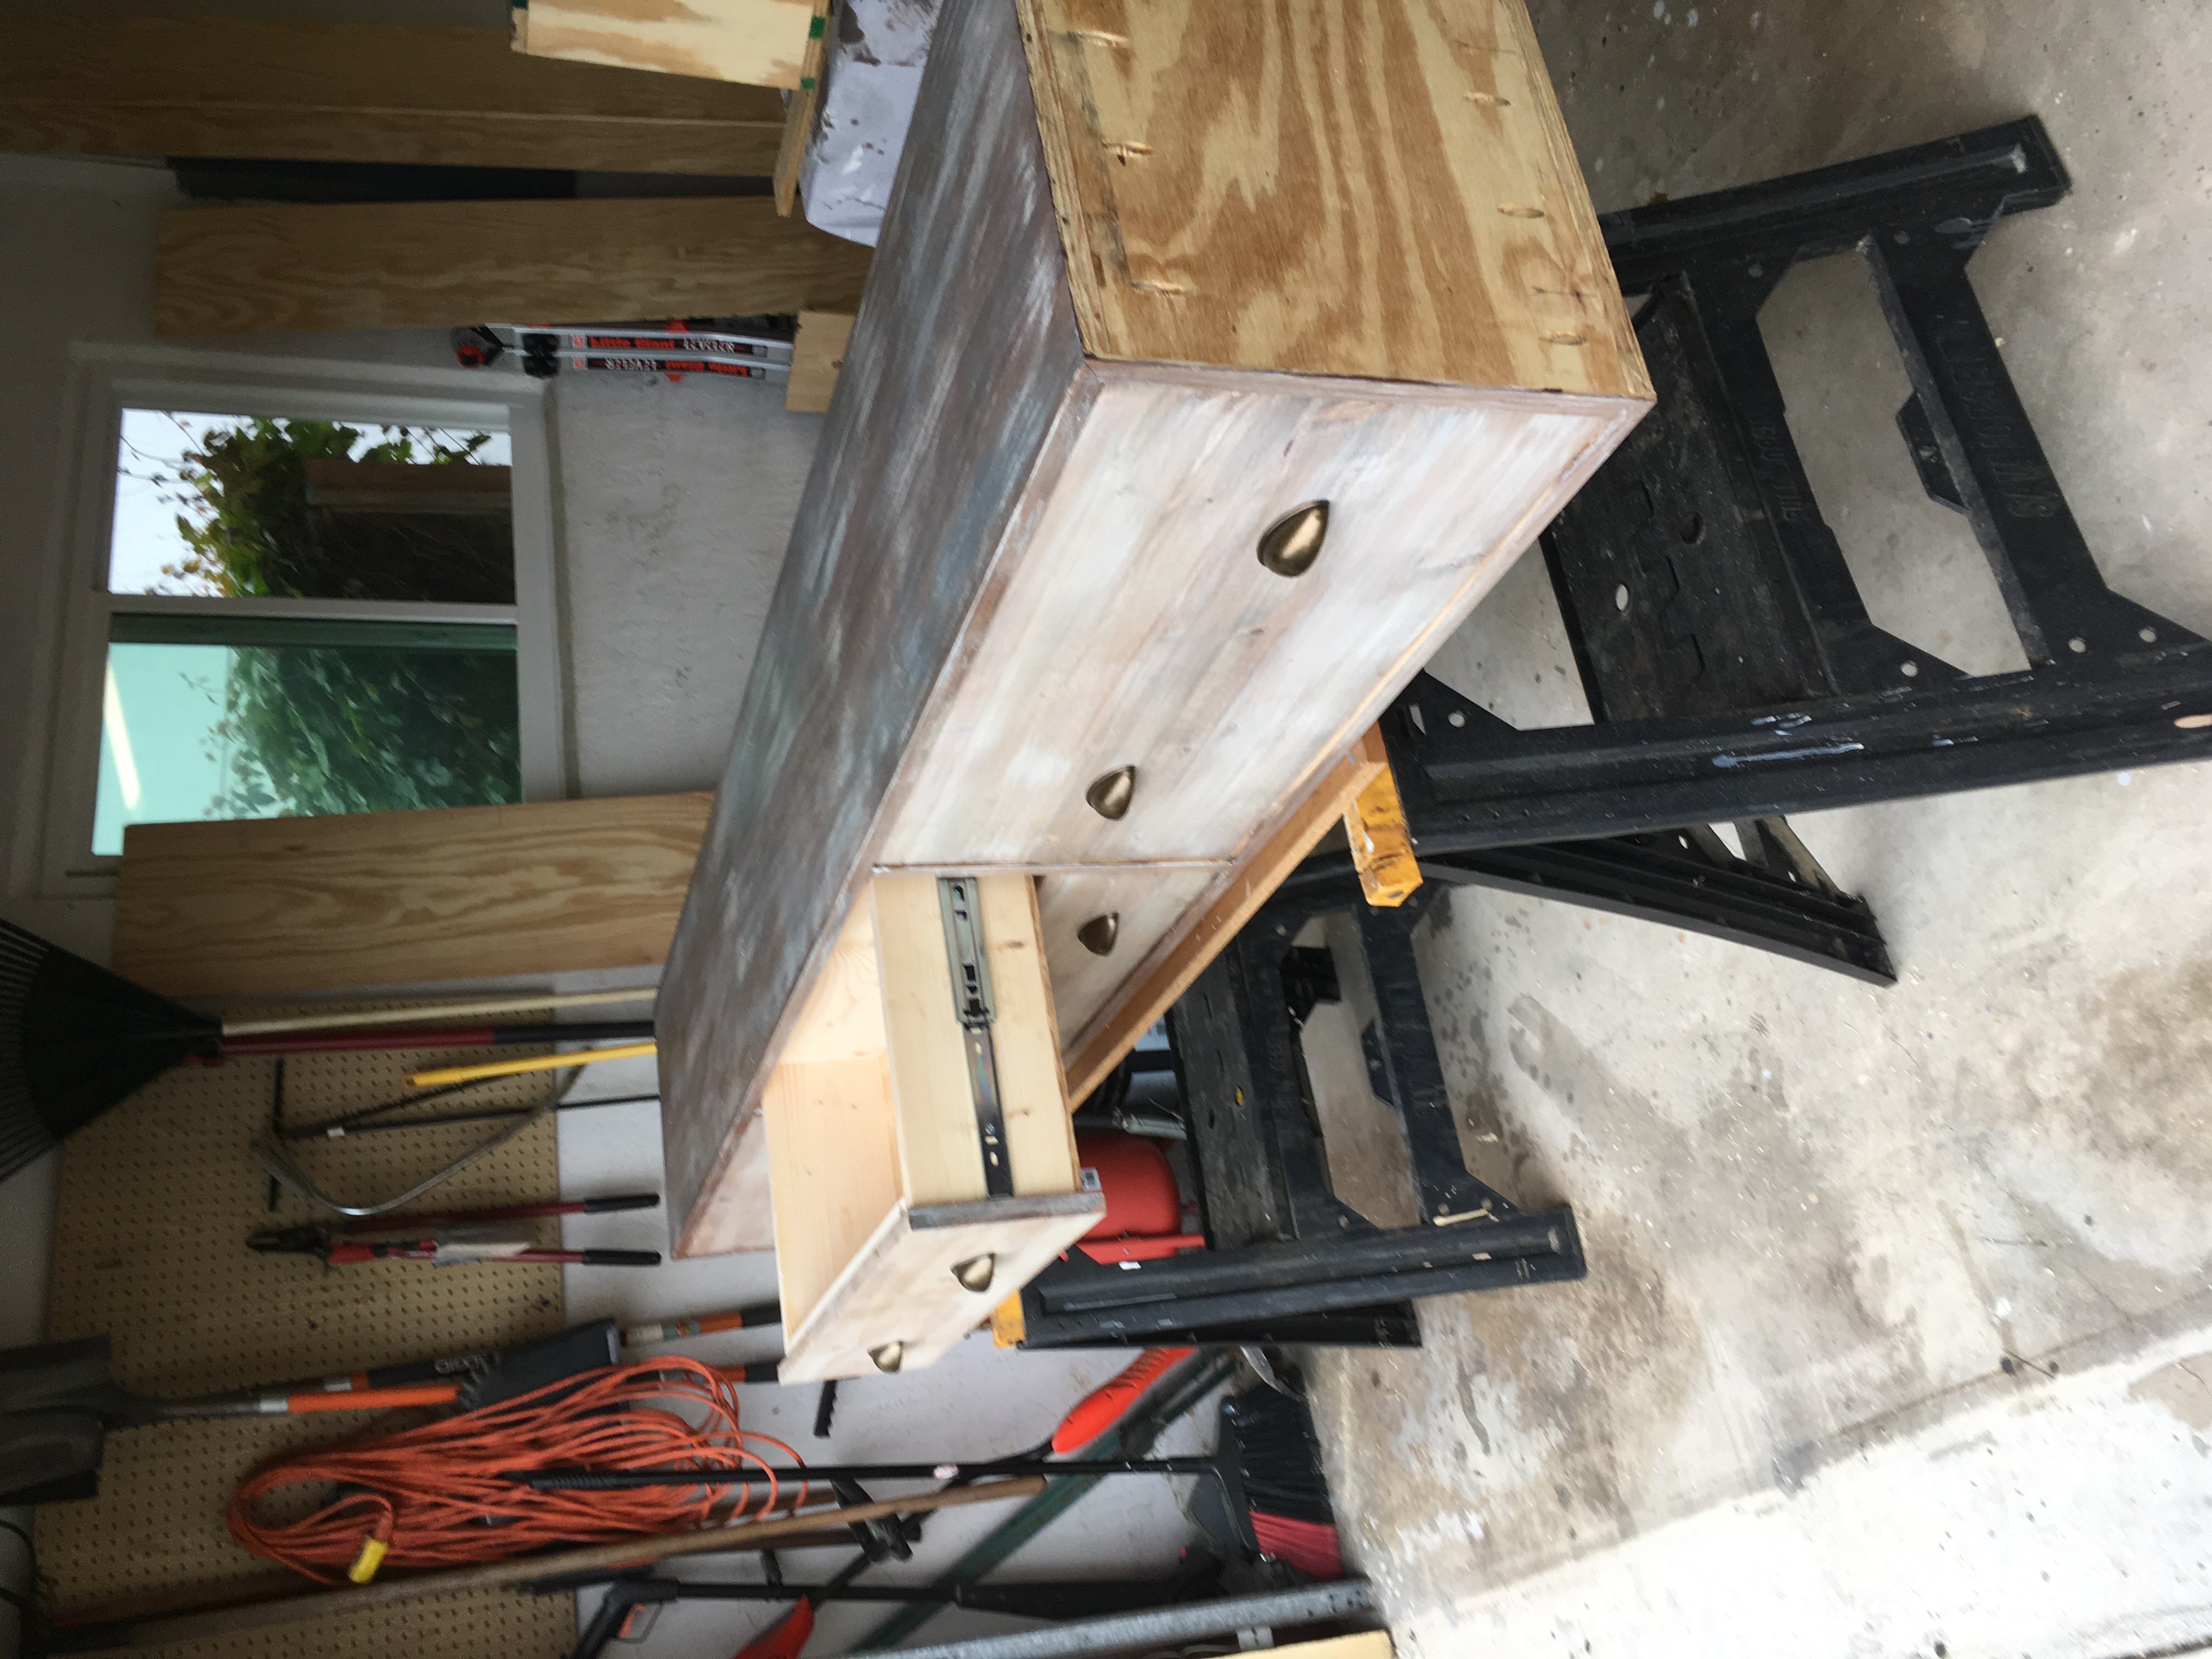
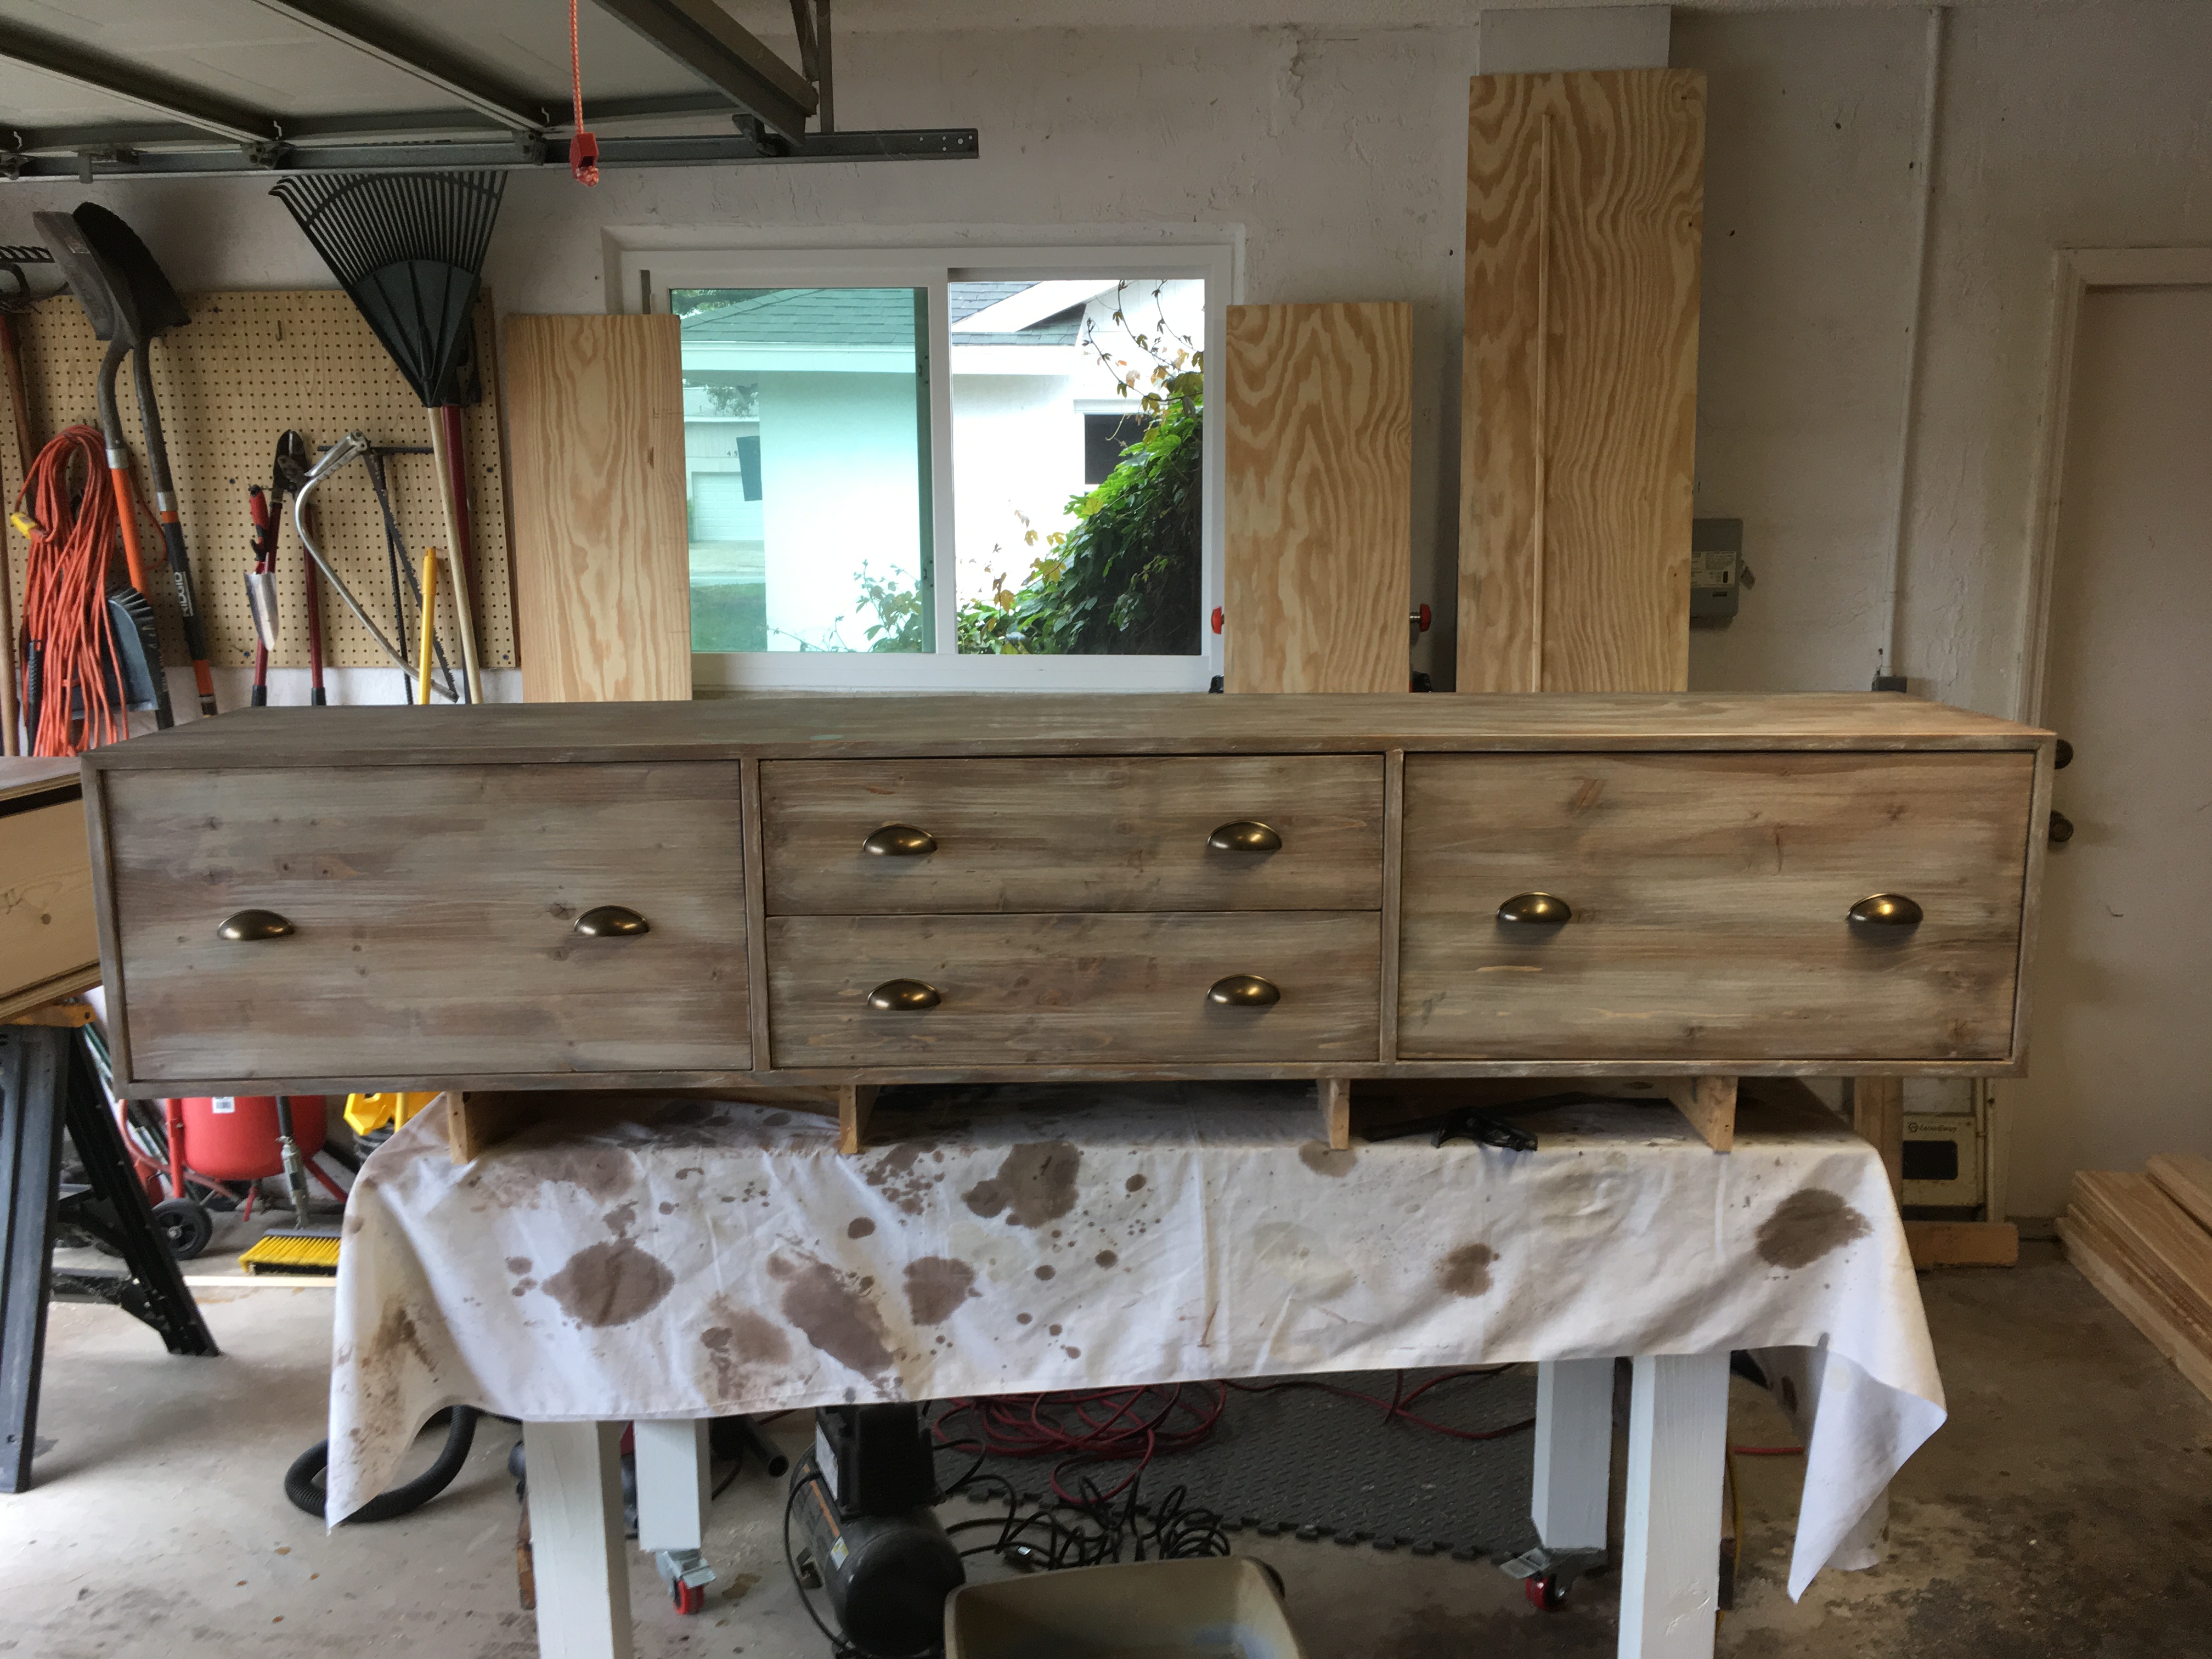
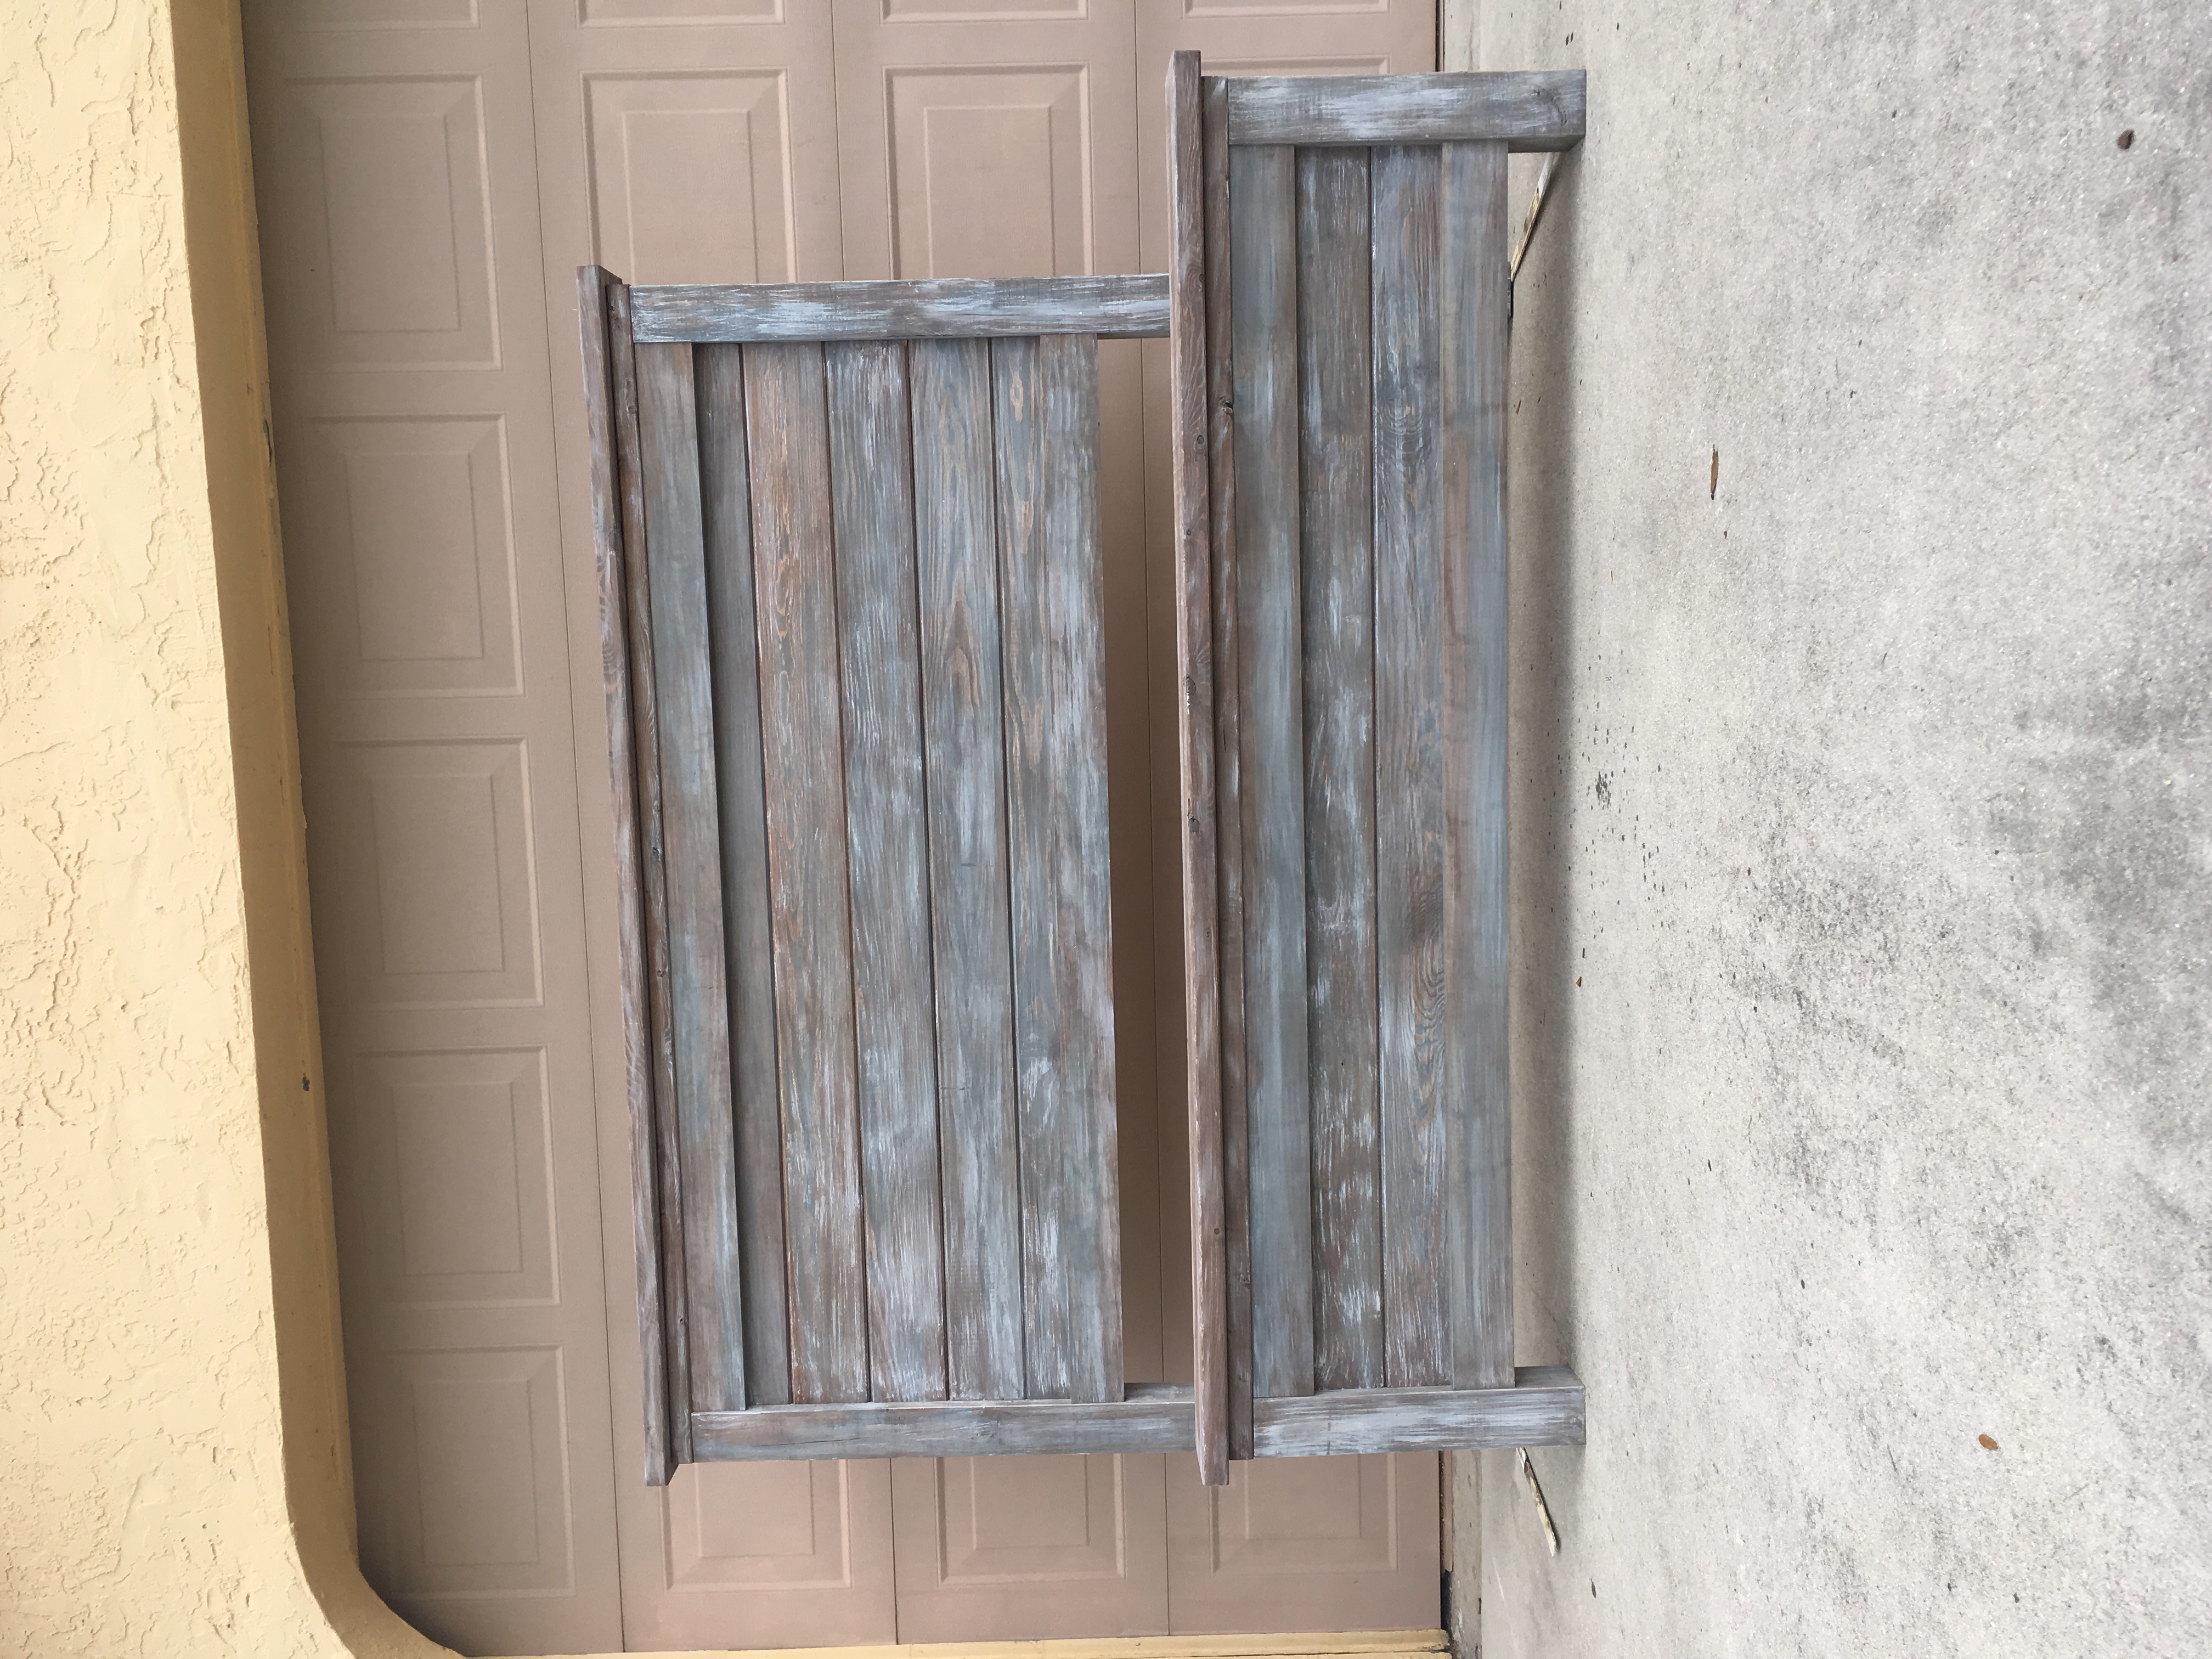
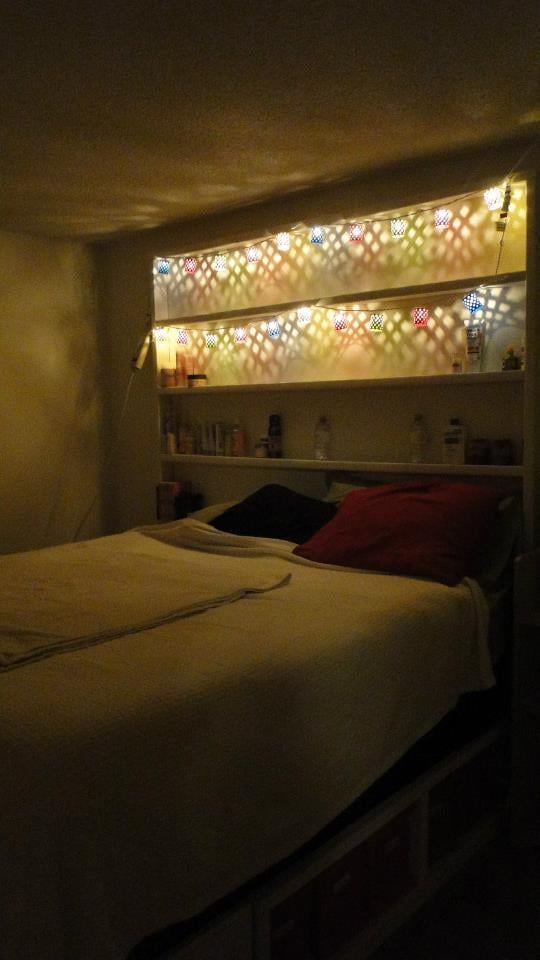
King Storage Bed with bookcase headboard
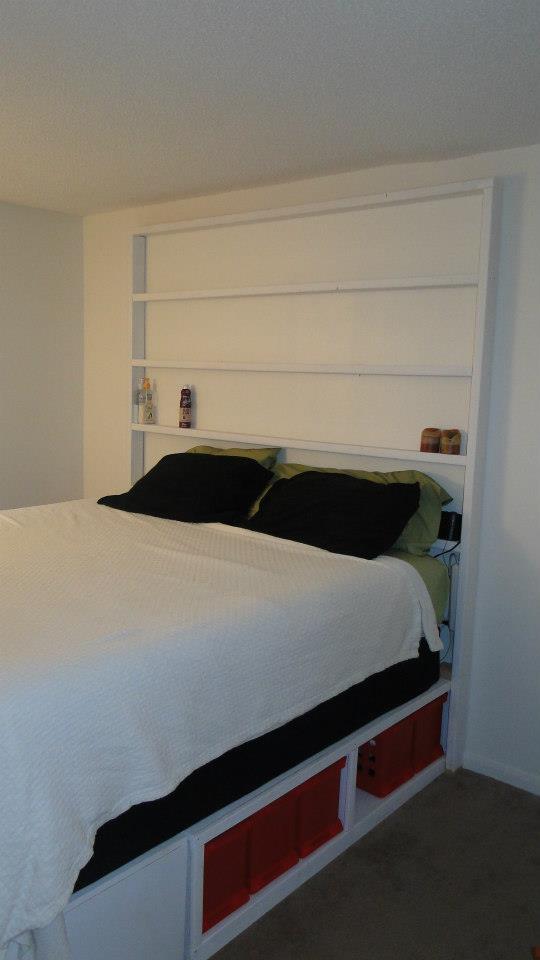
King Storage Bed with a built in bookcase as a headboard. Tons of storage space and turned out great especially at night.
Built from Plan(s)
Estimated Cost
175
Estimated Time Investment
Weekend Project (10-20 Hours)
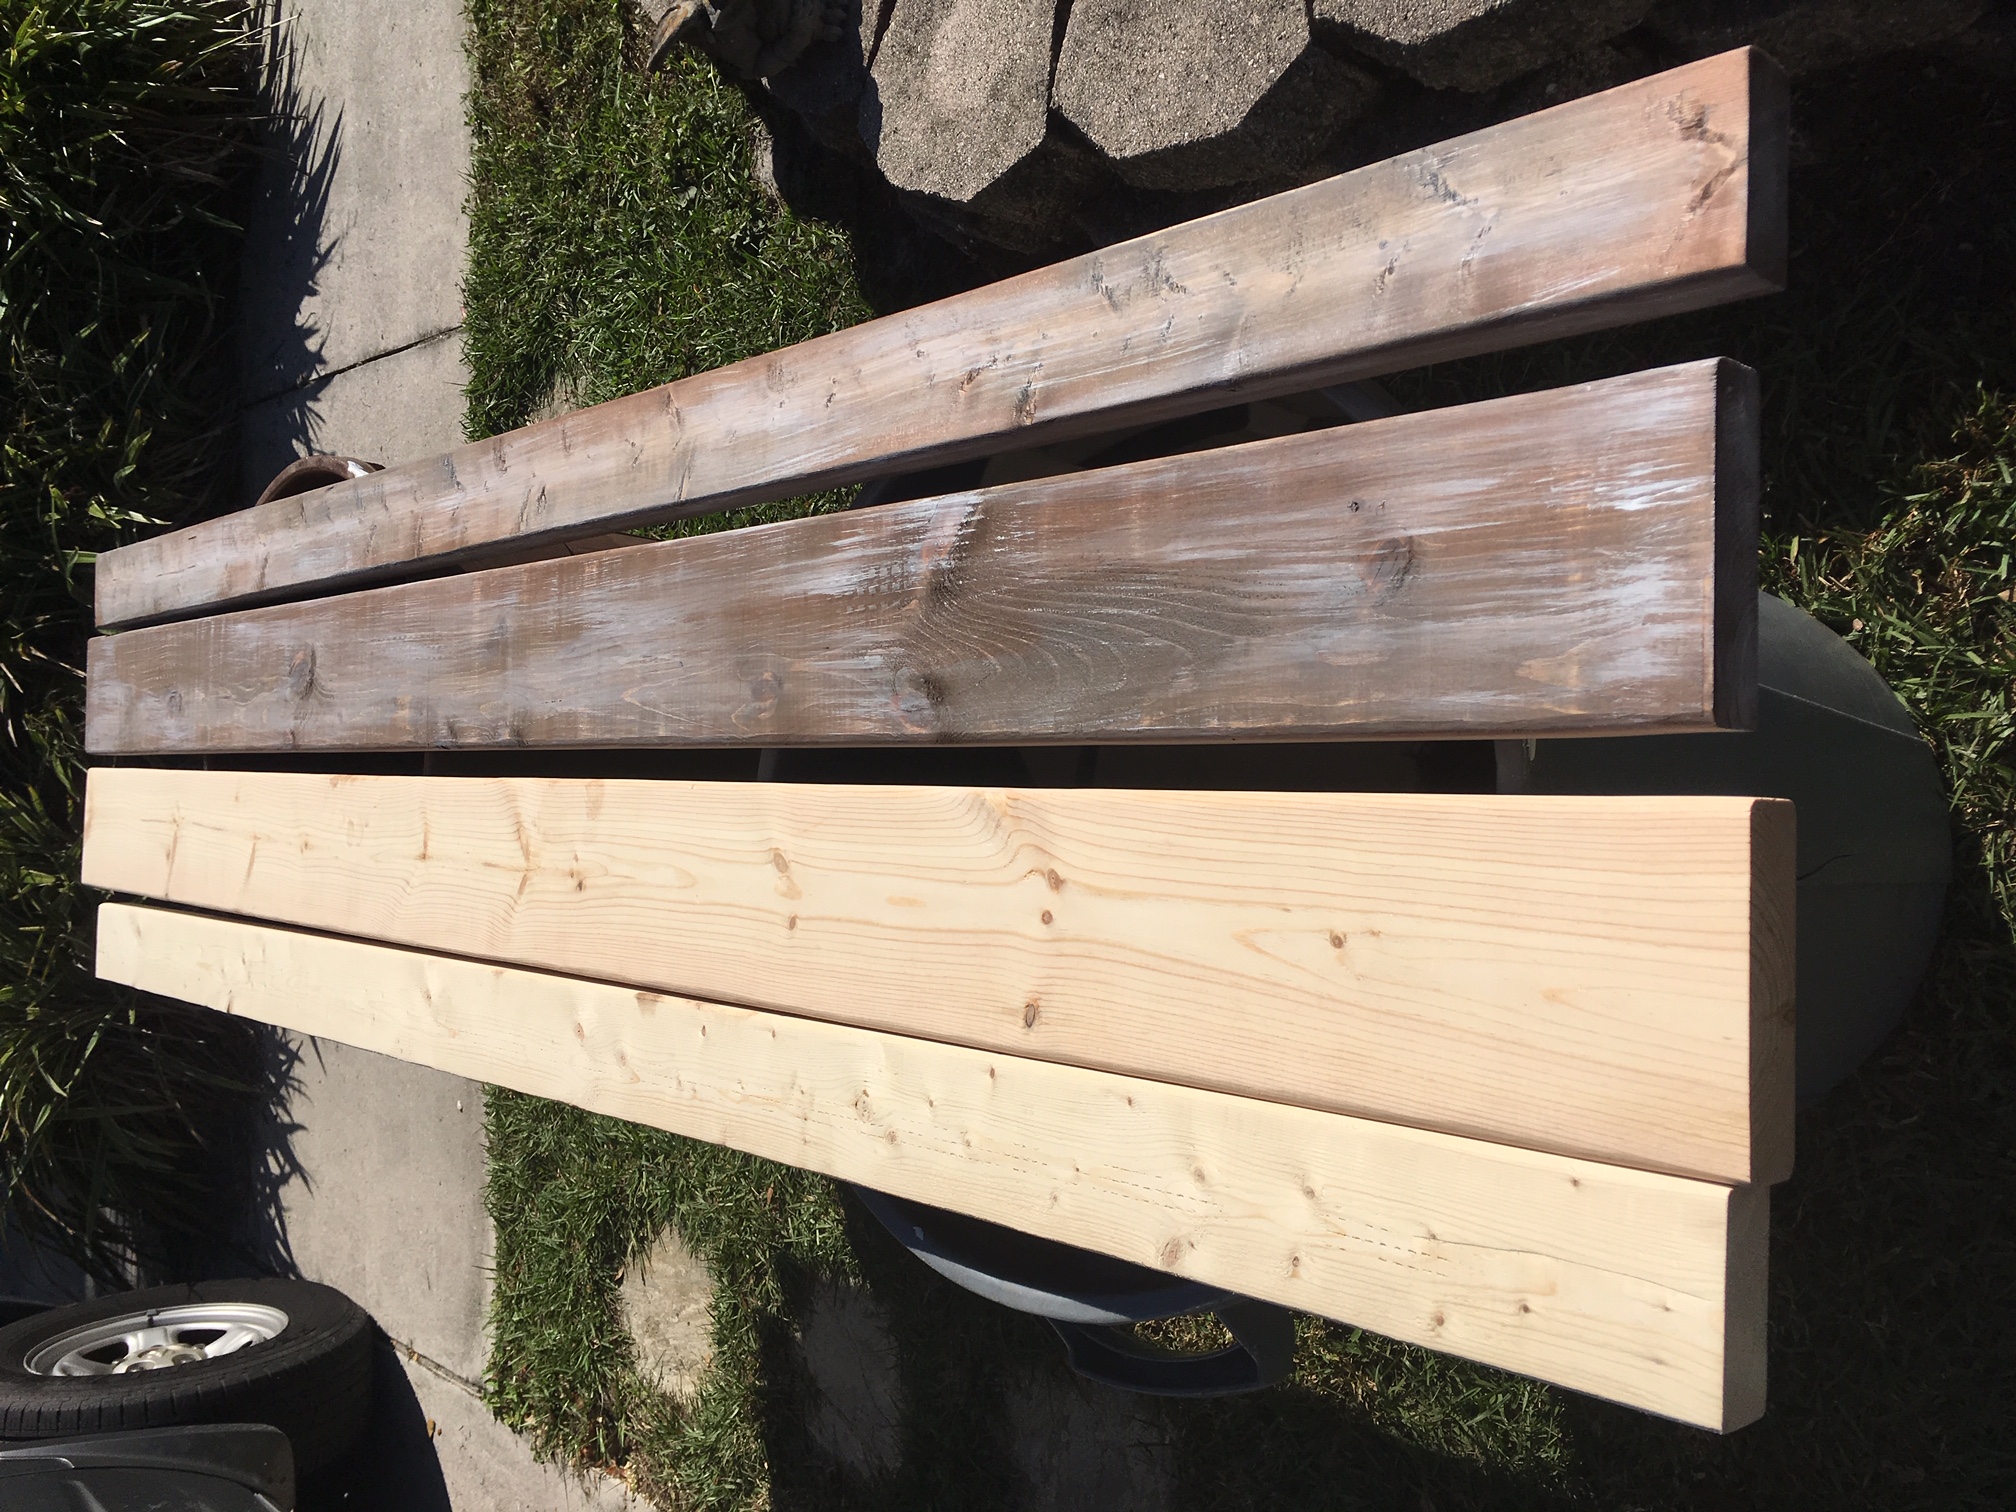
Finish Used
pure white
Recommended Skill Level
Intermediate