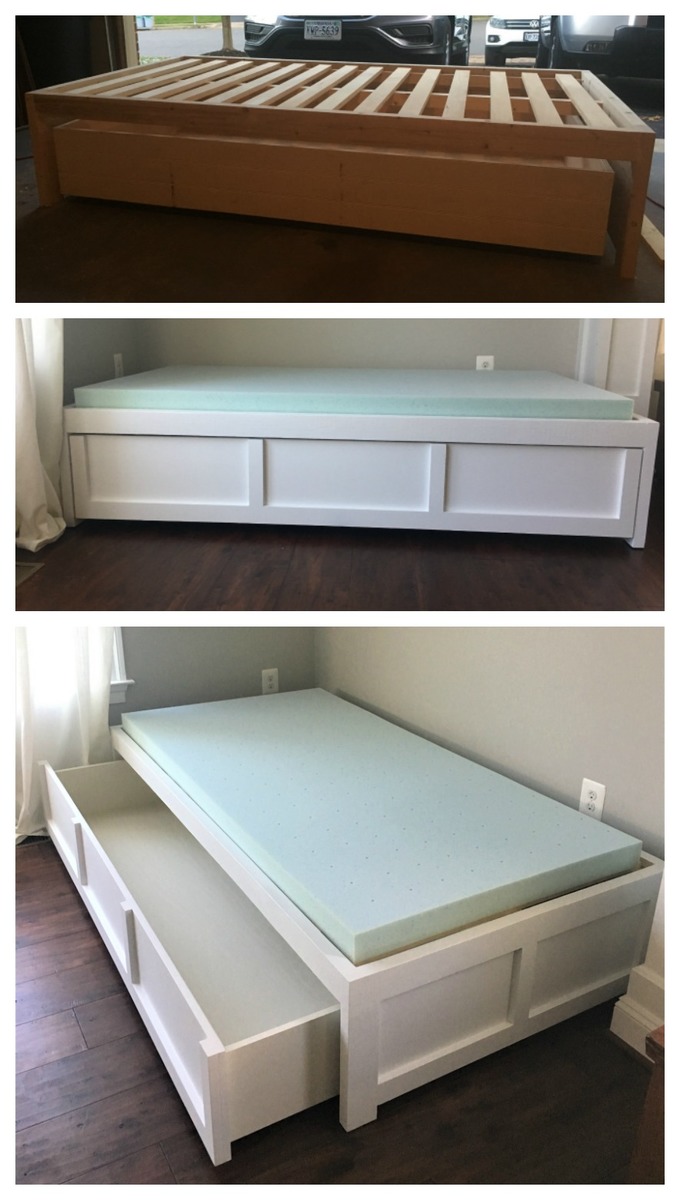
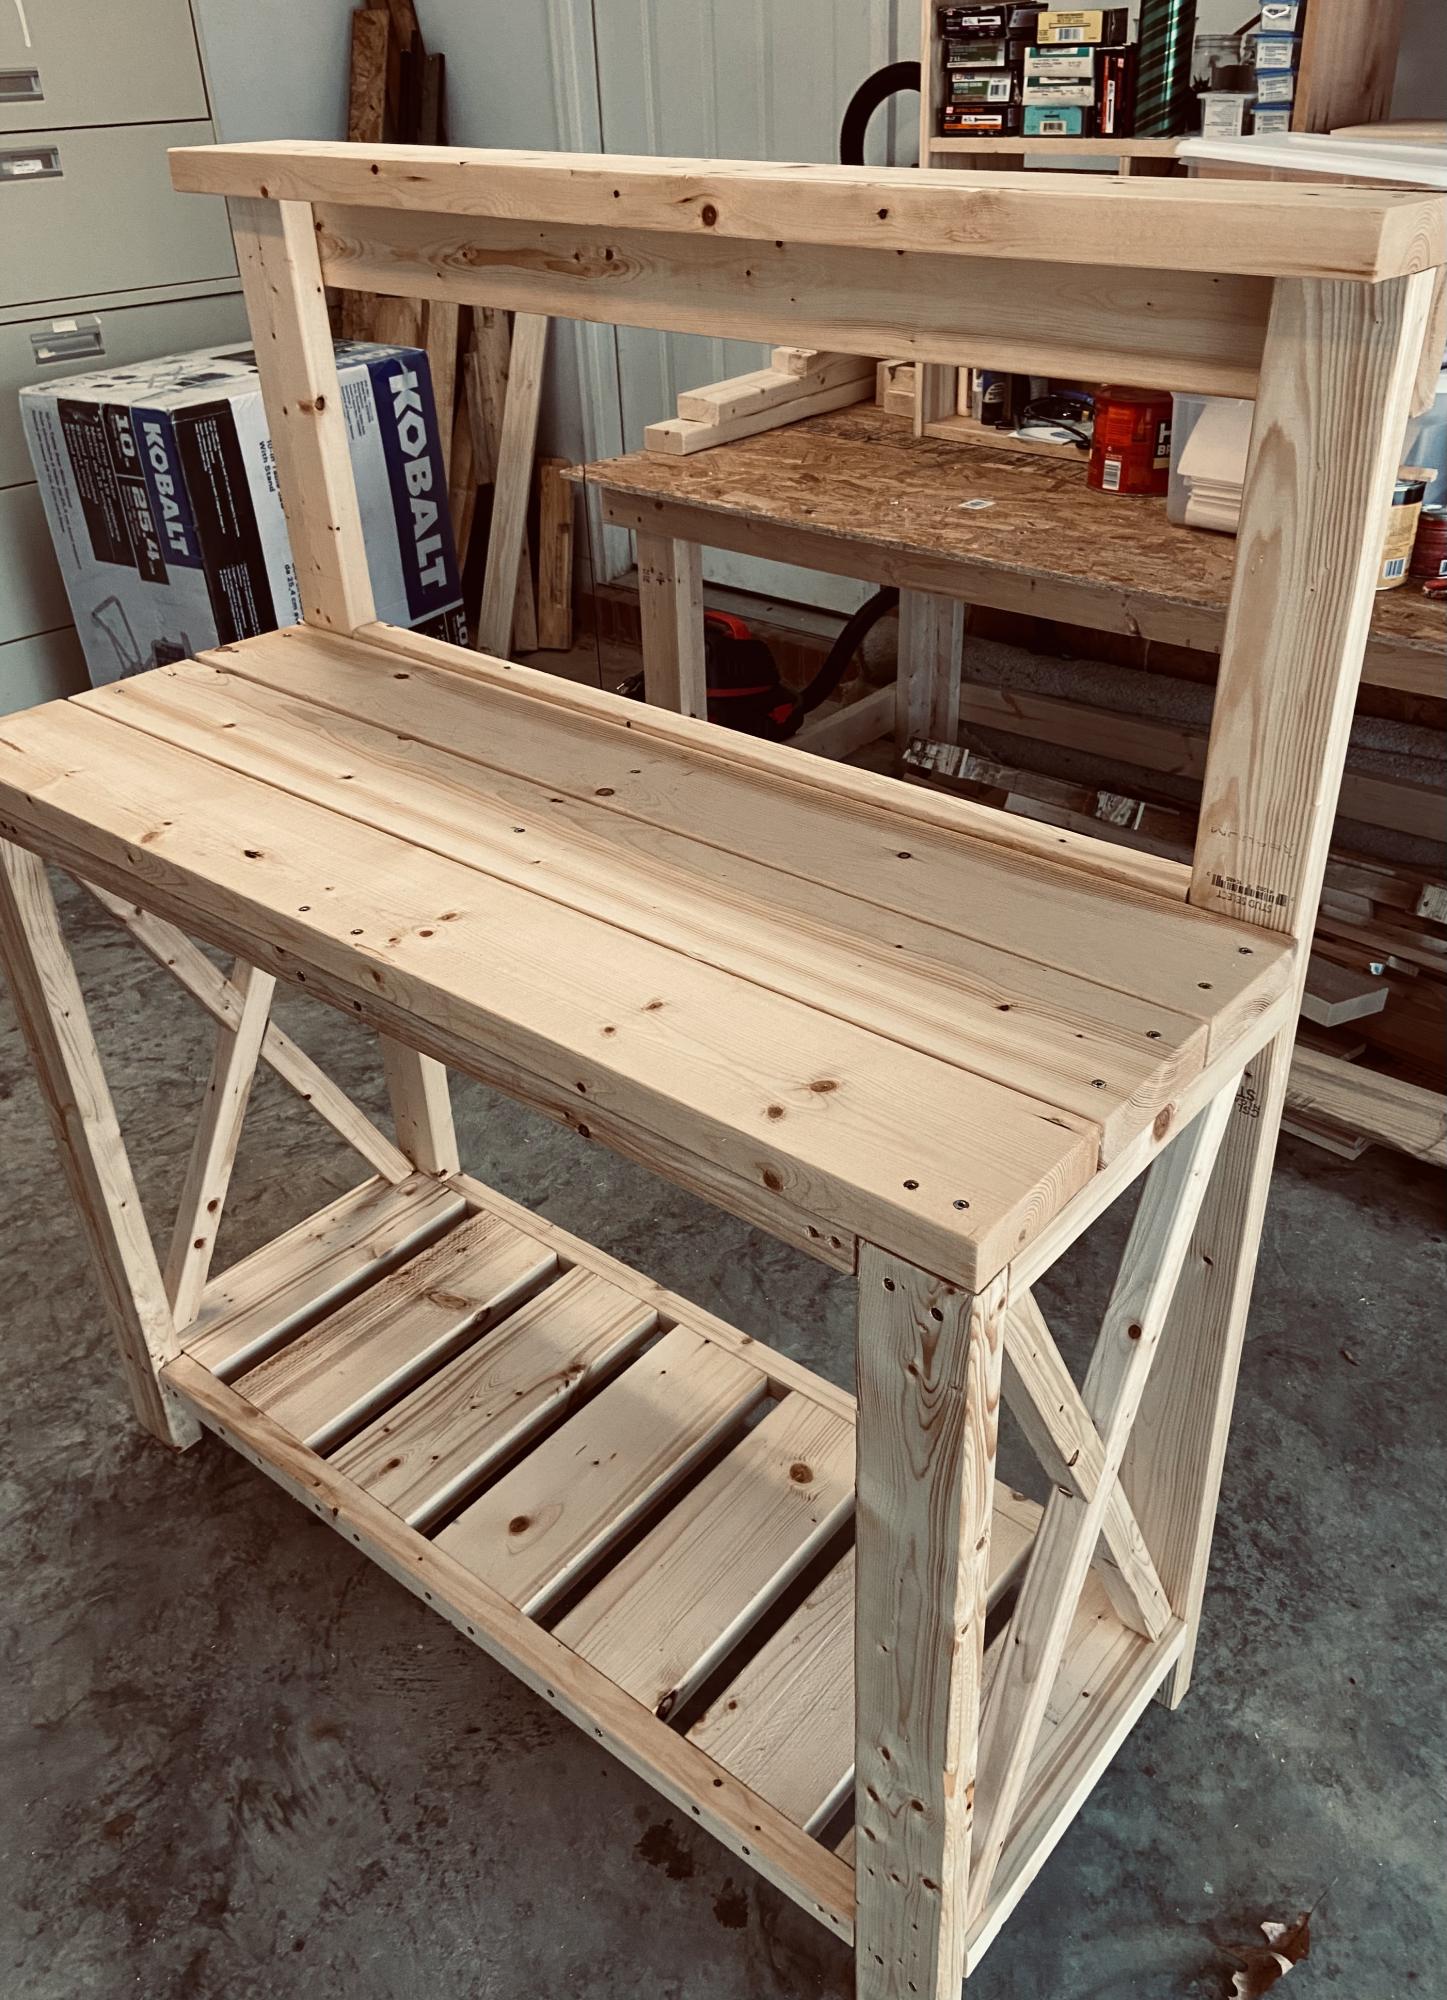
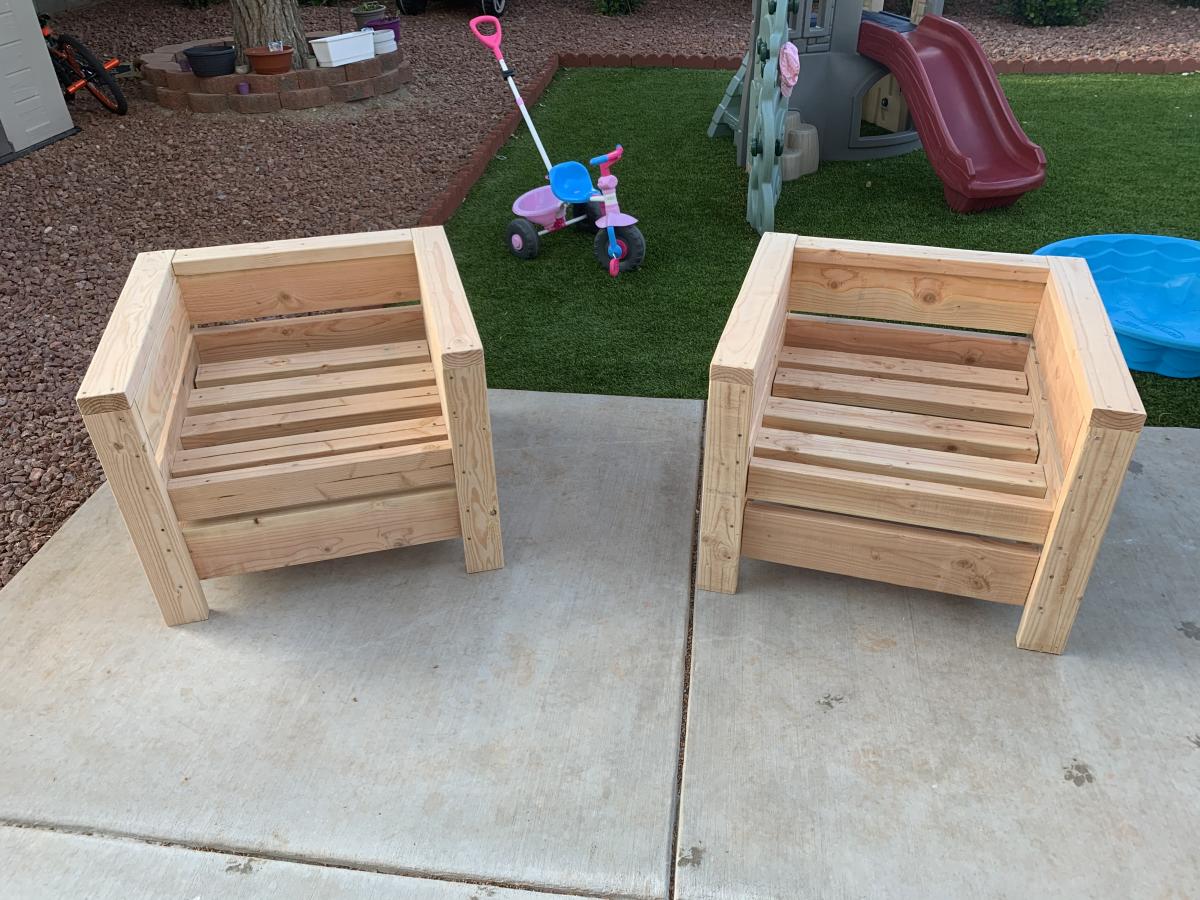
This was my first project from Ana's website and I'm hooked! I'm a beginner, but thank goodness for my Dad's help because I have a lot of learning to do!
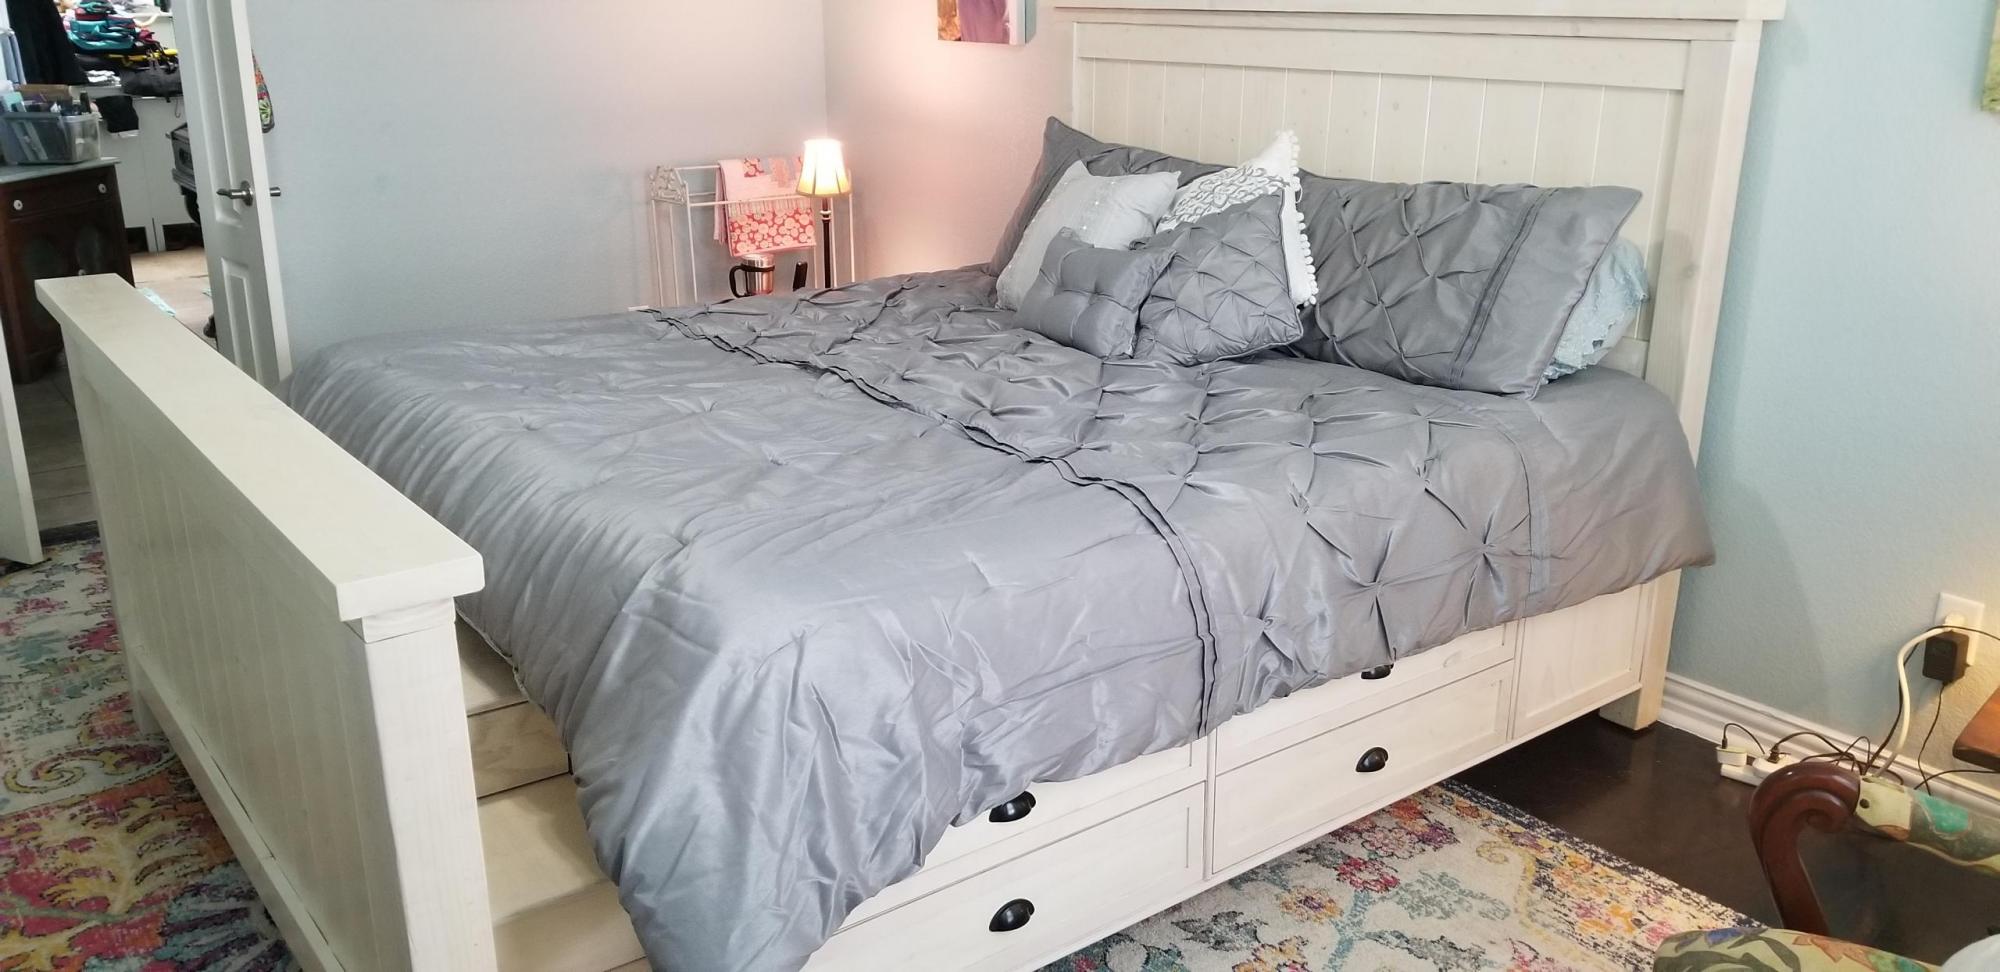
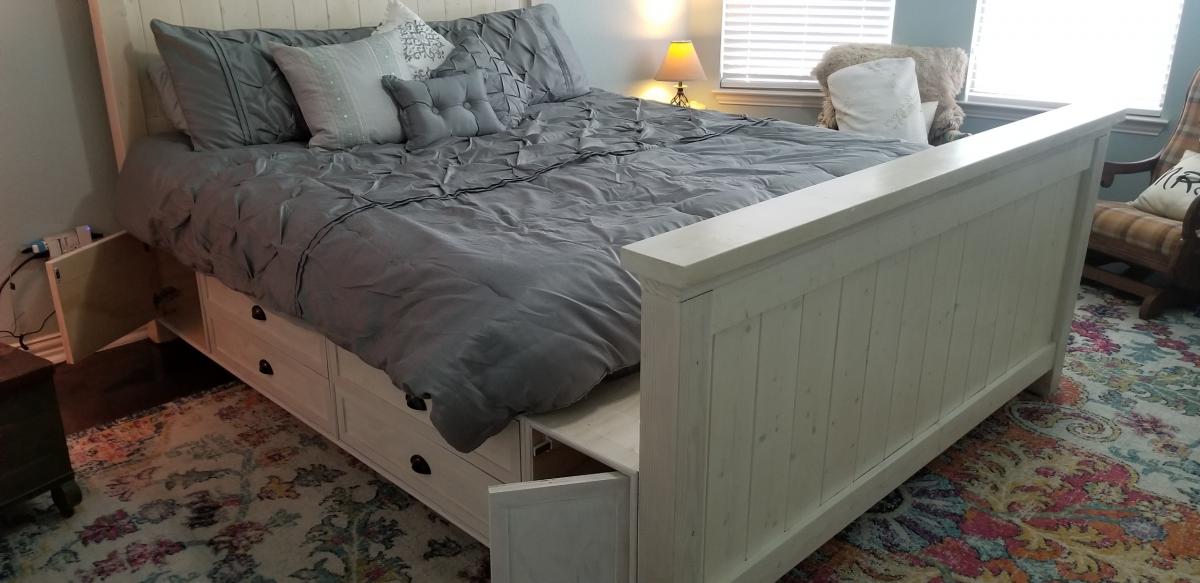
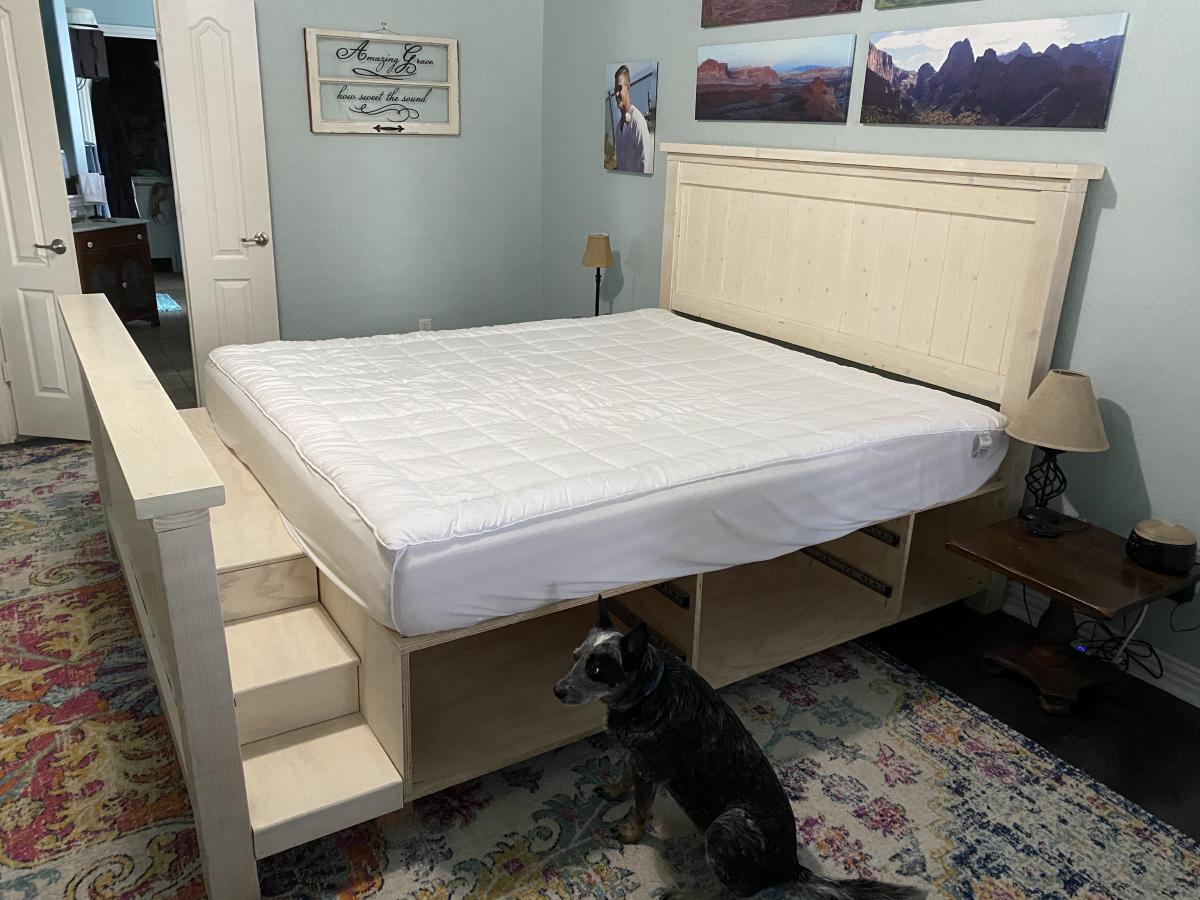
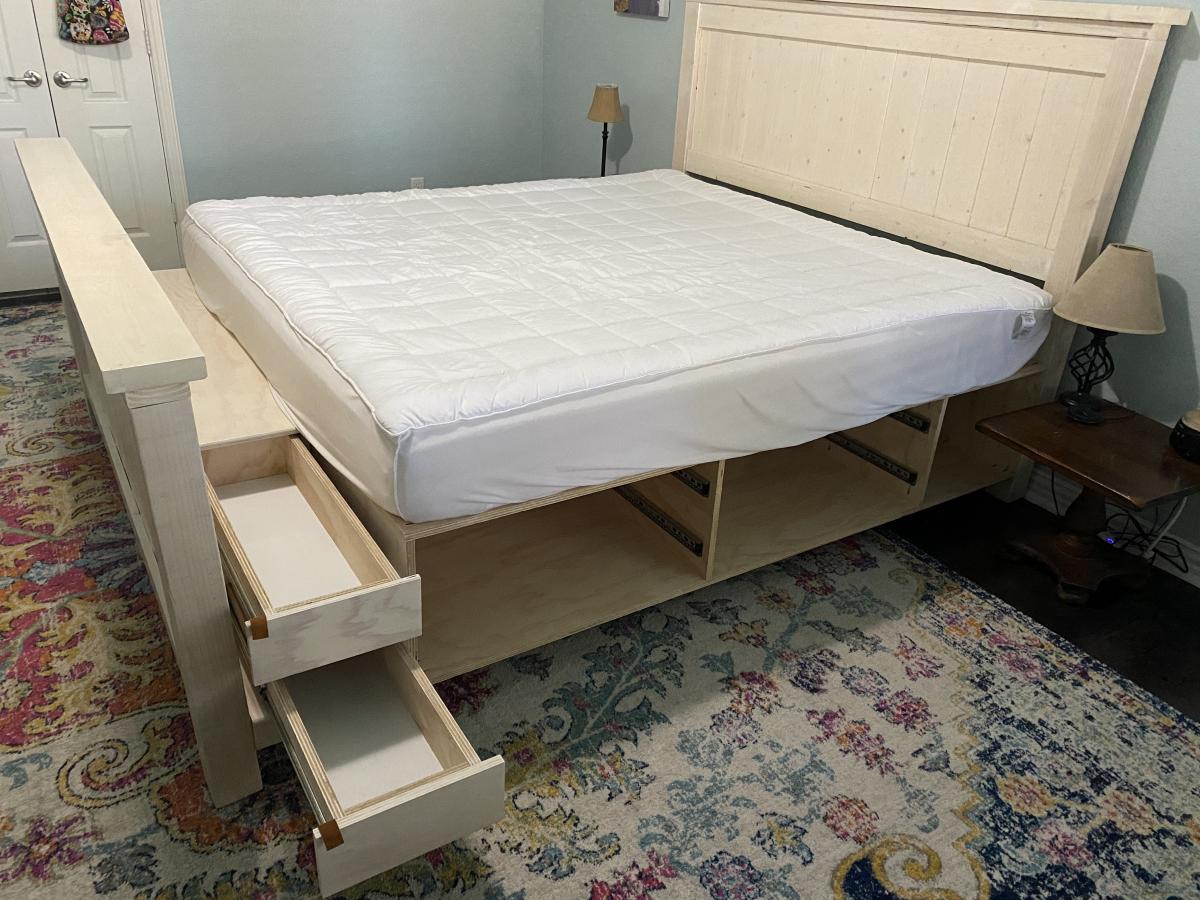
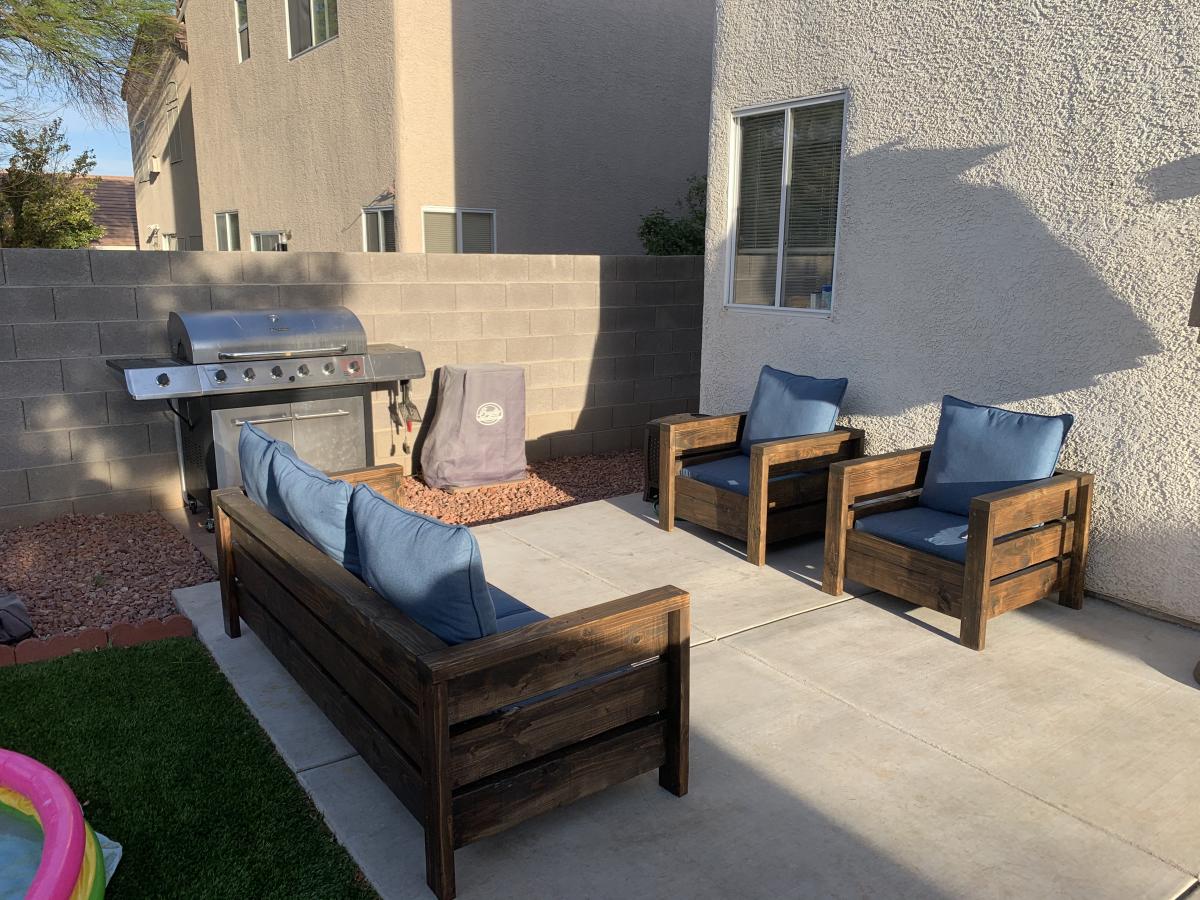
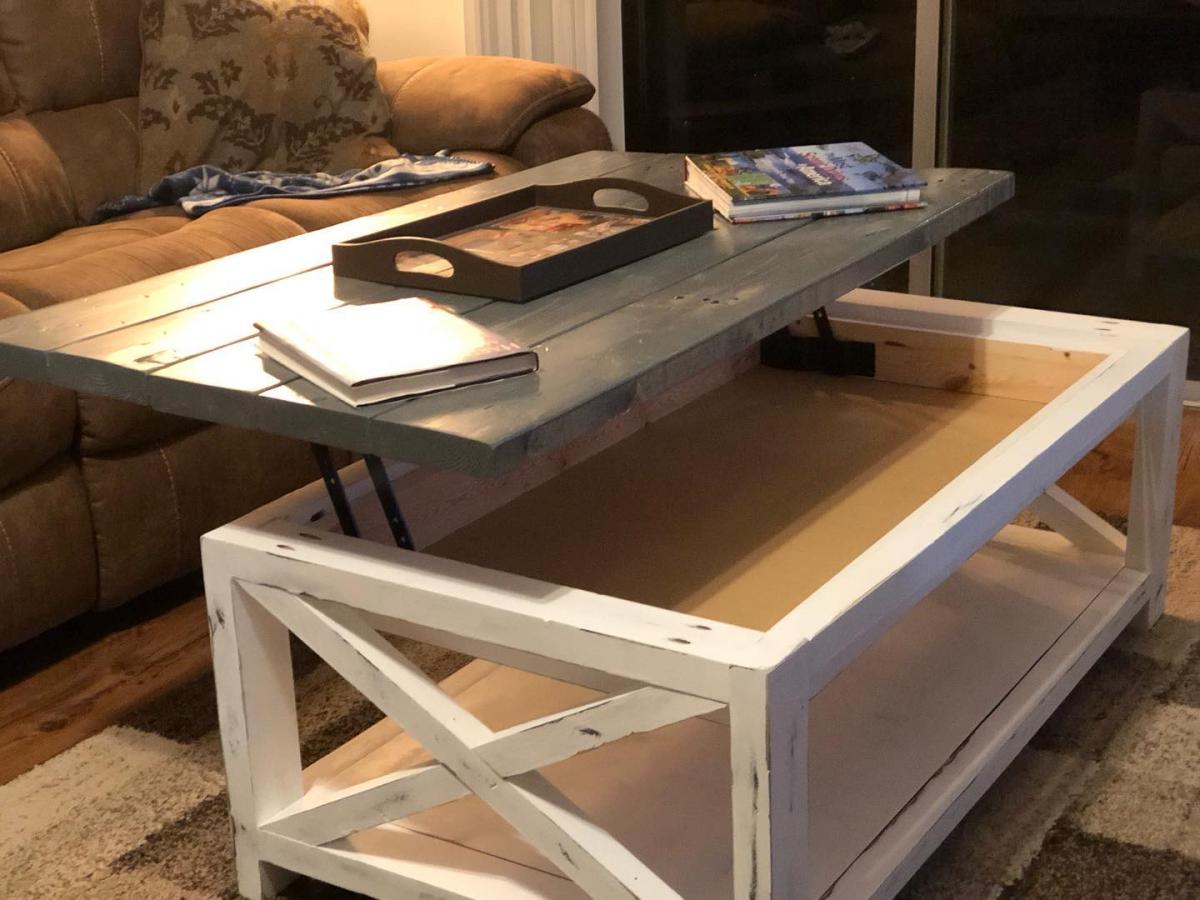
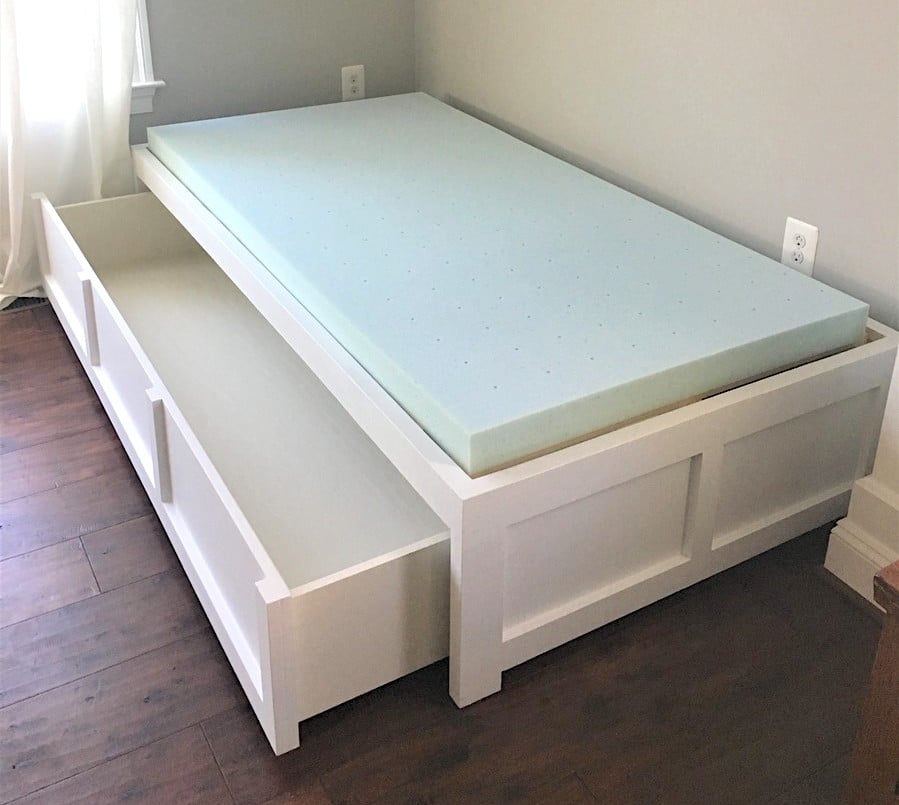
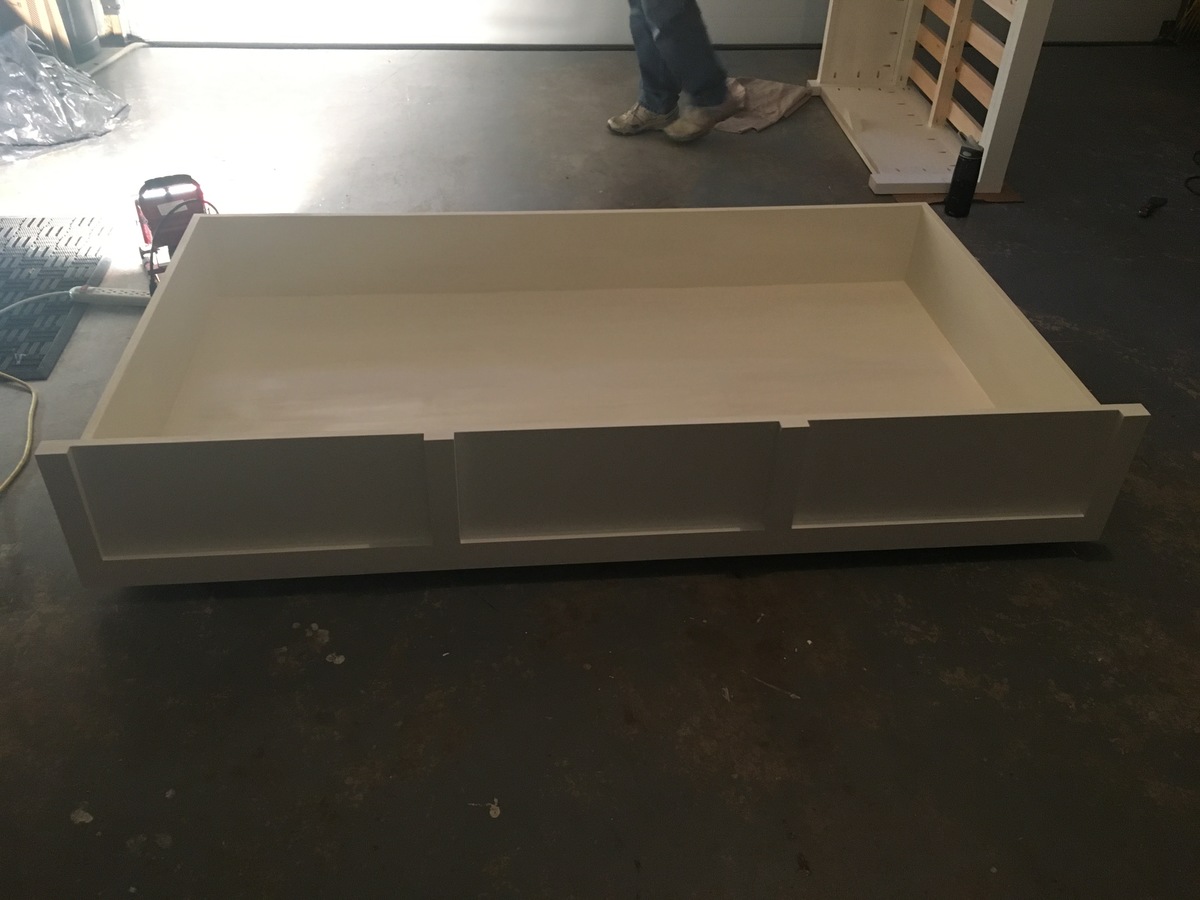
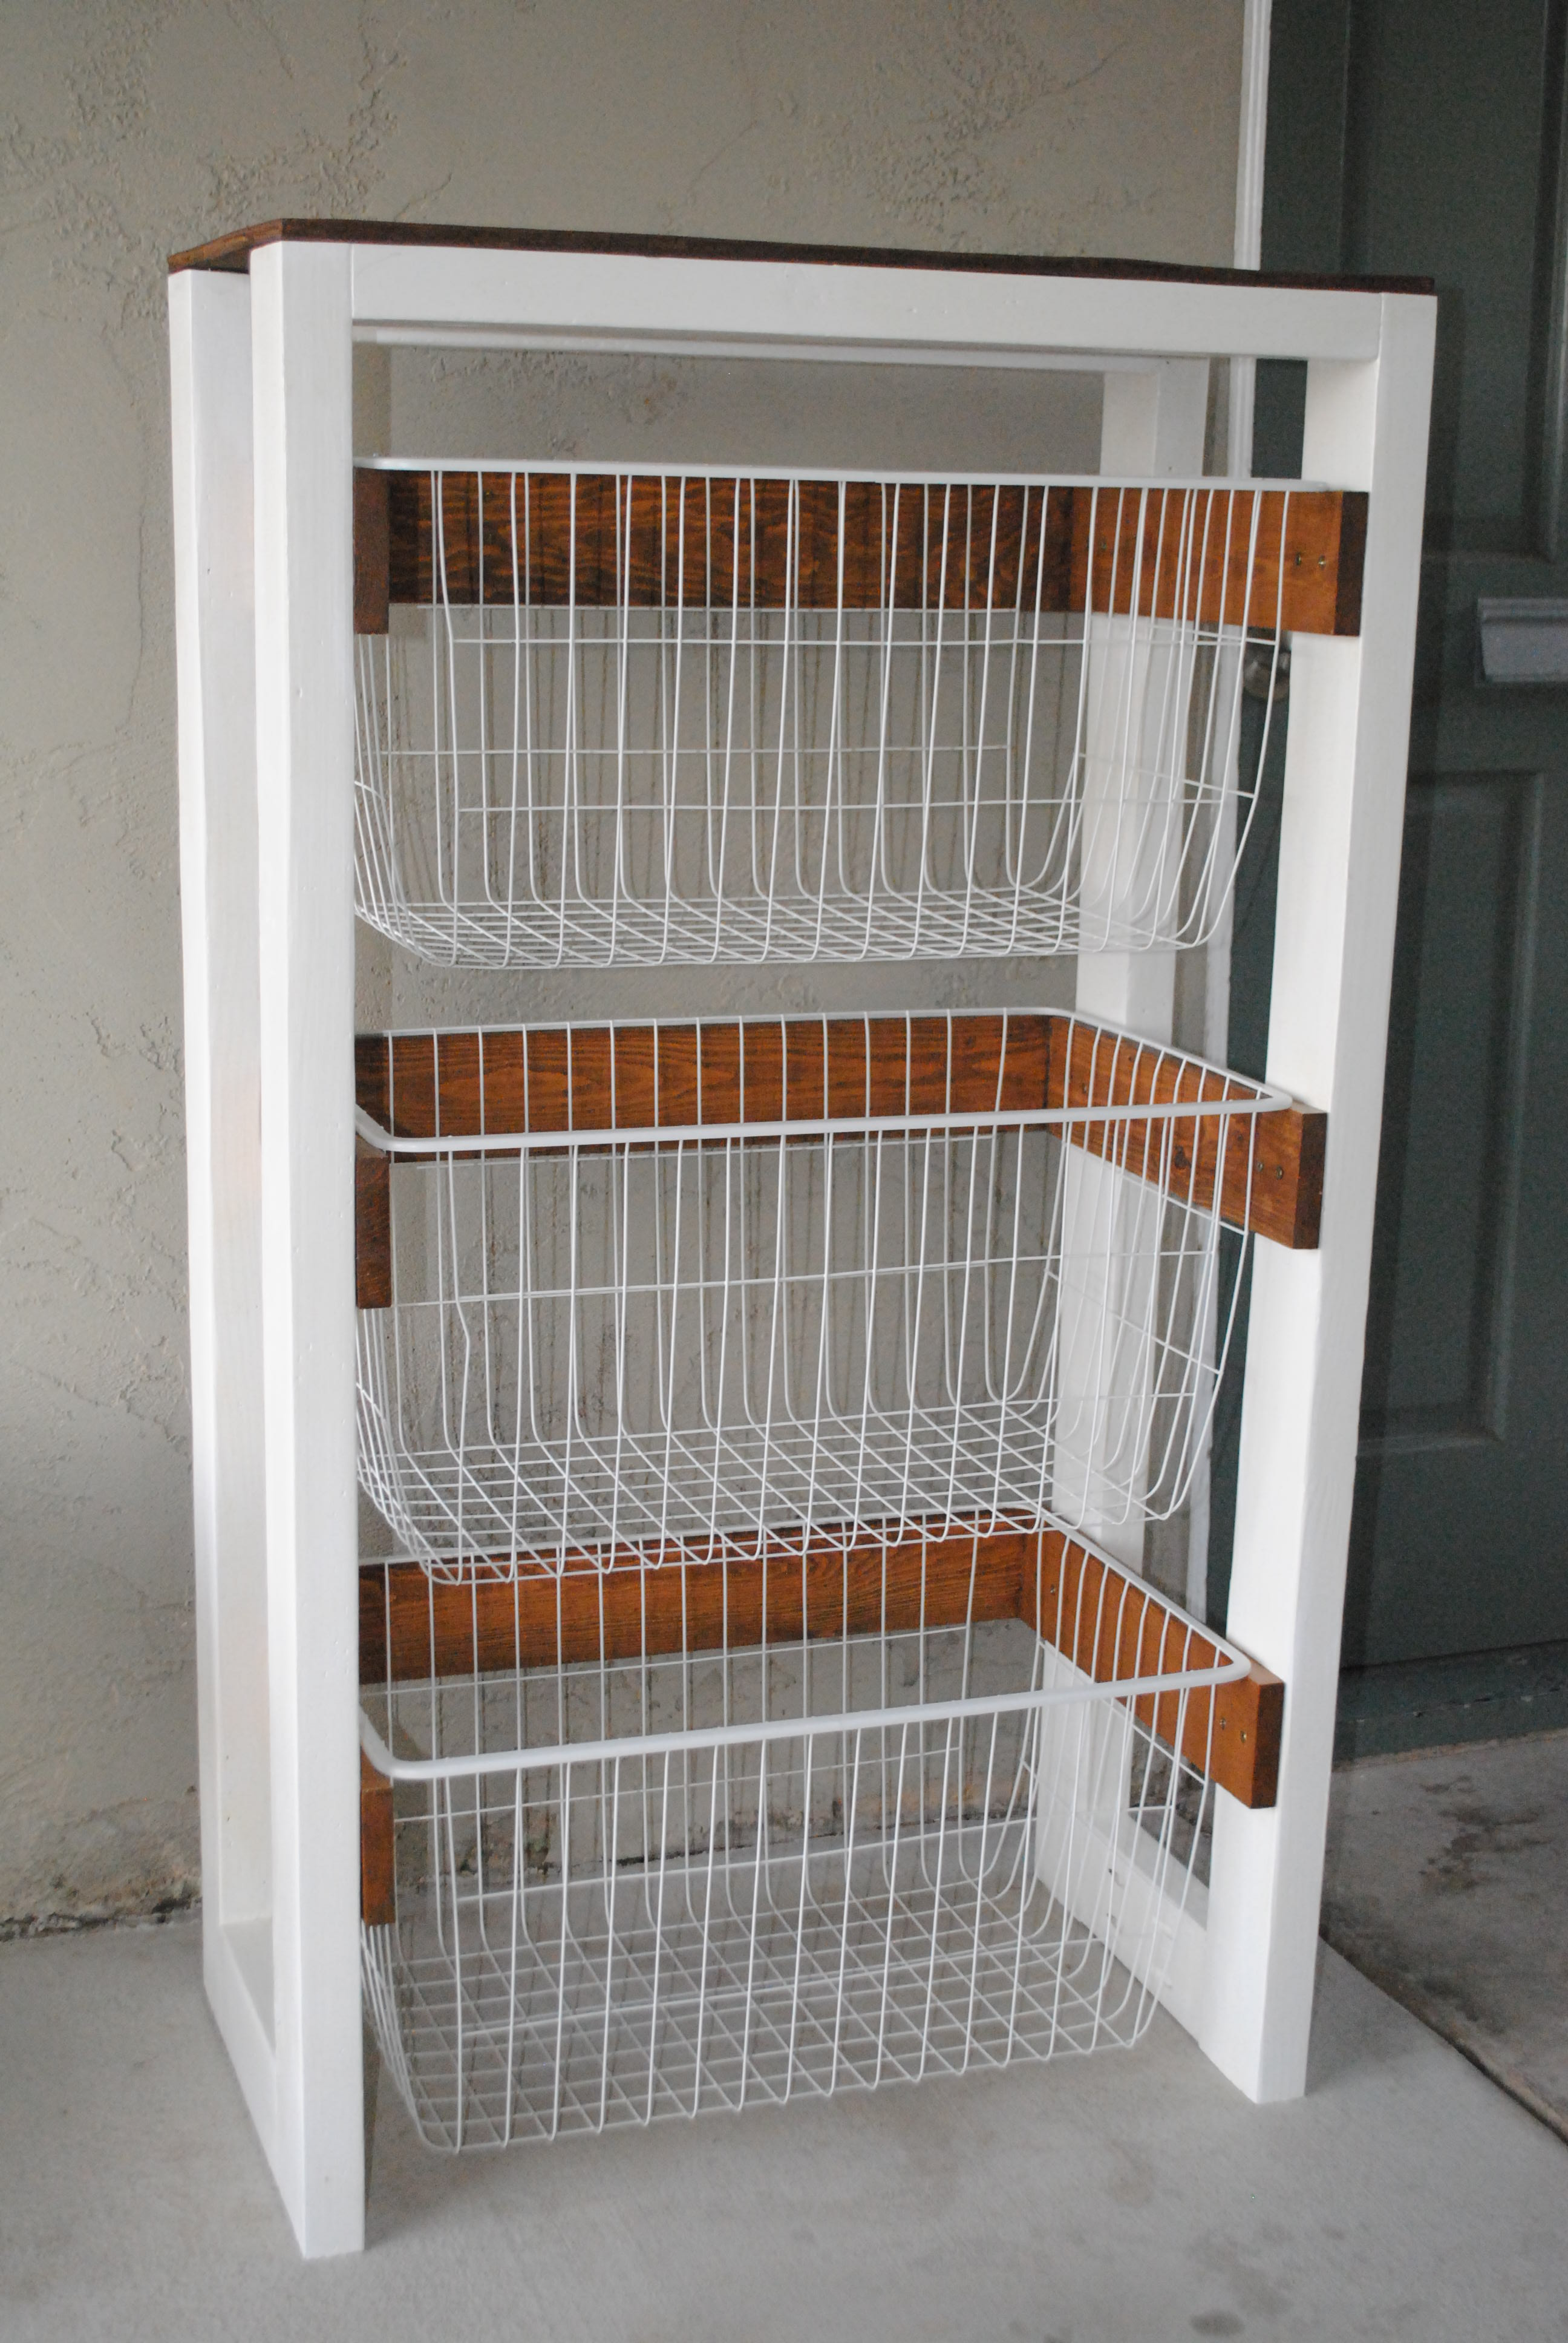
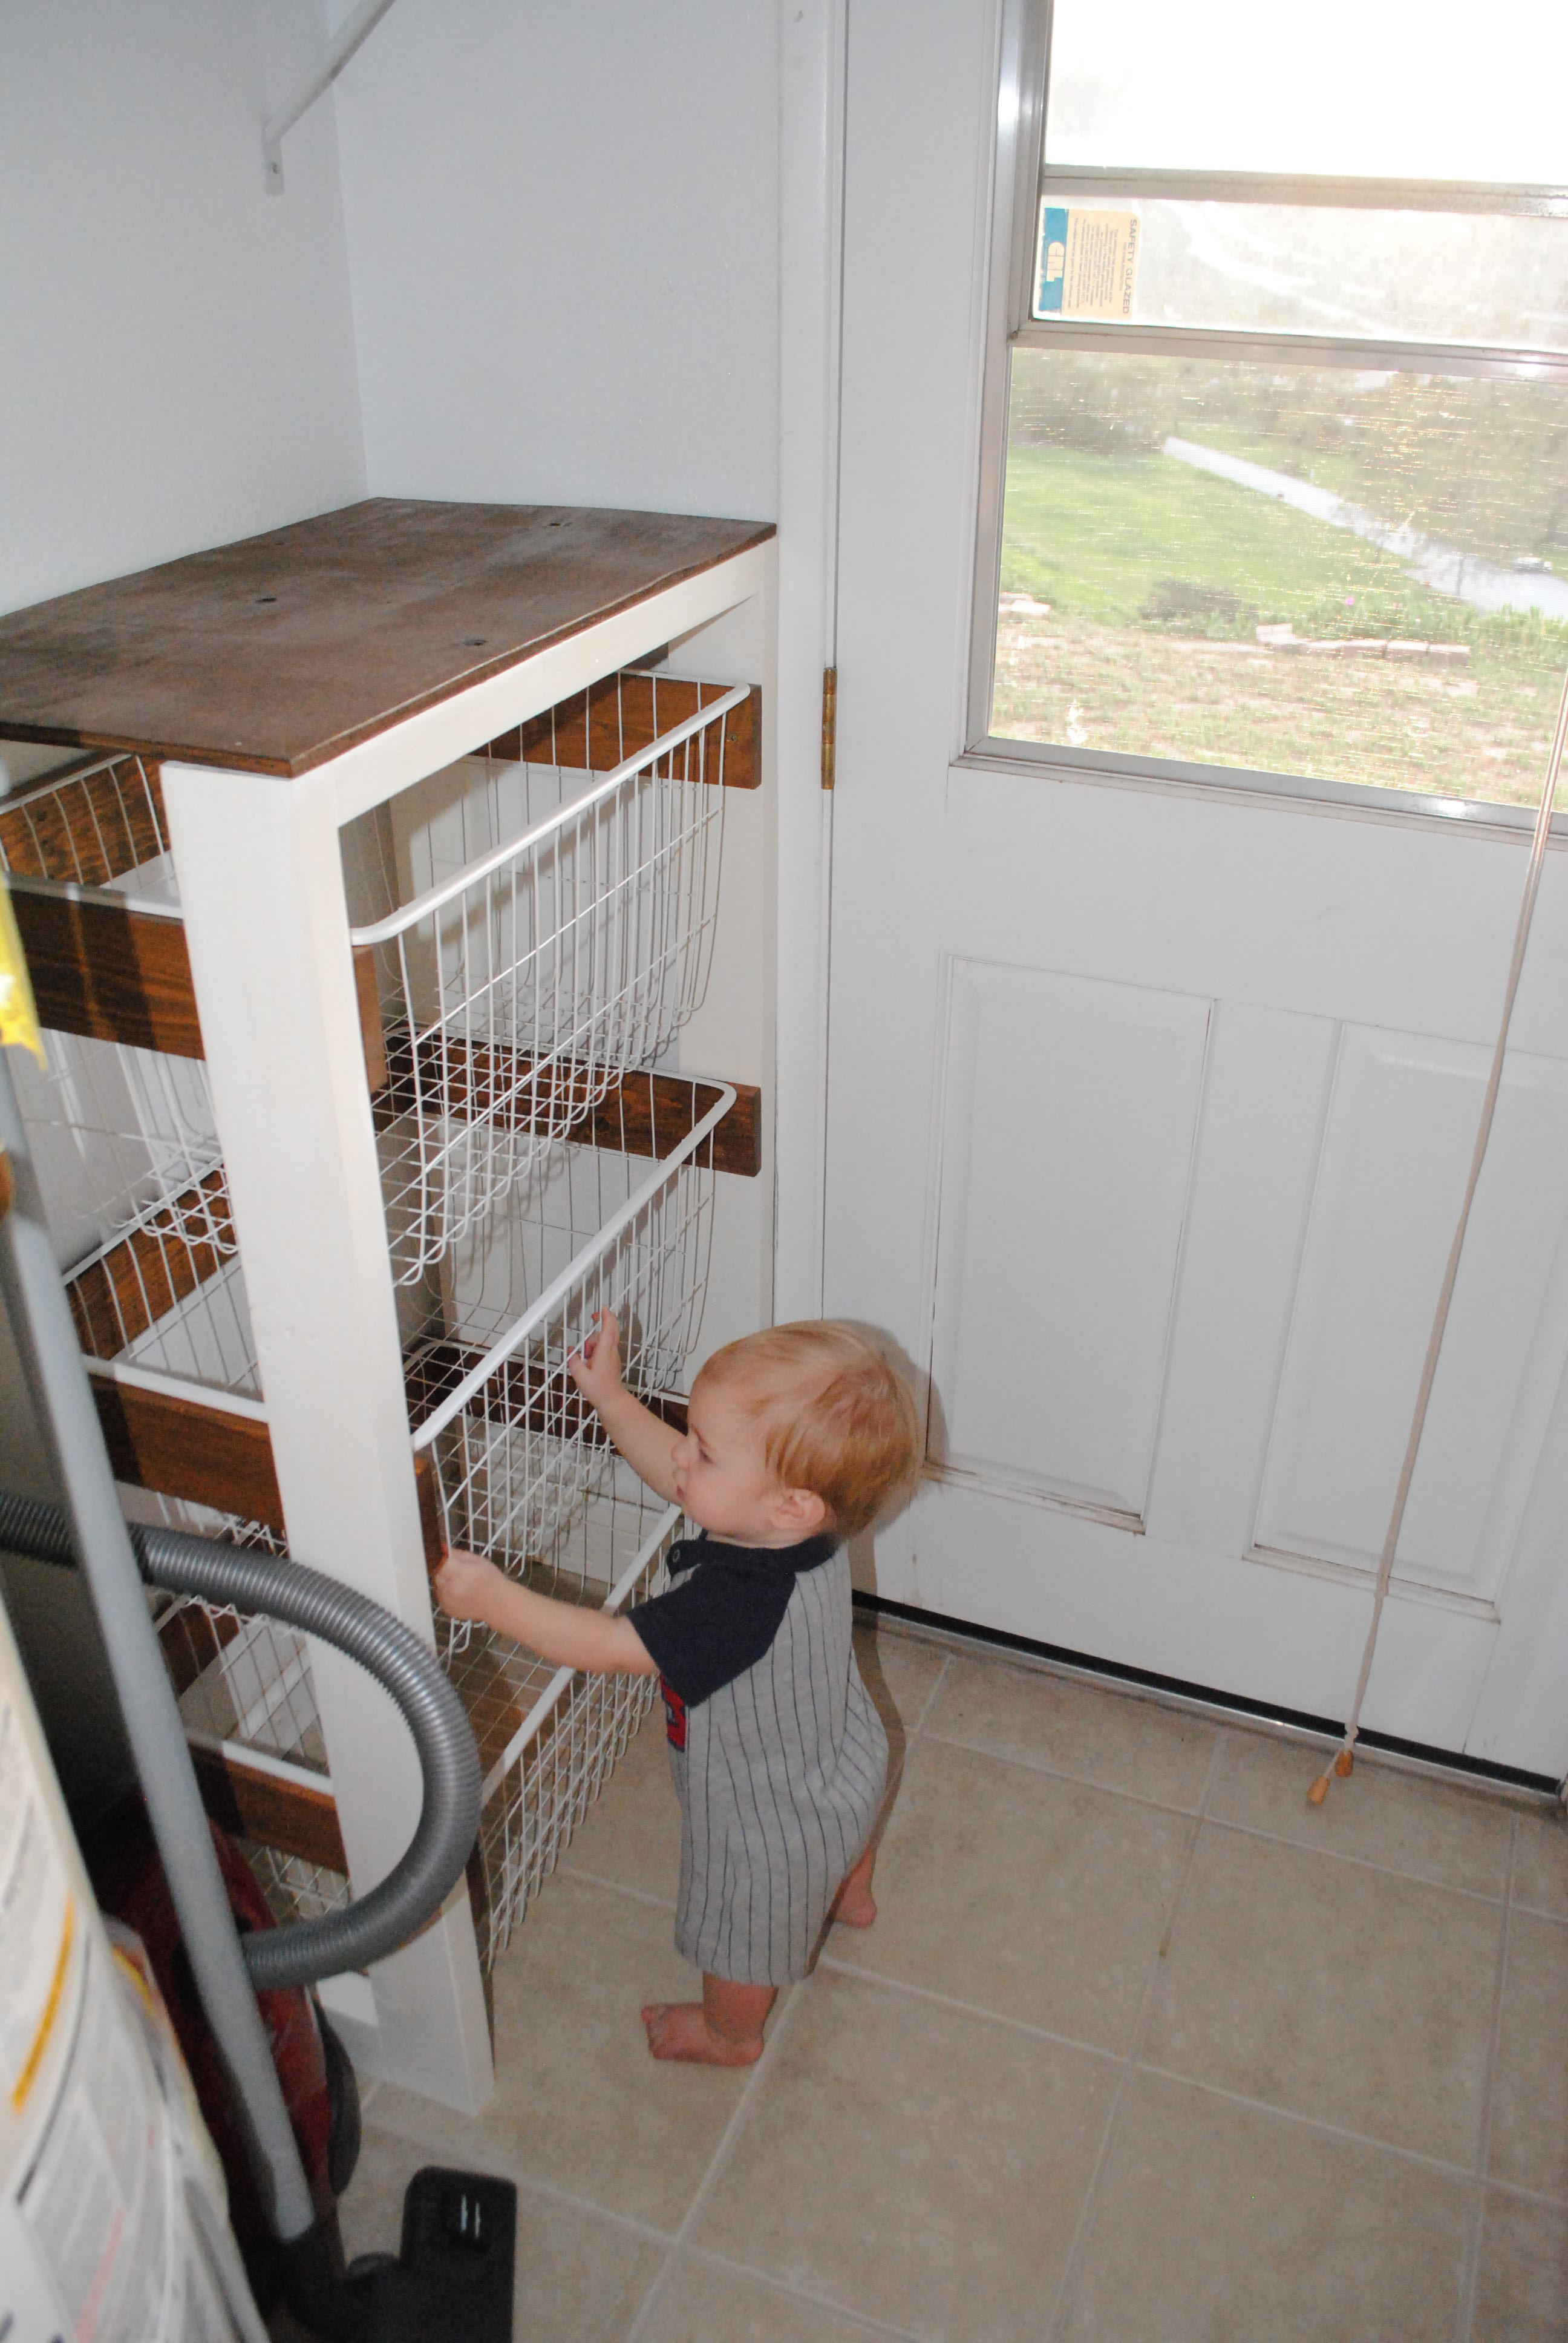
I wanted the drawer to be 1 drawer instead of 3. I feel like it looks cleaner (without having to adjust 3 drawers constantly to make it look good when you push them in). I was thinking the bed could actually be used as a trundle bed in the future too! I use this to store toys right now and it is Awesome!
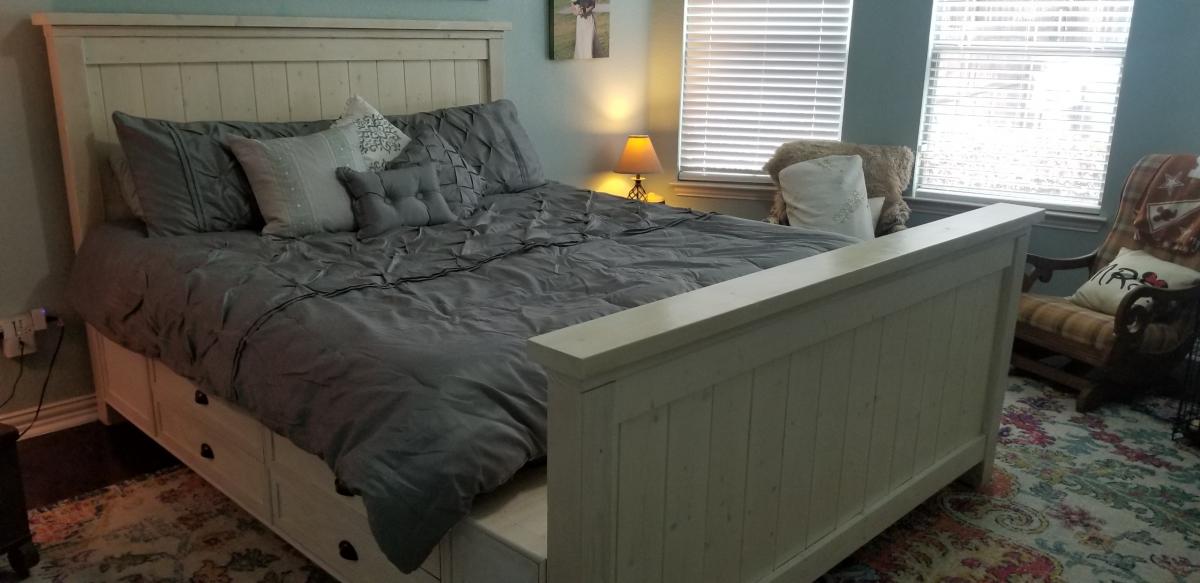
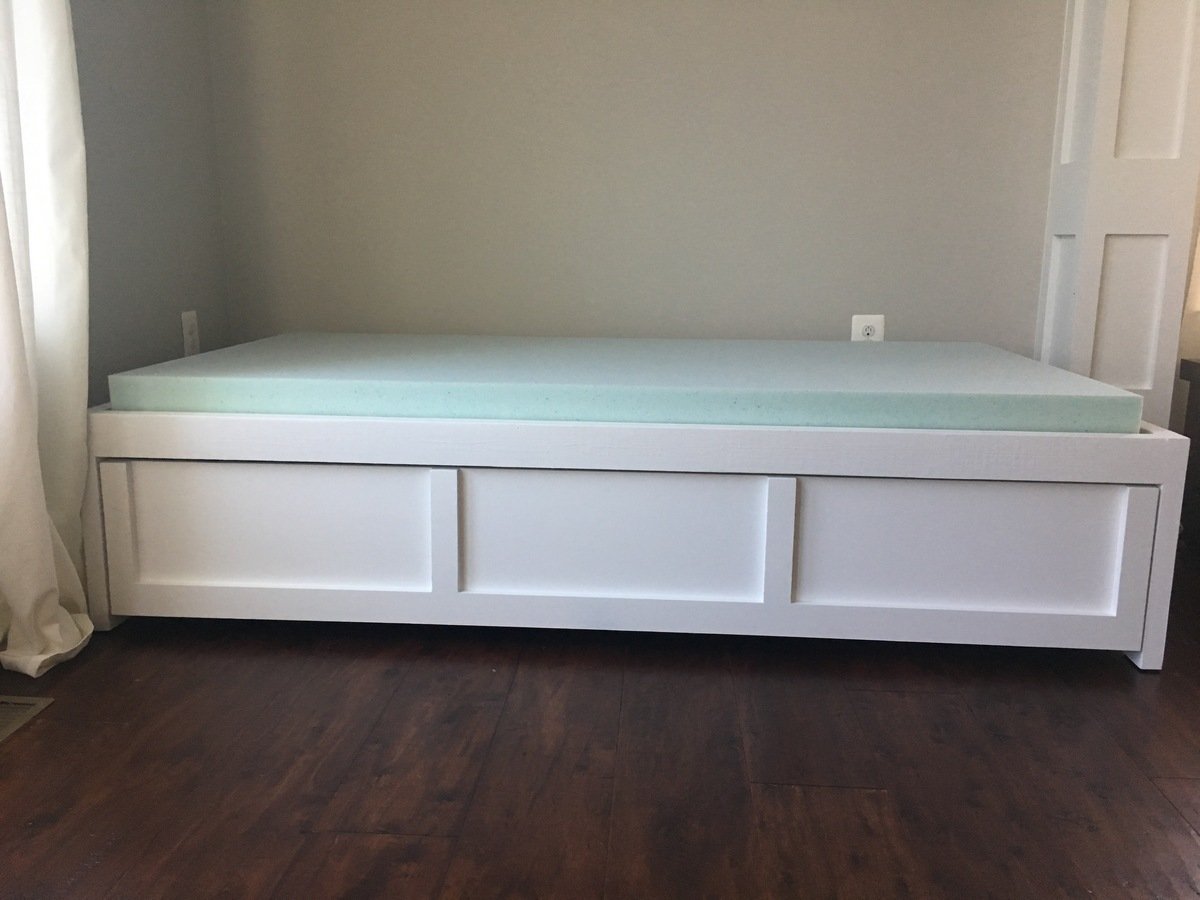
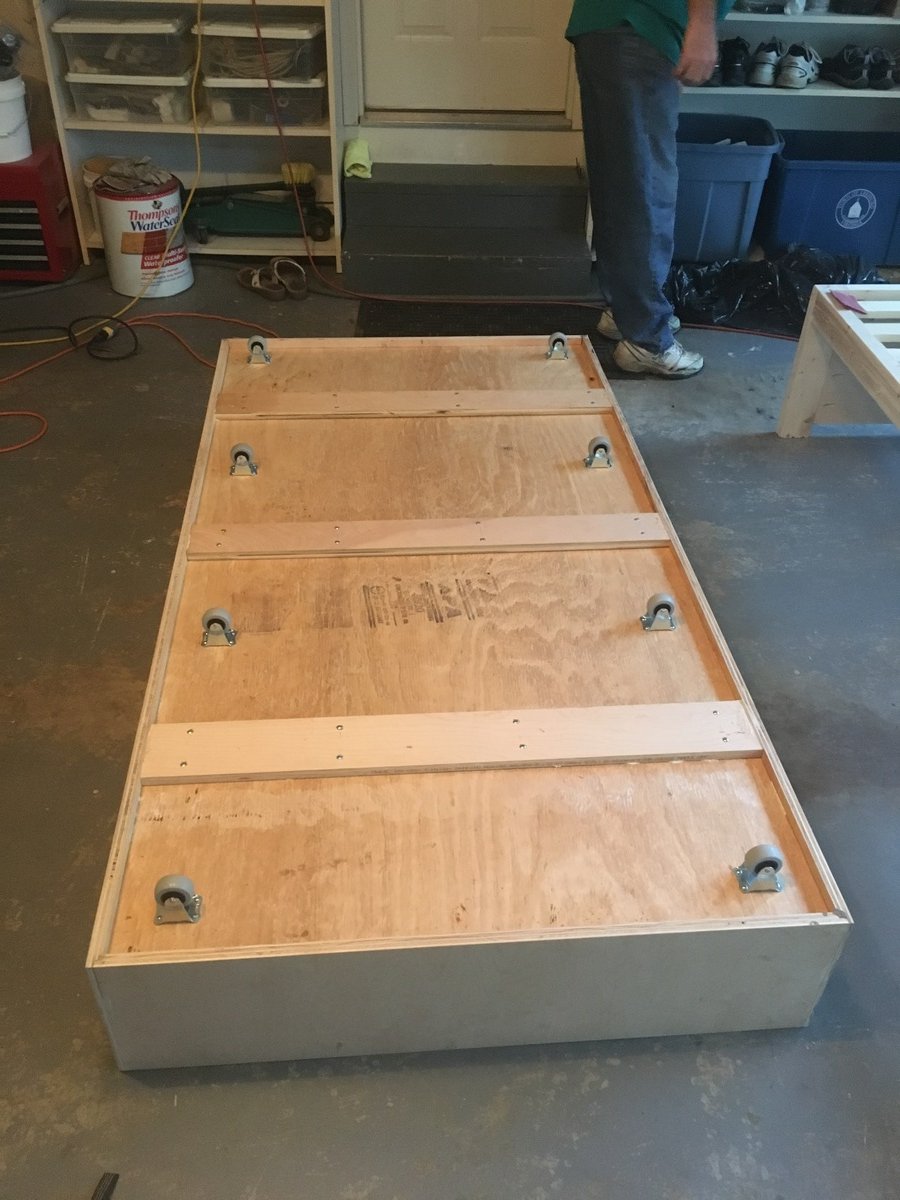
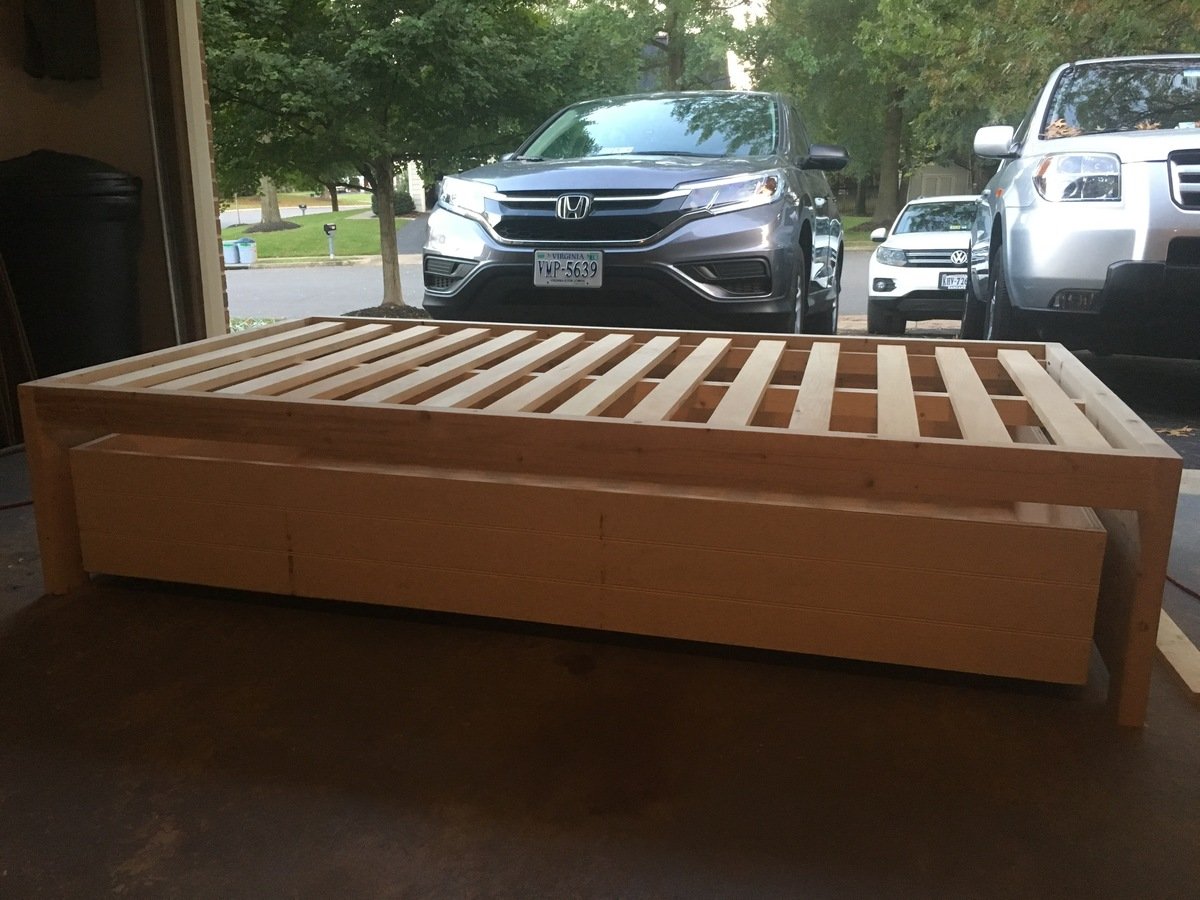
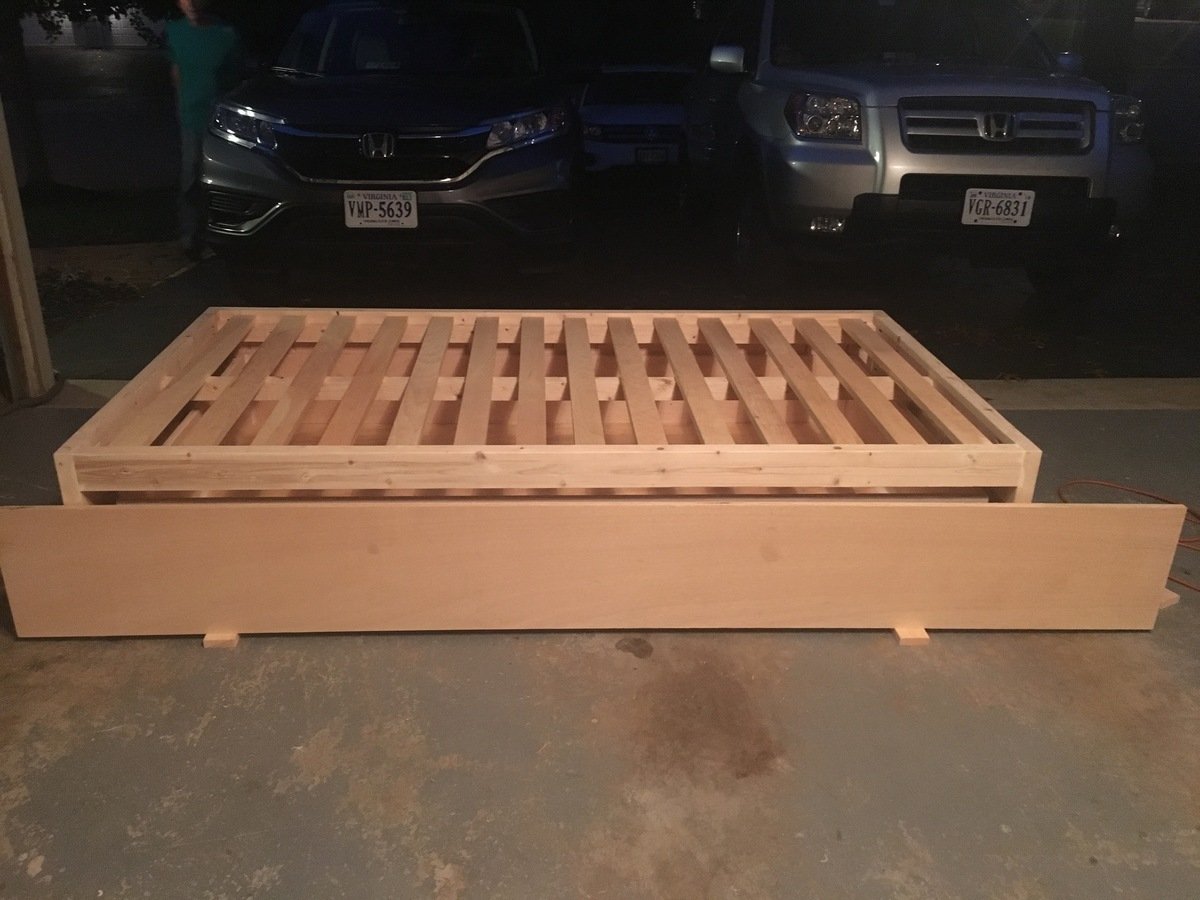
I increased the bed size to fit a twin mattress and increased the height of the bed slightly so that the drawer would be a little bit deeper. We also added a back to the bed and carried around the trim to make all sides look the same. We added a bumper to the back and sides of the inside of the bed so the drawer is easy to push in and fits in snug. Finally we reinforced the bottom of the drawer with more 1x4 boards so that if a child does sleep in it, it would be more sturdy. I now have kids come over and jump into the drawer (literally) and I'm glad we reinforced it.
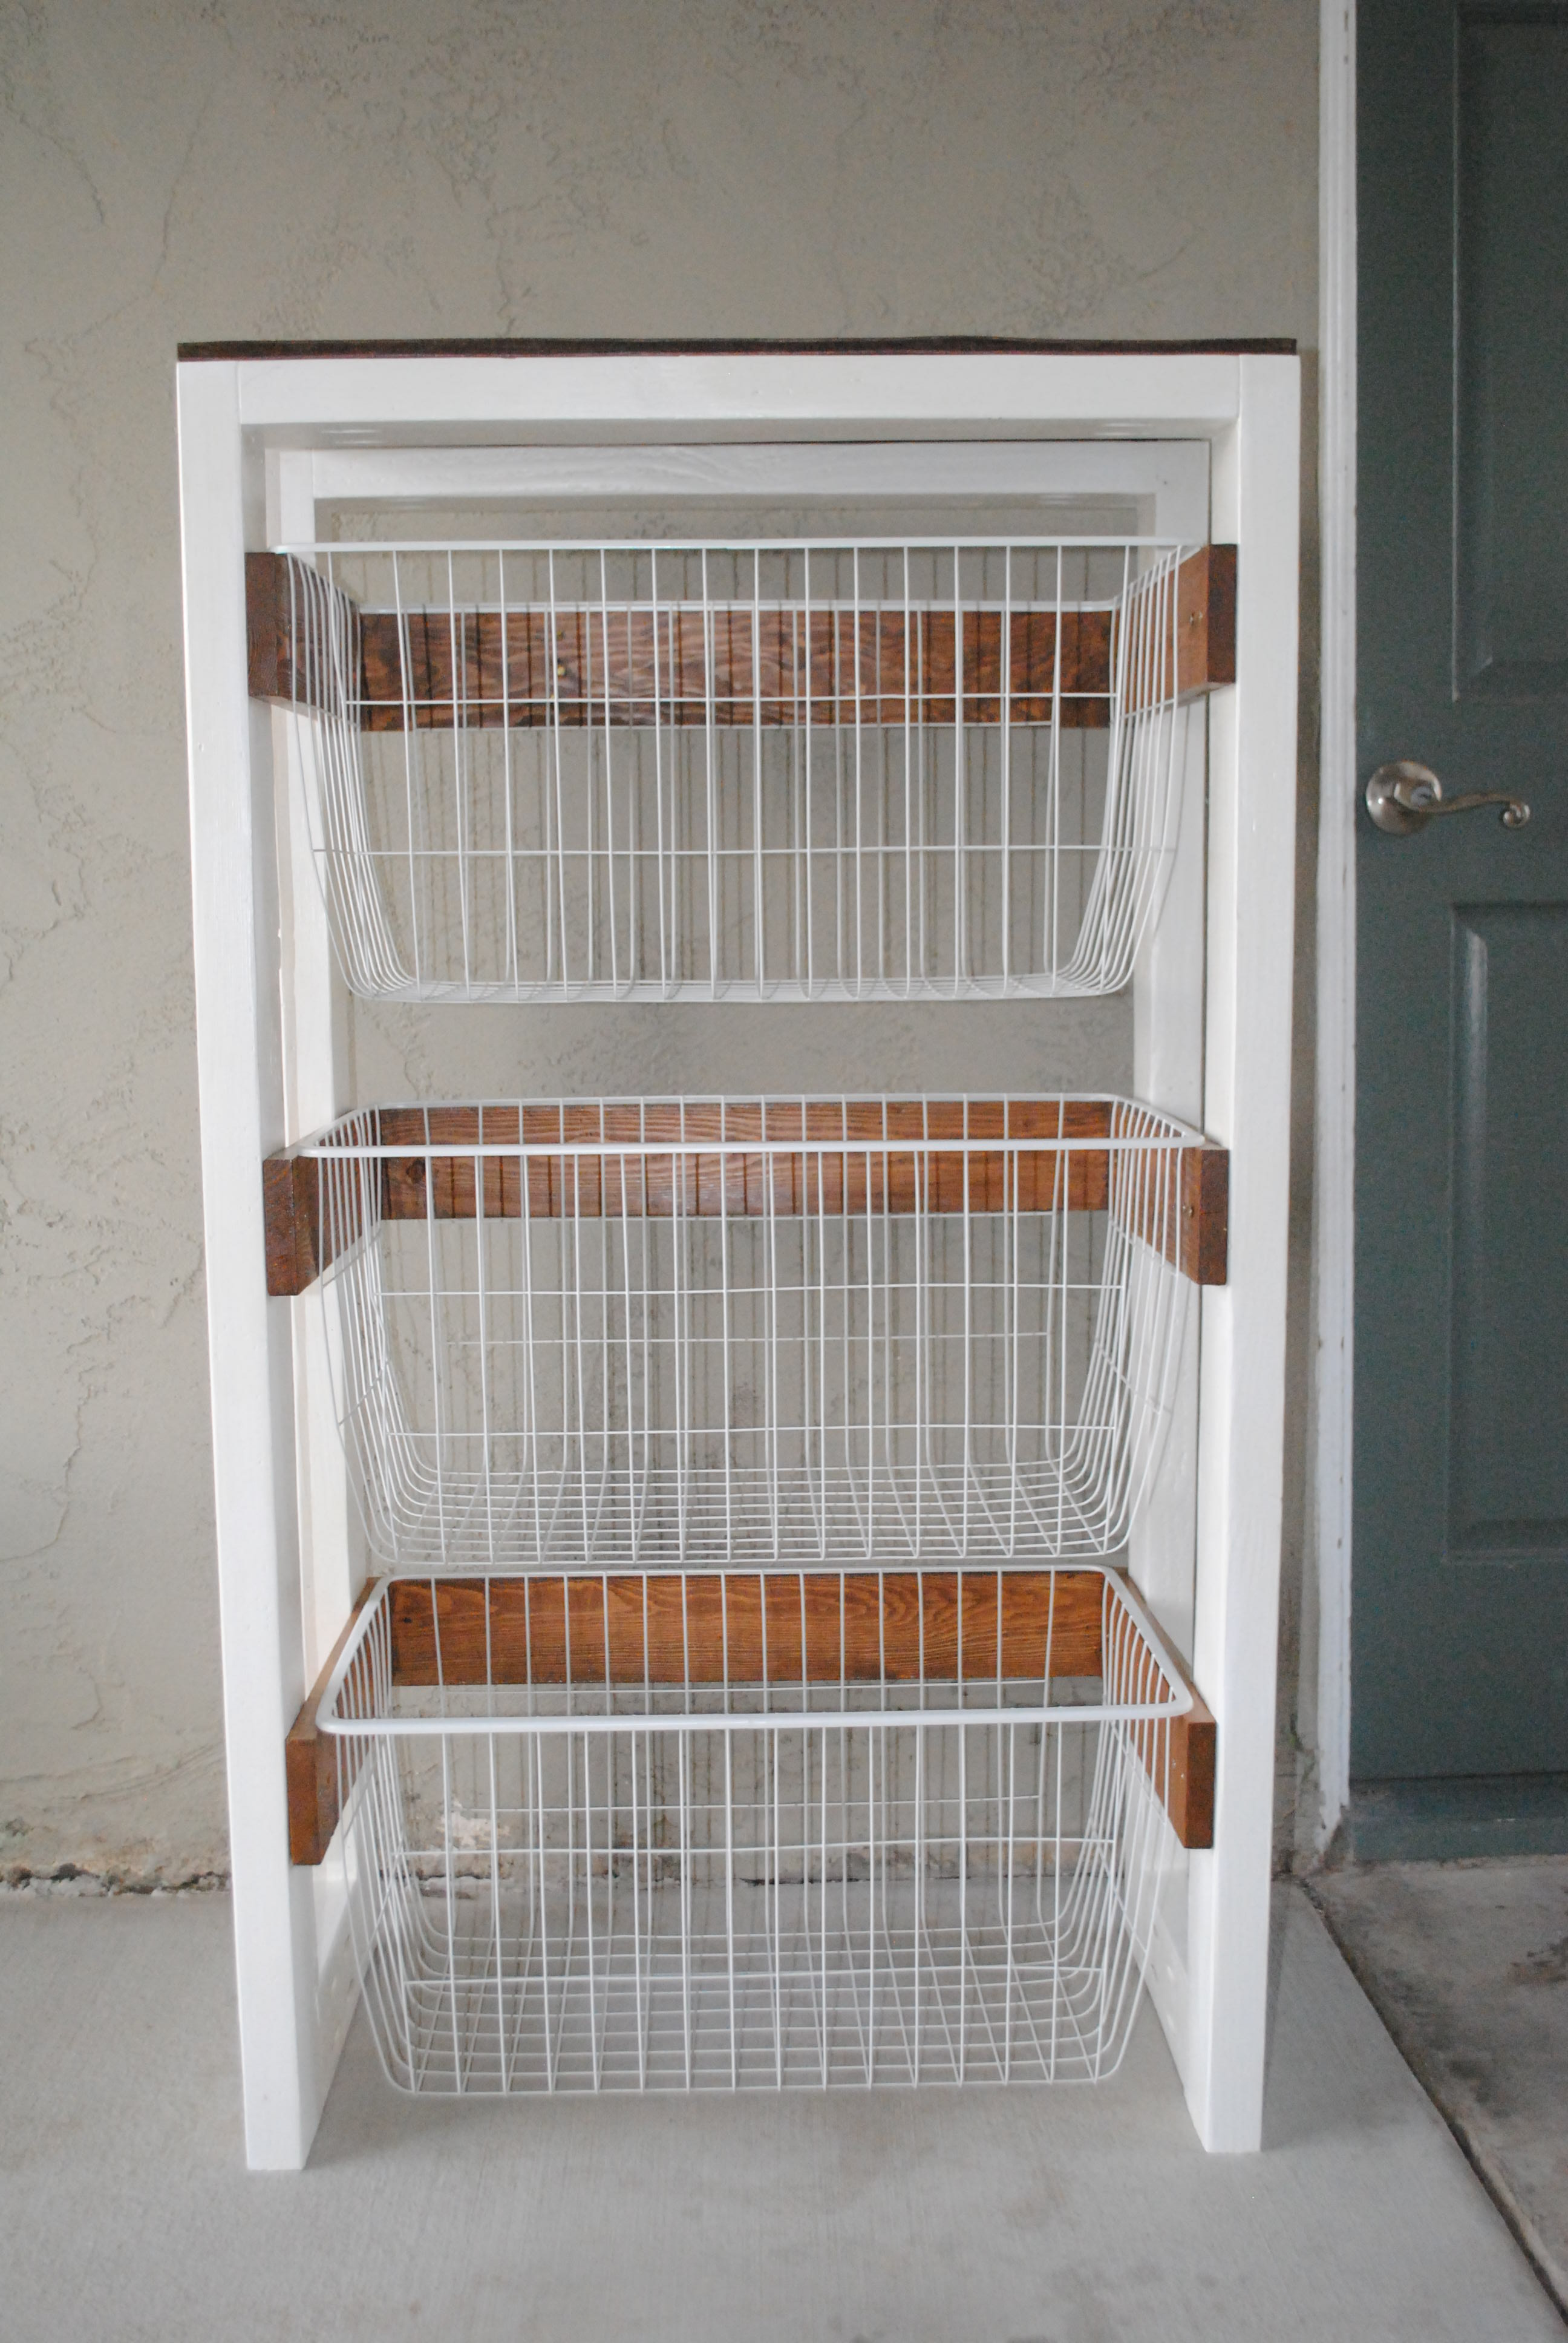
The changes we made did add to the cost and our time (as well as being newbies), but I think it's worth it and the bed turned out beautiful!


Comments
arensj3
Mon, 08/03/2020 - 18:42
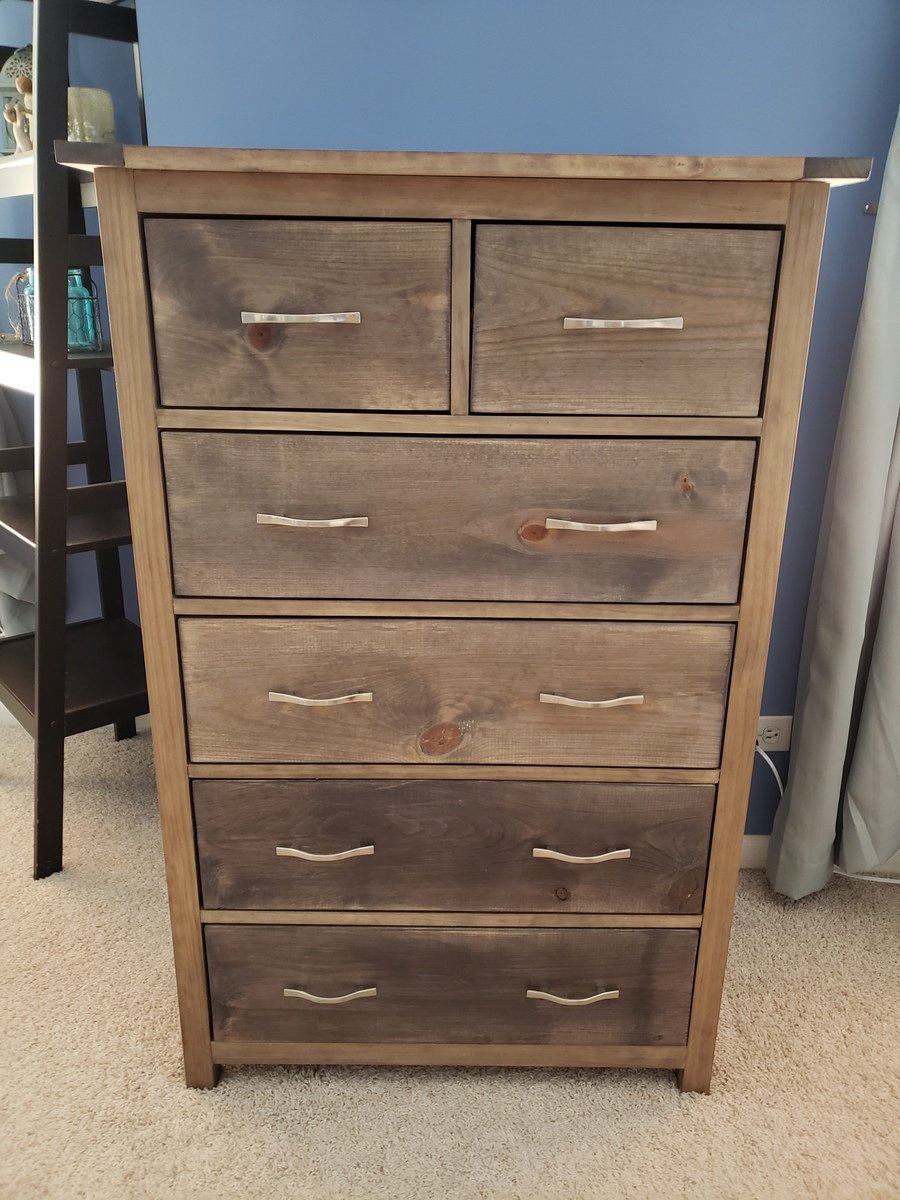
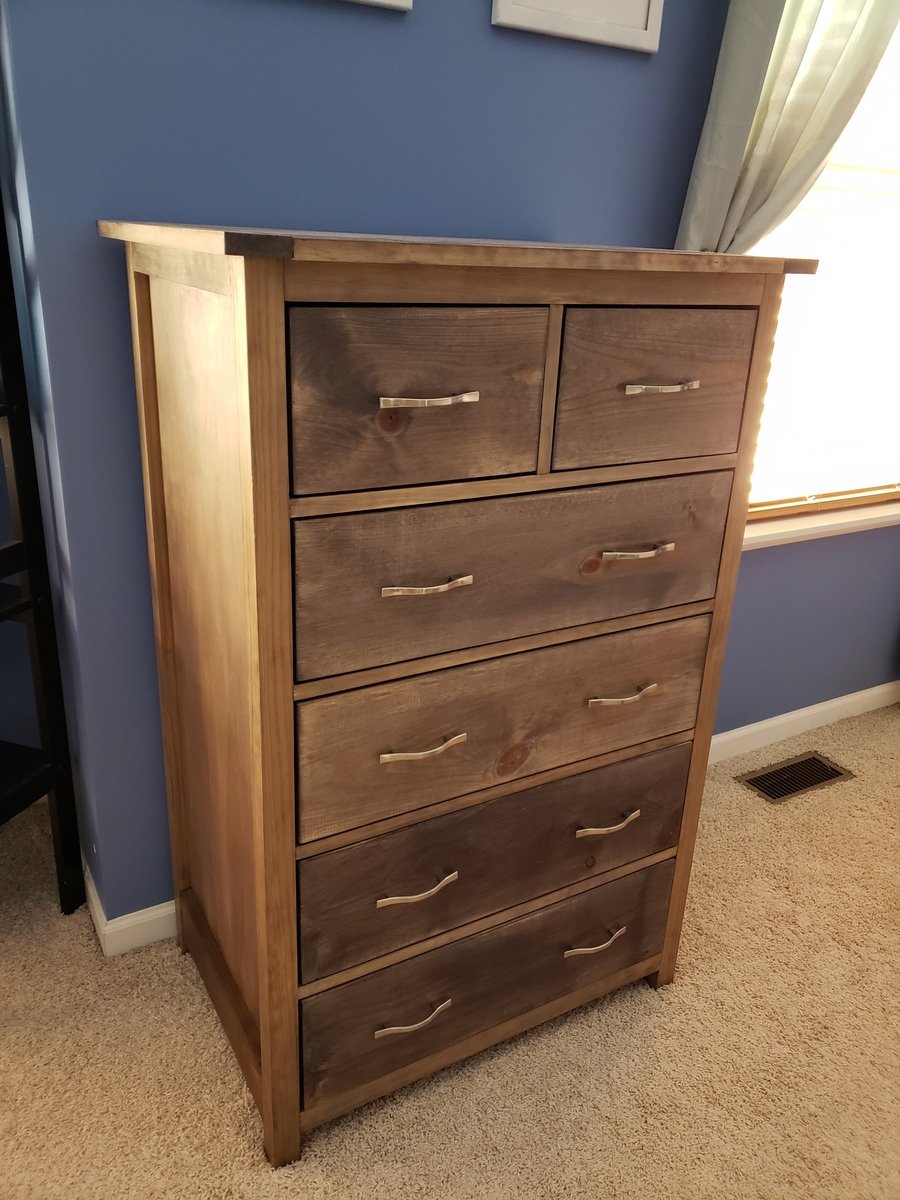
Tall dresser
Do it!
arensj3
Mon, 08/03/2020 - 18:44
Couldn’t find the plans
I must be missing the link to the plans for the dresser. Sorry, could you help me find the plans?
laughablenewsc…
Wed, 09/30/2020 - 17:13
I would also like the plans?…
I would also like the plans?? Any help finding the link?
Dseitz555
Mon, 12/28/2020 - 11:12
Plans for Tall Bedroom Dresser
Are the plans available for this piece? Its beautiful! If so, please let me know.
hutchingslv
Thu, 08/12/2021 - 15:35
Plans for tall dresser
Any way to get a copy of these plans? I really like the look and want to give it a shot. Have to make a few of these if all goes well for all my boys.
Thanks