Community Brag Posts

DIY Greenhouse Project -Added elevated raised beds & temp/humidity control

Submitted by Anonymous (not verified) on Sun, 07/05/2020 - 09:09

We loved this greenhouse plan from AnaWhite and wanted to be able to grow in 3 seasons so we modified the design to include humidity & temperature control & 18" deep elevated cedar beds inside with 4x4 posts for support and trellis option. We added electricity in order to have a lighted workspace and the ability to put in a circulating fan to control mold and fungus. We added 2 work tables (2x2') on the inside of the door left and right side door in order to do seed trays & store supplies. This was a wonderful project for my husband and my plants inside are doing incredibly well compared to my outside garden beds here in zone 5. Products used:

Foundation
We had a landscape company come and scape/dig a platform and then fill/compact with crushed rock
My husband then used rebar driven into a 4x4 frame in order to secure the frame to the ground and create a base upon which to build the greenhouse

Active ventilation
AC Infinity Cloudline T8 Inline duct fan
Air king range hood wall cap 8" on the bottom outside of the greenhouse wall for air intake + flex 8" duct to the fan itself
Shelter logic autovent automatic shelter vent kits (1 on each side of the front wall) in order to allow air intake from the bottom back of the greenhouse under the elevated beds to flow to the front of the greenhouse and out
Circulating fan- Hurricane wall mount fan 16" - this fan has 3 speeds with tilt function and small mounting bracket

Soil - sourced 3 yards of 50/50 loam/compost from local landscaping supply
60% loam
30% organic compost
10% organic topsoil + perlite

Soil beds
-cedar frame 2 feet wide along sides, 3 feet wide on the back wall
-galvanized metal roofing with holes drilled into it for drainage
-landscape cloth lined

Built from Plan(s)
Estimated Cost
$2000
Estimated Time Investment
Week Long Project (20 Hours or More)
Finish Used
None
Recommended Skill Level
Intermediate

Comments

bushy99

Wed, 09/09/2020 - 13:09

Thanks for that update! I was wondering how to vent this project, as Green houses need the ventilation. Good to know dollar amount also. Great photos.

bushy99

Wed, 09/09/2020 - 13:09

Thanks for that update! I was wondering how to vent this project, as Green houses need the ventilation. Good to know dollar amount also. Great photos.

bushy99

Wed, 09/09/2020 - 13:09

Thanks for that update! I was wondering how to vent this project, as Green houses need the ventilation. Good to know dollar amount also. Great photos.

Chunky leg bedframe

Submitted by Anonymous (not verified) on Tue, 02/12/2019 - 17:43

I got tired of sleeping on the floor like college kids, but I didn’t want to buy a junky particle board bedframe. My husband and I are novice woodworkers. Even still, we bought the lumber around noon and managed to finish the whole project in about 5-6 hours! We used a Kreg jig for the first time and it was pretty simple. I am really pleased with how this turned out, and I can’t wait to try more of Ana’s plans in the future.

Estimated Cost
$100 including the cost of pockethole screws and finishing nails.
Estimated Time Investment
Day Project (6-9 Hours)
Recommended Skill Level
Beginner

Best Chairs Ever!

Submitted by Anonymous (not verified) on Tue, 06/09/2020 - 18:16

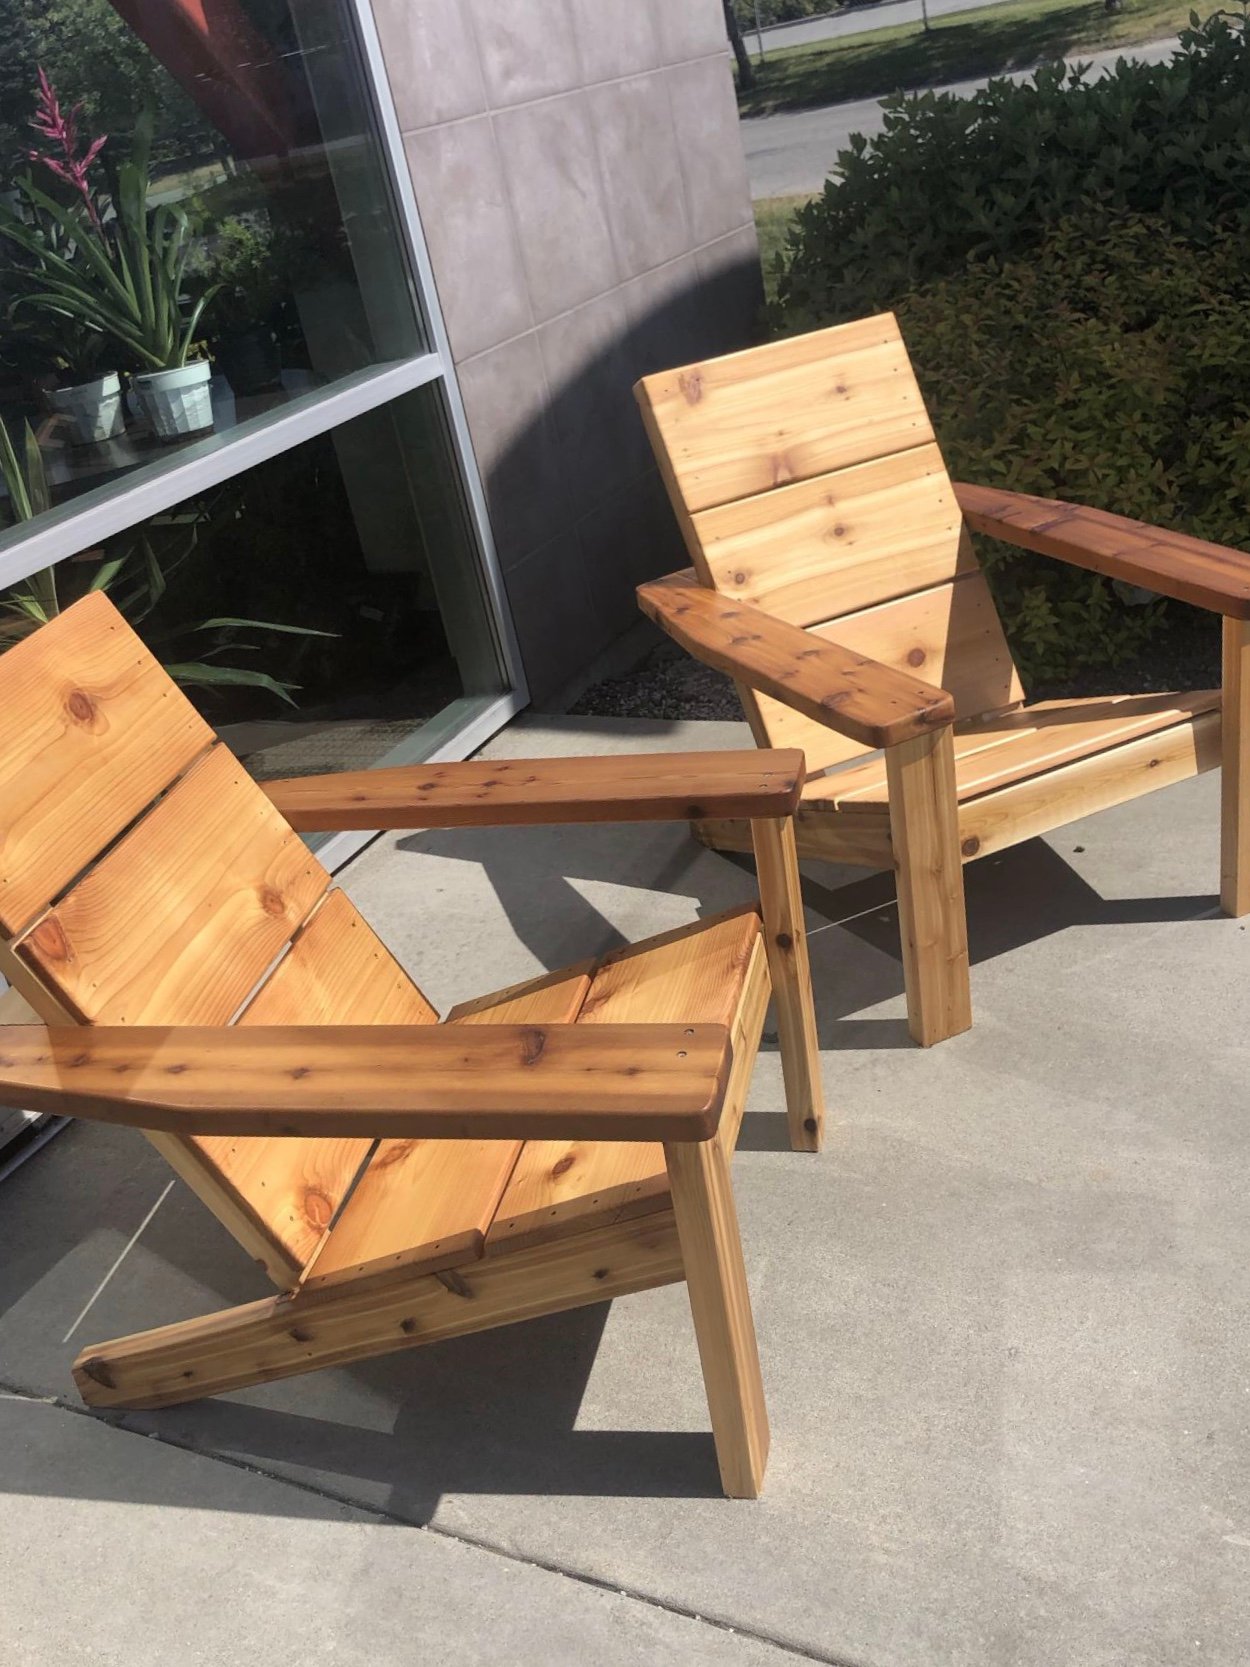
I made these modern Adirondack chairs for our business in Anchorage. GREAT and easy to build design by Ana - we upgraded the arms to tapered 2x6 and they're awesome!

Paper Roll Dispenser

Submitted by vendo on Wed, 11/17/2021 - 10:44

This took me about 20 minutes! I love the look of it and that it can just be left out when the kids aren't doing art. A great little item to add to keep the kids busy and inspired. I made a couple of mods from the plan. I used glue and nails instead of pocket holes and I did that bottom board flat instead of on it's side. I also used a little bigger dowel, and bought two rolls of paper on Amazon for $14.I'm giving this to my daughter for her birthday with some fun art supplies, so I think it's a great gift idea for any occasion for those crafty people out there!

Built from Plan(s)

Comments

Monika

Tue, 04/02/2024 - 06:09

Sometimes, when working with papers, you might need to convert file formats, right? So, I recently came across this website https://pdfflex.com/webp-to-png It's super handy for converting. It's been a real time-saver for me, especially when I need to tweak documents for printing or sharing. I'd desided to share in case it helps someone else out there too!

Cubby/Bookshelf/Corner Desk Combo

Submitted by Anonymous (not verified) on Wed, 01/18/2017 - 20:40

This is a mashup of several plans, combined into one big, bad ass, office desk. I've had a little experience years ago in high school woodworking classes, but haven't really built much since. This reminded me how much I enjoy working with wood. So rewarding to be typing this message at my new office desk!

Estimated Cost
$400
Estimated Time Investment
Weekend Project (10-20 Hours)
Finish Used
Minwax "Early American"
Recommended Skill Level
Intermediate

Comments

treemeagher

Wed, 08/19/2020 - 06:25

This is amazing! So amazing could I ask you to share with me what prices from the collection of plans you used and how? I’m looking at your pic trying to figure out how to incorporate the plans you used. I want to build one for myself lol fantastic job!!!!

Playhouse Loft Bed with Storage Stairs

I changed this plan and made it into Full size. Feel free to contact me if you would like more information about how to do this too. 

Estimated Cost
$350
Estimated Time Investment
Week Long Project (20 Hours or More)
Recommended Skill Level
Beginner

Shoe dresser

Submitted by RoseOfShaz on Thu, 07/04/2013 - 15:26

I didn't build this shoe dresser because I particularly needed one, but it looked so lovely that I couldn't resist.

- I modified the plans by building 3 bins instead of 2 so it could hold more shoes.
- I decided against the dowel stick and opted for hinges instead, which were surprisingly not too difficult to assemble. I found that I didn't even need the magnets after installing the hinges as the doors stay closed.
- I used 7" chains on both sides of each bin instead of a belt to make it extra sturdy.
- I added two back legs.

Et voila! This is the end result. I'm very pleased.

PS. Those flopping bins are a pain when you're trying to build!! An extra pair of hands is definitely recommended.

Built from Plan(s)
Estimated Cost
$150 (with extra bin)
Estimated Time Investment
Weekend Project (10-20 Hours)
Finish Used
Walnut (can't remember the exact name of the stain, but it's the one Shanty 2 Chic always uses!)
Recommended Skill Level
Intermediate

Comments

SoCaliforniaMel

Fri, 07/05/2013 - 22:49

Pretty :) Good Job. Now if I only had the space for one thats 10 rows high :P I like the stain color too. Shanty 2 Chic always uses Rust-o-leum. I think its called dark walnut. Dont quote me though. I love the stain and spray paint combo colors they use.
~Melody

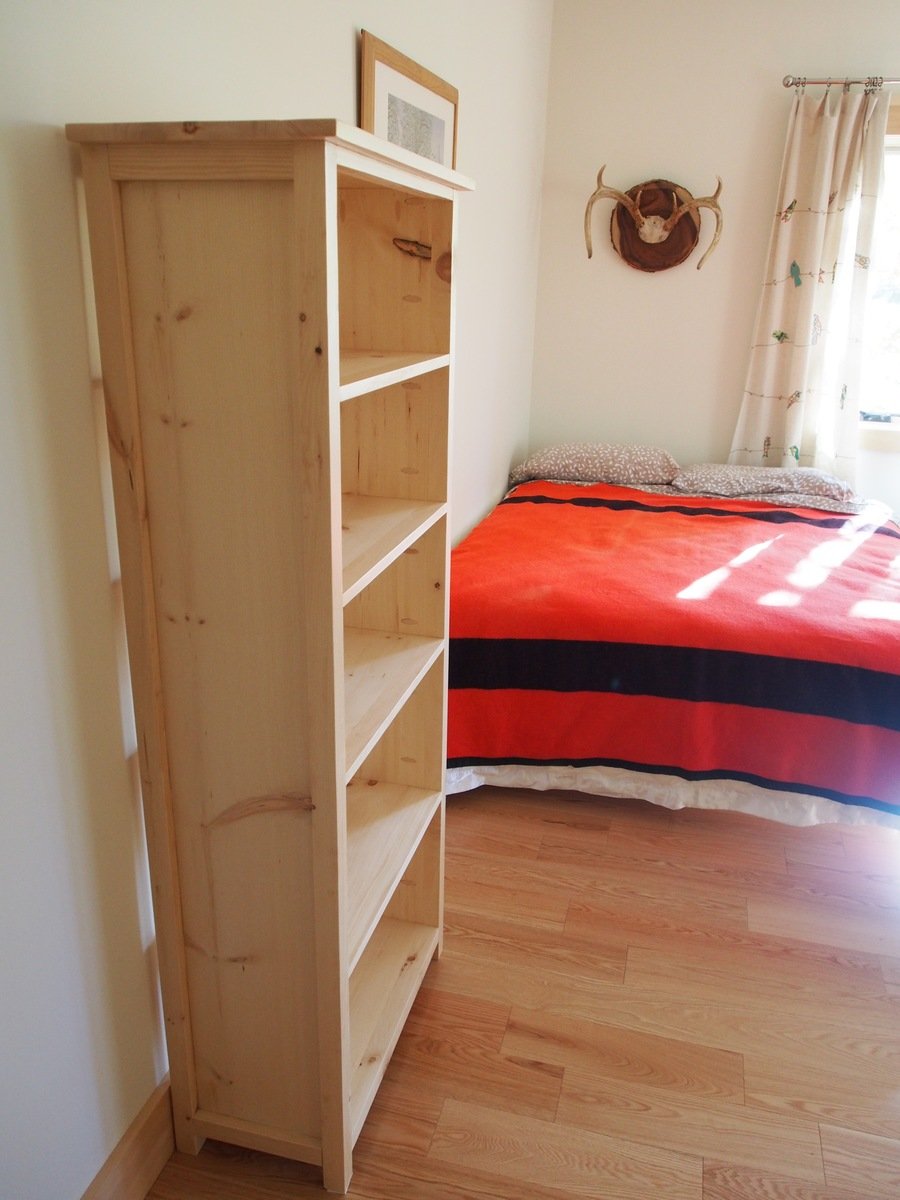
Cottage bedroom bookcase

Submitted by yhaas on Thu, 10/29/2015 - 20:42

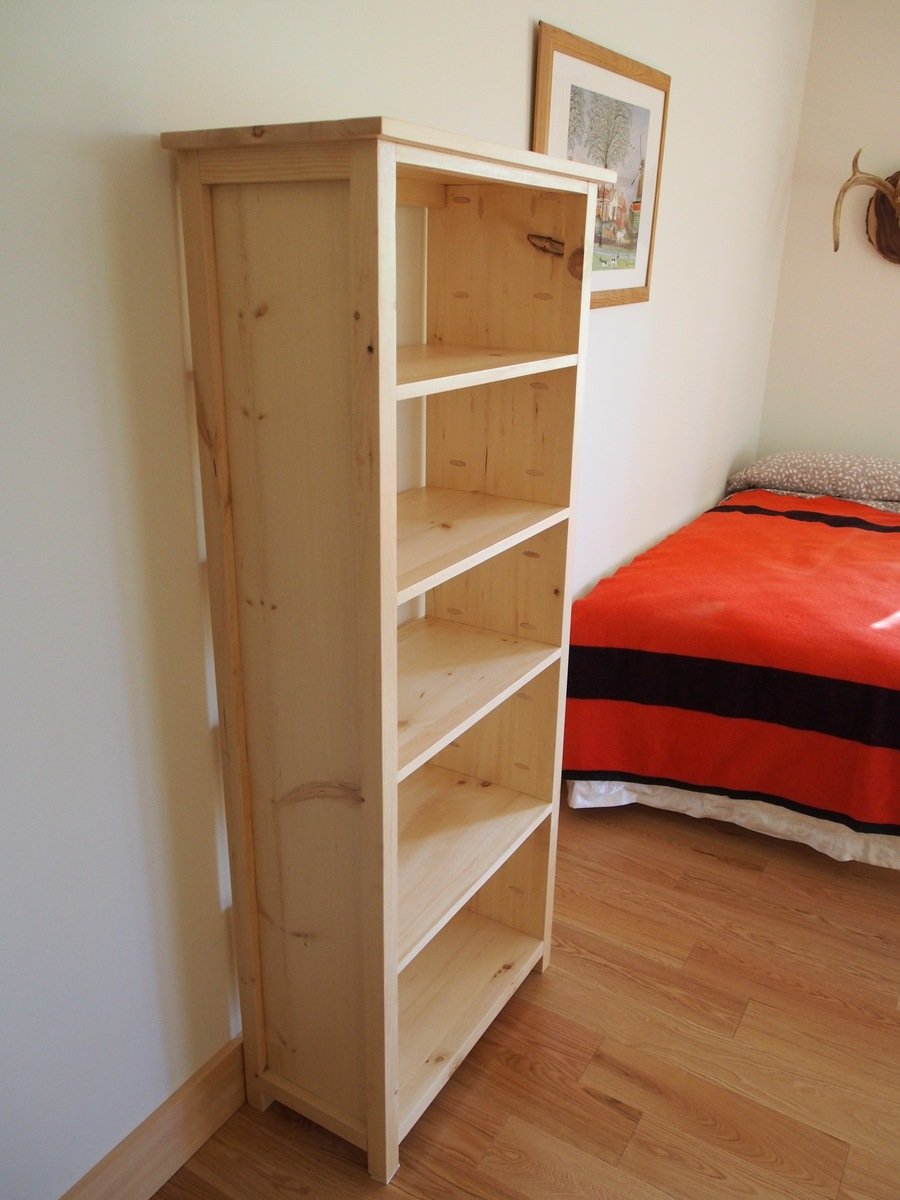
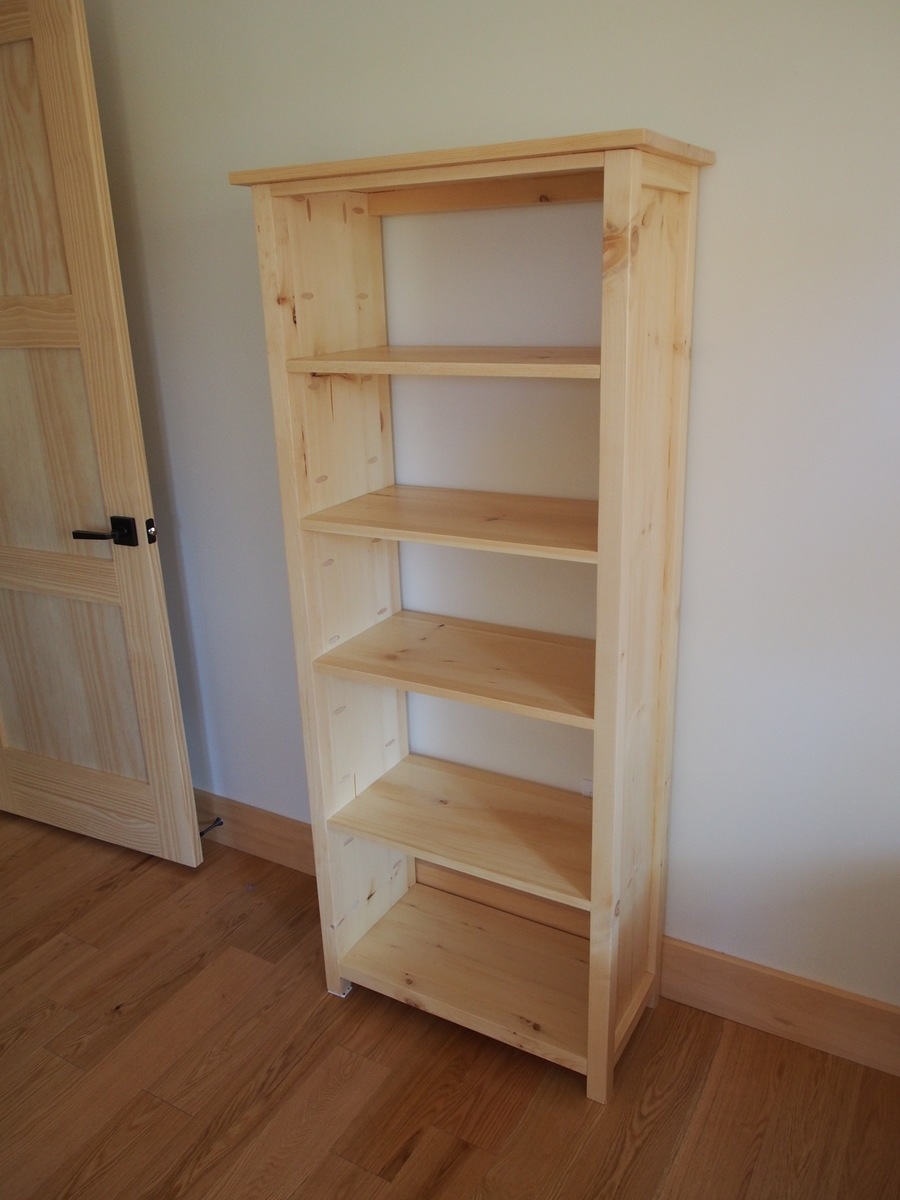
I used 1 x 10s to make the bookcase a little shallower, and left the back open. Thanks for the great plan.

Built from Plan(s)
Estimated Cost
$100
Estimated Time Investment
Weekend Project (10-20 Hours)
Finish Used
Varathane diamond finish water-based polyurethane, satin.
Recommended Skill Level
Beginner

Laundry Station

Submitted by Anonymous (not verified) on Mon, 02/27/2017 - 10:03
We followed these plans, but instead of building two cabinets, we combined them with one side in the middle. We also used pine planks on top. The sides are painted with chalk paint, and the top is finished in dark wax. 
Built from Plan(s)
Estimated Cost
$200
Estimated Time Investment
Afternoon Project (3-6 Hours)
Recommended Skill Level
Beginner

Comments

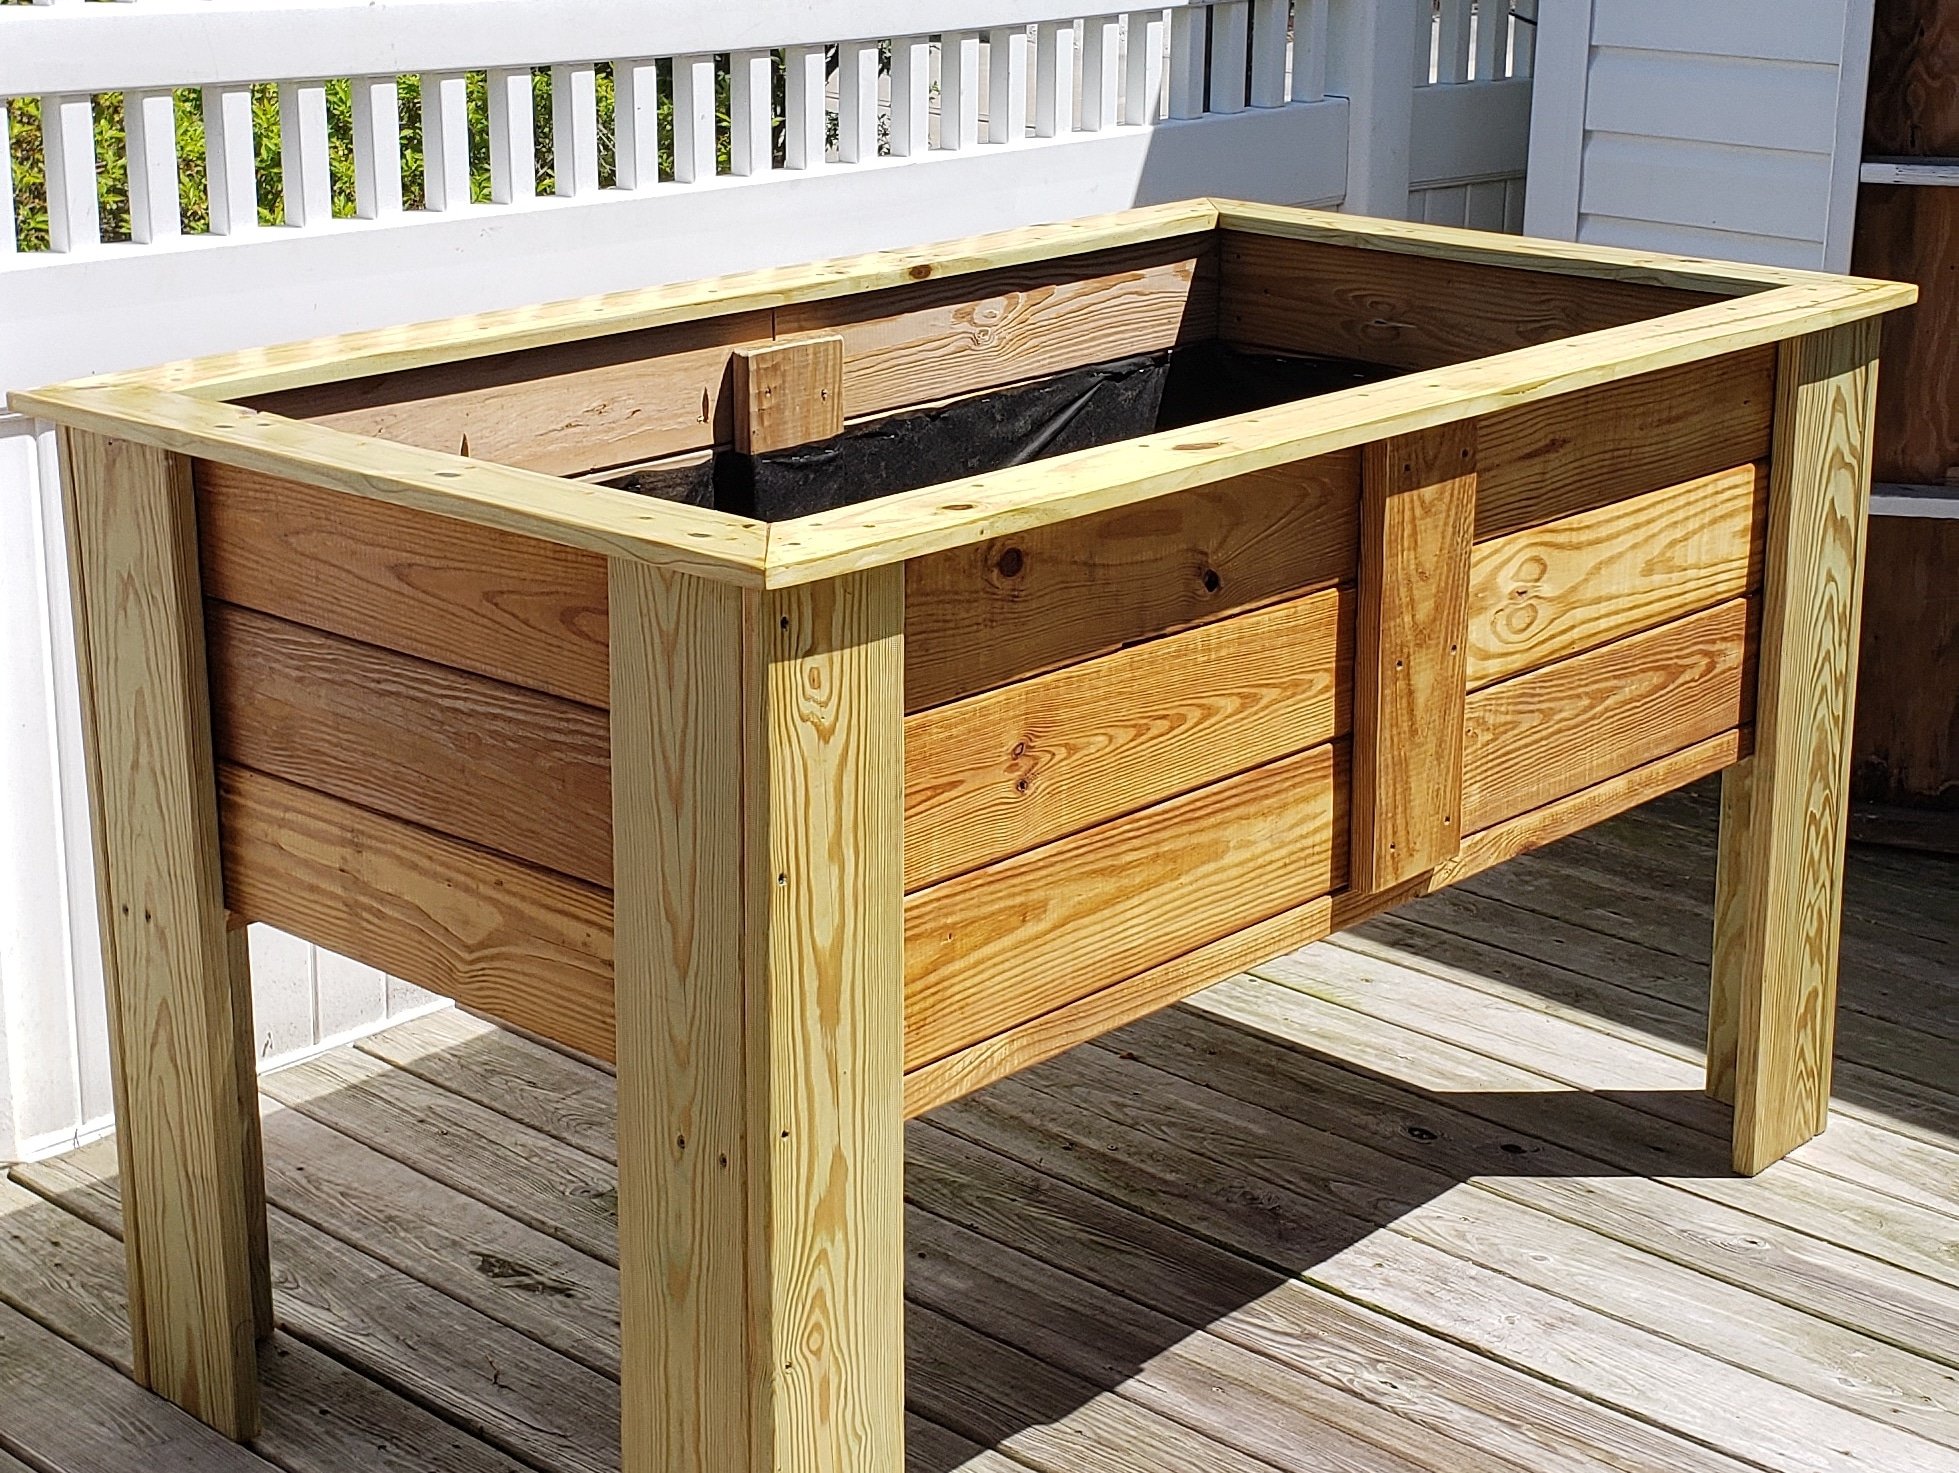
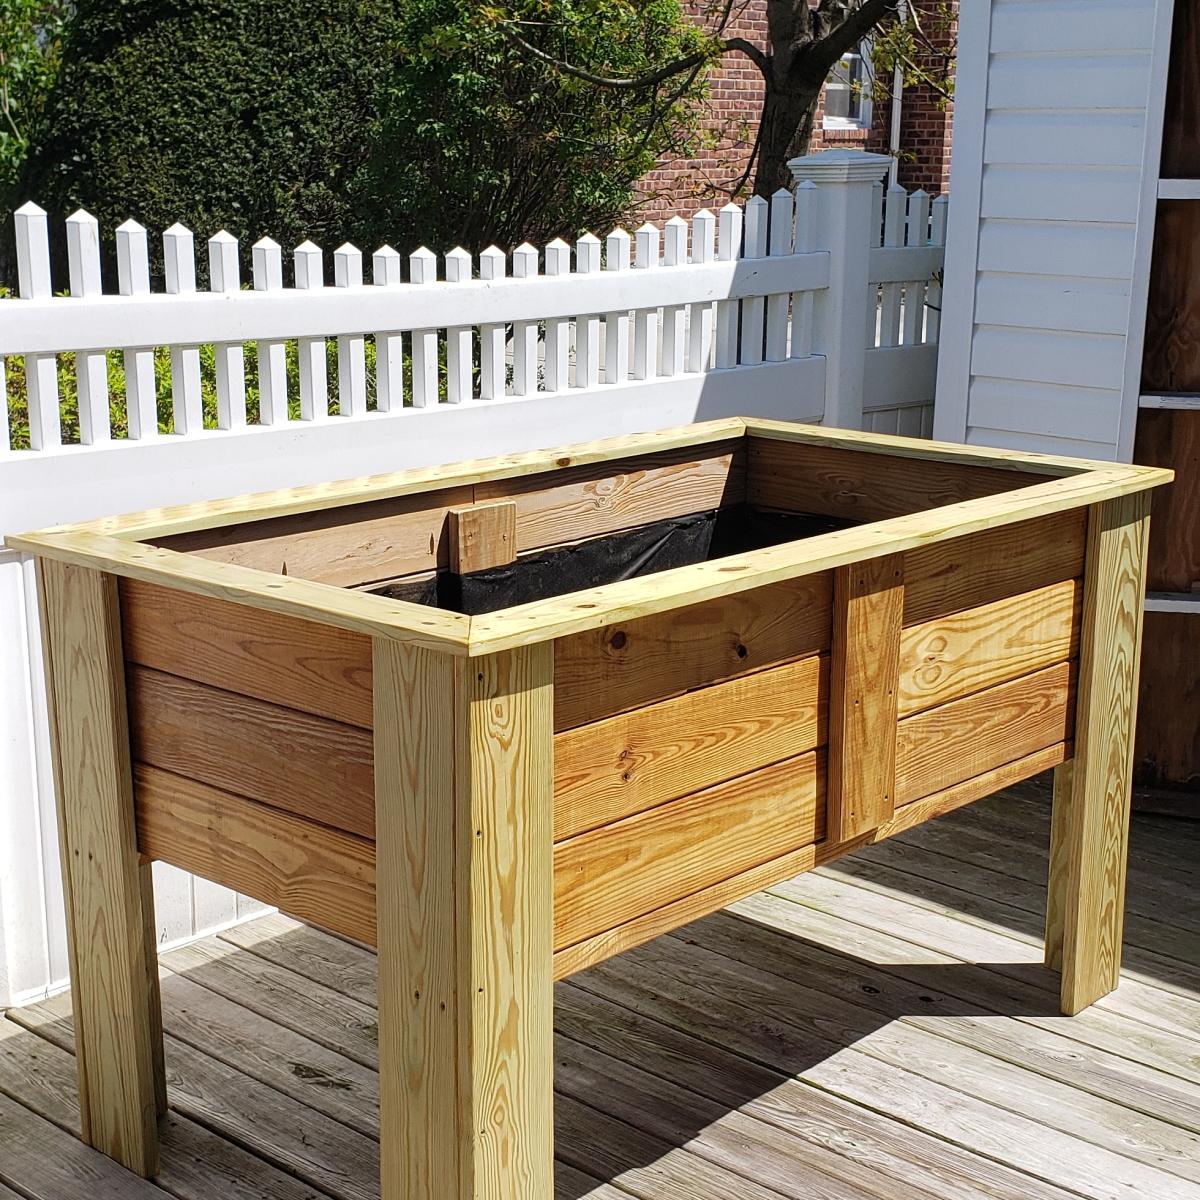
Standing Outdoor Planter

Submitted by Anonymous (not verified) on Fri, 04/14/2023 - 06:42

A friend of mine has issues with her knees but loves gardening so I built this to allow her to continue gardening. She loved it.

I didnt follow any particular set of plans I watched several you tube videos and combined different ideas from the videos to develop my own plan.

Comments

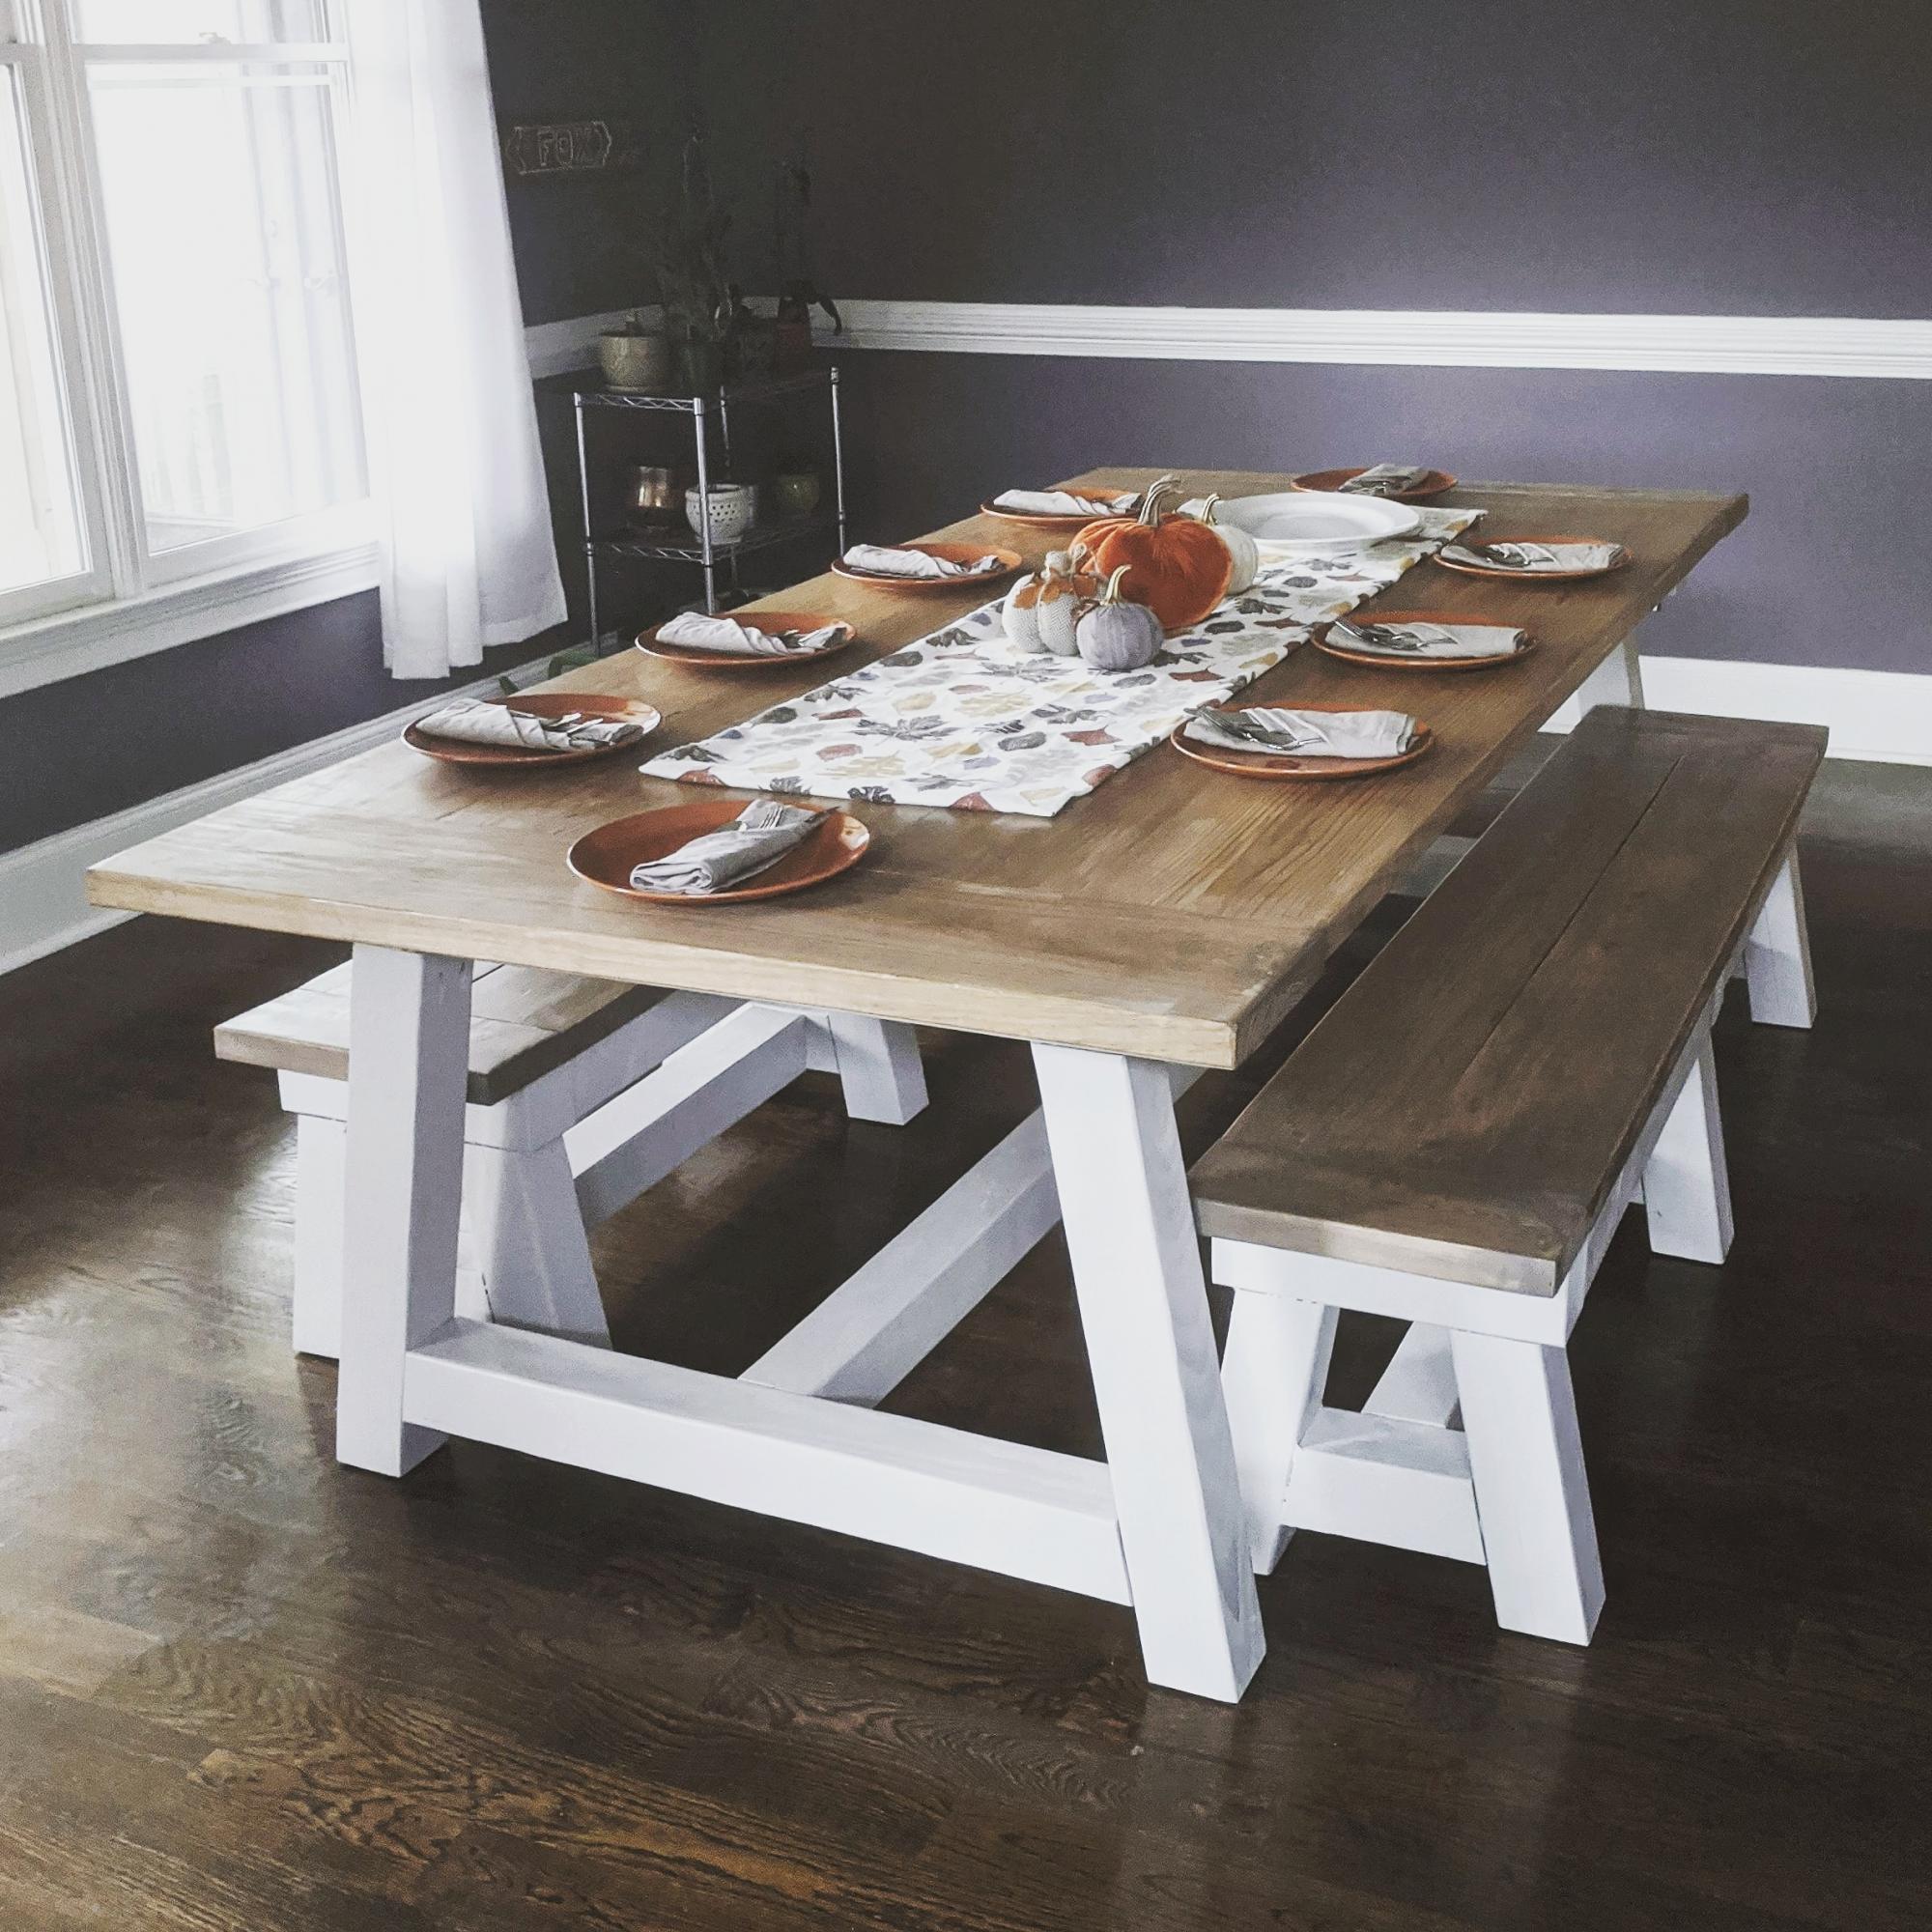
4x4 Truss Table and Benches

Submitted by Anonymous (not verified) on Sun, 11/24/2019 - 12:41

Modified so that it could fit 12 people comfortably.

Estimated Time Investment
Week Long Project (20 Hours or More)
Recommended Skill Level
Intermediate

Comments

Seasonal And Holiday

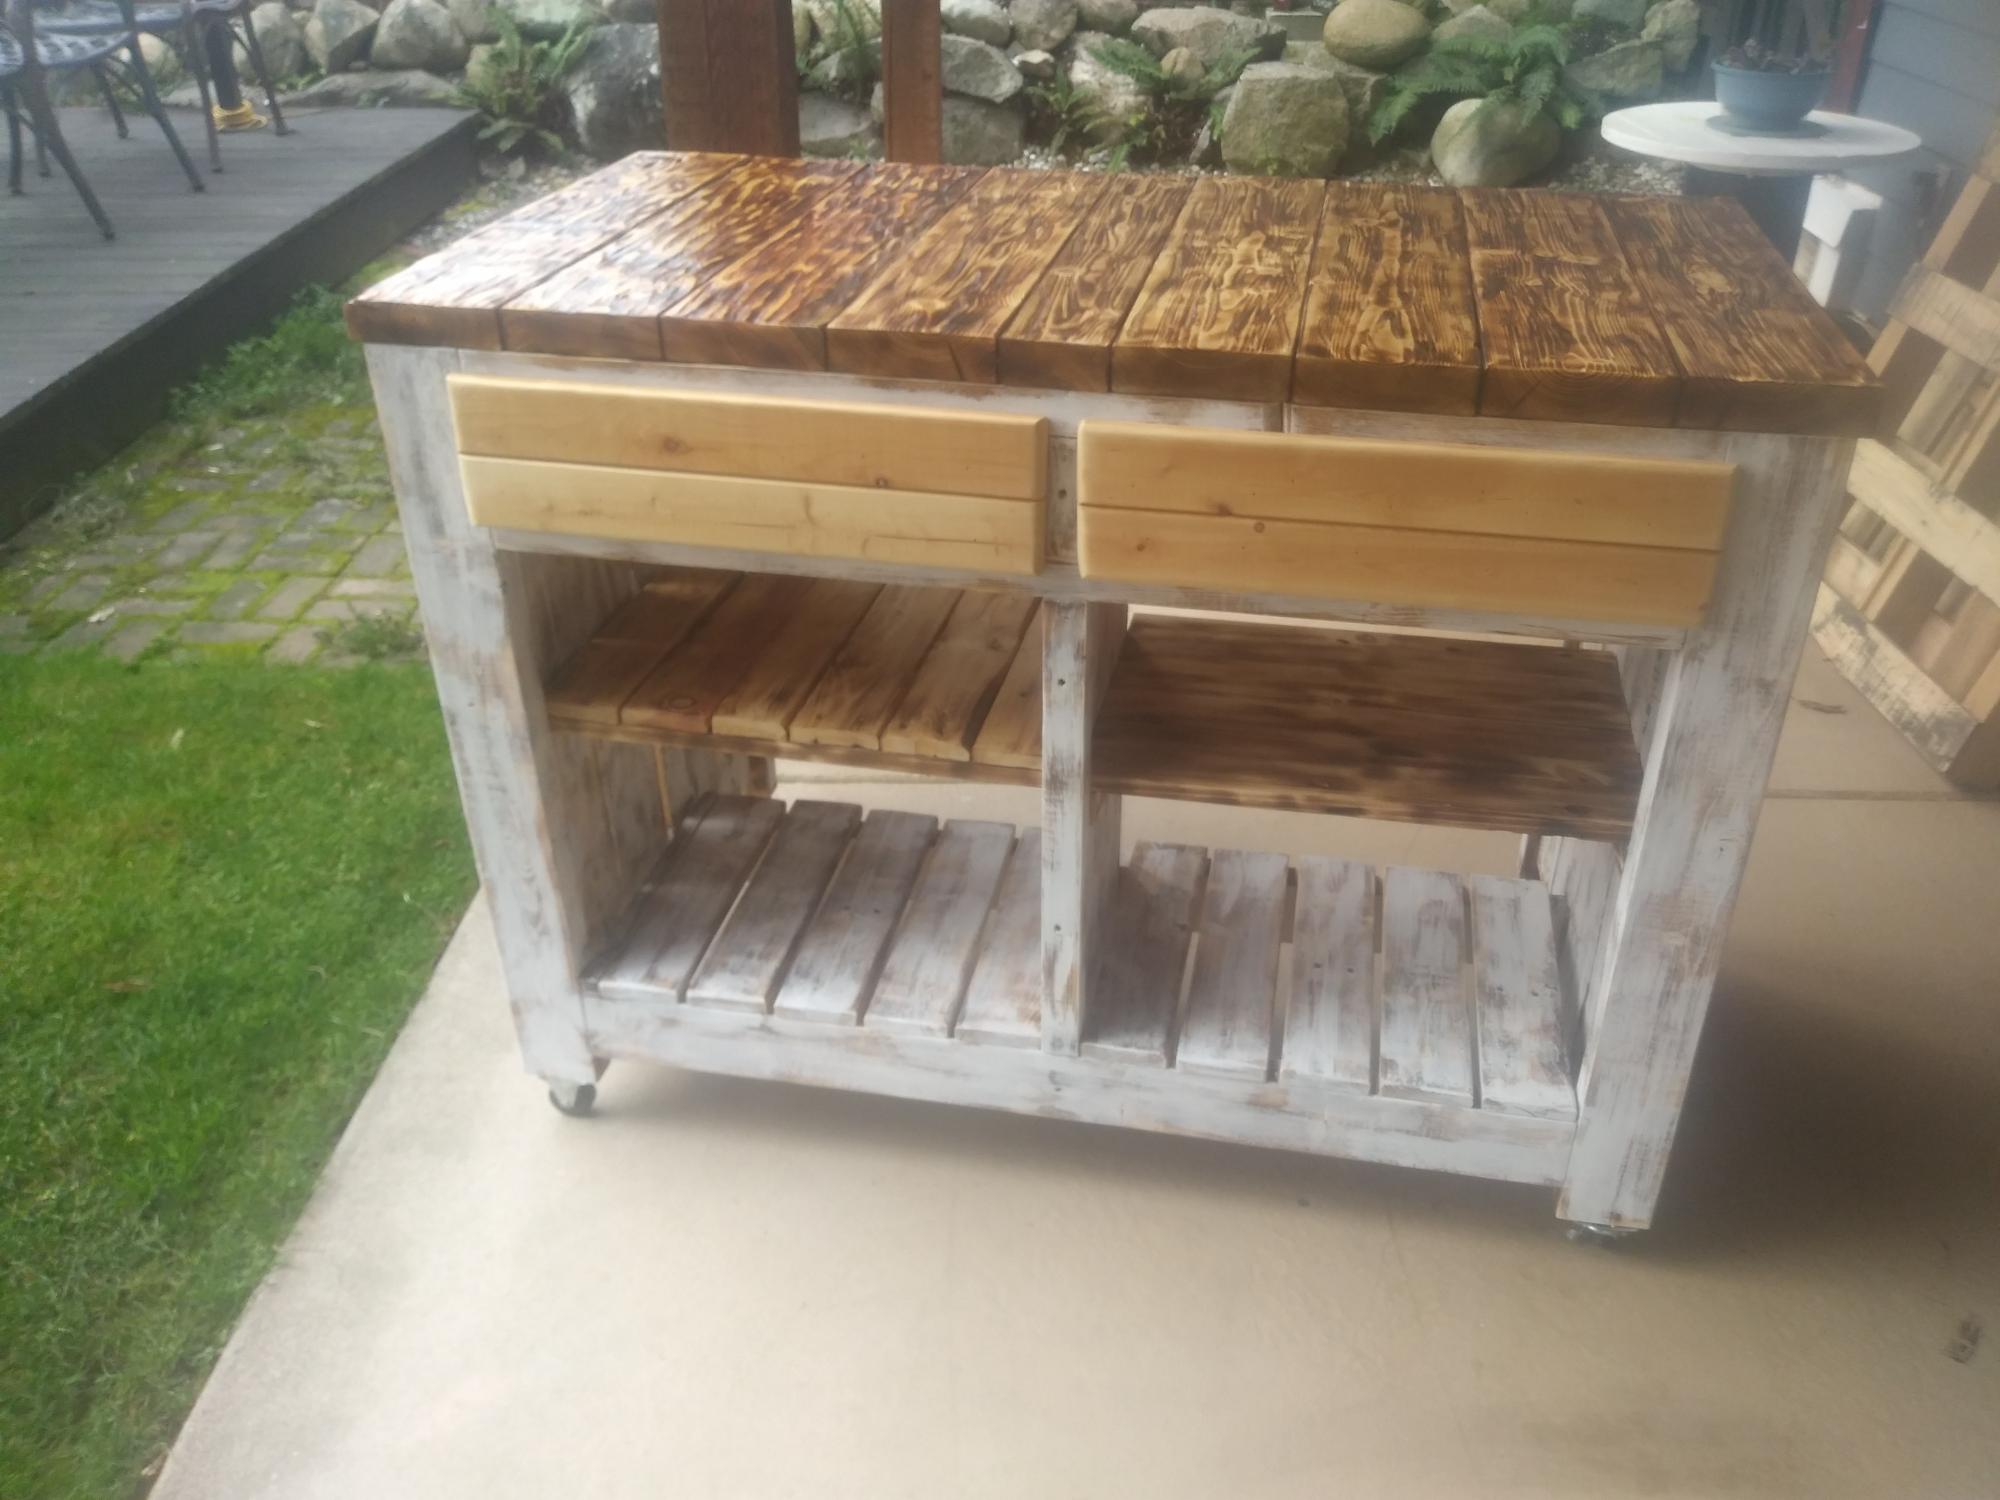
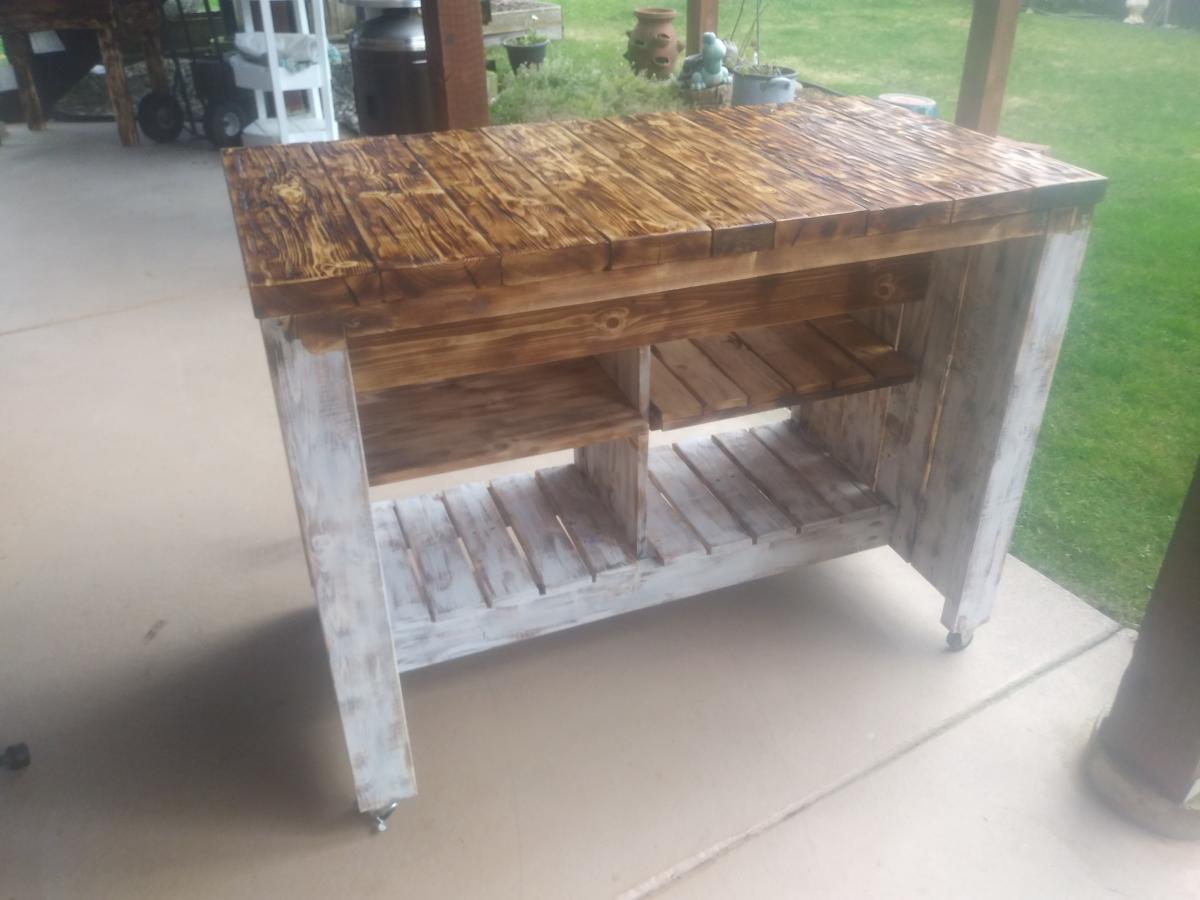
Kitchen Island with pallet wood

Submitted by Anonymous (not verified) on Sat, 01/23/2021 - 19:35

After following Ana Whit and other bloggers for a long time i figured my skills were at a level to try an advanced build like the Kitchen Island.. But i also wanted to challenge myself even more and was determined to make it from as much reclaimed wood as i could, mainly pallet wood.
With a lot of modifications to make it work i think I got a good result from these plans.

While i used as much reclaimed wood as i could, i still needed some clean 2x4's , 2x2's

Built from Plan(s)
Estimated Cost
$50
Estimated Time Investment
Week Long Project (20 Hours or More)
Finish Used
I burned the top and used a cup wire brush on an angle grinder to get the effect of barn wood. then a couple coats of lacquer on the top. And a spray finish of polyacrylic for everything else.
chalk pain ( linin) to do the White wash
Recommended Skill Level
Advanced

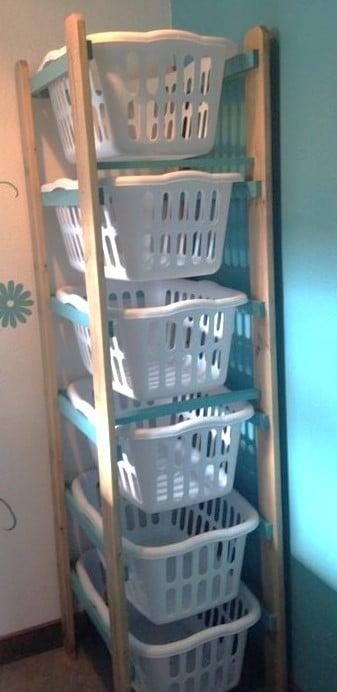
Laundry Basket Rack

This was a great last minute Christmas gift. Took me a little over two hours. Made completely out if pallet wood.

Comments

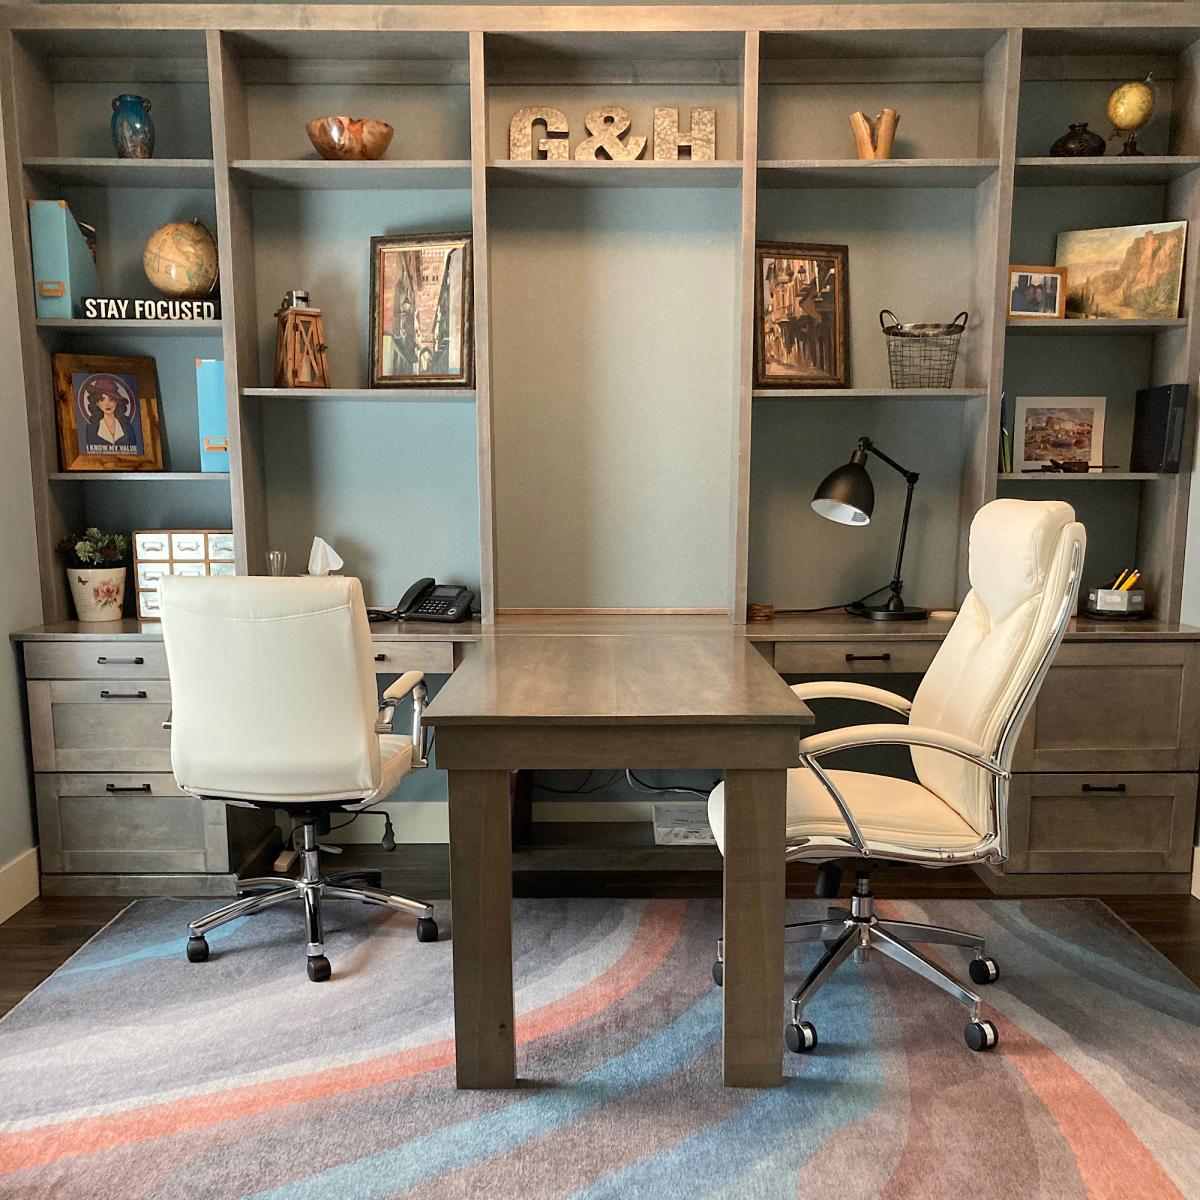
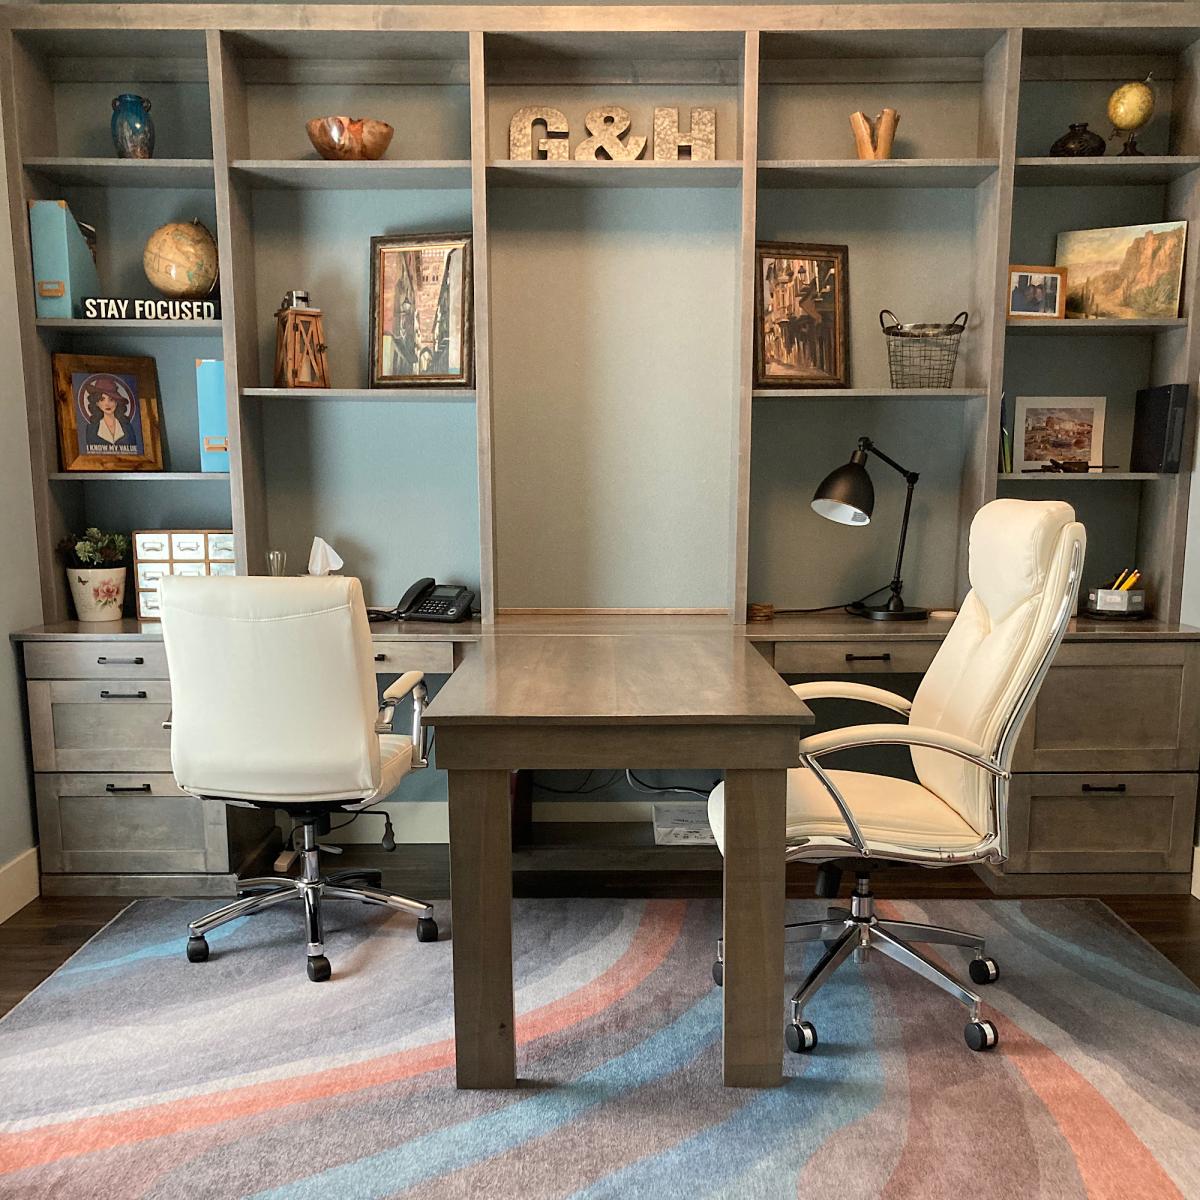
Homemade Home Office with Peninsula Desk

Thank you Ana for so many amazing plans and shelf help that helped me get this monster built! Now my husband has a nice office where he can work from home. I was so impressed with how easy it was to make the plans in shelf help and how quickly it all arrived. (I can’t link the drawer slide trick plans, but they were key and I based the middle table off of the foldable farmhouse idea)

Comments

Ana White Greenhouse

Submitted by Anonymous (not verified) on Wed, 04/06/2022 - 12:41

We built the first one about 8 years ago, and then the wind flipped it over and scattered it all over the back part of the property. I then dug footings and anchored the second one down; I was able to save the Dutch Door I made for the first one. Thanks for the plans!!!

Built from Plan(s)

Comments

Seasonal And Holiday

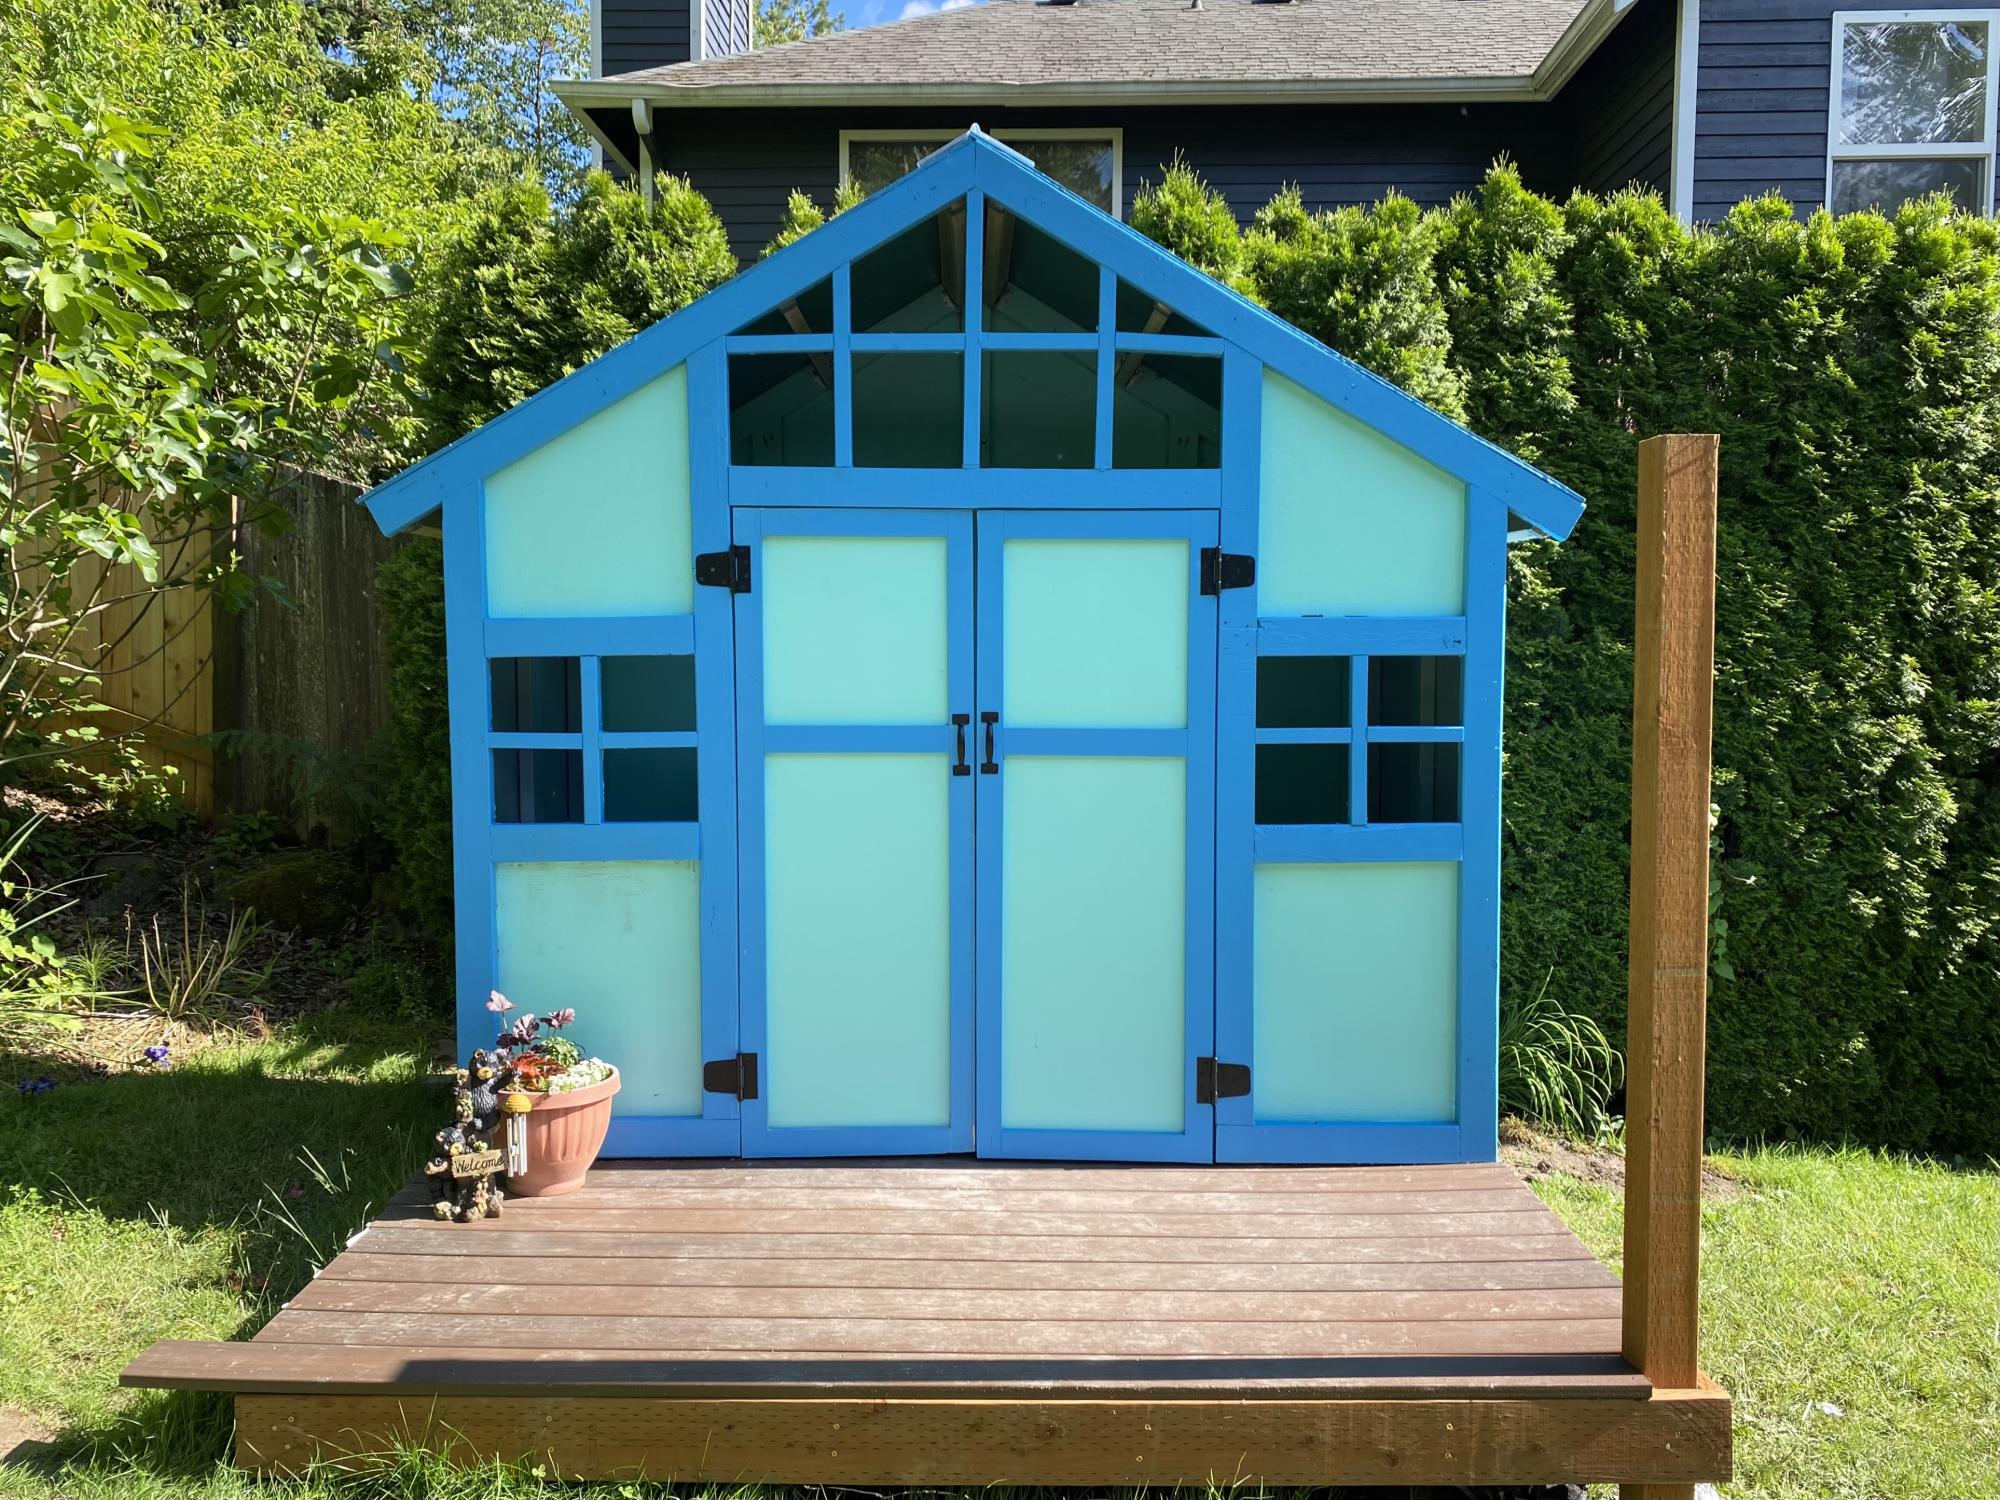
Craftsman playhouse - in shades of blue

Submitted by richsea on Sat, 06/11/2022 - 21:58

I’ve been working on building up to this playhouse for a while. Just got the doors on and am pretty pleased with what’s my first project of any size. Built on top of a modified version of the playhouse deck with a to be added (hopefully) swing in front. Color selection by the end customer (who’s 8). Modified to add 12 inches for a 5’ doorway. Thankfully I caught that at the last minute for the kiddo. Still a menace if I forget to duck. But super roomy once inside.

Comments

Seasonal And Holiday

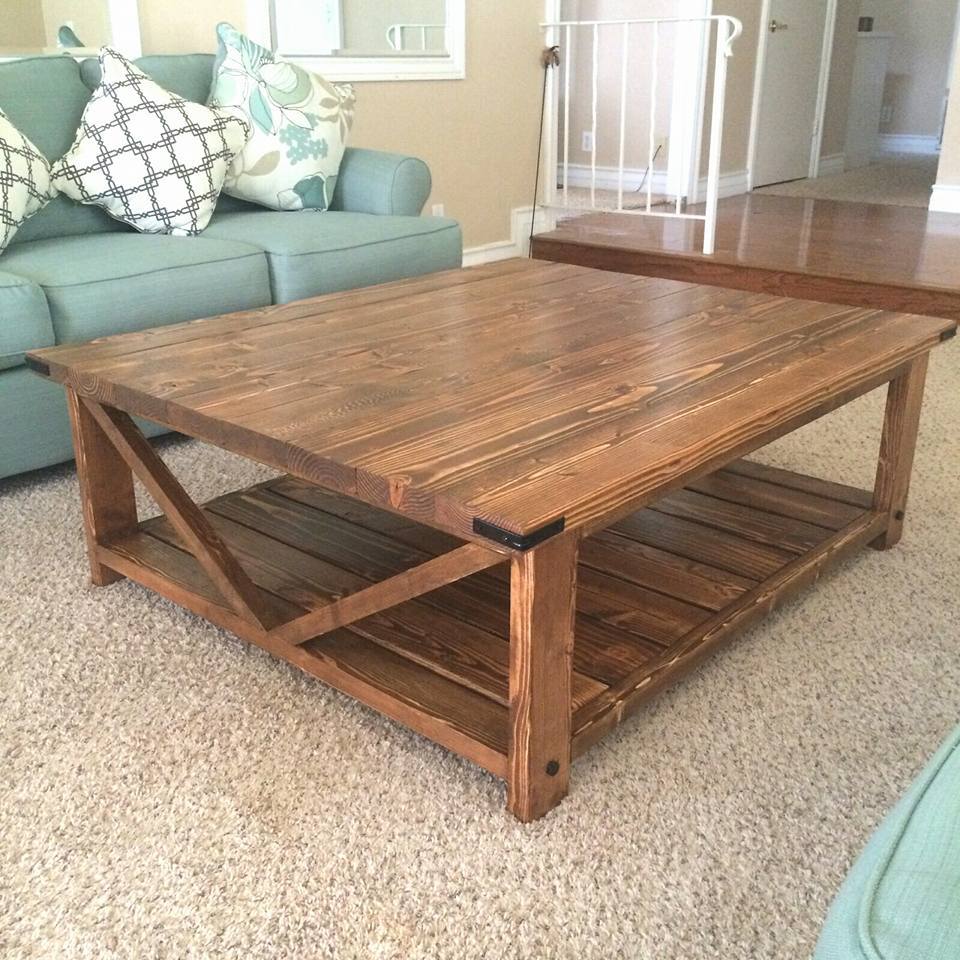
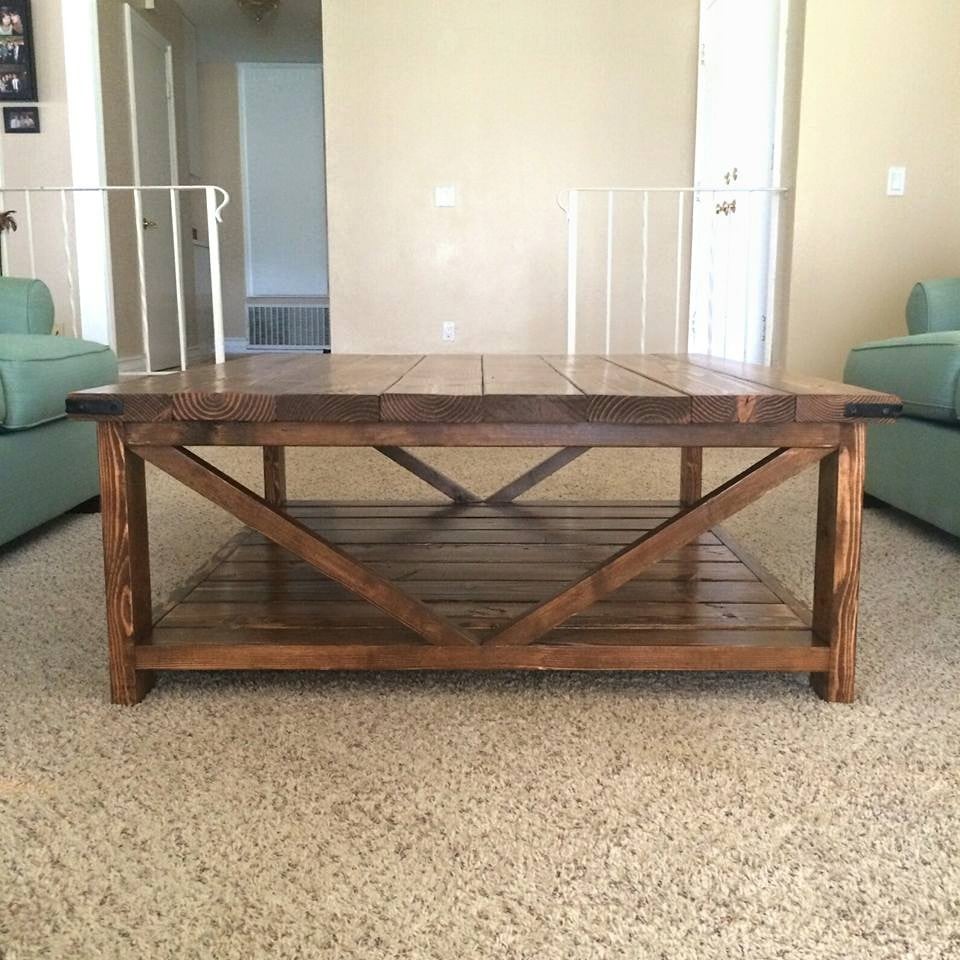
Modified Rustic X Coffee Table

Submitted by PamC03 on Sun, 10/18/2015 - 22:28

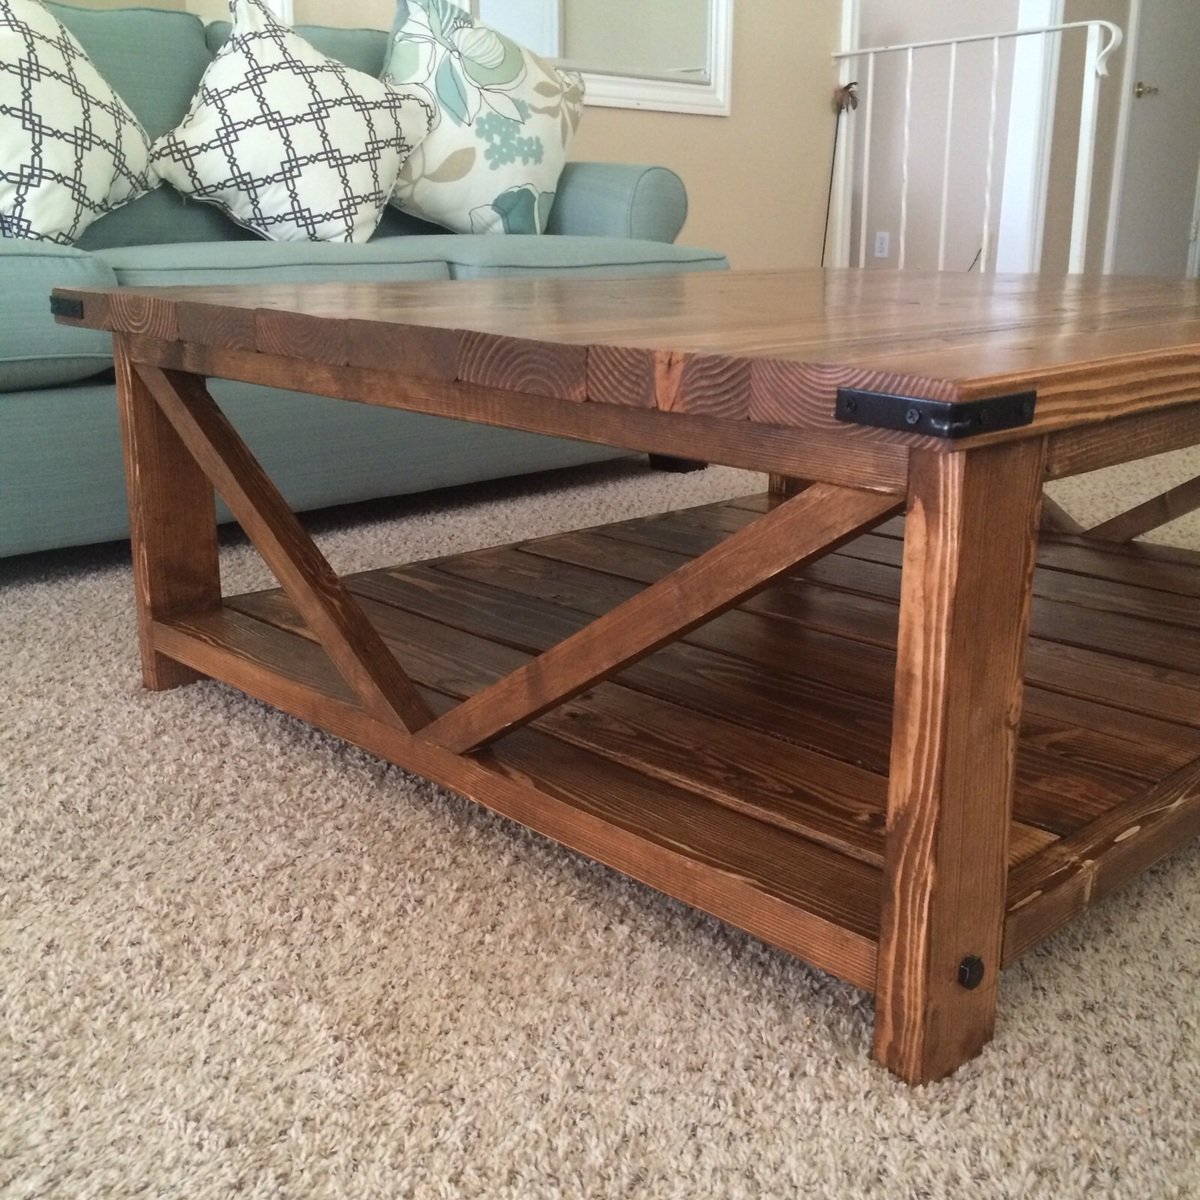
As a beginner at woodwork, this table was pretty easy to make. The instructions were easy to follow. I modified the table by adding 2x6 planks on the bottom and changing up the "X" design. The angles are tricky to get right, but i used scrap wood until i got the perfect angles then used my 2x2's for the final cuts. I also changed the finished dimensions of the table to fit in the room I was making it for, so this table was quite a bit wider than the original. It took me about a day and a half/two days to fully build and then I finished slowly over the rest of the week by staining and using a satin poly finish (I gave the top 4 coats so it took a little longer than normal). I'm so happy with the finished table I've already bought the wood to make another smaller one!

Built from Plan(s)
Estimated Cost
$70 for wood and hardware
Estimated Time Investment
Weekend Project (10-20 Hours)
Finish Used
Varathane Early American w/ Satin Poly
Recommended Skill Level
Beginner

Comments

Audrey Wright

Thu, 10/22/2015 - 05:02

For a beginner, you'd done a great job. I'm a beginner too and I can hardly do this in two days.. 

Square Picnic Table using Deck Boards

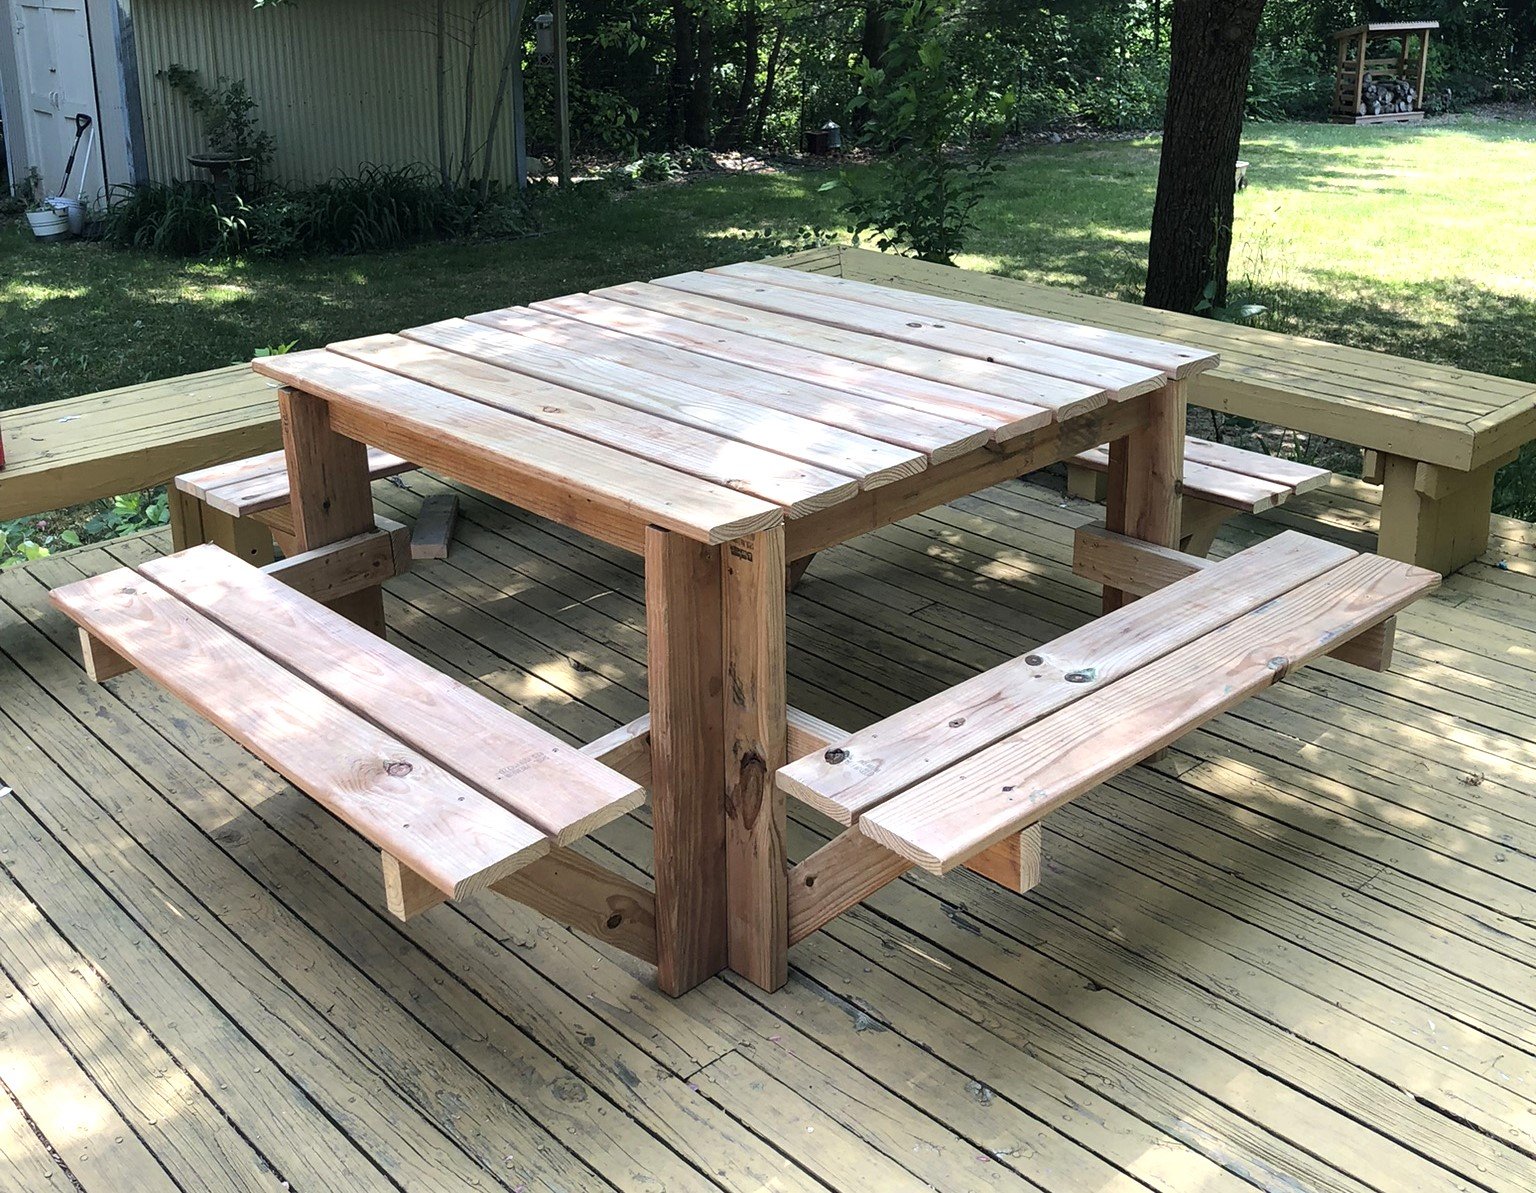
Submitted by Anonymous (not verified) on Fri, 07/07/2023 - 11:32

I used deck boards instead of 2x6 for the top and seats; this lightened the table overall while negating the need to sand and finish the boards.

I also used a cedar-tone treated board so staining wasn't necessary.

Kelly S.

Built from Plan(s)
Seasonal And Holiday

Adirondack chair from Pallets

Submitted by Anonymous (not verified) on Fri, 03/24/2017 - 19:42

I decided to try and use the plans on Ana's site but with a twist. I wanted to limit myself to using only pallets. I think it turned out great! I can't upload all the photos because they exceed the maximum size limit. If I was able to you could see how each chair is slightly different and has a lot of character. I finished them with a waterproofing oil which I highly recommend over other finishes. 

Estimated Cost
$10 for screws.
Estimated Time Investment
Afternoon Project (3-6 Hours)
Finish Used
Cabot oil
Recommended Skill Level
Beginner

Comments

Pantry Wall

Submitted by amiles573 on Tue, 03/28/2017 - 13:41

I modified the origianl plans by making the cabinet taller.  I also built 2 cabinets and trimmed them both together to make it appear as if it is 1 giant cabient.  It measure over 7 feet tall and just over 6 feet wide.  I did add an additional 1x2 brace in the center of the cabinet to help support.  I also cut an additional 1x4 to use a brace when anchoring it to the wall.  I also chose to add an additional 2 trim pieces to each door because they are much taller than the original plan doors.  

Built from Plan(s)
Estimated Cost
$400
Estimated Time Investment
Weekend Project (10-20 Hours)
Finish Used
Varathane Stain, Weathered Grey
15 7/8" center to center cabinet pulls
Fully Inset, Frameless Hinges
Recommended Skill Level
Beginner

Comments