Community Brag Posts

Toy Chest

Submitted by brittanyj on Wed, 01/21/2015 - 08:31

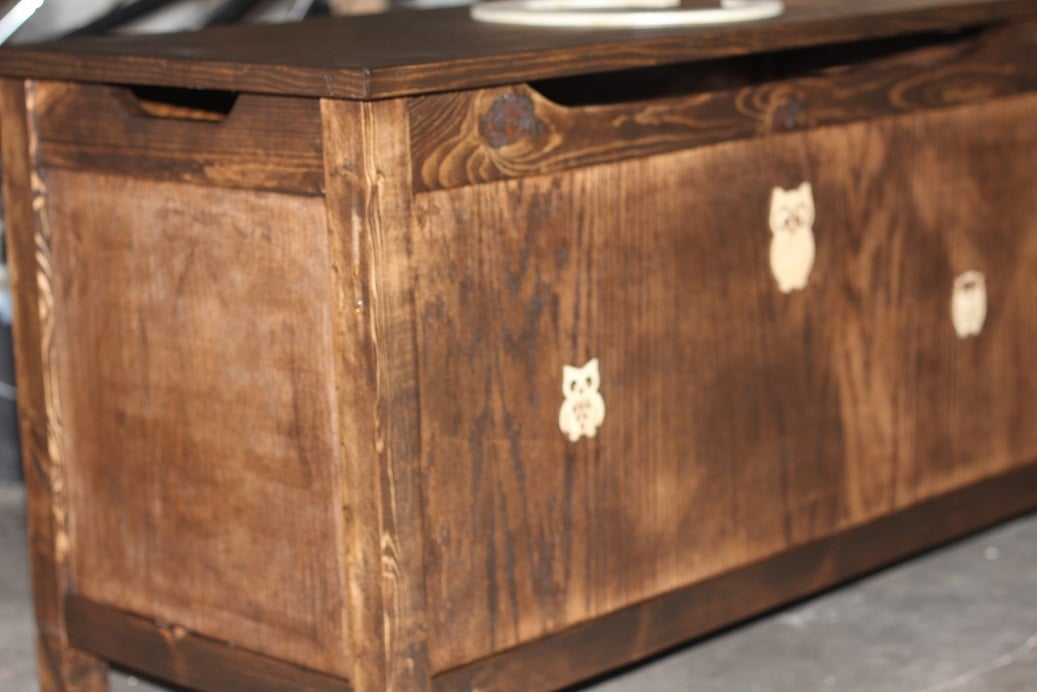
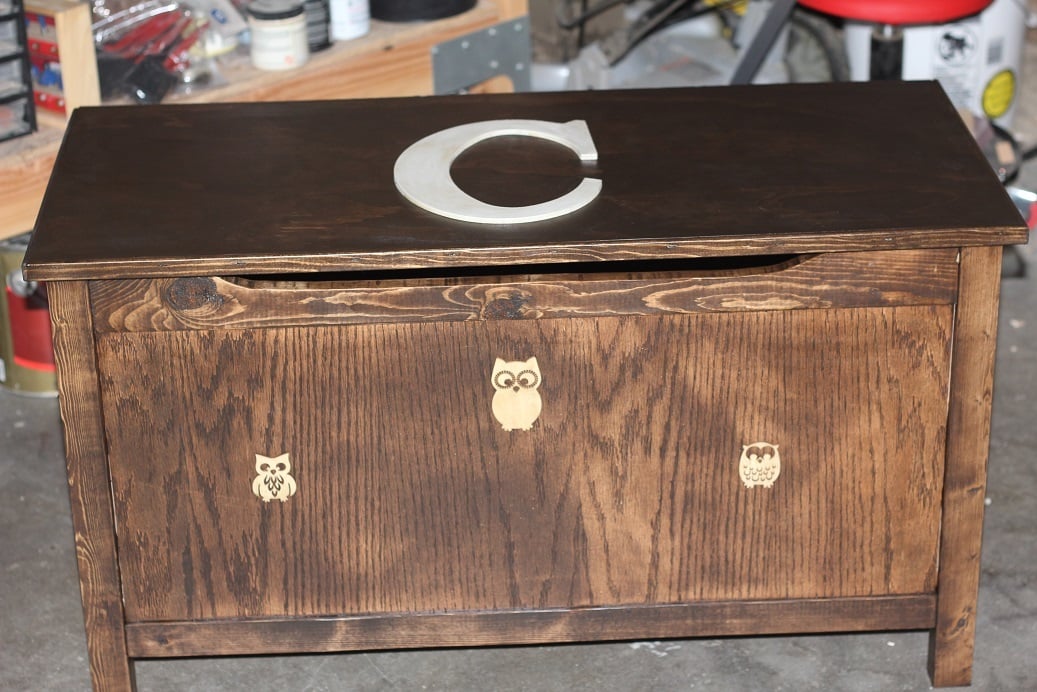
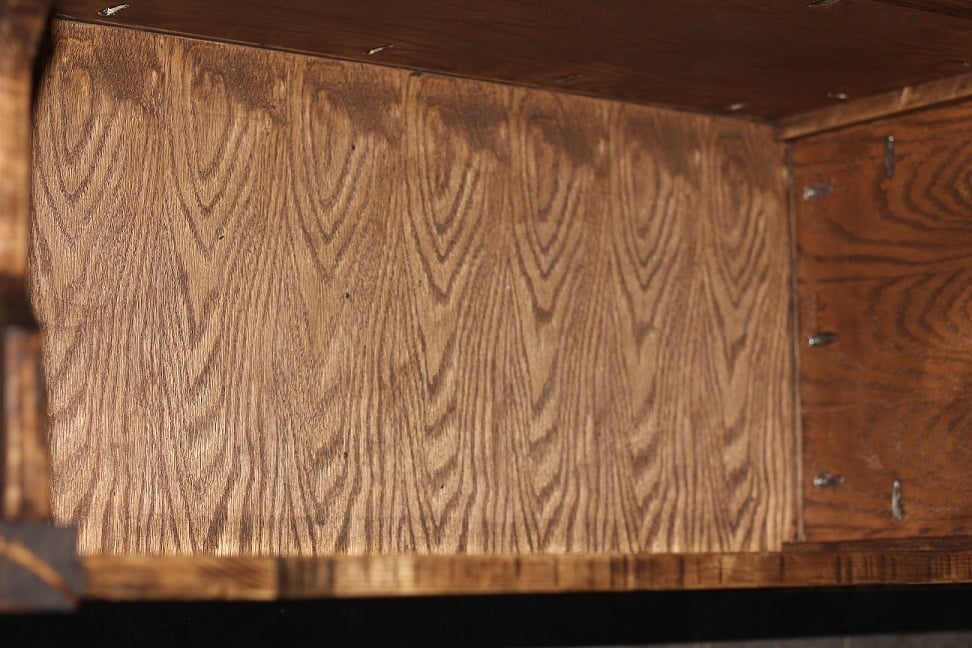
Made this toy chest for my niece this Christmas.  Pretty easy build.  Used some leftover wood and plywood for the top to cut down on cost.  Instead of edge banding, I used some screen moulding.  The wooden owls were purchased from Hobby Lobby and glued on to match her room, as well as the "C" on top.  Cutouts routered on both front and sides to better protect fingers, and for looks. 

Built from Plan(s)
Estimated Cost
$25
Estimated Time Investment
Day Project (6-9 Hours)
Finish Used
walnut stain, poly
Recommended Skill Level
Intermediate

Crib Mattress Sofa Sectional

Submitted by Anonymous (not verified) on Wed, 11/24/2021 - 14:15

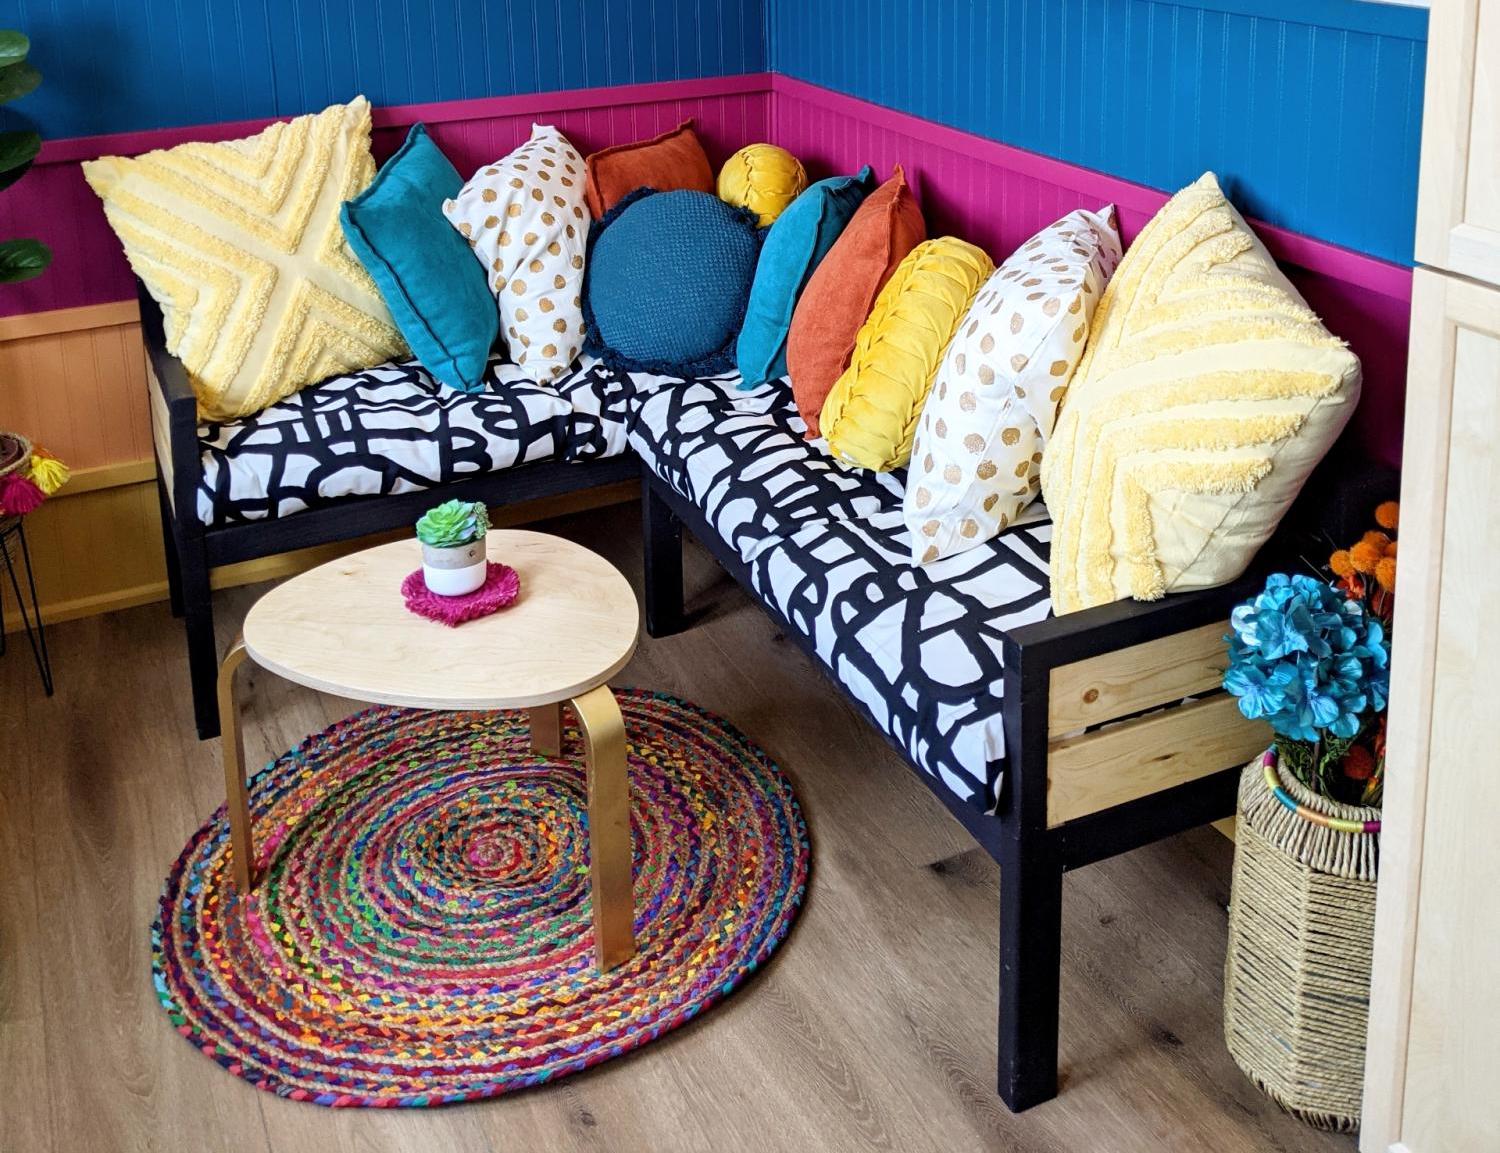
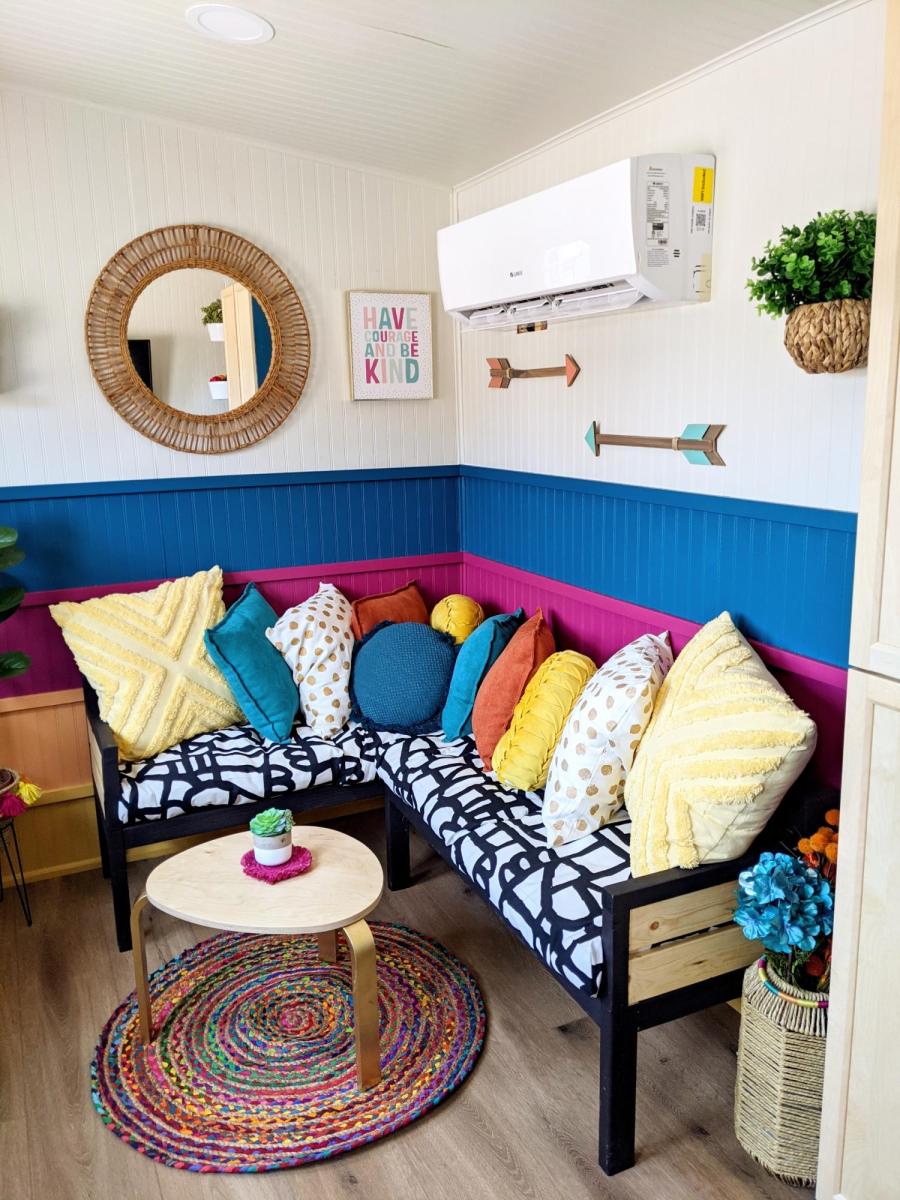
I used Ana's outdoor sofa plans to customize this sofa for a playhouse. I left the separate railing piece detached so the kiddos could push the two pieces together to form a bed for sleepovers!

Comments

Simplest Armoire as Kitchen Pantry

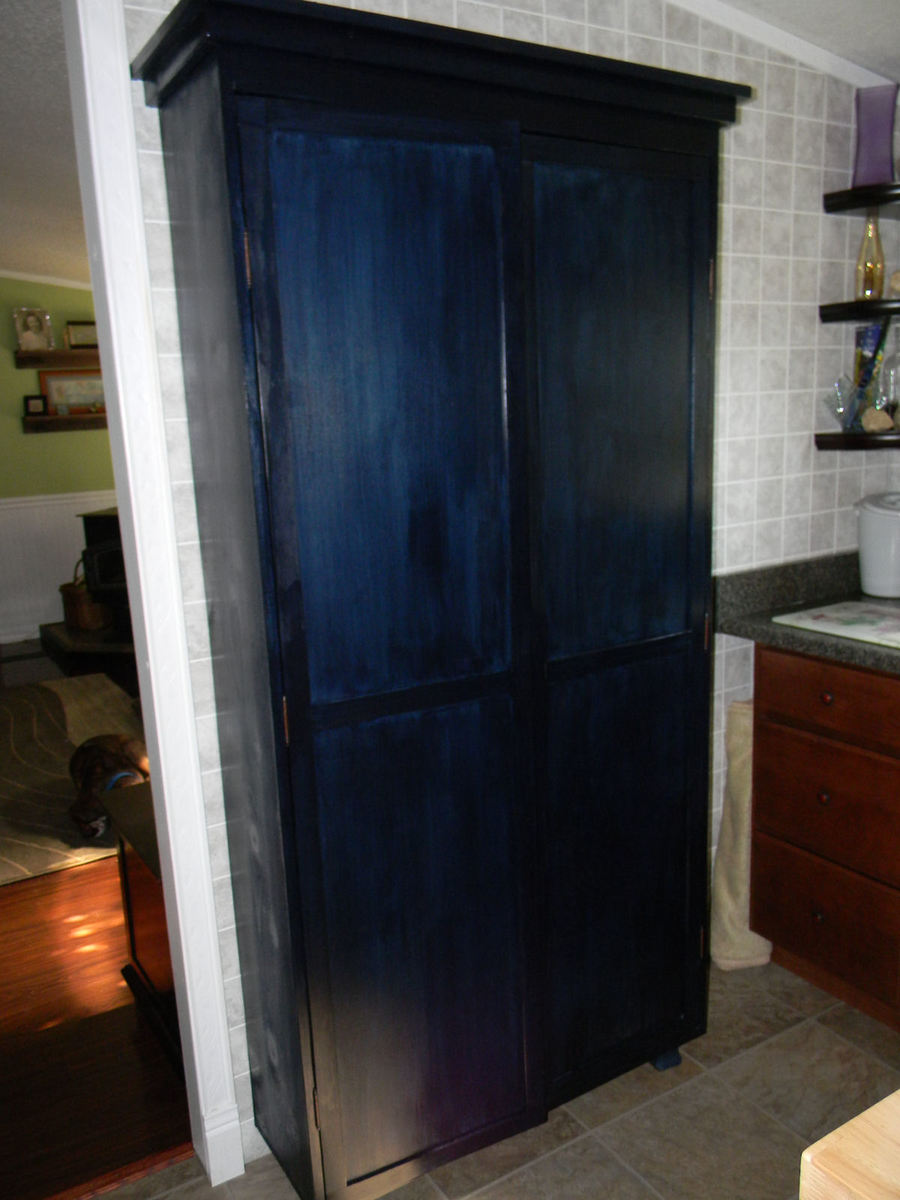
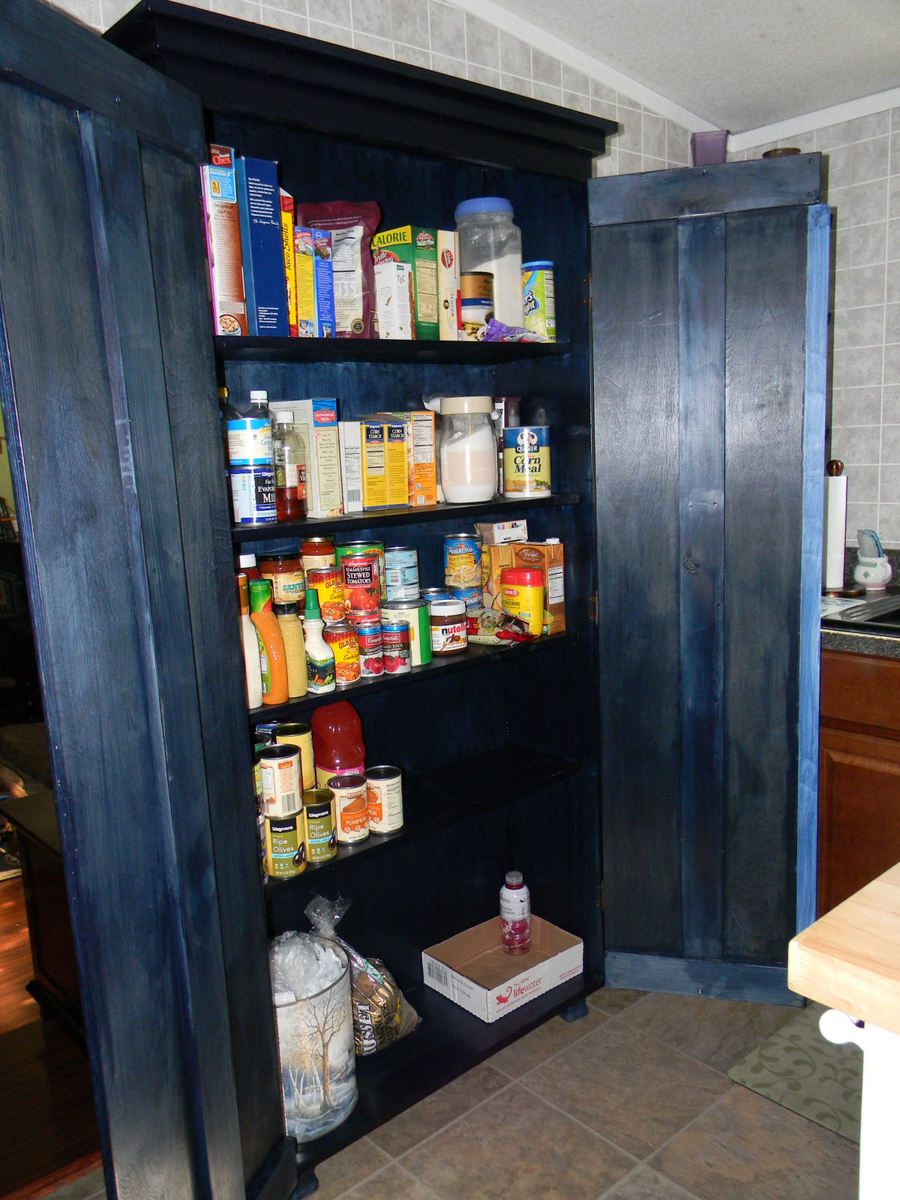
I ABSOLUTELY LOVE THIS CABINET! It's the perfect finishing touch to our kitchen remodel. We are still waiting on the finishing touch; a hand-polished Hoosier style latch for the doors. We found them at House of Antique Hardware. I will say that this cabinet required "non-mortising" hinges, ones that don't require you to dig out anything in the wood and that don't bulge up together in the space behind the door. These were nearly impossible to find in our town in a small enough size, even with the two big box stores and smaller hardware shops. We had to order them online HardwareSource. These were cheap at this source and we even ordered two styles in case we didn't like one of them. A local shop could order them for us @ 6 hinges for 48$!! The ones we found online came to $17 with shipping.

We modified our cabinet a bit because we wanted it to have feet that were different than the original plan. I have a thing about cabinetry that I can't see under! So, we just made the cabinet flat bottomed instead of having the bottom shelf sit higher and the facade on the bottom front. We also added I-frames to the interior of the doors because we have high humidity where we are and we thought it might help keep the doors keep their shape over time.

After building just the bookshelf part, we kept looking at it like we couldn't believe we built it. It's really beautiful. We do a lot of remodeling, demolition, and rebuilding in our home, but have always been intimidated by building furniture until finding this site.

My husband was so jazzed by our newfound furniture building skills that he built the planter/trellis for his mother last weekend for her birthday right after we finished this project. Pictures of that will be forthcoming as soon as we plant the rosebush in it. Thank you Ana White!!!!
Built from Plan(s)
Estimated Time Investment
Weekend Project (10-20 Hours)
Finish Used
A beautiful Minwax Waterbase Midnight Blue. Washed right off the brush and my hands and looks SOOO beautiful on this cabinet. It took two coats to look the way I wanted and I had to buy two quarts, but have about half a quart left.
Recommended Skill Level
Beginner

Comments

JES

Thu, 06/09/2011 - 03:35

This is lovely. The finish, shape and modifications you made are just wonderful. Congrats on a teriffic job! :)
Nicole S (not verified)

Wed, 06/29/2011 - 10:19

We are moving into a home that doesn't have alot of storage so I'm looking into building this. But depends on the cost. About how much would you estimate that this armoire pantry cost to build? PS- I love the look and color of yours! Awesome job!

In reply to by Nicole S (not verified)

mmhmakeover

Thu, 12/29/2011 - 20:14

Wow. Sorry I just realized your question was here! I would say we spent about 120$ on wood and finish products.

It was much less than buying the perfect piece of furniture somewhere else. For us, this piece, in this finish was THE perfect piece of furniture. I still love just looking at it in our space.

mmhmakeover

Tue, 07/12/2011 - 03:55

We used birch plywood for the back and the doors so it was a bit pricier because we wanted something that was already a smooth finish without much sanding. I would say all together with the stain and the Hoosier latch we ordered for it the cost totaled almost $150. The wood cost was about $90, plus we purchased feet, stain, hinges, and a latch.

We LOVE this pantry in our kitchen and although it took a week to build this and have it ready for use, it was worth it to take our time and put care into building something we love. It was our first project and it has inspired us to build a ton of stuff in just a few weeks since.

Good luck!

Modified Beginner Farm Table and Bench

Submitted by Anonymous (not verified) on Tue, 06/28/2022 - 12:09

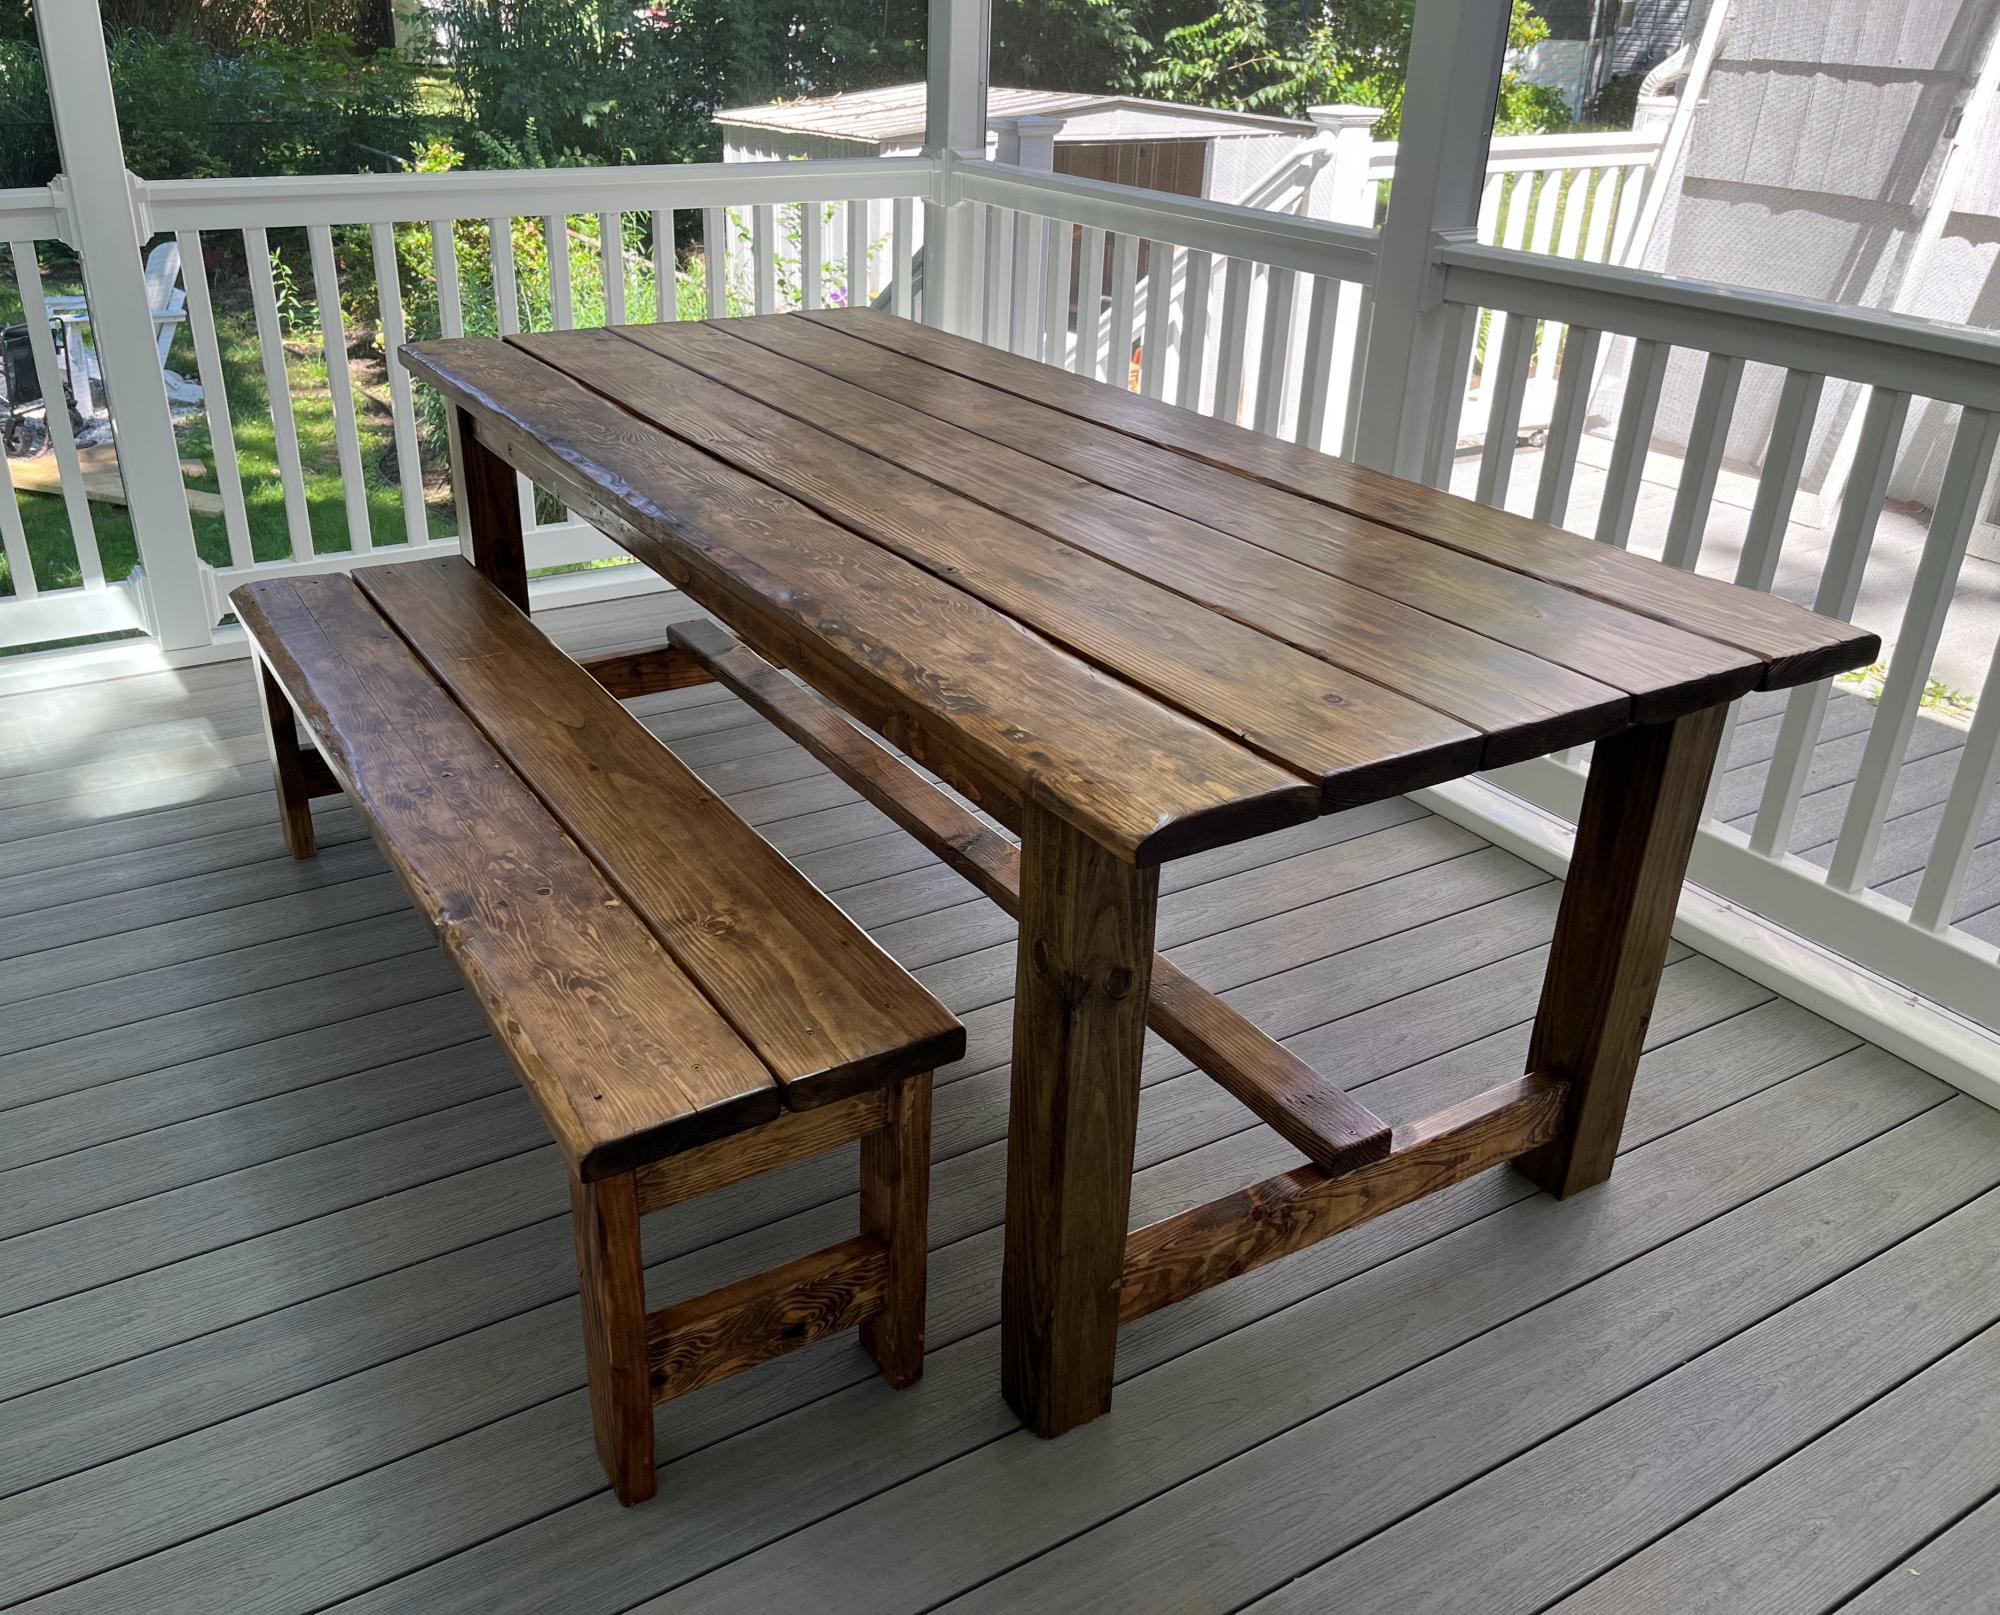
Altered the Beginner Farm Table plans to use 2x8s for the top and 4x4s for the legs. I used pocket holes for the table. I followed the bench plans almost exactly, adjusting slightly for the 2x8 tops. I am a beginner and I did it myself! The table and bench are beautiful and sturdy! Thanks Ana!

Comments

Chicken Coop

Submitted by Anonymous (not verified) on Sun, 07/10/2022 - 12:26

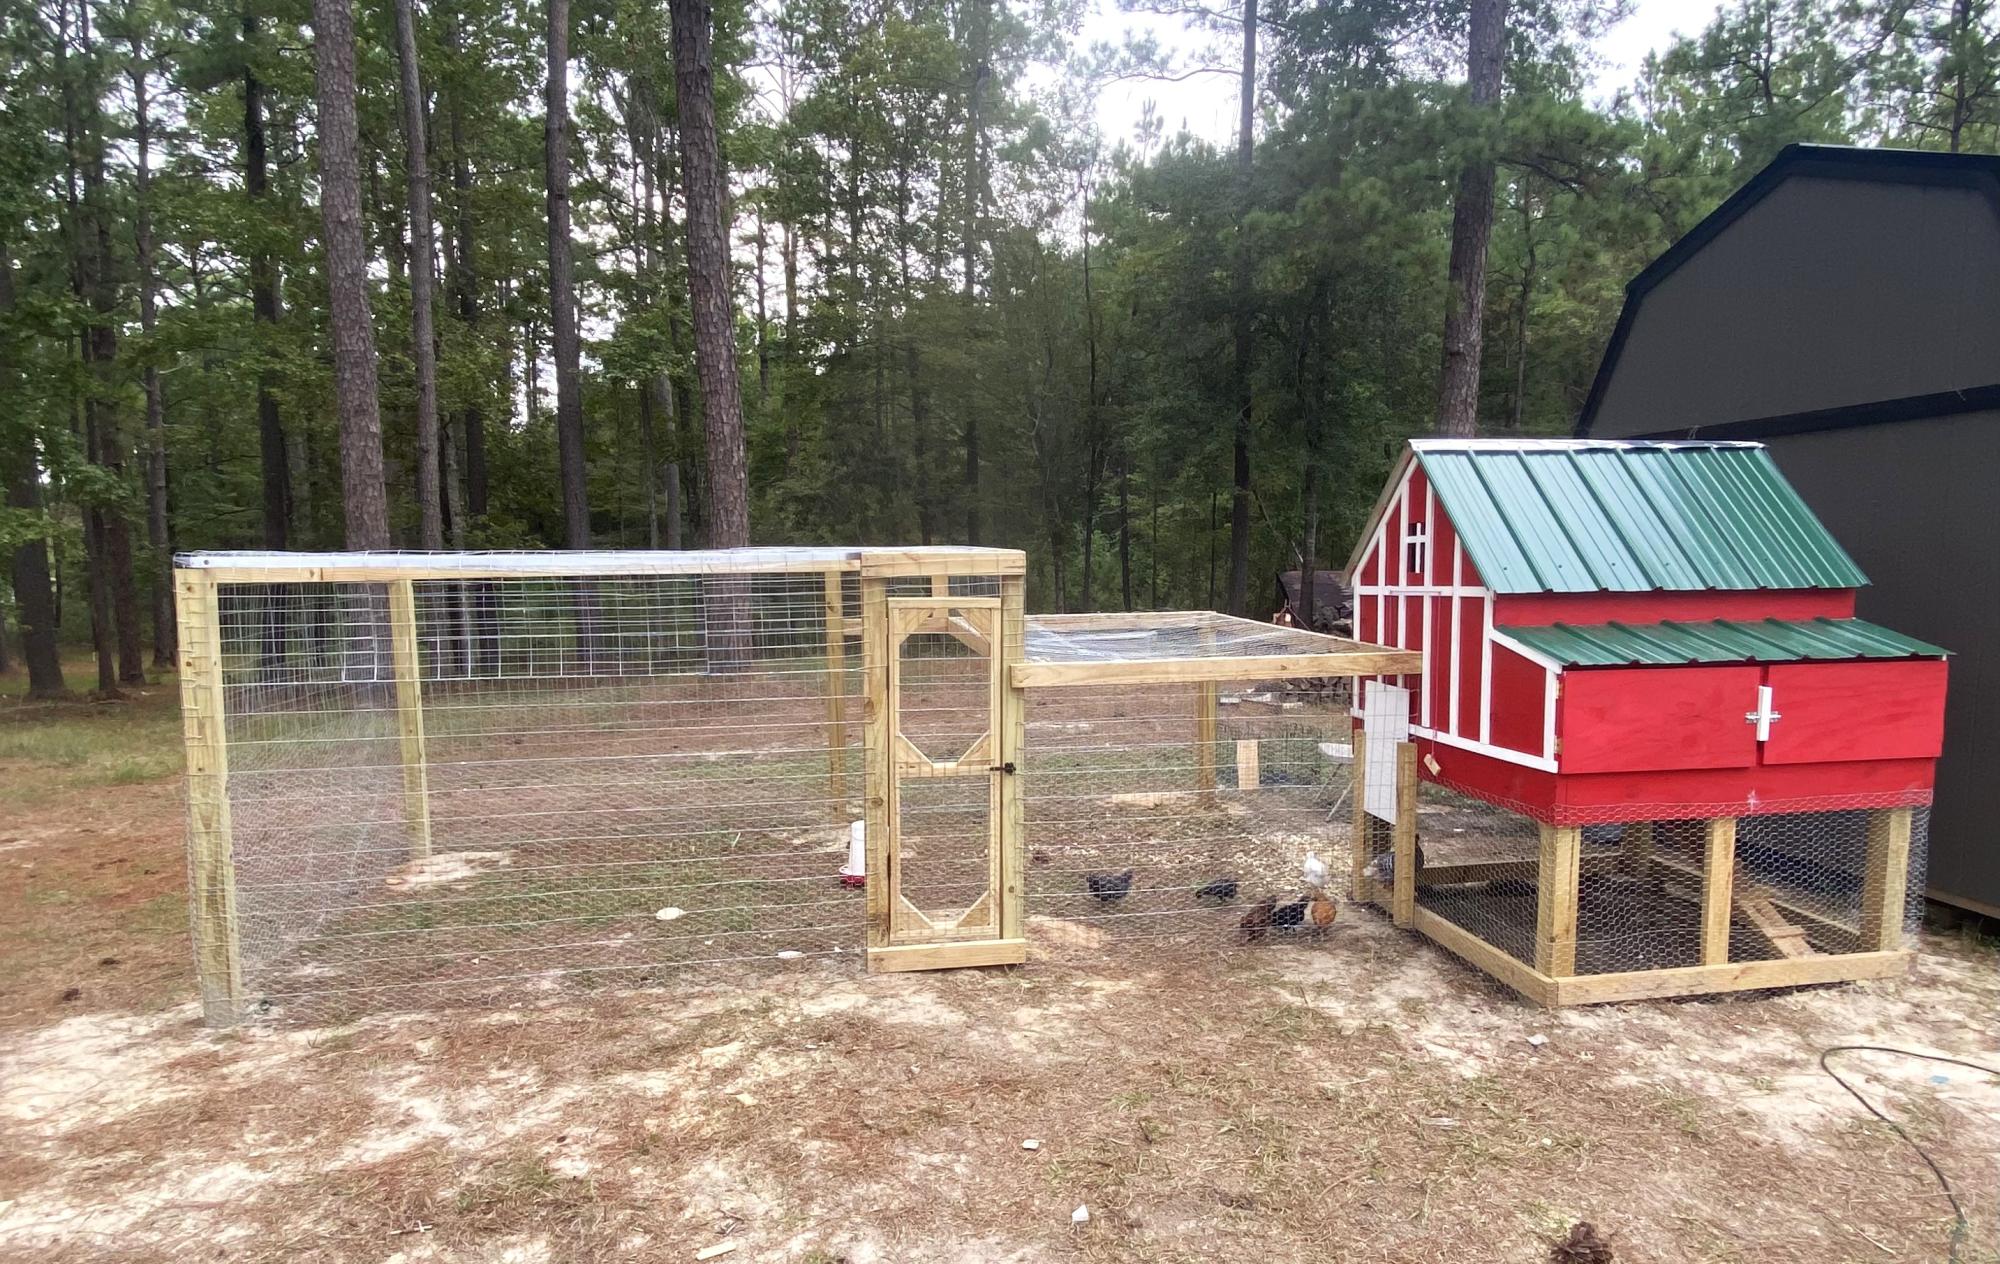
Great for a small flock of 5 or less.  

Comments

Seasonal And Holiday

Closet shelving for sloped ceiling.

Submitted by kellystern on Mon, 01/09/2023 - 16:22

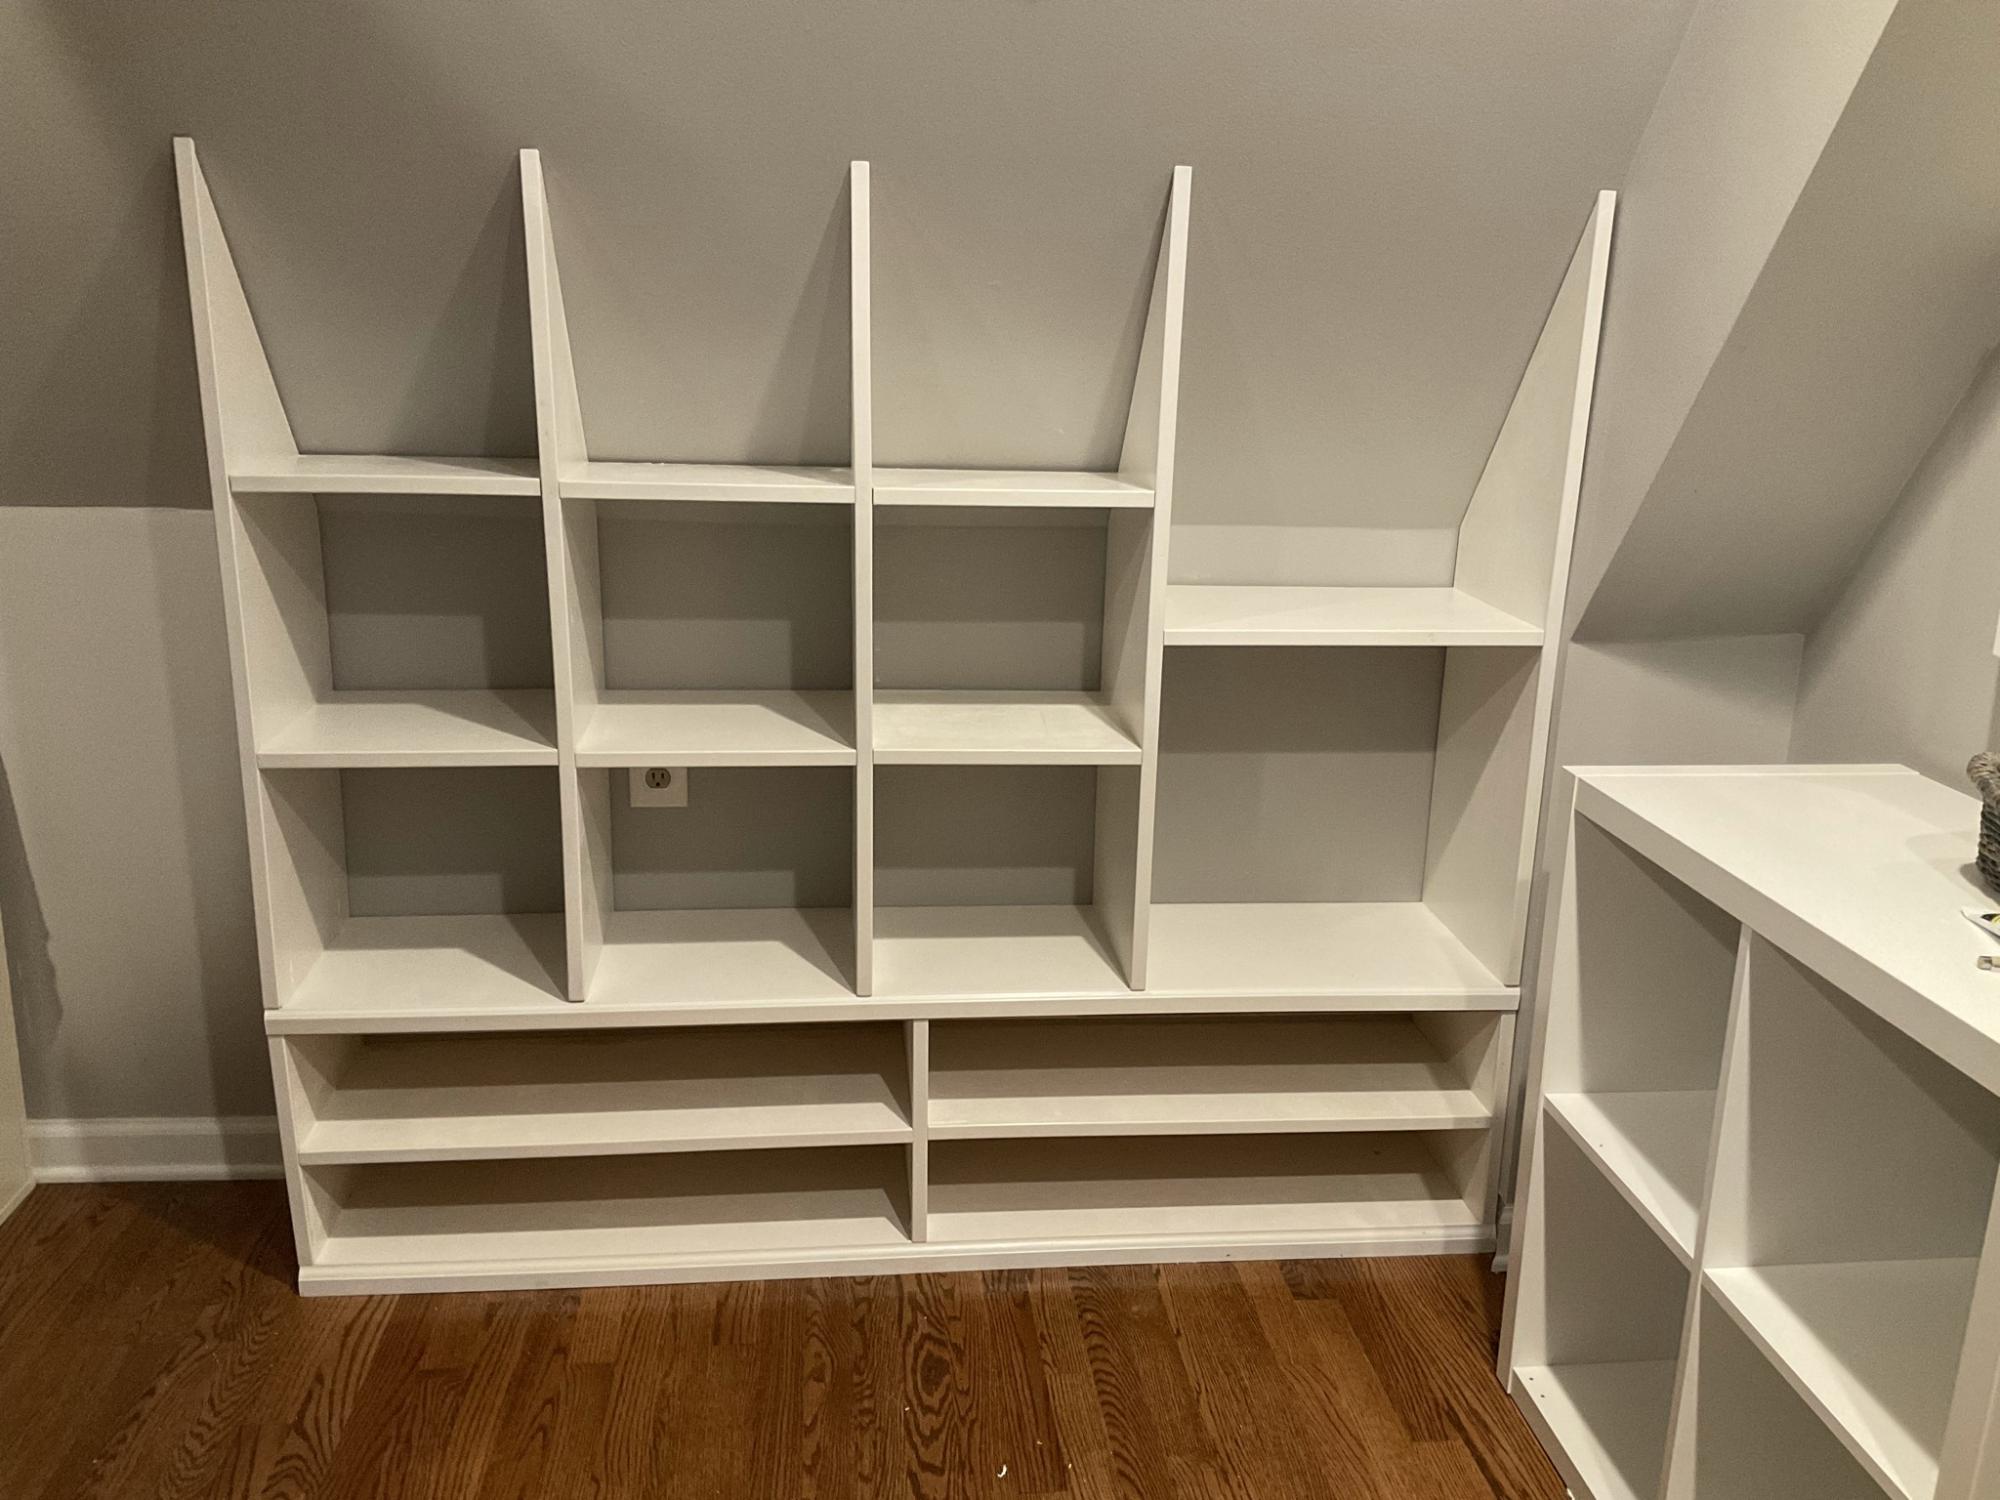
I used Ana’s Shelf Help Configurator to build these shelves for a deeply sloped ceiling. None of those well known Closet Organizer Companies could come up with a decent plan for this closet and they charge a small fortune.

Comments

Privacy Planter Fence

Submitted by Anonymous (not verified) on Fri, 09/08/2023 - 08:25

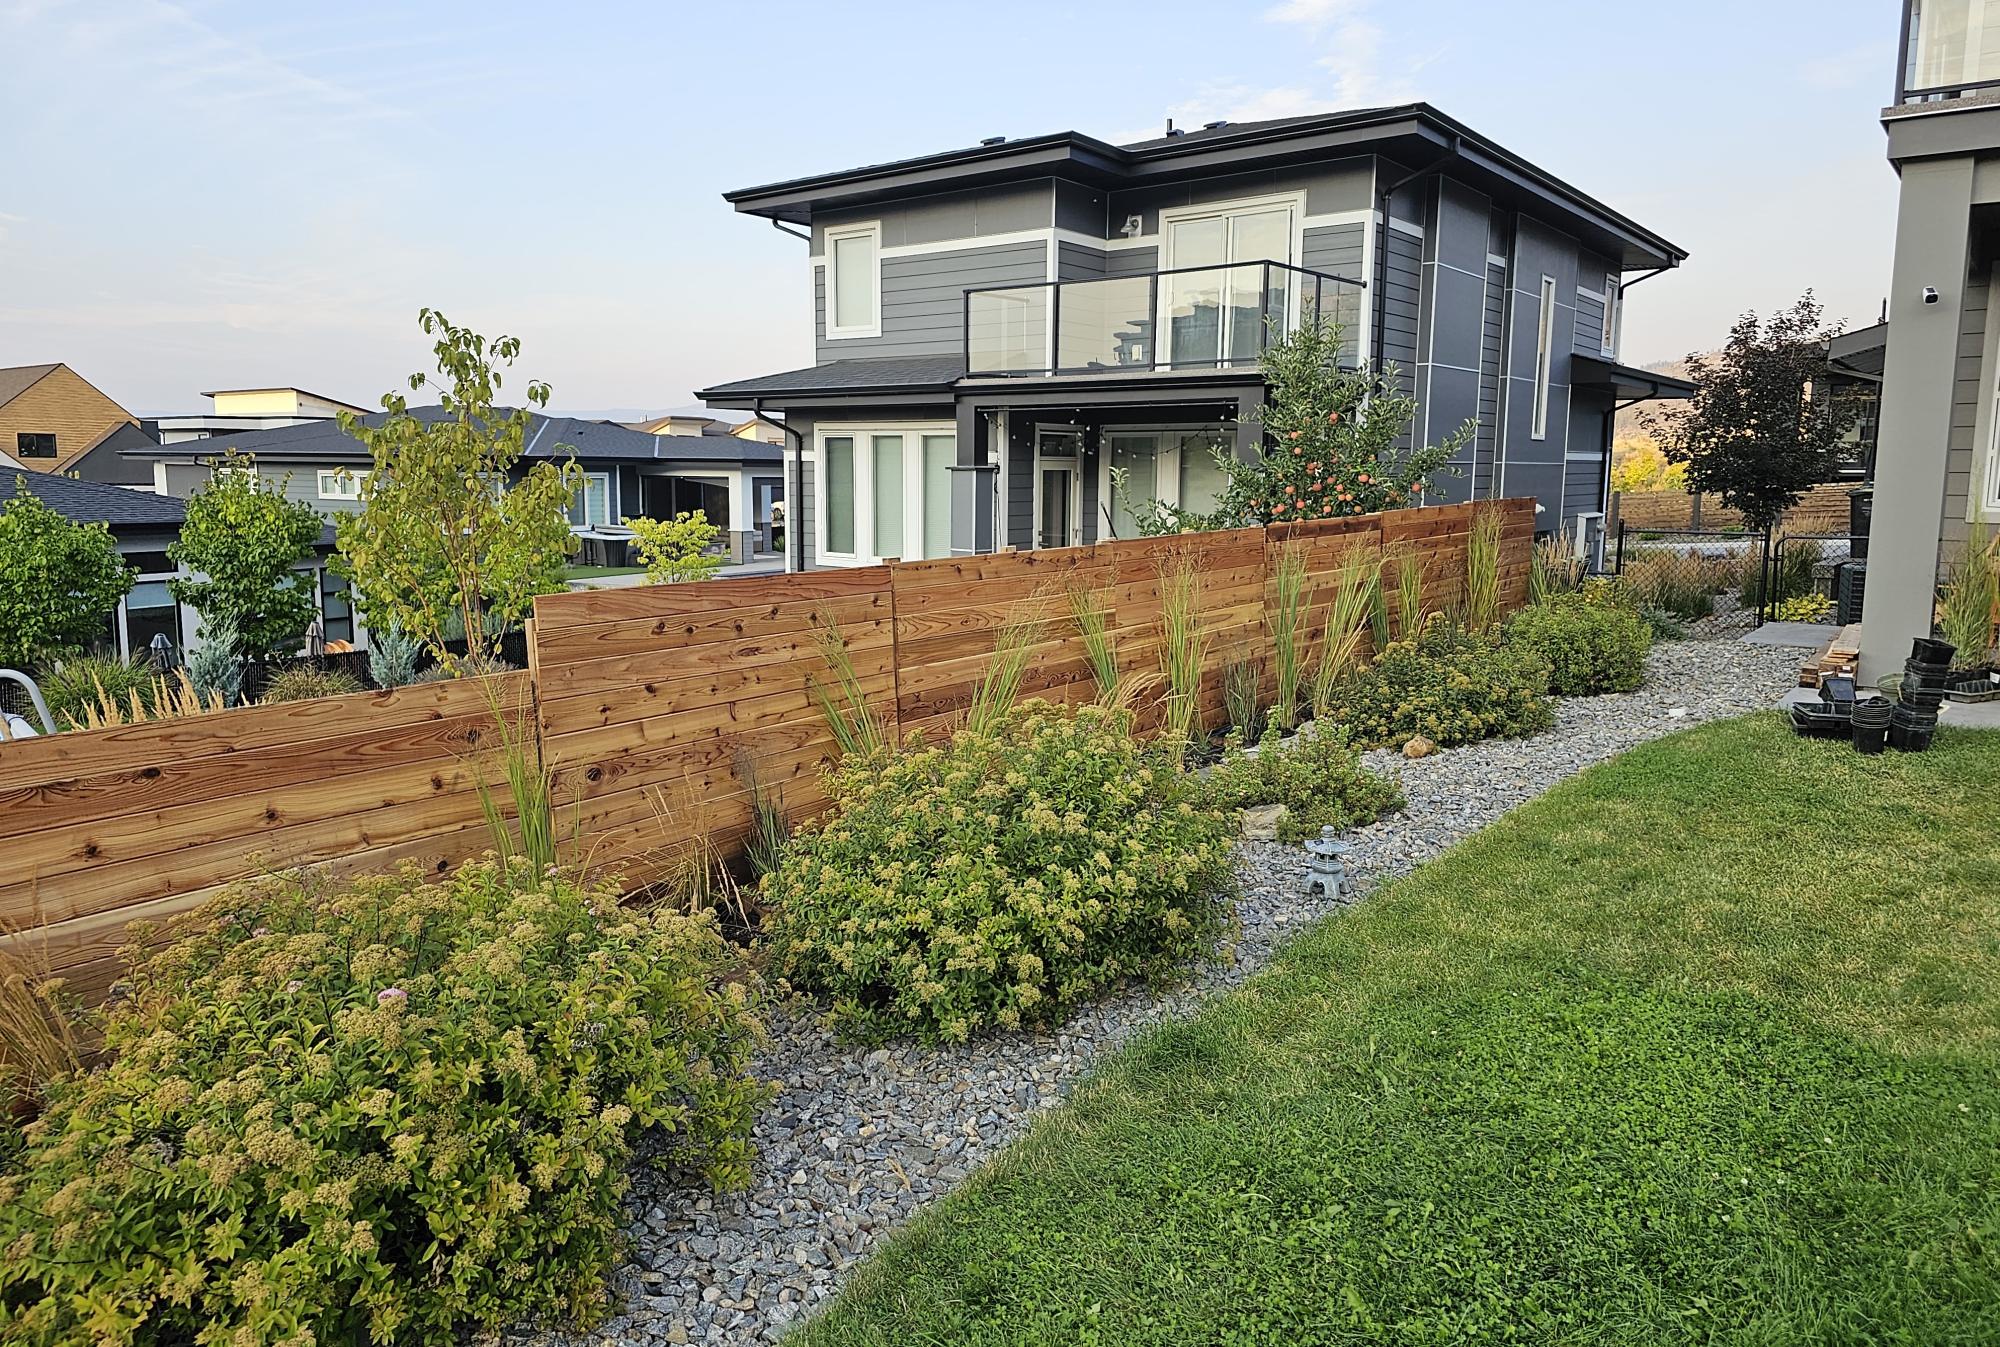
Created a privacy planter fence, using multiple planters. Most of the bases were custom sizes due to the existing rock wall. Tongue and groove cedar utilized and coated with linseed oil. I ensured the frames were square and plumb which the directions omit for some reason. Great week long project!

Kyle

Built from Plan(s)
Seasonal And Holiday

Cedar Outdoor Sofa

Submitted by Anonymous (not verified) on Sat, 10/08/2016 - 18:58

Made an outdoor sofa inspired by Ana White's plan. I made a few modifications including using 2x6's, hiding more of the non-pocket hole screws, using HD pocket holes in more areas and building an incline for the backrest. Cushions are Sunbrella from Lowe's.

Estimated Cost
about $550
Estimated Time Investment
Weekend Project (10-20 Hours)
Finish Used
MinWax Spar Urethane. 2 coats with sanding in between coats using 220 grit
Recommended Skill Level
Intermediate

Comments

Ladder Shelf DIY

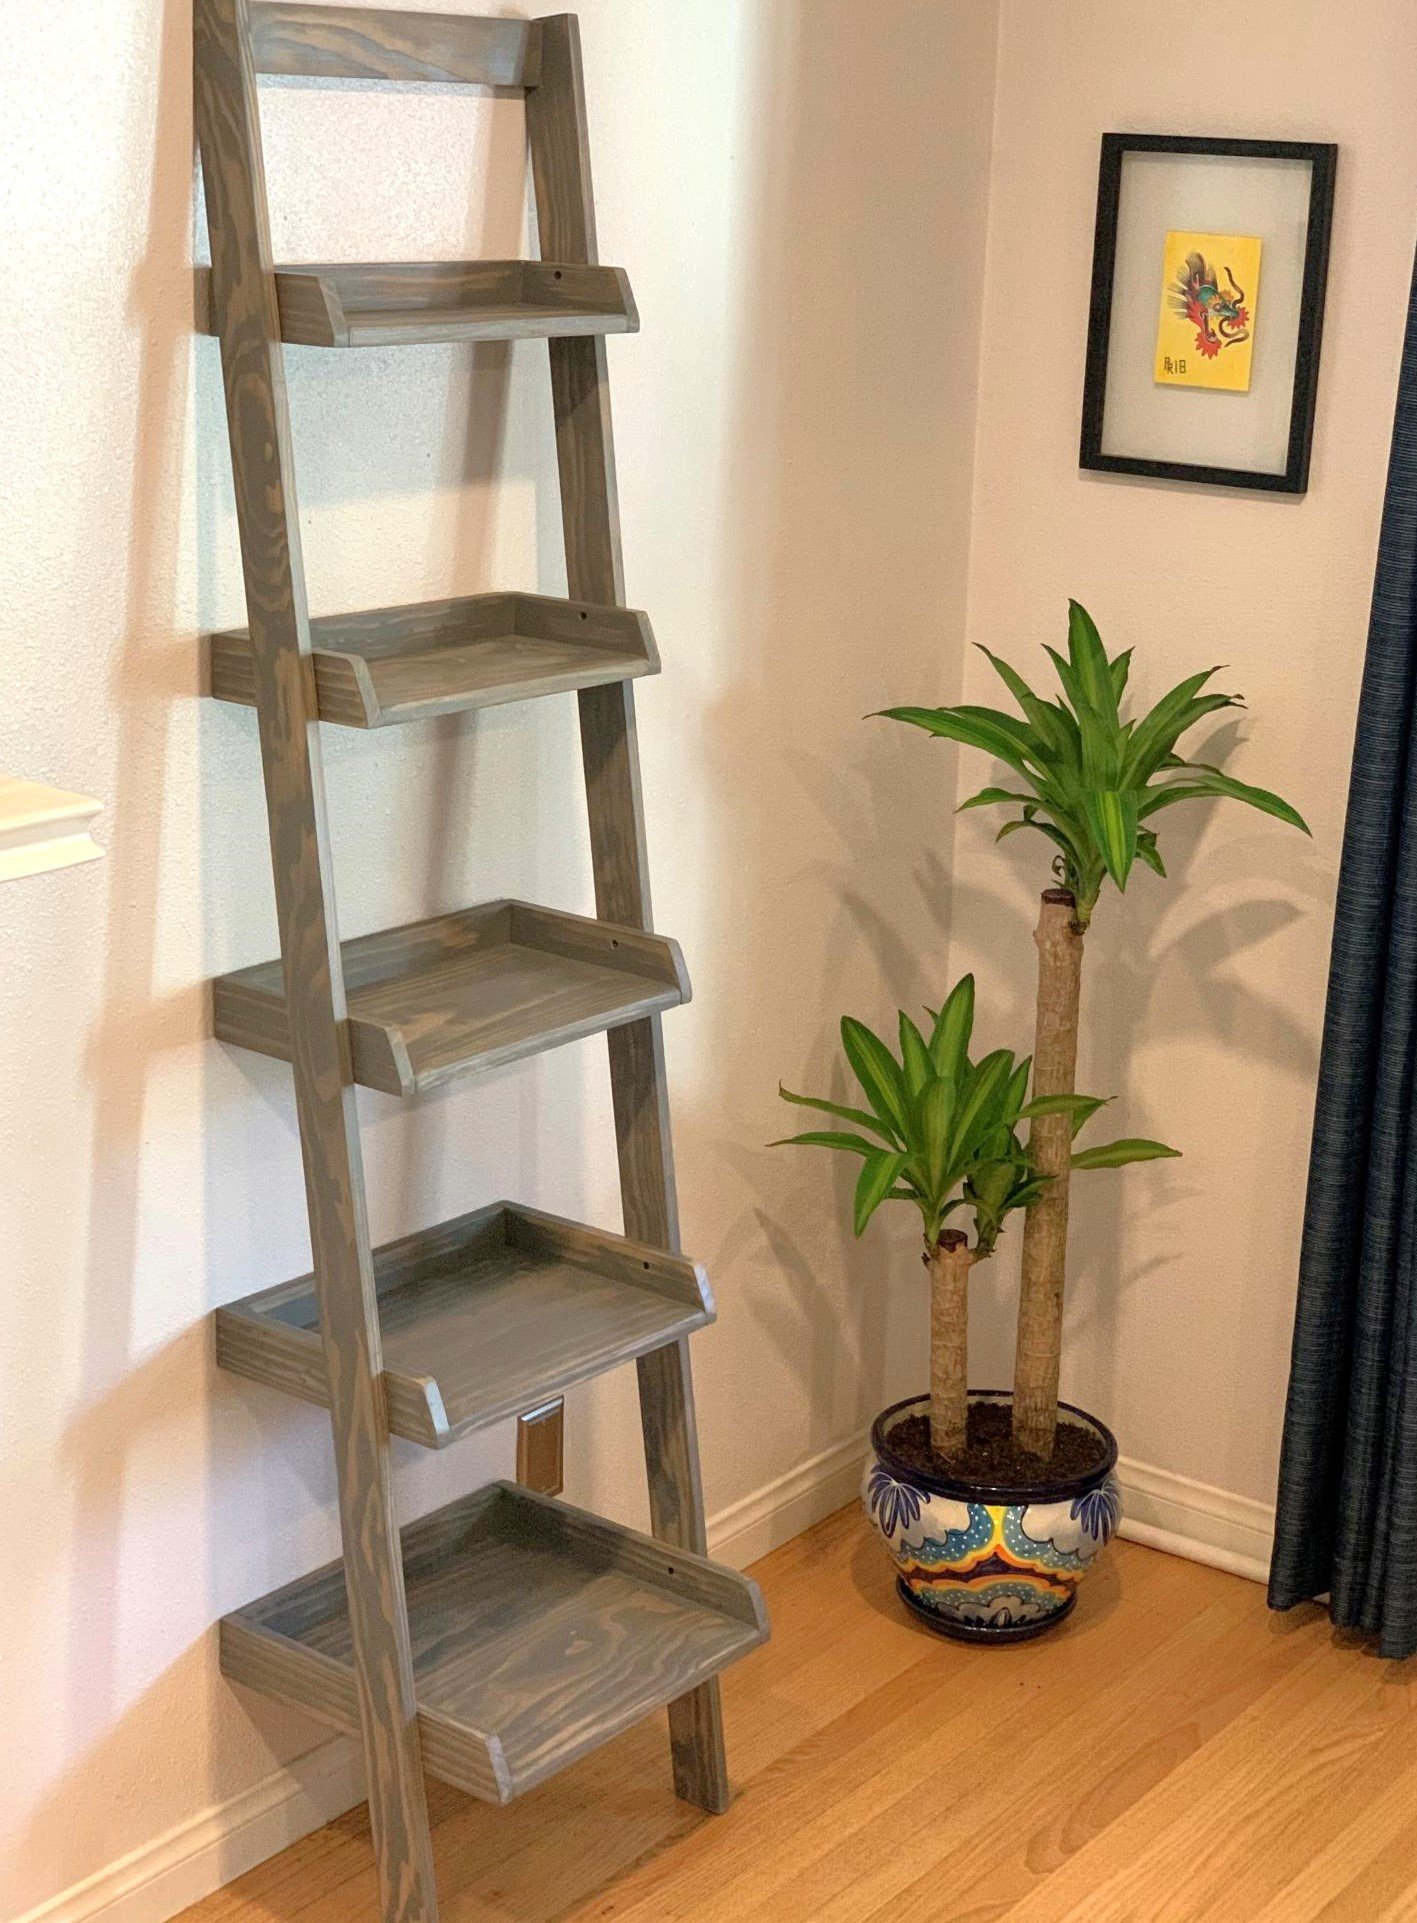
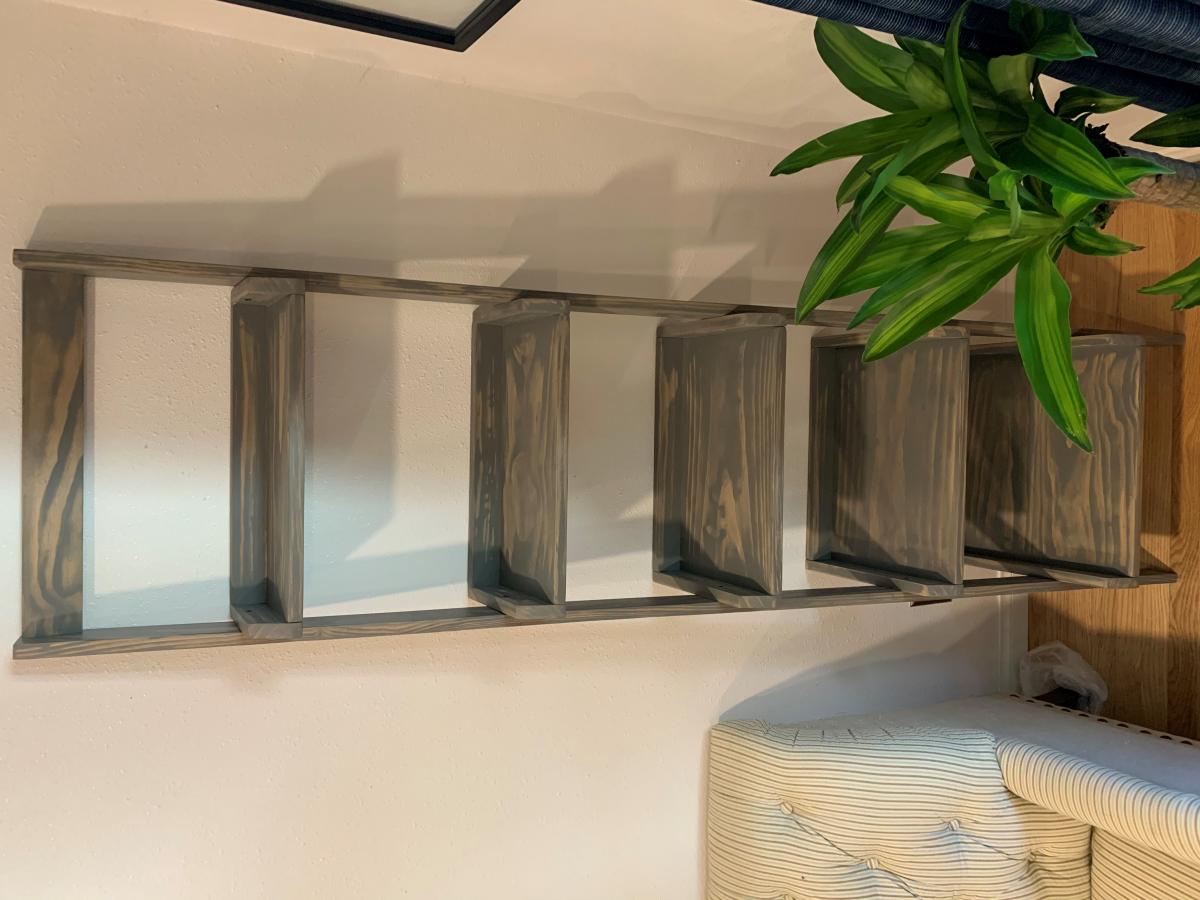
Another one bites the dust. Made this out of Ana instructions for a ladder shelf. Like the way this turned out alot. Ana White knows whats up :)

Built from Plan(s)
Estimated Cost
$100
Estimated Time Investment
Day Project (6-9 Hours)
Finish Used
Minwax Wood Finsih; Classic Grey
Recommended Skill Level
Starter Project

Outdoor Privacy Wall

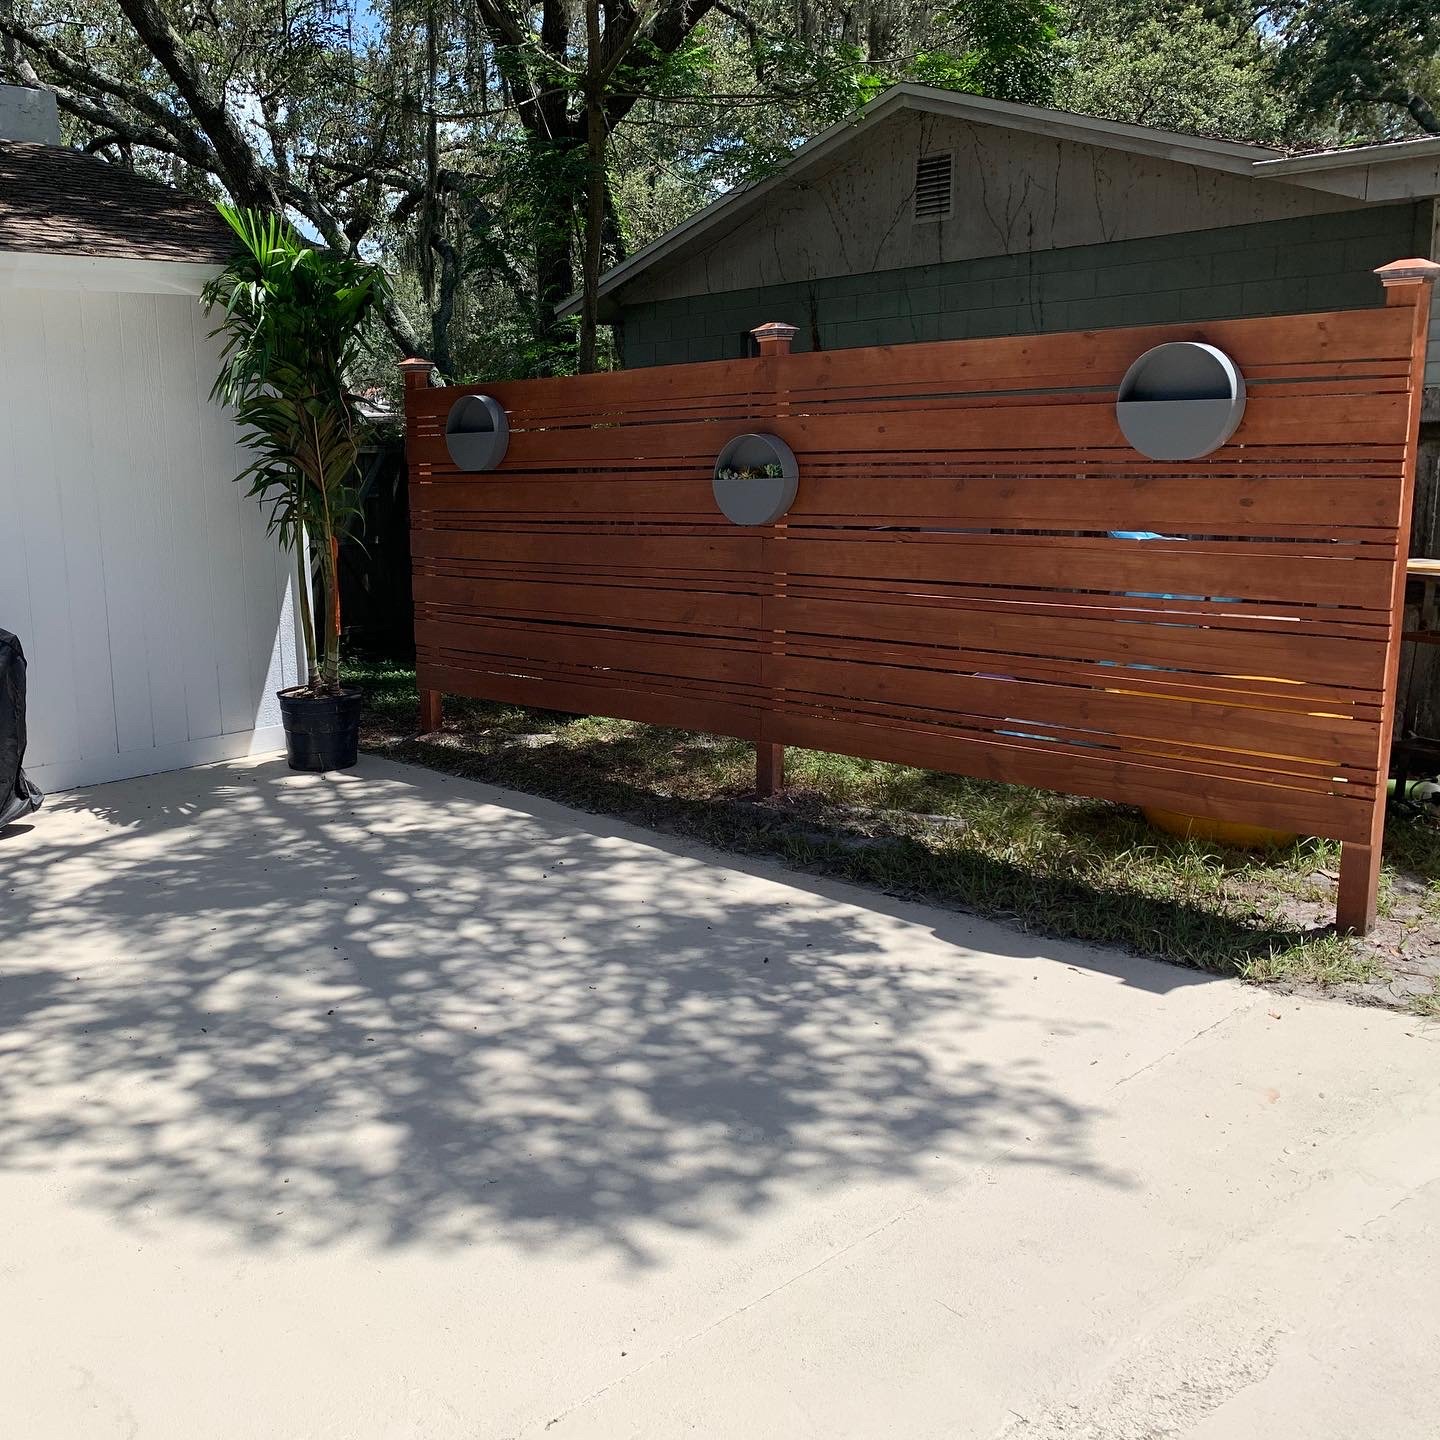
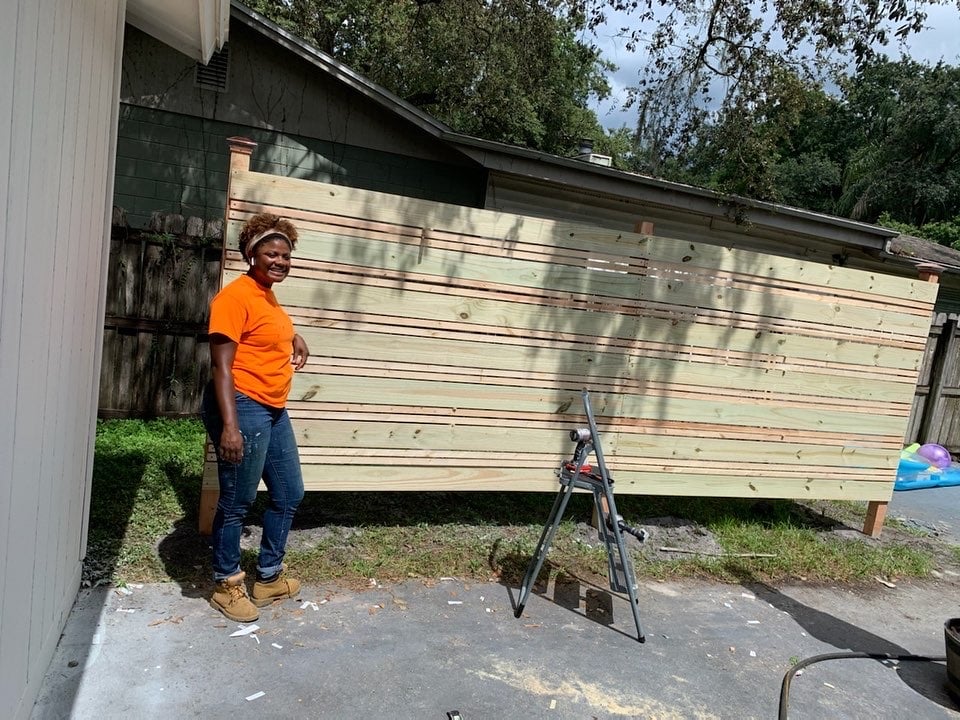
I built this wall to give us a little privacy when our family wants to lay out and go swimming. Also, to hide our neighbor’s ugly fence! The length for all pieces are 8’ long for no cutting and the widths are 1x2, 1x6, 4x4 with 3/4” spacing and about 100 or so deck screws. I modified the pattern from a photo of a fence I seen on HomeDepots YouTube.

Estimated Cost
140
Estimated Time Investment
Afternoon Project (3-6 Hours)
Finish Used
Thompson Waterseal - Semi Transparent - Autumn Brown
Recommended Skill Level
Beginner

Large Old English Style Farmhouse Dining Table

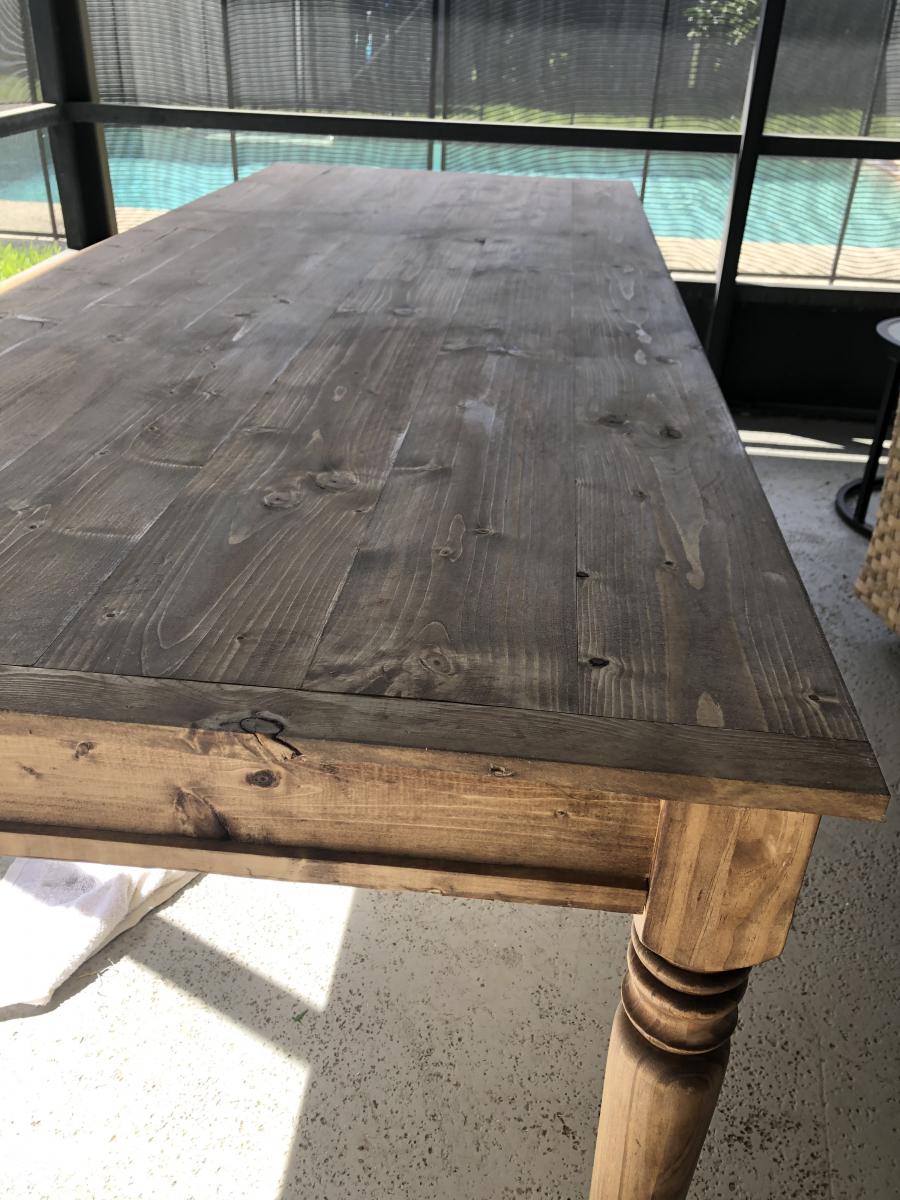
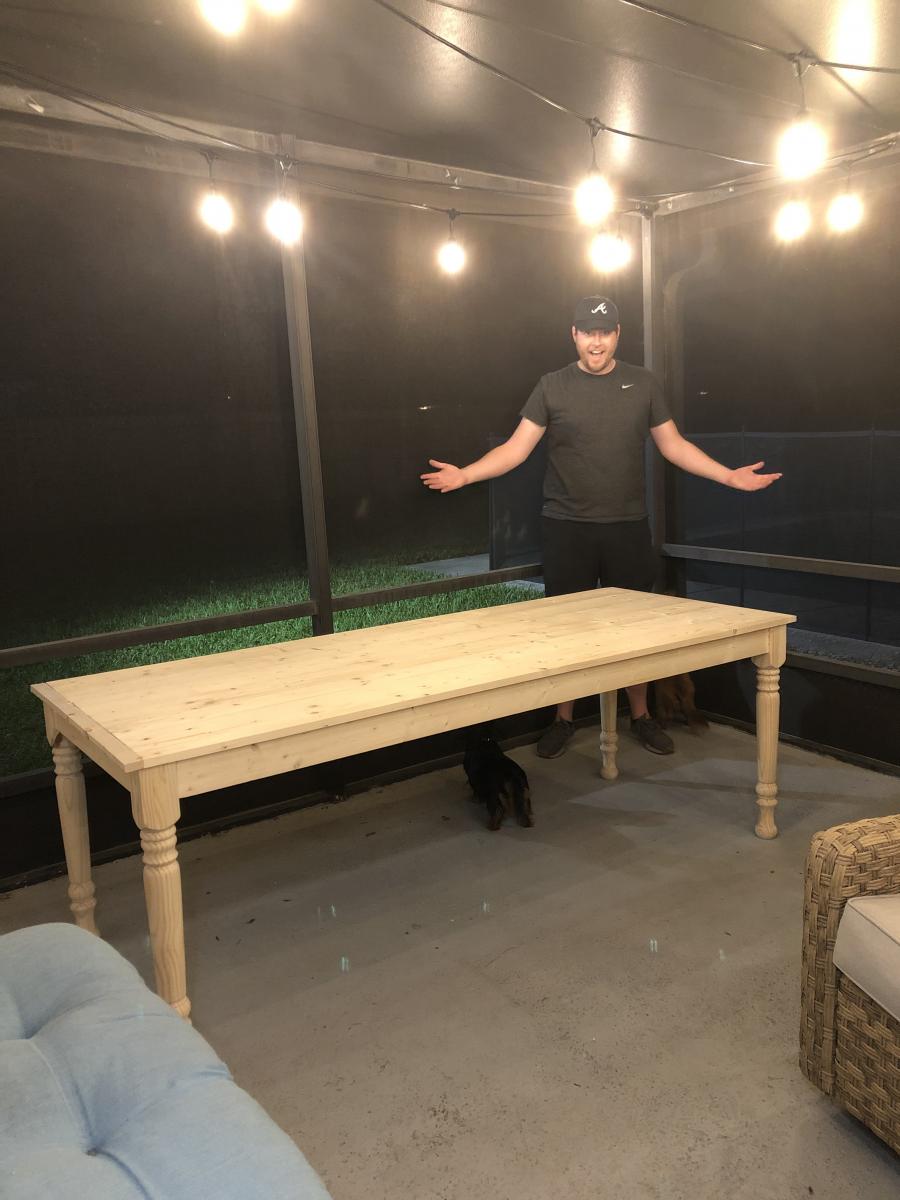
My wife and I were wanting a large outdoor farmhouse table that looked stylish, and like it could have been bought at Pottery Barn or another high-end furniture store. We found this plan that Ana white had made "Small Old English Style Farmhouse Dining Table". We often host groups from our church and will have 15-20 people on our patio or around our pool area, so we needed a bigger table... I just made some modifications to make it longer (7ft) in length to better fit our space and allow for more people to sit.

To make this plan longer, I simply adjusted the cut-list on the long 1x2s, 1x4s, and 1x6; and added a crossbar to prevent the longer tabletop from sagging. I also added the diagonal corner struts to make the table a little sturdier.

Adjusted Shopping List:
4 - 1x2 @ 8ft
5 - 1x4 @ 8 ft
6 - 1x6 @ 8ft
Waterproof 1 1/4" Kreg screws (for outdoor use)
Minwax Weathered Oak
Minwax Vintage Grey

Adjusted Cut-List
• 2 - 1x2 @ 26.5"
• 2 - 1x2 @ 76.5"
• 2 - 1x2 @ ~33.25"
• 2 - 1x4 @ 26.5"
• 2 - 1x4 @ 76.5"
• 4 - 1x4 @ 7.25" w/ 45º miter (diagonal corner supports)
• 1 - 1x4 @ ~28" (Crossbar - I forget the exact measurement)
• 6 - 1x6 @ 82"

For seating we just bought some inexpensive farmhouse weather resistant chairs from Walmart:
https://www.walmart.com/ip/Yaheetech-Metal-Dinning-Chairs-Stackable-Cof…

Estimated Cost
$170
Estimated Time Investment
Day Project (6-9 Hours)
Finish Used
Minwax Early American (base), Minwax Weathered Grey (2nd coat)
(See more on outdoor use of stains: https://ana-white.com/blog/2019/05/outdoor-wood-furniture-finishing-secrets)
Recommended Skill Level
Beginner

Comments

Patriotic Cornhole Boards

Submitted by ae1ret99 on Fri, 07/16/2021 - 13:30

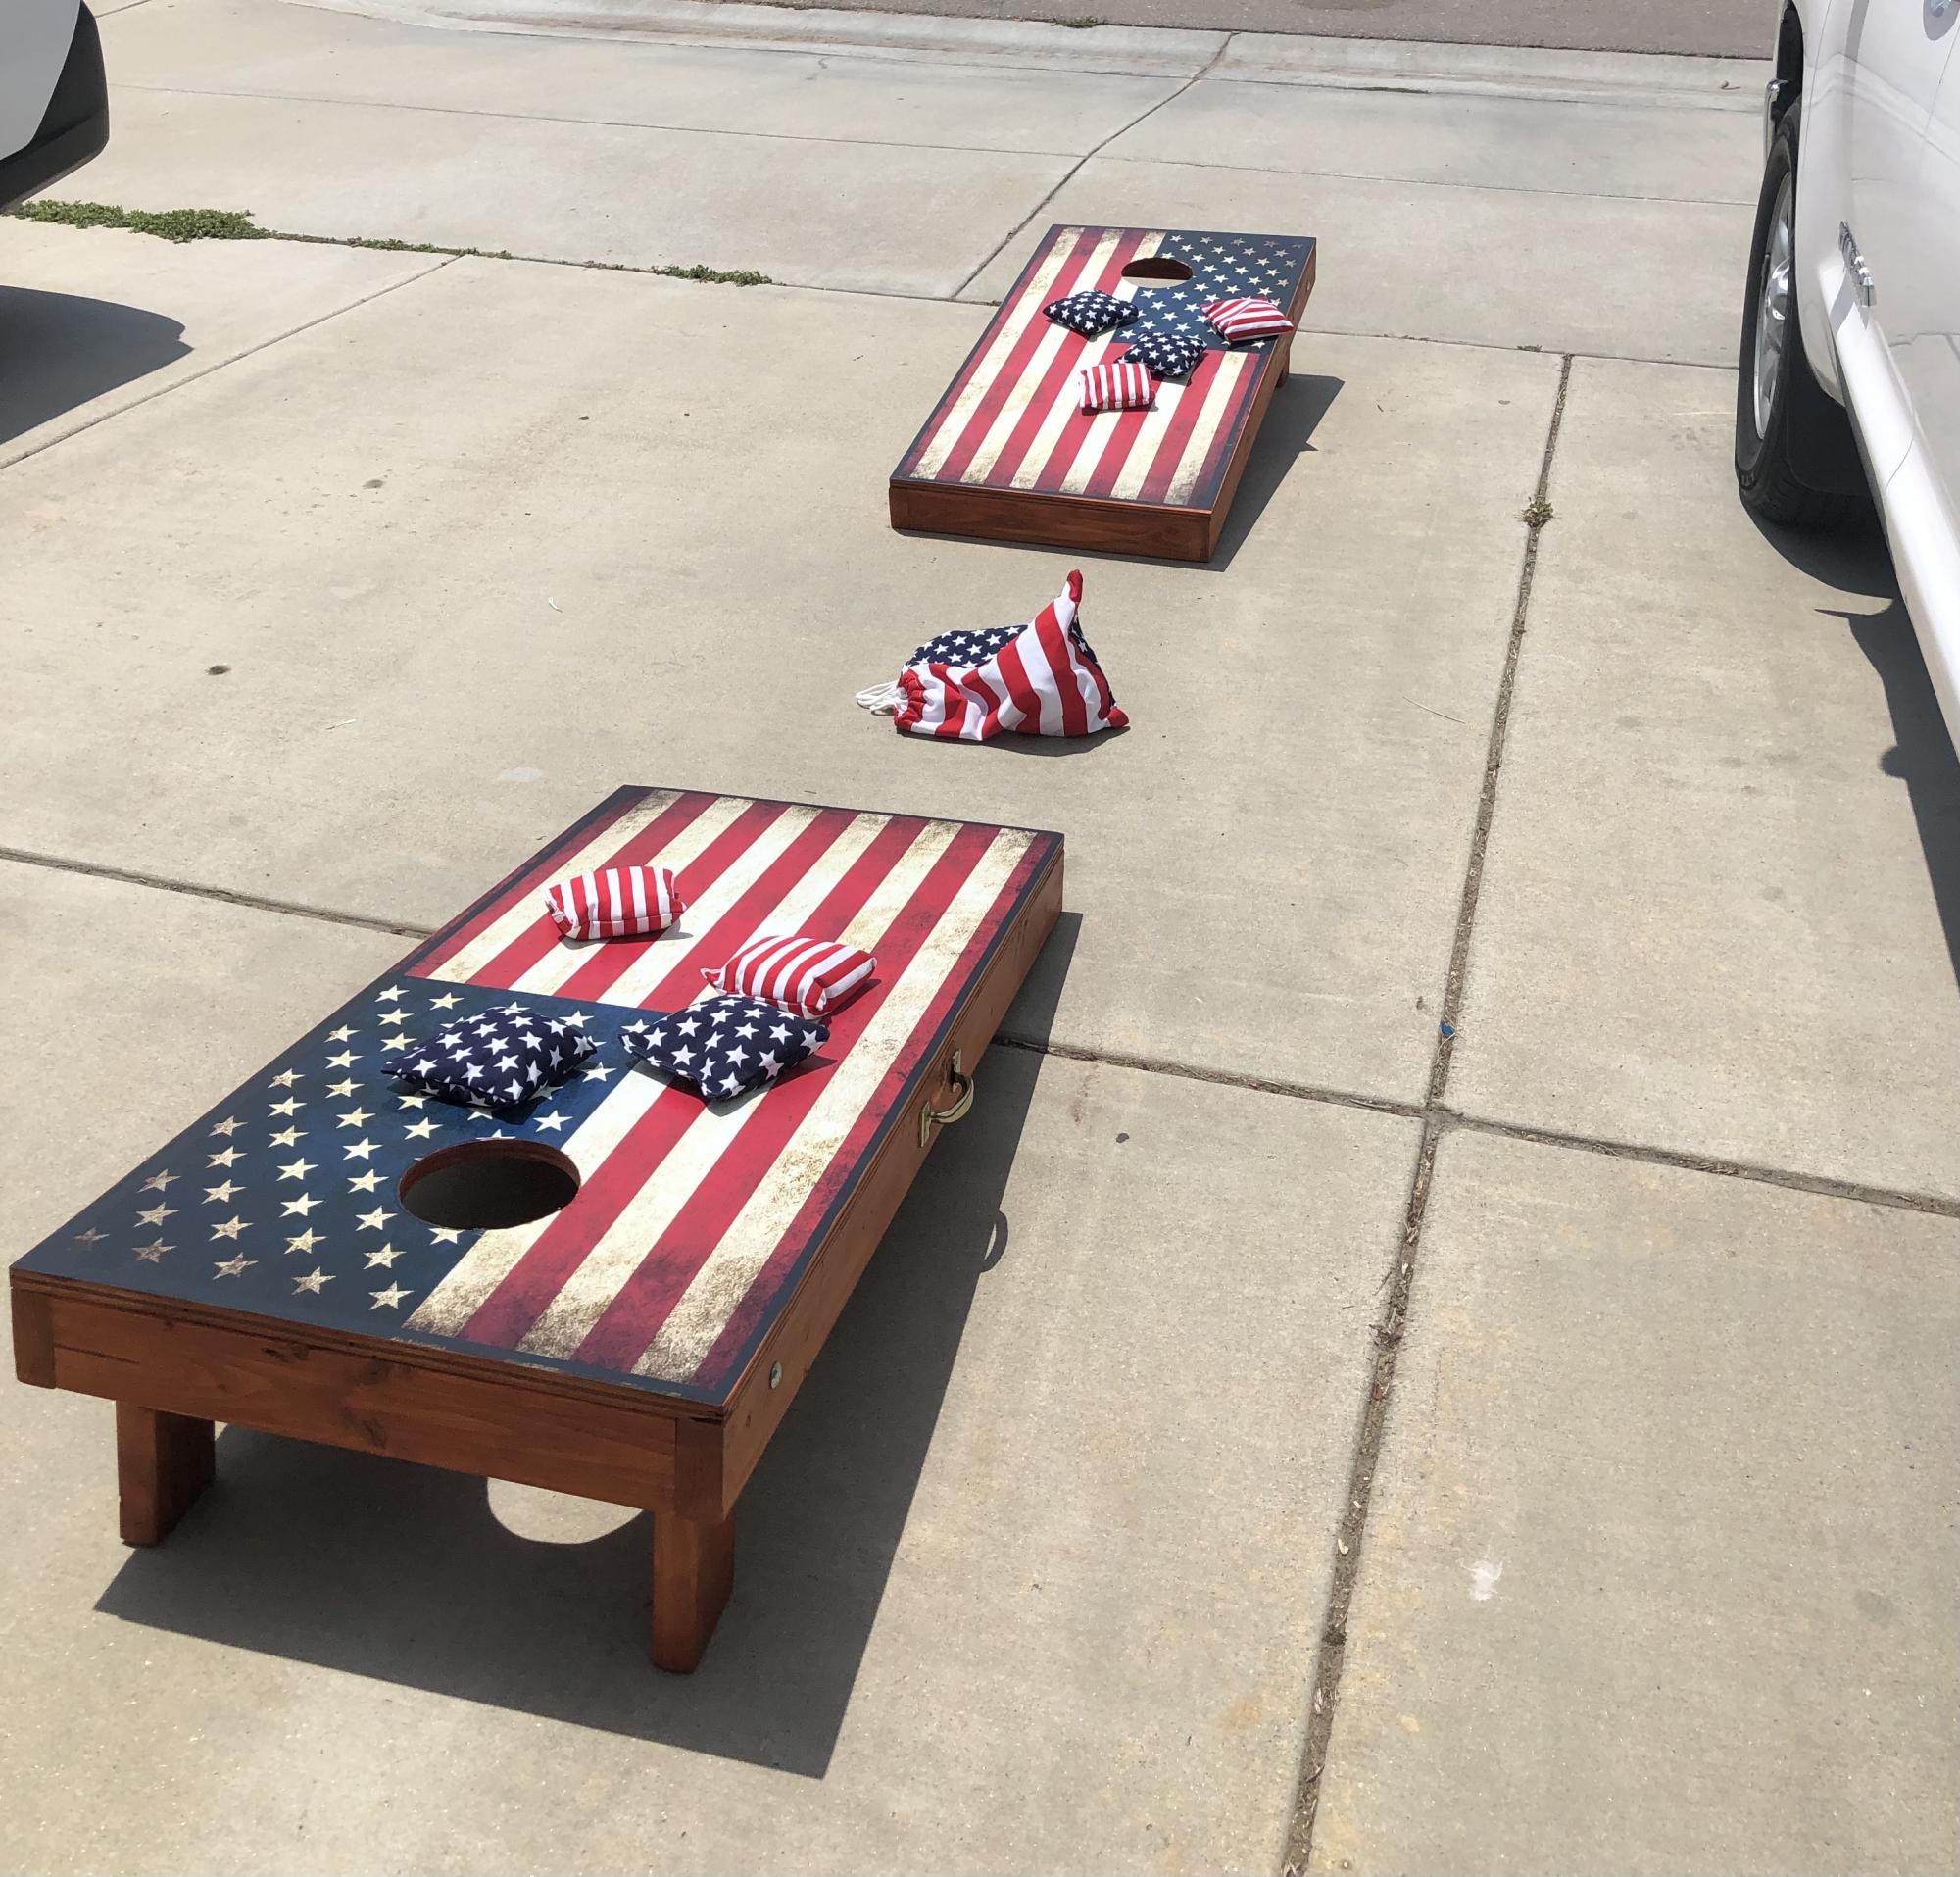
I wanted some Cornhole Boards and I wanted to make them myself. I used some vinyl stickers (distressed American flags) that I got on Amazon! I also bought the Cornhole Bag set on Amazon as well! I added some carrying handles from hardware At Home Depot. I found the link here on Ana's website! I love them!

Estimated Cost
$150
Estimated Time Investment
Weekend Project (10-20 Hours)
Finish Used
Stained the base with Valspar Redwood tone from Lowe's. Then applied some water-based poly over the top.
Recommended Skill Level
Intermediate

Comments

Router Table

Submitted by benbutler on Sun, 04/21/2013 - 10:51

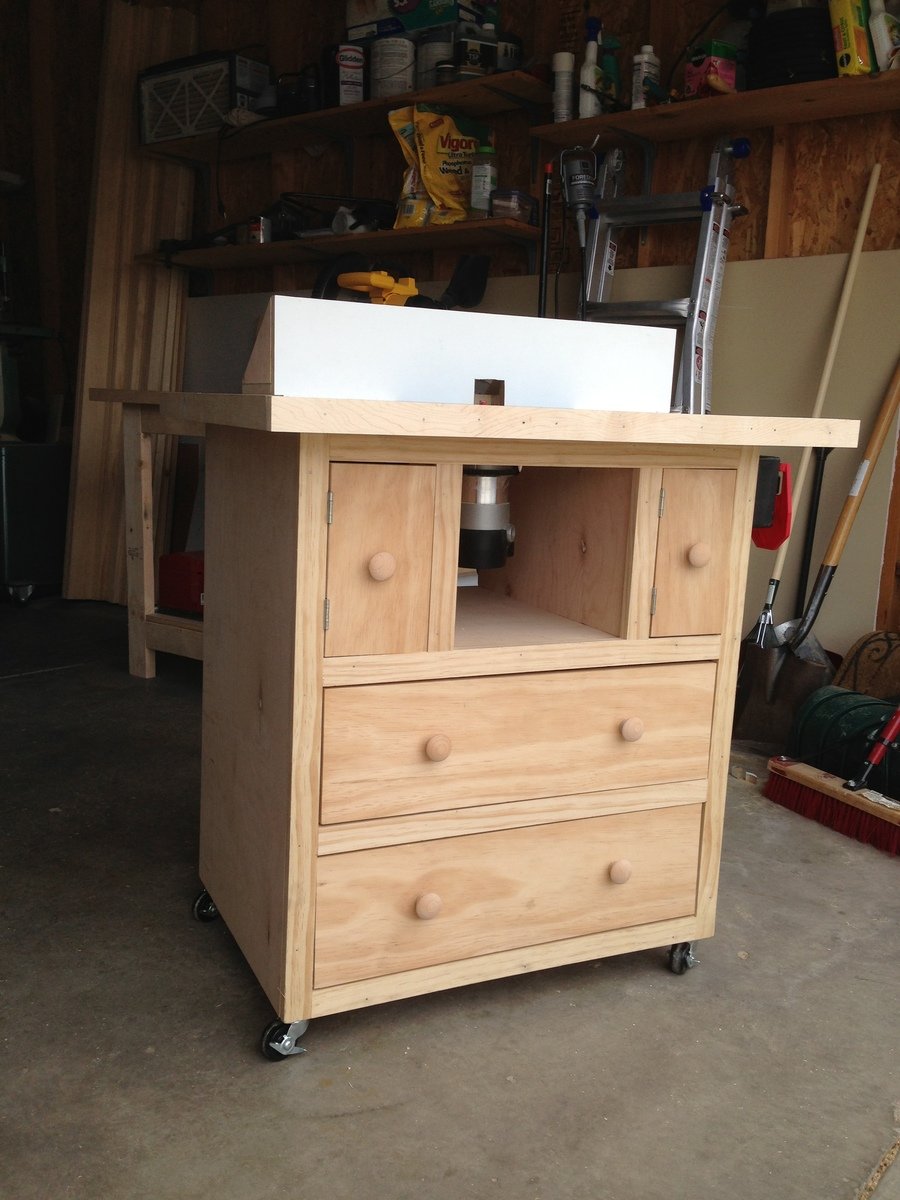
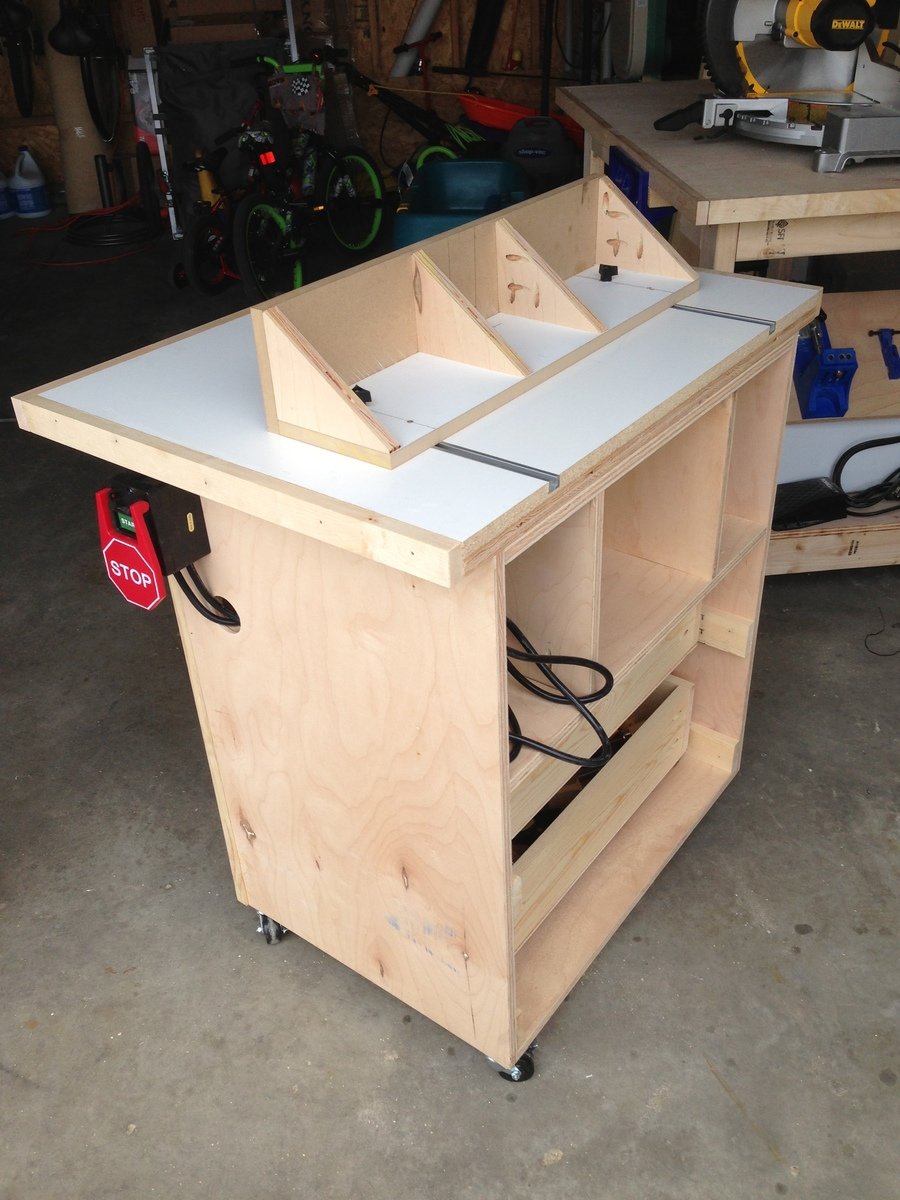
My wife has been asking for new dressers for the boy's room for a while now but every time we go out shopping for them I am very disappointed in the quality of what is available. So I decided to make them myself. I have not made any furniture before and needed a few tools to help me out and thought what better way to get both the practice and the tools then build my own router table.

I searched the web for plans and found these great ones. I loved these plans but wanted to make a couple of changes anyway. I decide to build the table top as well as the cabinet and decided to make it a little taller to fit me better. Due to the changes and making the table top it took me 2 days to finish, 1 day for the cabinet and 1 for the top and to put it all together. (Not having used a router before it took me a while to get the template just right to cut in the insert.)

It works great and looks great in my shop. Now on to the dressers.

Built from Plan(s)
Estimated Cost
350 with the router
Estimated Time Investment
Weekend Project (10-20 Hours)
Finish Used
none
Recommended Skill Level
Beginner

Comments

Chicken Coop to Greenhouse

Submitted by Anonymous (not verified) on Sat, 02/05/2022 - 06:39

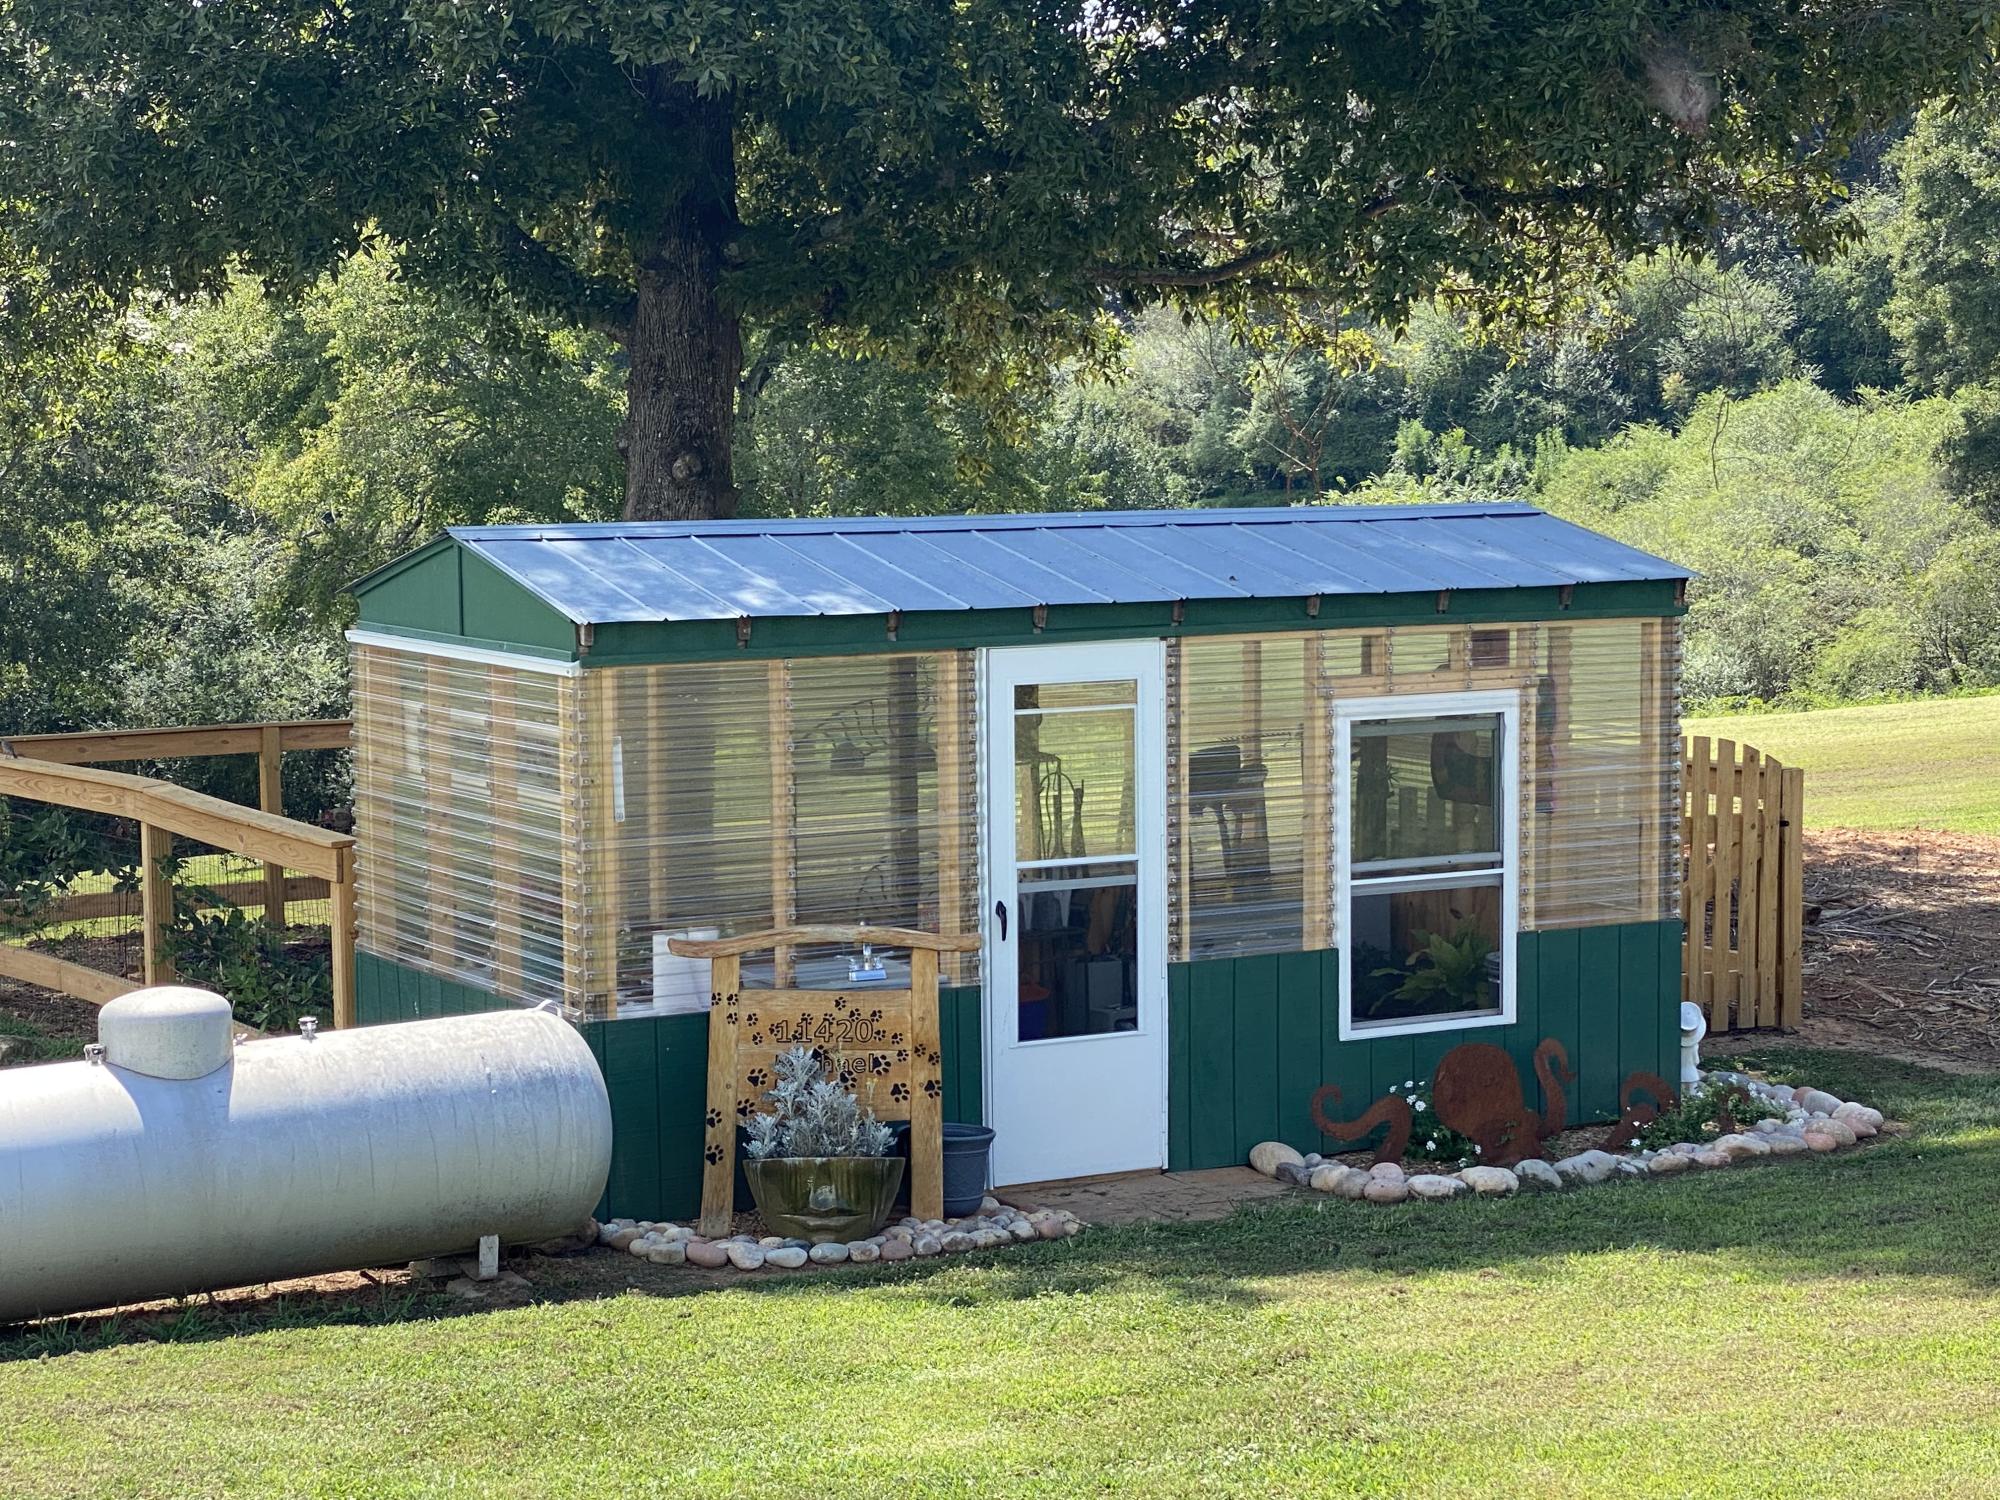
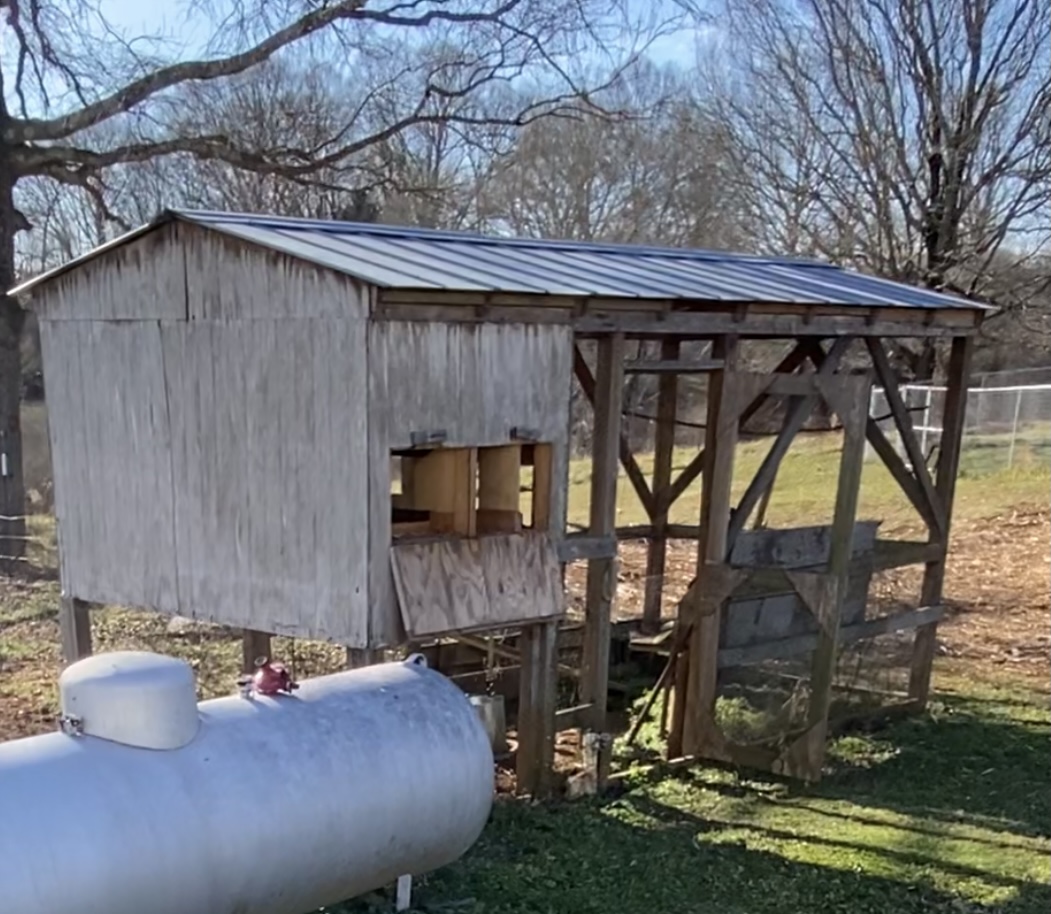
Using a couple of the Ana White Plans and YouTube videos, converted a run-down, Carpenter Bee infested chicken coop into a functional greenhouse with running water and electricity.

Comments

Laundry bins

Submitted by wy2ak on Mon, 05/07/2018 - 19:57

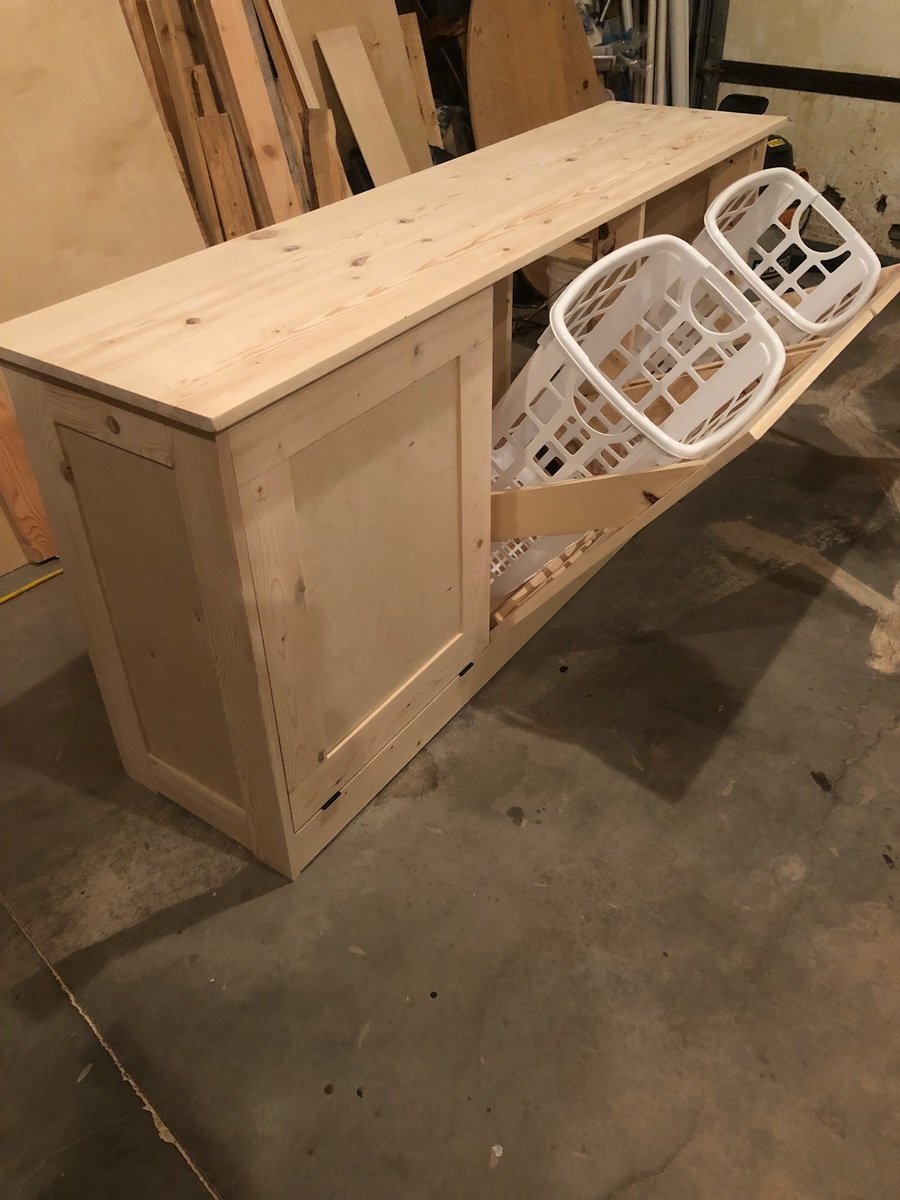
This was a build from a picture and made to fit into a space we have in the laundry room. Used the Kreg jig for much of it. 

Estimated Time Investment
Week Long Project (20 Hours or More)
Finish Used
Will be painted and distressed
Recommended Skill Level
Intermediate

Comments

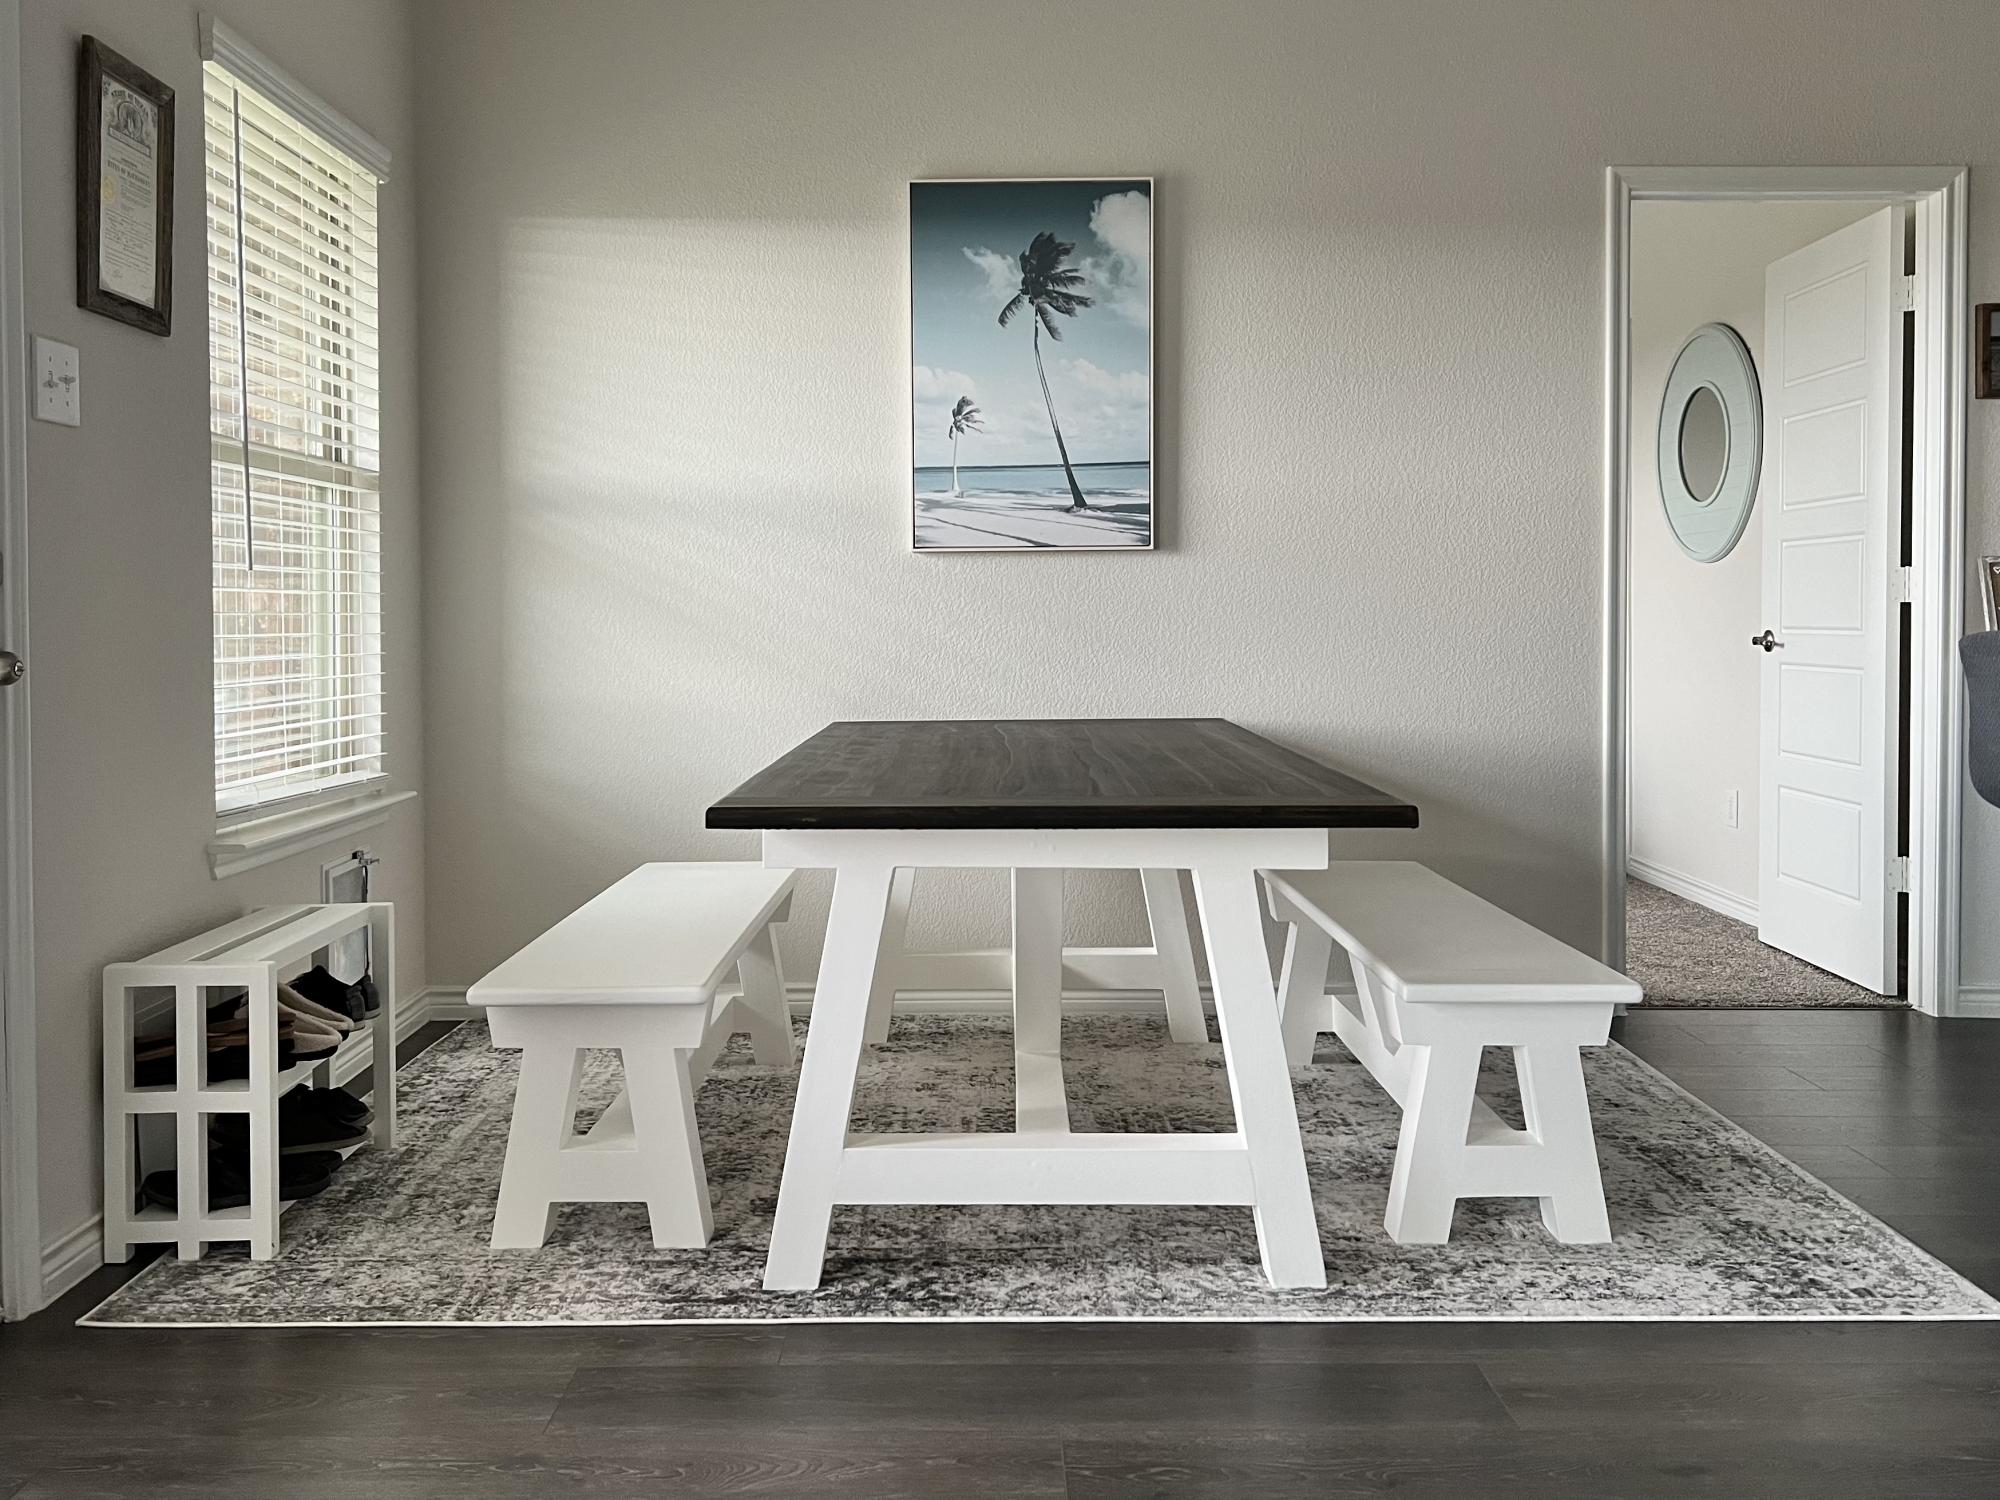
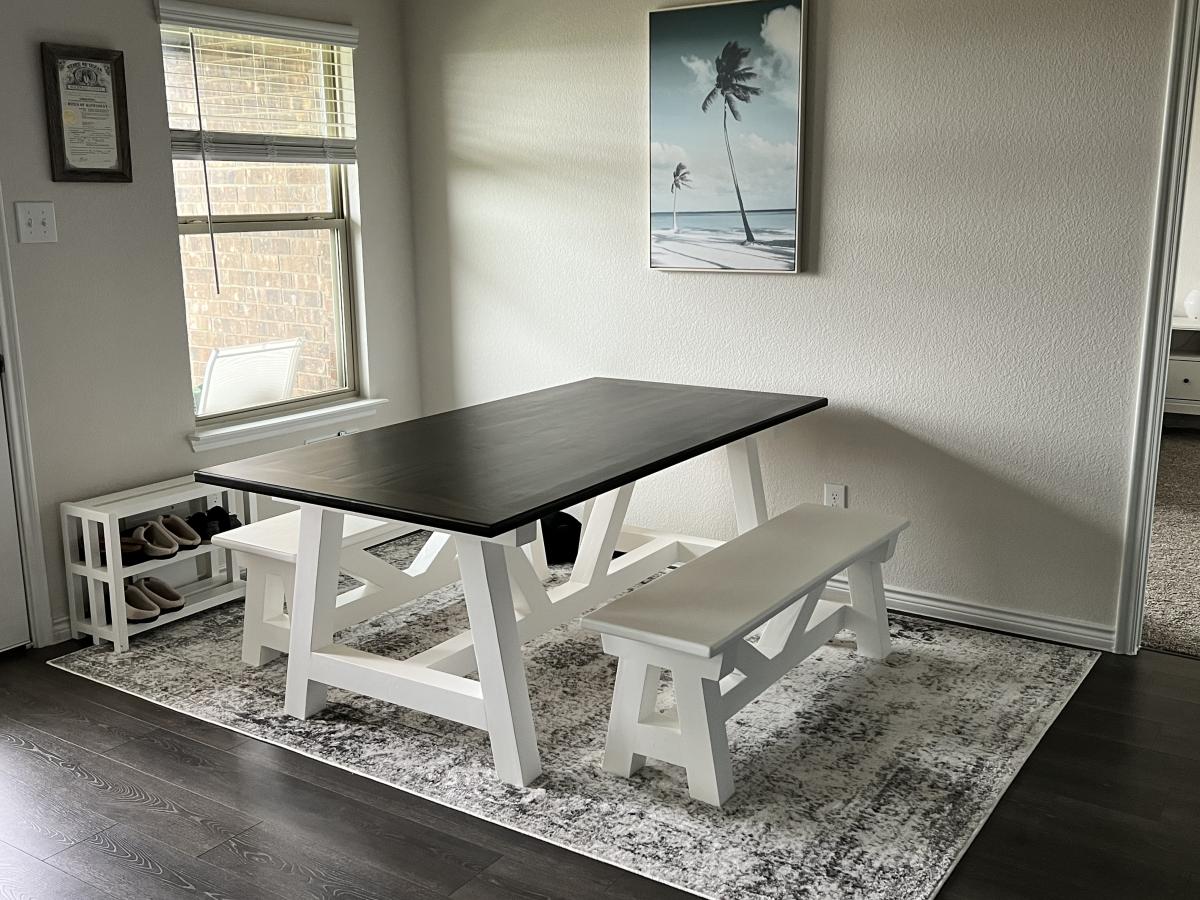
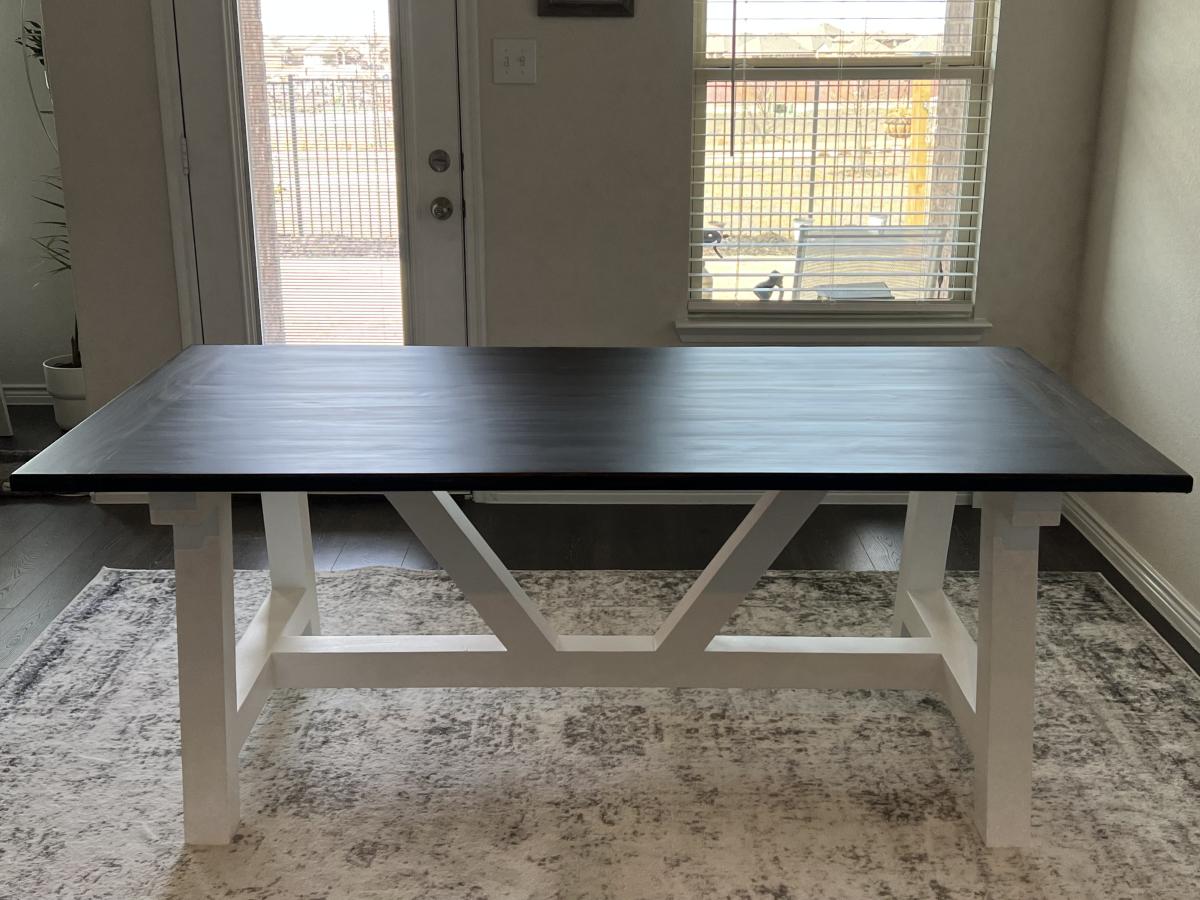
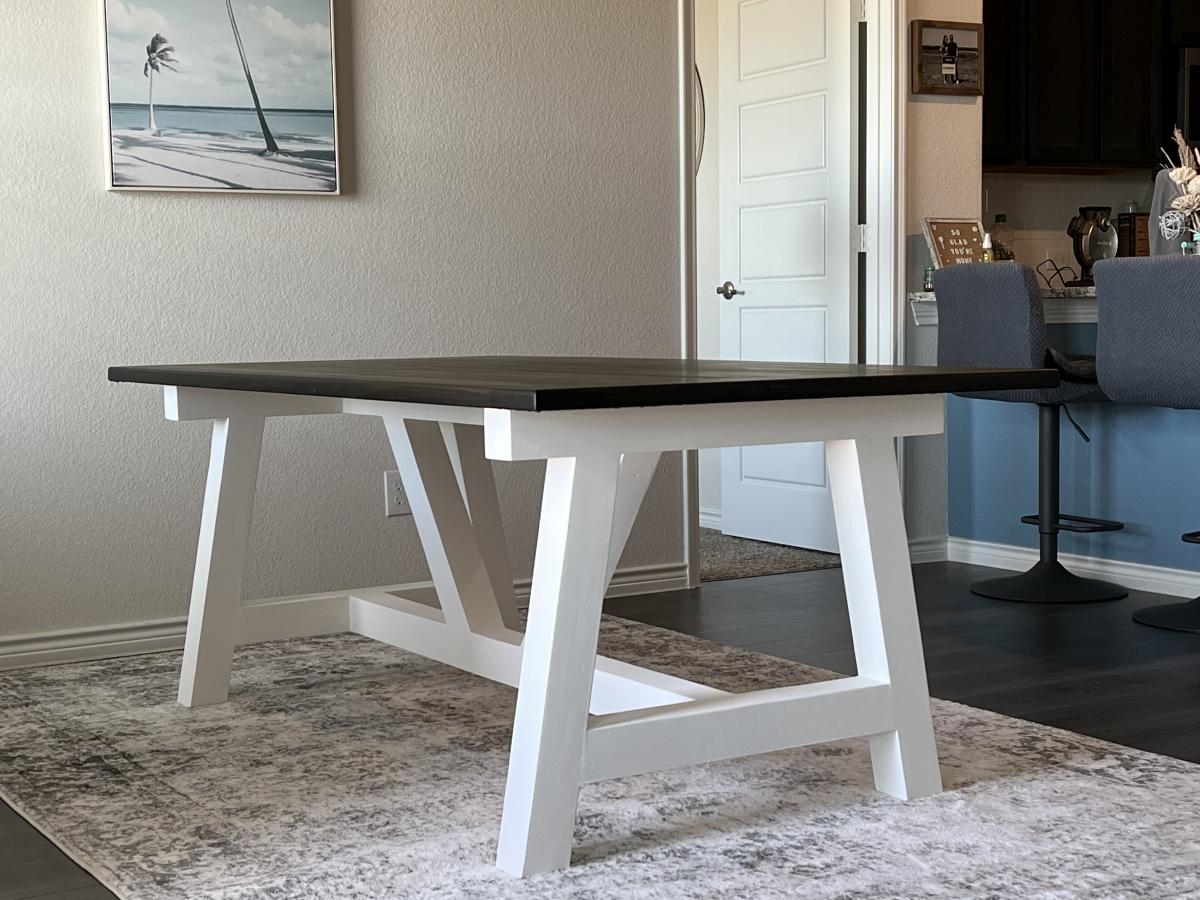
Farmhouse 4x4 Truss Table & Benches (Glue & Dowels)

Submitted by Anonymous (not verified) on Wed, 06/22/2022 - 07:16

Built this from the plans and customized so it was a finer finish. No pocket holes, went with dowels and glue. Some screws in base for added strength.

Comments

Back