Community Brag Posts

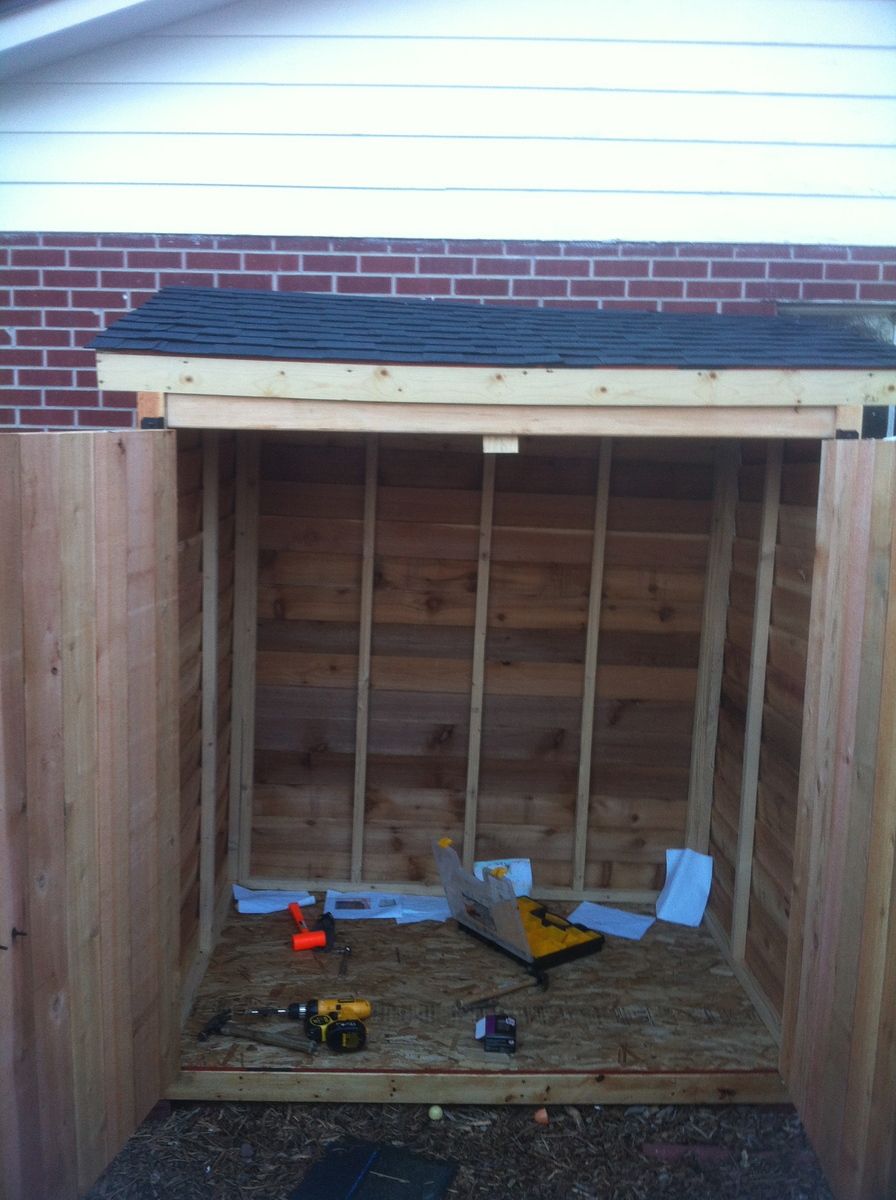
small shed

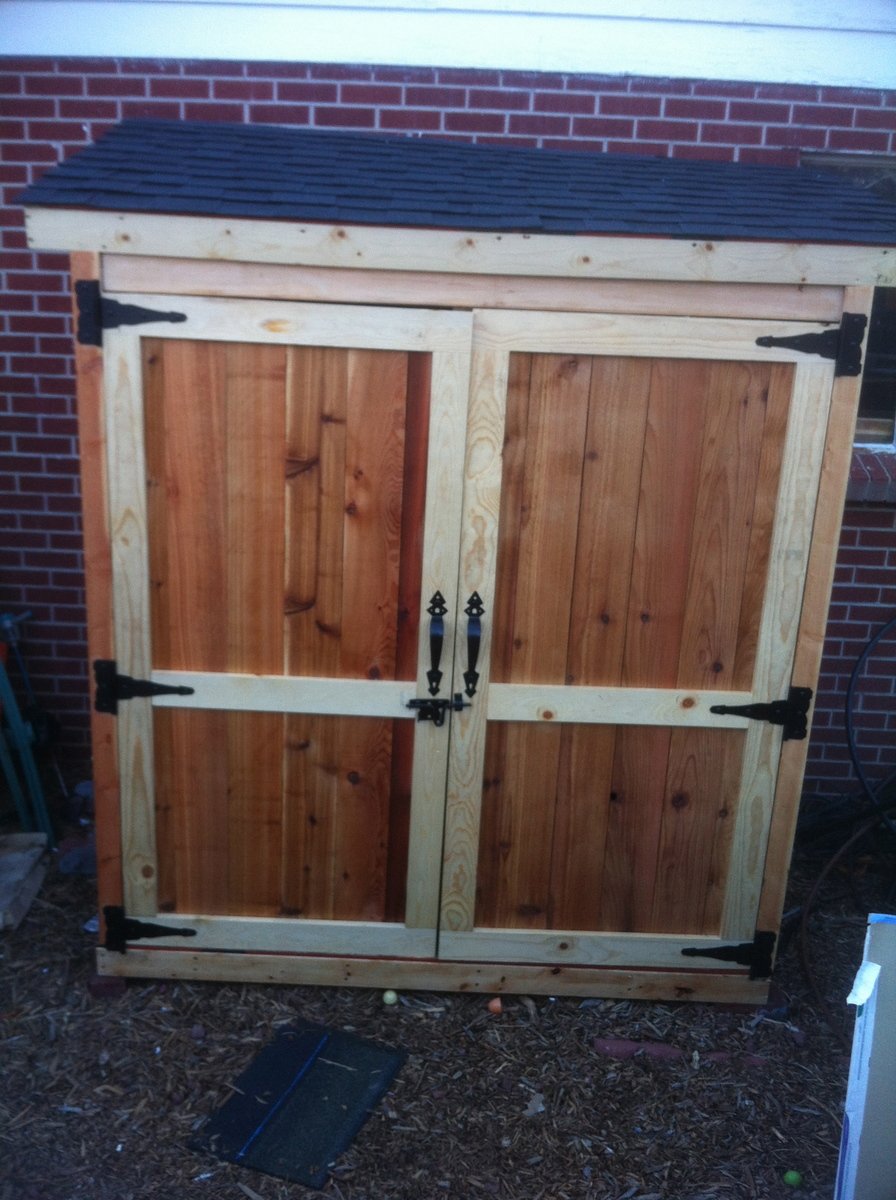
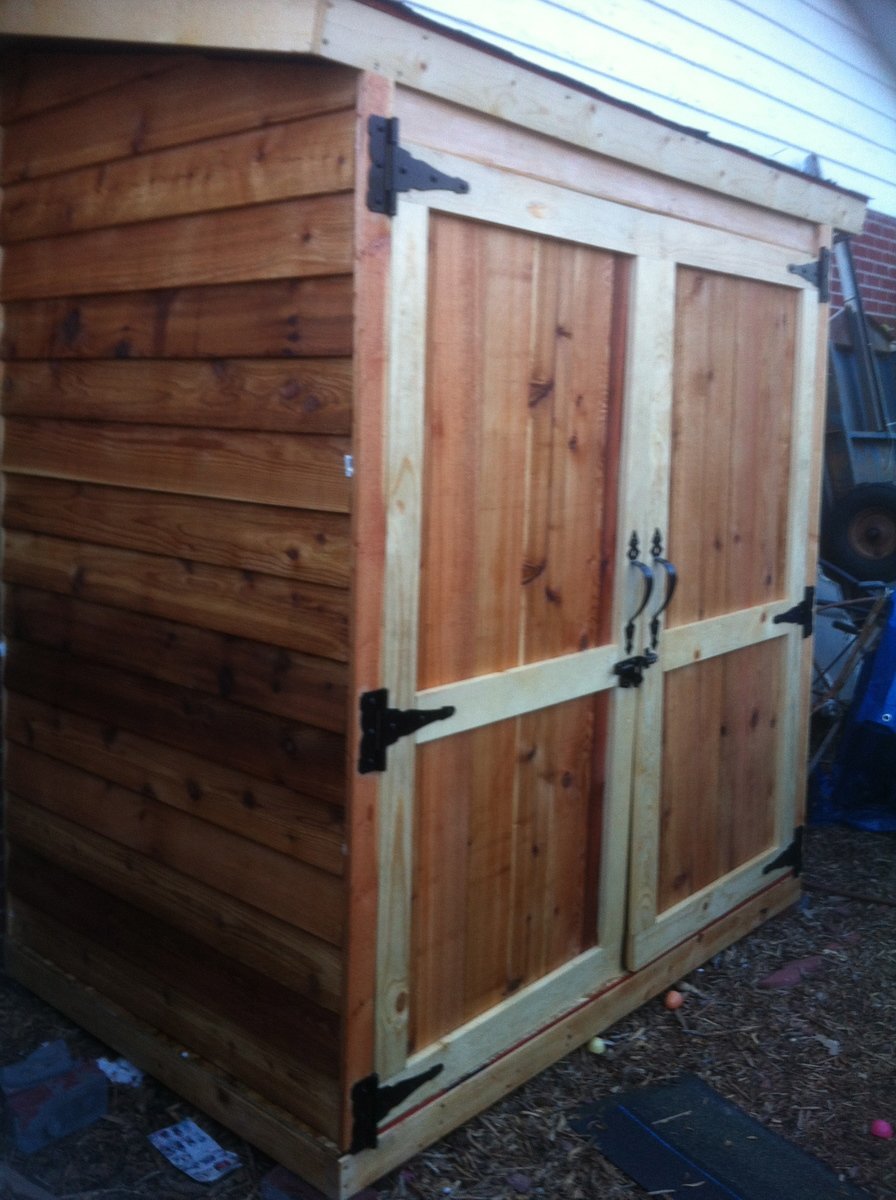
so i put this storage shed on the outside wall of my garage and then i put my dust collector inside it and cut a hole for the pipe to into the garage. It's nice and out of the way now. I adjusted the size a bit to make it fit more of my outside tools like the trimmer and blower. Its not in the picture but I also extended the roof about 30 inches over the side to park the lawn mower under it. If I were to do it again I'd make it even bigger.

Built from Plan(s)
Estimated Time Investment
Weekend Project (10-20 Hours)
Recommended Skill Level
Beginner

Coffee Table

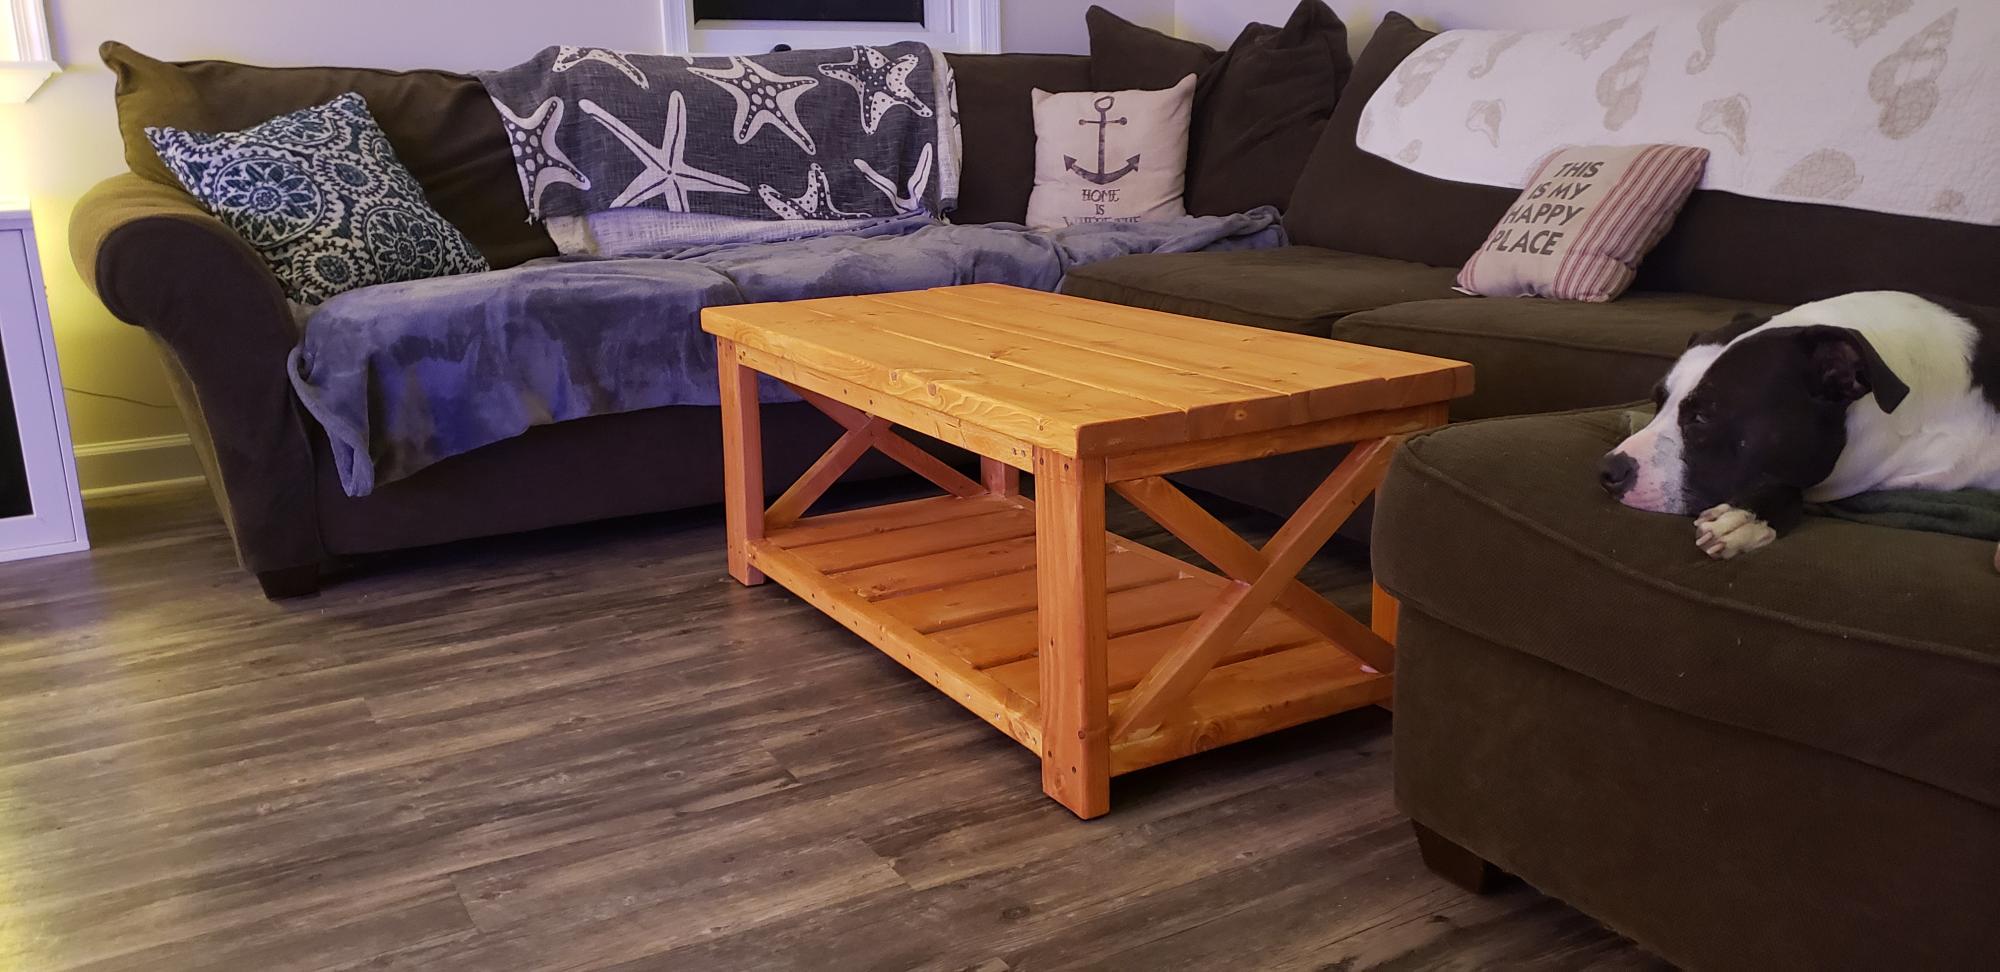
This coffee table was our first DIY project! We found the plan from Ana's website, and it was pretty easy to follow. We are so happy with the result and now we are itching to build everything for our house!

Built from Plan(s)
Recommended Skill Level
Beginner

Comments

hobbywood

Mon, 09/24/2012 - 02:53

Looks very nice! And yes - you're right, Ana's projects - they give enthusiasm to dare to do smth. Keep on homemaking - your coffee table is great!

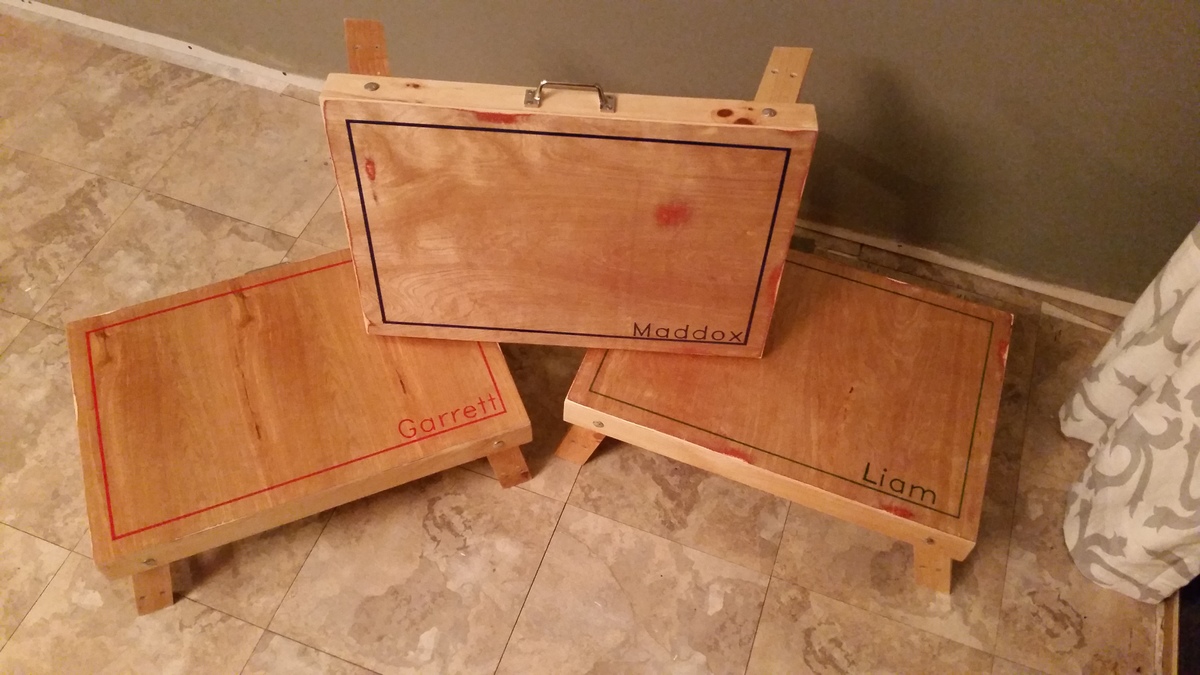
Folding Lap Desk Christmas Presents

Submitted by beeski44 on Mon, 12/22/2014 - 13:47

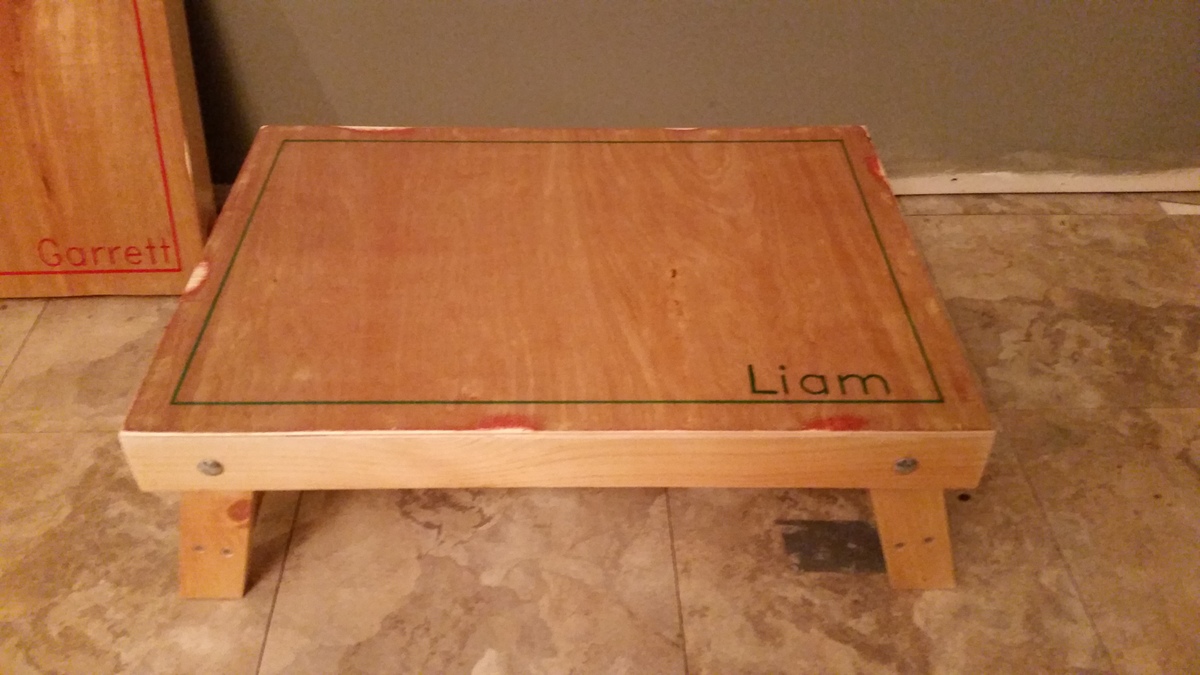
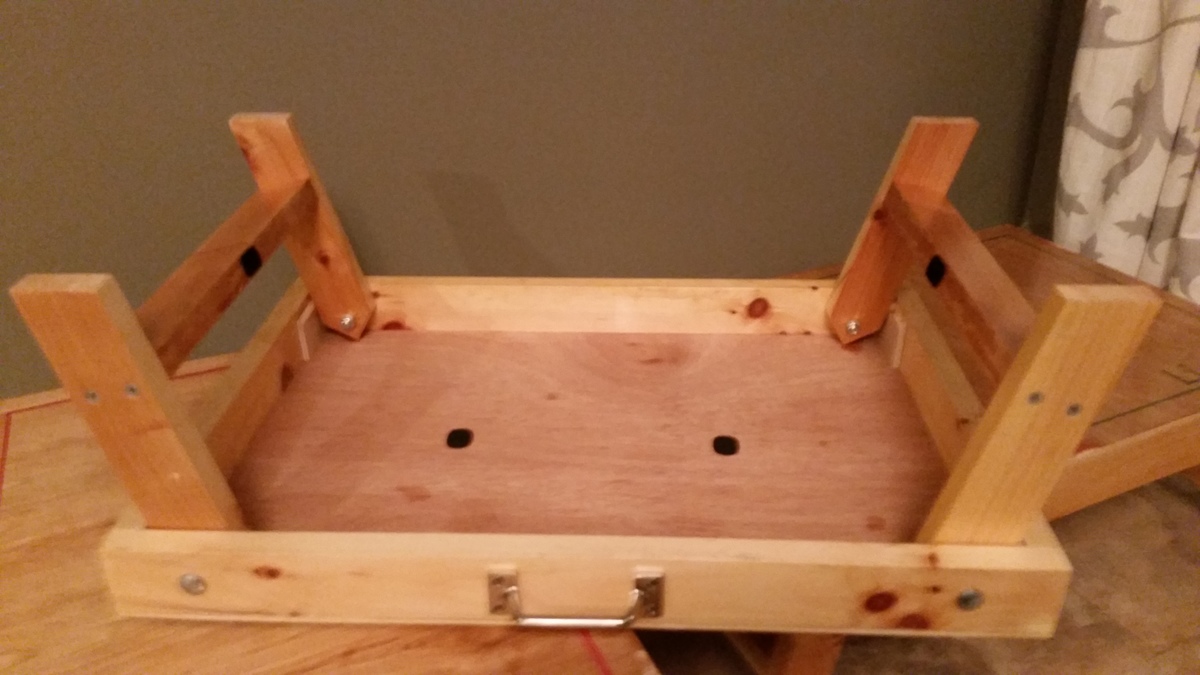
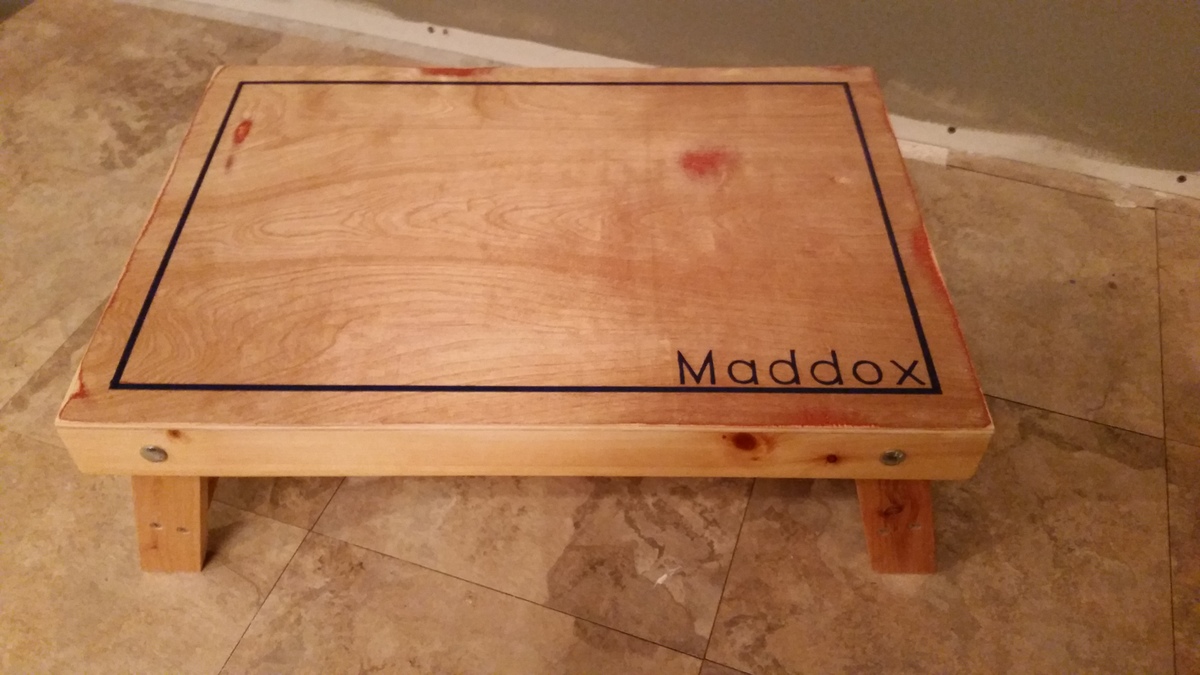
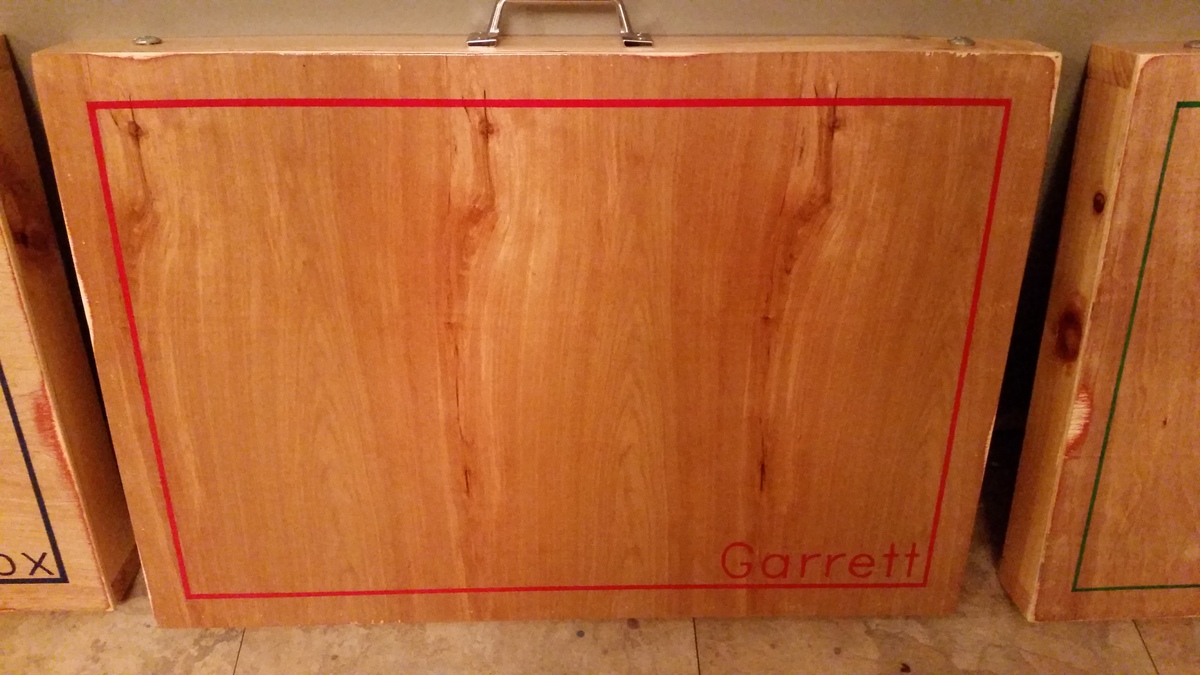
This was a fun project for my three nephews for Christmas (ages 3, 2 and 2). I thought they'd each like their own little personalized desk for coloring, blocks, snacks, etc.

This was a relatively simple build with the only tricky part being the leg holes (and getting the legs to open at the exact angle I wanted). I had to fudge a couple of them with some patches that you can see in one of the photos.

I would suggest using lock nuts on the bolts. The original nuts I used were turning as the legs opened and closed. I thought that eventually the nuts might work themselves off the bolt.

The frame was built completely out of 1x6 scrap wood I had lying around my garage that had been used for shelves. I cut the 1x6s down to 1x2 and 1x3 with my table saw. I did buy a small sheet of plywood underlayment for the top.

Built from Plan(s)
Estimated Cost
Aprox $10/ea for my three. If you buy all the wood, it would probably be closer to $15-20/ea.
Estimated Time Investment
Afternoon Project (3-6 Hours)
Finish Used
Acrylic paint for the names and border. Poly clear coat all over.
Recommended Skill Level
Beginner

Comments

Modern Laundry Basket Sorter

I built this project totally from pallet wood and leftover 2x4's. I already had the paint and stain from other projects, so the only cost was for the baskets, which were $6 a piece at Ikea. This project turned out even better than I expected and I couldn't be happier.

Built from Plan(s)
Estimated Cost
$20
Estimated Time Investment
Day Project (6-9 Hours)
Recommended Skill Level
Beginner

Comments

Two Story Rabbit Hutch

For my first woodworking project, I foolishly decided to build a rabbit hutch without plans for my daughters new Easter Bunny. So I literally scratched some ideas on my wood working bench and started going to work. I did some construction over a decade ago, but never attempted to build any furniture before, so I'm pretty happy with how this came out.

I spent a few days researching various rabbit cages and for our place we needed something that was ascetically pleasing and functional as it was going in our living room. I got some ideas from the web and decided the best thing for us would be to have an entry ramp, 2 sets of barn doors for each level (for easy cleaning) and an open roof. We went with linoleum floors since she's already litter trained. The floors could easily be modified to add 1/2" wire mesh if we decide to change things down the line. Also, we chose an espresso finish with silver hardware to accent the wire mesh

I pretty much crashed and burned on the staining as I've never done that before, but it ended up looking ok after all. I did a light sanding, but will probably invest in a planer and jointer to get my wood in better shape before assembling in the future. Also, I'll probably lightly dab some stain on ends of wood before final assembly as it made it difficulty trying to hide the white pine with the dark stain.

Other cages I saw ran around $200-$350.00 so i don't feel so bad about the cost. It's really the time that it took learning and making mistakes. I'm sure if I had plans I could of cut my time in 1/2.

Total Cost came out to around $150.00 but probably would of been cheaper if I had some plans to go by. I probably wasted a few 2x2s and accidentally mis-cut a scrap piece of 1/4"plywood which added another $16.00 to the bottom line.

Here's a breakdown of my total cost.

Hardware - $30.00
Includes 5 latches, 4 sets of hinges (8 total) and a 3' piano hinge

Stain - $8.00

Linoleum Tile @ ¢.69 sq ft - $16

Brushes, Stain Rags - $5.00

Screws - $6.00

Wire Mesh Roll $30.00
Needed 2 rolls at $15.00 each. I used 1" Wire Mesh measuring 2'x15'

Total Wood $50.00-$60
I used 2x3's for the legs - 2 @ 8' - $2.00 each ($4.00)
probably 15-20 2x2's - $1.52 each - can't remember how many I used to be honest ($30.00)
and a few 1x6's for the Doors - $2.00 each ($6.00)
Sheet of 1/4 plywood - $12.00
Estimated Cost
$150
Estimated Time Investment
Week Long Project (20 Hours or More)
Recommended Skill Level
Intermediate

Comments

ashinshaw

Thu, 05/03/2012 - 08:09

I also have been thinking with the idea of building a two story hutch for our rabbit. I love your ideas so now i have a new project to work on. Thanks for sharing!

Nicolene (not verified)

Mon, 10/08/2012 - 12:46

I LOVE your cage! We have 2 rabbits and 2 Guinea pigs which means we have 2 ugly cages in our living room. We are planning something similar, but a bit bigger (but lower if that makes sense). And we'll put a 3rd story on for our Guinea pigs. So we have everyone on the same patch of real estate so to speak. I was going to do 3 solid walls with wire "windows" too keep all the hay, poops and such contained. I am also going to put lockable wheels underneath, so I can move it to my office if I ever need to (parties and renovations).

Is there anything that you can now think of that you would like to change on yours? R my research purposes.. :) It looks awesome, I'm just picking your brain for "hindsight" tips.

Rustic coffee table (simple version)

Corner accents are on order, but I'm happy with the thing as is. Went with colonial maple instead of golden oak and wow the thing pops. Put together was pretty easy for a beginner. I do recommend predrilling some of the edge/angle holes - the pressure treated wood can be unforgiving.

Great plan! Great table! Thanks!!

Lumber was $37. Screwes, glue, stain, etc cost extra, but those add up in your garage overtime - so, sunk costs. All in all, I spent about $60 and finished the project in less than 4 hours.

Estimated Cost
37
Estimated Time Investment
Afternoon Project (3-6 Hours)
Finish Used
https://www.homedepot.com/p/Varathane-1-qt-Colonial-Maple-Premium-Fast-Dry-Interior-Wood-Stain-266261/203332270
Recommended Skill Level
Beginner

Wood Working Apron

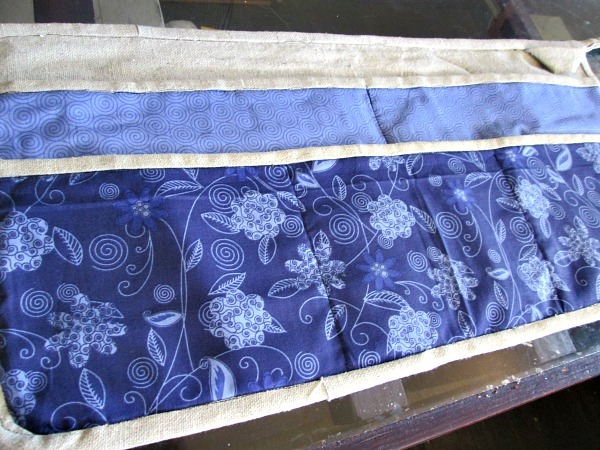
Thank you soo much for the apron plans. I've used a sewing machine about 5 times in my life, and I didn't know what "stitch in the ditch" or bias tape or trim was, but with the plans and some web searching, I was actually able to sew this apron. It took me considerably longer than others, especially because I don't have an iron, pins, or a seam ripper (ripping a seam took me over an hour). Again, thank you sooo much! I hope to never lose my pen and tape measure at the lumber yard again with this handy creation :)

Built from Plan(s)
Estimated Cost
Less than $6
Estimated Time Investment
Afternoon Project (3-6 Hours)
Recommended Skill Level
Beginner

Comments

Simple Potting Bench Modified

Submitted by Anonymous (not verified) on Wed, 05/29/2024 - 08:13

Slight variation on Ana’s Potting Bench. I lowered the bottom shelf and added a middle shelf with wood from a gate we removed. I’ve received many compliments. Thanks, Ana!

Kathy Joy

Built from Plan(s)
Seasonal And Holiday

Williams Sonoma Inspired Chicken Coop

Submitted by Anonymous (not verified) on Tue, 11/10/2020 - 18:46

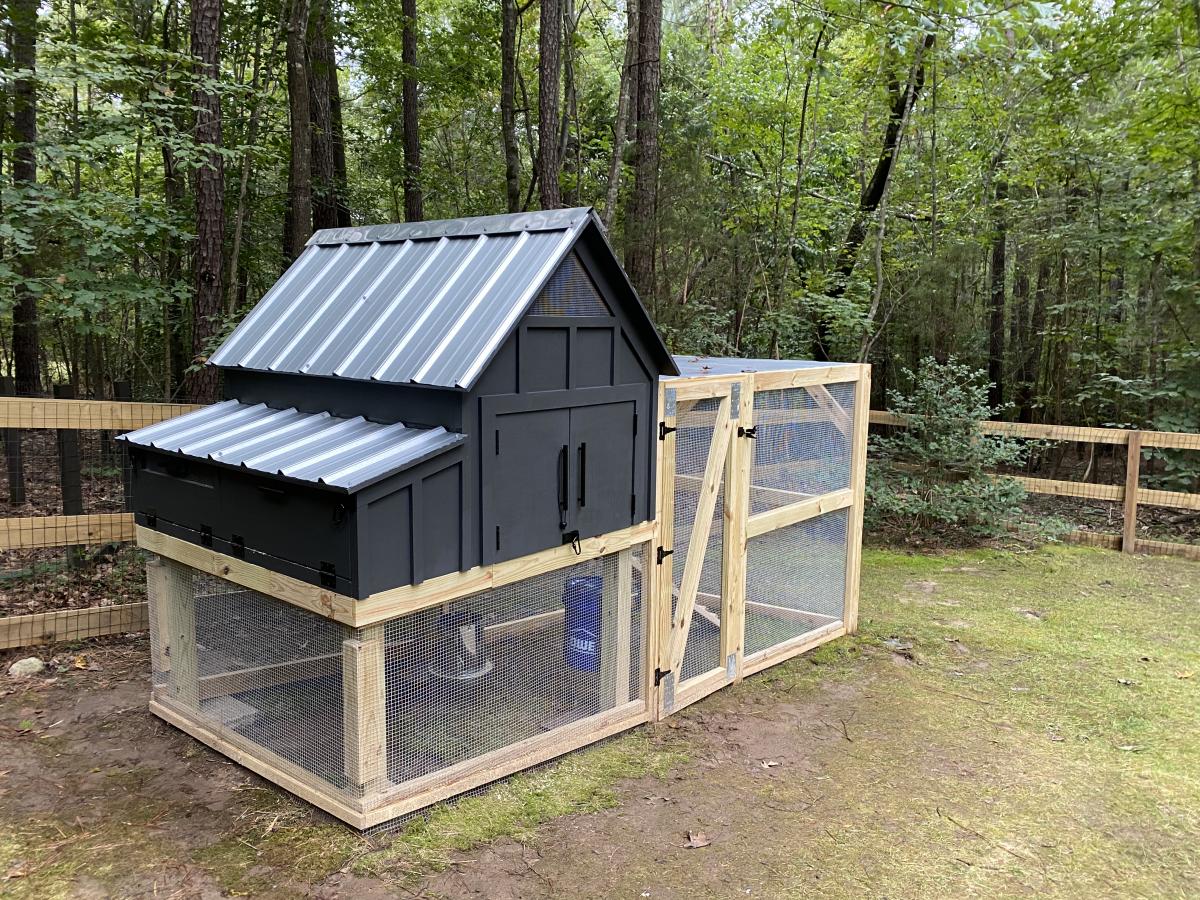
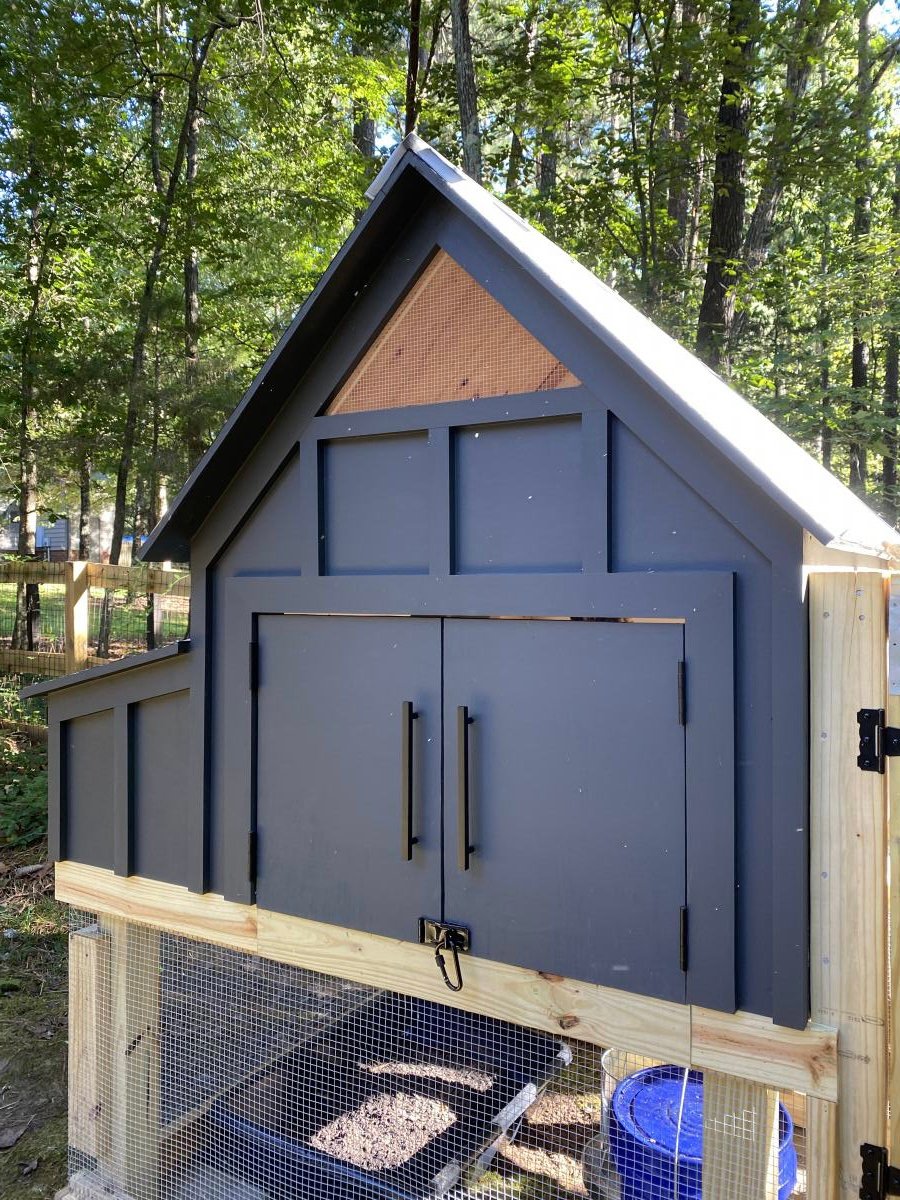
We took some creative liberties on the Williams Sonoma inspired coop posted here. Because we don’t get a whole ton of sun in our backyard, we eliminated the herb garden planter and instead built a longer run. We also made the coop a bit wider to accommodate for the inevitable chicken math. And, you’ll notice the vent both shaped differently and is a bit higher. This was to increase air flow, avoid the dreaded draft, and to lend a more Scandinavian vibe. We also decided to place the chicken exit on the outside wall to allow for more living space under the coop itself. The project took about a month to complete, dedicated to only working weekends. And, it was very much over budget! Who knew wood is so expensive?! But overall, the outcome was even better than I expected. The chickens love it and I don’t mind looking at it!

P.S. this was a pretty advanced project. The fractions alone had me yelling “uncle!” Thankfully my husband is pretty handy, and my father-in-law (career in the construction industry) had a few pointers, so they took the lead in executing. I chose the paint colors and suggested the deviations from the original blue print. ;-)

Estimated Cost
$1000
Estimated Time Investment
Week Long Project (20 Hours or More)
Finish Used
Sherwin Williams Iron Ore in matte
Recommended Skill Level
Advanced

Comments

racbino

Wed, 11/18/2020 - 12:55

Thank you! Yes, I suppose everyone is wanting wood for home improvement projects now that we're not leaving the house! Also, I didn't mean to post a picture of my son and his friends. Am I able to delete?

joshwilson28

Thu, 01/14/2021 - 07:43

does this roof have the same angle as the 'Small Chicken Coop with Plans'? It seems to be 'less steep'. Wanting to start this project next weekend and trying to get my mind wrapped around everything!. Thanks.

Seasonal And Holiday

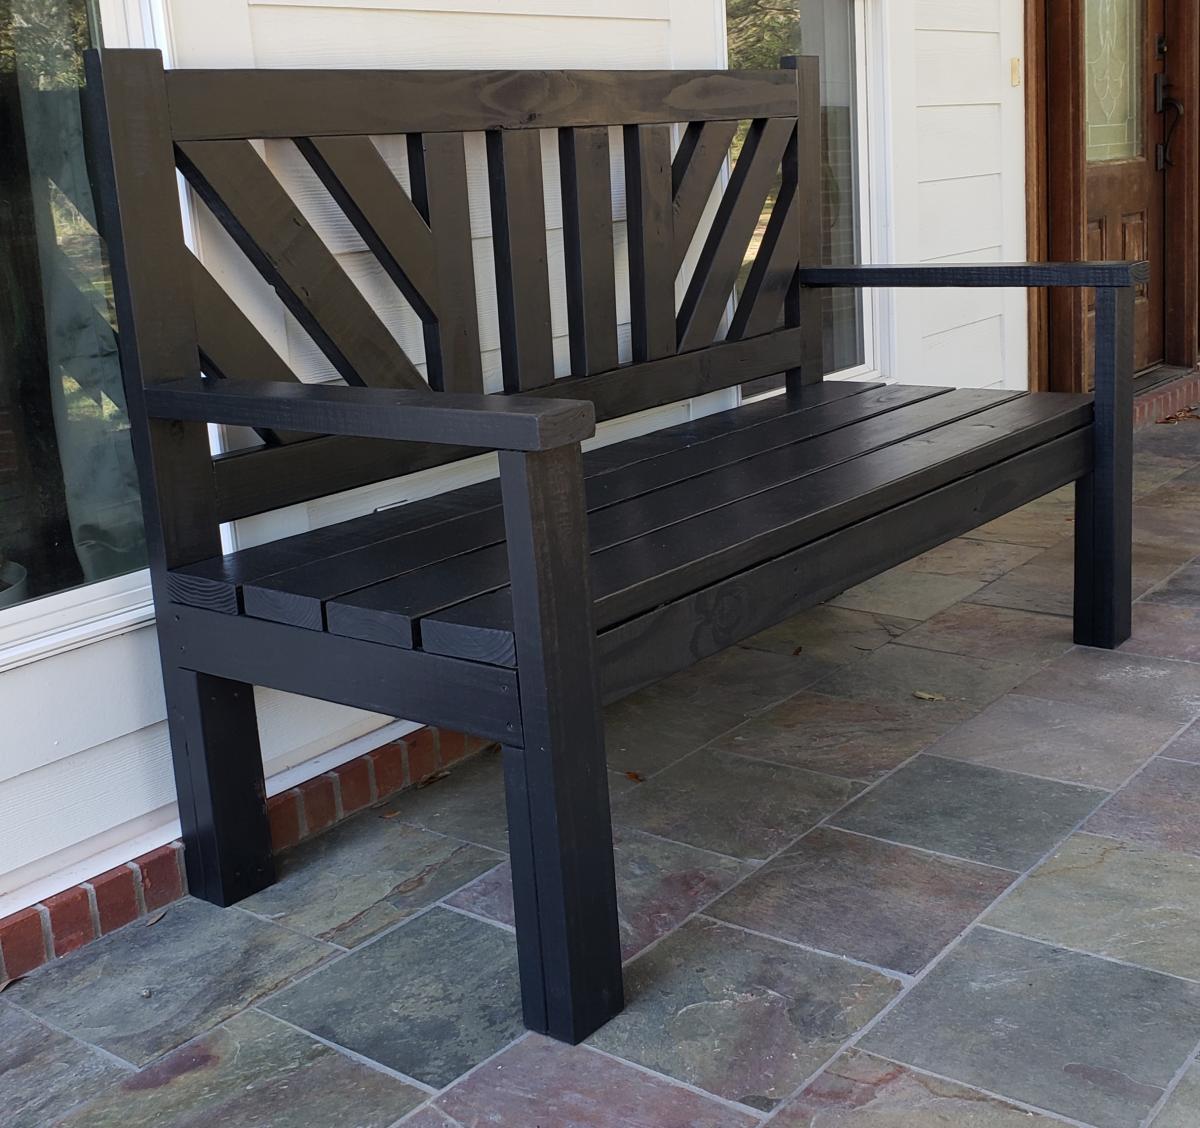
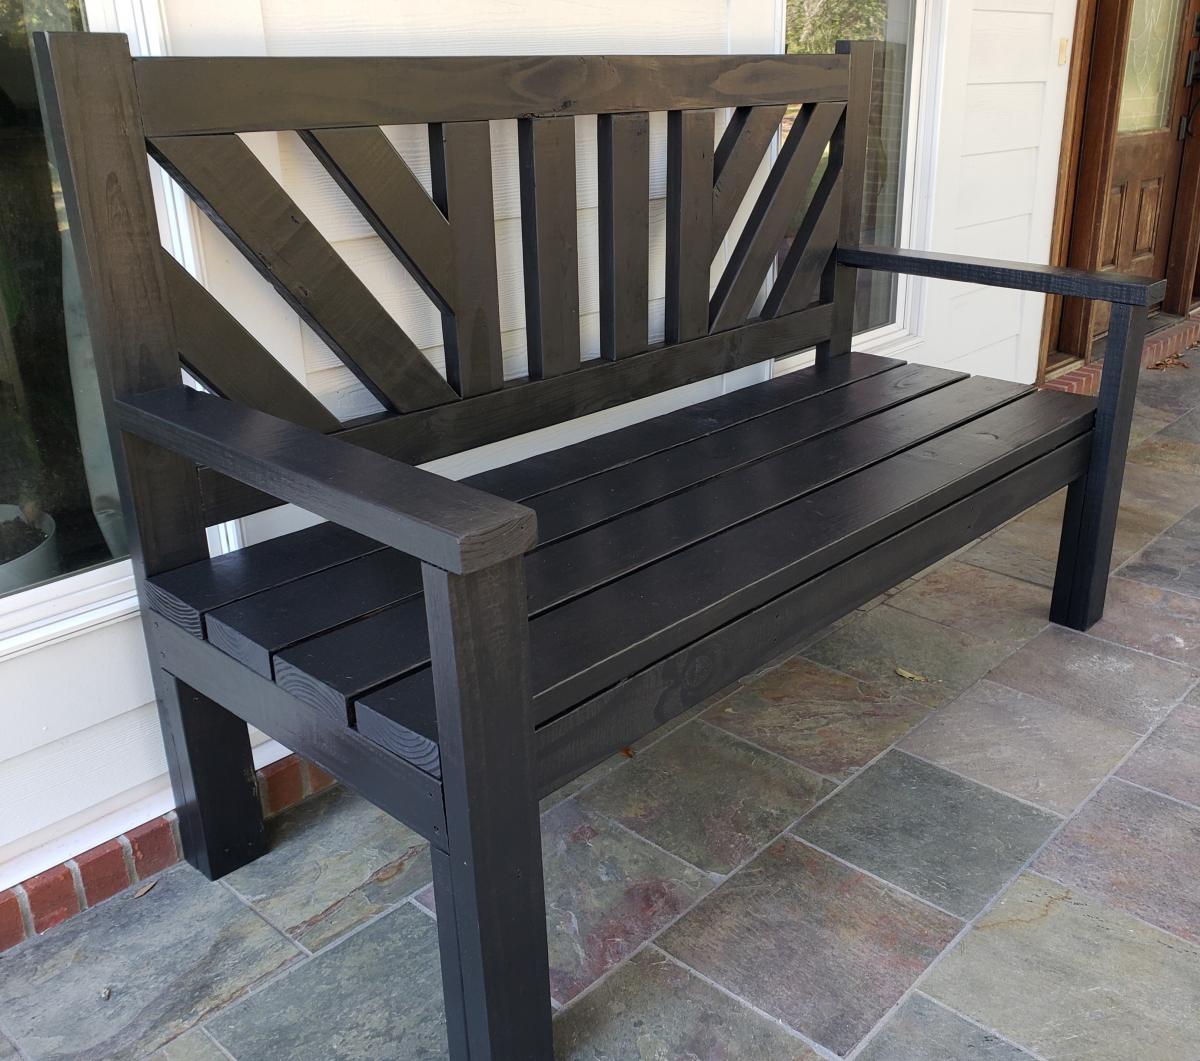
Large Porch Bench

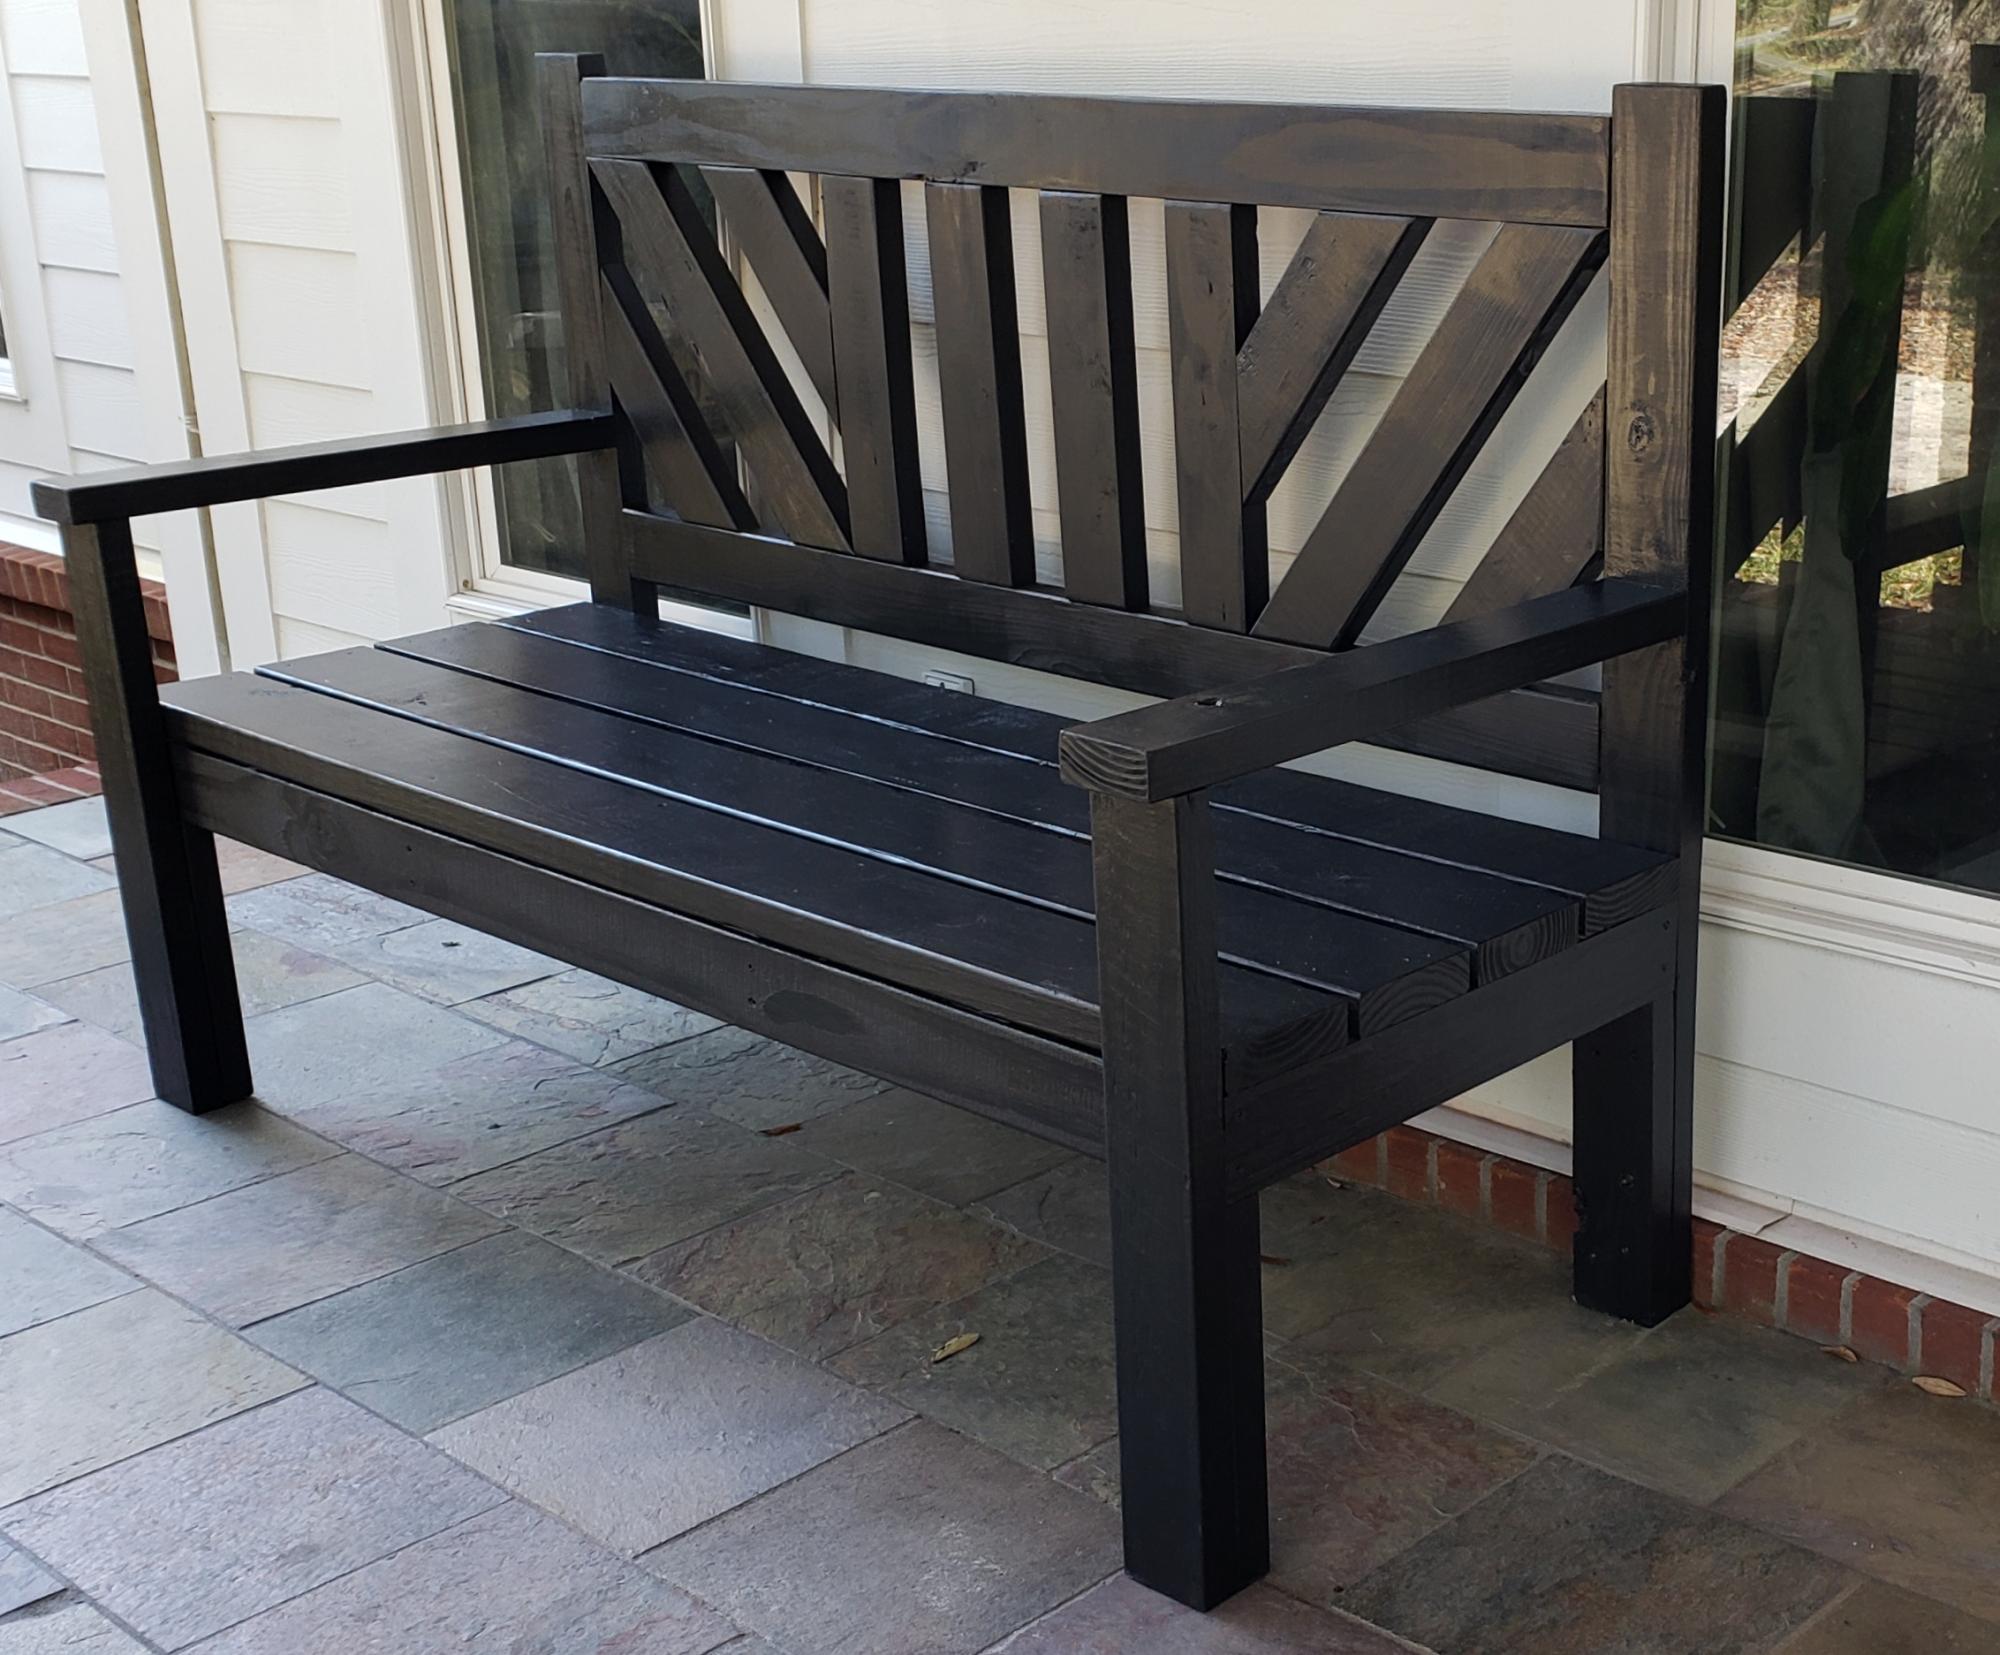
Submitted by kwildman on Thu, 11/14/2019 - 18:55

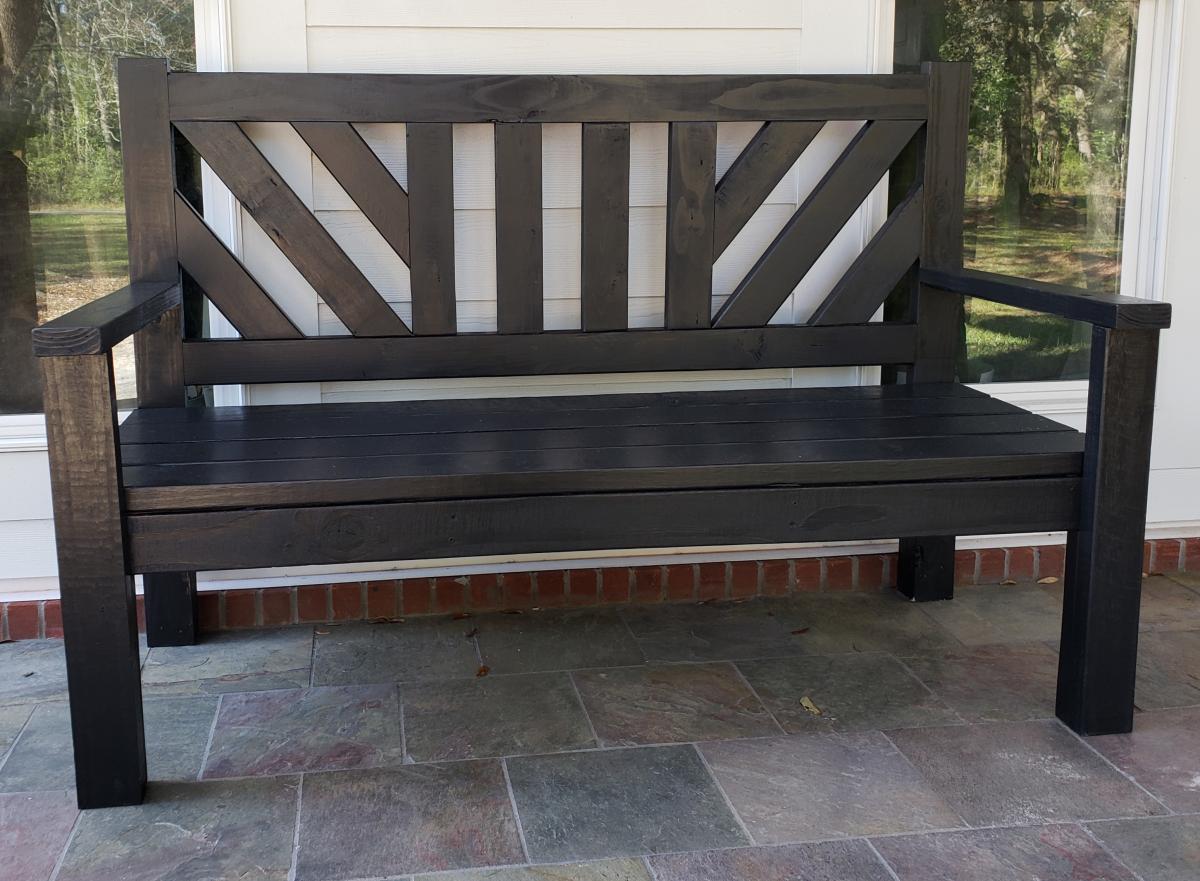
I used untreated pine for this project and painted with benjamin moore exterior paint. 

I modified the back a little and I love how it turned out.  I also added an extra brace against the back of each leg that fits under the seat for more support. 

Very easy to build.  I love the plan.

Estimated Cost
75
Estimated Time Investment
Weekend Project (10-20 Hours)
Finish Used
Black exterior paint
Recommended Skill Level
Intermediate

Comments

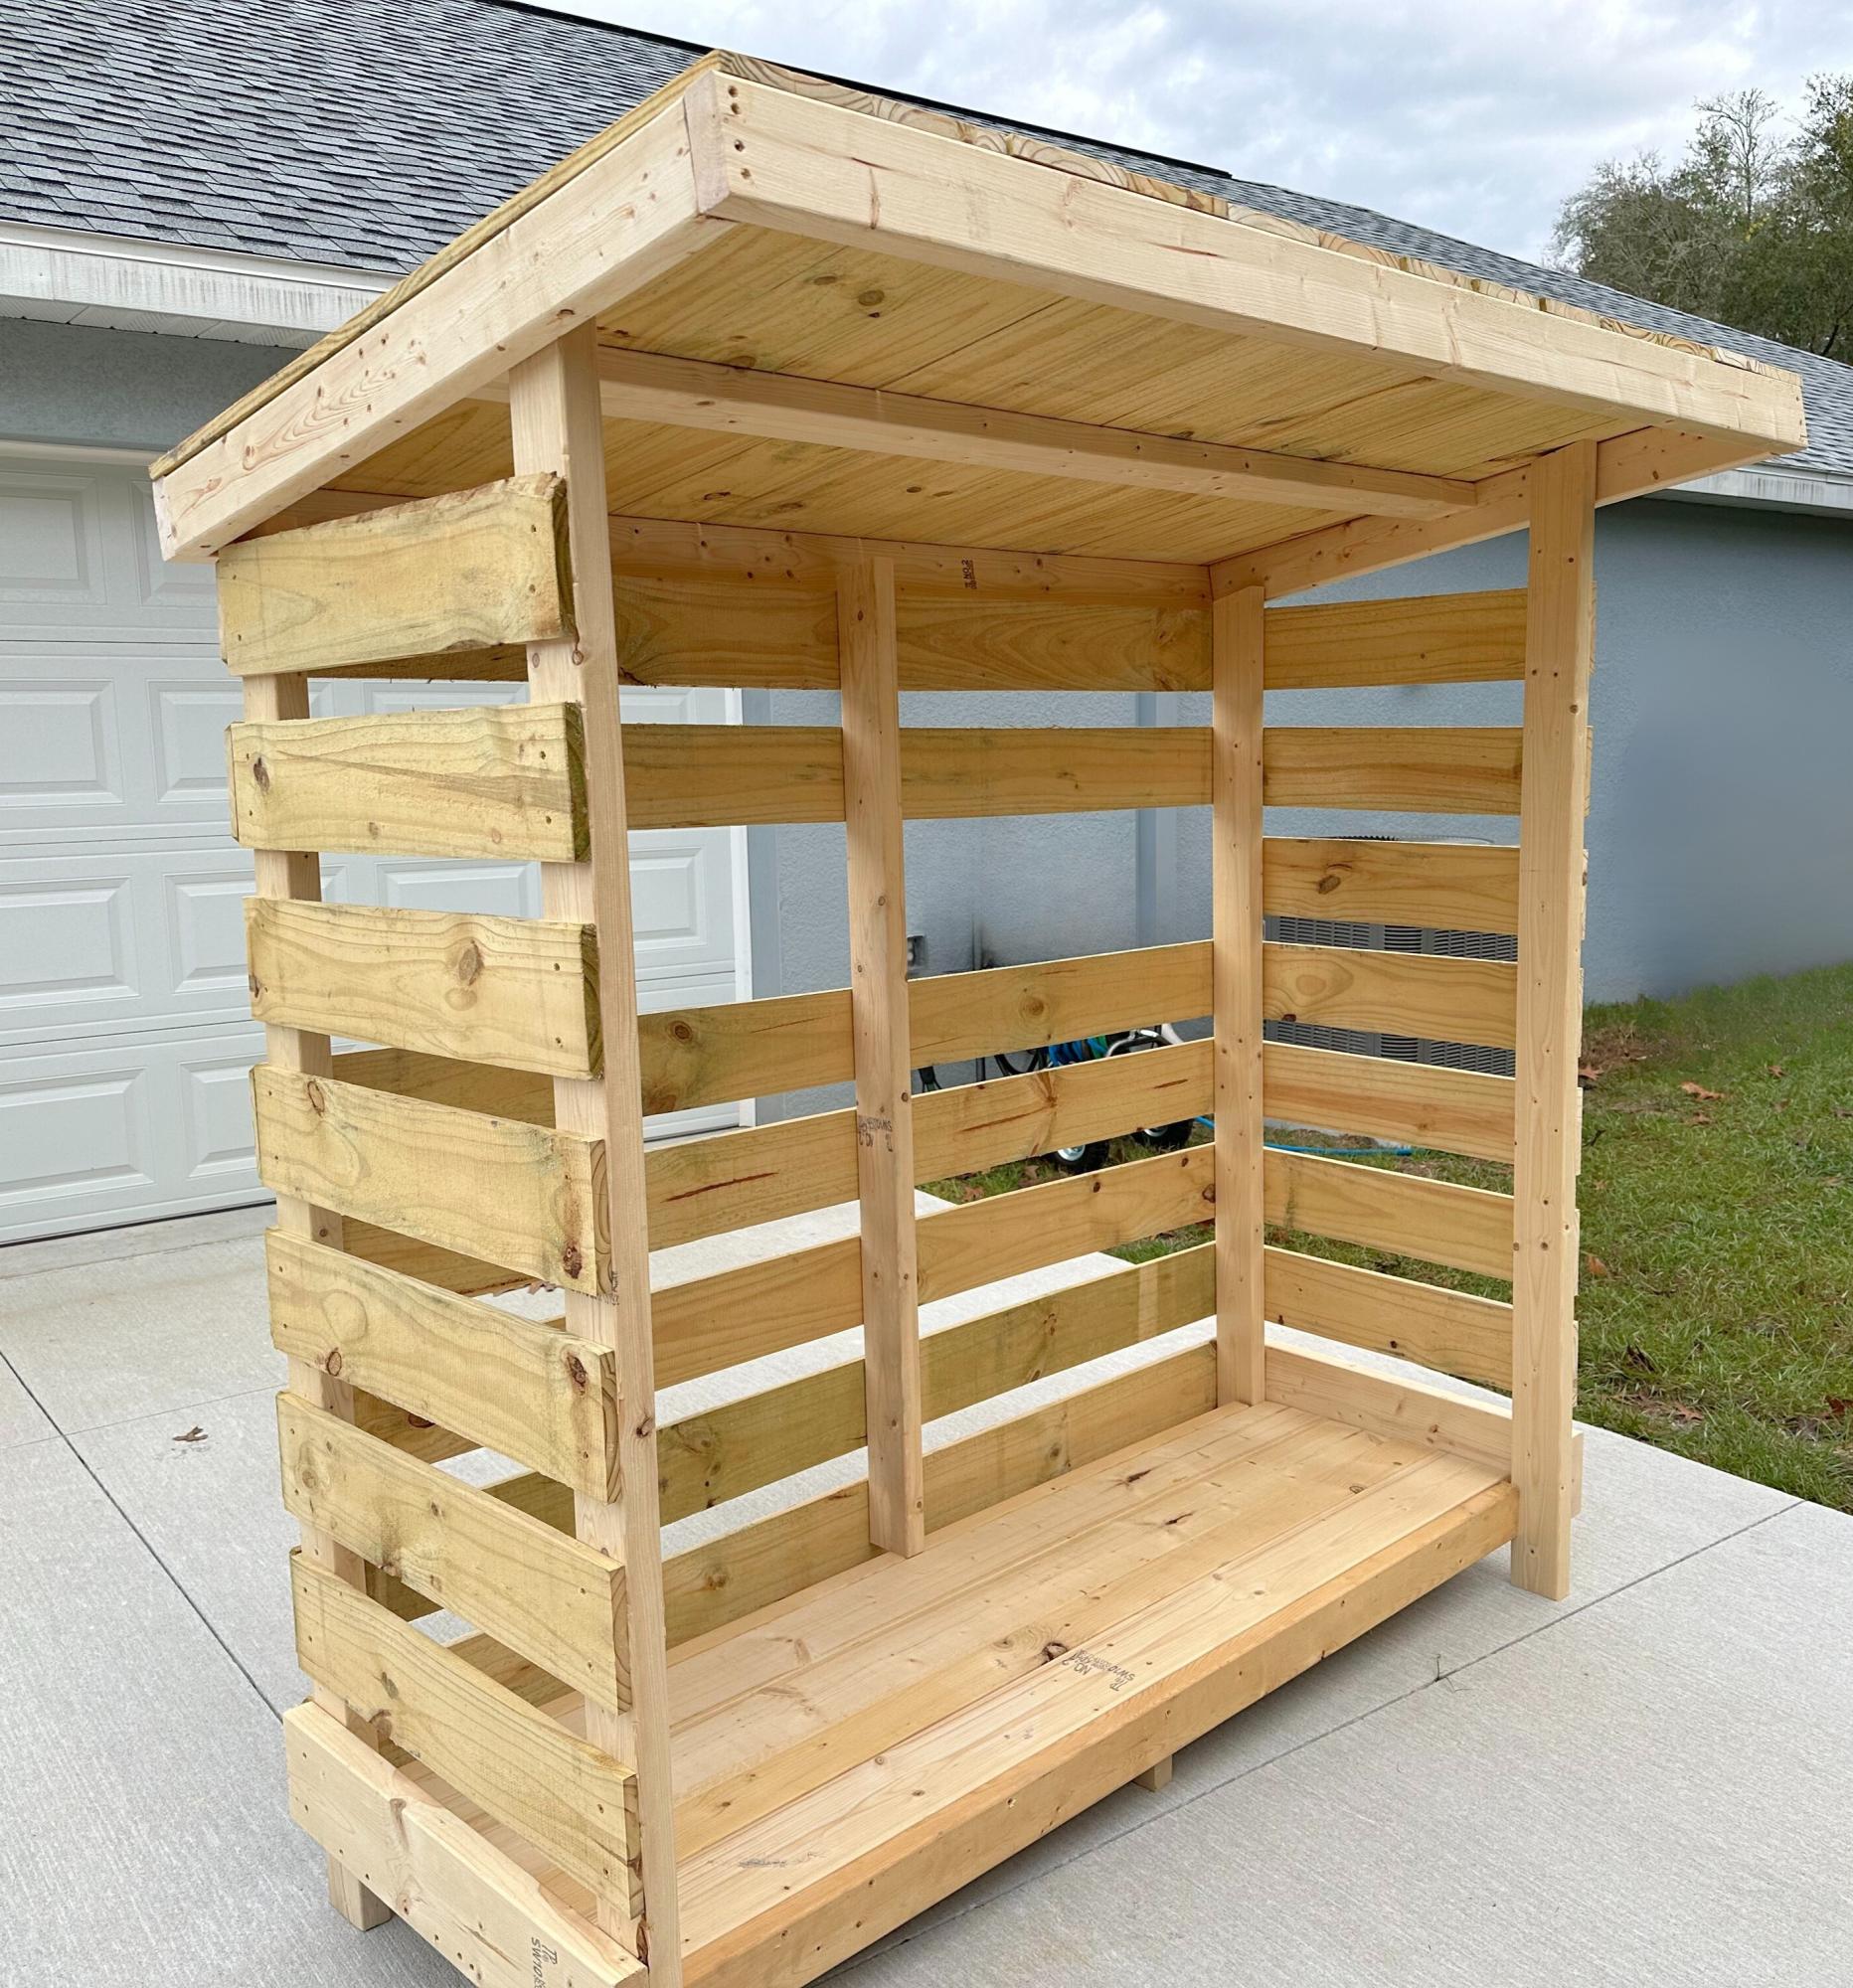
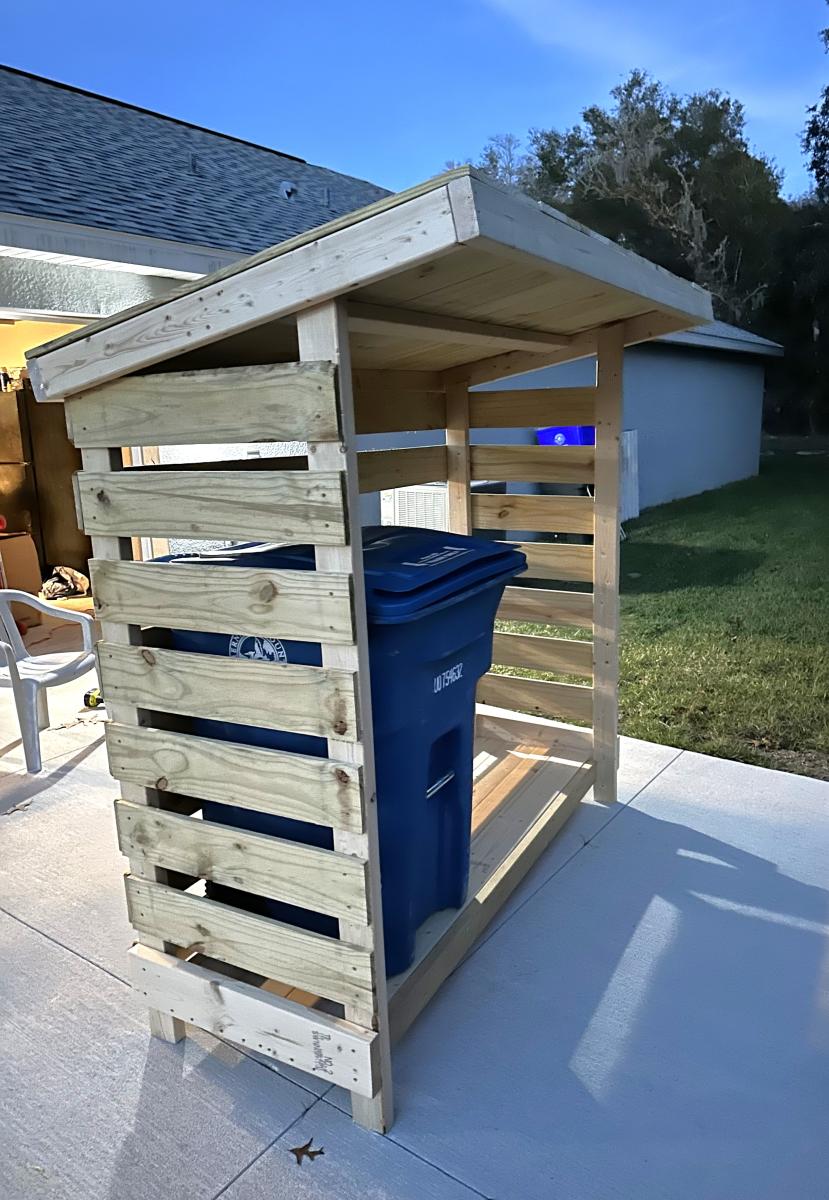
Outdoor Garbage Can Shed

Submitted by Anonymous (not verified) on Fri, 12/08/2023 - 08:45

Chose the small firewood shed project as a "template" if you will .. built this to house our garbage cans and eventually put a gate on it to "help deter" the Florida black bears (we do multiple things to keep them at bay) but this will also just be a nicer looking way to keep the cans outside.

I modified the floor since the firewood shed had a floor that was suitable for, well, firewood but not so much for rolling garbage cans. Had to leave the one slat off the back for the depth of the can which I didn't completely account for in the beginning. Overall, still need to paint it and water seal it but happy with how it turned out.

Built from Plan(s)

Farmhouse King Bed- Beetle Kill Pine

This was our first build and it was quite a big project to take on to start with. We had so much fun and learned so much along the way. 

Our biggest lessons were to hand pick our wood and make sure we get the straightest pieces possible. We had to wrestle some wood to make this bed work!  Clamp everything especially when using large bolts as the pieces would pull apart from each other. We even used a ratchet strap at one point becuase our small clamps weren't cutting it. I'm sure there's a better way and we'd love to hear about it but we made what we had work. We also had to figure out how to attach the side rails and at what height. We ended up using 3 4-inch screws on each end to screw them into the posts.  

We love this bed not only because it was a labor of love but because its such a solid beautiful piece. 

Estimated Cost
$200
Estimated Time Investment
Week Long Project (20 Hours or More)
Finish Used
Minwax Polycrylic Water based - 4 coats, sanded using a 220 grit sanding block in-between each coat.
Recommended Skill Level
Intermediate

Comments

Huffaker6971

Sun, 08/18/2019 - 13:47

This is exactly what I've been looking for. Are there plans for this build?

sxewhodey

Sun, 03/01/2020 - 11:29

Very nice! I love the lighter wood too, but my wife likes the darker stain, so we compromised in the middle for the finish. Why  arethe post always so red? I can appreciate the natural tendency of nature to add color, but the 4*4's are always red-er in color. Do they always use a different pine or certain part of the tree for those?

My version of the SMALL CEDAR FENCE PICKET STORAGE SHED

Submitted by dalbrough on Wed, 08/13/2014 - 08:53

We needed something to hold our garbage cans and recycling.
We made this little shed with fence board floor and fence board roof a lot shorter in depth and height - We also used 2x4's as we already had them - fits perfect and was amazingly easy to do.

Looks fantastic in our yard - we are still working on the yard so ignore the extra fence boards and 2*4s laying next to it.

Thanks so much for the great plans.

Estimated Time Investment
Weekend Project (10-20 Hours)
Recommended Skill Level
Beginner

Cedar Planters

Submitted by ajmorfeld on Mon, 08/31/2020 - 15:03

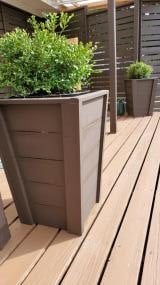
Very easy fun build. I laid out the fence boards and marked the 5 degree angle but cut them with a miter saw as I was not confident to use the hand saw. Also numbered each section to easily put the sections back together. Miter saw was set to 5 degree angle also. I initially built with 7 boards and then took off two of them as it was really tall.

Estimated Cost
40.00
Estimated Time Investment
Afternoon Project (3-6 Hours)
Finish Used
Behr solid stain in Cordova Brown
Recommended Skill Level
Beginner

Liv's Playhouse Kitchen

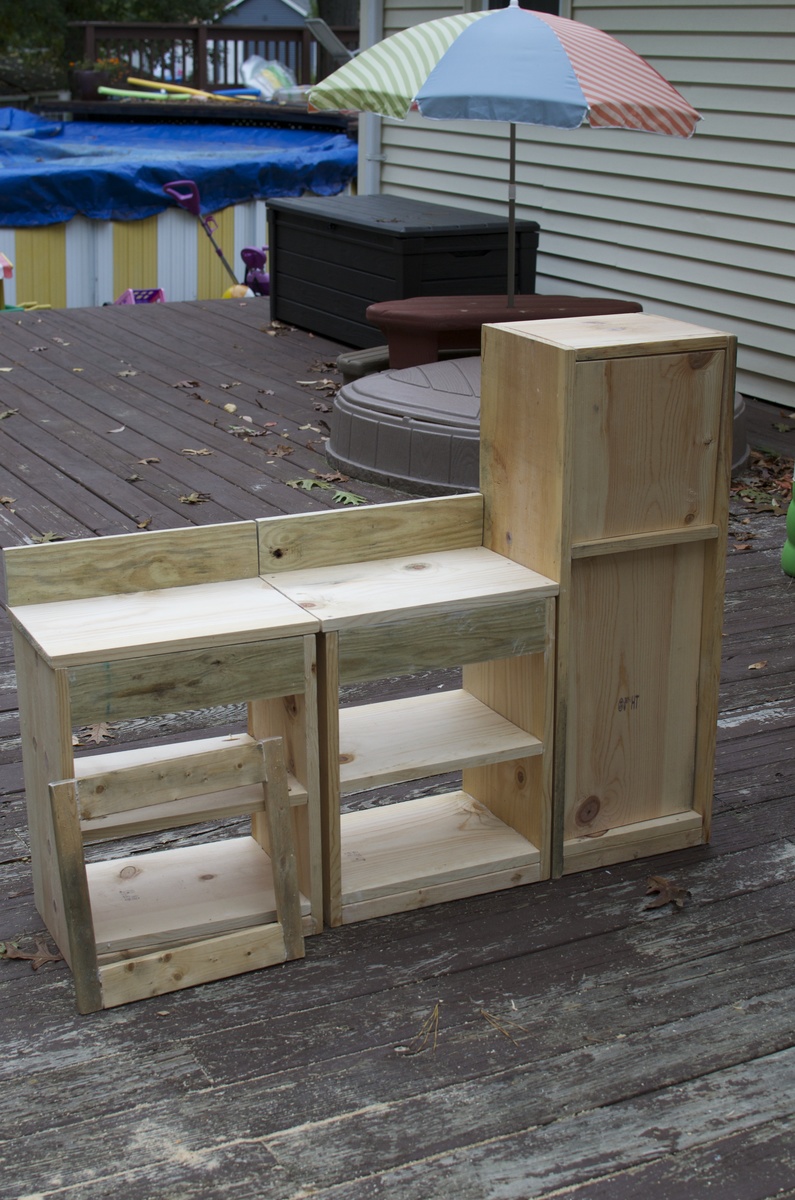
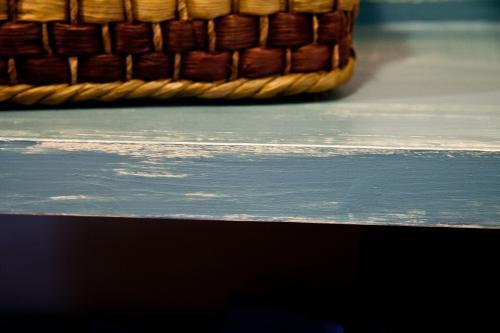
Built this play kitchen to go in Liv's new Playhouse, also courtesy of Ana's plans. It's about 1" too wide to sit on the floor so we raised it up on a plank so it rests on the studs. A co-worker told me I can get replacement knobs for the stove at Sears and plan to make a trip there on my next break. The faucet is a real one my mother found in her basement from their bathroom redo. She loves it! We "bake" cupcakes from the sandbox in her new house everytime we're outdoors. She did, however, request a microwave after we'd finished the whole thing! This spring I hope to make one. I see that Pottery Barn Kids sells them for over $50!! You know that's crazy if you've come across Ana's website :)

Estimated Time Investment
Weekend Project (10-20 Hours)
Recommended Skill Level
Beginner

Comments

ACM

Wed, 02/13/2013 - 16:49

This is so adorable! Love the colors. We were thinking of making one for our granddaughter to keep at our house. You've inspired me.

Mudroom Locker & Bench Completed Version

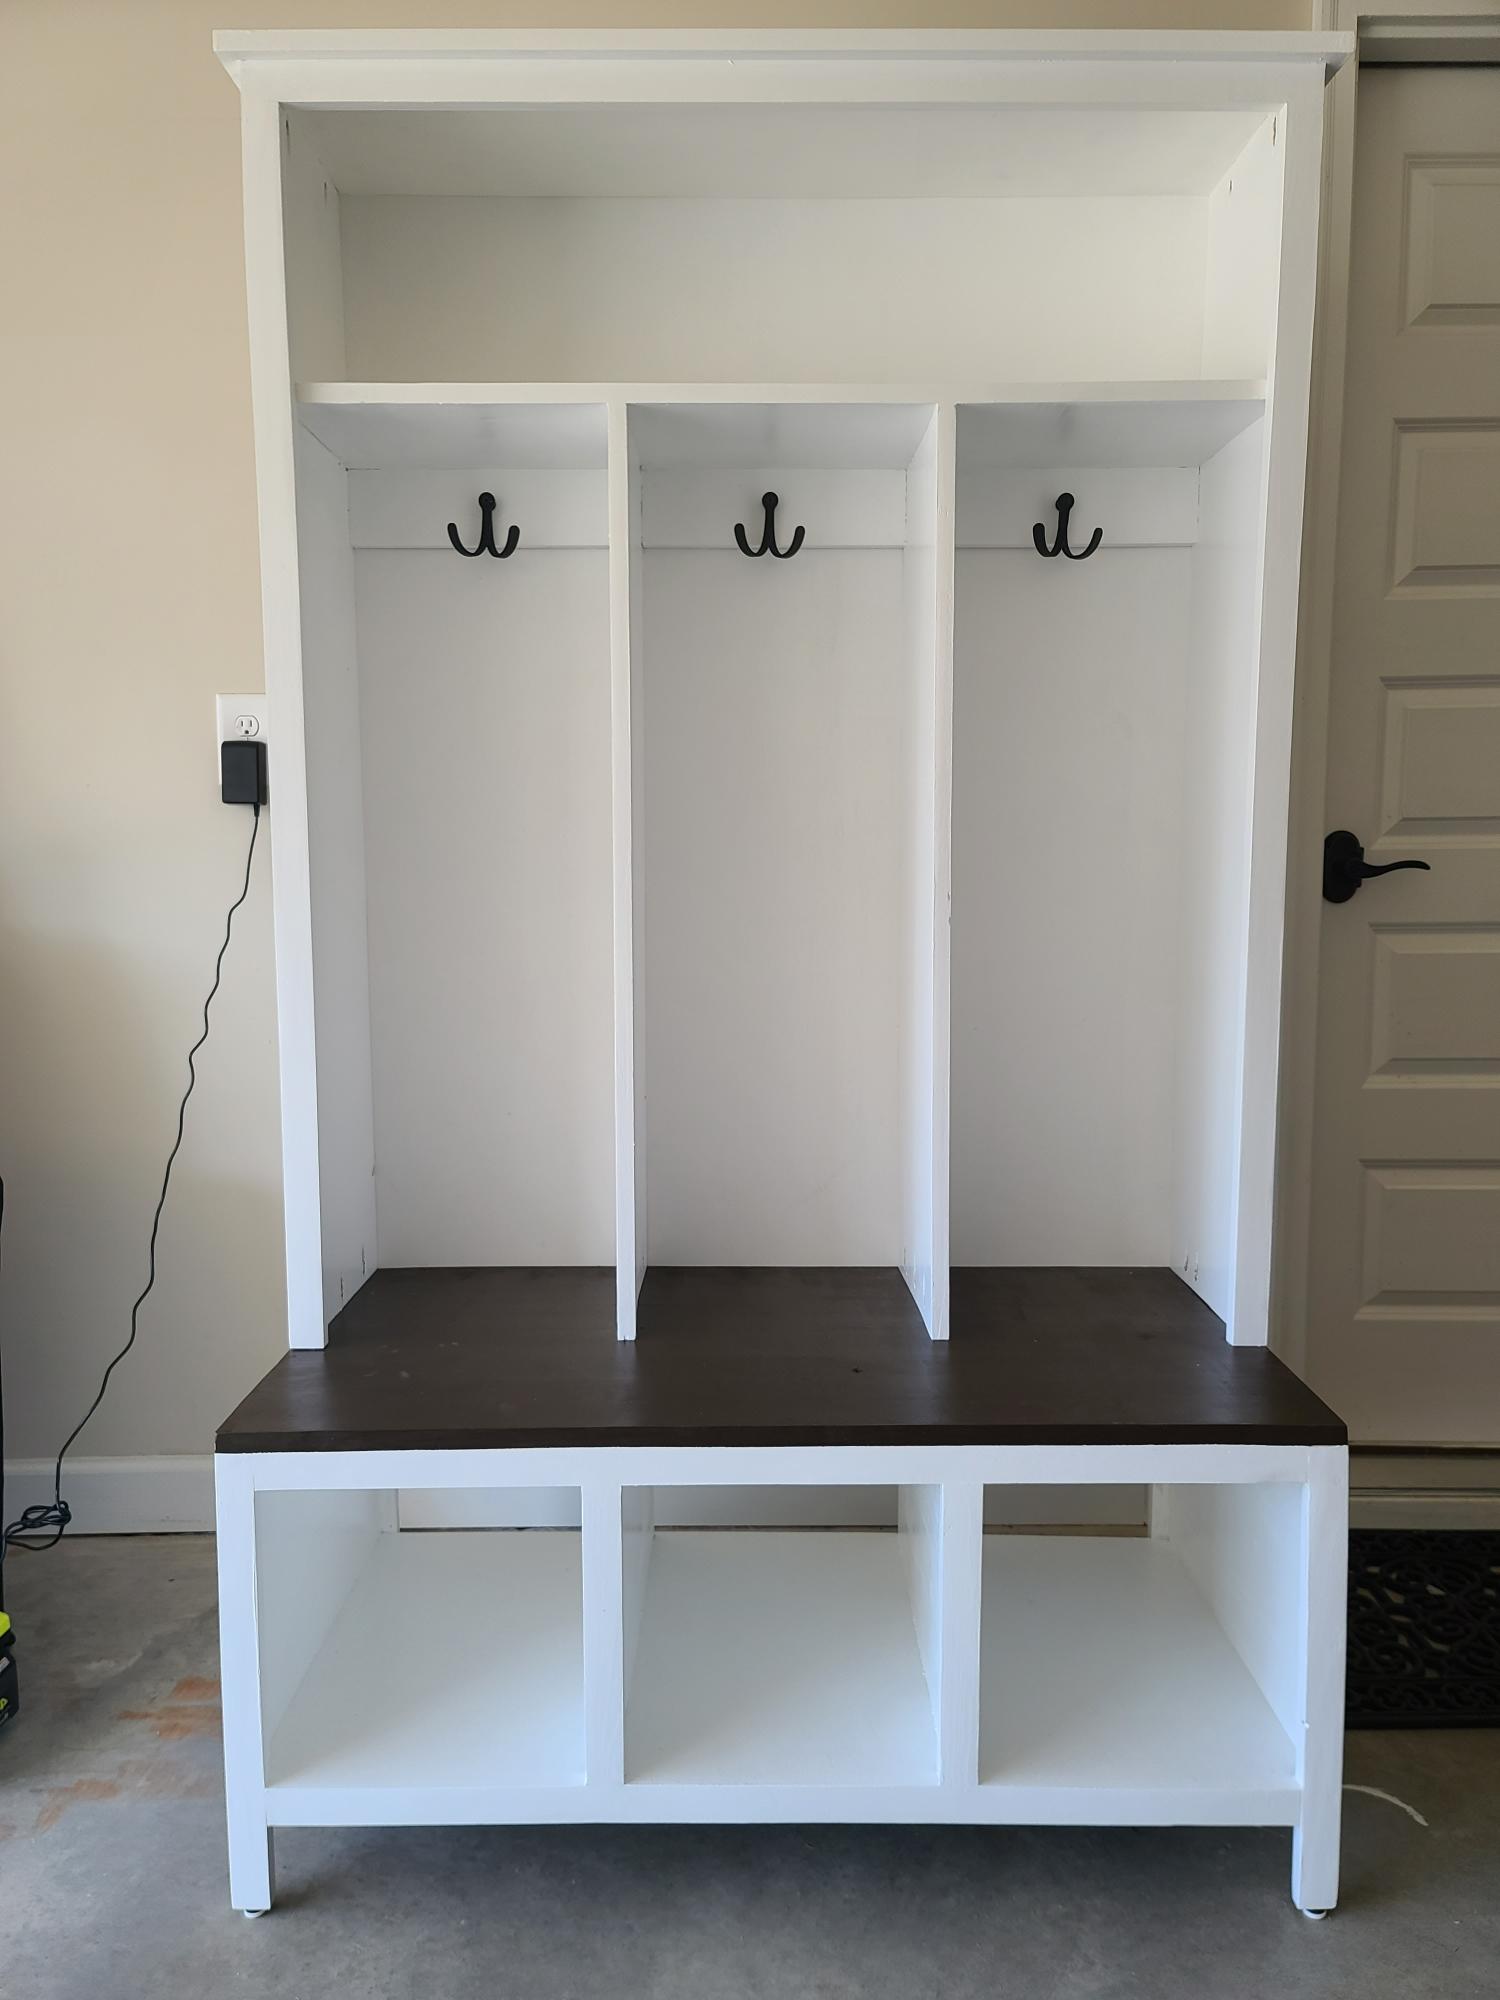
I had previously posted a work in process version, this is the completed project. Very happy with the results of combining the Easy Three Cube Bench and Small Locker Cabinet plans. If I had to change anything, I might widen the dividers to get a little more width, but this suits what we were trying to accomplish.

Learned something on this project, I hate painting! In the future when I know I am going to paint the completed project, I'm going to paint as much as I can before assembling.

Comments

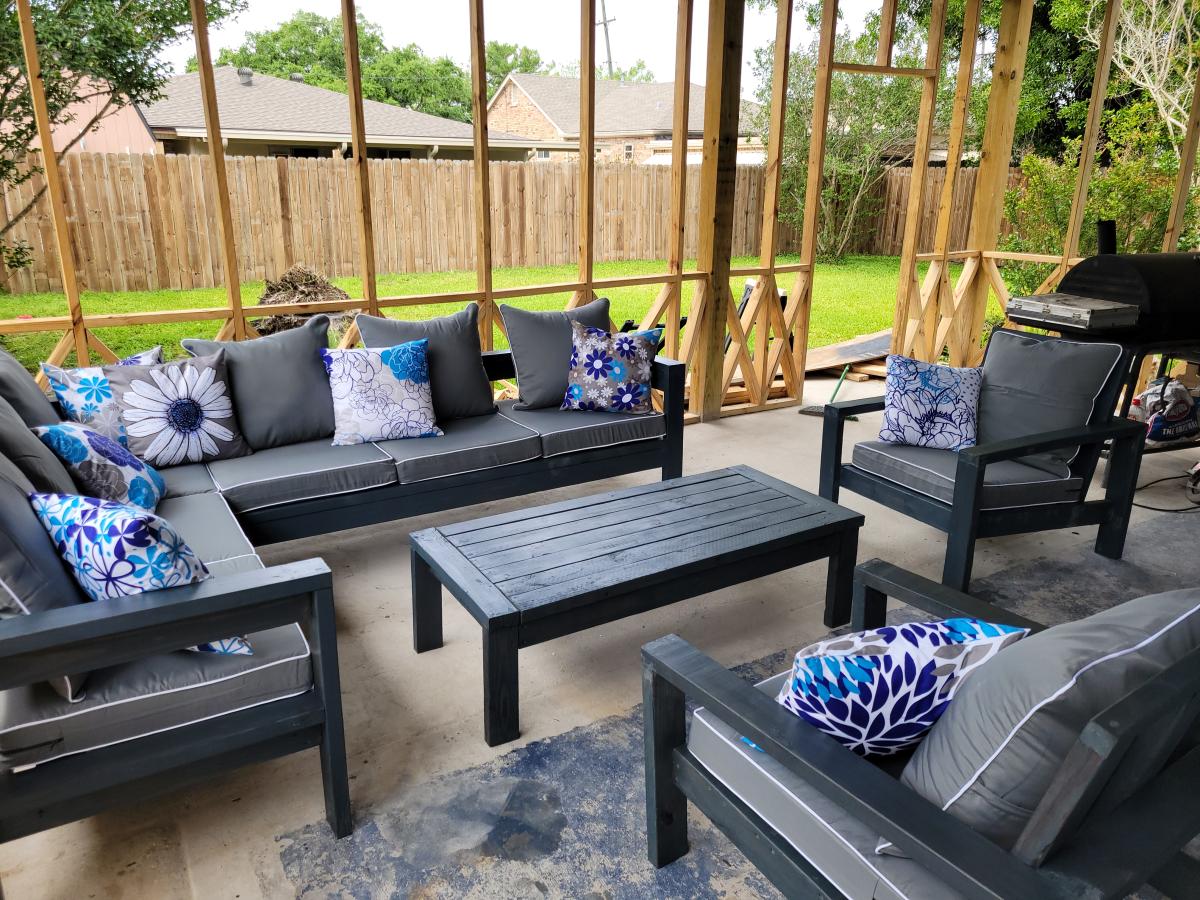
2x4 Sectional , table, and chairs

Submitted by Anonymous (not verified) on Fri, 04/14/2023 - 04:57

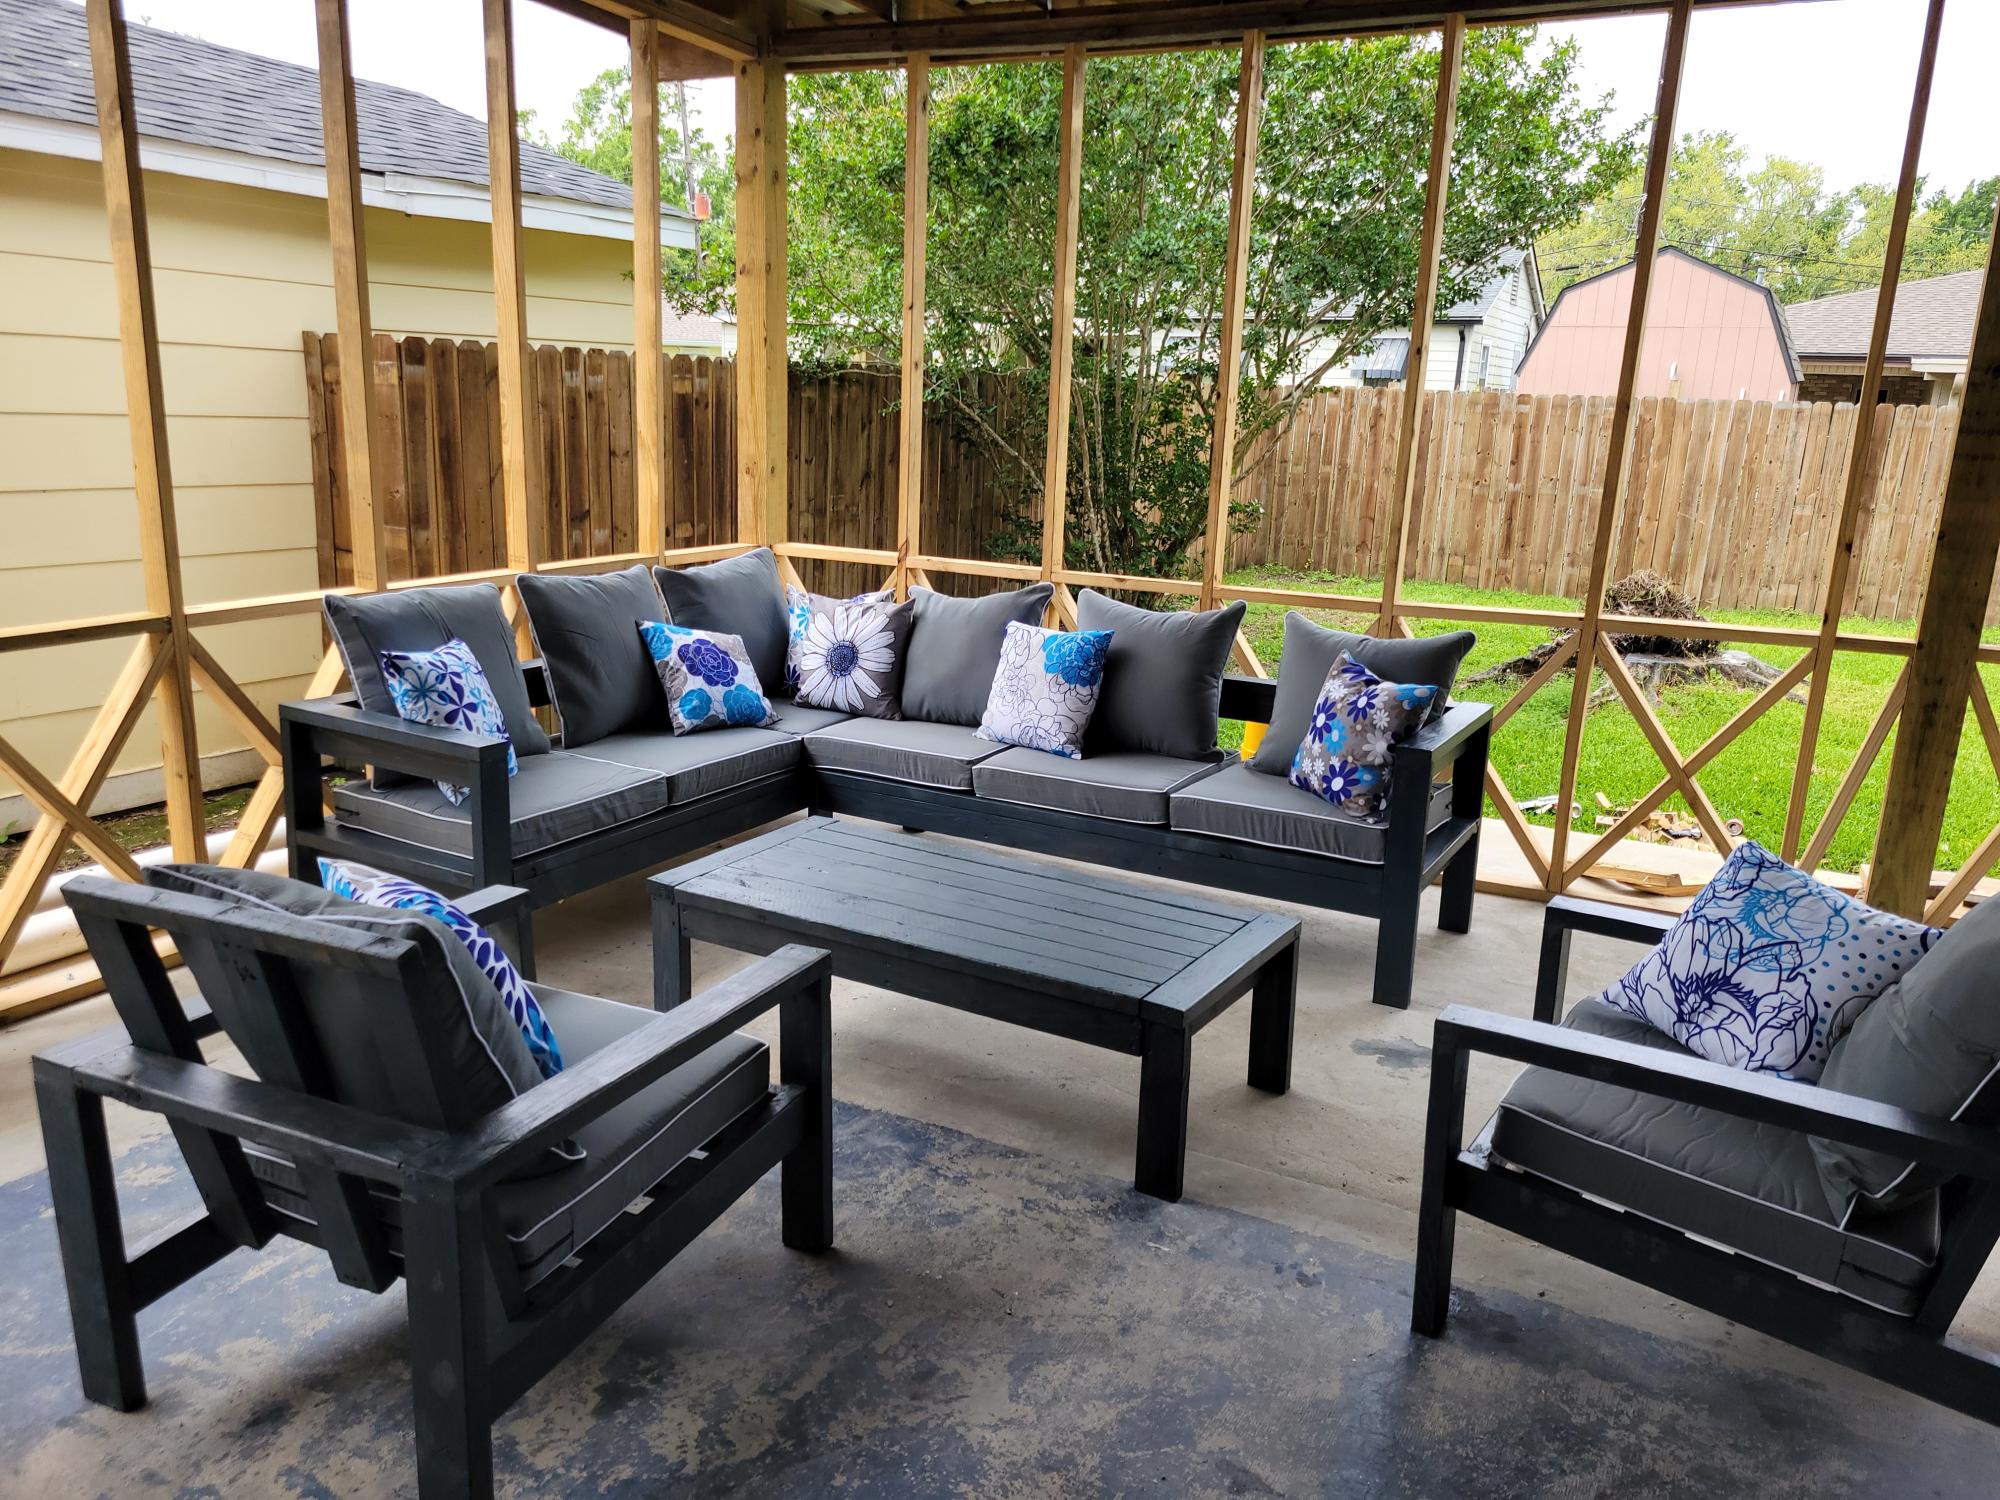
Your easy to follow 2x4 proje ts turned out amazing. My outdoor set is complete. The chairs, also, came from your plans. I built all of it by myself in one weekend. Thank you

Comments

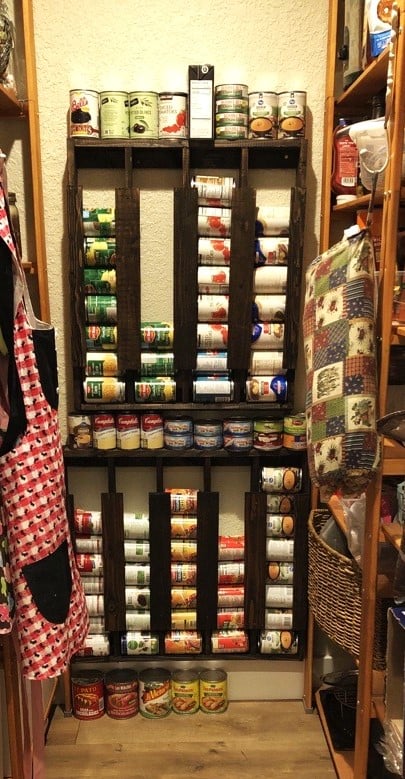
Floor to Ceiling Canned Food Storage

Submitted by Anonymous (not verified) on Fri, 04/19/2024 - 13:56

Loved these plans. Top unit was built exactly to specs. Bottom unit was built to accommodate one column of cans. I have also built one for my sis-in-law and will be building one more for this pantry. Love this project!

Leah

Built from Plan(s)

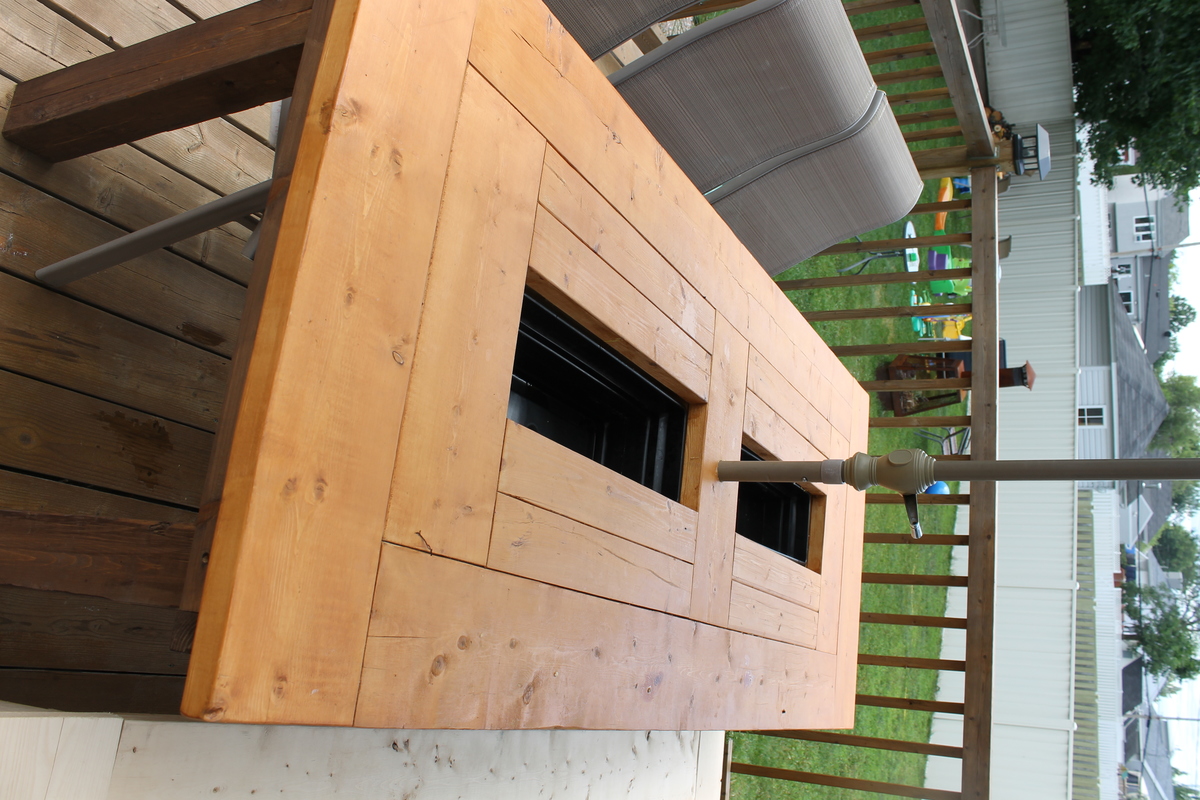
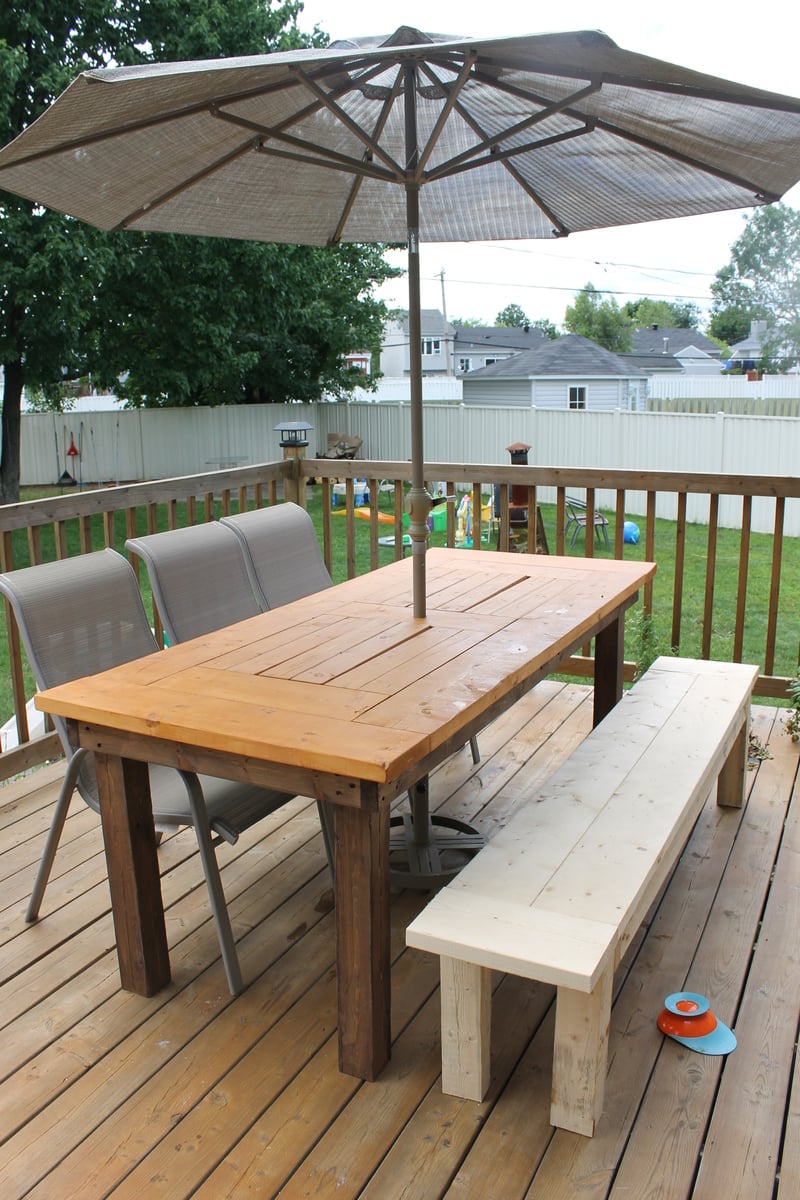
PATIO TABLE WITH BUILT-IN BEER/WINE COOLERS

Submitted by Joagirard on Fri, 07/04/2014 - 21:05

My sister was in love with my 4x4 truss table i made and needed a patio table so we decided to take one day to make 2 tables, one for each. We convinced both daddys to take care of the kids while we made the table by telling them the tables were gonna have beer coolers inside! Attaching the to of the table was a lot a job. If you plan of doing this you really want to have a kreg jig. It works well, we love it. I made a bench to go with it. I made my how plan for it.

Estimated Cost
200$
Estimated Time Investment
Weekend Project (10-20 Hours)
Finish Used
Sico outside wood stain color oak. 3 coats for the top and 3 coat sico chocolate for the bottom. All applied with a brush.
Recommended Skill Level
Intermediate
Back