Community Brag Posts

Grillin' and Chillin' - Outdoor Grill Food Prep Station

Needed a table for food prep with my grill and found your plans! I used treated lumber for the base and nice cedar planks for the top. The treated lumber had a whiter than usual color which made the base really pop out. I put a nice pecan stain on top and a few coats of poly so the BBQ sauce wouldn't stain it! This was so easy, literally took 2-3 hours to build, stain and poly was done over the next few days. Ready for my next ana-white project. Thanks for posting these plans.

Built from Plan(s)
Estimated Time Investment
Afternoon Project (3-6 Hours)
Finish Used
Simple pecan stain and minwax poly. Brushed on the stain and kept brushing until I got the darkness I wanted
Recommended Skill Level
Starter Project

Comments

tr7dul

Wed, 07/09/2014 - 16:24

I was looking on Pinterest and found this table. It was exactly what I was looking for. You inspired me to go out and buy a miter saw and some wood and make the table. It turned out wonderful. It now has a permanent place on my patio and gets used when I grill mostly. I was hoping to be able to upload a photo but don't see the option to do so. Anyway, I want to say thanks for the great plans/instructions.

First nightstand

Submitted by juliec on Sat, 04/02/2011 - 13:24

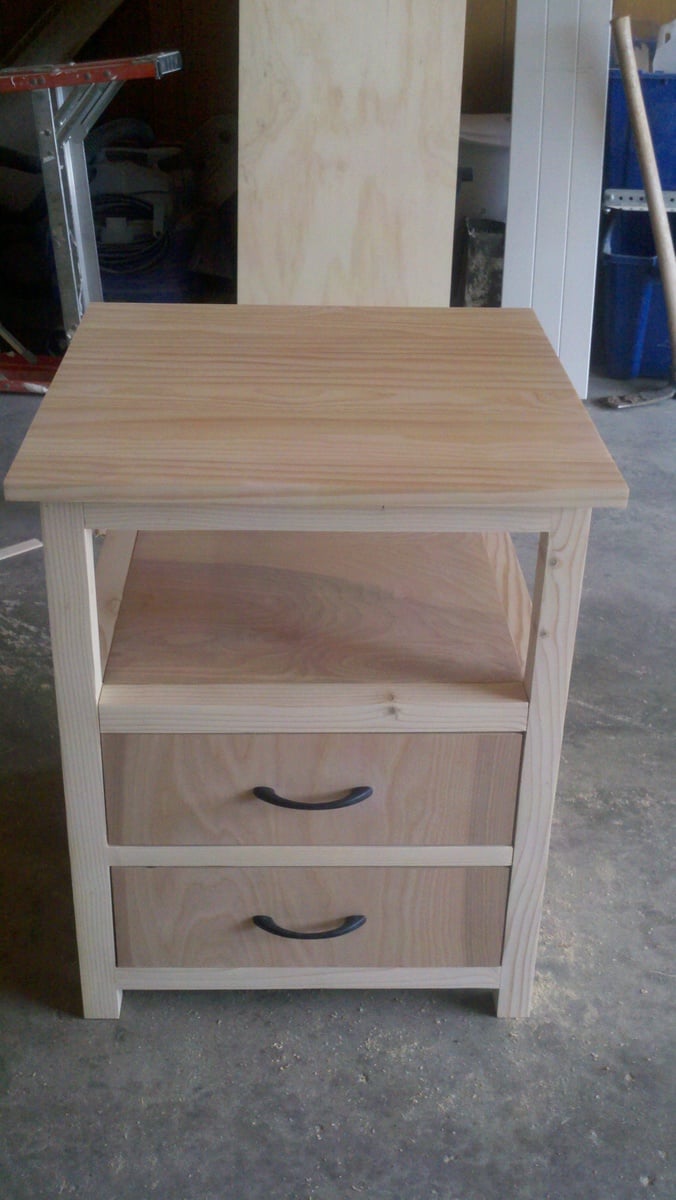
We used ana's plan but modified the top

Built from Plan(s)
Estimated Cost
$35
Estimated Time Investment
Weekend Project (10-20 Hours)
Finish Used
We will use espresso general finishes and several top coats of poly.
Recommended Skill Level
Intermediate

Comments

bridgetschaefer

Thu, 05/30/2019 - 13:00

This is EXACTLY what I'm looking for but I can't find the plans that were used to build it. Do you happen to still have the link for them?

Basement Storage Shelves

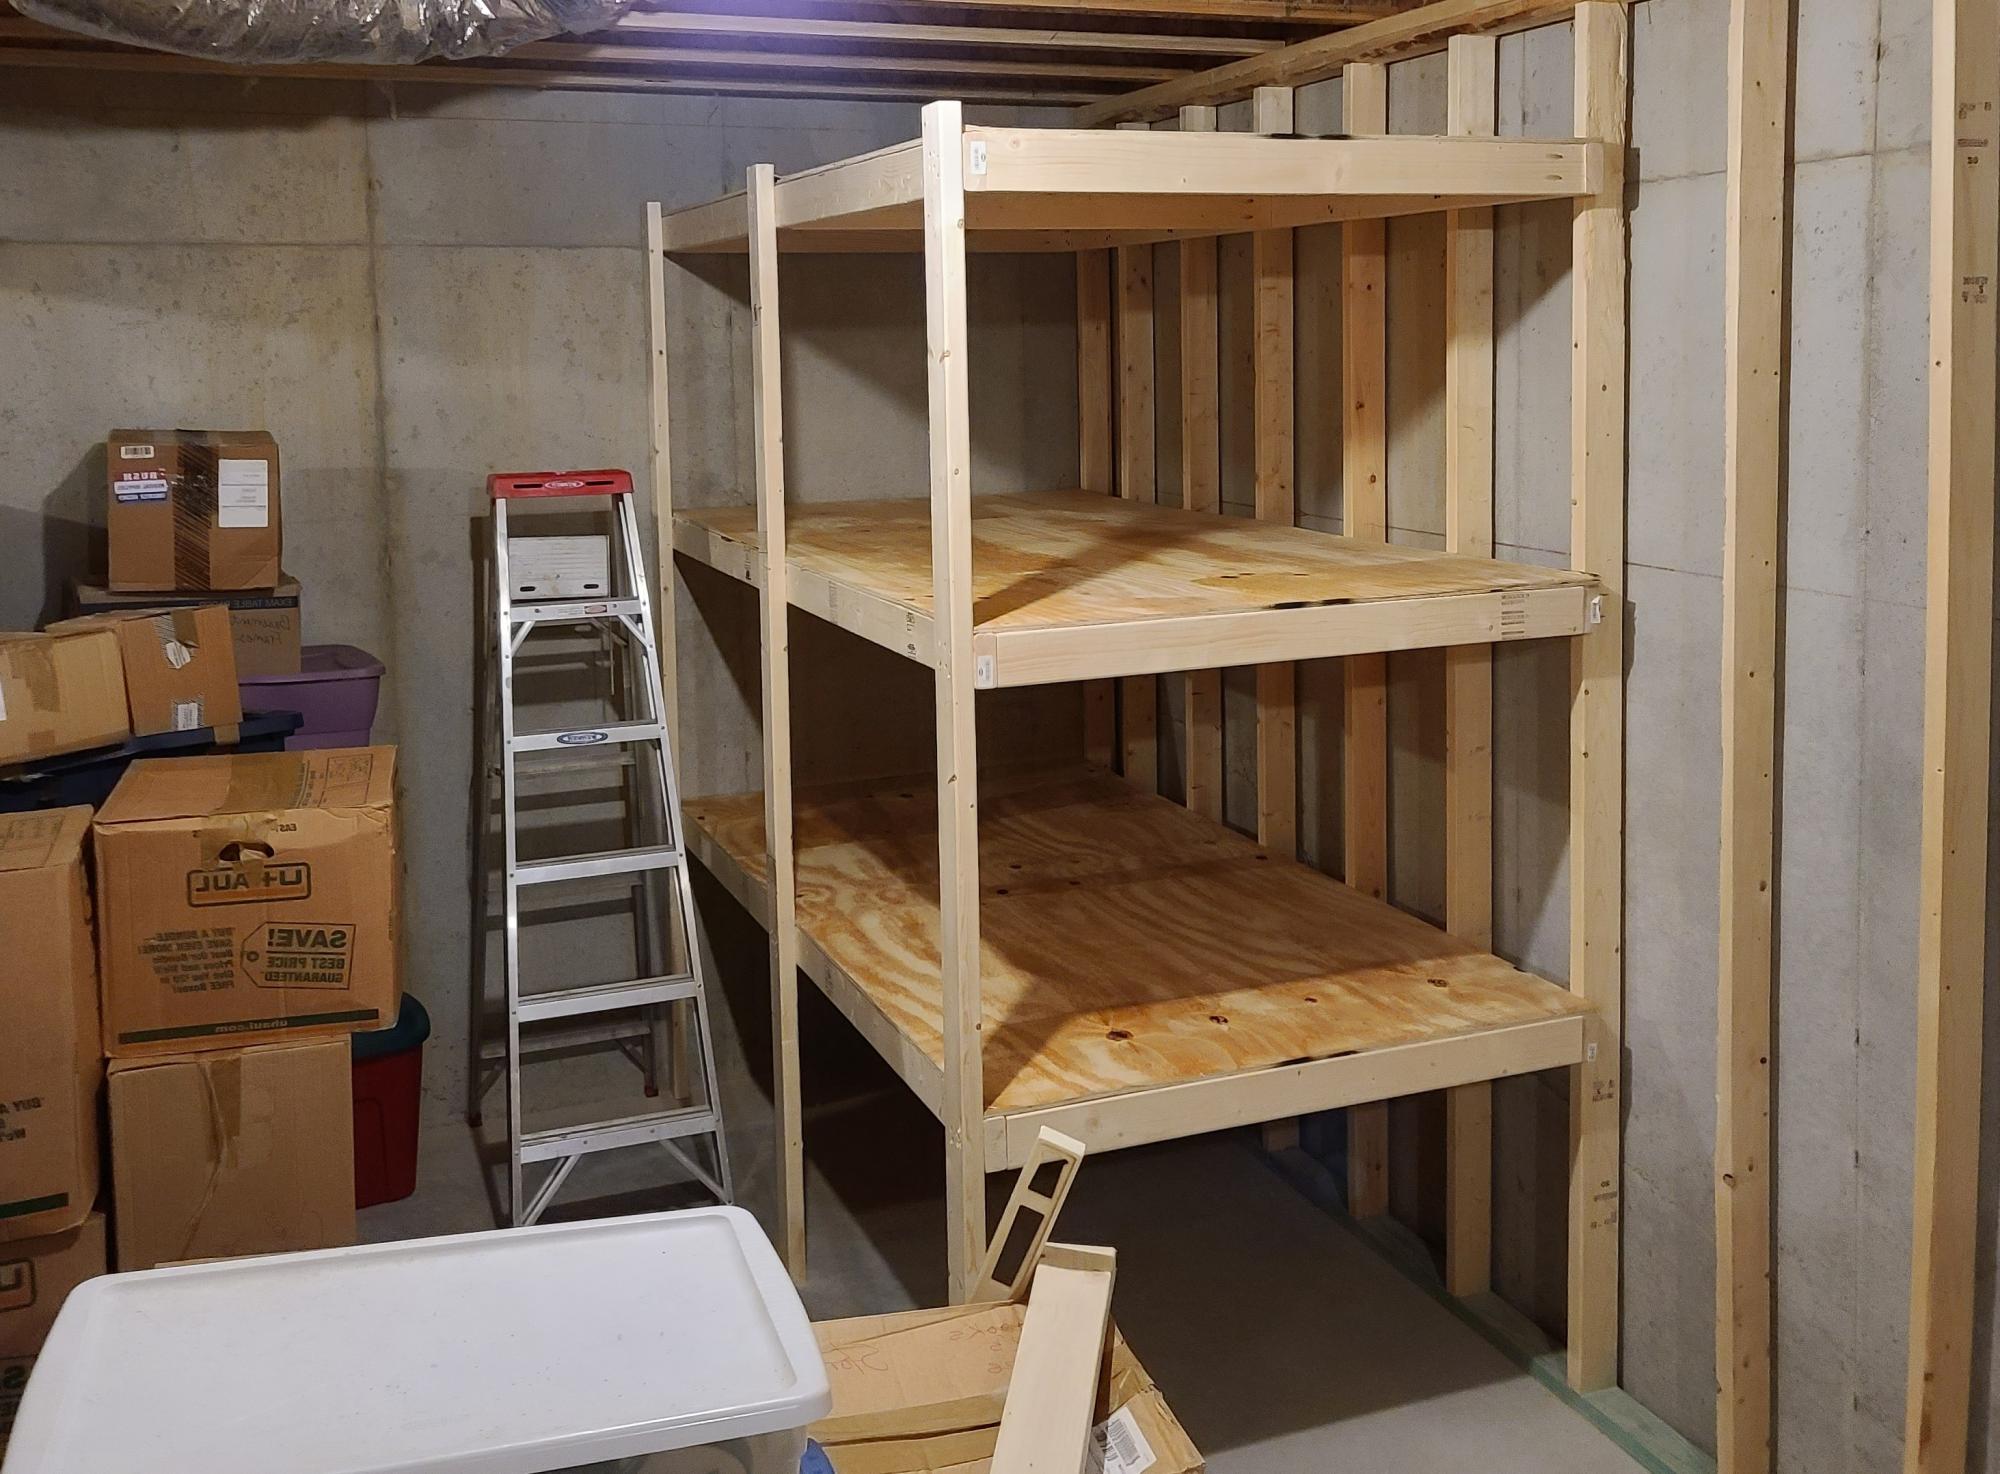
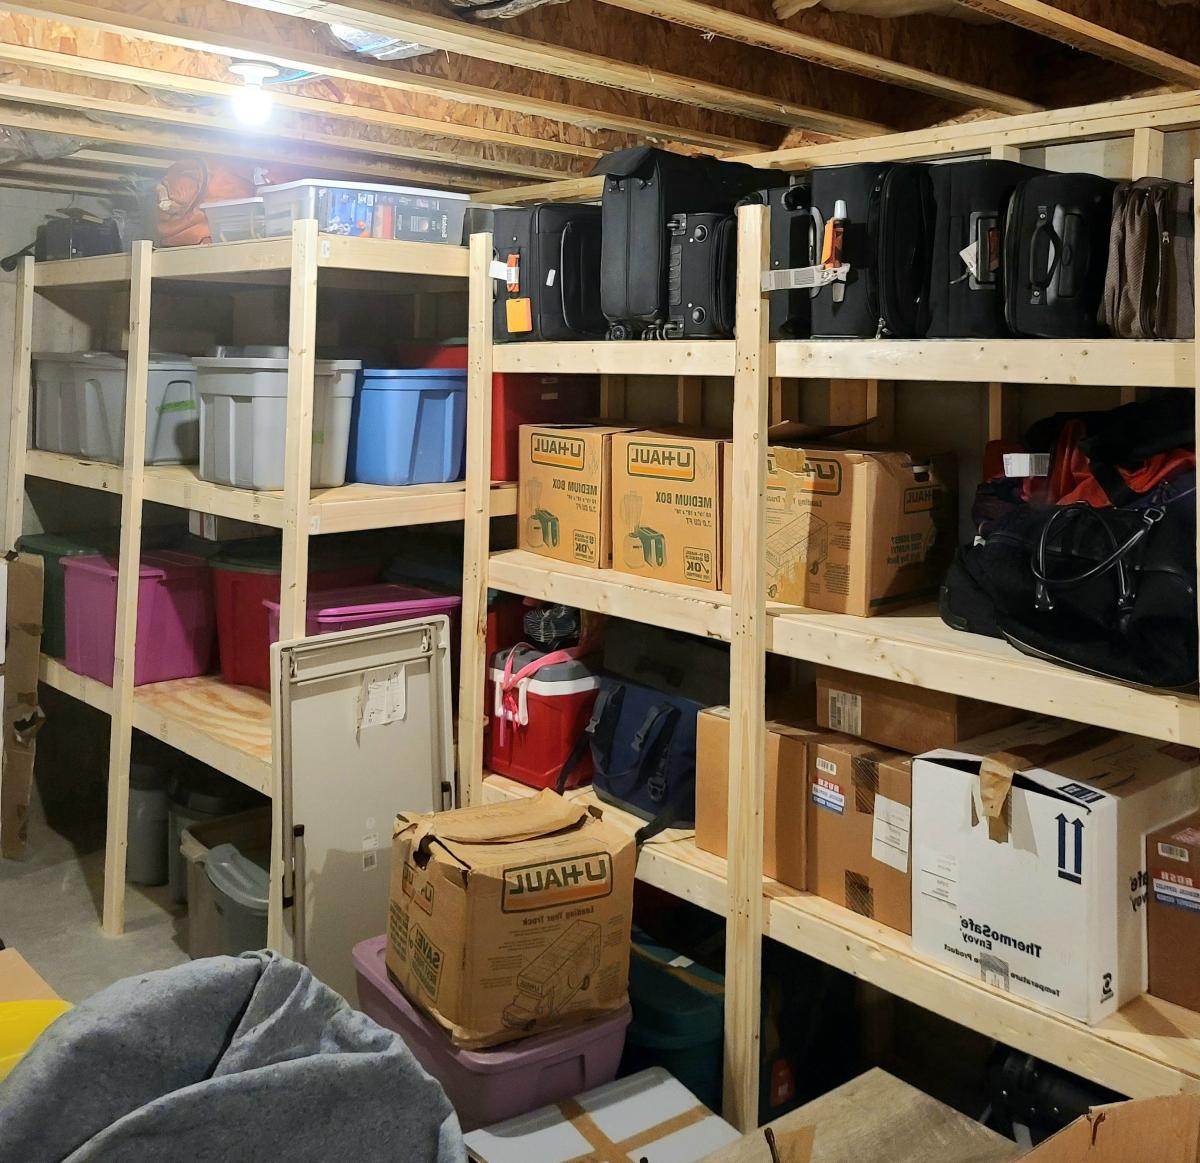
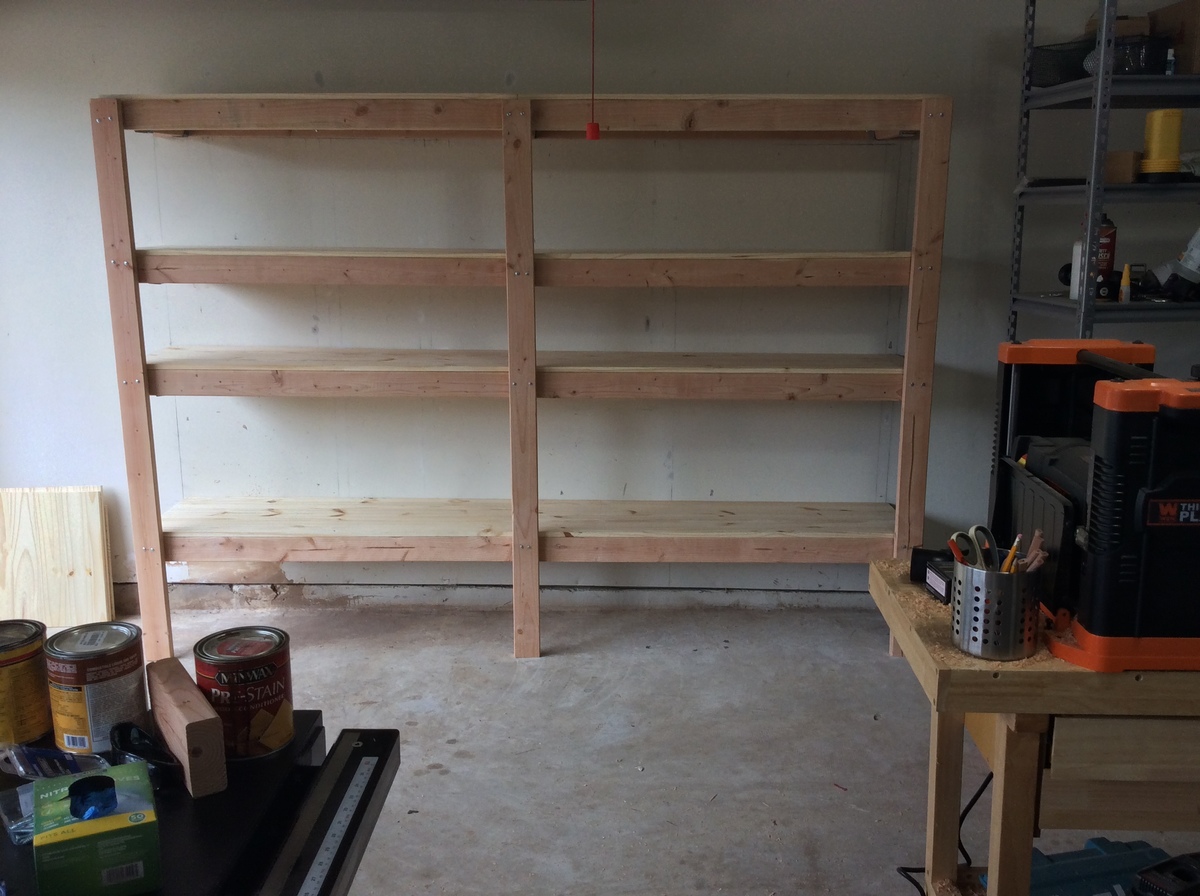
New house equals room for all the junk. Built this off the Garage Storage Shelves plan for our basement storage area. Leveraging the existing exposed studs made it a bit easier. Made these 48" deep to accommodate the big bins with all the holiday decorations. I added another along side, but made it 24" depth...one more yet to go. The wife can't throw anything away!

Comments

lawn and garden shed

Submitted by brittanyj on Wed, 08/19/2015 - 13:17

Needed a shed to store bikes and mowers, etc, so I'd have more room in the woodshop : )  I made a lot of modifications to the plan to fit my space and make it much larger.  The completed size is 7 foot tall at the peak, 6 feet deep and 5.5 feet wide.  I made it as a 3 sided shed, using the wall as the 4th to save on cost, increase air flow, and make the exterior house wall accessible.  I also made an egress in the back of the shed in order to get behind the shed if needed. 

Instead of roofing shingles, I opted for ribbed metal sheets and one clear sheet in the middle to make a skylight, so there would be light in the shed.  This is my favorite part of the project.  It was a huge pain to attach the roofing from a ladder with very limited access, but it looks great and I love the light coming in.  We have very little rain in CA, so I'll have to wait until winter/rainy season in order to test out its waterproofing. 

Since the shed sits between the house and the neighbors block wall fence, and I wanted to use as much of the space as I could, I decided to design the shed to have the side wall against the house rather than the back wall, as shown in the plan.  This took a large amount of modifications, but with careful planning and measuring, it can be done.  This also meant blocking off access to behind the shed, so I cut an egress in the back wall and added hinges so you can lift the back cut out panel, and rest it on a stop block attached to the fence behind it in order to have access.  That's what woodworking is about- problem solving.  Love it. 

As you can see by the full shed picture, it fits a large amount of stuff- 2 adult bikes, mower, edger, trimmer, chainsaw, hedge trimmer, garden tools, shovels, etc, with plenty of room for more.  I now have a free corner in my garage that I've already filled with a DIY rolling workbench and more pegboard space for tool hanging.  Woodshop increased space= happy Brittany. 

I should also mention that building the frame and adding the pickets was quite a quick and easy job.  The hardest and most time consuming part was the roof (I didn't have metal cutting tools), rolling each very heavy wall to the site (I was alone) and the previous 2 weeks in which I built the paver patio the shed sits on.  Hard work, but worth it.  I love it!
Built from Plan(s)
Estimated Cost
$280
Estimated Time Investment
Week Long Project (20 Hours or More)
Recommended Skill Level
Intermediate

Comments

brittanyj

Mon, 01/25/2021 - 13:15

It has been incredibly useful for storing! One thing about the skylight- Over time the sun has warped it and there is now a hole and crack there. So I wouldn't plan on the clear roofing being a long term solution- I will be replacing it with either thicker clear roofing or 2 layers.

Garage Shelves

Submitted by Anonymous (not verified) on Wed, 10/24/2018 - 08:43

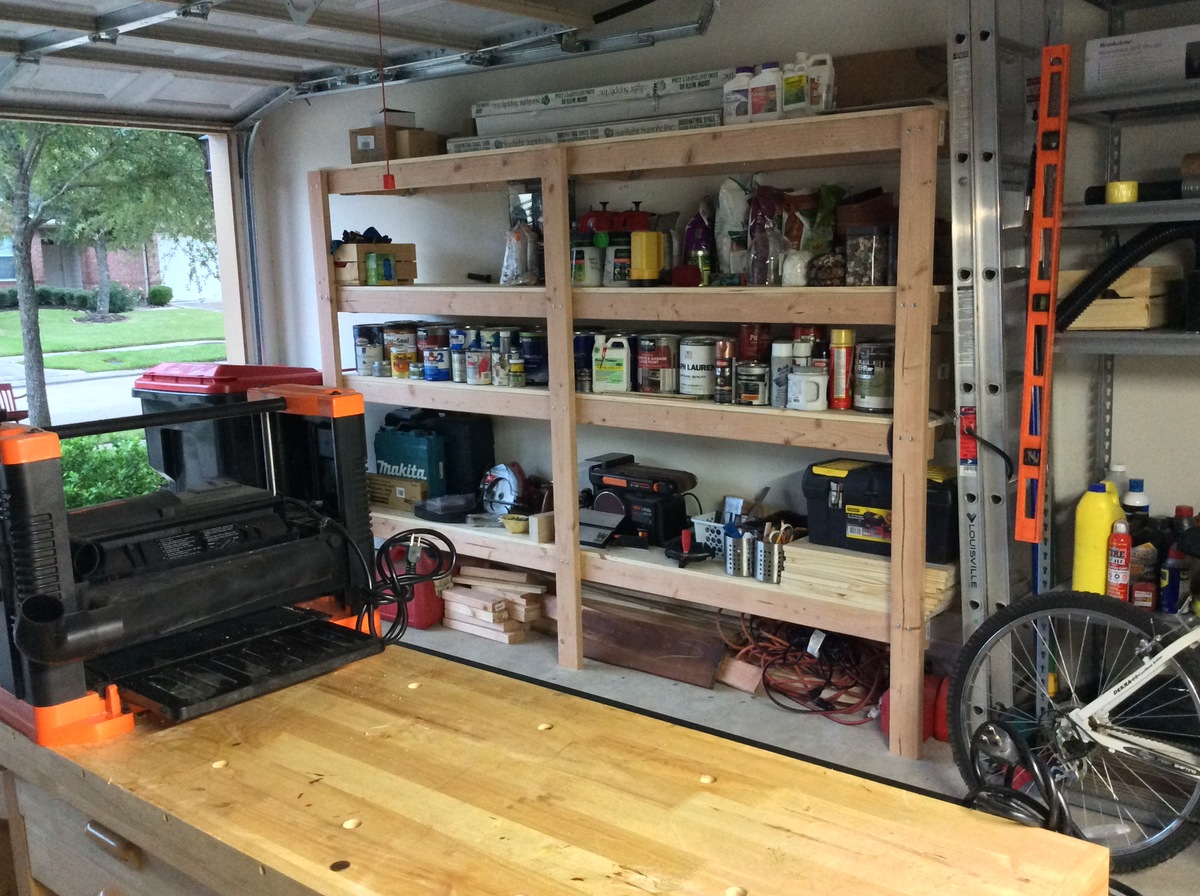
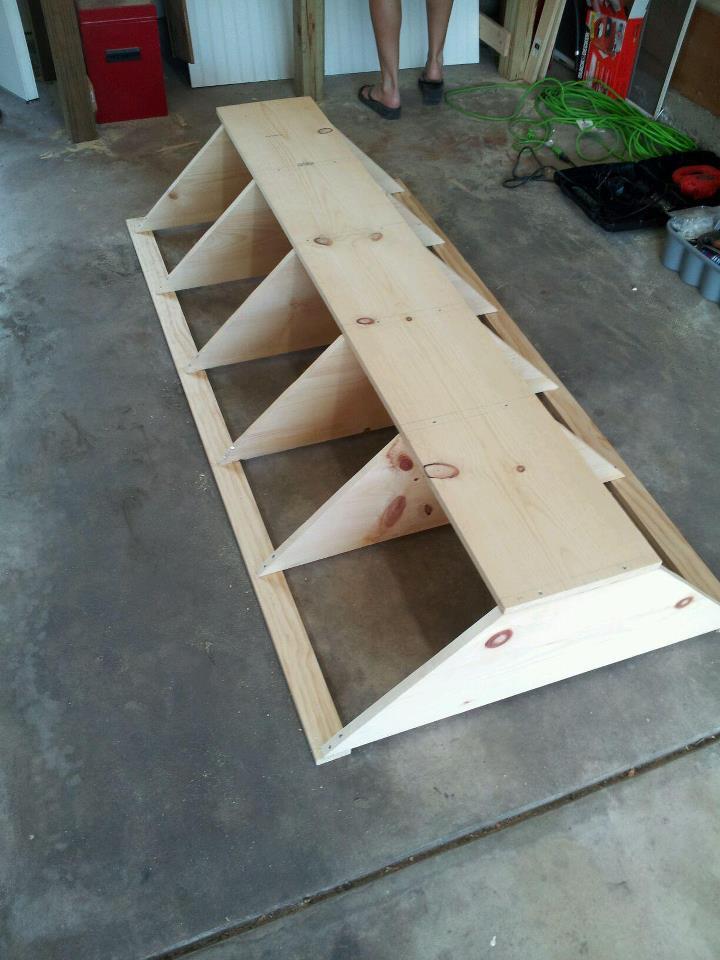
This was a pretty easy project, but I had to adjust the vertical legs to accommodate the sloping garage floor. I drew a  horizontal line for the top edge then measured to the floor at the spacing I wanted the vertical legs. I used these measurements to cut the three vertical legs. It’s level and straight, even though my garage is sloped. 

Estimated Cost
$300
Estimated Time Investment
Week Long Project (20 Hours or More)
Finish Used
Garage shelving
Recommended Skill Level
Beginner

Treehouse/Playhouse

Submitted by Bigbill99 on Sun, 01/10/2016 - 00:07

Thank you! You've helped me look like a true carpenter who knows what he's doing! My whole family is impressed with my woodwork lately, and now I'm addicted. I've done your seesaw, bar table and stools plus the treehouse in 2 weeks. Thank you for sharing your plans!

Estimated Cost
$500.00
Estimated Time Investment
Week Long Project (20 Hours or More)
Finish Used
Spar urethane
Recommended Skill Level
Beginner

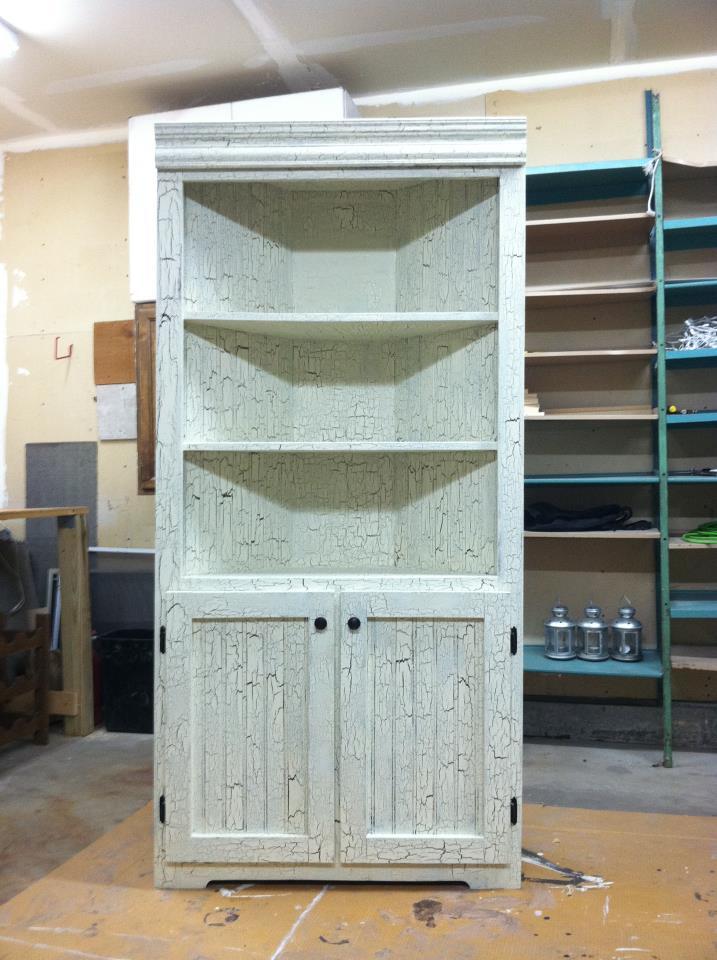
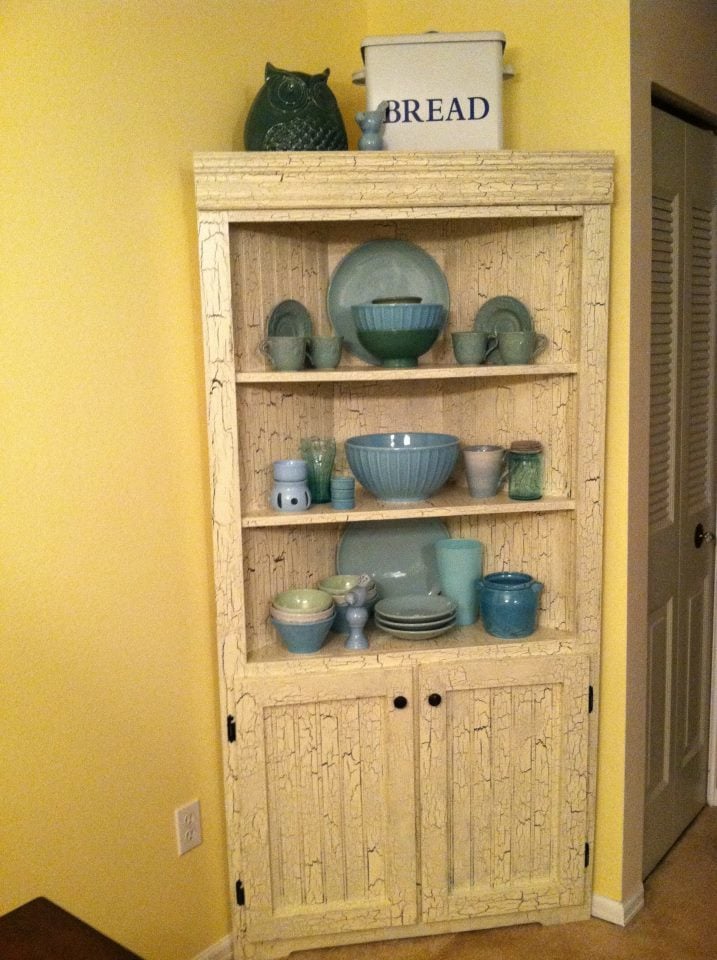
My own weathered corner hutch :)

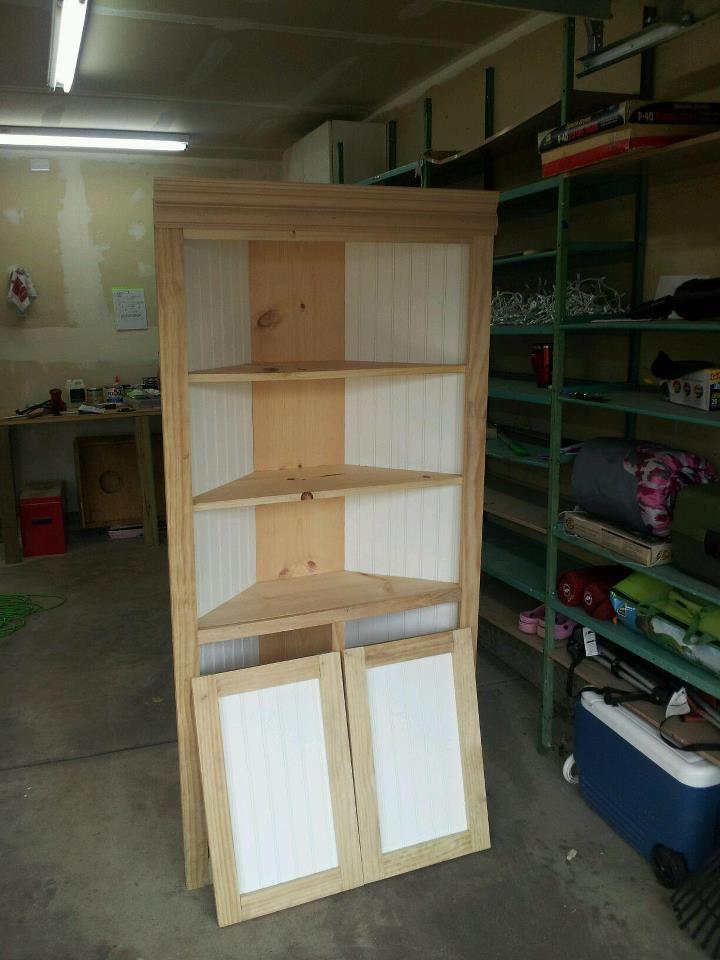
This was my first project. It took me a weekend to build and prime. Since I chose to use a crackle finish, waiting time between coats extended the total time to one full week. My husband and I were supposed to make this hutch together, but I became obsessed and did most of it alone! I adjusted the size a bit to make it larger, so I could fit big pieces on shelves and in cabinets. Thanks for the plan Ana!!

Built from Plan(s)
Estimated Time Investment
Week Long Project (20 Hours or More)
Finish Used
Weathered Crackle Finish done as follows:
1. Killz2 latex primer (highly recommended)
2. Valspar interior satin finish, "Frontier Road" (this is the color that shows in the cracks)
3. Valspar weathered crackle glaze (a suggested substitute that costs less is Elmer's glue)
4. Valspar interior flat finish, "Churchill Hotel Lace" (must be a flat paint, this is the dominant color of your piece)
5. Valspar clear protector (also highly recommended to protect the finish you worked very hard to create, when you paint the same piece of furniture 5 times in one week your sanity will agree!)
Recommended Skill Level
Starter Project

Comments

JoanneS

Fri, 04/13/2012 - 14:47

Wow, this is sooo beautiful! The finish is just awesome. My Hubby hates to paint, and he saw this multi-step finish and said you must have the patience of a saint! :) Congrats on such a stunning first project!
kmsdance (not verified)

Mon, 10/01/2012 - 23:33

Very Nice! What did you do to make it "bigger"...did you make it deeper or wider? Just curious, because I would like to try and make a bigger version as well. Did you still cut the shelves on each side at a 45 degree angle? Thanks!

Kiddie Chairs

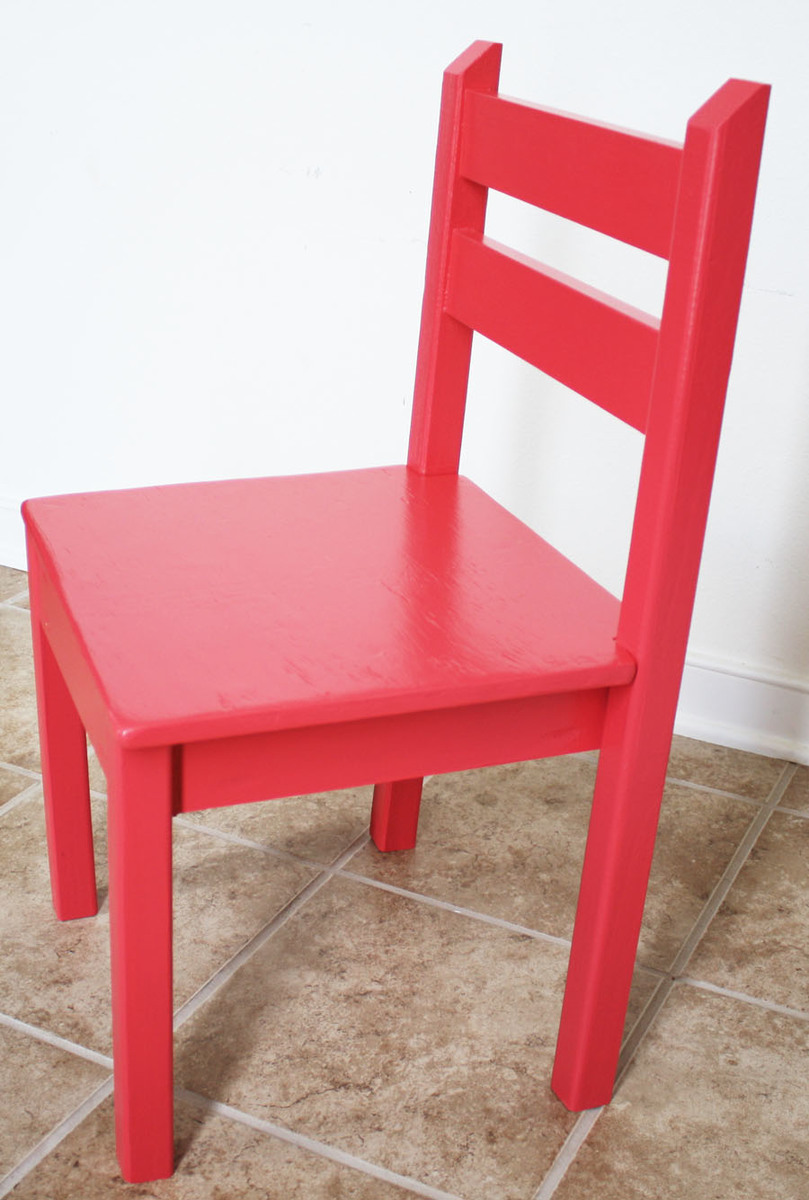
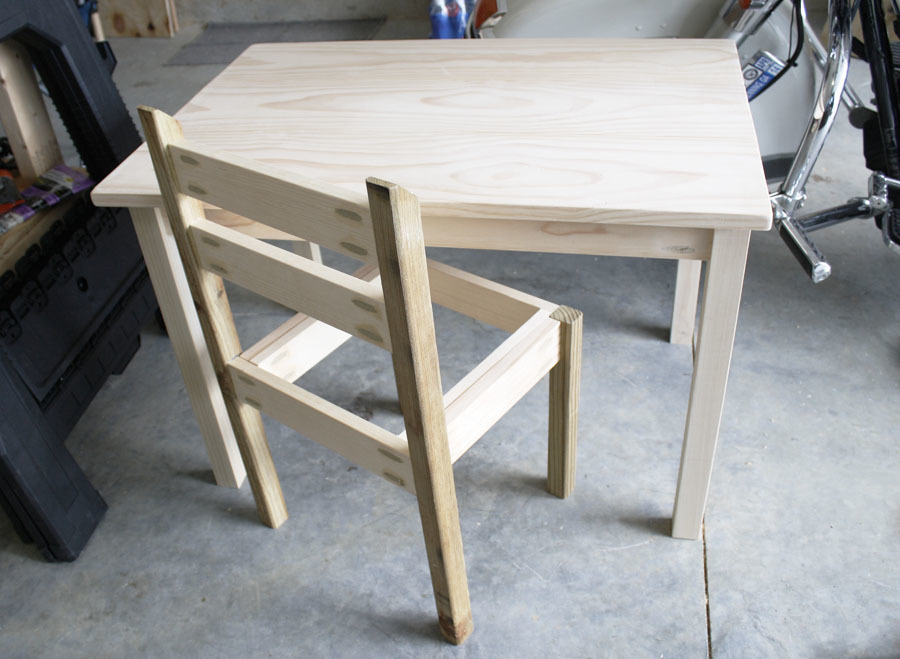
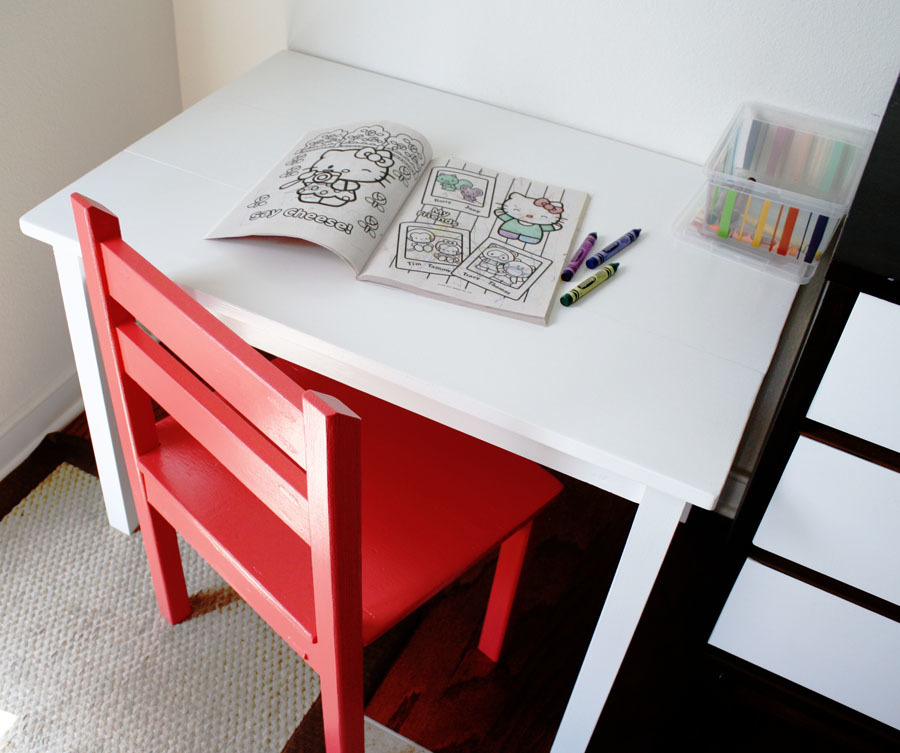
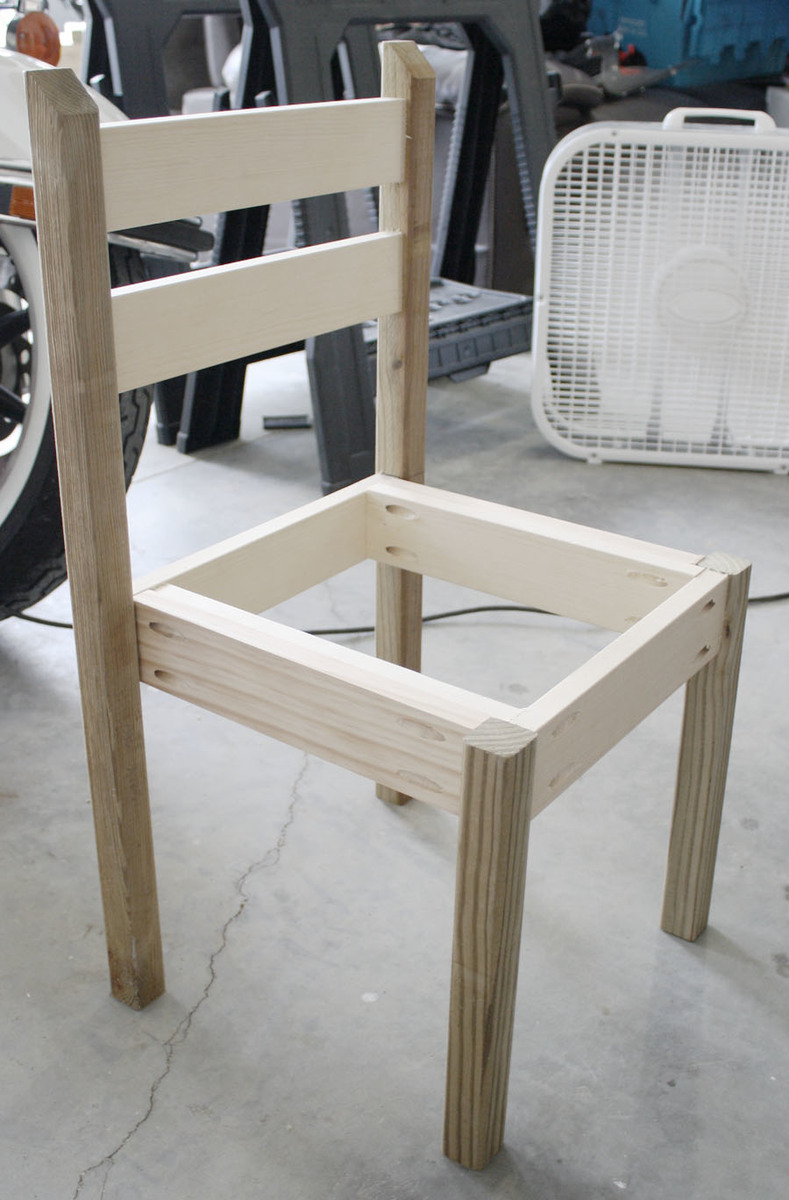
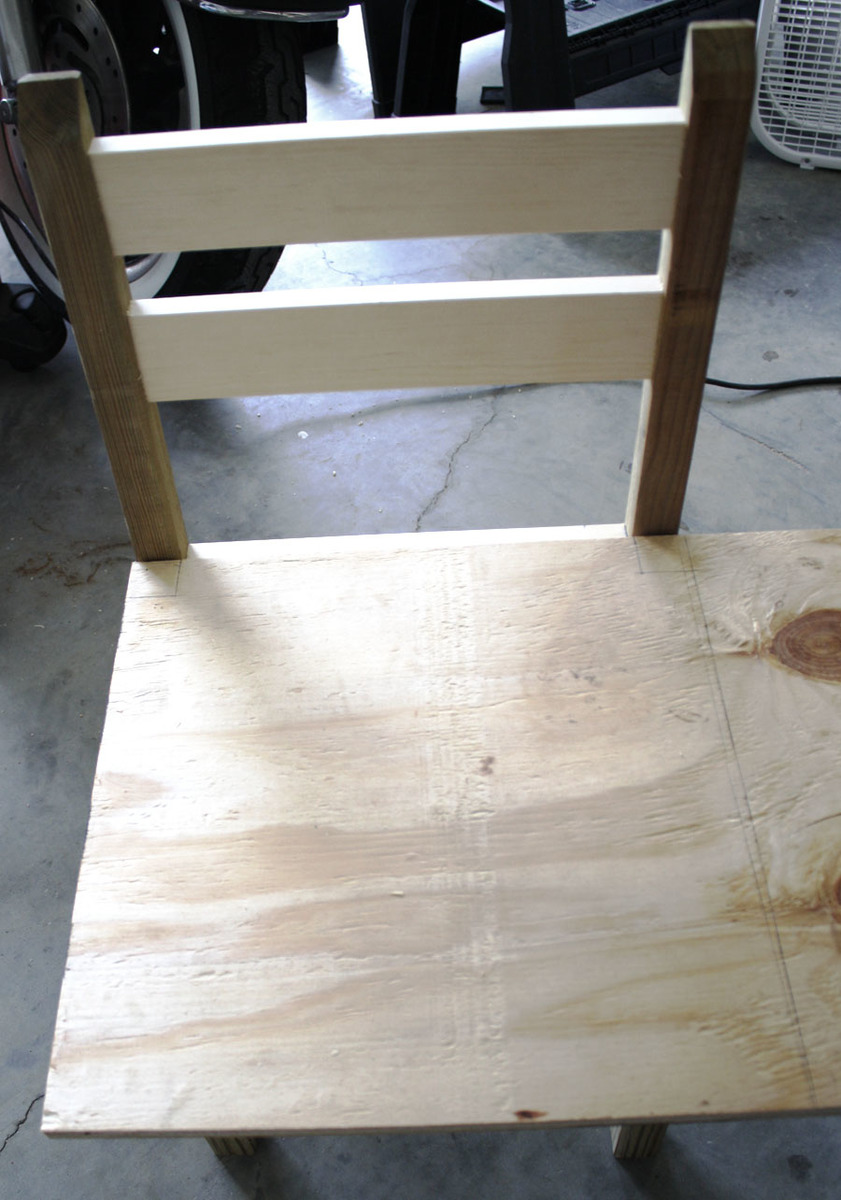
These chairs were easy to build, although I modified Ana's plans a little bit. I opted for solid wood 2x2s for the legs (I wanted it to be sturdier), and a solid seat instead of a slatted one. I notched out the back of the seat so it would fit flush against the back legs. Because of my modifications, my chair was just a couple bucks more.

Also, I was so excited to find solid wood balusters for the chair legs - they're not only better quality, but cheaper than furring strips!

Check out my blog link for a complete play-by-play!

Estimated Cost
$7.00
Estimated Time Investment
Afternoon Project (3-6 Hours)
Finish Used
Primed with Zinsser 3-in-1 Primer, then painted with Red Valspar Paint found in the "Oops" section of Lowes. Three coats of Rustoleum Satin Polyurethane.
Recommended Skill Level
Beginner

Comments

Taylors Console Table for the Patio

Submitted by CBCin843 on Thu, 08/07/2014 - 07:21

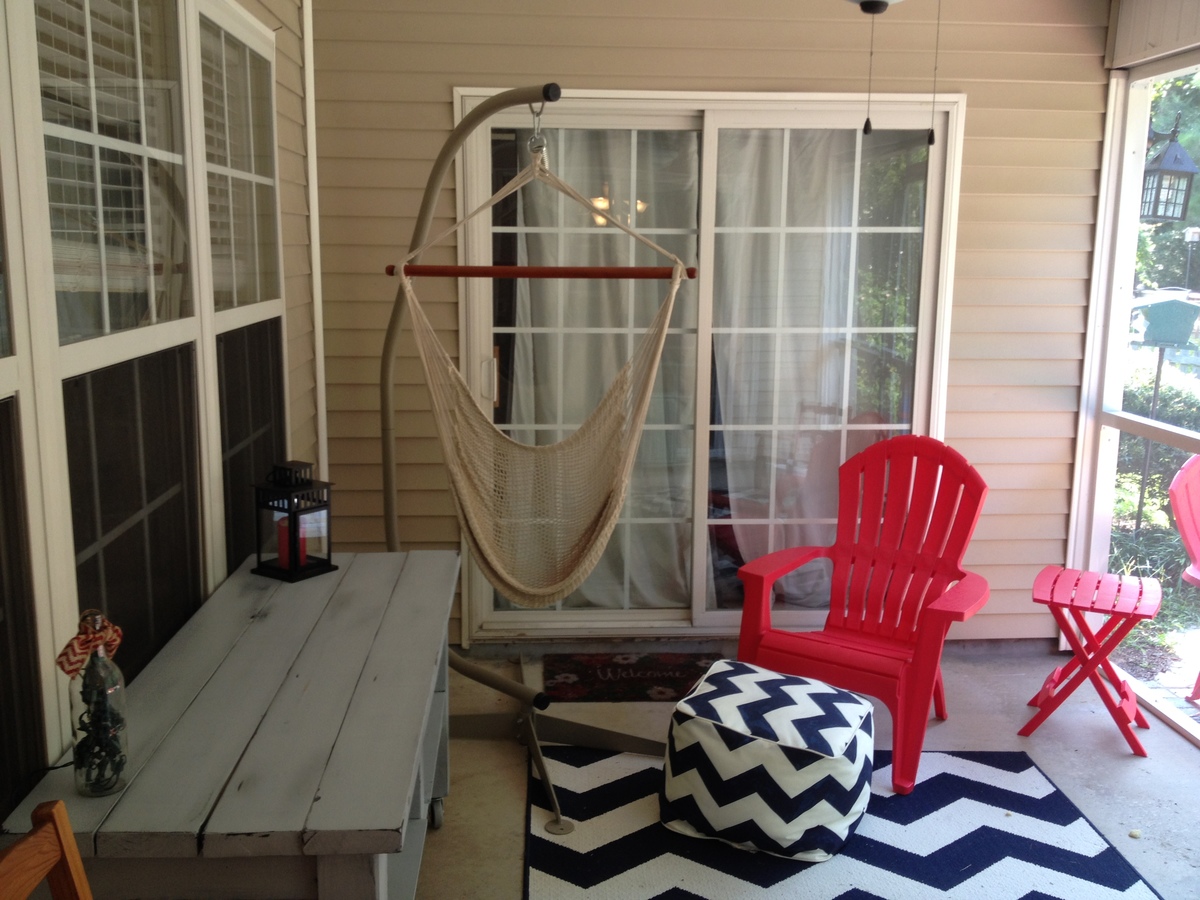
I fell in love with this table and decided to tackle it as my first ever furniture build. We spent more money that we'd planned investing in some new tools (i.e. Kreg Jig Mini and Clamps). We also had a lot of anxiety about initially getting started and trying the Kreg Jig for the first time, but I watched Ana's Kreg Jig Tutorial on Youtube, and it was actually very easy.

I'm going to say that it took us 10-20 hours to complete, because of the way we finished the table. We only worked on it 1-2 hours each week though, so it took us a couple months. :-)

This table is now on our patio where we can use it for toy storage or as a serving buffet for BBQ's. I'd call it a success! Thanks Ana for the inspiration!

Built from Plan(s)
Estimated Cost
$100
Estimated Time Investment
Weekend Project (10-20 Hours)
Finish Used
We used Shanty to Chic's idea to spray paint the dark walnut and then use vaseline to make distressing easier. I wish I'd used more Vaseline, but I was scared to have the table look too distressed. Now I can see that I could have used a lot more. Then we painted over it with Lowe's recipe for DIY Chalk Paint with existing leftover paint and Plaster of Paris. We sealed it with Johnson's Furniture Paste Wax.
Recommended Skill Level
Beginner

Simple Workbench, perfect workshop addition!

Submitted by Tbacks on Wed, 01/18/2017 - 04:45

We have been using a number of folding tables to do our builds and feeling the pain in our backs and frustrations in our brains for doing it.  I found this pattern and rushed to Home Depot!  A few hours later we had a workbench.  Loved it so much a day later we had two!!  We use them all the time.  Thank you Ana for such a great pattern!

Estimated Cost
Approximately $60 each
Estimated Time Investment
Afternoon Project (3-6 Hours)
Recommended Skill Level
Beginner

Bench to Table conversion

Submitted by Donna_Led on Fri, 04/09/2021 - 15:22

We made two of the Picnic Table to Bench units in the month of March. The second one is in the bottom part of the picture hidden by the wood rack. I took the picture from our upstairs porch. My husband is still amazed that we accomplished this. He is not a DIY'er. We built a new house in 2016 and had a bunch of leftover wood sitting on our (unfinished) basement floor. We managed to build our benches mostly from that wood. We did have to buy 3 more pieces to finish the second back/tabletop. Then we got the balance of the wood moved out to our storage barn. The color is deck stain from our porches. I chose 20 hours as our time frame because the used wood required a lot of sanding and prep work. Our time frame was probably about 3 weeks but we are 68 and 73 years old and were really in no hurry. The plans were very simple to follow. We made them 6 feet long.

Estimated Cost
Nearly free except for the big bolts and three 2x6x8ft boards. We had everything else.
Estimated Time Investment
Week Long Project (20 Hours or More)
Finish Used
Solid deck paint from Lowes in a cedar color we already had.
Recommended Skill Level
Beginner

Comments

Table turned cabinet

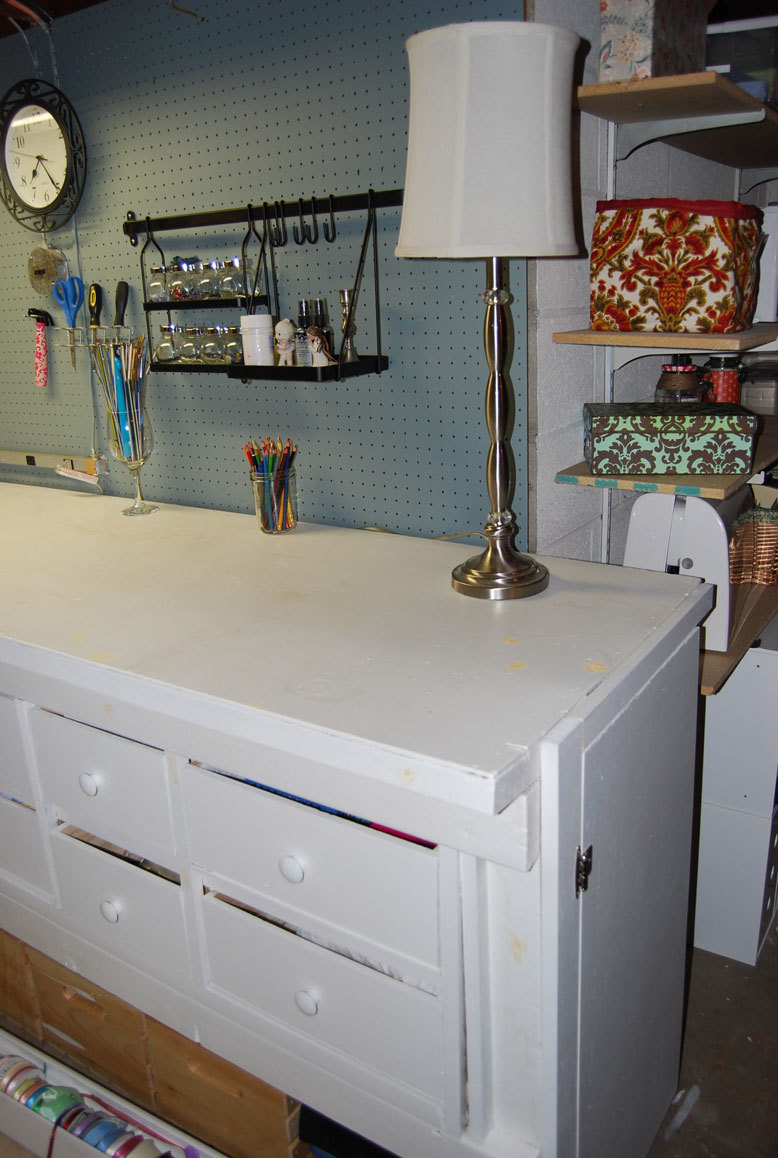
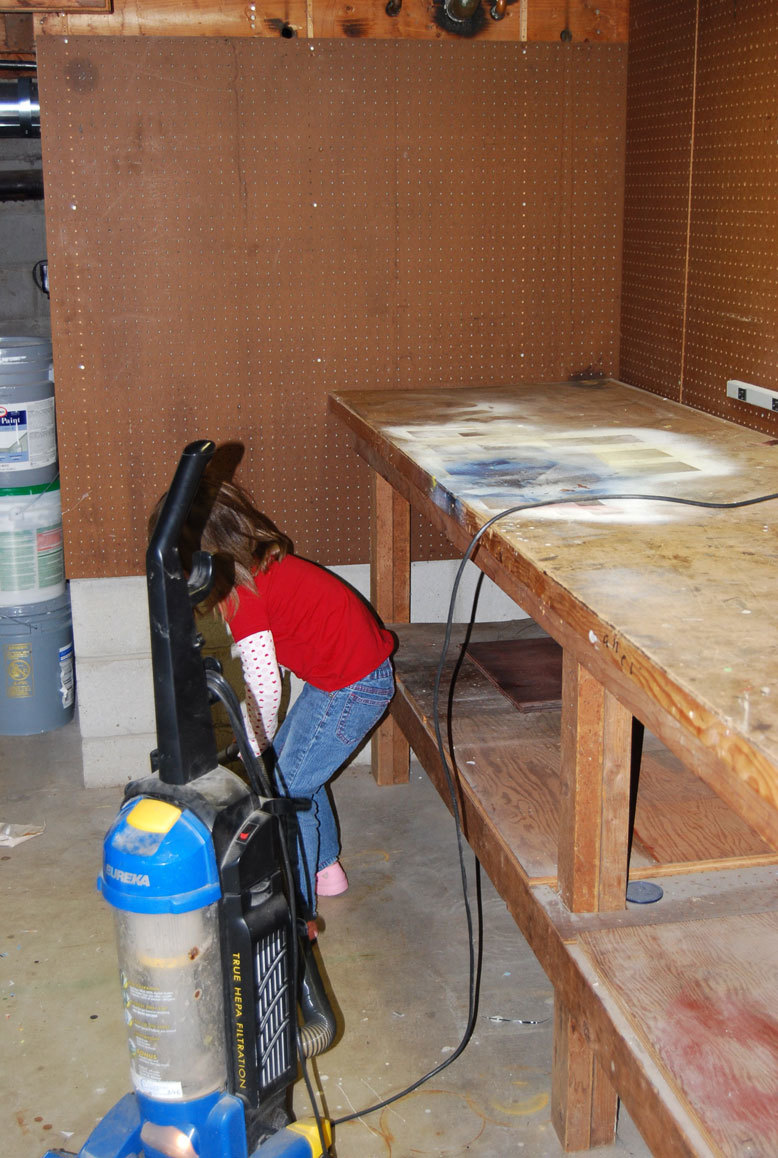
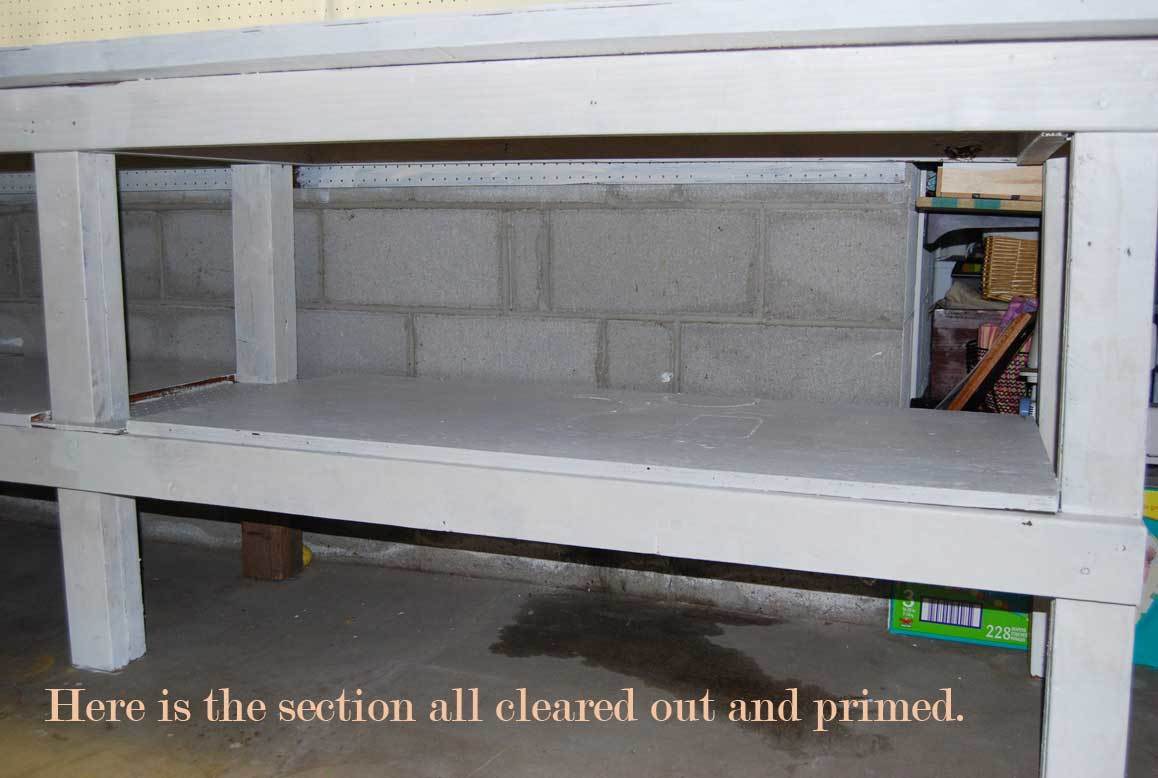
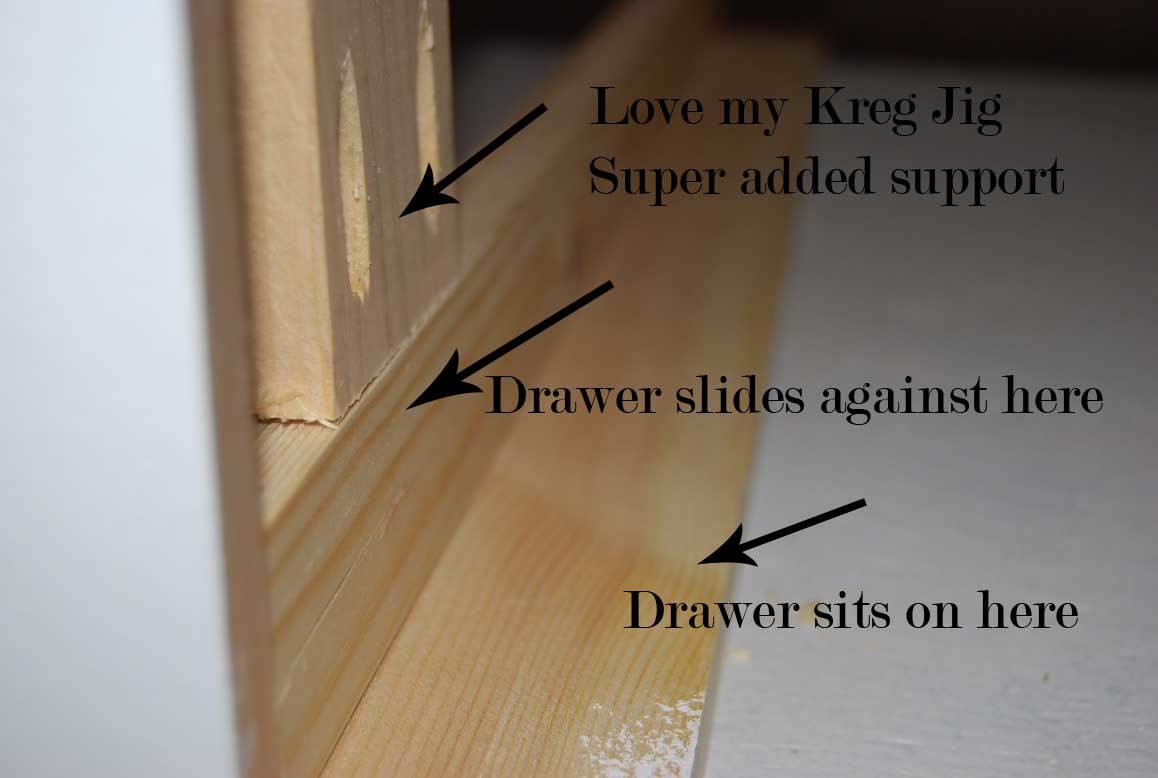
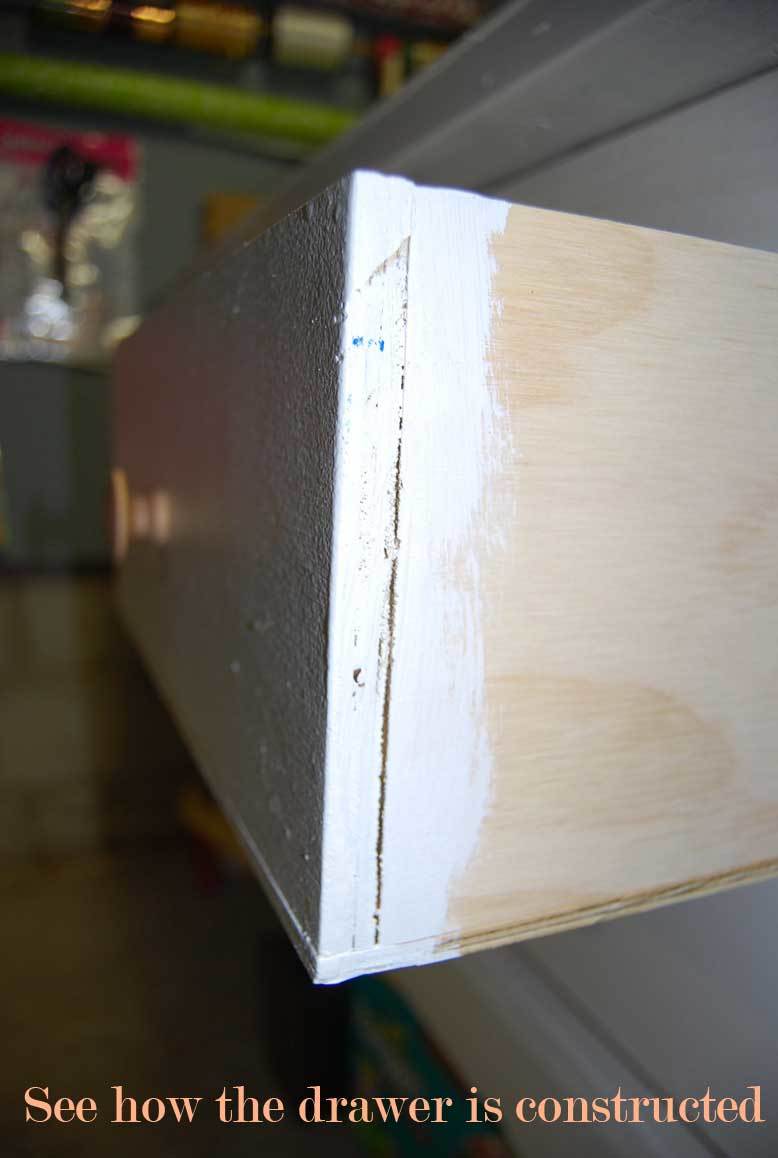
I had an old table that was in my basement.  I wanted to re-do my craft room.  I have been thinking and thinking about it.  So when I saw Ana’s link to her drawer organizer – and how to install drawer slides – I thought – ok – now it’s time to do it.


I spent about a week drafting plans, making measurements.  At first I was going to recycle the metal sliders I had left over from the kids dressers…but there wasn’t enough – and to do 12 drawers would be more money than I wanted to spend.


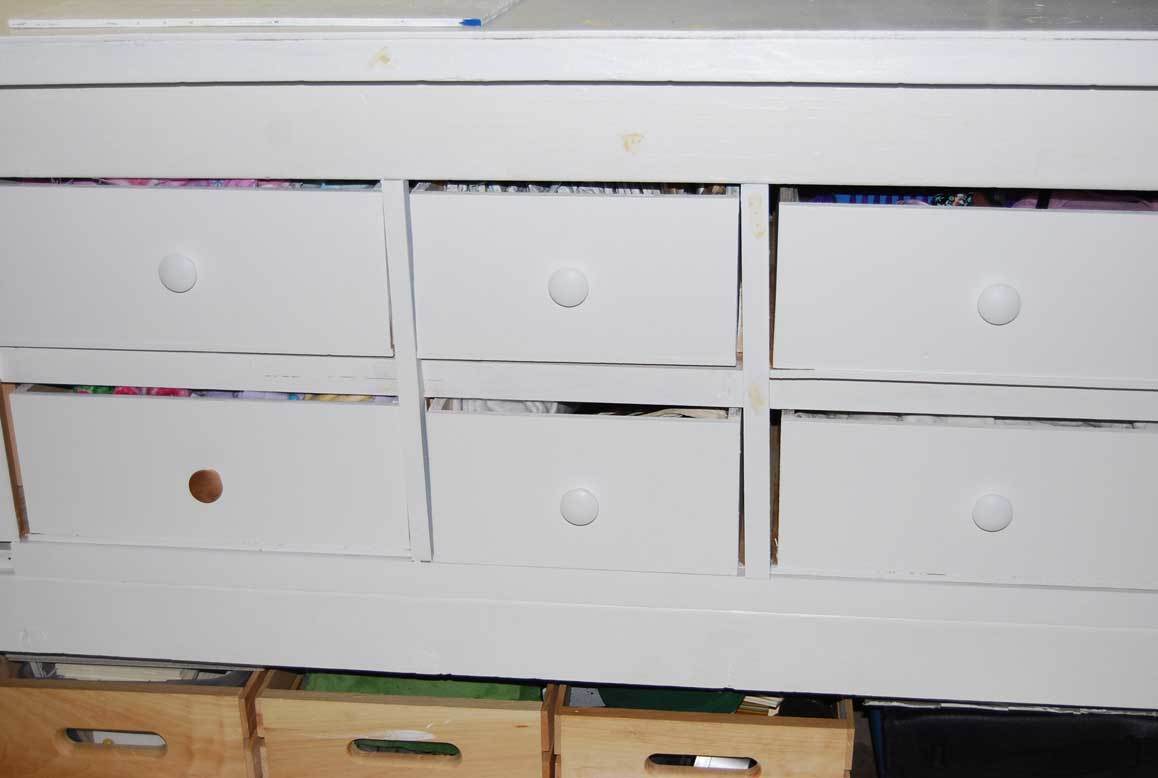
So – a trip to home depot – I was able to take this table that was just collecting junk – literally – to an organized and functional crafting cabinet – with huge deep drawers.  There are 12 drawers in total.  They are all 6 inch in height, 26 inches deep, and then there are 8 that are 16 inches wide, and 4 that are 12 inches wide.


Here are some before and after pictures – I have all the details on the build on my blog.  I wouldn’t have been able to do it without Ana.  Her plans and continual inspiration!

Estimated Cost
Around $80
Estimated Time Investment
Afternoon Project (3-6 Hours)
Finish Used
On the fronts of the drawers only. Sanded, primed and painted with high gloss white.
Recommended Skill Level
Intermediate

Outdoor Sectional

I scaled back the length of the sofa by a few inches and I made the sectional only one seat to fit my space on the deck. This was my first woodworking project that I did by myself. I got the cushions for more than 1/2 off at Ikea so the whole project cost about $150 ($80 for the cushions). It took me about a week to complete but the total time was less than 10 hours to build and stain. I'm pretty happy with how it turned out.

Estimated Cost
$150
Estimated Time Investment
Weekend Project (10-20 Hours)
Finish Used
Pittsburgh Paints Stain & Sealant in One for Decks, Fences, & Siding in Walnut. I brushed on the exterior stain just like a paint. I did the top part of the sofa first, then flipped it over and stained the bottom. Read instructions on the label.
Recommended Skill Level
Beginner

Comments

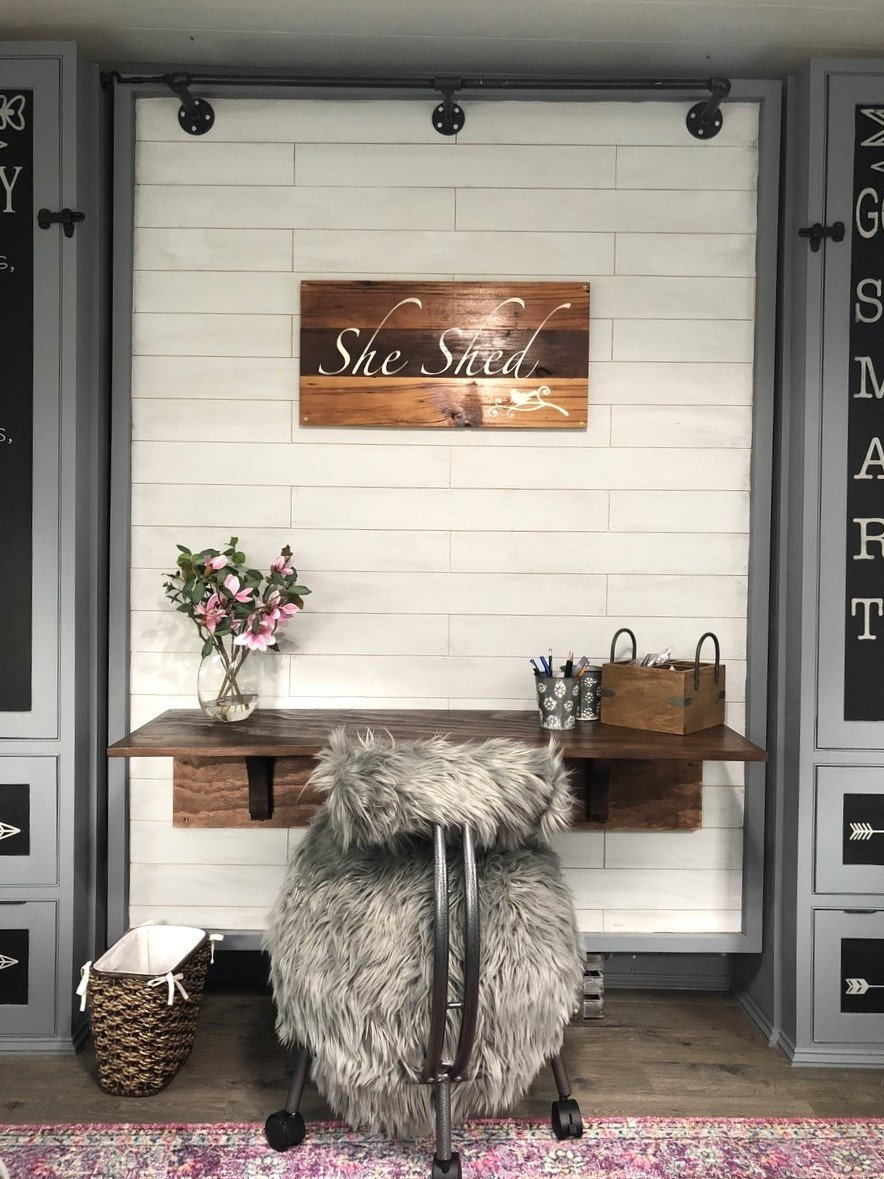
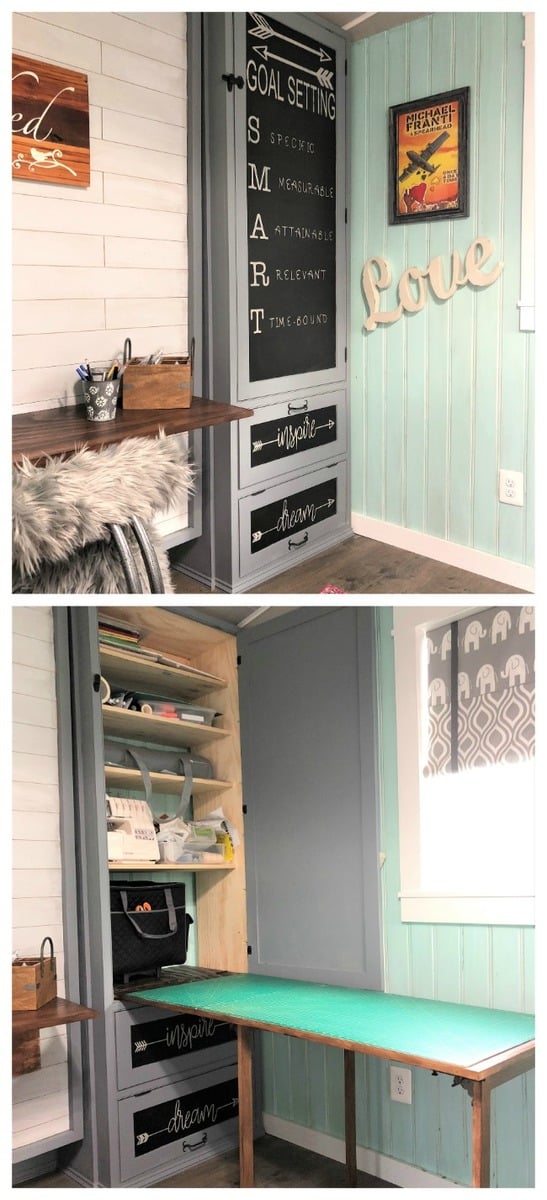
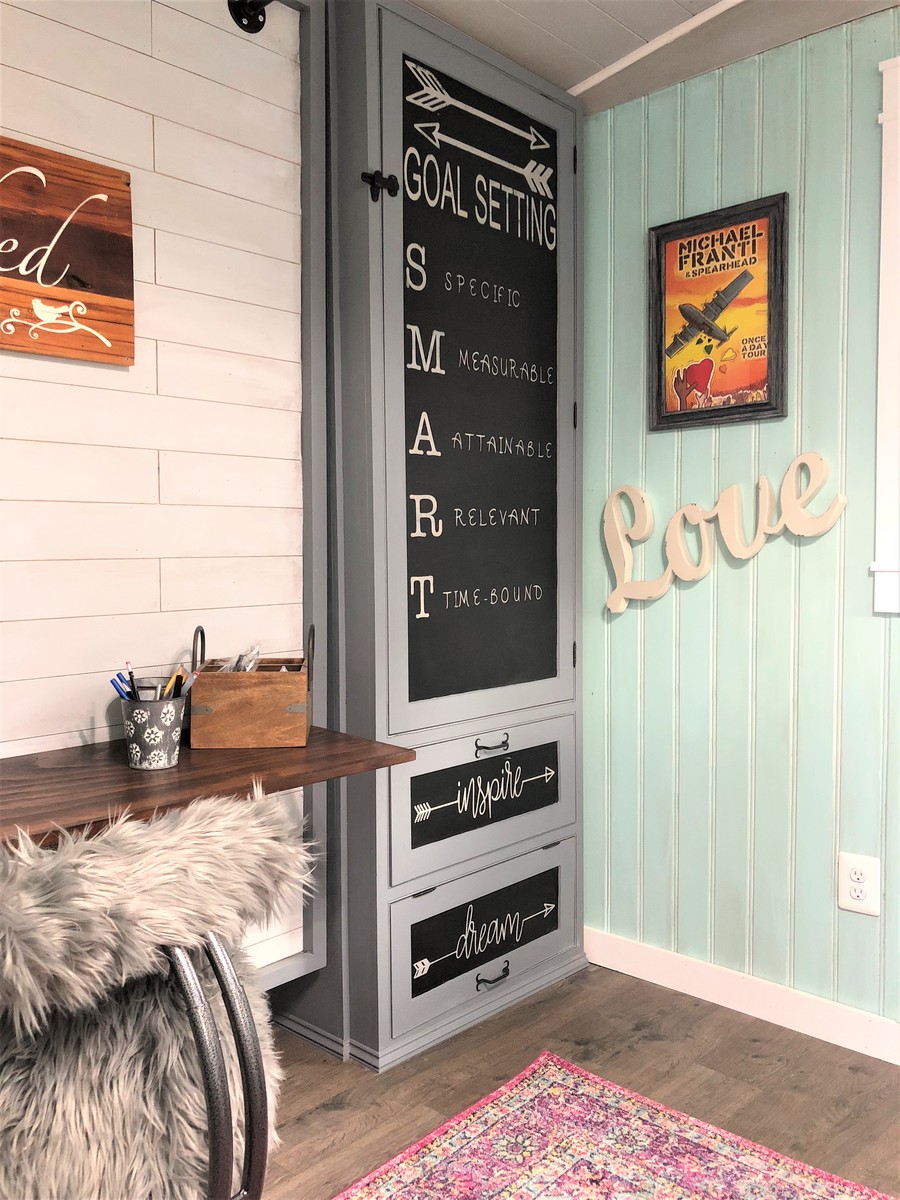
She Shed - Guest Room, Craft Room, Office

Submitted by Chriss45 on Tue, 01/23/2018 - 08:18

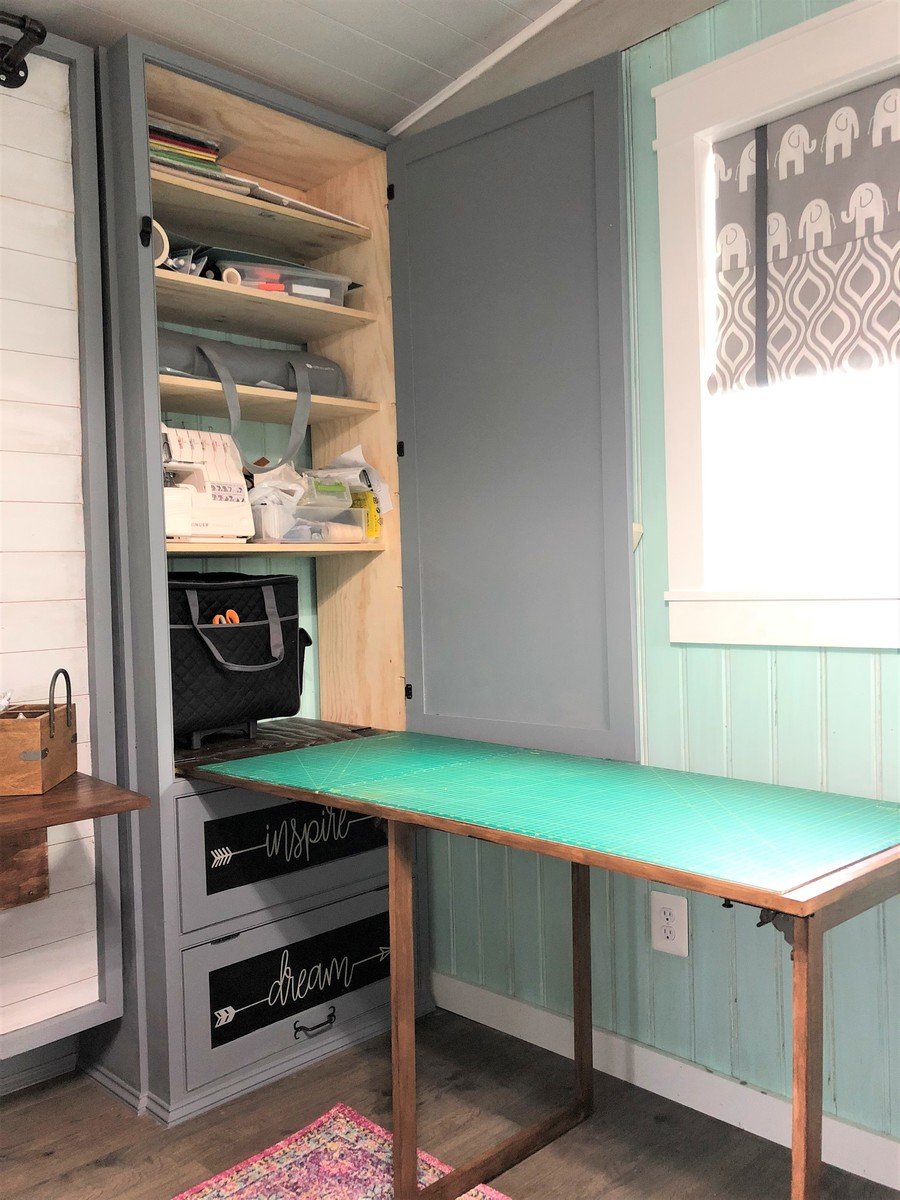
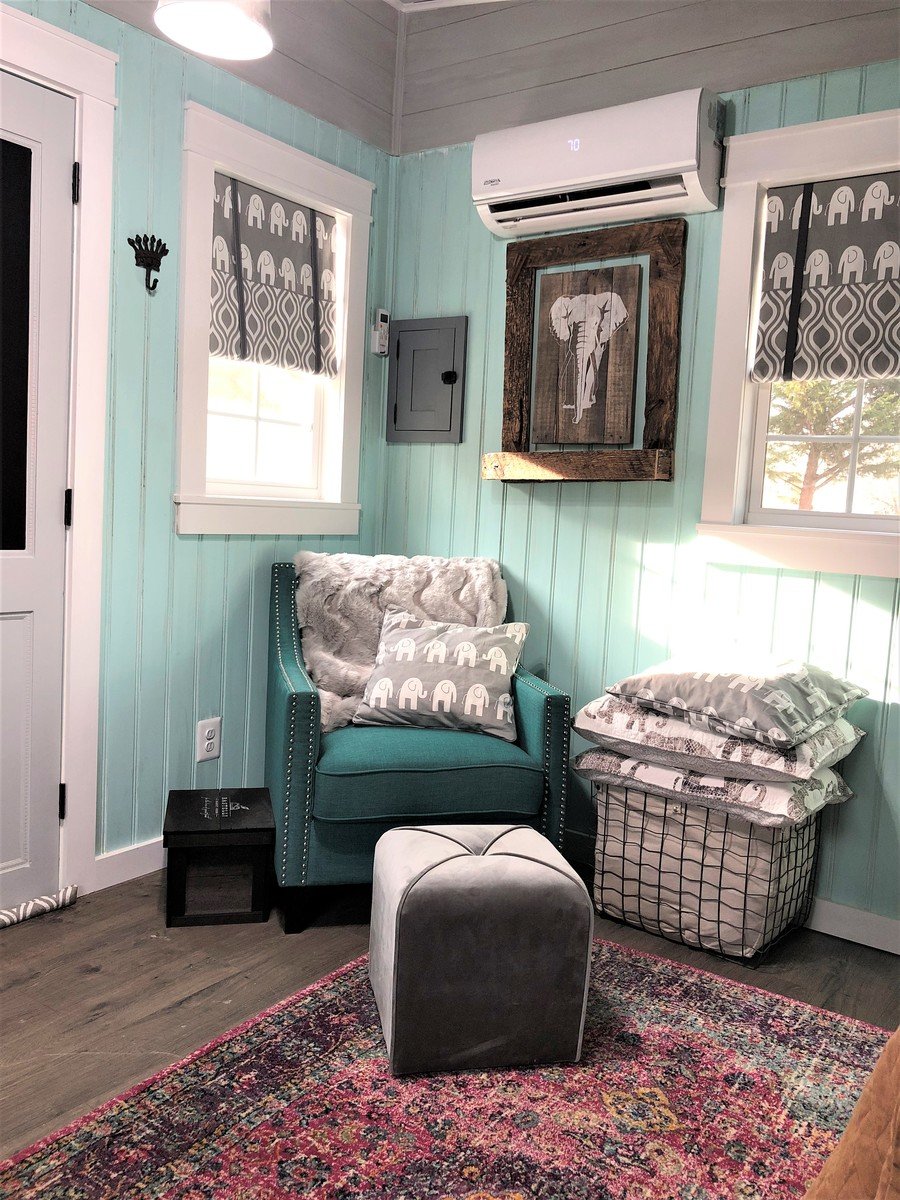
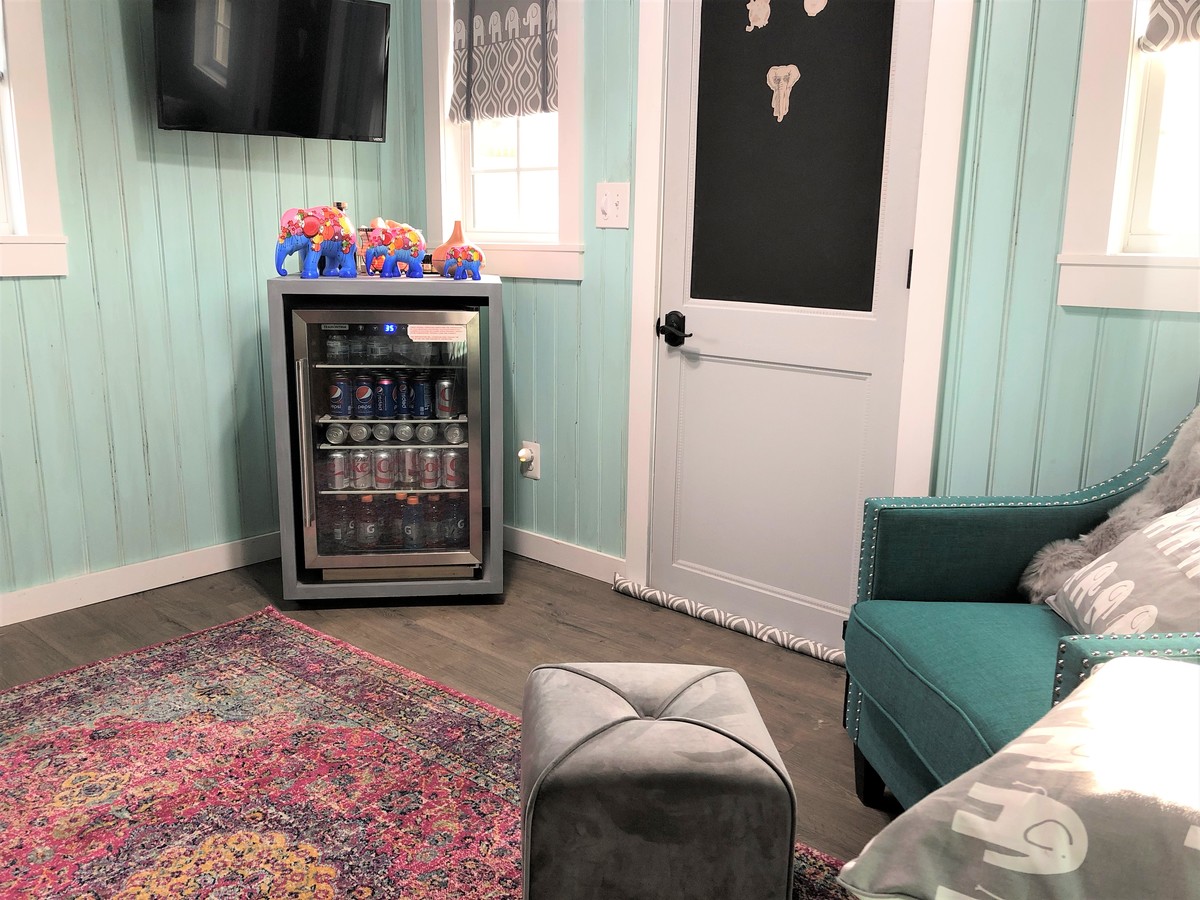
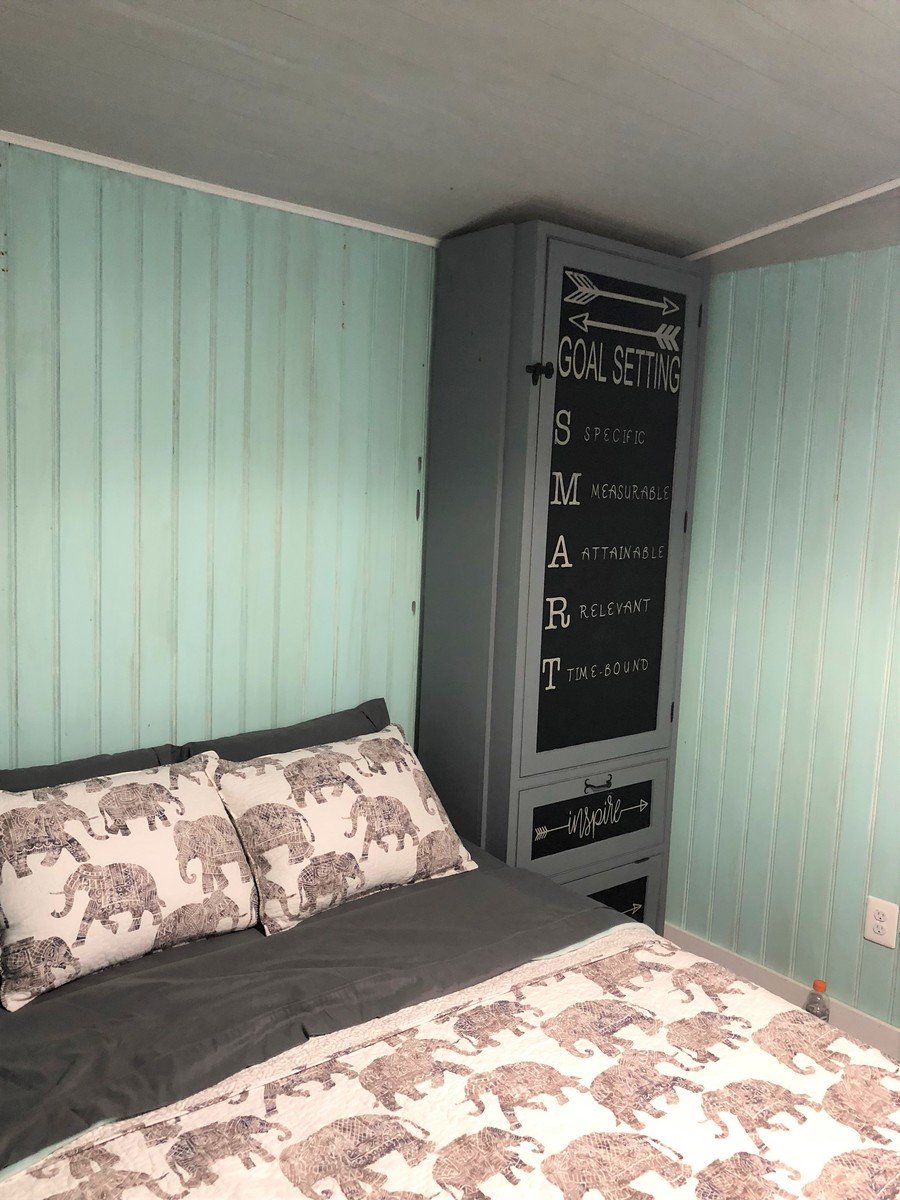
I needed an office and also a guest room so i built a she shed and all the furniture.

Recommended Skill Level
Advanced

Comments

junesummer21

Thu, 01/25/2018 - 06:27

I love your murphy bed idea and would love to have plans for it. I too am looking for a guest bedroom and craft area and I know this would work in my space.

Chriss45

Mon, 02/05/2018 - 16:20

I didnt really have a plan when I was building my Murphy bed, I can do a sketchup plan for you if you would like. I used boat chair swivels instead of hinges and there is a YouTube video on how to do this. 

Chris

Nurserene62

Thu, 06/24/2021 - 23:11

Hi Chris! I would love to have a copy of the sketch up of this. I have a small she shed/guest cottage I would live to duplicate this in. Thanks in advance.

cgself12

Mon, 11/08/2021 - 14:18

Hi Chris!
I know I'm coming late to this party but I just found your shed and I adore it. You did an amazing job and I cannot express how impressed I am! I would also like a sketchup plan of both the murphy bed and the adjoining side cabinets. Great job!

Kim Daigle

Thu, 06/06/2019 - 10:59

I absolutely love everything about this she shed!!  I would be interested in a sketch up of the murphy bed as well as the cabinets next to it.  I would at least like to know what the dimensions of it all is.  You did an amazing job!  It's so beautiful!

mcocooper11

Tue, 06/25/2019 - 15:14

Me too!! I built a horizontal Murphy bed so I have that part done but I would like to see the plans for the cabinets on either side with the pull out desk!

so very cute!

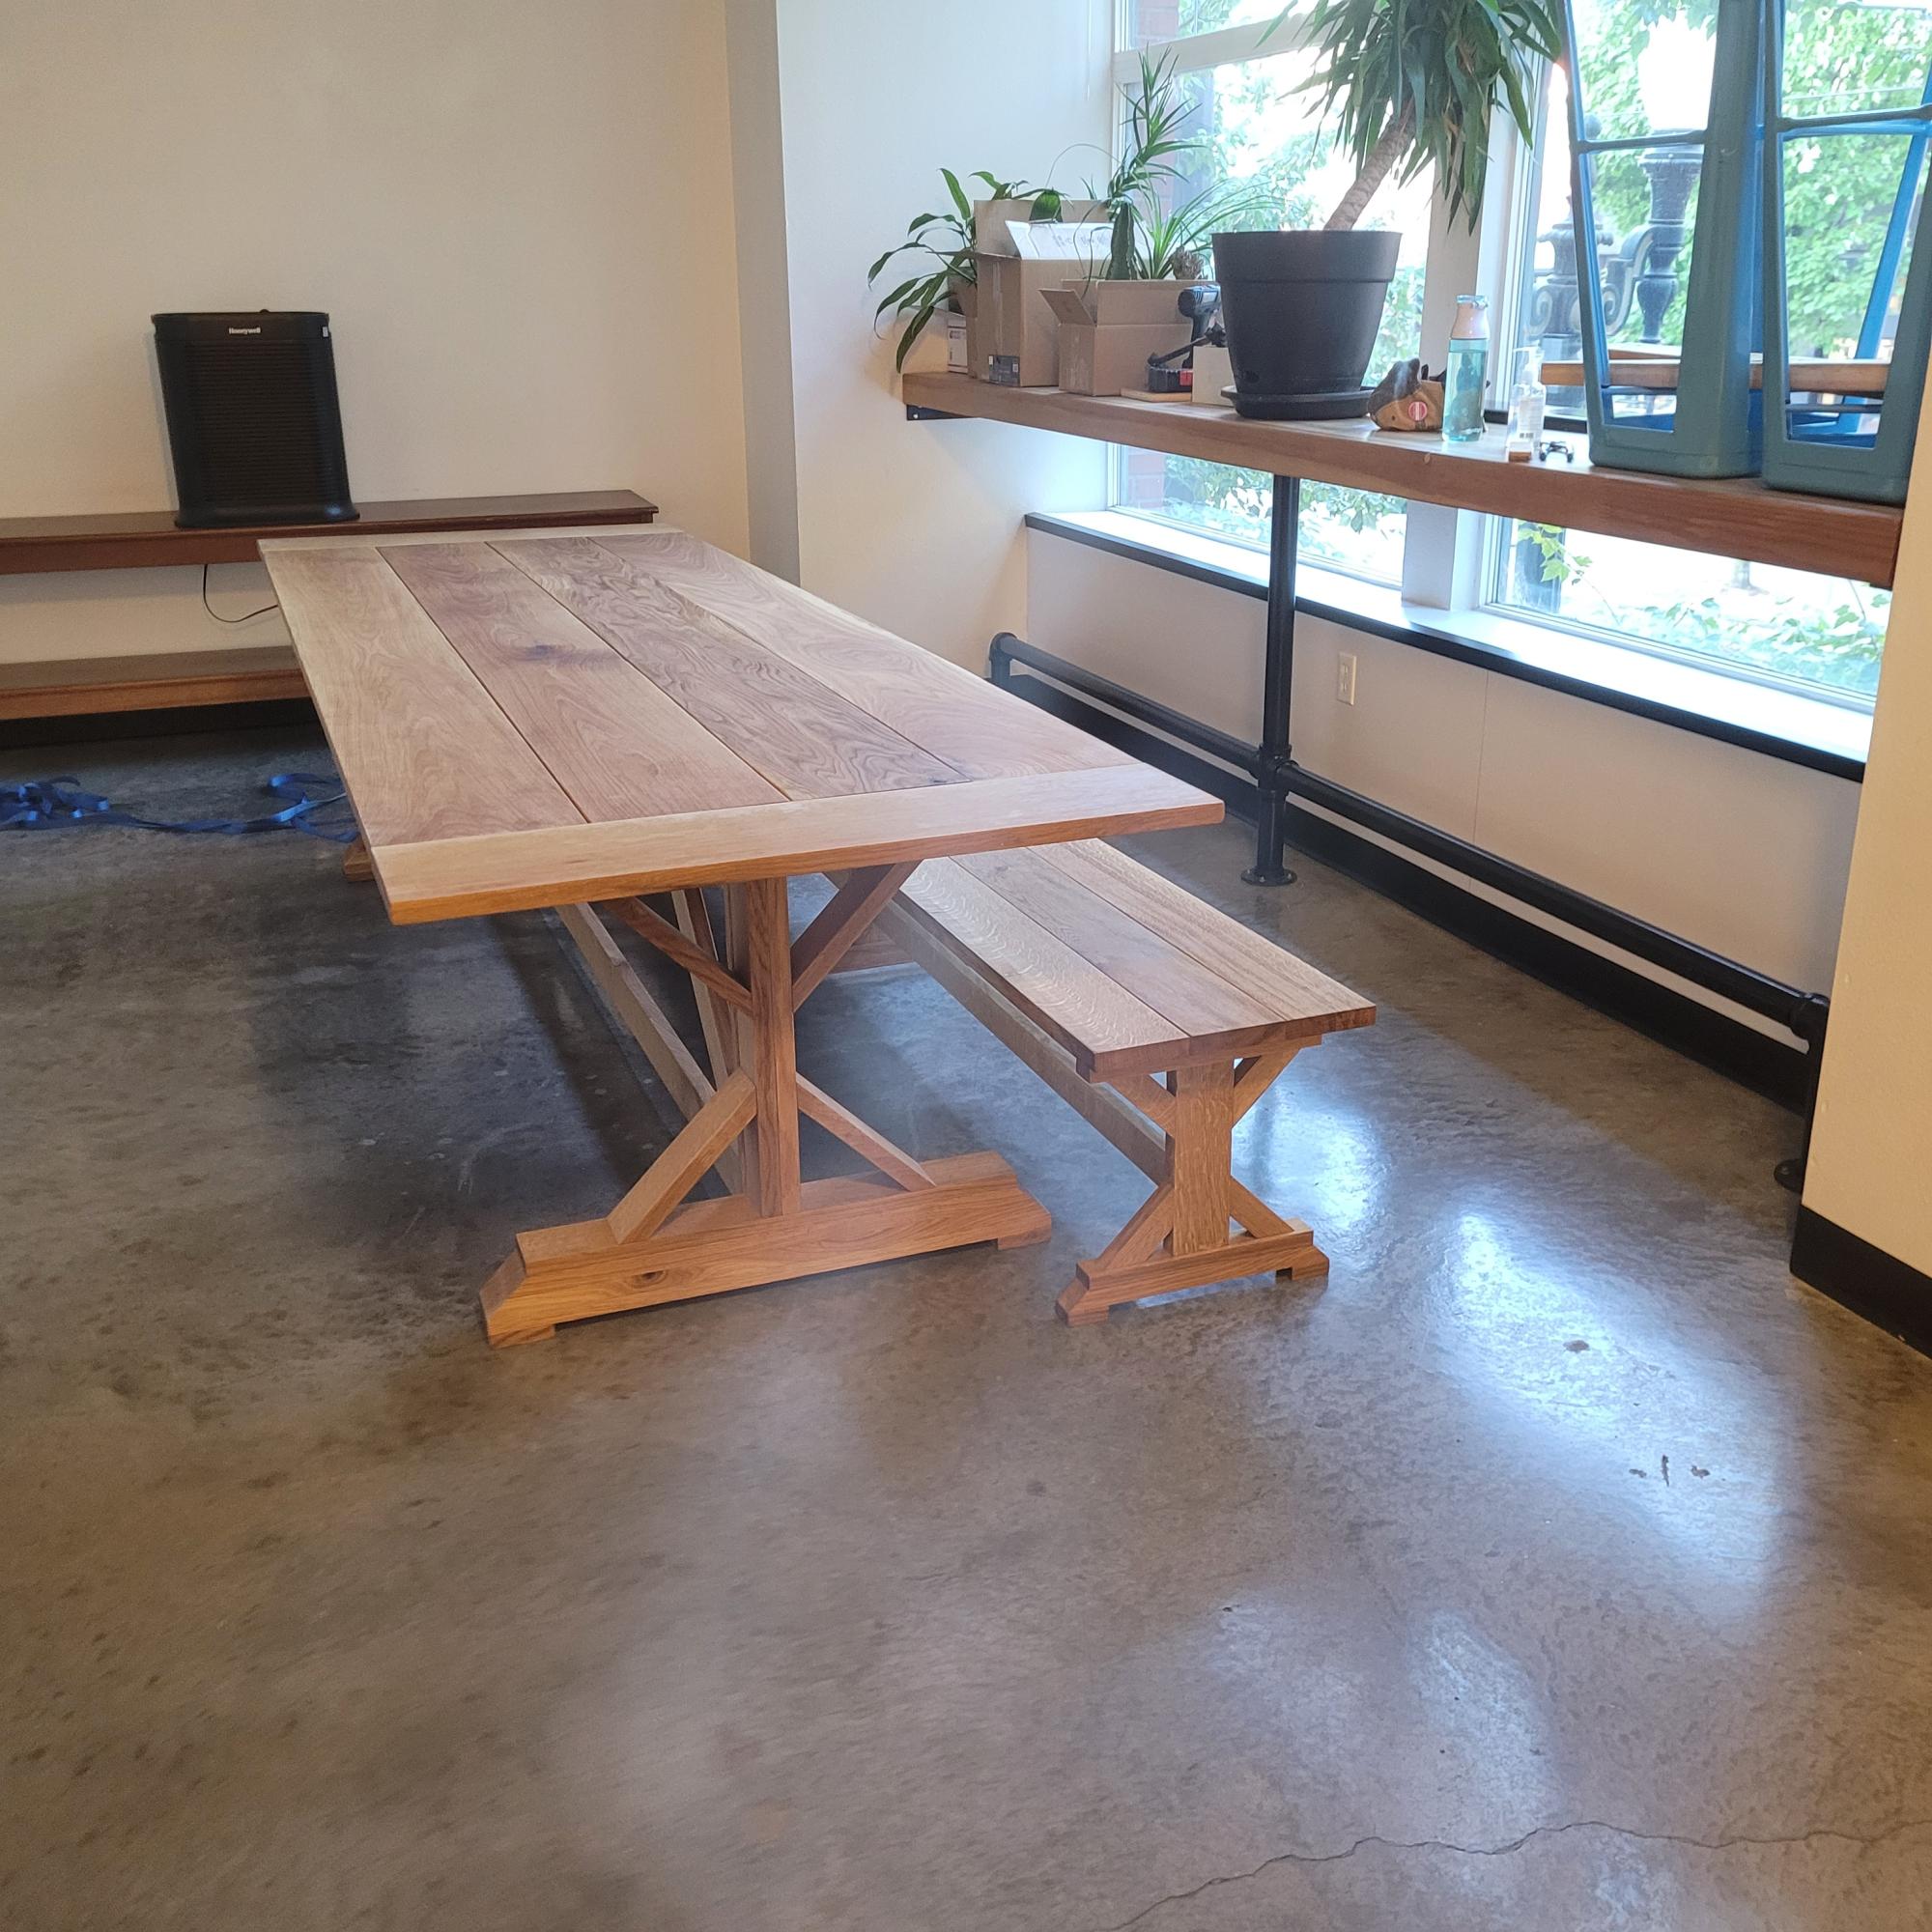
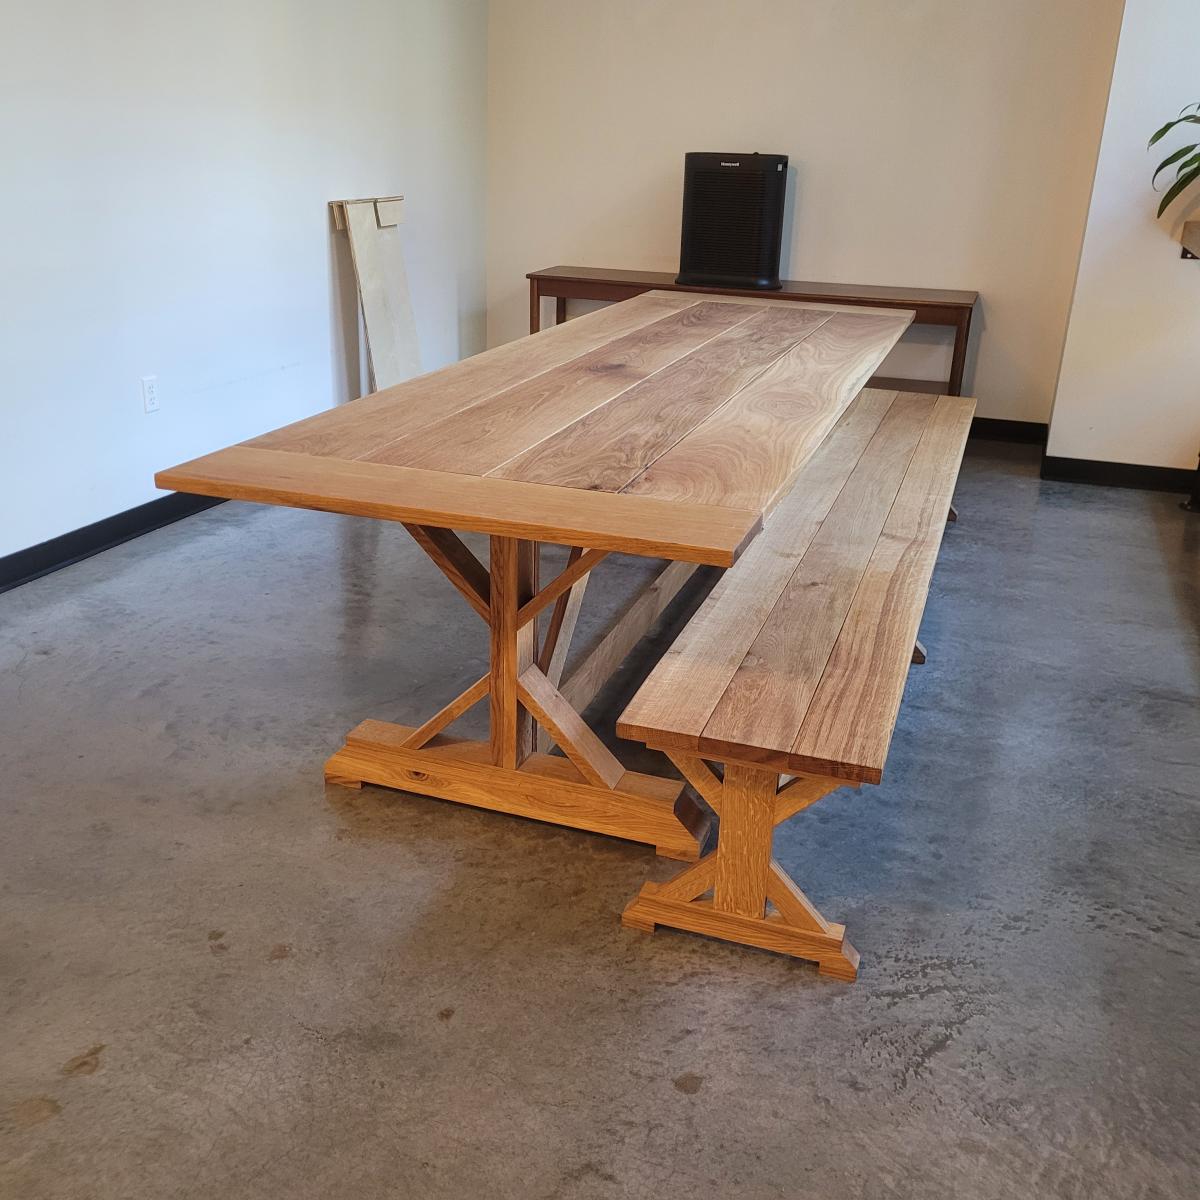
Fancy X-Brace Farmhouse Table and Bench

Submitted by Anonymous (not verified) on Mon, 09/26/2022 - 12:53

My employer asked for an "upscale farmhouse table" to act as a feature in our new training facility. After perusing designs online, I found this one and decided to upgrade it just a bit for the stated purpose.
Made entirely of white oak (over $1600 worth!) purchased as 4/4 and 5/4 stock, I milled all the lumber to spec in our shop. As it was to be 10' in length, and I was unable to acquire acceptable wide stock for the tabletop in that length, I went with breadboard ends, which also seems to have served to upgrade the appearance over "picnic table" to elegant showpiece. All joinery is invisible, using mostly dowels and glue where joints had to be hidden.
Final treatment was with tung oil, and it took up residence in its permanent home last week. I had to assemble it on-site, as there is NO way to move a table of this size in and out of the building. It's there to stay.

As my lumber wasn't exactly spec-size (1X4, 2X10, etc), I had to do the math and make some adjustments to achieve spec height, but the final product is a rousing success.

Thank you for the inspiration.

Comments

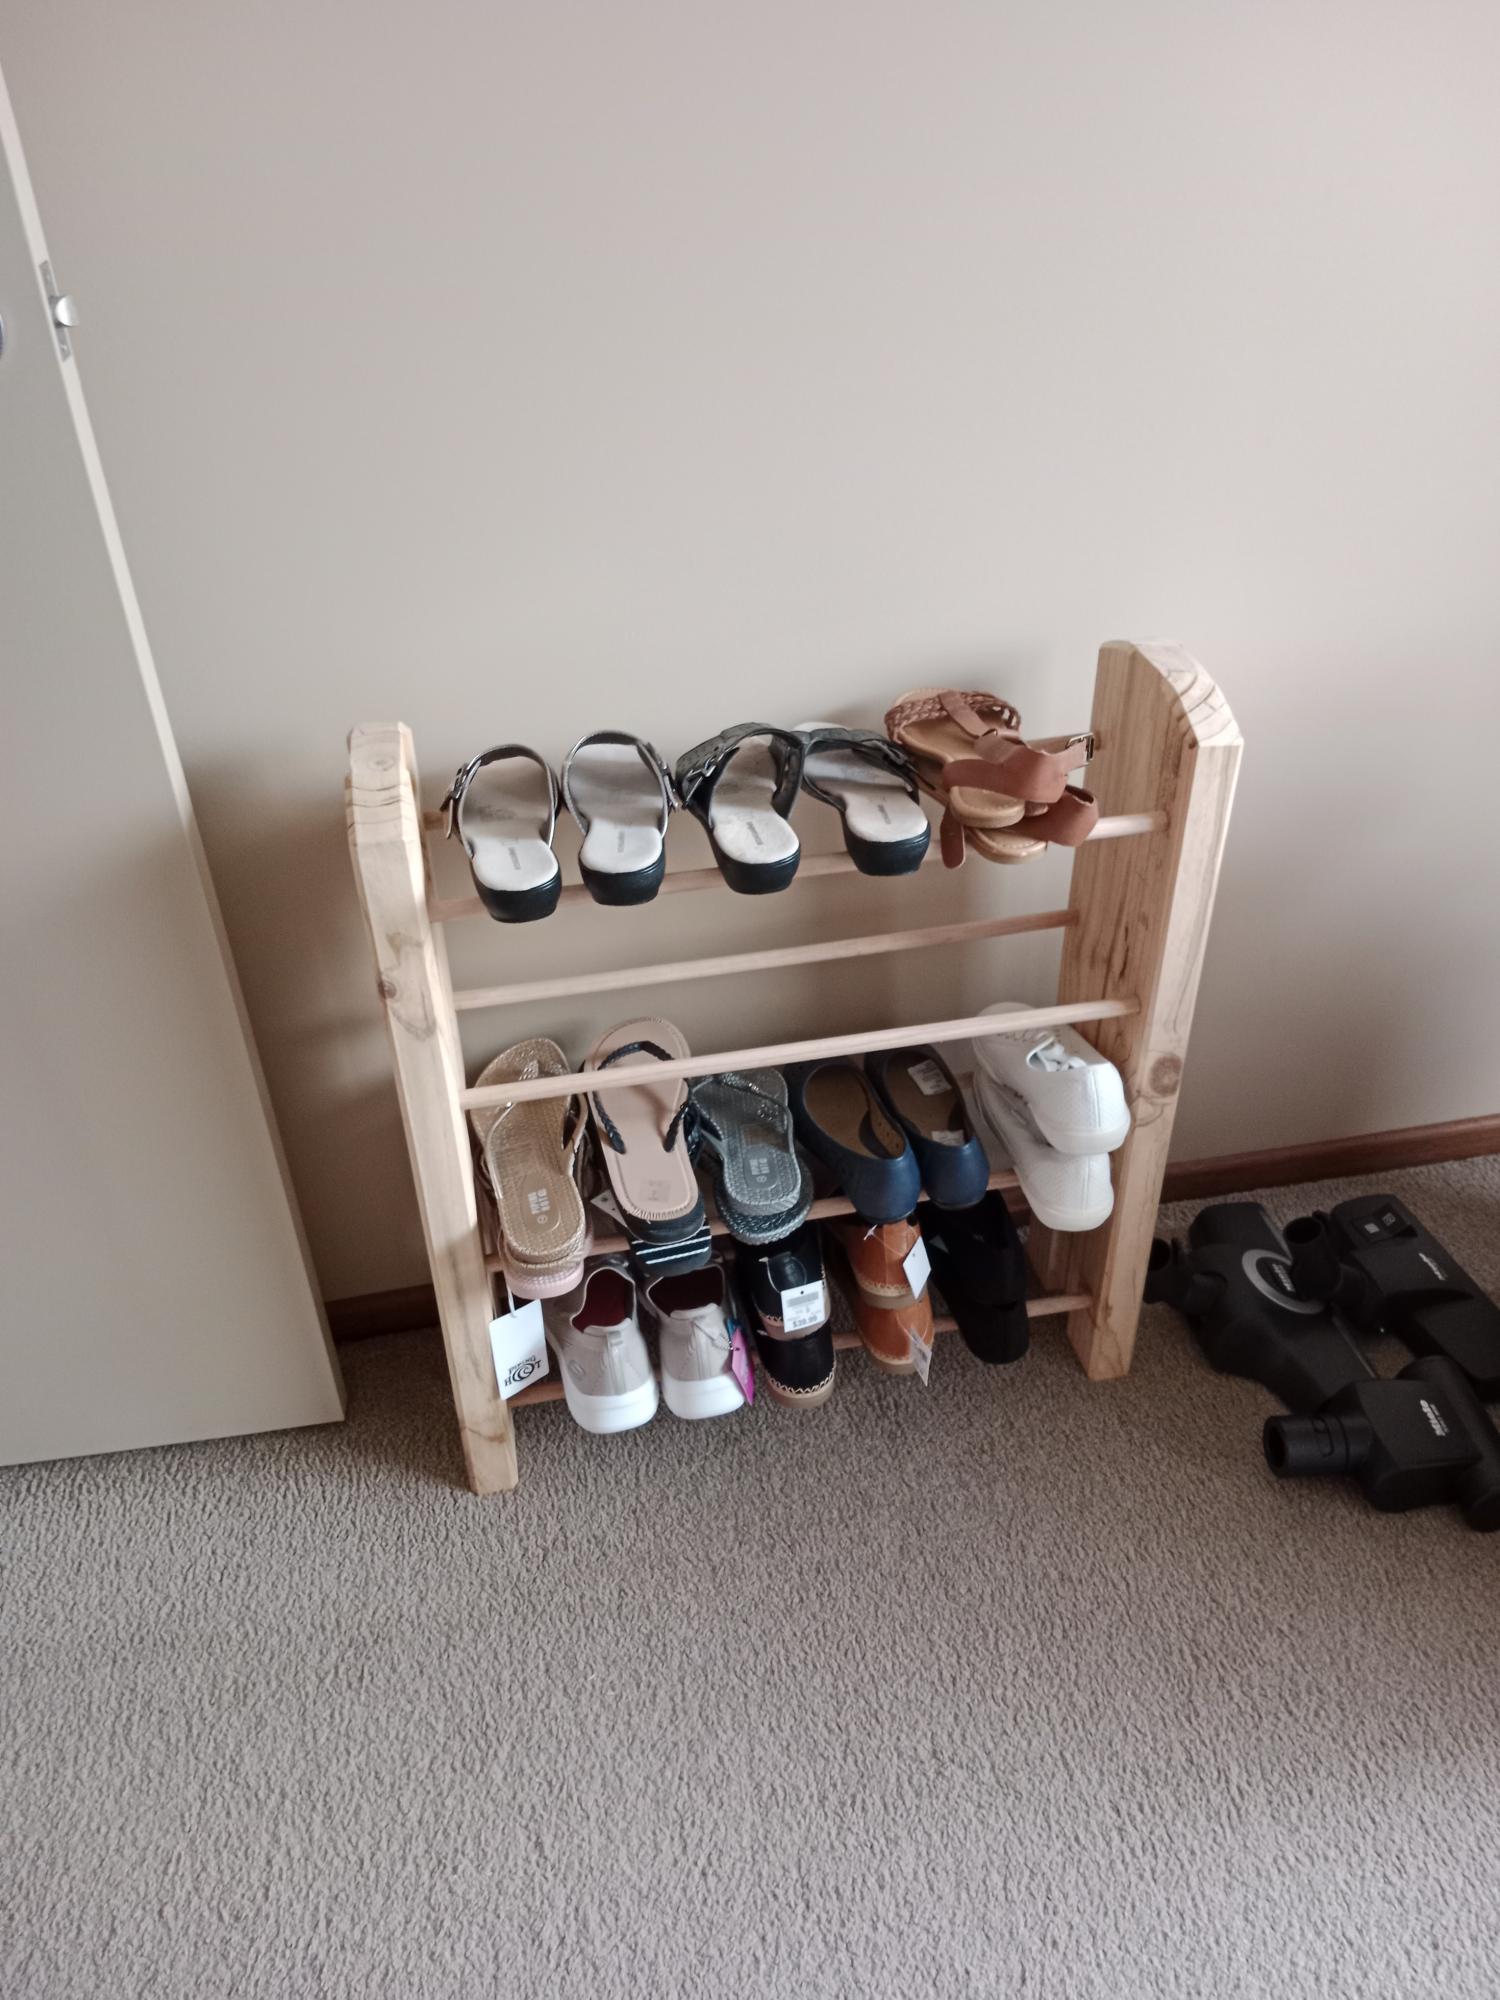
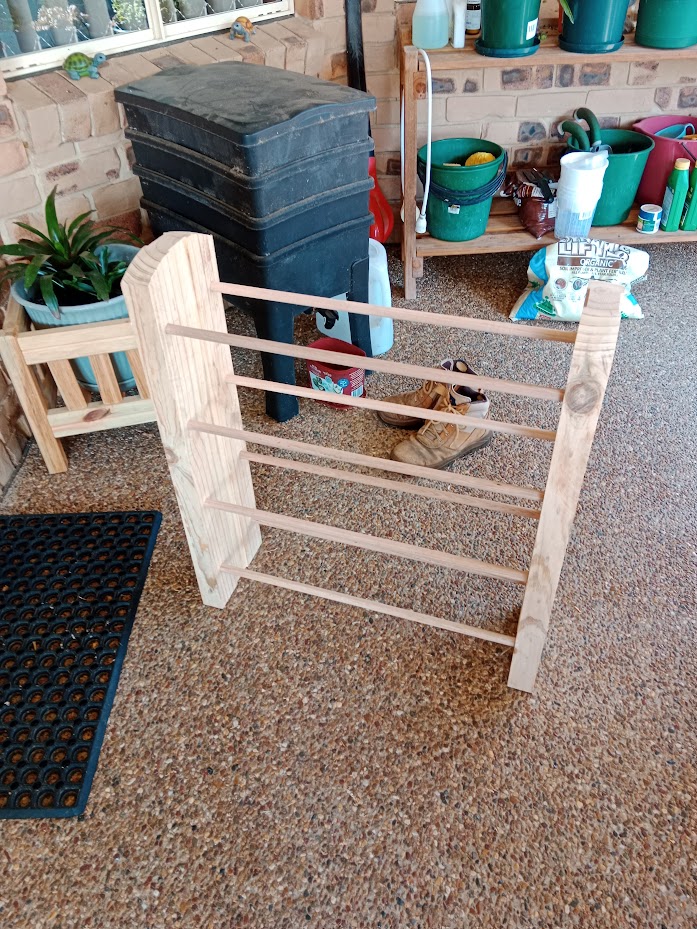
Shoe Rack & Floating Shelf plus a tablet wall mount

Submitted by Anonymous (not verified) on Sun, 10/23/2022 - 12:11

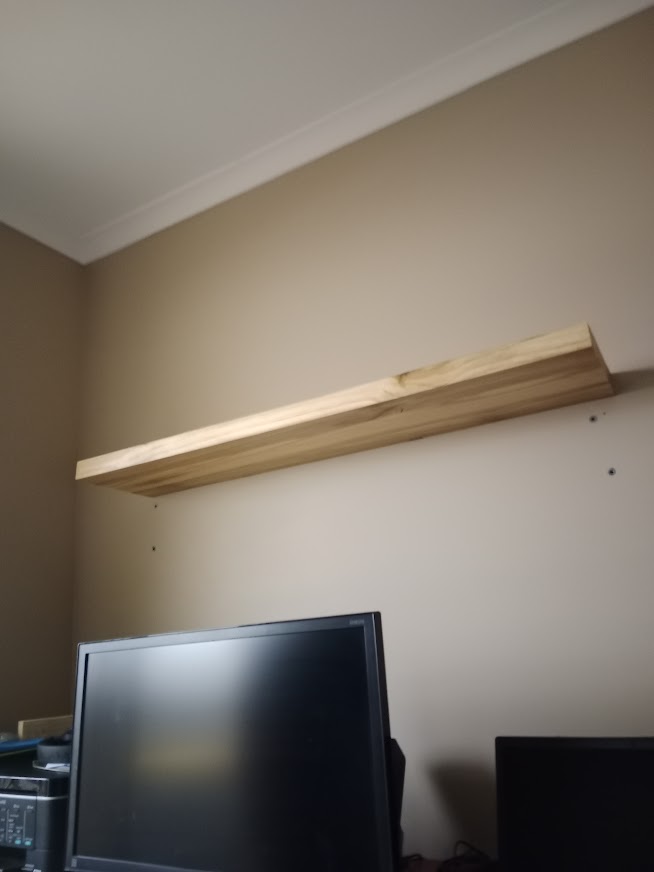
A shoe rack and floating shelf.
The shoe rack is made from 200mm x 50mm rough sawn pine and 16mm dowel.

The floating shelf was made partly from offcuts left over from the 4 x 4 pedestal dining table.200mm x 50mm rough sawn pine ripped into 3 pieces (75mm, 95mm, 75mm) and put together using glue and batten screws the 75mm pieces were offcuts from the table.

The reasons I made them from 3 pieces are
1/ I had offcuts left from a previous project
2/ The timber I use is only 200mm wide the shelf ended up being 245mm
3/ I am unable to dress timber that wide

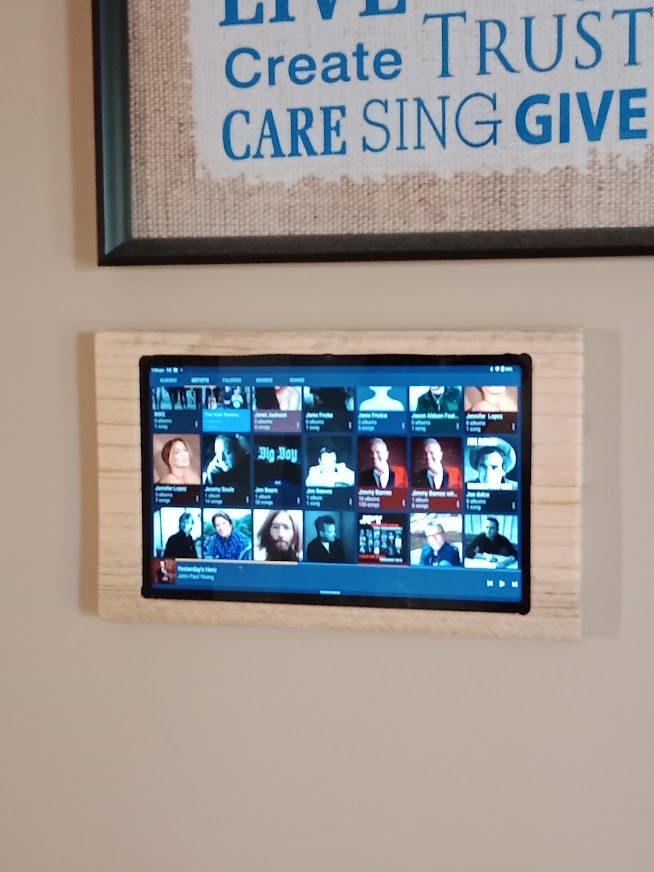
The tablet wall mount was made from 2 offcuts glued together side by side and machined out with the router

Farmhouse table

Submitted by AngelaJB on Fri, 05/08/2020 - 14:41

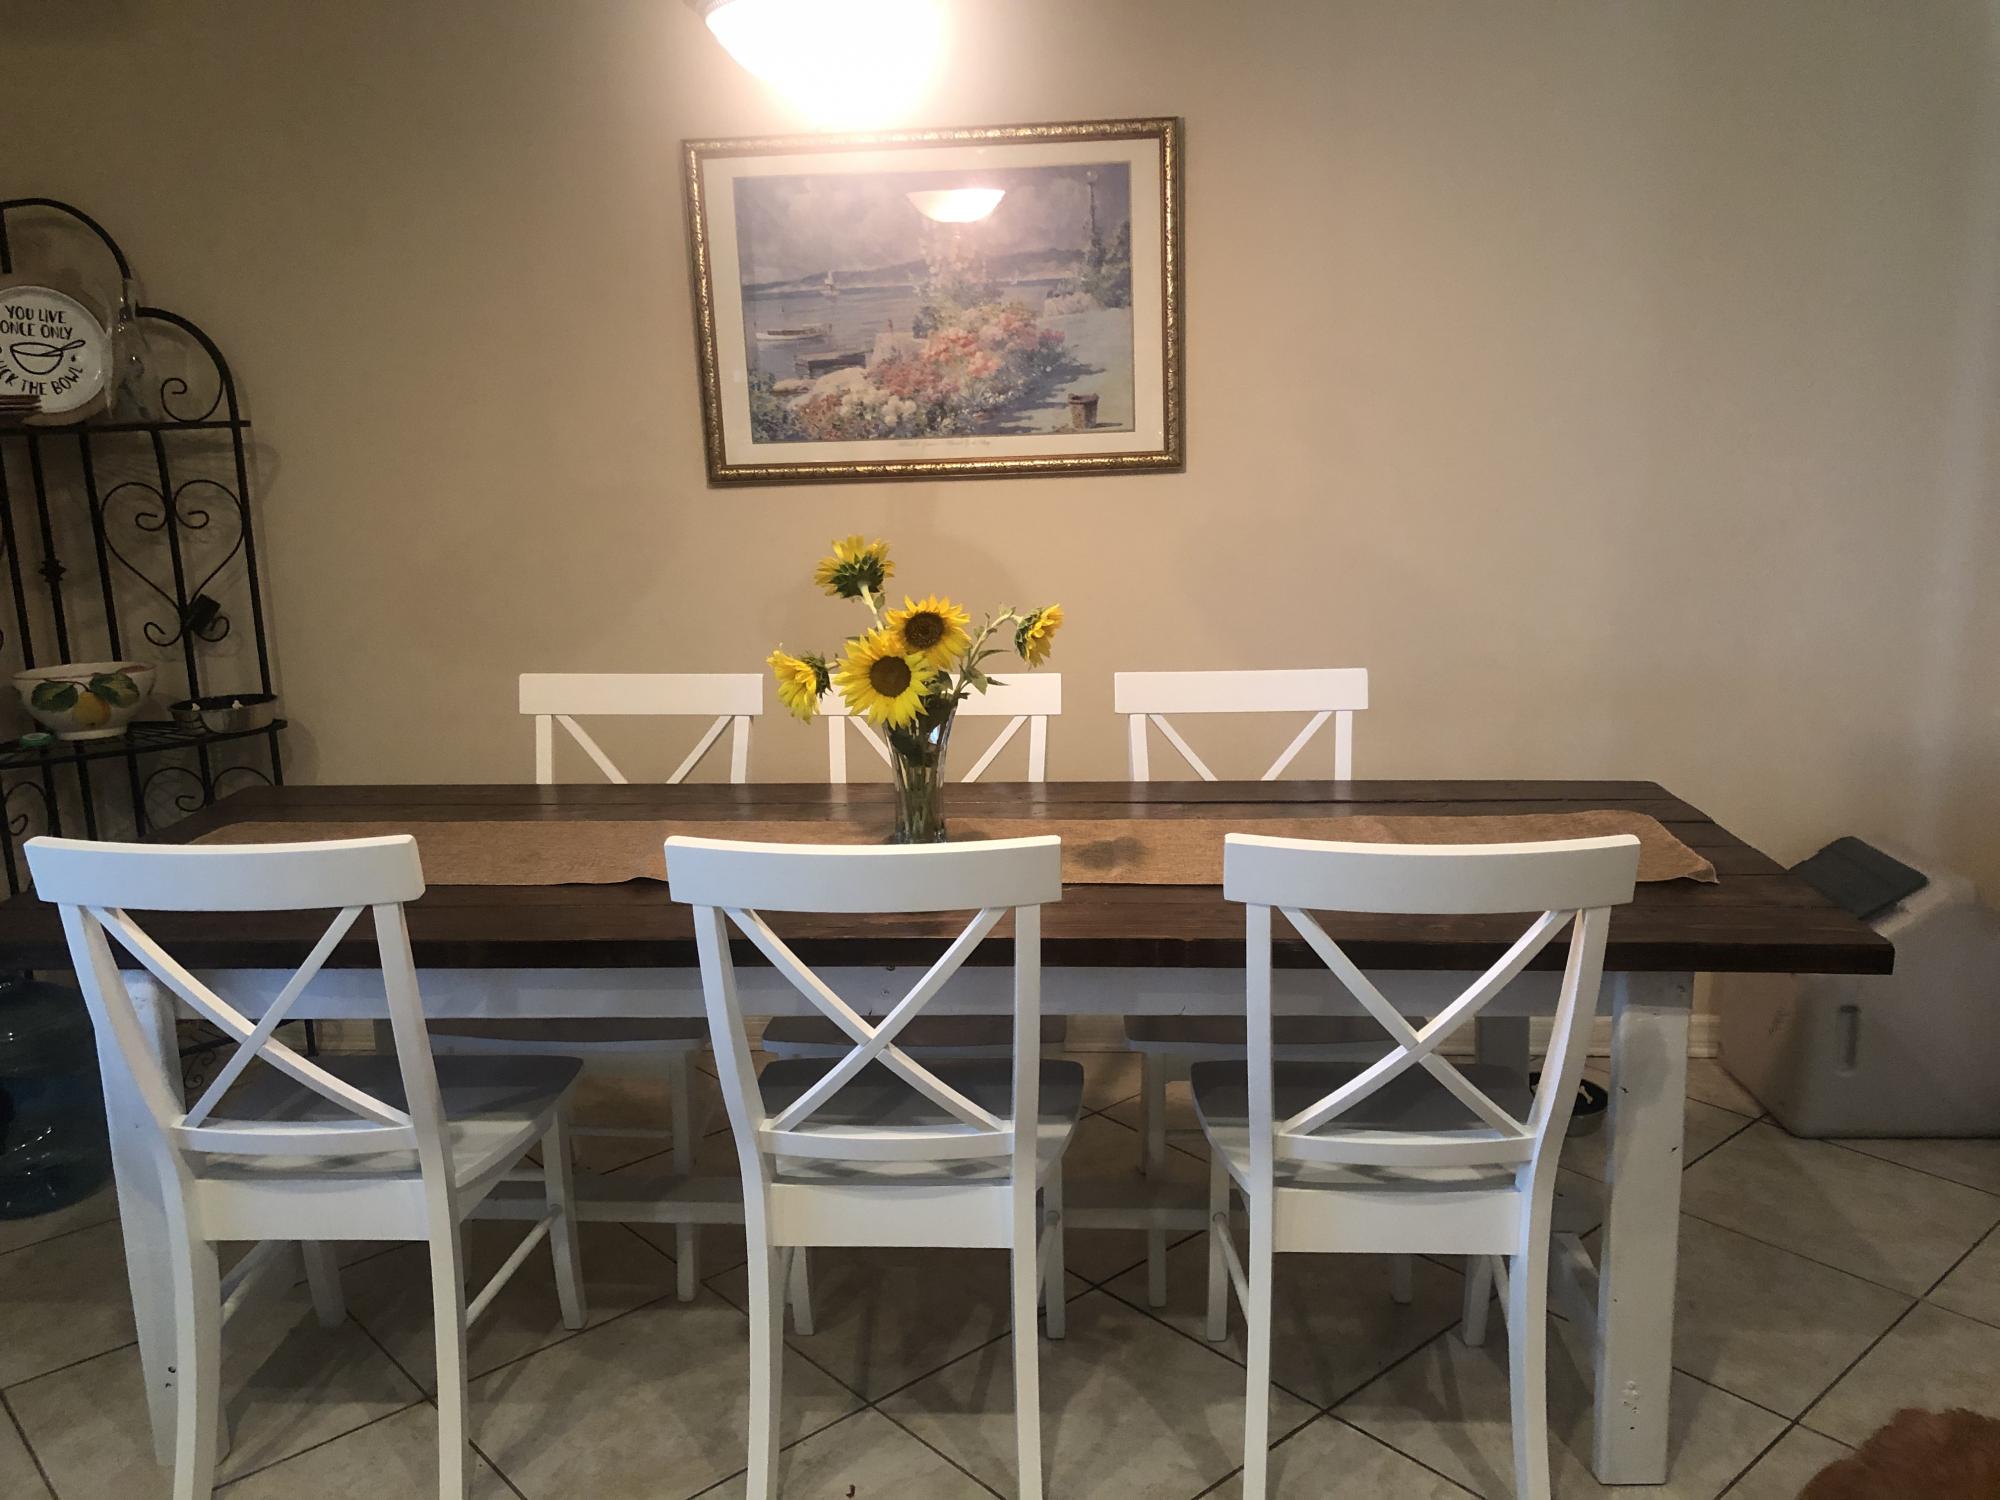
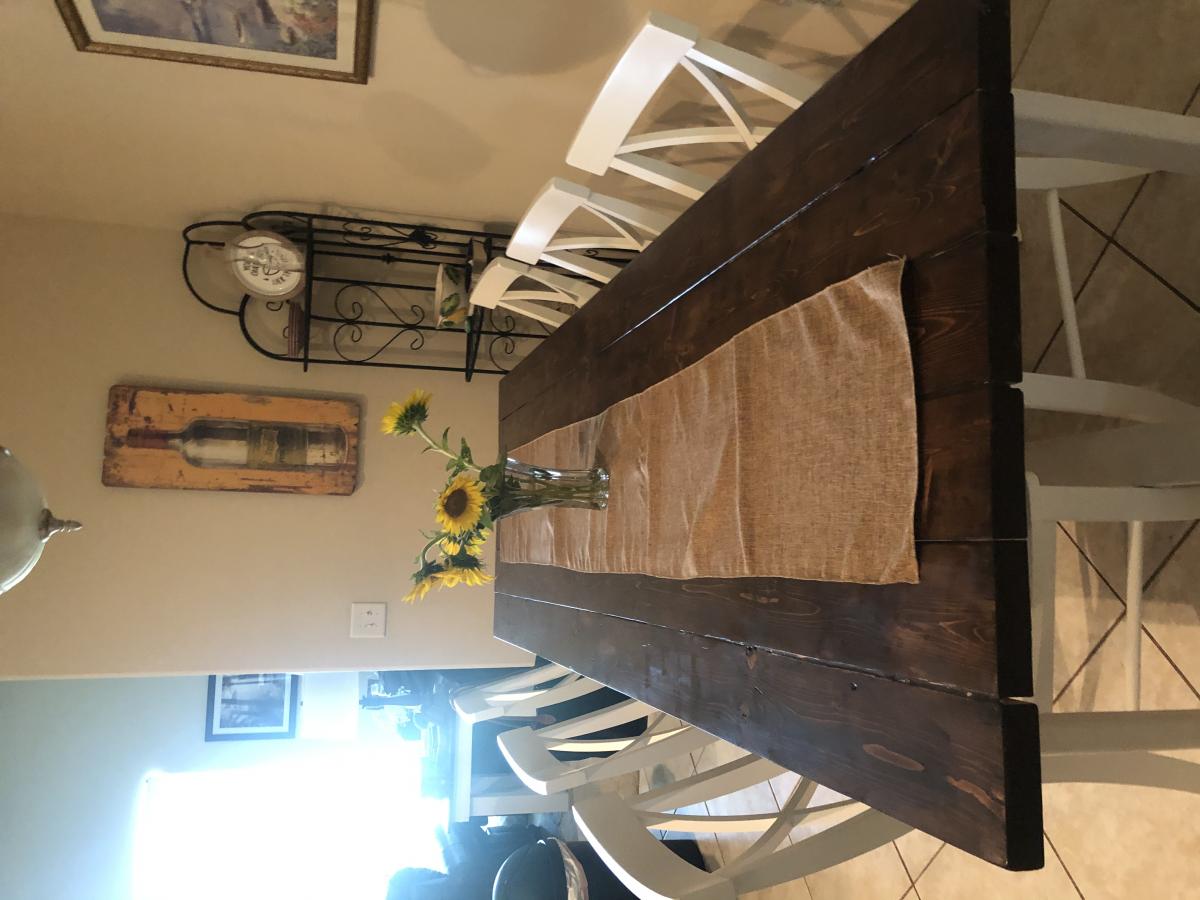
Prior to making this table I had never used a power drill in my life, and I was scared to death. I was intimidated by the power and scared to death to mess up, and in making this table I messed up A LOT! It was a big undertaking but I was determined. It’s rustic and authentic and full of mistakes and I LOVE IT!! Thank you Ana for modeling how to make such wonderful things. Up next is the raised flower bed.

Estimated Cost
$60.00
Estimated Time Investment
Day Project (6-9 Hours)
Finish Used
Dark walnut
Recommended Skill Level
Beginner

Modern Outdoor Chair

Submitted by msnook on Mon, 05/11/2020 - 09:10

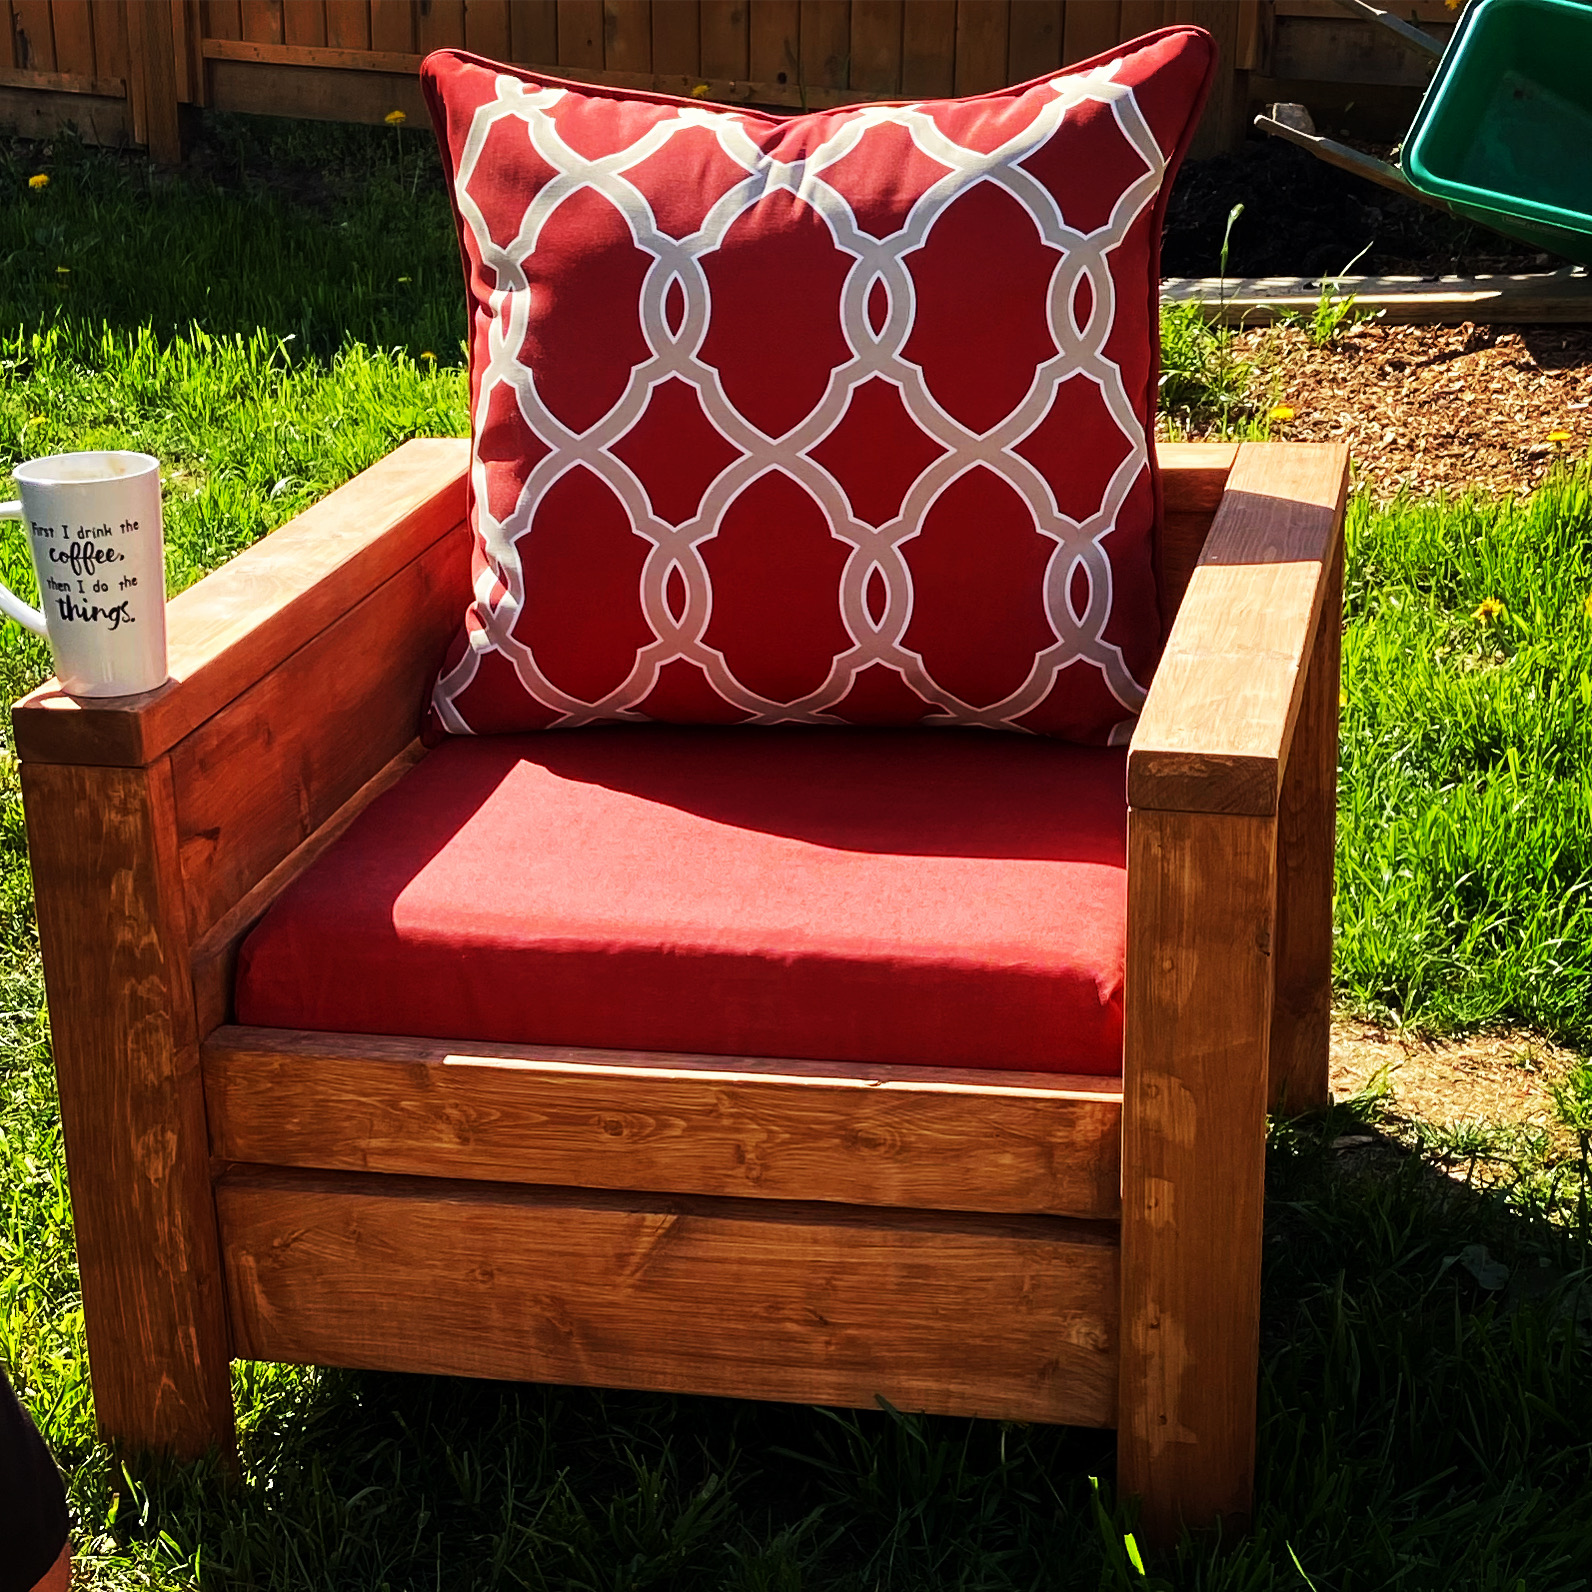
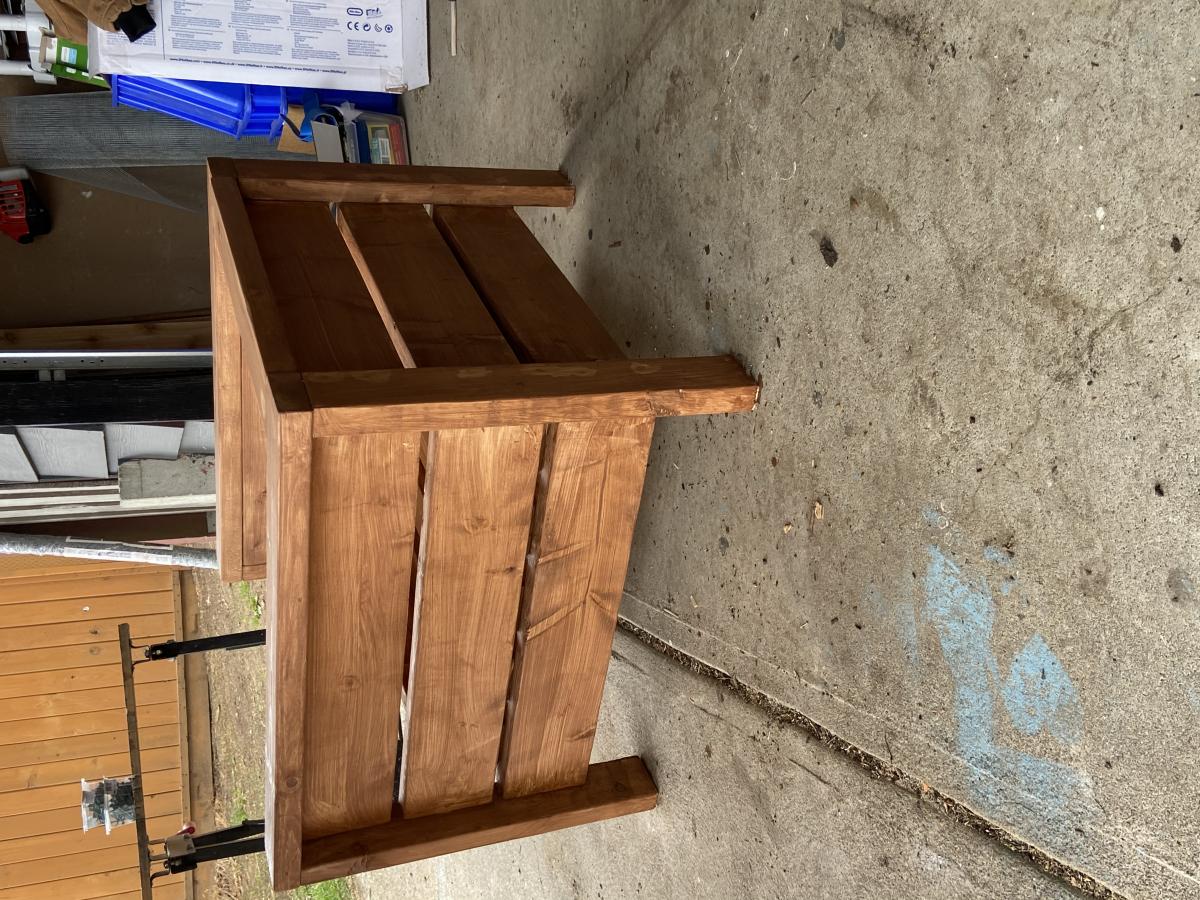
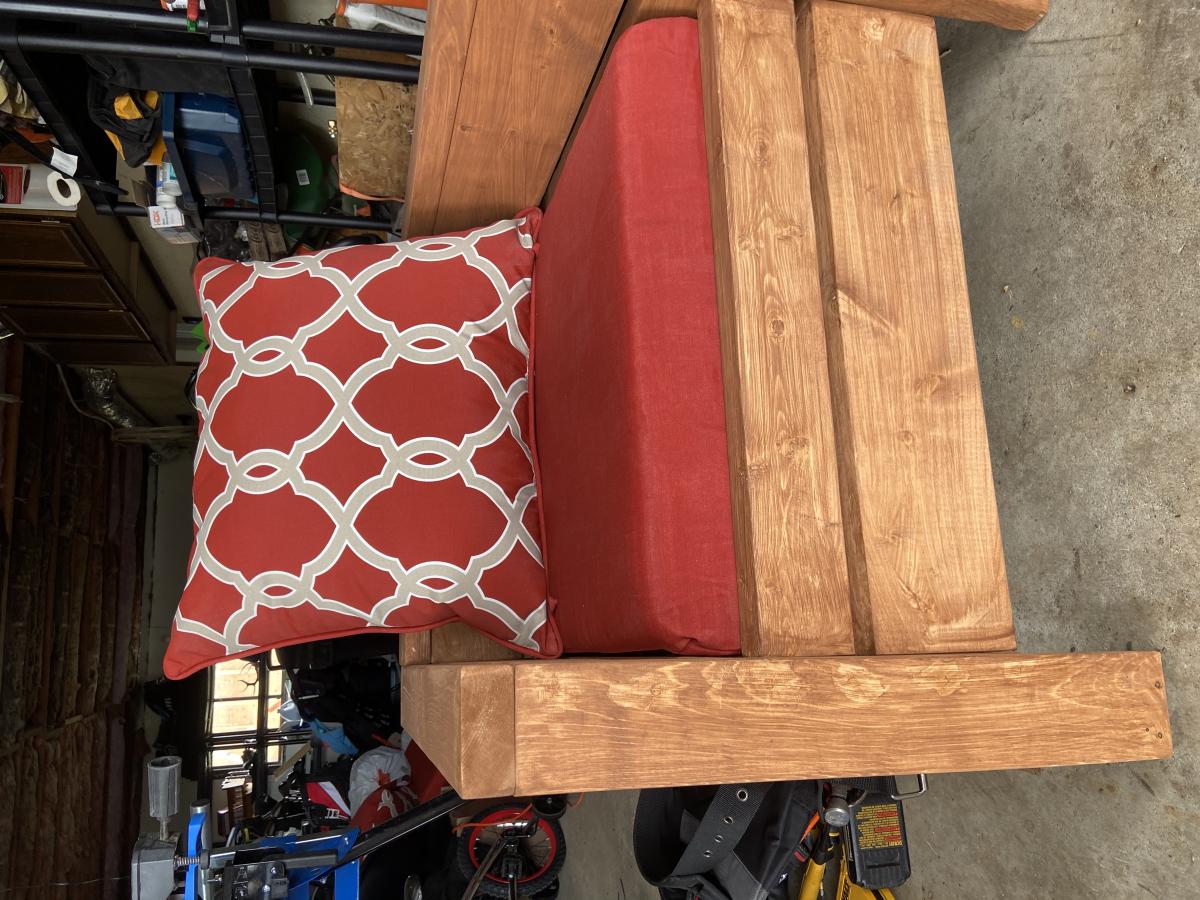
This is my first project. I loved how easy it was and I loved my husband’s reaction to the completed project.

Estimated Cost
80
Estimated Time Investment
Afternoon Project (3-6 Hours)
Finish Used
Behr Semi Transparent Stain in Sable
Recommended Skill Level
Beginner