Community Brag Posts

Square Picnic Table Project

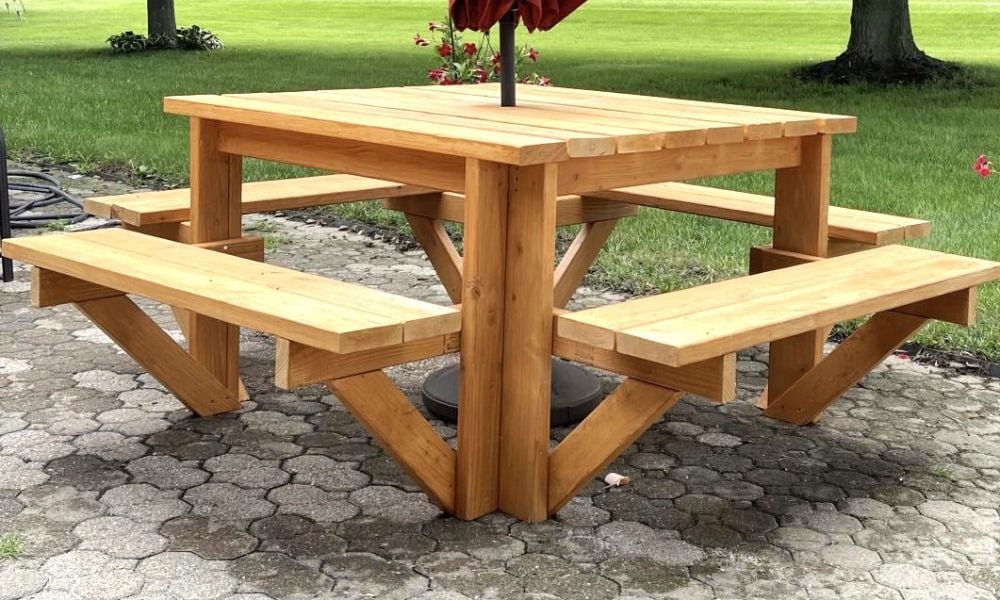
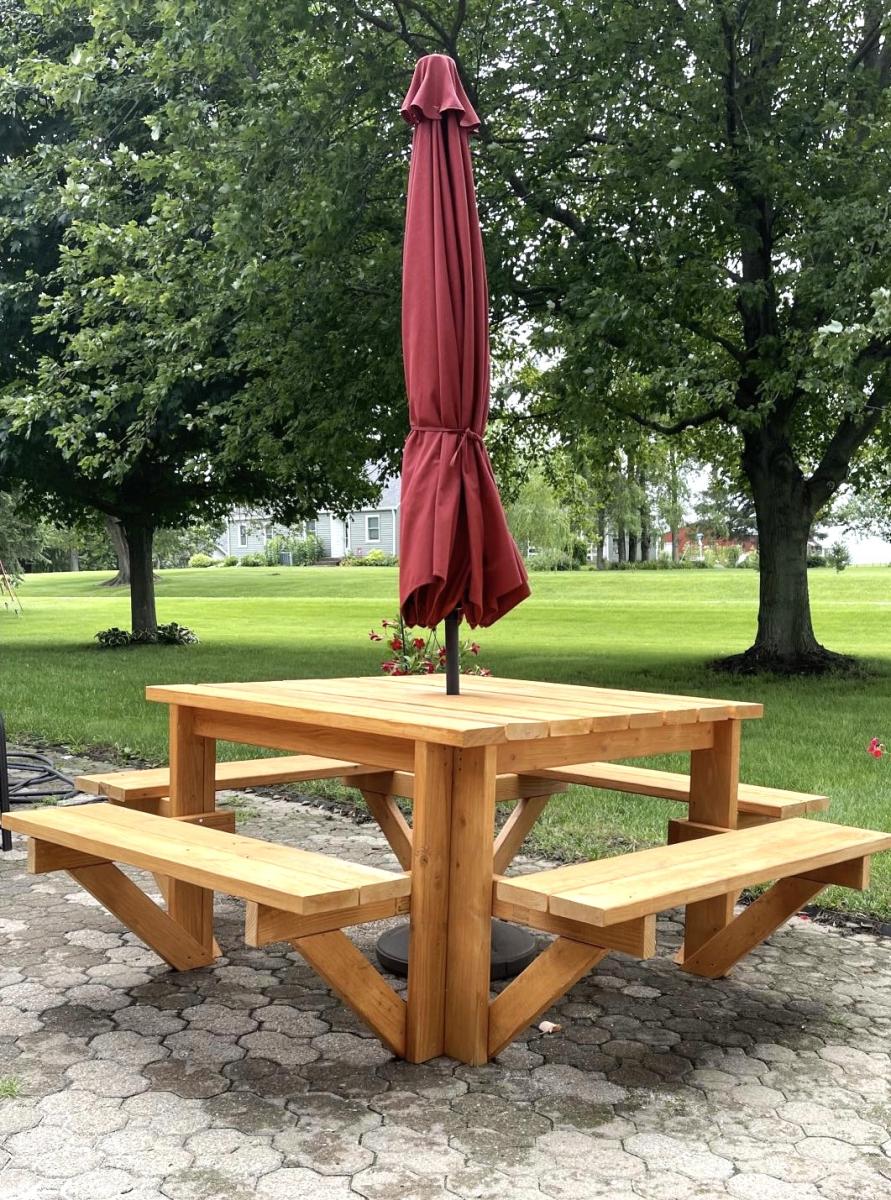
This was a great summer project. The table looks great and it was any easy build. Doesn’t get any better than this. I added a hole in the center of the table for my umbrella and used the longer screws for more frame stability.

Built from Plan(s)
Estimated Cost
$200.00
Estimated Time Investment
Day Project (6-9 Hours)
Finish Used
Used semi transparent cedar tone stain. Lightly sanded edges and surfaces. Applied stain with a brush before assembly.

Comments

Seasonal And Holiday

Foldable Farmhouse Table 2

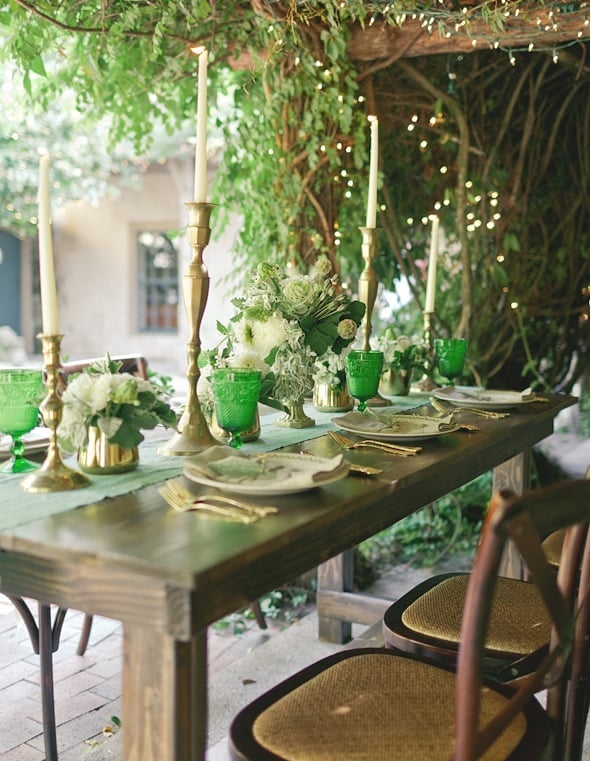
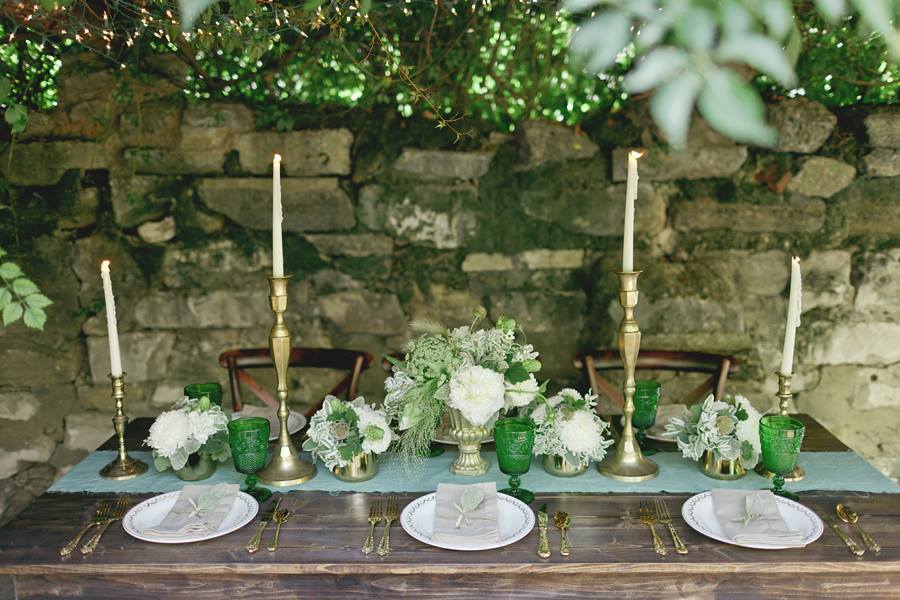
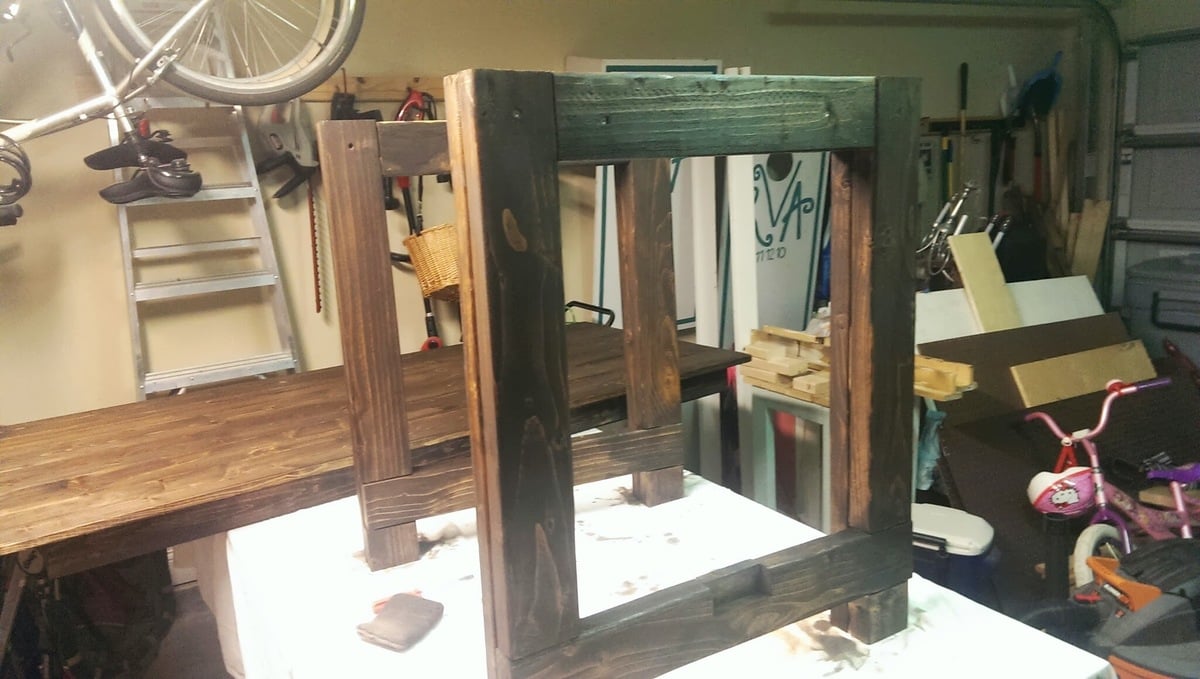
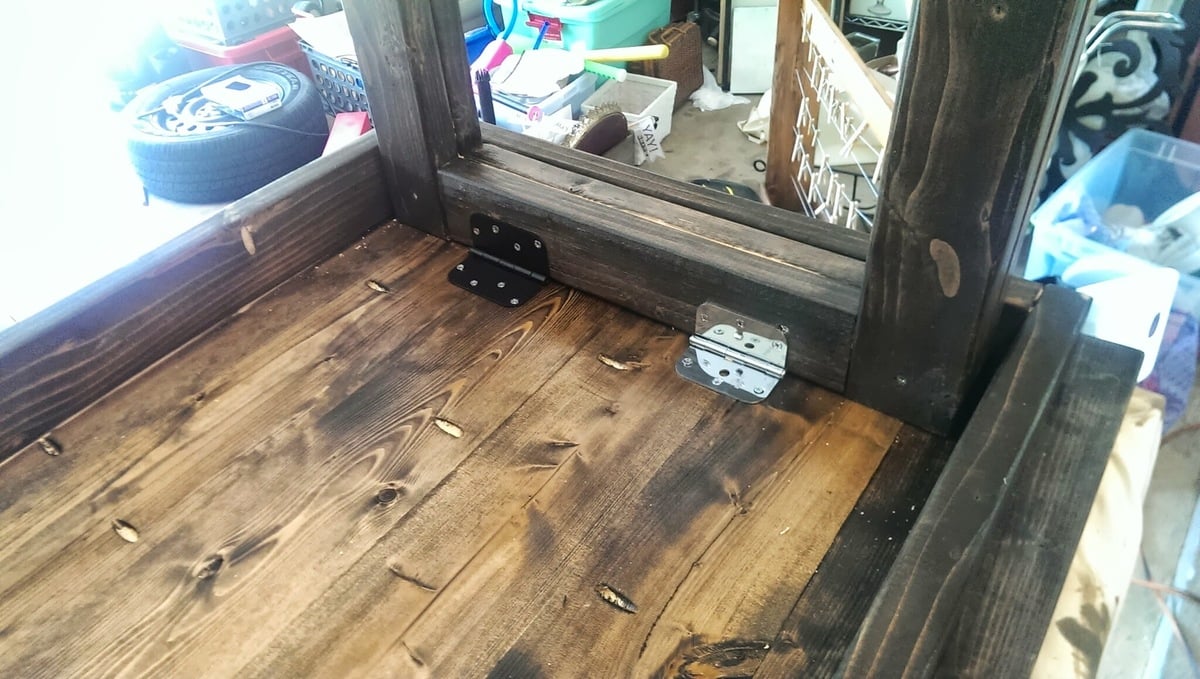
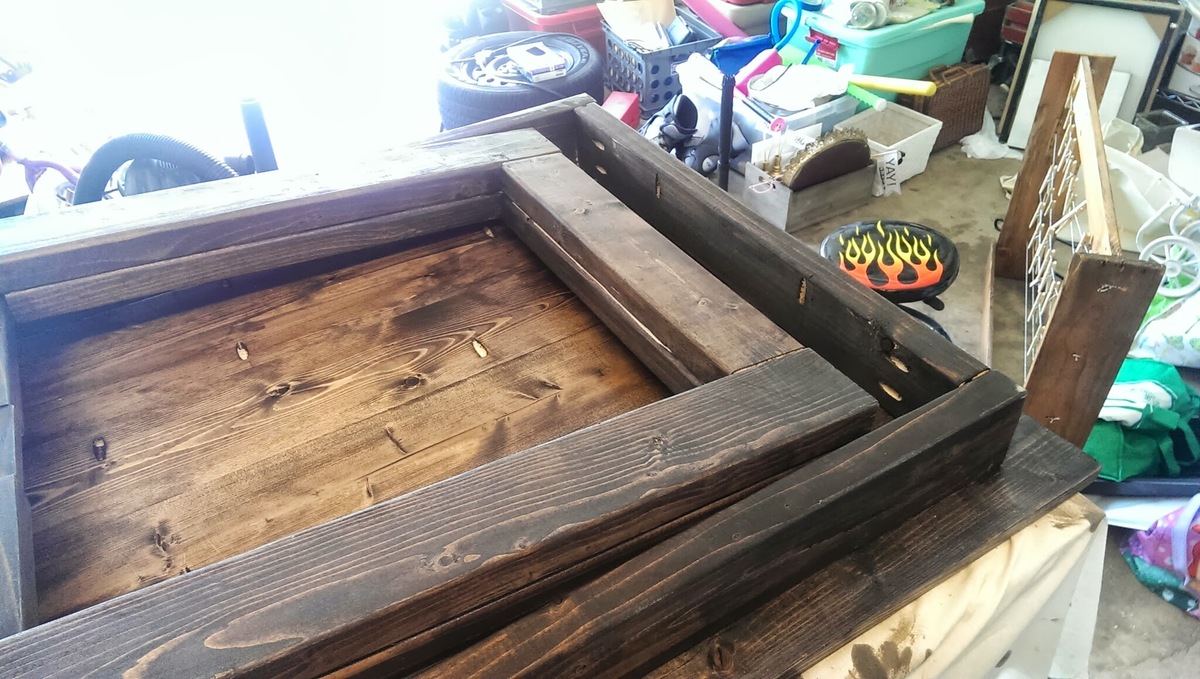
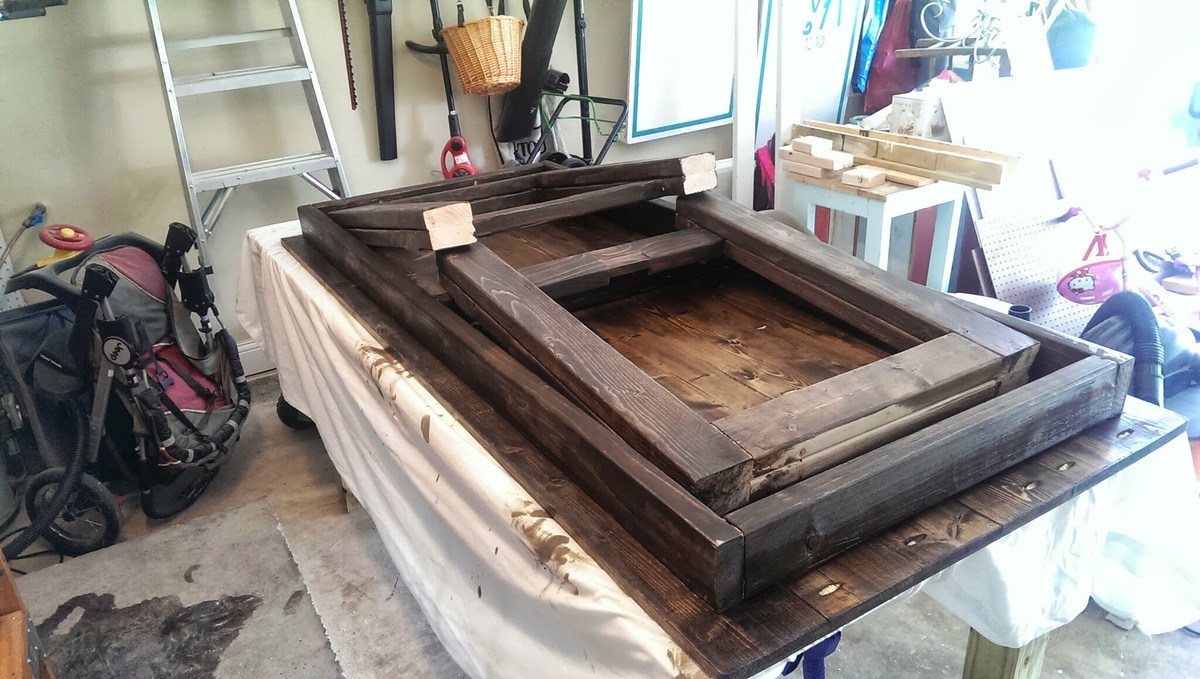
I recently published my first foldable farmhouse table last week here: http://ana-white.com/2013/06/foldable-farmhouse-table The first one I made was very heavy because I used 2x6 tops and 4x4 legs. I decided to make another one that would be lighter and easier to transport. The plans are basically the same just instead I used 1x6 for the top and put 2x4s together for the legs. I also shorted the length by about a foot. The only issue with making the table shorter length is that the legs don't fold completely flush. You could easily make the legs short enough to fold flush, but then the table was a little too short from the ground up for us. The same as before I simply used kreg joints to join the top boards together. I then made a 2x4 frame and attached it to the bottom. I made each of the legs separately by joining 2x4s together and sanding everything down. Everything was stained before putting the legs on using Miniwax Dark walnut stain. I used 2 coats of Miniwax water based clear coat to seal it. A notch was cut out on each of the bottom 2x4 supports on the legs and I glued in a small piece of wood cut to size. These are so I can put in a 2x4 support board under the table so that the legs do not fold in on themselves when it is standing up. The legs are just attached using door hinges you can buy in packs in the hardware section. Be careful when screwing into the 1x6 top not to use too long of screws or else you will over screw and have them come through into your table top. Table design was by Amber Veatch Designs and photographed by Andi Mans Photography

Estimated Cost
120.00
Estimated Time Investment
Day Project (6-9 Hours)
Finish Used
Sand to finish and then used Miniax dark walnut stain followed by Miniwax water based clear coat.
Recommended Skill Level
Beginner

Comments

Freddyflis

Tue, 07/07/2015 - 06:41

We have built something very similar and we have a good bit of wobble at the top, even though the stretcher down the center of the table is holding solid in there and secred with clasps. Were thinking of some sort of sliding pin into the top of the leg to the apron. Anyone run into this before?

Seasonal And Holiday

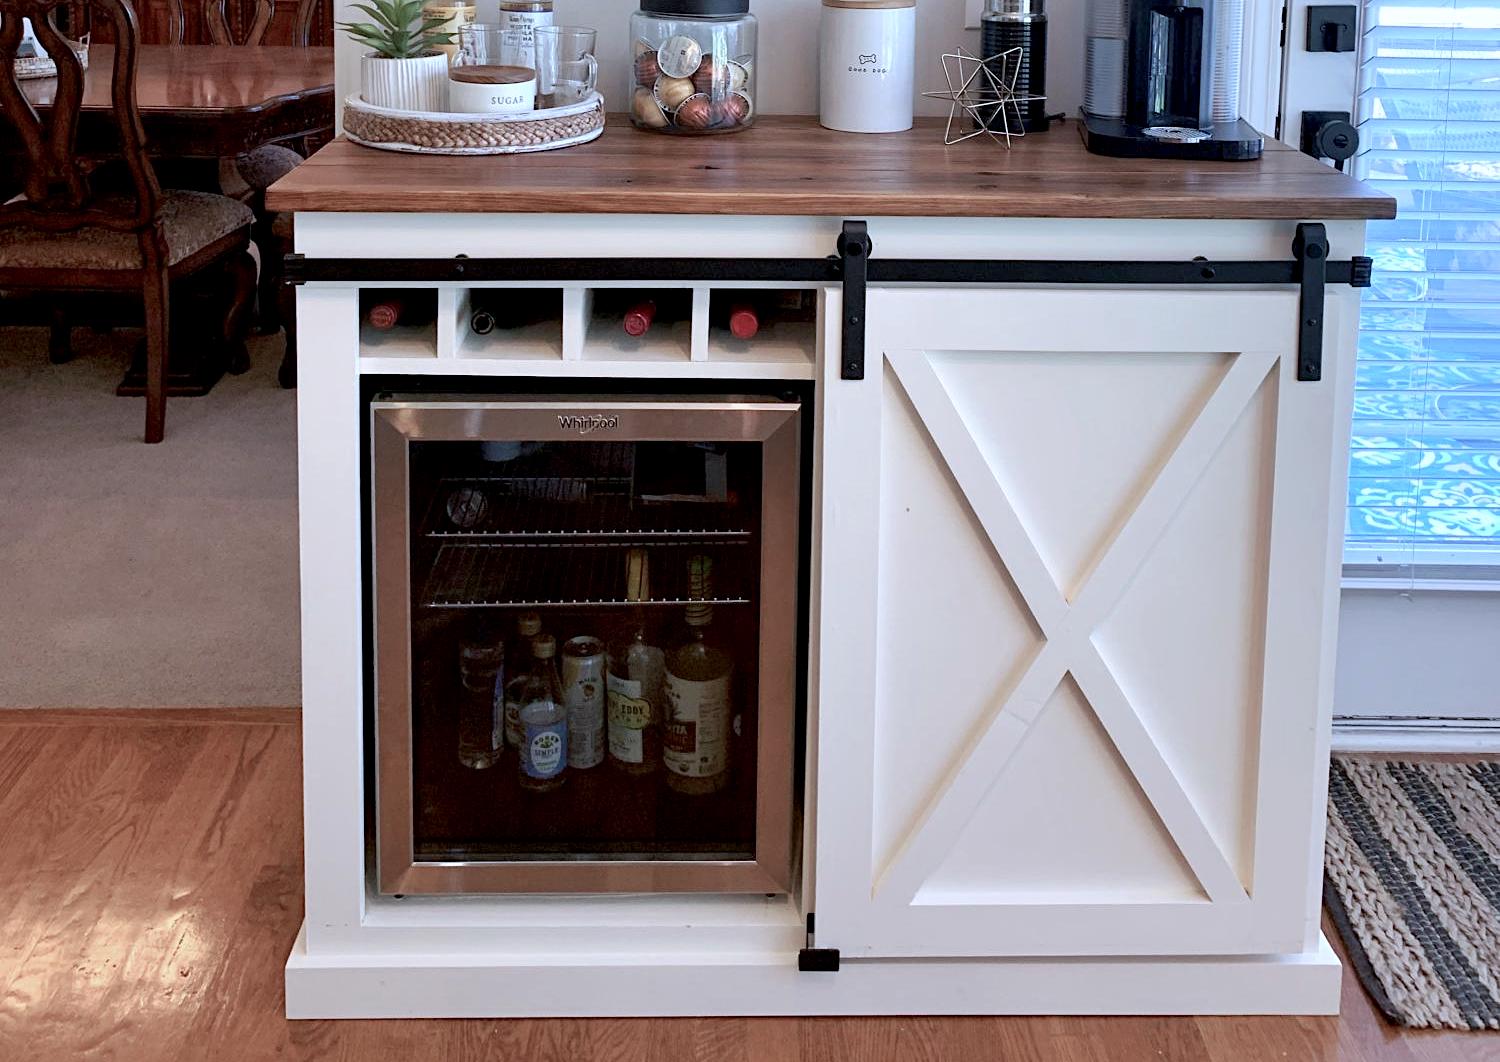
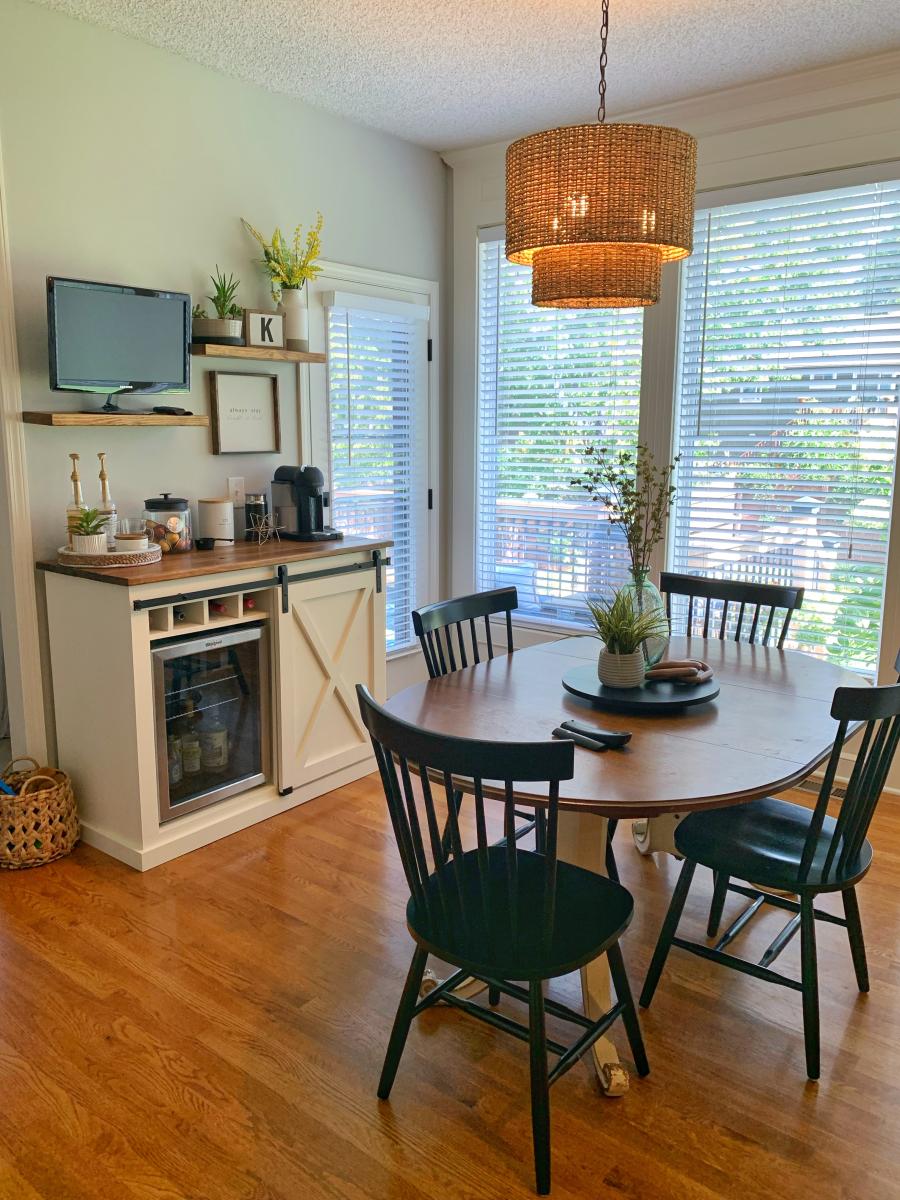
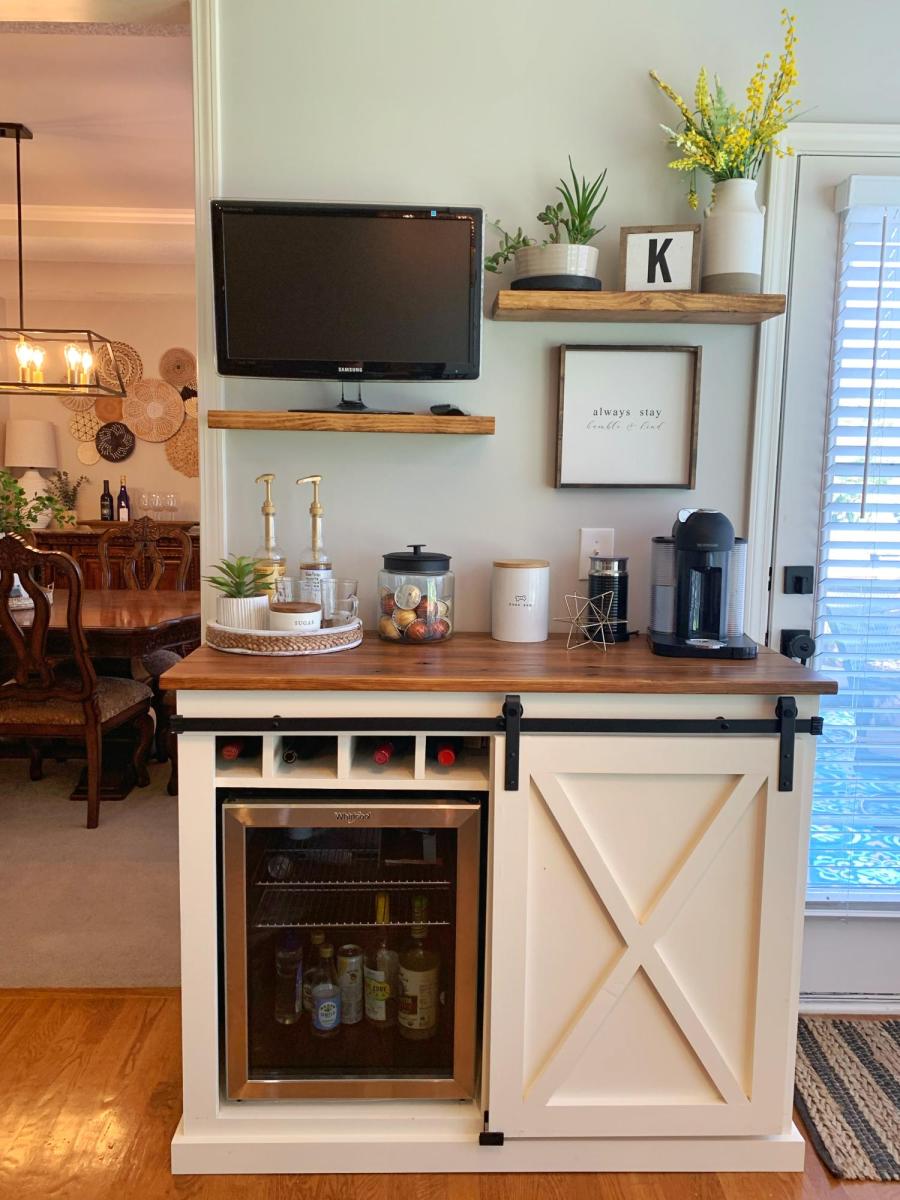
Coffee Bar

Submitted by Anonymous (not verified) on Wed, 12/28/2022 - 18:35

My wife wanted a coffee bar and I wanted a fridge for wine and beer. So we compromised on this.

Comments

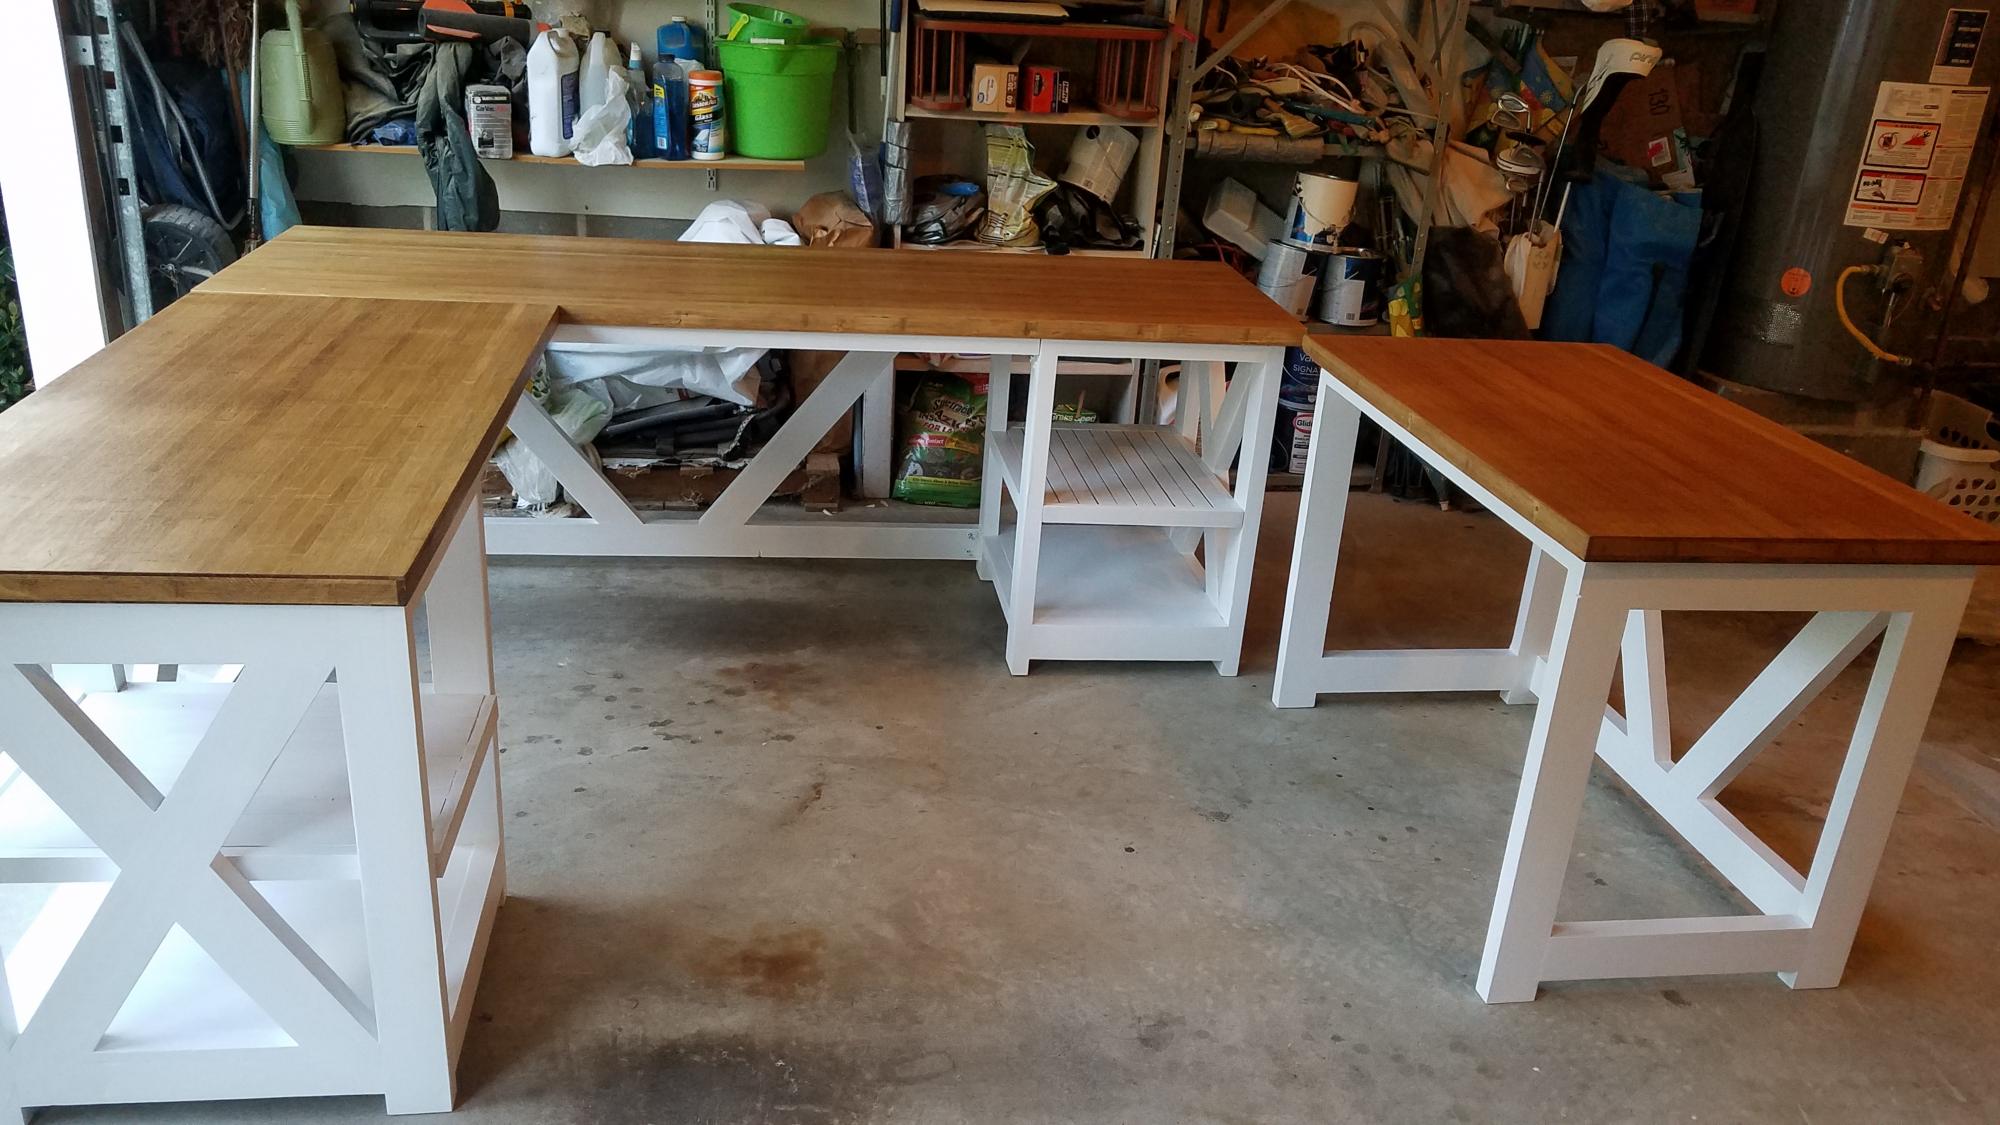
Rustic X Desk

Submitted by bozarthm1 on Sun, 04/19/2020 - 07:57

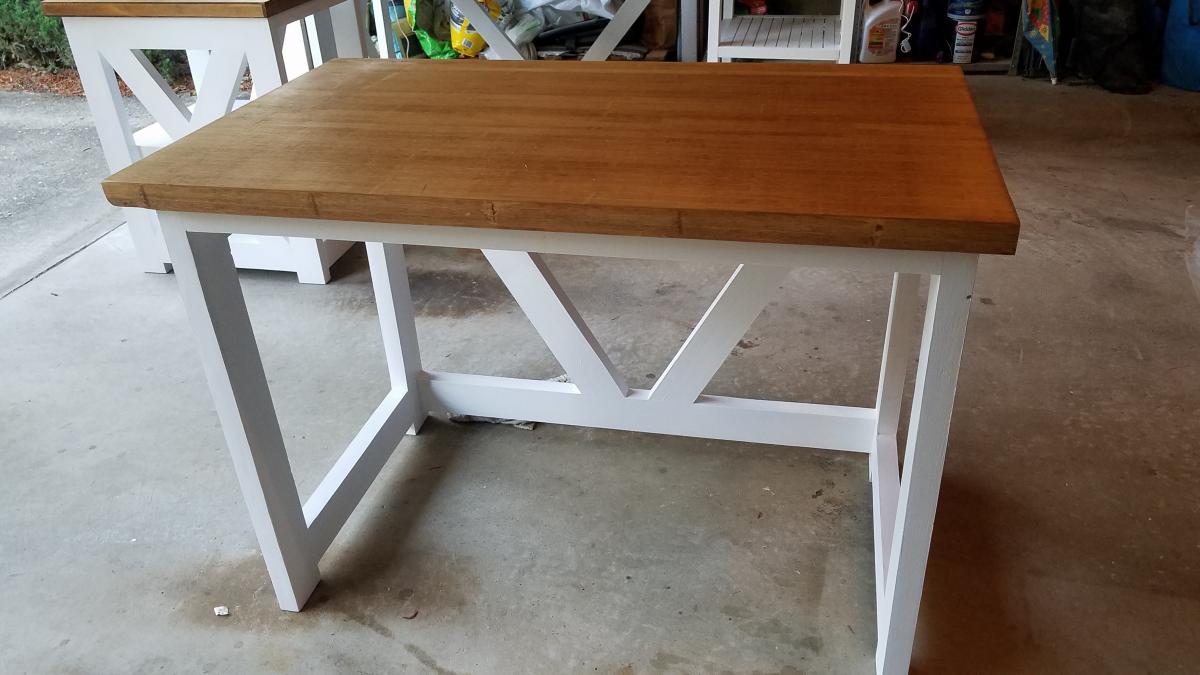
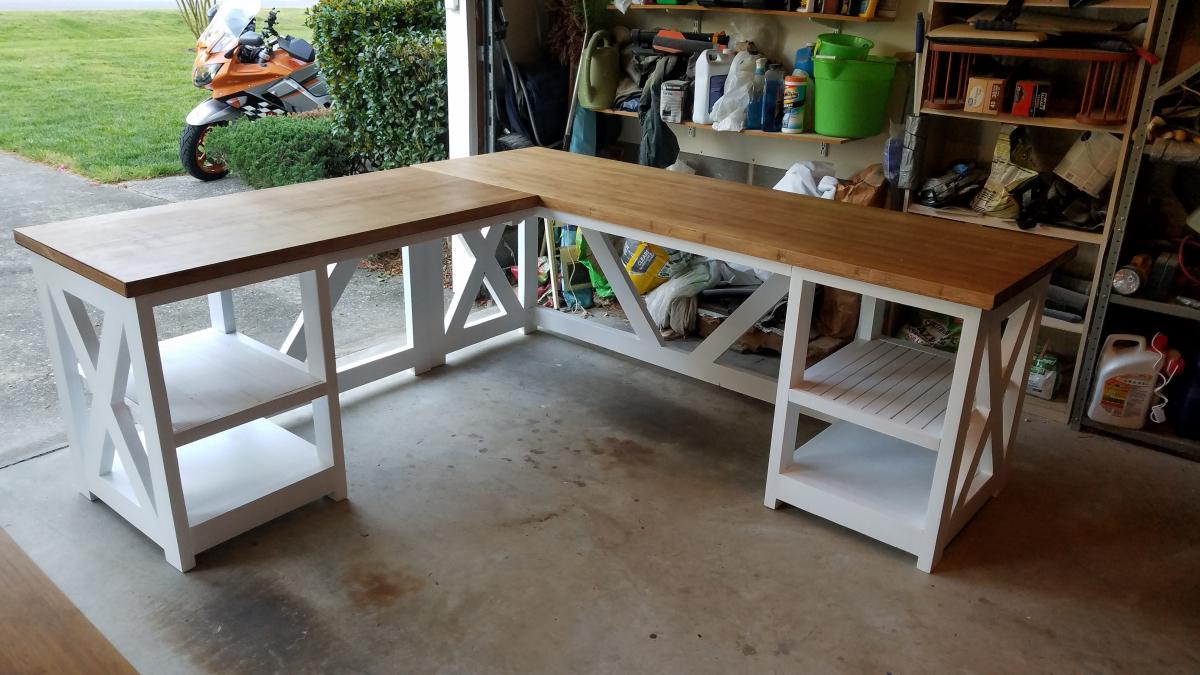
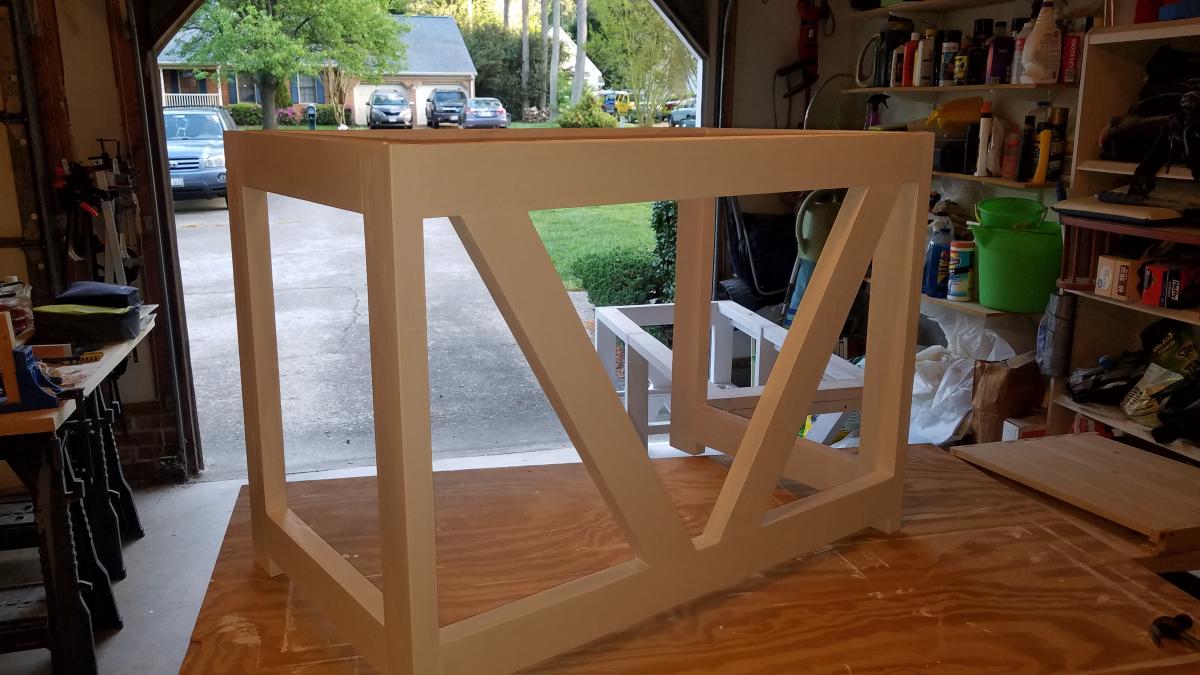
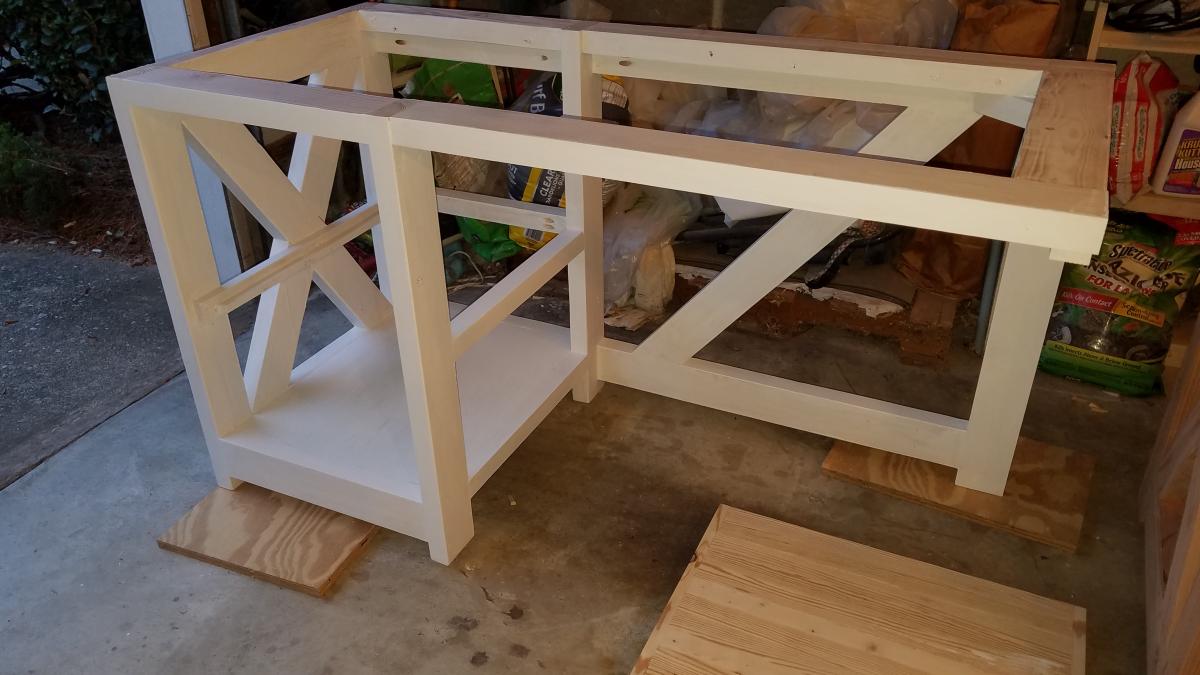
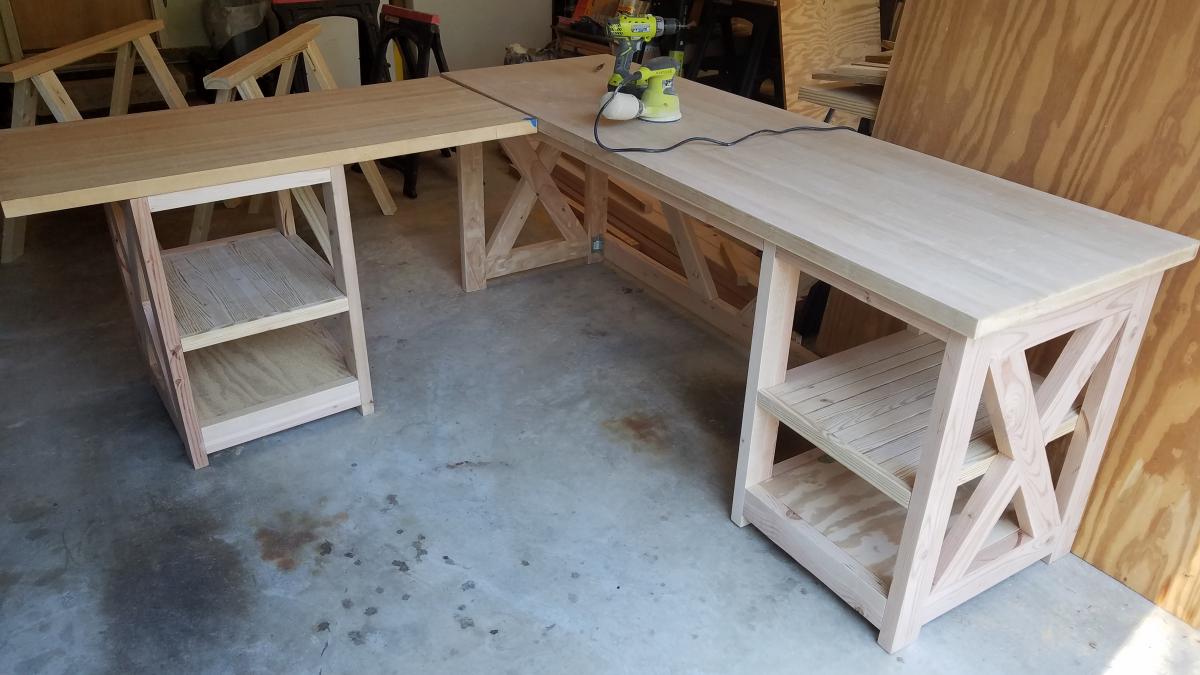
I built this L shape desk based on Ana White's rustic X desk plan. I would not have attempted this without her guidance. Love how this turned out, probably the nicest project I've ever done. Thanks Ana!

Built from Plan(s)
Estimated Time Investment
Week Long Project (20 Hours or More)
Finish Used
Tops are Watco Dark Walnut with wax finish, prime and paint the legs
Recommended Skill Level
Intermediate

Comments

mfromo

Tue, 05/26/2020 - 09:34

This is awesome! My son and I are looking to build an L shaped desk for him and this looks to be the one. Any thoughts on how I would mount a computer tray beneath? Think there is enough clearance below the 2x4 without hitting knees?
Thanks!

Modern Sectional Sofa

Submitted by reinkense on Fri, 05/30/2014 - 17:22

I looked all around my town for a sofa that meet my needs. I wanted something with tall legs, modern lines and fit my living room. I did not have $3,000 to buy one online so I said to myself why not???


Estimated Cost
$400
Estimated Time Investment
Week Long Project (20 Hours or More)
Recommended Skill Level
Intermediate

Comments

reinkense

Sat, 05/31/2014 - 15:58

Thank you! I am really proud of it. I was thinking of putting together some plans.

Samigdal

Fri, 12/25/2015 - 17:48

Are there step-by-step instructions for building this posted anywhere?

walthoca

Fri, 01/06/2017 - 11:06

I am so impressed. We recently spent a small fortune on a sectional, but yours looks equally beautiful. You are incredibly talented! 

Clubhouse based on Ana's Plan

Submitted by MattSl on Tue, 05/03/2011 - 09:18

I used Ana's plan as a base.

I changed it from 8x8 to 8x12, made the 4x4x8's to 4x4x10' for a higher main platform and swing platform, and added a 12' long monkey bar set to the other side. Also, an 8' climbing wall and a plank walkway to accompany the two slides.

For the clubhouse, I used Hardiplank 4x8 sheets for the siding and an EZ-Framer kit for the structure itself.

The slides I purchased from Lowes, monkey bars from Amazon, and the swing frame braces from Amazon as well. The swing kits I got from ebay.

Estimated Cost
1500
Estimated Time Investment
Week Long Project (20 Hours or More)
Recommended Skill Level
Intermediate
Seasonal And Holiday

sandbox with benches

Submitted by nananana on Fri, 07/10/2015 - 13:18

This sandbox has been around for some time BUT it is still a great project to build The plans were simple to follow and would be an excellent project for beginners. We built this for our grandson and future grandbaby. Was easy to complete in one day, including painting

Built from Plan(s)
Estimated Cost
Estimated cost was $75.00 including the wood, hinges and paint.
Estimated Time Investment
Day Project (6-9 Hours)
Finish Used
We used a flat exterior paint. paint color was Cool Bamboo. We put on two coats to preserve the wood.
Recommended Skill Level
Beginner

Comments

Seasonal And Holiday

Batmobile full Bed

Submitted by bbcarey on Mon, 08/03/2015 - 10:12

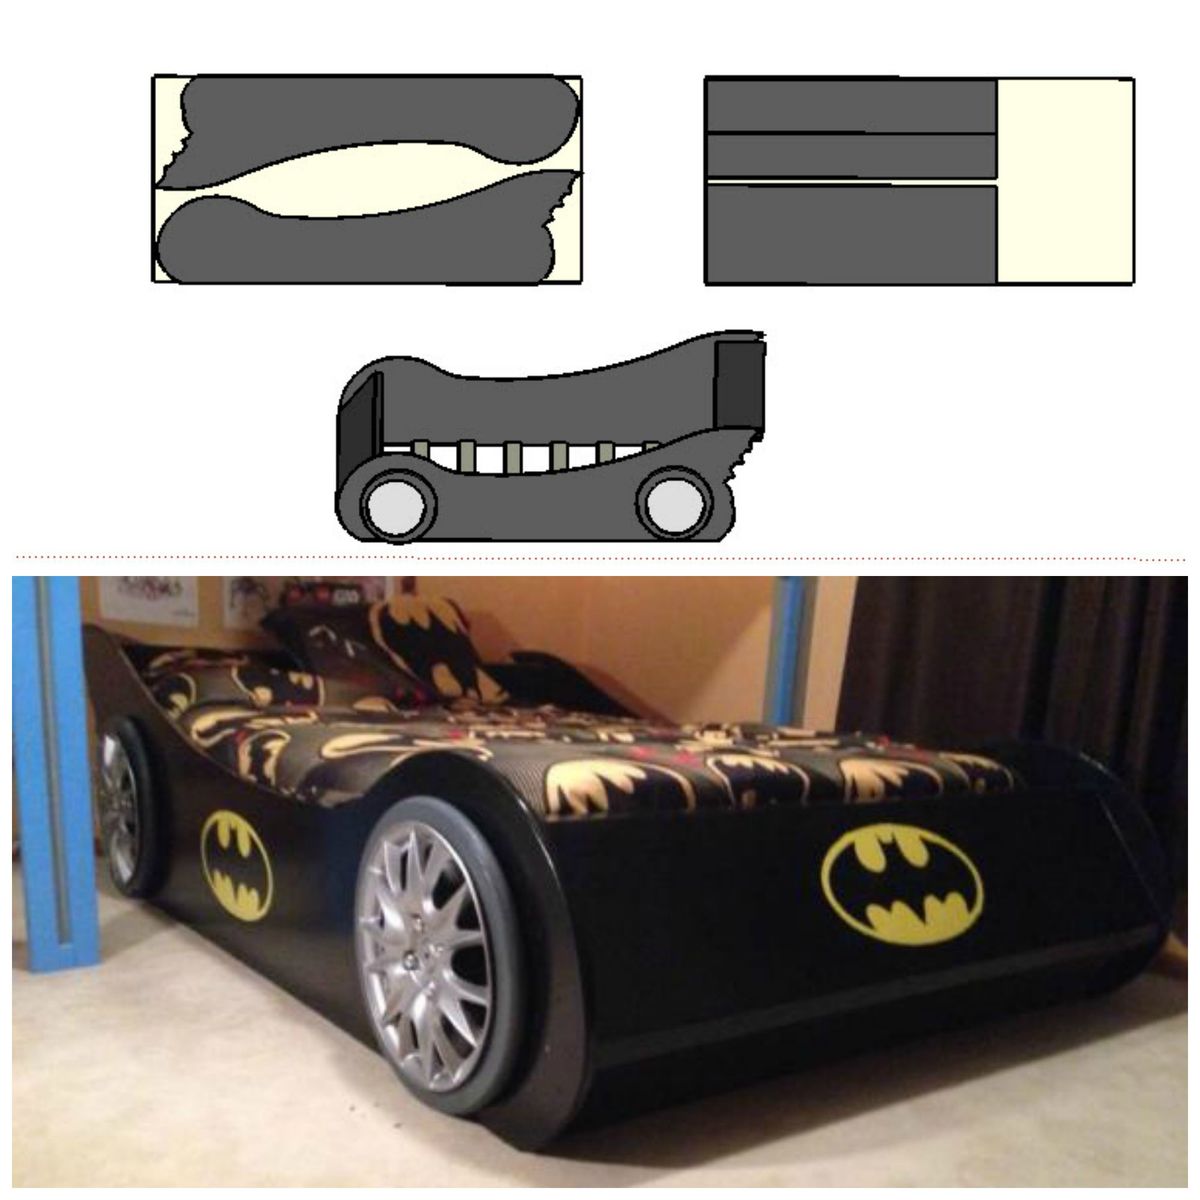
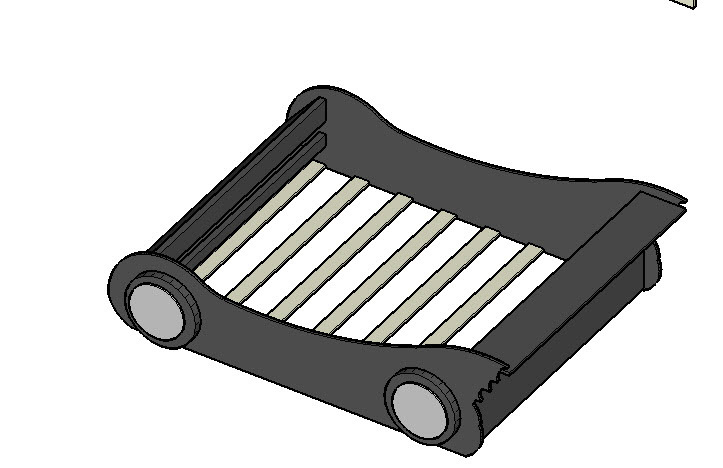
My son had a 'lightning Mcqueen' toddler bed- but we needed to get him into a little bigger bed.  We had a spare full bed, and Batman is his current favorite... Since there aren't Batman full race car beds- time to start planning and building from sketchup!  Took me about 2 weeks of evenings (after the kids go to bed) and about $110 in materials.  The model is available in the sketchup warehouse at:

https://3dwarehouse.sketchup.com/model.html?id=u6b750a53-37a4-4d52-9d31…


For the wheel covers I ordered online at Amazon for $25 for a set of 4.

For the Wheels both HD and Menards make a 18" wood table top for ~$7 that I just cut the middle out  with my router to fit the wheel covers.

The slats to hold the bed (made to fit both box spring and mattress) were just 1x4 pine boards from menards.

The body was made from 3/4 MDF, though you could of course use plywood. 

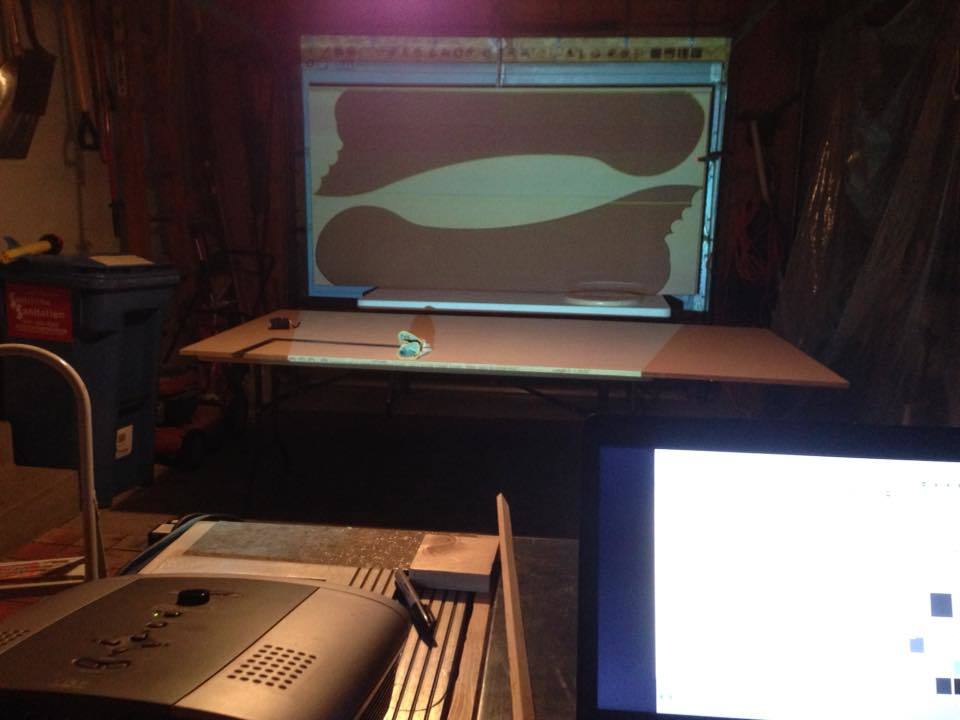
I used a projector to project the image from sketchup onto the board to get it transferred- else it would have been 50+ pages if printing..

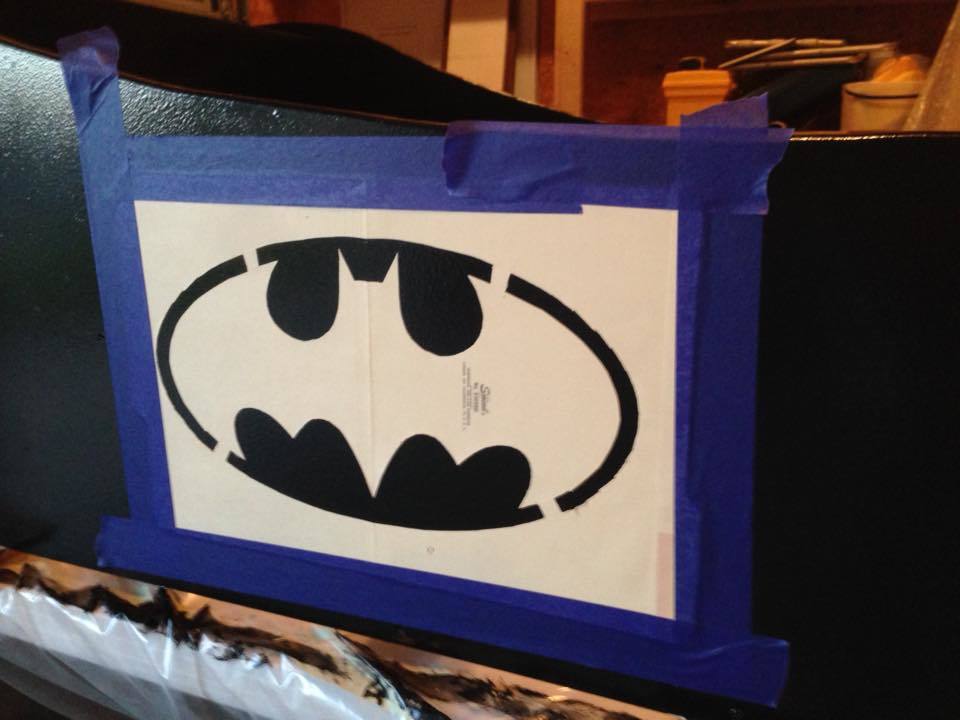
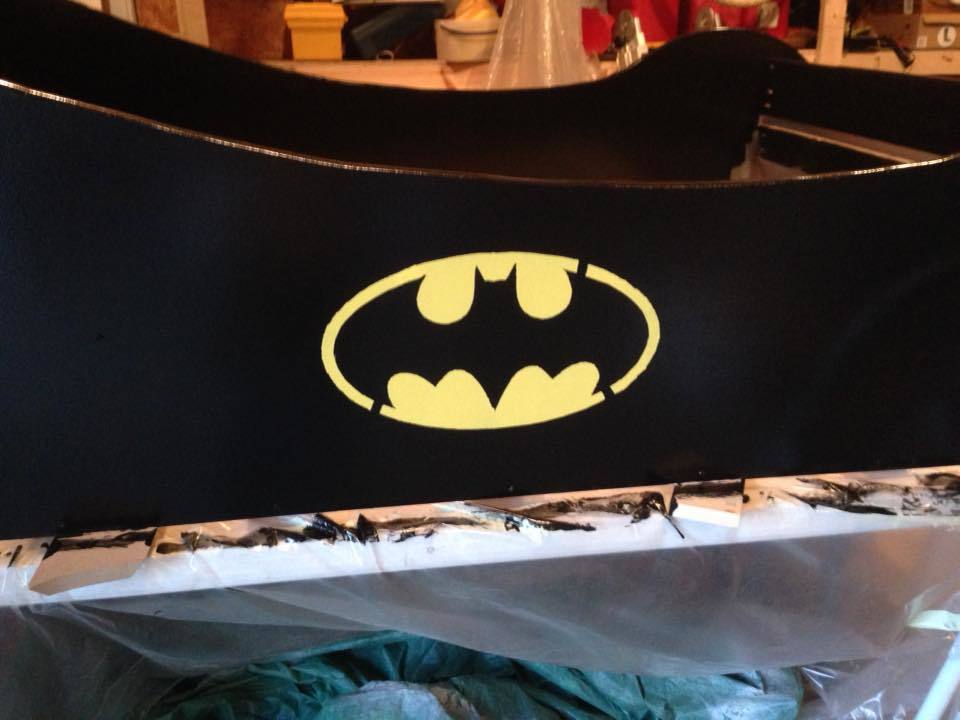
For the logos I just used a minila folder as my stencil and cut out the logo.  Needed to touch up the 'tabs' to hold the logo in the circle after pulling off the stencil.
Estimated Cost
$115
Estimated Time Investment
Week Long Project (20 Hours or More)
Finish Used
High gloss Latex paint.
Recommended Skill Level
Intermediate

Comments

In reply to by Ana White Admin

bbcarey

Fri, 01/29/2016 - 21:18

I give you credit when people ask how I got started in woodworking because until I found your site and my first project (library cart) then 2 helper stands for my kids and other friends kids and it just went on from there. The skils taken from this site and learning Sketchup have brought a lot of nice furniture to our home as well as a sense of confidence to me!! Thank you!

MoxieMan13

Sat, 09/12/2015 - 19:10

My son really wants this and I promised him that I would make it.  Do you have a PDF or anything of the outline of the batmobile?  Thanks! 

Woodlandfox

Sun, 02/21/2016 - 14:29

Thank you so much for the greatest idea ever!  We stumbled on this and believe it will be the perfect next bed for our son, however, we cannot download any of the files.  Do you have a PDF of the measurements or any other form you can upload so we can make this bed?  Thanks in advance!  Great work!

SDonahue9807

Tue, 12/06/2016 - 07:23

I apologize if I am just missing this, but... do you have step by step instructions on building this bed? I see the pictures of each part and its corresponding dimensions, but I cannot located instructions on assembling the bed. 


Thanks!

Doggie Daybed

Submitted by MurdaRae on Wed, 06/06/2012 - 10:16

I've thought for a while about building a bed for our dogs, but wasn't sure where to start. We had an extra crib mattress so I set out to find a toddler bed that would work. I decided the Lydia Toddler Bed plan would work best. It doesn't look anything like it, but it was a great starting point.

First, I got rid of the canopy and the decorative side pannels. I also raised the bed 12 inches. (The hope is to add a rug on the floor underneath as sort of a "bottom bunk") The lumber store didn't have 2x2s so I used 2x3s for the legs. I also only used two 1x6s at the head and foot of the bed. They are seperated by 1" because when I got home, I realized they were actually 1x5 (RUDE).

All in all, it turned out exactly as I had hoped and the dogs love it! GOODBYE stinky dogbeds!

**Photo 1: Just finished building--the slats weren't screwed down yet.
**Photo 2: Deacon is testing out his new digs! See the stinky dogbed underneath?YUK!
**Photo 3: Dog Bed Completed! Mac & Deacon love it!

Built from Plan(s)
Estimated Cost
$38
Estimated Time Investment
Day Project (6-9 Hours)
Recommended Skill Level
Beginner

Comments

Eric's Cedar Shed!!

Submitted by Anonymous (not verified) on Mon, 07/06/2020 - 21:35

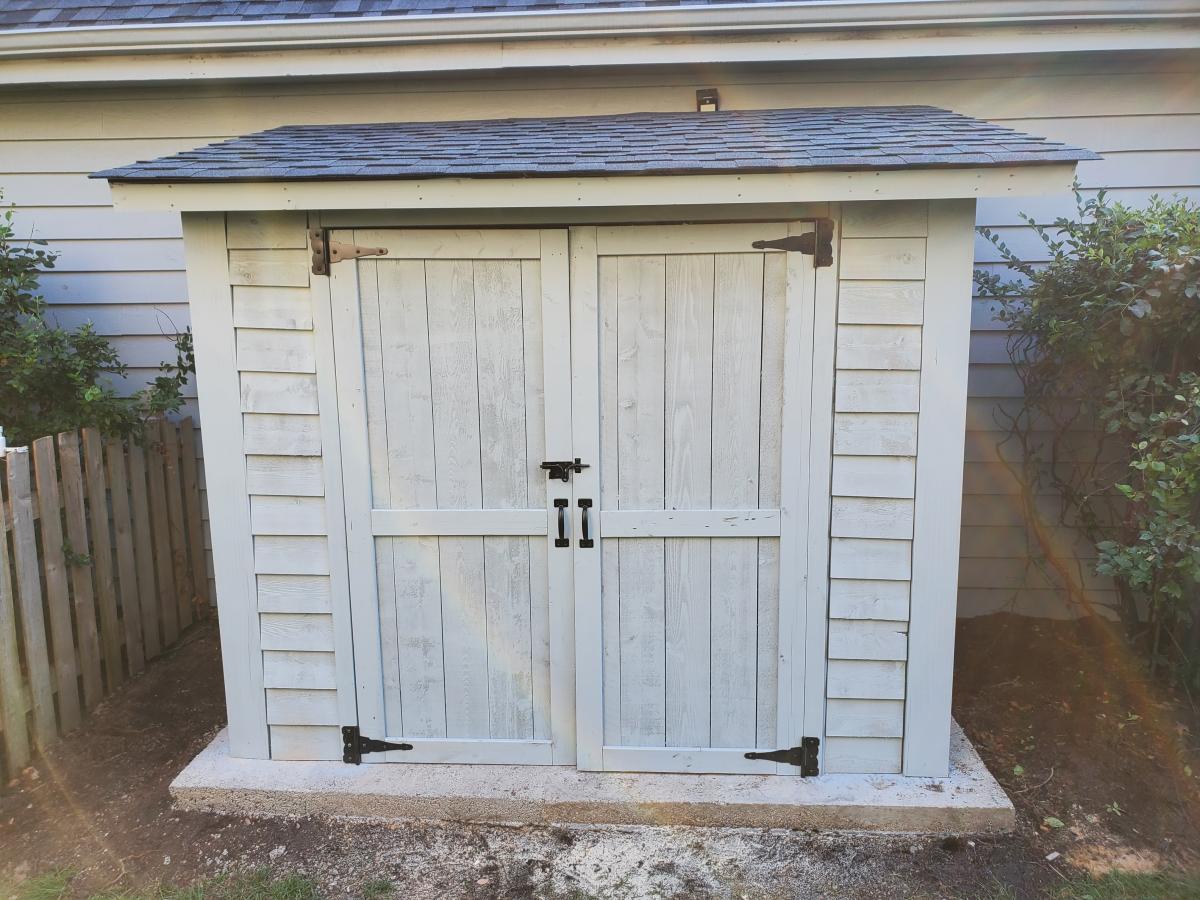
Thank you for the plans, shed turned out great! My association required me to match the siding color, roof color, and anchor to a concrete slab. So I poured 25 bags of 80lbs concrete to make a 9x5 slab. Redid the plans for an 8x4 shed, built the frame with 2x4s and not 2x2's, installed flashing, ice/water shield + felt + matching shingles since I'm near Chicago, and used a flexio finishing sprayer to paint the shed. Saved some $ by using 2 Redwood Grain Fiber siding panels for $22 each at HD.

All in all very happy with my shed and all my dangerous yard tools and woodworking tools can be put away from my toddler.

Built from Plan(s)
Estimated Cost
400
Estimated Time Investment
Weekend Project (10-20 Hours)
Finish Used
Behr Premium Plus exterior paint
Recommended Skill Level
Intermediate

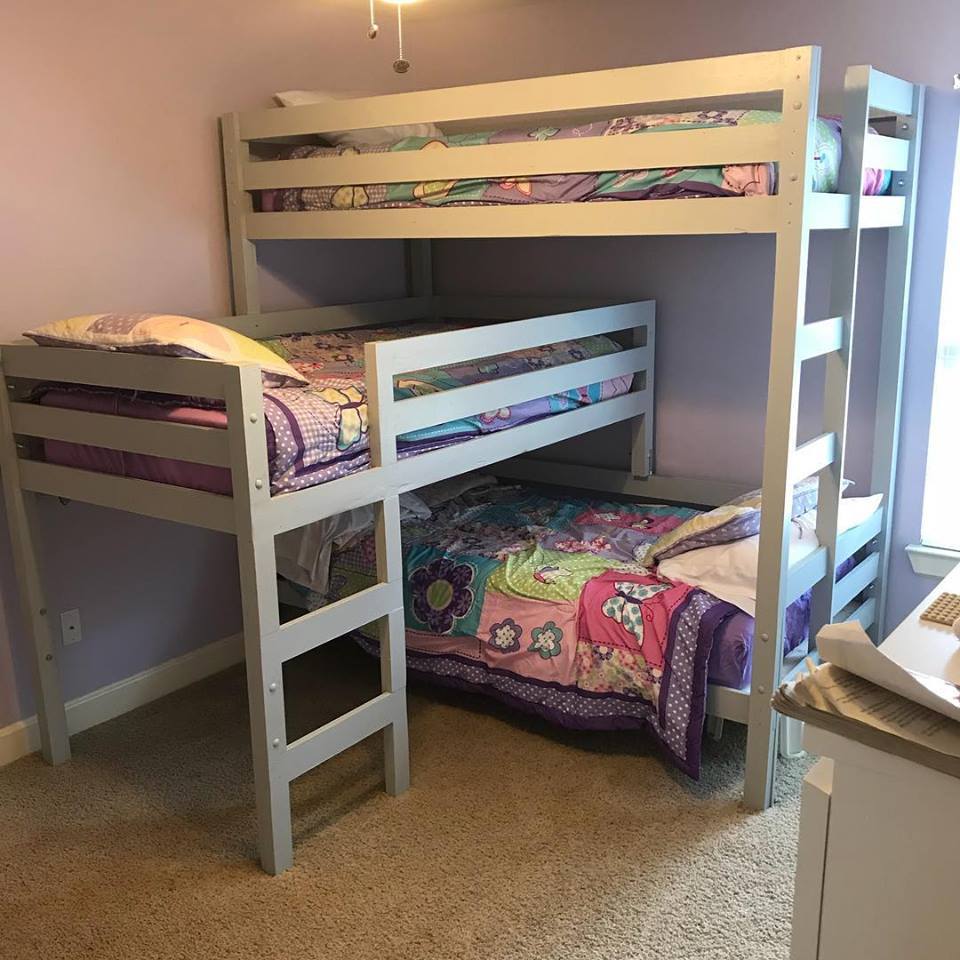
L-Shaped Triple Bunk

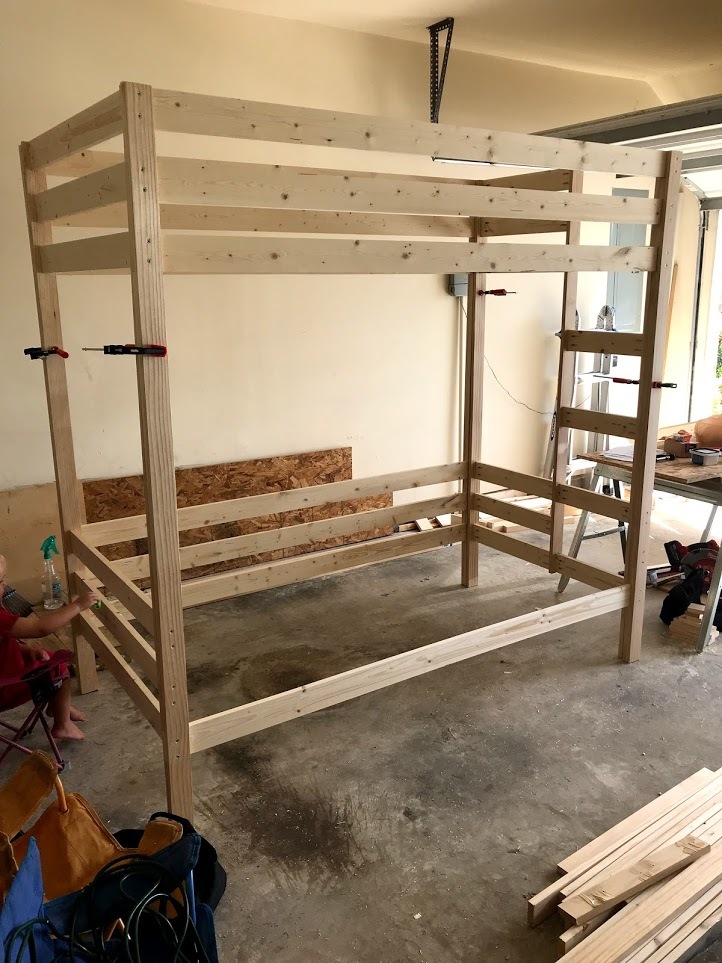
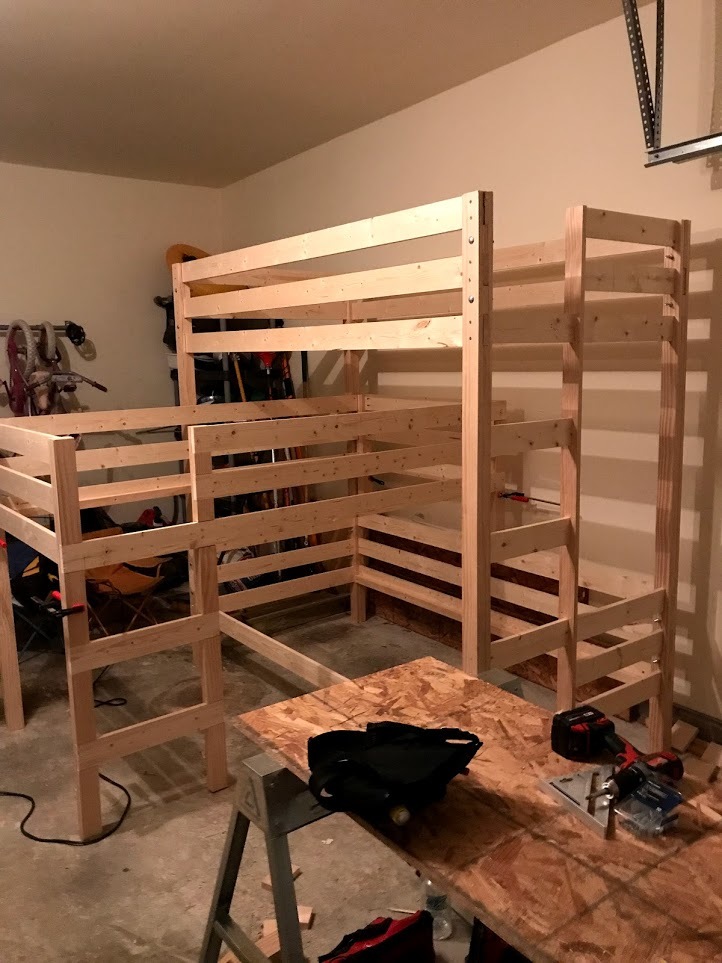
Submitted by mommy to 3 on Sat, 09/01/2018 - 20:21

We recently had our 6th child and needed to rearrange our kids' rooms.  We decided to put our 3 oldest girls together and wanted a triple bunk.  We used the classic bunk plans, but increased the height to allow for a middle bunk.  We wanted L-shaped to give each child some headroom.  We used pine wood, common board and select pine.  We finished it off with two coats of Behr interior latex paint/primer in one, satin finish.  Finished dimensions--height from floor to base of bottom bunk, 10 in.  from floor to top of top rail, 79.5 in.

Built from Plan(s)
Estimated Cost
$350 for wood/screws
$40 for paint
~$500 for tools--this was only our second build and our last build only required a drill.
Estimated Time Investment
Week Long Project (20 Hours or More)
Finish Used
Behr interior latex paint/primer in one, satin finish. Color is "classic silver"
Recommended Skill Level
Intermediate

Comments

bcheese06

Tue, 02/18/2020 - 20:41

This is exactly what my boys need in their room. I'm having a hard time grasping how you did the middle bunk. Is it just the top bunk chopped right before the horizontal slats of the bottom bunk? tia

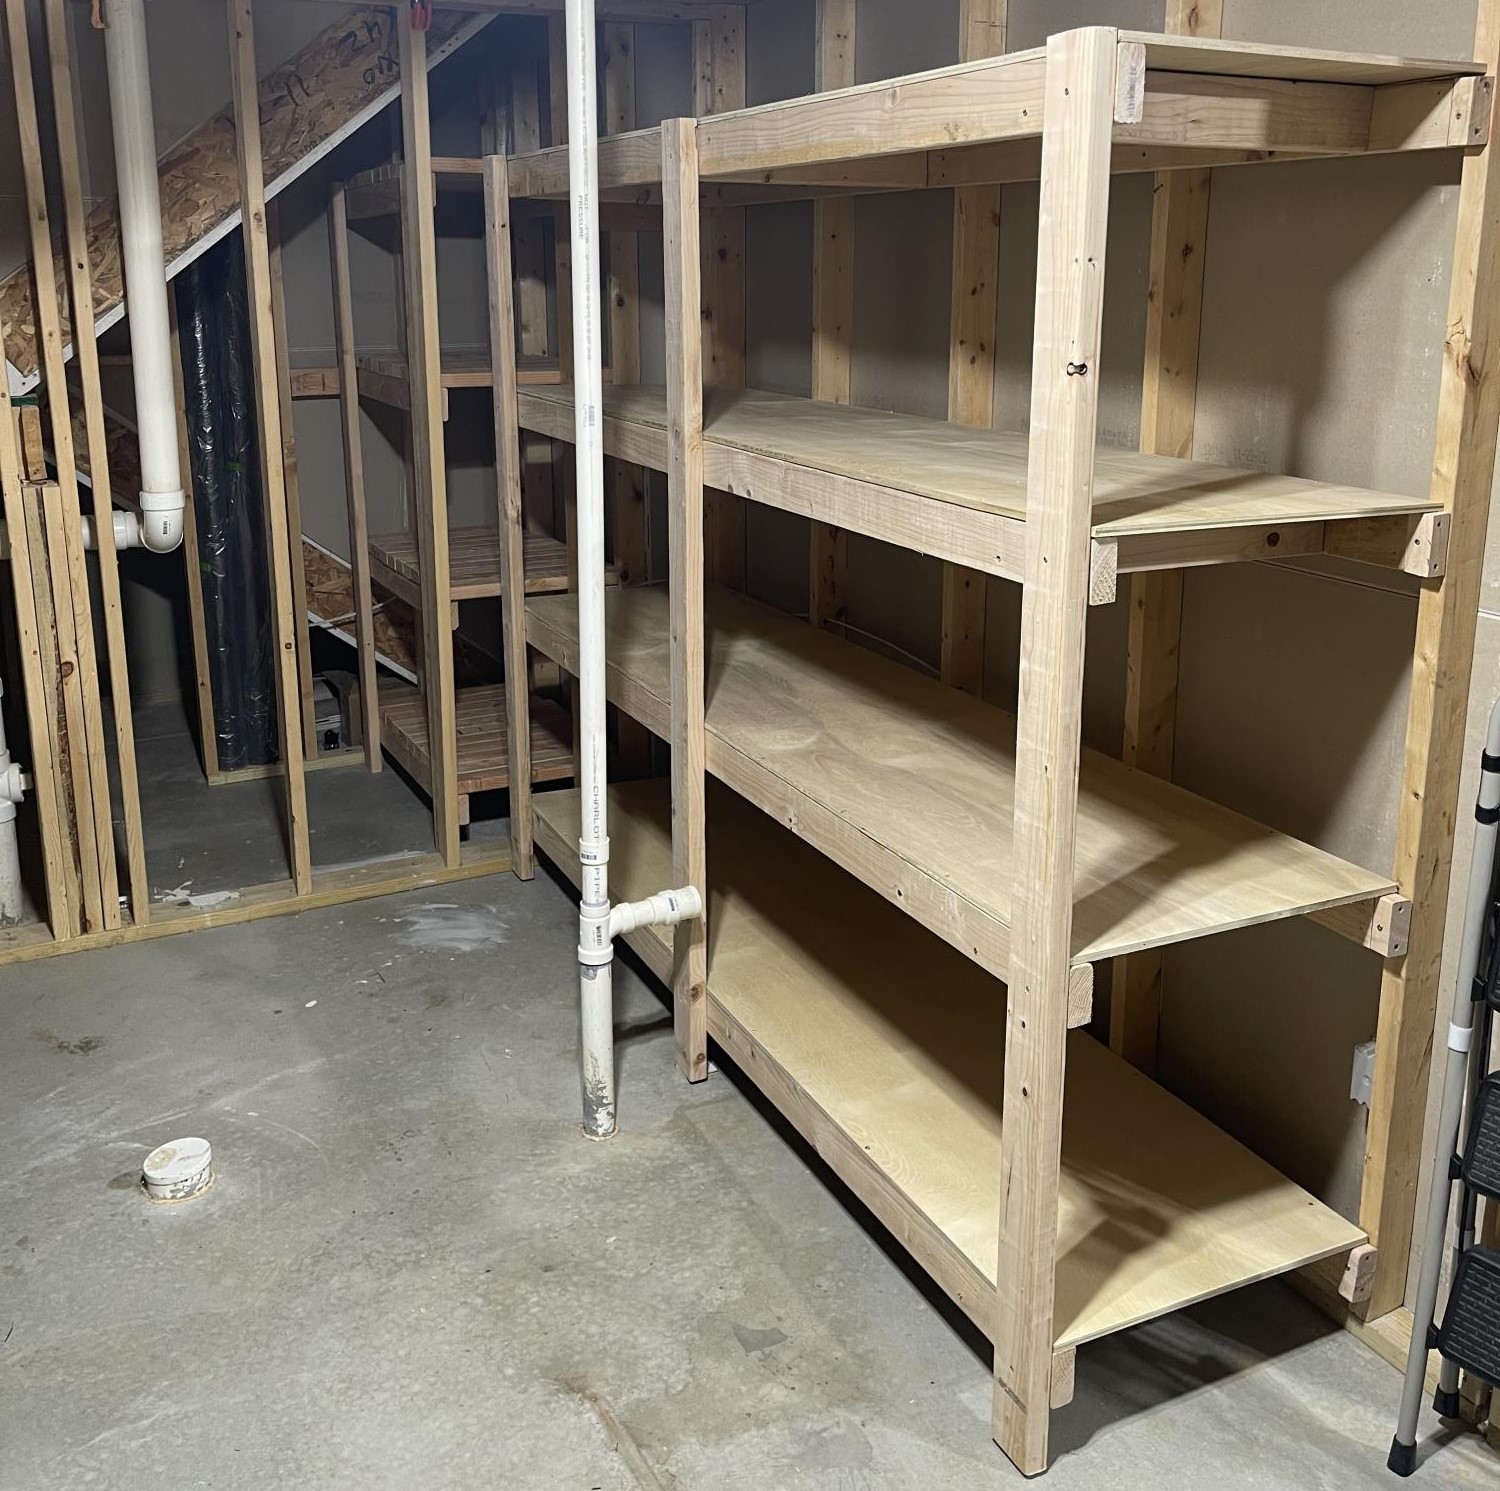
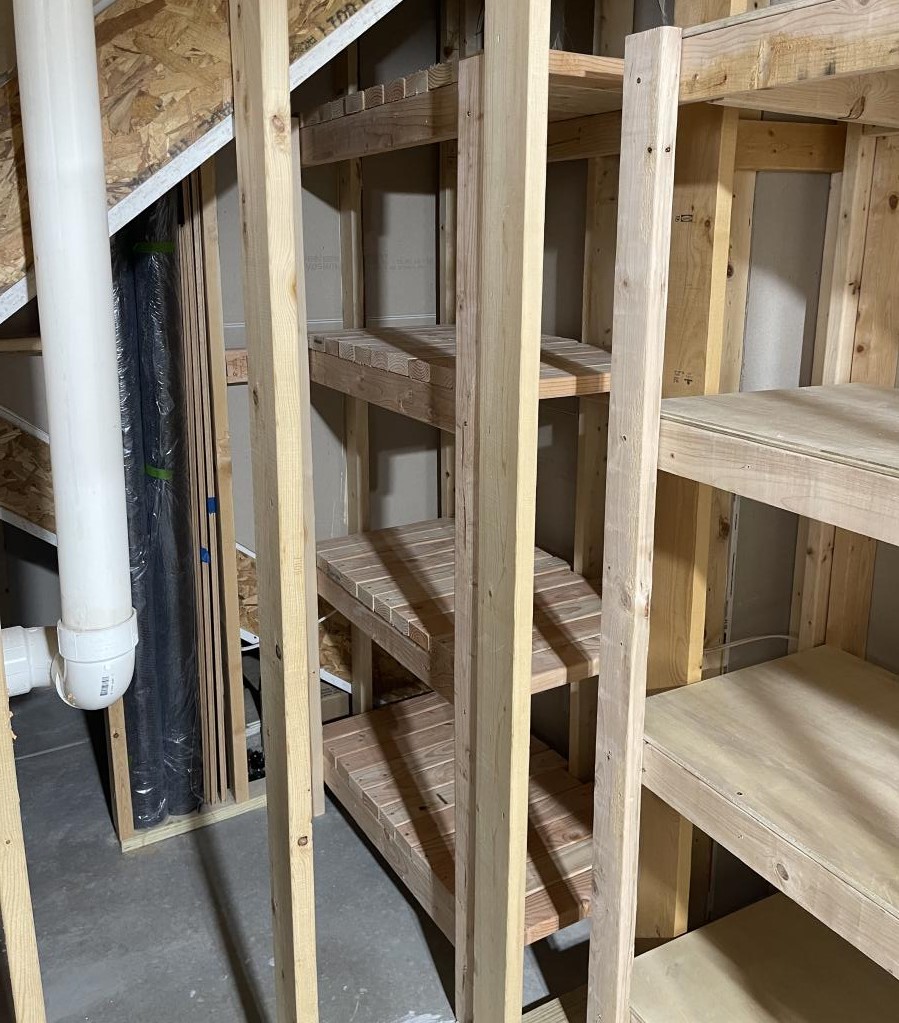
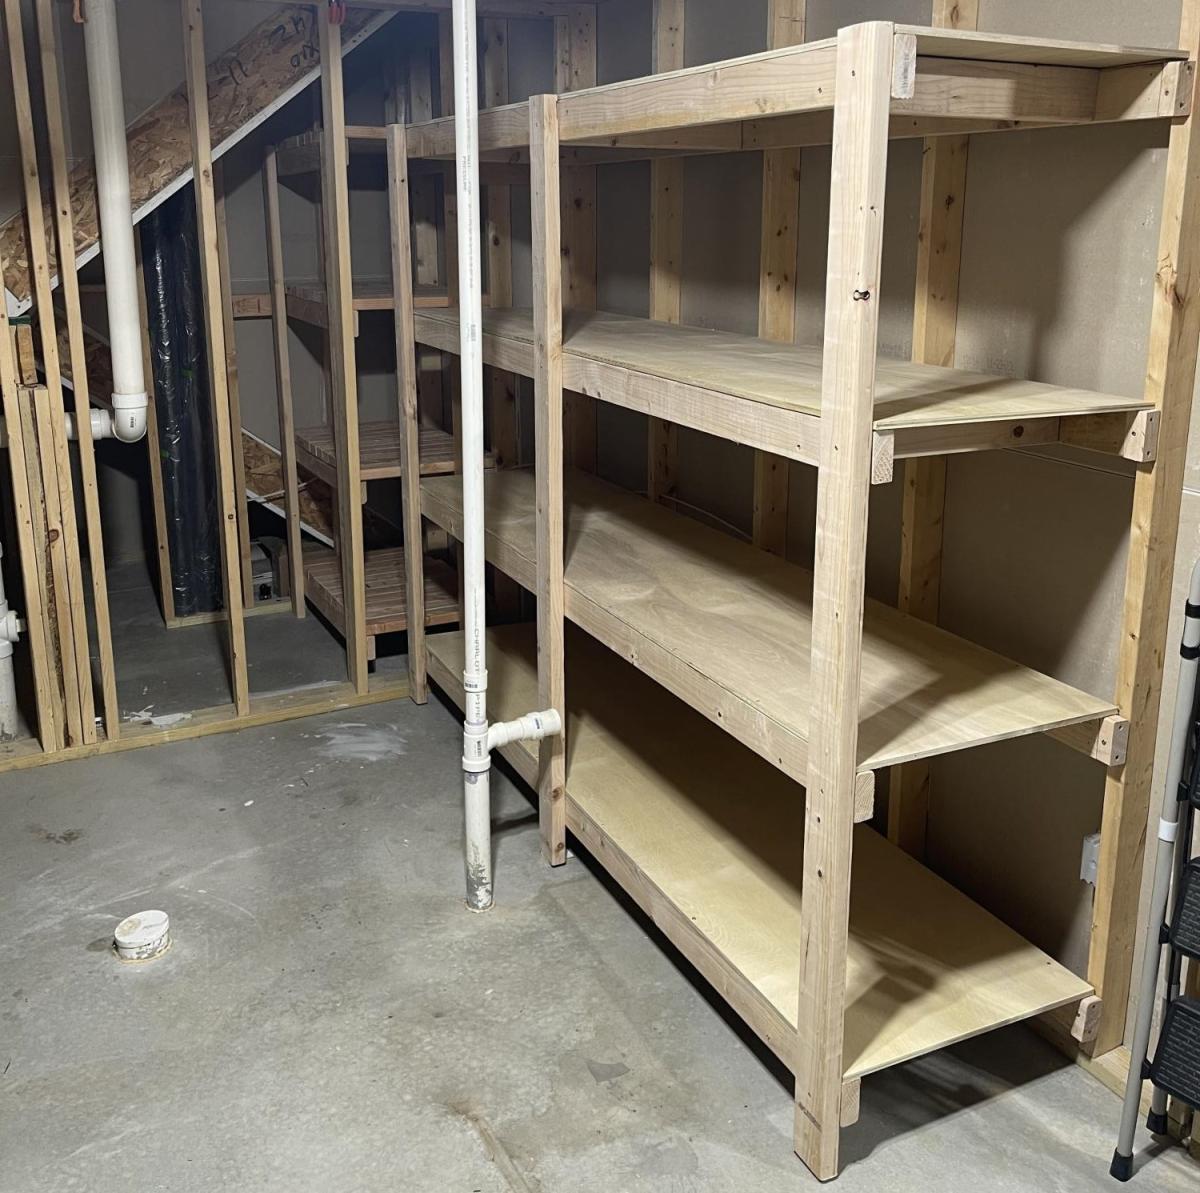
Garage / Basement Shelving + Bonus Wine/Liquor Under Stairs Storage

Submitted by MJC2DIY on Wed, 10/12/2022 - 21:35

Using the guidelines for the “BEST DIY Garage Shelves (Attached to Walls), I added this to our unfinished basement area for additional storage. I plan to replicate it in our actual garage as well and build the freestanding shelves also!

As a bonus, I used this plan as inspiration and built directly beside it, which is an unused space under stairs, a wine/liquor storage shelving replacing the plywood with cut 2x4s for added weight capacity/stability.

Couldn’t have been easier!

Comments

MJC2DIY

Wed, 10/19/2022 - 09:14

Thank you!! I am so thankful for Ana White and team! These projects are helping me build a lot of confidence to continue endeavoring more challenging projects each step of the way :-)

Rustic X Farmhouse Coffee Table with Storage

Submitted by Anonymous (not verified) on Sun, 02/05/2023 - 08:54

This project was made from reclaimed wood from my office where they had built a temporary safety railing out of 2x4s and 2x6s. I added a compartment for storage. The top is stained in a classic grey. I painted the body in black followed by white. I then sanded the body to allow the black to bleed through for a distressed look.

Comments

Cedar Fence Board Planter Box

Submitted by iowachap on Sat, 03/15/2014 - 19:40

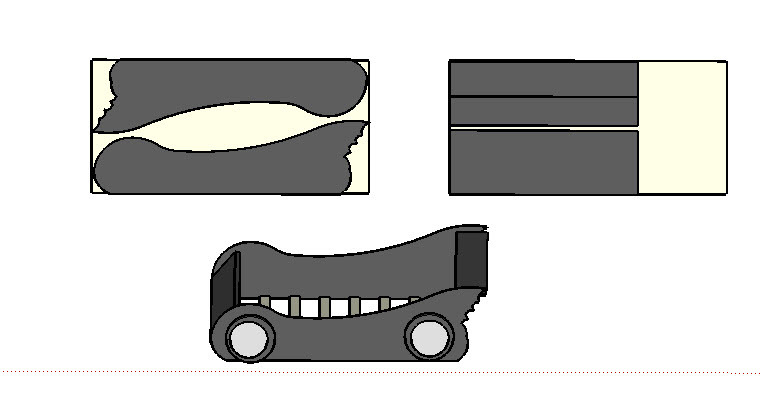
Using Ana's 10 dollar raised garden planter box idea, I made my own using the cedar fence boards and then used 2 x 3 x 8 studs for the L corner supports and mid center support along with top rail. This photo is the first 3, I will have a total of 6 boxes. Will post more as I progress.
Estimated Cost
20 to 25 dollars per box
Estimated Time Investment
Afternoon Project (3-6 Hours)
Finish Used
I used 6 fence boards, 2 for each side of the 6' long runs, and 1 for each short 3' section cut in half.

I got the 6' x 5 1/2 " x 5/8 " cedar fence boards at the orange box

I used 2 x 3 x 8 boards for the corners the middle support and the top rail. I got these at the blue box
I used 2 " and 2 1/2" exterior star bit screws.
NOTE: I pre drilled holes in the fence boards and screwed all the boards to the L corner sections from the inside out, so the screws are on the inside of the box, they did not poke through the 2 x 3 boards.

Instead of trying to measure how far off the side of the board I needed to go to match the vertical 2 x 3 boards, I just cut 10 11 inch long 2 x3 sections, and then used the 2 1/2" screws and made 4 L corner pieces the shorter side I screwed the short 3 foot length fence boards too, once I had both my short sections screwed to the L corner sections, I then stood one up and screwed 2 of the 6' length boards to the L corner section. Then the other side.

Once all 4 walls were done, I would then measure 3' in the middle of the 6' long side runs, and put in an additional 2 x 3 x 11" again screwed from the inside of the box out.

Now that all the 2 x 3 x 11" L corners and side support sections were connected to the fence boards I then cut 76 1/4" 2 x3 boards one for each length run, and then 2 26" 2 x 3 sections that were all cut on 45 degree angle to complete the top rail.
Recommended Skill Level
Starter Project

6' Square Sandbox

I've been wanting to buy or make a sandbox for my son for a couple of years now. Since seeing this on Ana White I knew I had to make it. My son is 4 yo and I didn't think the 4' square sandbox would be big enough for him, so I made it bigger. Ours is 6' square.

Materials:
4@1x8x6'
12@1x6x6'
2x4 - used leftovers from another project
8 hinges
4 handles
decking screws

Cut lengths:
2@1x8 cut to 71.5 (long sides of the box)
2@1x8 cut to 70.5 (short sides of the box)
did not cut the 1x6 boards (top planks) - actually designed the other boards to fit their length to prevent cutting (saving time) (note that original plan uses 1x4 planks - I used 1x6s so I could use the same number of planks but cover a larger area)
4@2x4 cut to 11.5 (arm rests)
4@2x4 cut to 18.5 (back supports)

followed instructions for assembly otherwise. At my husbands suggestion we put the handles on the sides and can easily open from either side - prevents having to lean over to the middle to open (back saver)

I finished the project in 4 hours including clean up and a couple of small breaks. This is my first Ana White project. It was a lot of fun to build and I hope my son will enjoy it for years to come!

Built from Plan(s)
Estimated Cost
$190
Estimated Time Investment
Day Project (6-9 Hours)
Finish Used
Sand and stain with sealer included
Recommended Skill Level
Beginner

Comments

Mrs. Chellebelle

Sat, 09/01/2012 - 20:59

Wow, this is just what I need! I've been wanting to make a sandbox for under the playhouse but the other plan was too small. This would be great for the little guys. Thanks!

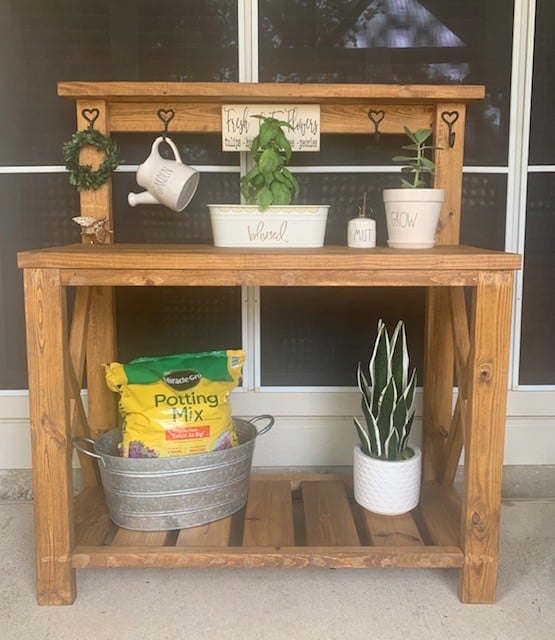
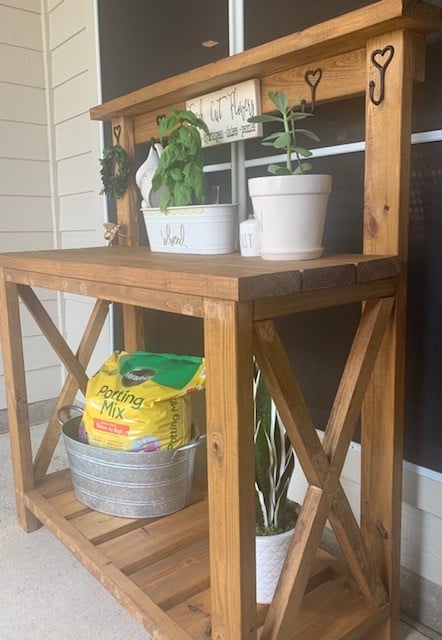
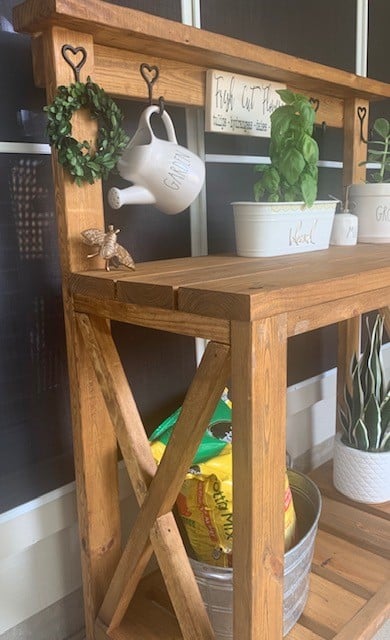
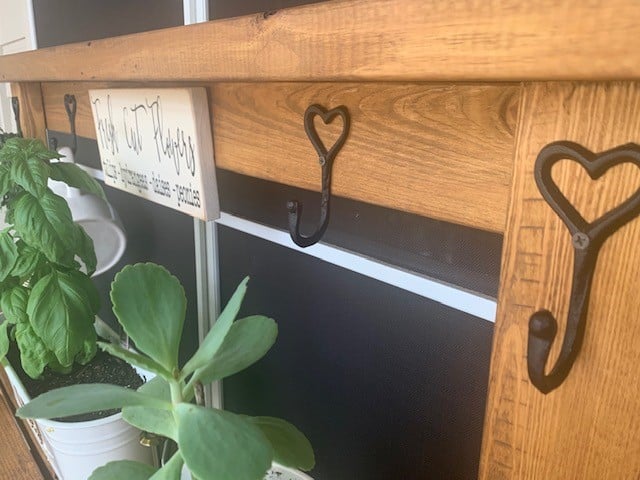
Ana White Farmhouse Potters Bench

Submitted by Anonymous (not verified) on Mon, 07/27/2020 - 09:51

My hubby made it for me after seeing yours!! I LOVE IT THANK YOU SO MUCH!
The buy list is correct the cut list is wrong the bottom 2*4's listed should both be 2*6's

Built from Plan(s)
Estimated Cost
$56
Estimated Time Investment
Day Project (6-9 Hours)
Finish Used
Golden Oak
Recommended Skill Level
Beginner

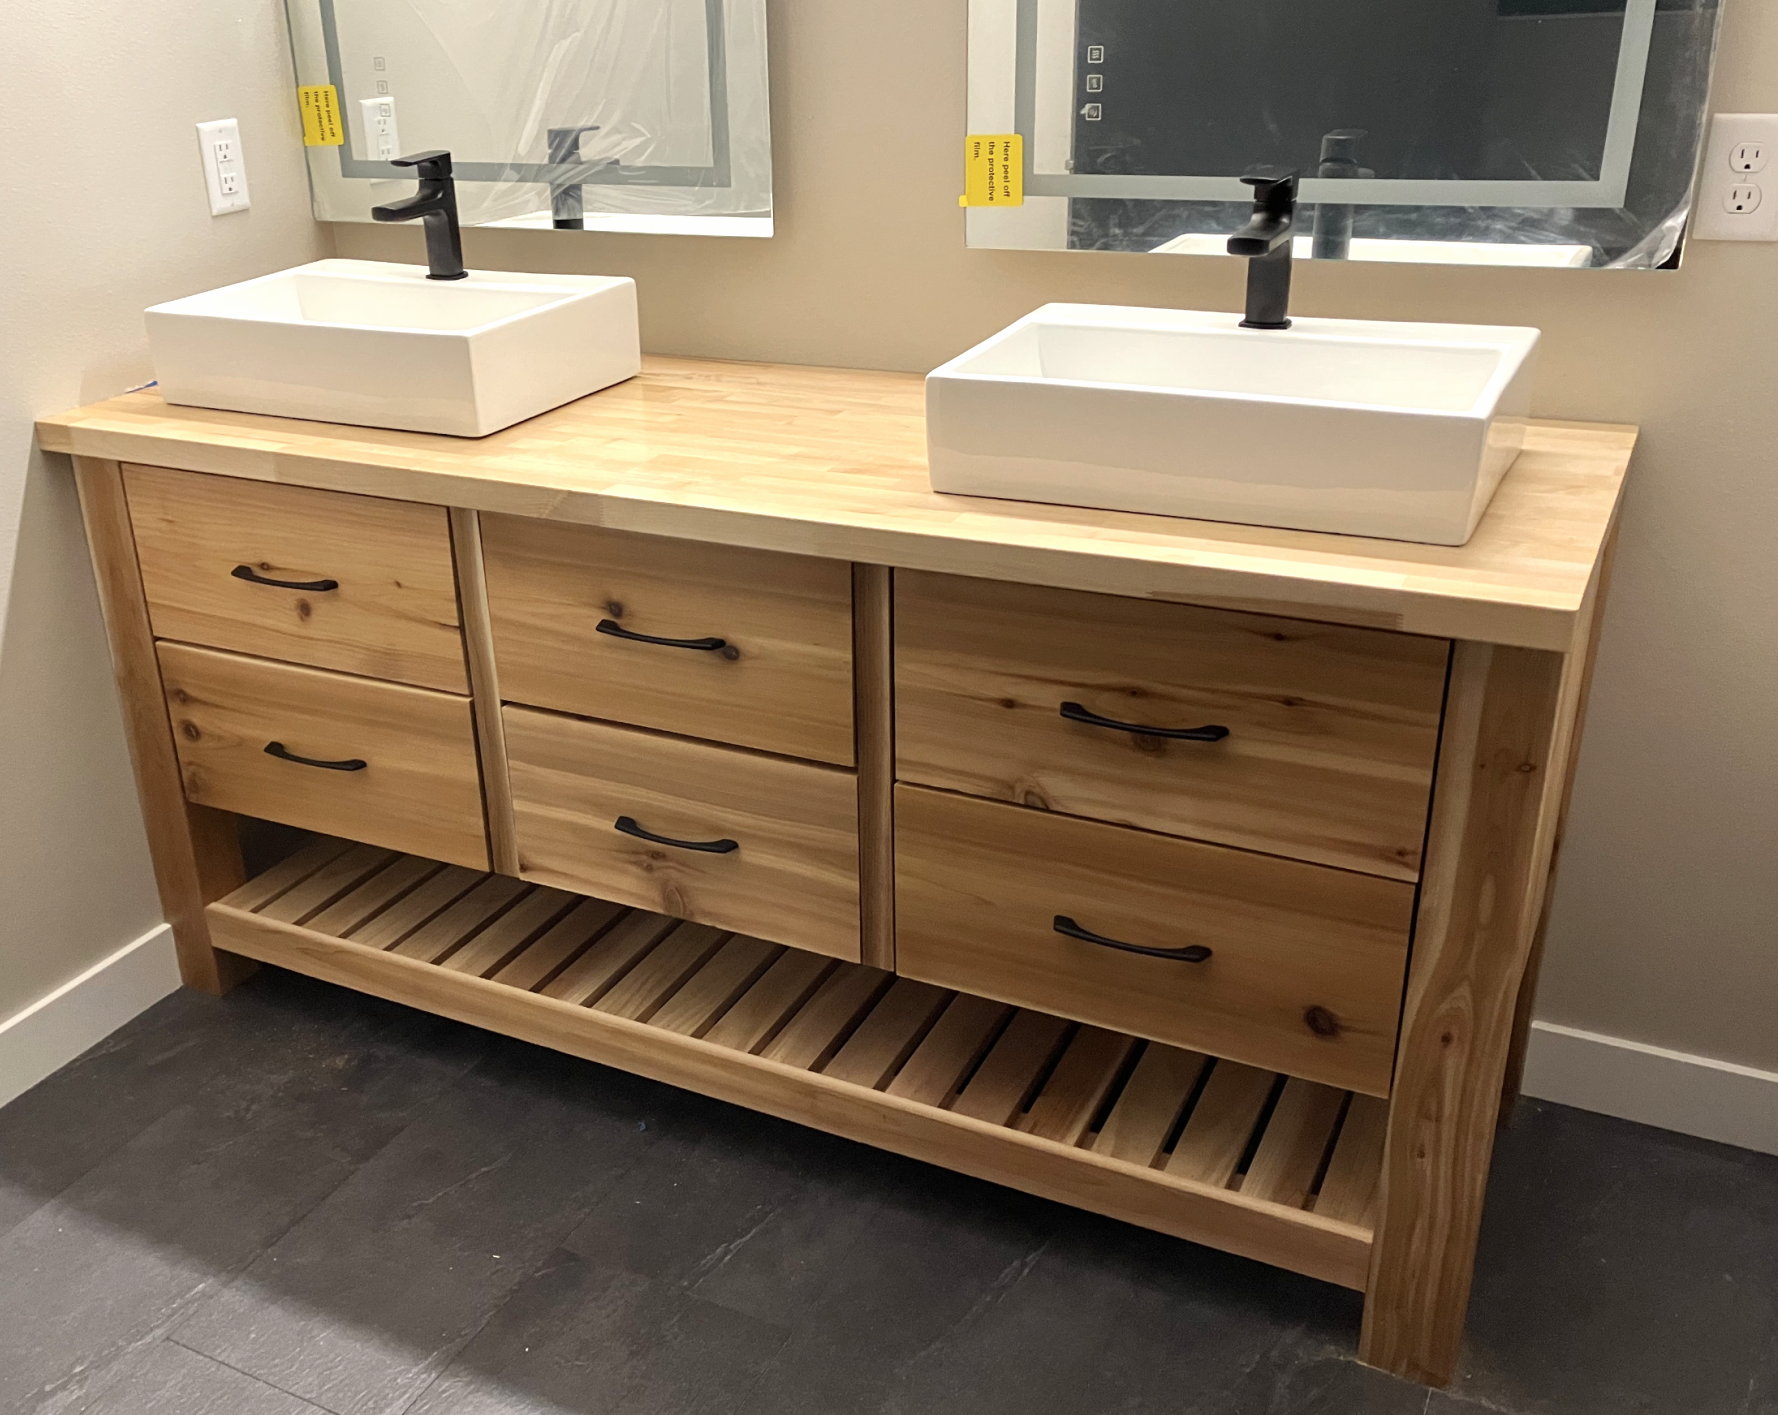
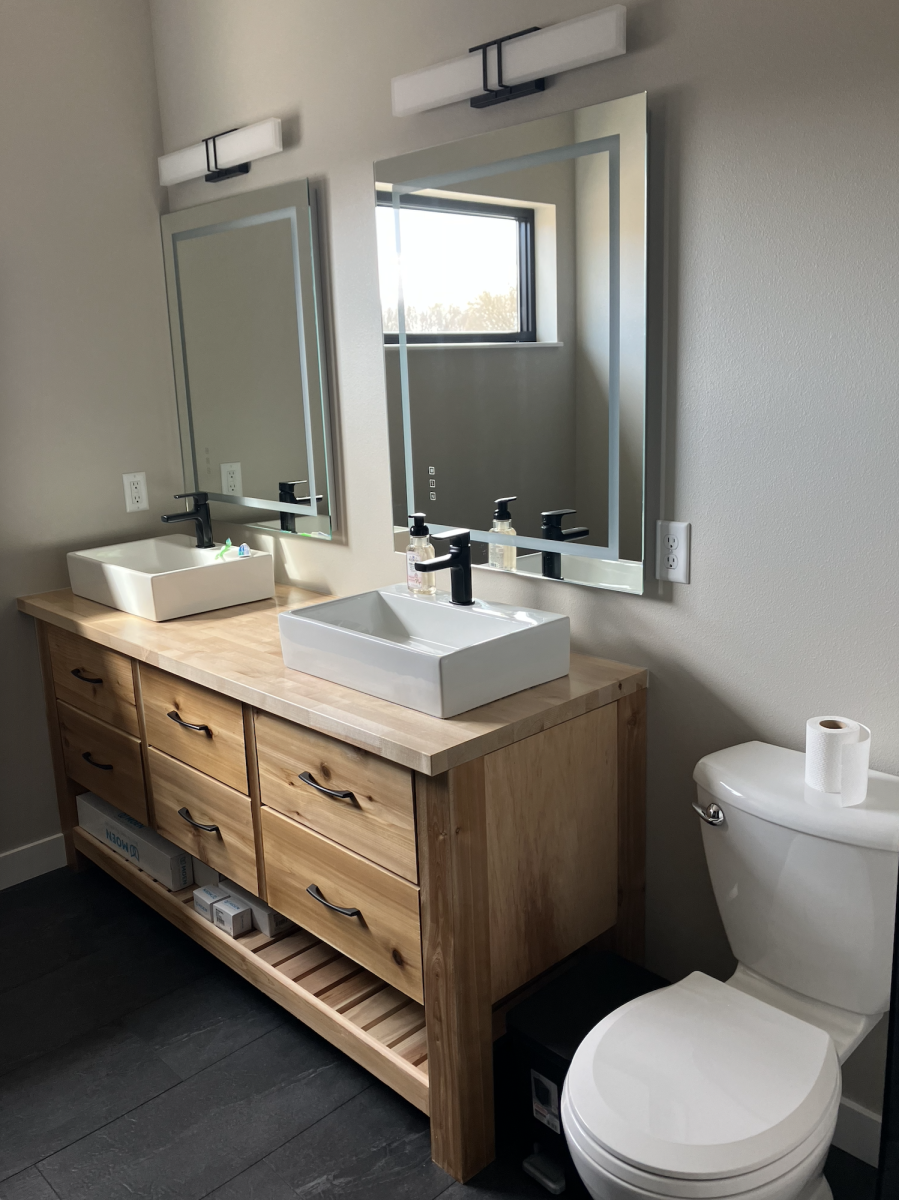
Mostly Cedar Vanity for the New House

Submitted by Anonymous (not verified) on Thu, 05/04/2023 - 09:49

After looking at some terribly overpriced particle board vanities, I found the lovely Rustic Farmhouse Double Bath Vanity plans and decided to go for it. I think this vanity turned out much better than anything I could have bought with the same amount of money, and it will last much longer too!! Thanks Ana!!

Comments

Full size loft

Submitted by Anonymous (not verified) on Tue, 10/01/2019 - 18:46

Built a full size loft bed for my kids but wanted something safer than having them climb up and down a ladder so used the Camp Loft Bed plans to add the platform and stairs. It is much easier for the kids. Going to finish by covering the platform and stairs with carpet.

Estimated Cost
180
Estimated Time Investment
Day Project (6-9 Hours)

Comments

Gigantic planked sideboard

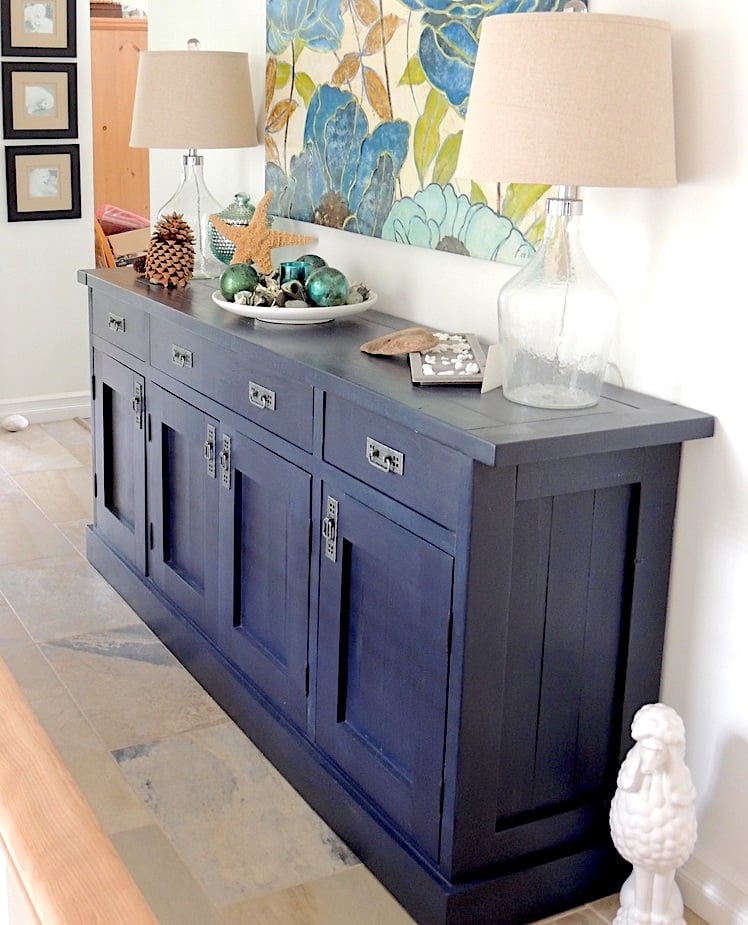
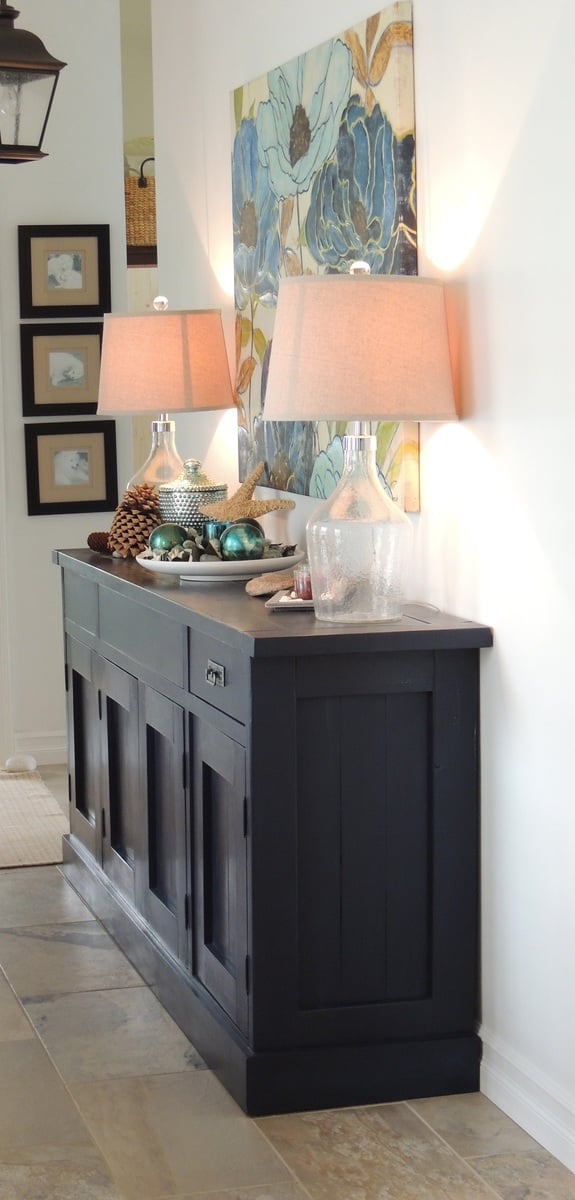
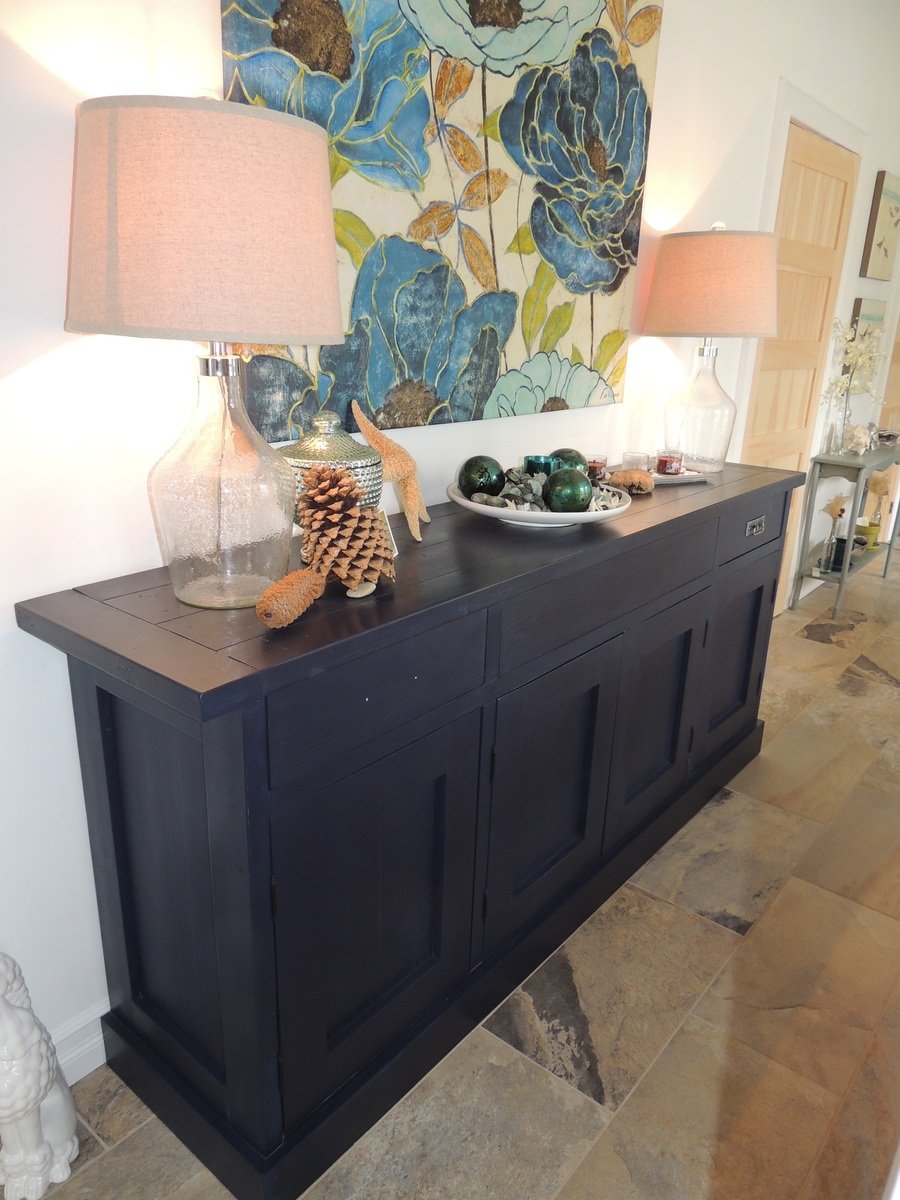
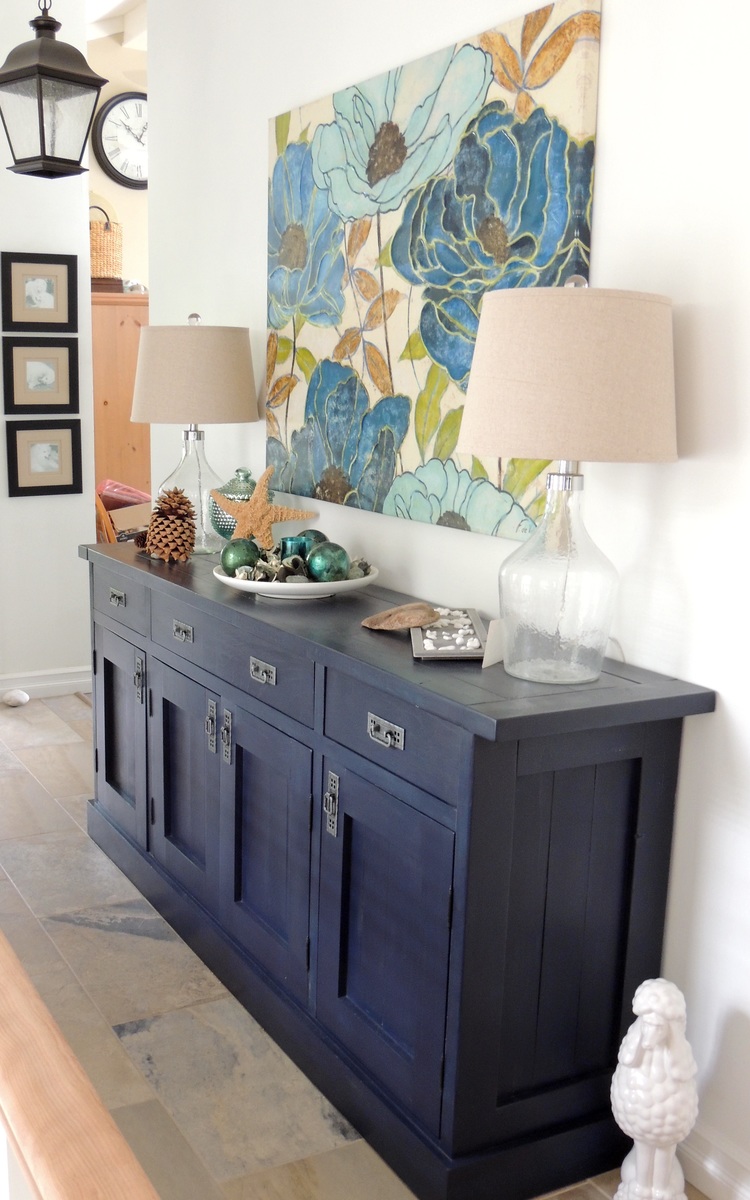
This was my second project and my first piece of furniture I built from Ana's plans. We have a vaulted ceiling in the hallway near my entry and needed a really big piece to fill up the large blank wall. I always hated the space but now I Love It. The Gigantic sideboard is perfect there. I finished it with milk paint and paste wax. If you inspect it closely it is not perfect but for my first piece... I love it and it's supposed to be rustic right!

Built from Plan(s)
Estimated Cost
I did not keep track of how much I spent but I'll say roughly 200 to 250 .
Estimated Time Investment
Week Long Project (20 Hours or More)
Finish Used
I first used wood conditioner then sanded, sanded, and sanded. For the paint I used General Finishes Coastal Blue and topped it with minwax paste wax.
Recommended Skill Level
Intermediate

Comments

Pretty Wood Boxes!

Submitted by cassiet717 on Fri, 08/02/2013 - 18:42

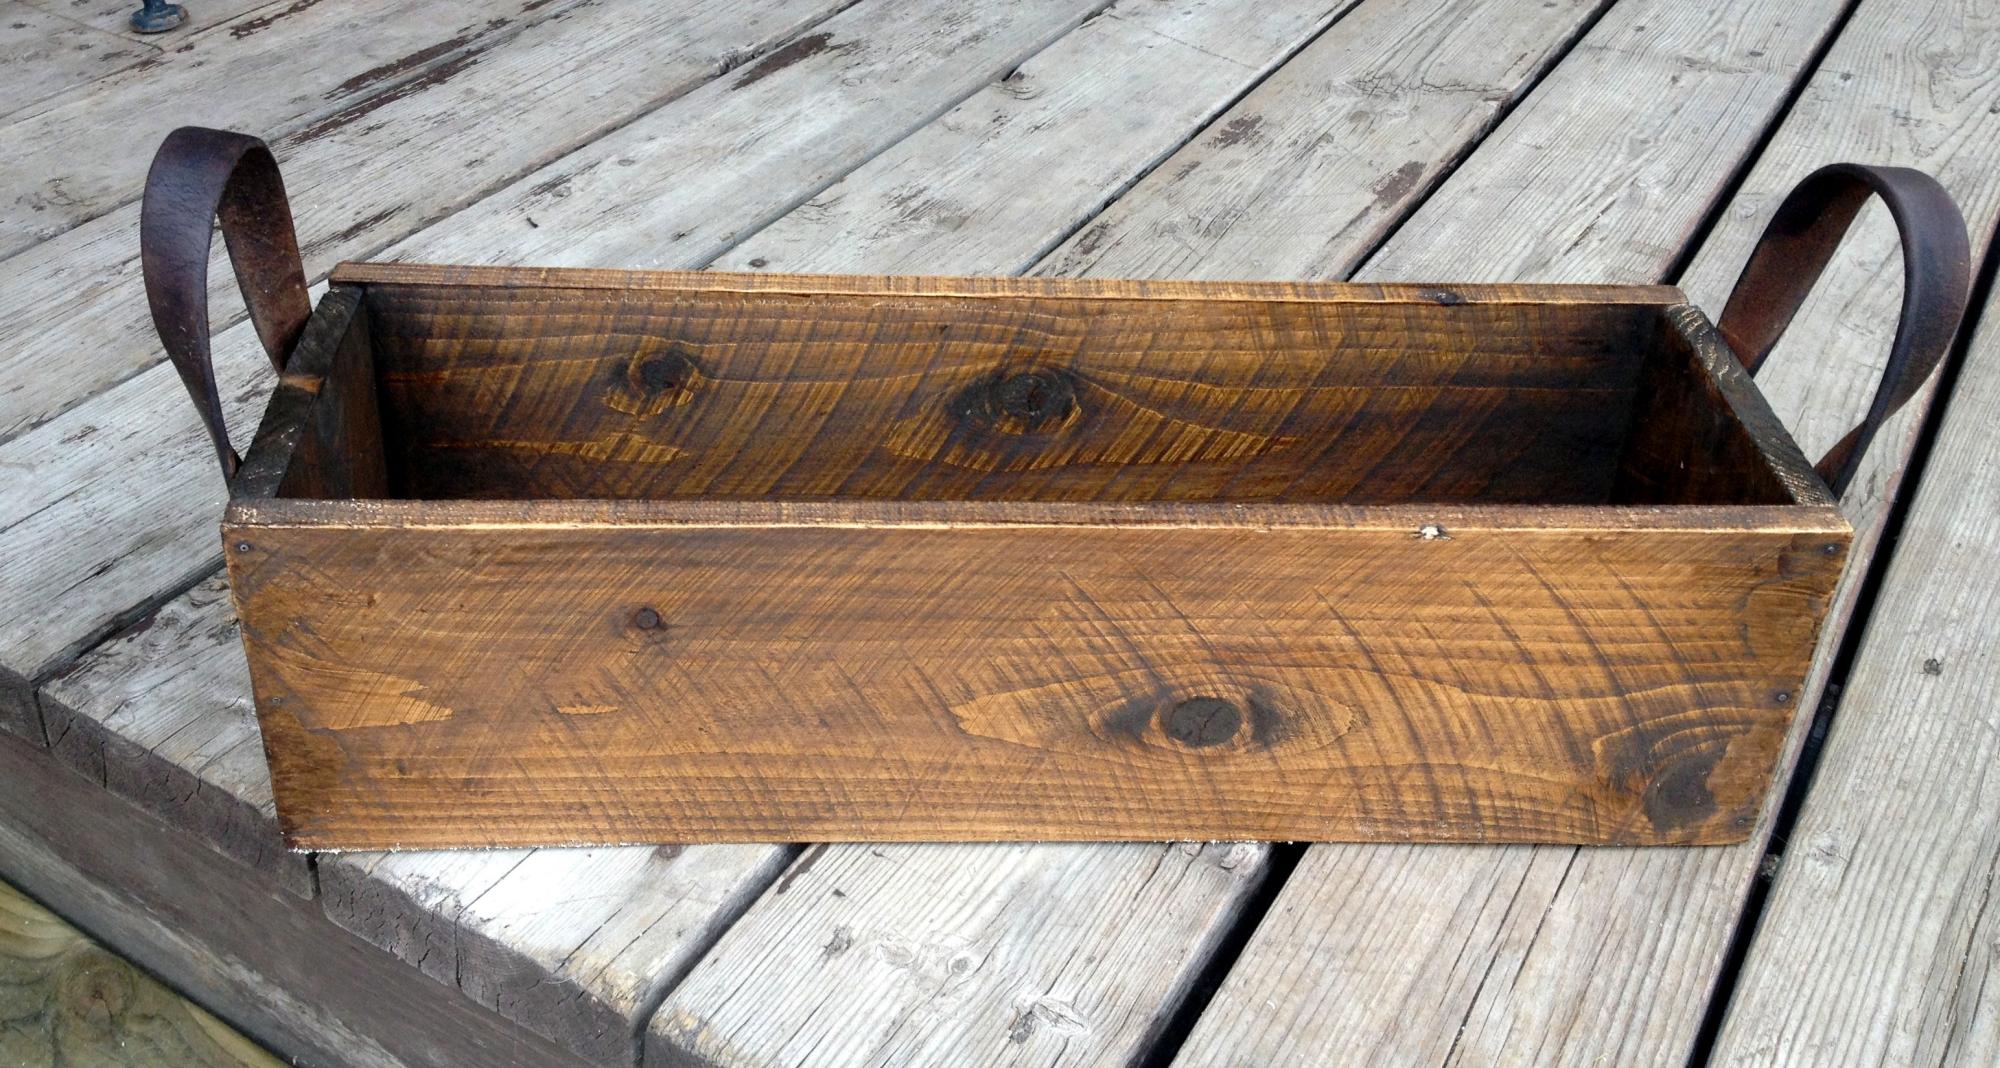
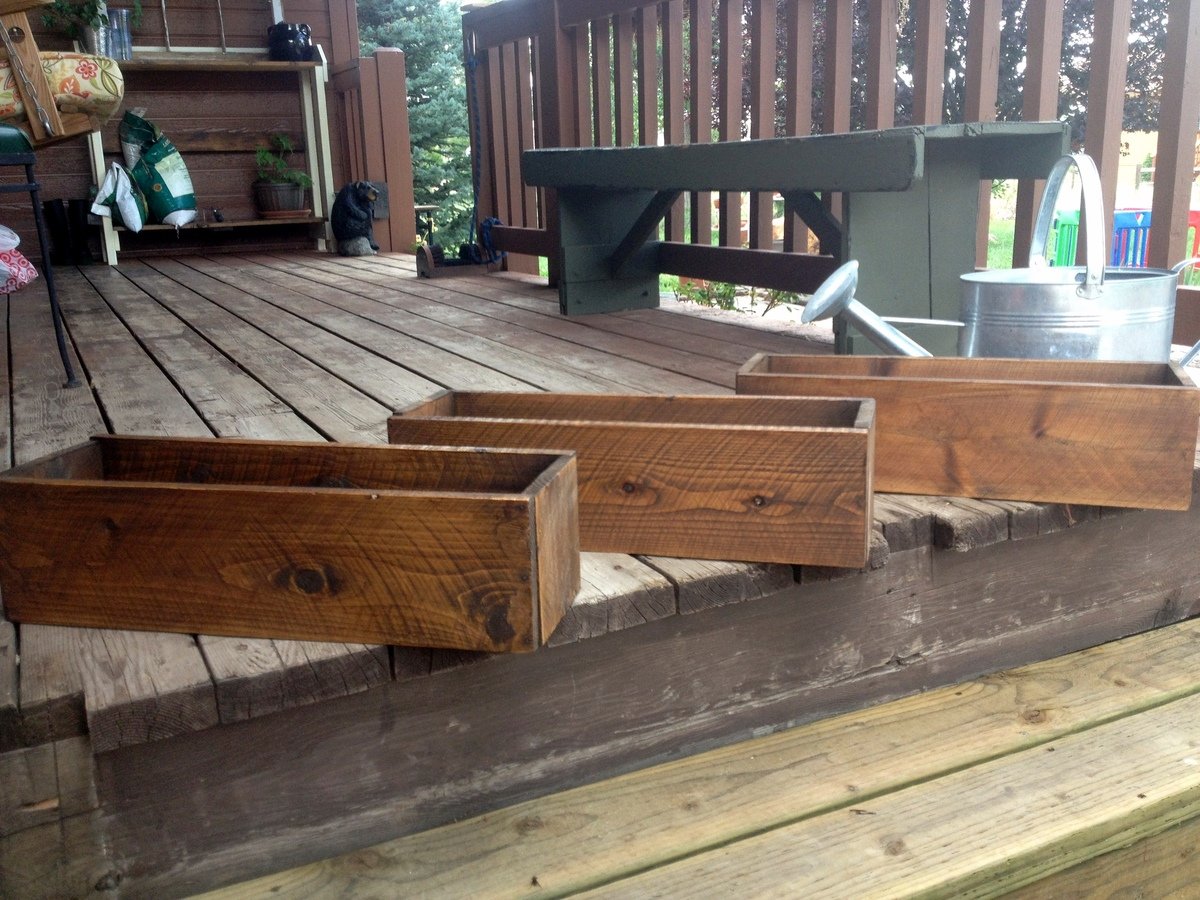
My brother and his fiancee just bought their first house, and these sweet little boxes were the perfect housewarming gift! I used the recommended cedar picket, and found some old reins at a flea market for the handles. Piece of cake to build, super inexpensive, but absolutely adorable!

Estimated Cost
$3 per box (including handles)
Estimated Time Investment
An Hour or Two (0-2 Hours)
Finish Used
Minwax Pre-Stain Wood Conditioner, Minwax Stain in Walnut
Recommended Skill Level
Starter Project